Having family and friends that know your quirks is such a blessing but can also make storage really hard. haha. As of the last year or so I've been turning down furniture and "junk" because I'm trying to pare down what I have in my inventory. However, sometimes I say, "yes" and that ends up with me on overload with work, but that's okay. I'm on a mission to tackle all of it a.s.a.p. and share it with you. Take, for instance, this wooden rolling cart.

A few weeks ago my dad sent me a couple of pics of stuff he thought I might be interested in. While I could have said yes to it all, I circled the ones that piqued my interest most.

As you can see, I limited it to two items, but I honestly could have done something with all of it, right? In that mix, I pick out that filing cabinet (
see its new life HERE). Second, I pick that wooden rolling cart since it is solid wood as well. Also, it's perfect for many uses as well. It just needs TLC.

The best part of it is that it is solid wood and if you know me, I rarely (if ever) turn away anything made of wood. So much potential lies in wood! However, manufactured wood could leave the face of the earth and I wouldn't say a lick. Can I get an amen?
START THE PARTY
Obviously, the very first thing I did is assess what needs done. If you scroll back up, you can see that the shelves had popped out of their routed spots. All I did is pop them back in and nail the side slats tight to keep them there. After that, I bring out my orbital sander and take off that damaged finish on top. Also, I take off those tacky plastic casters and replace them with a few fun ones from my stash.

Aren't those much more fun? Now, they won't give the "rolling" cart as much roll, but it will keep the height and add an industrial charm. Then, I use
my reactive stain (it ages wood quickly) to refinish the top.

Meanwhile, I grab my paint brush and use the same black paint I used on
my vintage gossip chair makeover to give it a contrasting color to the stain.

To finish, I apply a matte poly to the top, and add these fun
apothecary pulls to the shelves. This cart reminds me of a similar hot mess I salvaged a
few years back. I still remind my husband of that one for good measure. ahem. Do you have such stories from your spouse?

THE FINISH
Are you ready to see my little wooden rolling cart reveal? I had fun with it and hope you enjoy the short journey too.


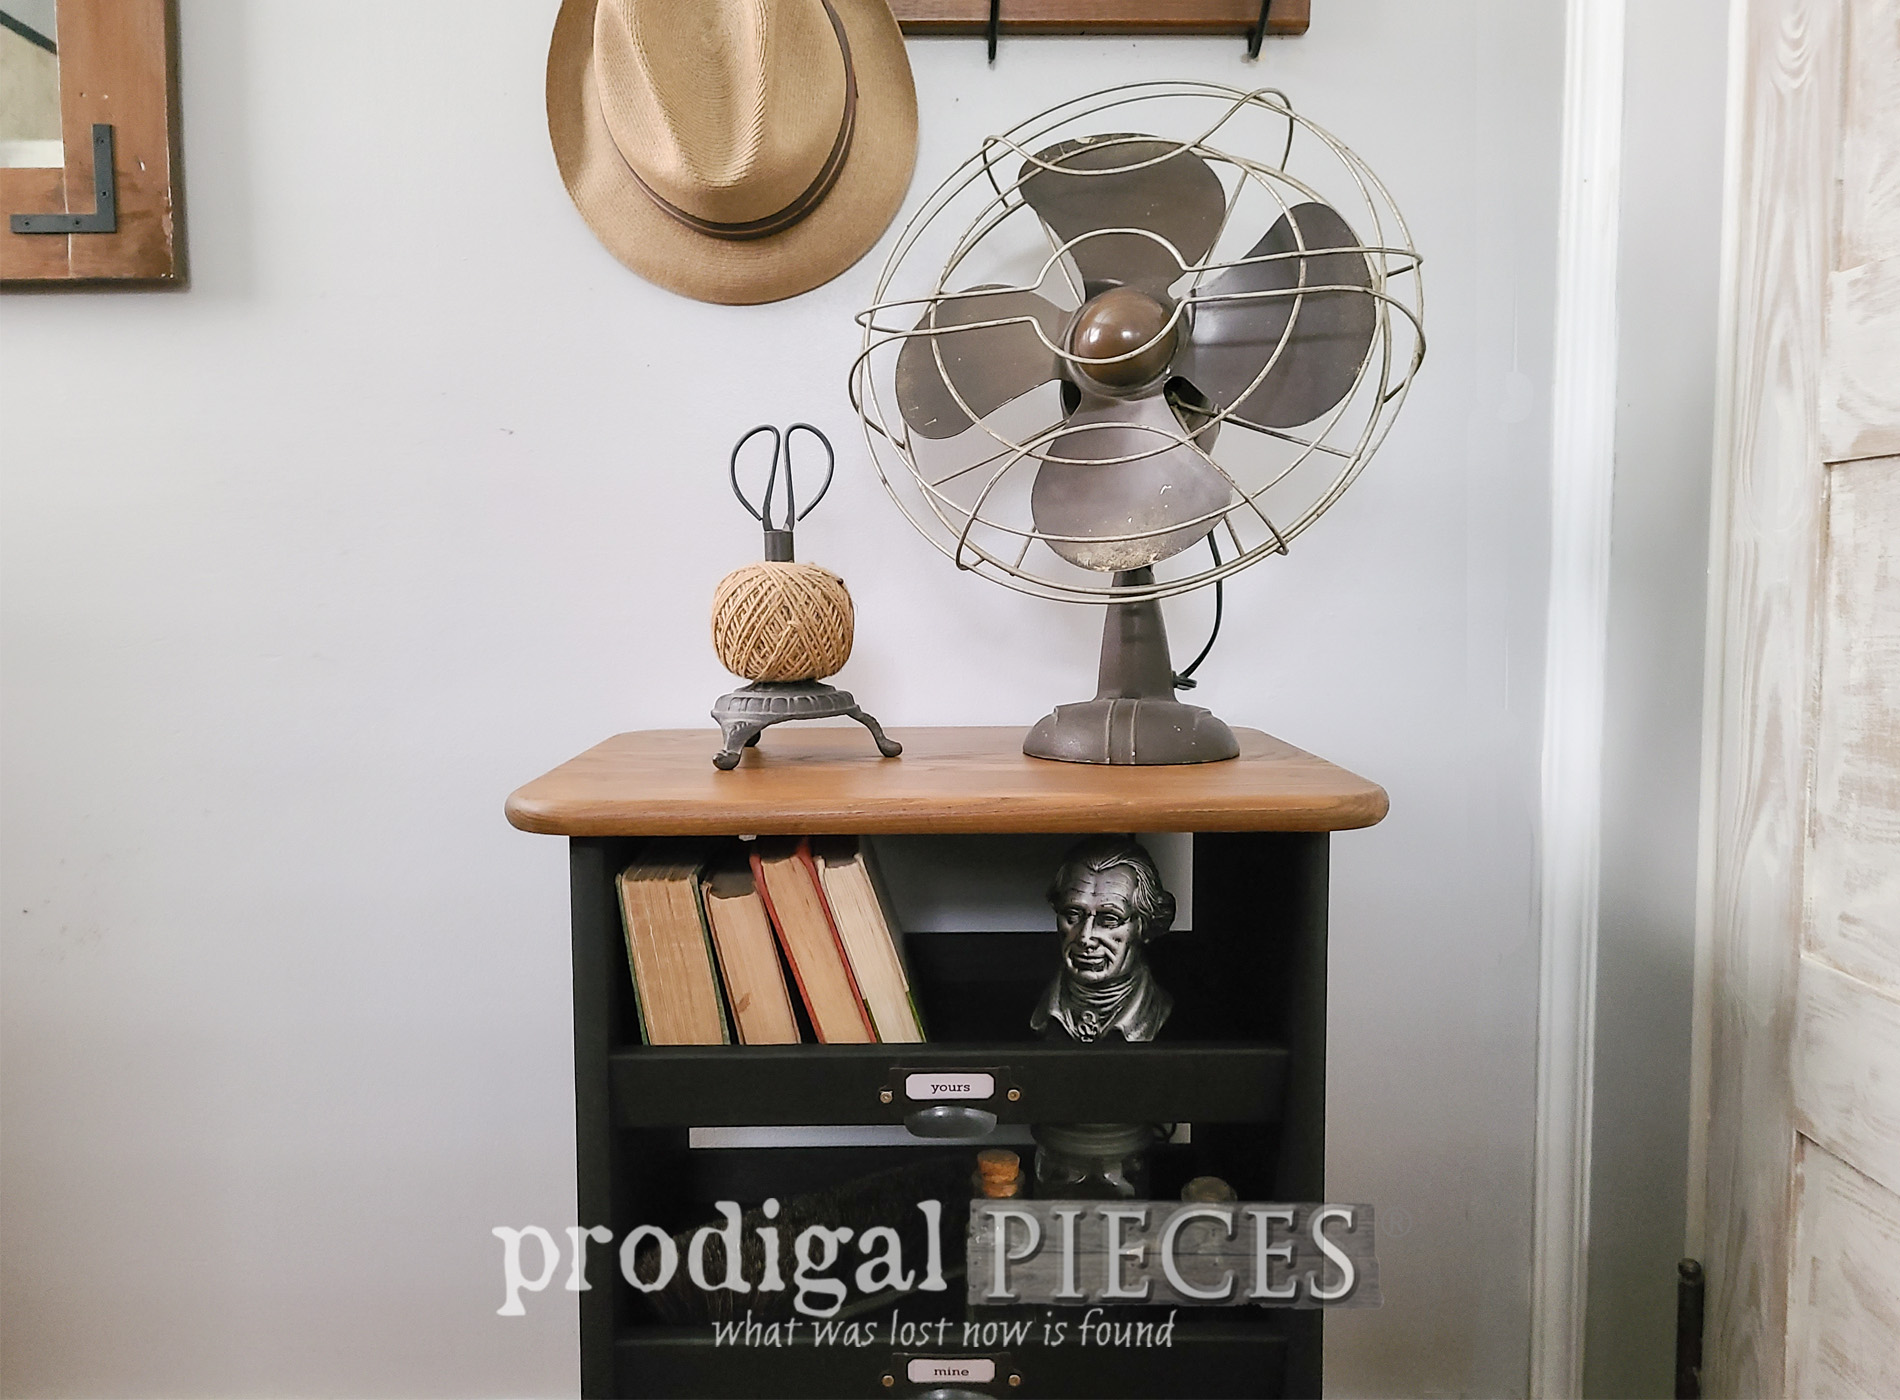
While I could've went many ways with this, I'm smitten with this industrial style. You can store any kind of bits and baubles for display or for strictly function. Also, if you look close, you can see I added my own labels, "Yours, Mine, and...Mine too" haha. Of course I let "Yours" be the top shelf because I'm cool like that. tsk.


So, this begs the questions...(1) what would you have done with this cart (2) where would you use it? If I had a studio, that's where I'd put it. You can even see how I did a similar makeover with this
chest of drawers below.


However, for now I'm offering it up in
my online shop along with many other of my creations, vintage finds, and much more.


SHARE
Additionally, let's get the DIY word out and inspire others to give their own decor a makeover. Share and pin after leaving a comment below. I do this for you and I love to hear from my readers.

Up next, it's
Trash to Treasure Tuesday time! Join four other bloggers and myself for our latest DIY inspiring posts created just for you.
HEAD HERE. Be sure to
sign up for my newsletter to see what I do with this dilapidated ol' gal. Until next time!

 PINTEREST | EMAIL

Also, more fun cart DIYs like this wooden rolling cart: