There's no denying that when you find something that makes your life easier and affords you more time for other tasks or pleasures in life, the first thing you want to do is tell others about it so they can benefit too. That, my friends, is what this post is all about while showing you how to paint a highchair. A few weeks ago, I shared with you how much I adored my new toy, a paint sprayer when I worked on this
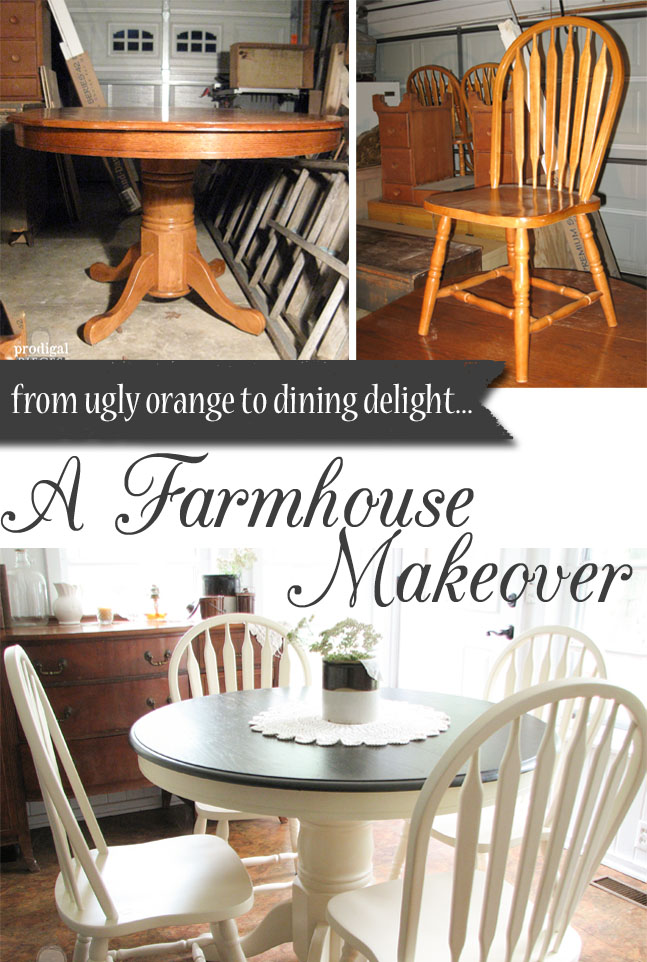
farmhouse dinette set (this post described using paint and poly).

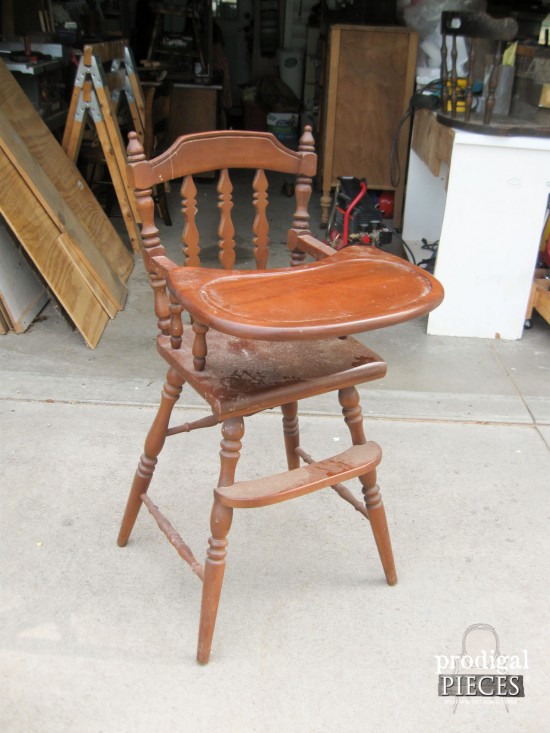
Well, now that summer's here and I'm able to be outside more doing my work, I'm having a blast (literally!) getting furniture done lickety-split. For instance, I've had this baby highchair needing a facelift, and if you've ever painted a chair before, you know how un-fun it is to paint spindles.
FUN BEGINS
Ugh... you're constantly checking for drips, incessantly brushing hoping for an even coat, right?
All I had to do was give the chair a light sanding with my sander, and make sure the surface was clean.

Then, I got to have some fun.
Even with our gusting windy day, I was able to achieve a smooth, even coat. My video was on fast-play, but each coat only took me about 10 minutes to apply without a compressor. The best part is no drips, no messy layers, and only the sprayer to clean up, and even that was made easy.
CLEANUP
However, I did have to take it apart and scrub the individual pieces. That's fine with me because I love how easy it is to paint. Now with just a bit of spraying, I'm left with those pieces squeaky clean! WAHOO!!

Once I had the highchair coated in
my favorite aqua, I wanted to add some whimsy to the tray because it's just fun for kids to feel special.

THE REVEAL
How exciting for my littlest watching me paint. I just had to have her be my model for this post.

As soon as I set her in the chair, she kept trying to pick up the utensils. Ha!

She loved getting all the attention from her brothers and sisters and didn't want to get out of the chair.


Who can blame her, right? It's pretty, it's fun, and ready for that special little one. I distressed the chair a bit to create a time-worn feel. After that I applied a hand-rubbed wax finish for protection.


I love how easy this chair is to complete and is beautiful in only a days' time. This chair has sold from
my online store, but I do take custom orders, if interested.

I know you're not the only one who would like to paint with ease with a sprayer. Share and spread the love!
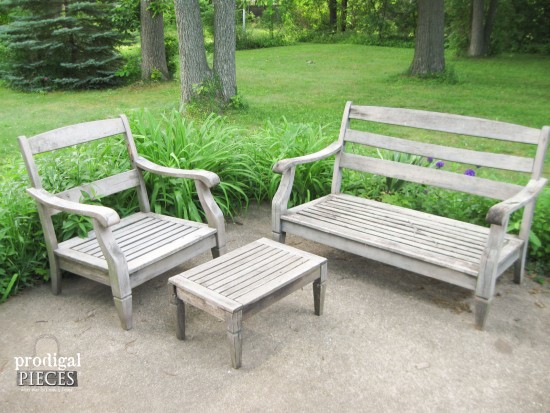
I'm off to give my worn-out patio set a much-needed coat of paint, so head
HERE for the reveal!
Sign up for my newsletter to get the DIY details in your inbox. Use the widget in the sidebar or at the bottom of this post. Until next time!

 PINTEREST
Also, more fun for you like my how to paint a highchair project:

 Well, now that summer's here and I'm able to be outside more doing my work, I'm having a blast (literally!) getting furniture done lickety-split. For instance, I've had this baby highchair needing a facelift, and if you've ever painted a chair before, you know how un-fun it is to paint spindles.

 Then, I got to have some fun.
Even with our gusting windy day, I was able to achieve a smooth, even coat. My video was on fast-play, but each coat only took me about 10 minutes to apply without a compressor. The best part is no drips, no messy layers, and only the sprayer to clean up, and even that was made easy.
Then, I got to have some fun.
Even with our gusting windy day, I was able to achieve a smooth, even coat. My video was on fast-play, but each coat only took me about 10 minutes to apply without a compressor. The best part is no drips, no messy layers, and only the sprayer to clean up, and even that was made easy.
 Once I had the highchair coated in my favorite aqua, I wanted to add some whimsy to the tray because it's just fun for kids to feel special.

 As soon as I set her in the chair, she kept trying to pick up the utensils. Ha!
 She loved getting all the attention from her brothers and sisters and didn't want to get out of the chair.

 Who can blame her, right? It's pretty, it's fun, and ready for that special little one. I distressed the chair a bit to create a time-worn feel. After that I applied a hand-rubbed wax finish for protection.
 I love how easy this chair is to complete and is beautiful in only a days' time. This chair has sold from my online store, but I do take custom orders, if interested.
 I know you're not the only one who would like to paint with ease with a sprayer. Share and spread the love!
I'm off to give my worn-out patio set a much-needed coat of paint, so head HERE for the reveal!
I know you're not the only one who would like to paint with ease with a sprayer. Share and spread the love!
I'm off to give my worn-out patio set a much-needed coat of paint, so head HERE for the reveal! Sign up for my newsletter to get the DIY details in your inbox. Use the widget in the sidebar or at the bottom of this post. Until next time!


