Do you love a sweet love story? I do, especially when it has a happy ending. Let me give you some background before I show you how I used chalky finish paint to create an old-world look.
A couple of weeks ago, we took our family out for a fun day of hiking, picnics, and all around quality time in honor of one of our daughter's birthdays. Before we set out on our jaunt, we decided to stop into Goodwill to see if we could find the birthday girl a camera case since she had lost hers at the zoo the week prior.
We were able to find a hot pink case, perfect for a little girl, then after that I decided to quickly make my normal rounds. I say quickly because although my kids shop with me, my hubby doesn't care to treasure hunt. Also, because I had promised myself no new pieces until I emptied my stash and built the work table I've been craving. And that's when I spied this...

THE FIND
I literally gasped and said, "Oh no." Hoping the price tag was too much so that I couldn't buy it, I crept over that jungle of weight equipment to find it was marked $100. Sigh...thankfully I had a 35% off coupon burning a hole in my pocket. tsk. Guess my worktable would have to wait.
Because we were off for a day of adventure, we couldn't take it with us that day (I mean, who can fit a large dresser and a family of 8 in a suburban? I would if I had to!!) We picked up this diamond in the rough the next day and gave it a look-over. Here's a better look at what I was up against.

Structurally sound and beautiful design, but missing a few wood carvings, which I sometimes affectionately call "jewelry". If you look close at this next photo, you'll see where the carvings are missing and I'm sure you can't miss the damaged veneer.


WHAT WEAR
The side panels are chipped up and looking like snaggle teeth, much like the drawer fronts and face. Thankfully, the previous owner stuck the leg carving piece that popped off into the top jewelry drawer which makes things a little easier.

Not only is the top worn with water rings, but it looks like someone took a drill bit to make some not-so-pretty decorations to the top on both sides.


This piece totally reminded me of my first rebuild of another empire dresser a couple of years ago (see below), so my pulse happily quickened at the challenge. GAME ON!

So, you may be asking, "What do you do with all that damage and missing parts?" You roll up your sleeves and get ready to work.
DIY TIME
When you have a piece that has damaged and missing veneer, you can do one of two things: remove it or repair it. There have been several instances where I've used
my method to remove all of the veneer and work with the surface below. You can also buy veneer in rolls and repair it that way as well. For this particular situation, I decided to patch the empty spots with wood filler since I was after a time-worn look. (You can also use auto-body filler too)
With my handy-dandy putty knife and filler in hand, I went crazy on that snaggle mess.

I even use filler like clay and form it to match the missing details as well. it's a pretty versatile medium. I've also used actual polymer clay for repairs using
my clay method in other projects.
One particular drawer, the bottom, had me baffled for a bit on how to replicate the missing trim. I couldn't just yank it off the opposing side because it ran down the faces of all the drawers, I'll show it to you again...

See the missing braided piece on the right? That's when I called over my hubby and asked his thoughts. He said to take off the trim on the left, cut it, and add something to both bottoms. I love that guy. I am leaning towards replacing the trim with these two wood carvings, but I like his idea better.

Funny how all of these goodies are from the same store. So... off goes the trim piece I do have and out comes my hack saw. {{wicked giggling ensues}}
NEXT STEPS
I cut off an end of the new wood pieces, then cut the salvaged piece to length. With both laying on my work surface, they're looking good to me!

Notice how I used wood filler to complete the missing design on the scalloped edge. Much better.

Since nothing goes to waste, I decided to add the remnant new carved pieces to the drawer front of the top jewelry box to tie in the detailing below.

Now those other missing carved pieces can make things interesting, but that's when I get out my Dremel and cut the intact opposing design to match the side that has missing details.

Next, a light sanding just to give the surface some "teeth" (something for my paint to grip onto).
INSPIRATION
My inspiration for this piece is to create an old world look and a story, as if this beauty resided in a story-book home from the 18th century. Imagine a home decked from floor to ceiling with ornate intricate designs, gilded accents, and a true appreciation for artisans of another time. I can just picture this piece originally up against a wall decorated with damask wallpaper. Then, flanking brass candle sconces and a divine crystal chandelier above. Also, inside the drawers overflowing with slips and underclothing for a lady of stature. Just dreamy, isn't it?
To create the look I'm after, I chose to work with a new product to me, Americana Decor Chalky Finish Paint and Clear Créme Wax by DecoArt. The blue is called, Serene and the off-white is named, Lace, both of which I believe are aptly named for such a lady as this, don't you think?

FIRST COAT
First, I give a coat to the entire piece. That includes the details I plan to draw out later. It is less time-consuming to get crisp edges when you apply the detail paint, than it is to try to cut in with your first coat.

An artists' brush makes it easier to get into those tight crevices.

MORE PAINT
This is what the cabinet and drawers look like after the first coat of the chalky finish paint. Sometimes I stop there when I'm wanting a washed effect. But for this gal, I'm going for that old work look and I'd like a good base to start with, so I apply a second coat.

I must say, I sort of giggled when I found how easy the paint was to apply. Smooth and self-leveling makes me happy. It's the little things.
After all the base coat I do one coat to the intricate details I want to highlight. That wash creates texture and adds a time-worn feel.


The original pulls are dainty and ornate, but lacking life. They appear brass but are actually brass-plated steel. Solid brass is non-magnetic, so always check to be sure.

Using a white-wash wash method to add dimension and call out those details.

BLING
Now you might think I would stop there, but oh no...this lady needs some BLING! Another product by DecoArt is a metallic paint line called Elegant Finish Champagne Gold, also aptly named for this fine lady. Again, with an artists' brush, I highlight and add detailing here and there to add a feminine touch.

Once painting to suits your taste, it's time for the fun part...distressing. I typically use a 120 or 150 grit paper. It's key to not just rub all the corners creating the same wear everywhere. Take your time and think about where the wear would occur. Drag across and downward and in opposite directions - that adds more detail to the story.

After you've finished your distressing, it's time to add the wax topcoat. For this I use a soft t-shirt type cloth to dip into the wax. The, apply in circular motions to get an even coat.


Even the painted pulls get a light coat of wax to give them longer life and a bit of sheen.

WAXING
Once the wax has had a chance to dry (approx. 20 min. or less), take a soft cloth and buff the surfaces. Our old cloth diapers are perfect for this purpose and are like gold to me.

This will give the dresser a soft lustre and extend the life of the paint as well. Also, you can add a bit of paint to the wax in the color of your choosing. Which means create your own custom colored wax. Fun!
My lady is finished getting her makeover. How exciting to show you her reveal. {{deep breath}} Are you ready?
THE REVEAL
Her gilding and her gown of blue and white is fit for a queen.

I couldn't be happier with the outcome of this piece with all the ornate details getting a chance to shine.


The repairs were well-worth the effort. There are still some waves in the veneer, but that just adds to the story being told.

The repair work I did blends in perfectly with the feel of the dresser.

Isn't it wonderful how the white-washed effect of the chalky finish paint and gilding really made those details pop out?

You know me, I'd keep every one of my pieces but lack the space to do so. If you would like to call it your own, this dresser is available in
my online store.


But for now, I'm having fun enjoying this stately piece in all its splendor.

Now it's your turn. Go on and give this look a try with some chalky finish paint. Feel free to ask me any questions!
SHARE
I'd love it if you would pin and share this technique using chalky finish paint. My goal is to inspire others to learn and create a story of their very own.

Before you go, be sure to
sign up for my newsletter. Until next time!

 PINTEREST | EMAIL
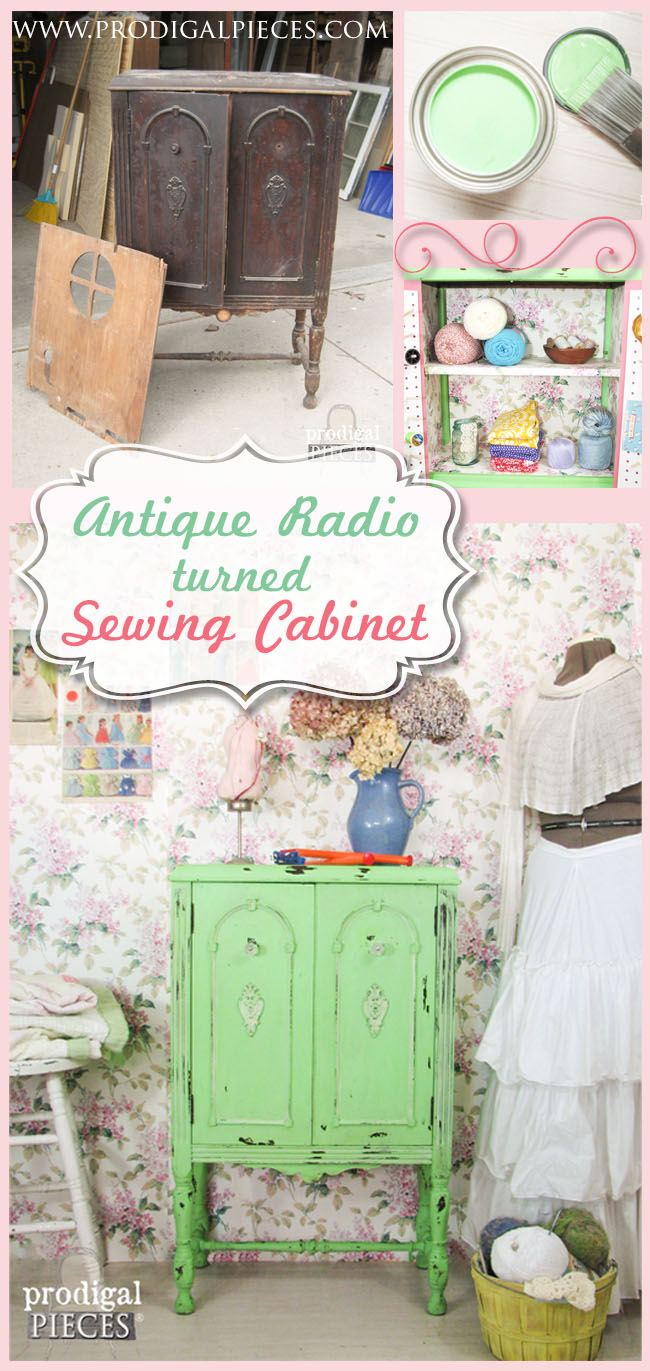
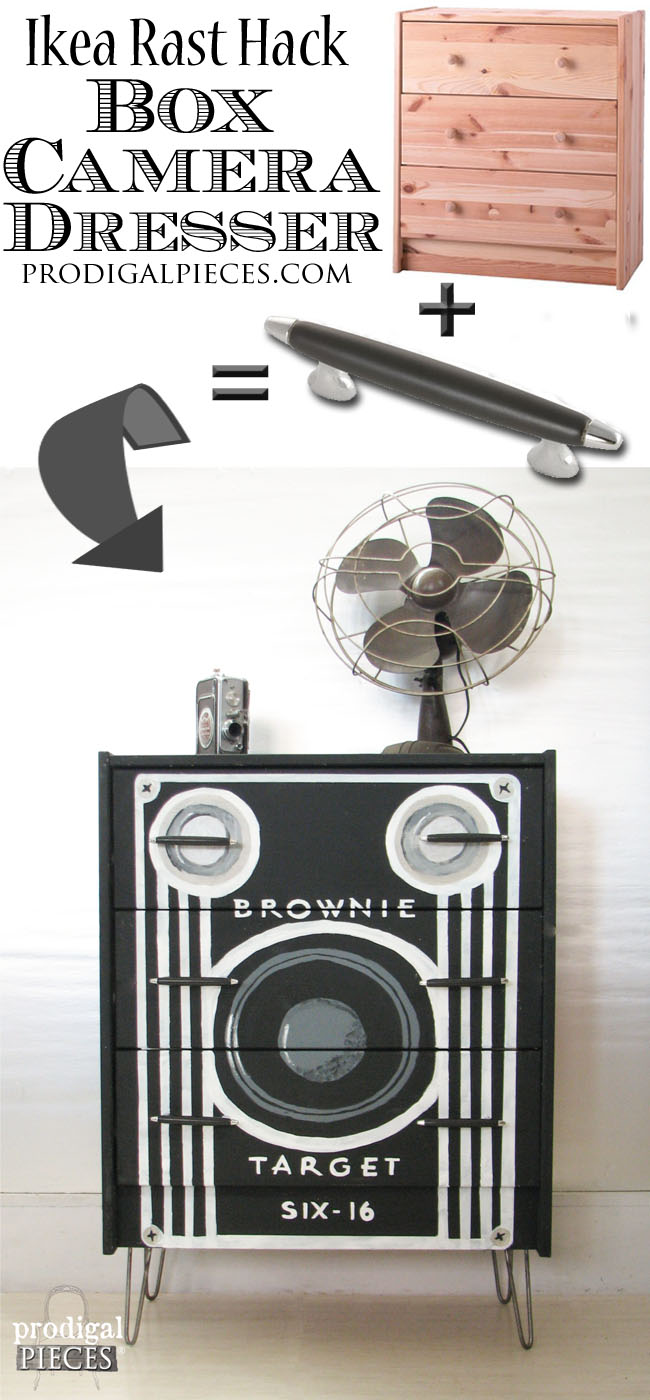
Also, more projects using a chalky finish to make new:


 I must say, I sort of giggled when I found how easy the paint was to apply. Smooth and self-leveling makes me happy. It's the little things.
After all the base coat I do one coat to the intricate details I want to highlight. That wash creates texture and adds a time-worn feel.
I must say, I sort of giggled when I found how easy the paint was to apply. Smooth and self-leveling makes me happy. It's the little things.
After all the base coat I do one coat to the intricate details I want to highlight. That wash creates texture and adds a time-worn feel.
 Once painting to suits your taste, it's time for the fun part...distressing. I typically use a 120 or 150 grit paper. It's key to not just rub all the corners creating the same wear everywhere. Take your time and think about where the wear would occur. Drag across and downward and in opposite directions - that adds more detail to the story.
 Before you go, be sure to sign up for my newsletter. Until next time!


