 Can you blame me? I love tea carts and have had several in my possession over the years, but this one just won out as my favorite. Though to look at it you may think, meh.
 It is made out of simple pine and has that super dark stain to hide theinexpensive wood. The top was worn bare in spots and had water rings all over it. However, that tea service storage is awesome and so is the extra drawer on back.
 For a few weeks it sat in my home as I couldn't decide what to do with it. I liked it the way it was, but knew it needed some TLC. So as my prerogative allows, I go with the refinish. Here we go!
DIY TIME
First, I took off the top and decided to use my sander to take it down to bare wood. Once done, I use one of my favorite stains, Sunbleached (as seen in these posts).
 As beautiful as that is by itself, I wanted a little more texture, so I did a second coat in Briarsmoke (see it used here too). Here's the comparison:
 Darker, but not too dark...just right. However, I could stop there, but I saw the need for a bit of whimsy. Since this is meant to serve, I decided to do some lace painting like I did on my Dumpster Diva and others. Then, I use a basic flat white paint to spray through the lace. But before I did that, I laid a piece of construction paper under it to leave an empty space for later.
 This was a quick process and then once dried I added a matte poly topcoat.
 Then, while the top is curing it's time for the base of the vintage tea cart.

PAINT TIME
I popped off the wheels and repaired them. Next, I took all the hardware off to clean it all up and then prep it for paint...yes, paint. {{gasp!}} My choice was the same Dove White by Glidden that I have used in many projects as seen HERE. Notice I can use the same brush for poly and paint. Now for the part I was dreading...those wheels. ugh. Why did I dread them? Well, little, tiny spindles and lots of them, not to mention those rubber pieces I had to avoid painting. I'm not a gal who likes to use tape and I believe a steady hand is much better.
THE REVEAL
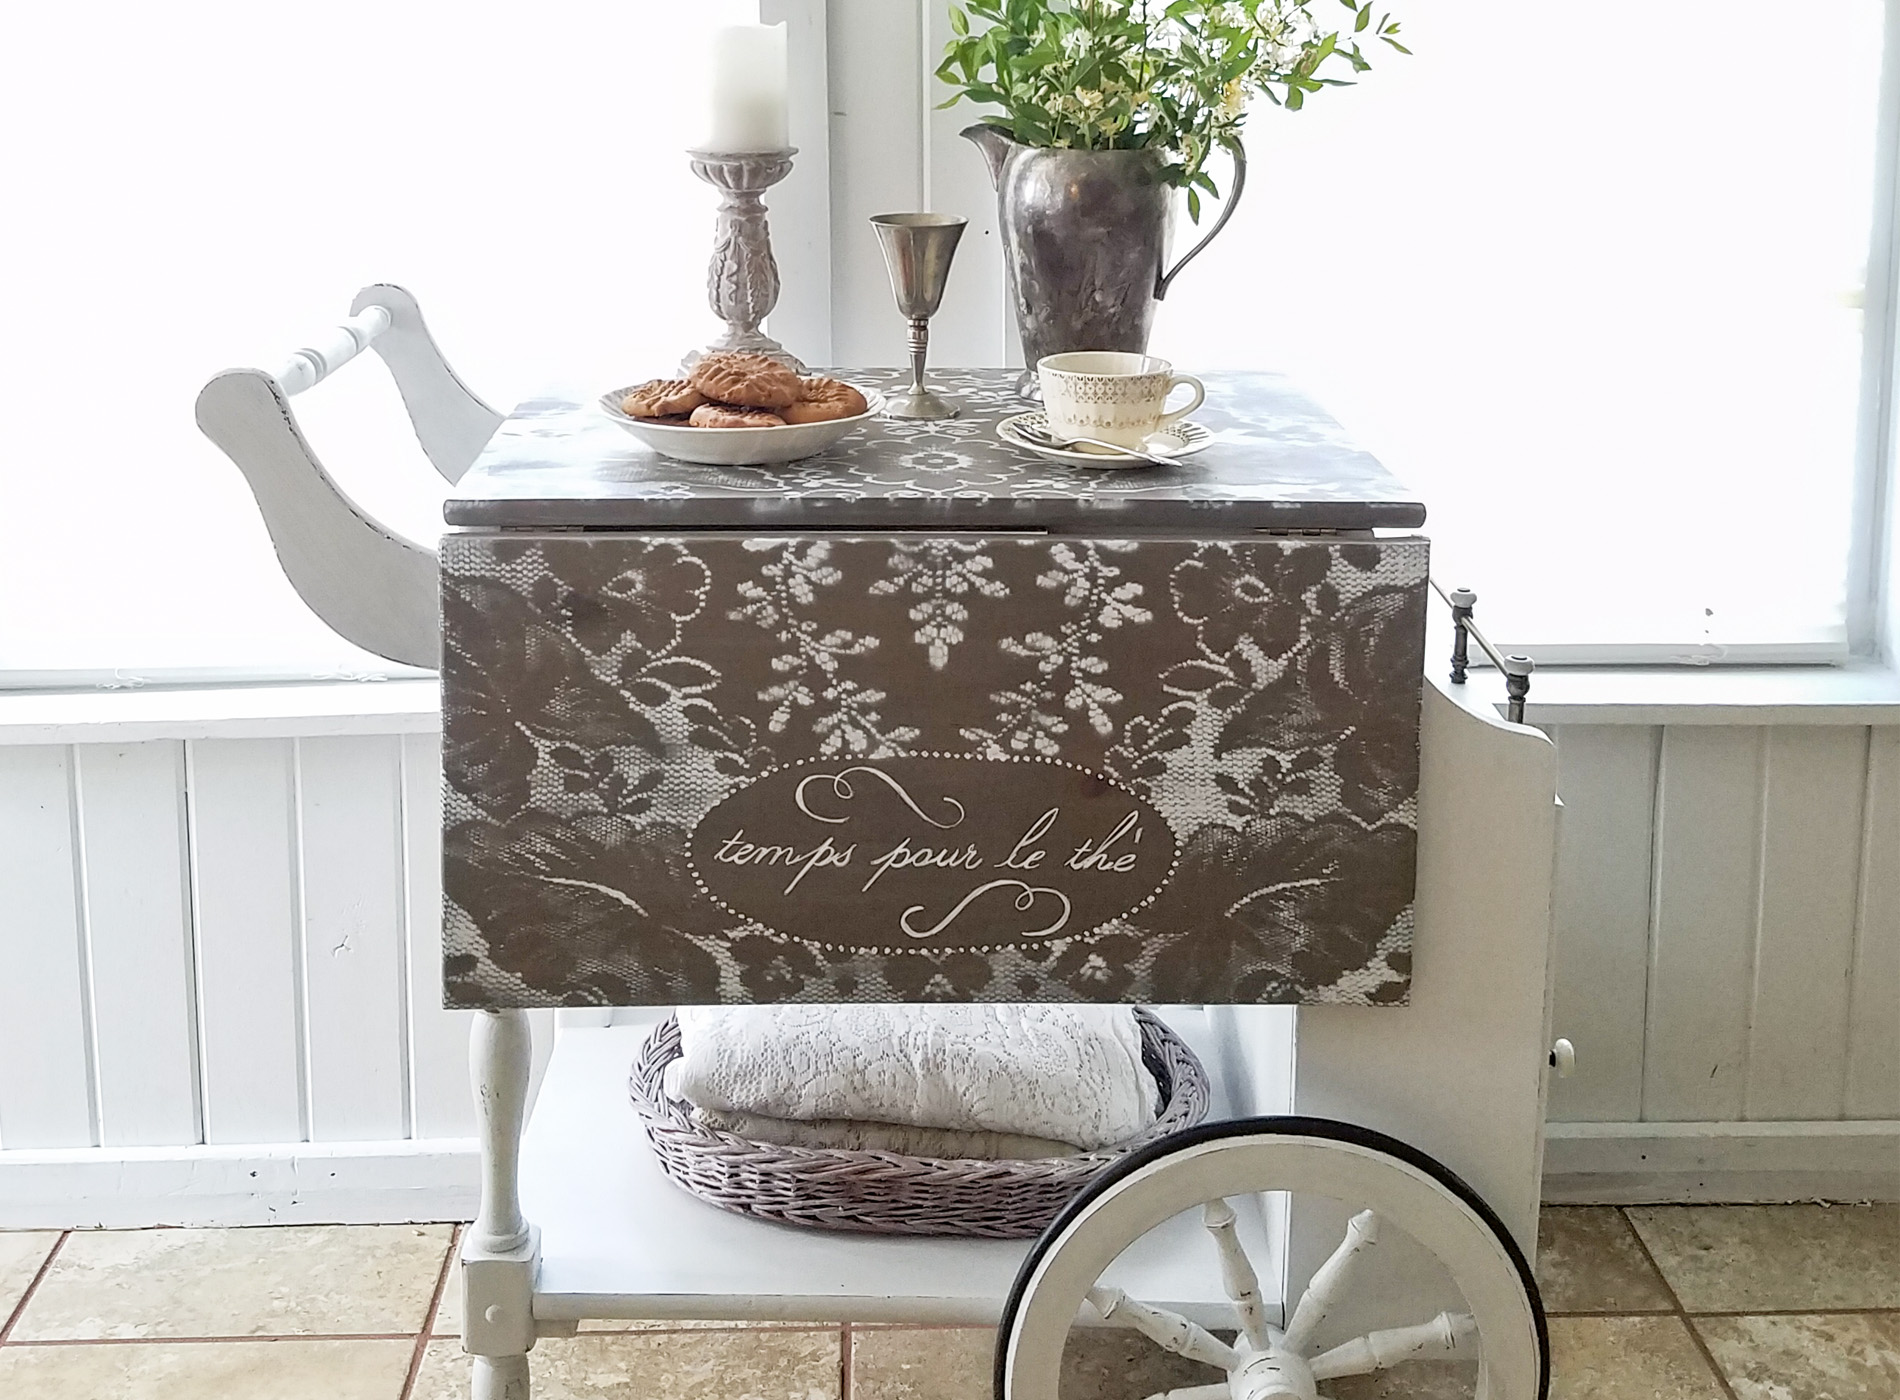
After two coats and letting it cure between, I was ready to put it all back together. I added some text to the top using my transfer method and a little bit of fun to the inside of the tea set storage compartment. Take a look.
 I just love the new look - so refreshed and chic. My favorite part is the top with the French script added "temps pour le thé" which reads "time for tea".
 The lace effect was just what I was hoping for with a time-worn appeal.
 The back side is just as fun with the built-in drawer. I kept all the original hardware as it was brass and suited the look I was after.

 Remember I mentioned adding a little fun to the tea service end?
 I decided to add some pressed tin paintable wallpaper and paint it a metallic pewter to make the dishes really pop.
 Finally, don't forget the cookies. My kids helped make those, so I had something to stage with.

RECIPE
Grain-free yummies from a simple recipe:Grain Free Peanut Butter Cookies
1 cup peanut butter
1 egg
1 cup sugar (or less)
bake at 350° for 10-12 min. easy!
This vintage tea cart was a fun project that took some doing with repairs to wheels, replacing missing parts, etc, but worth it. I hope you enjoyed it! Likewise, if you feel in love with it and would like it as your own, you can find it in my online store.


SHARE
Additionally, I invite you to pin and share so that others can be inspired by this vintage tea cart makeover. Don't forget to head below to see the other Furniture Fixer Upper goodness!
 Before you go, be sure to sign up for my newsletter. Until next time when I show you what I did with this piece of trashure I found on the curb. Head below to see more!

 You just have to see what these ladies worked on for you!
- Just the Woods
- Girl in the Garage
- Petticoat Junktion
- The Interior Frugalista
- Confessions of a Serial DIYer
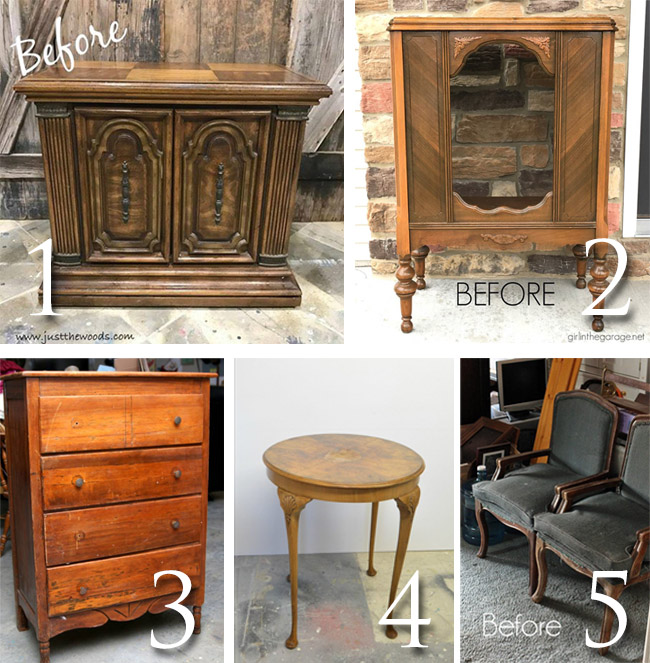
Also, more projects like my vintage tea cart makeover:

