Are you in the mood for a furniture makeover? I am! Funny thing how the internet works. It studies your behaviors and throws ads up that it thinks you will be interested in. Well, it worked this time. I spied this for sale in a local market only because an ad popped up and I was hooked. I mean, just look at that beautiful bow front! sigh... Now it's time for not only a makeover of this vintage Dixie dresser, but also some fun for you too.

The unique lines of this piece is what caught my attention. I'm such a long time fan of this era because they are built to last. However, this vintage Dixie dresser had some damage errors that needed fixed. Almost all the drawers had missing veneer and what looked like cat scratches. In addition, the legs and skirt had missing veneer, and the top had wear, but looked repairable. {{happy dance!!}}

The bonuses are that all the drawer pulls are present, the drawers open fairly easily, minimal damage,
and no stink (HUGE bonus).
DIY TIME
First, to get this makeover party going, I break out my sander and hope that the veneer behaves. There were some deep gouges I wasn't sure about. I'm sure hoping I can save it!

This is where patience and a slow, steady hand pays off. So exciting to see that all the wear came out and I was able to give it a fresh new stain. {{second happy dance!!}} I chose to use a favorite of mine called Java Gel. Just one coat is all it took and it's got the rich deep tone just like I used on
my curbside find dining set.
POLY COAT
Once the stain cured, I apply several coats of a satin poly. Applying the poly now allows it to be protected while I paint the base cabinet.
Next, I set about to work on the dresser cabinet and drawers while each coat of poly was curing. My wood filler came out to play and seriously looked like my project had been attacked. haha! Actually, it had been... by a cat. tsk.

In addition, it was necessary to rebuild a bit of the feet and front skirt to get them worthy of a new look too. I gotta say that real wood veneer sure is beautiful, but man it does not hold up well if not taken care of.

PRIME TIME
Then, using I chose to apply a coat of Kilz primer because this mahogany finish would most certainly bleed through.

Once that cured, I began to start the painting fun. My goal was to create a time-worn effect using a frottage technique. Back in 1925 a man named Max Ernst was inspired by the time-worn wear see in the floor boards of ancient homes (a man after my own heart - read more
HERE).
PRETTY PAINT
For the base, I'm applying two coats of Vintage. Love this color!

Next, the fun gets even more funky. tee hee! I am using a beige color to create a blended look just like I did in this
other vintage dresser. First, I lightly spray the surface with water, then randomly brush on my color in vertical strokes.

While the paint is still wet, I use crumpled paper to press and rub it into the paint and create a textured look.

After working all the cabinet and drawer with this color, I let it cure and begin applying the next coat. This time, however, I switched to an antique white paint so I can swirl my layers.

TEXTURE
For added texture, I used a crumpled rag to pounce and rub that layer of paint while the antique white layer was curing.

Last, but not least, I add brown wax to the cabinet and drawers. This deepens the texture I created and really brings out the lines of this piece. Bonus of this brush is the angled tip that allows me to really get the wax in the deep lines and accent just how I like.

THE REVEAL
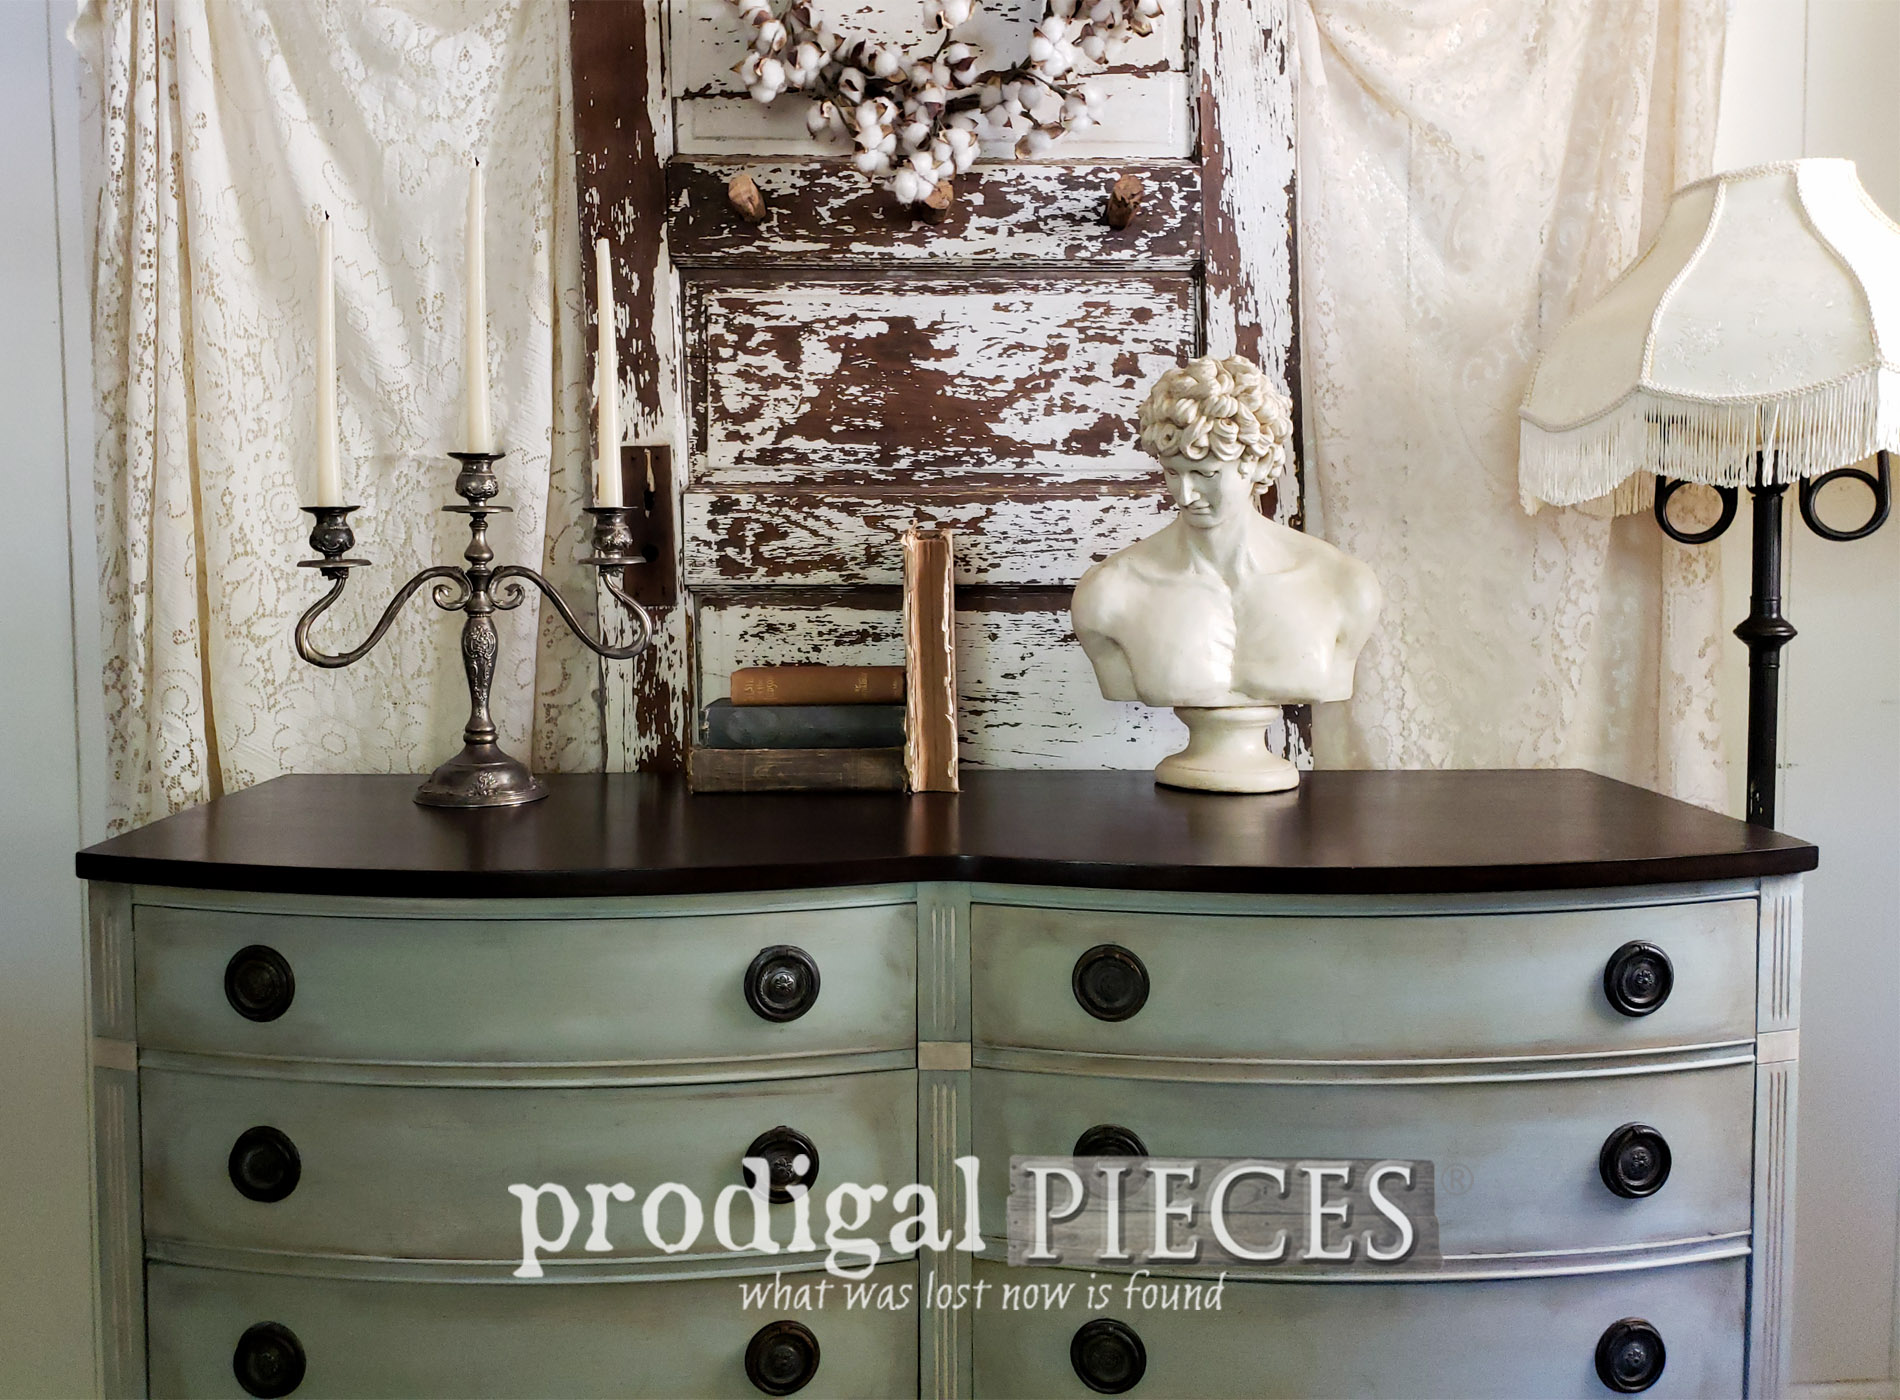
Finally, are you eady to see it all come together? Take a peek at this vintage Dixie dresser fixed and ready to go.


I'm completely smitten with the way this came out and can say that my favorite part is the top. That dark stain sure does wonders to revive old wood. Isn't this combo is striking? Also, the dark stain helps tie in the dark patina on the drawer pulls too.


Likewise, since the drawer pulls have a gorgeous patina as they were, I just add a touch of white wax to accent those beautiful embossed details. I love this kind of dresser that has varied sized drawers for plenty of storage.

As is the norm, my goal is to inspire you to give new techniques a try and have fun with DIY projects. The sky is the limit when you have the right tools and information, plus a willing spirit.
If you would like to own this dresser, you can find it available in
my online store.


SHARE
In addition, pin and share this vintage Dixie dresser makeover with this frottage technique. Others need inspired too!

Up next, it's
Furniture Fixer Uppers time and this little cutie is going to look soooo different.
See the after HERE.

To get these DIY tips & tricks in your inbox, be sure to
sign up for my newsletter. Until next time!

 PINTEREST | EMAIL
Also, more furniture projects like this vintage Dixie dresser makeover: