 Here's how the story goes... I found the listing for this table on a local market. My first thought was that since it wasn't too far away I would just pick it up while out. Well, I ended up getting sick kids and didn't feel like running out, but did anyway to keep my commitment to the seller. I had showed the picture of the table to my kids and they like they idea of me getting it too.
THE BACKSTORY
When I drove up to the seller's garage, I paused and went..."oh no." It sat smack in the middle of the garage looking like a dollhouse table. haha. I wish I could have seen my face! I guess I was expecting a sort of plants stand height and size because that it how it was described. However, there were no dimensions in the listing so I should have known better. Lesson learned. Upon closer inspection, I found the top was made of MDF. and not quite what I expected. Since I drove all that way and wasted gas, I figured I better come home with it anyway. Moreover, he took less for it, and I was happy enough. When things don't go quite as planned, I take this as my artistic license to change it up as I see fit. Likewise, I play around with a few ideas, but kept coming back to the DIY clock face table. So here we go.
FIX 'ER UP
First, I lightly sanded the table, tightened up all the joints, and took out the tapestry fabric and glass. Next, I chose to add a dark base using the same custom color I used in my Farmhouse Kitchen Canisters project. Also, I easily knock out the turned pedestal and legs.

METALLIC
Once that coat cured, I decided to add a bit of glam to the table using my English Brown metallic paint. Isn't that pretty? In the past, I've used it on few pieces before and love the look. After two coats of the brown, my little DIY clock face table just needs the clock. haha. Additionally, I found some free printable clock faces HERE, and found the clock hands at a local shop. Thankfully, I was able to put the images all together in my Photoshop software.
Last, here is my table all finished and set by my channel back chair and my feed sack ottoman.
After two coats of the brown, my little DIY clock face table just needs the clock. haha. Additionally, I found some free printable clock faces HERE, and found the clock hands at a local shop. Thankfully, I was able to put the images all together in my Photoshop software.
Last, here is my table all finished and set by my channel back chair and my feed sack ottoman.


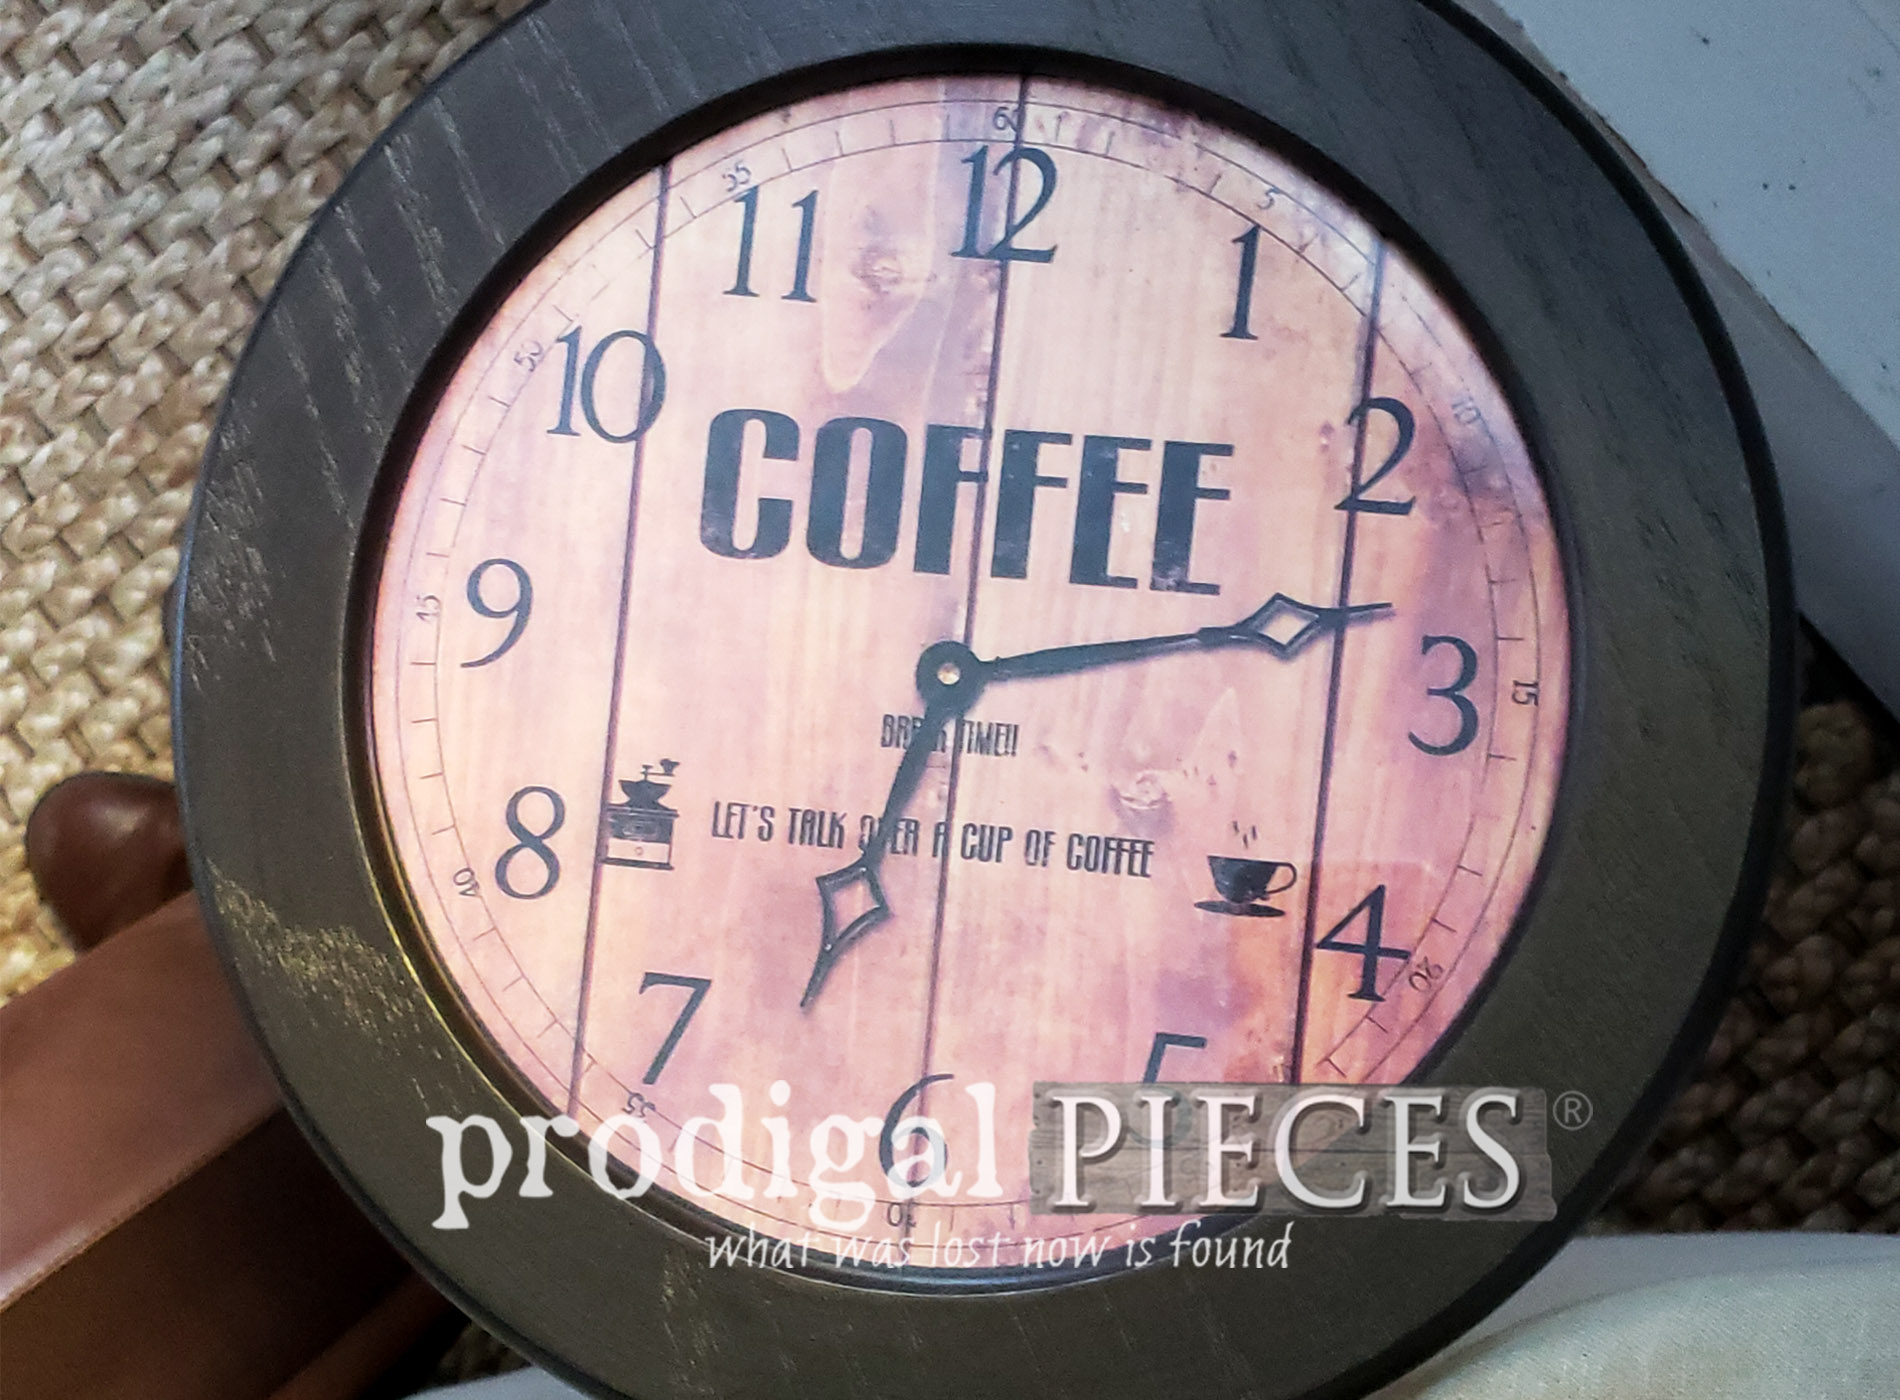
ALL DONE
A little bit of whimsy is always a fun way to add that unexpected element to your decor. The face reads, "Coffee Break Time! Let's Talk Over a Cup of Coffee." Love it! Even though I don't drink coffee. hee hee.
 And that dark metallic paint goes will with the coffee theme, don't you think?
 Finally, I hope are inspired to see past the obvious (like tiny little tables you thought were bigger) to see the potential. There are so many ways to change up our decor on a budget. As a result, all you need is a willing DIY spirit.
If you love this fun piece, you can find it and more available in my online shop.
Finally, I hope are inspired to see past the obvious (like tiny little tables you thought were bigger) to see the potential. There are so many ways to change up our decor on a budget. As a result, all you need is a willing DIY spirit.
If you love this fun piece, you can find it and more available in my online shop.
[metaslider id=30251]
SHARE
In addition, pin and share this fun DIY clock face table to inspire others to see past the obvious and envision the potential too. Thank you! Up next, {{dramatic music begins}} I will FINALLY have our kitchen reveal for you. GASP!! HEAD HERE.
 Likewise, to get these DIY tips & tricks in your inbox, be sure to sign up for my newsletter. Finally, it's time for my Furniture Fixer Upper girls to show you their projects. See below.
 With DIY in mind, check out what my Furniture Fixer Upper gals have for you this month!

- Just the Woods
- Interior Frugalista
- Petticoat Junktion
- Confessions of a Serial DIYer
- Girl in the Garage
Also, more projects like this DIY clock face table:

