 At first glance you may not notice anything wrong with this chest. However, even though I noticed from the listing photo there were issues, the owner even pointed them out to me on delivery. He said it was his aunt's chest that was a sorry sight before he got it. If you look at the top drawer, you will notice it doesn't match the grain of the rest. The owner tried to sand down the veneer that was there, but it ended up coming right off. He decided to leave the green wood below and topcoat it.
THE GOOD THE BAD THE POTENTIAL
The rest of the surfaces, including the sides and top, also had veneer that was cracked, bubbling, and lifting. The owner had put a fresh topcoat, but it was still pretty evident damage was there. Not to mention that those modern pulls also didn't fit in the holes, and I can't stand fake brass. ha! So, this little gem qualified for a vintage chest makeover.
First order of business was to fill the drawer pull holes. The were so large that the best way to resolve that was to insert a piece of dowel leaving a bit of space at the back. Cut off with a hacksaw and then tap in flush.
Not to mention that those modern pulls also didn't fit in the holes, and I can't stand fake brass. ha! So, this little gem qualified for a vintage chest makeover.
First order of business was to fill the drawer pull holes. The were so large that the best way to resolve that was to insert a piece of dowel leaving a bit of space at the back. Cut off with a hacksaw and then tap in flush.
 Next, I knocked down all the bubbles and cracks with my sander to get a smooth surface.
TIME FOR PAINT
Look at this pail of sunshine! It's called Jackfruit by Behr, but I use Glidden paint. This color reminded me of the simple daisy flower and it would suit the look I was after. Before that though, I used my handmade furniture wax to rub in places that I wanted distressing to occur. I use this method and my other methods when I want to heavily distress.
 All I did next was paint two layers of the Jackfruit, letting it cure between coats and then for some added fun.
I realize that most prairie homes had extremely basic furniture and this chest makeover is by no means to replicate it, However, it is meant to give the feeling of simplicity. To create that feel, I did some hand-painting that I thoroughly enjoy giving it that extra touch.
All I did next was paint two layers of the Jackfruit, letting it cure between coats and then for some added fun.
I realize that most prairie homes had extremely basic furniture and this chest makeover is by no means to replicate it, However, it is meant to give the feeling of simplicity. To create that feel, I did some hand-painting that I thoroughly enjoy giving it that extra touch.
 The next step for my vintage chest makeover was to add these fantastic pulls by Rustic Brands. Aren't they cool?

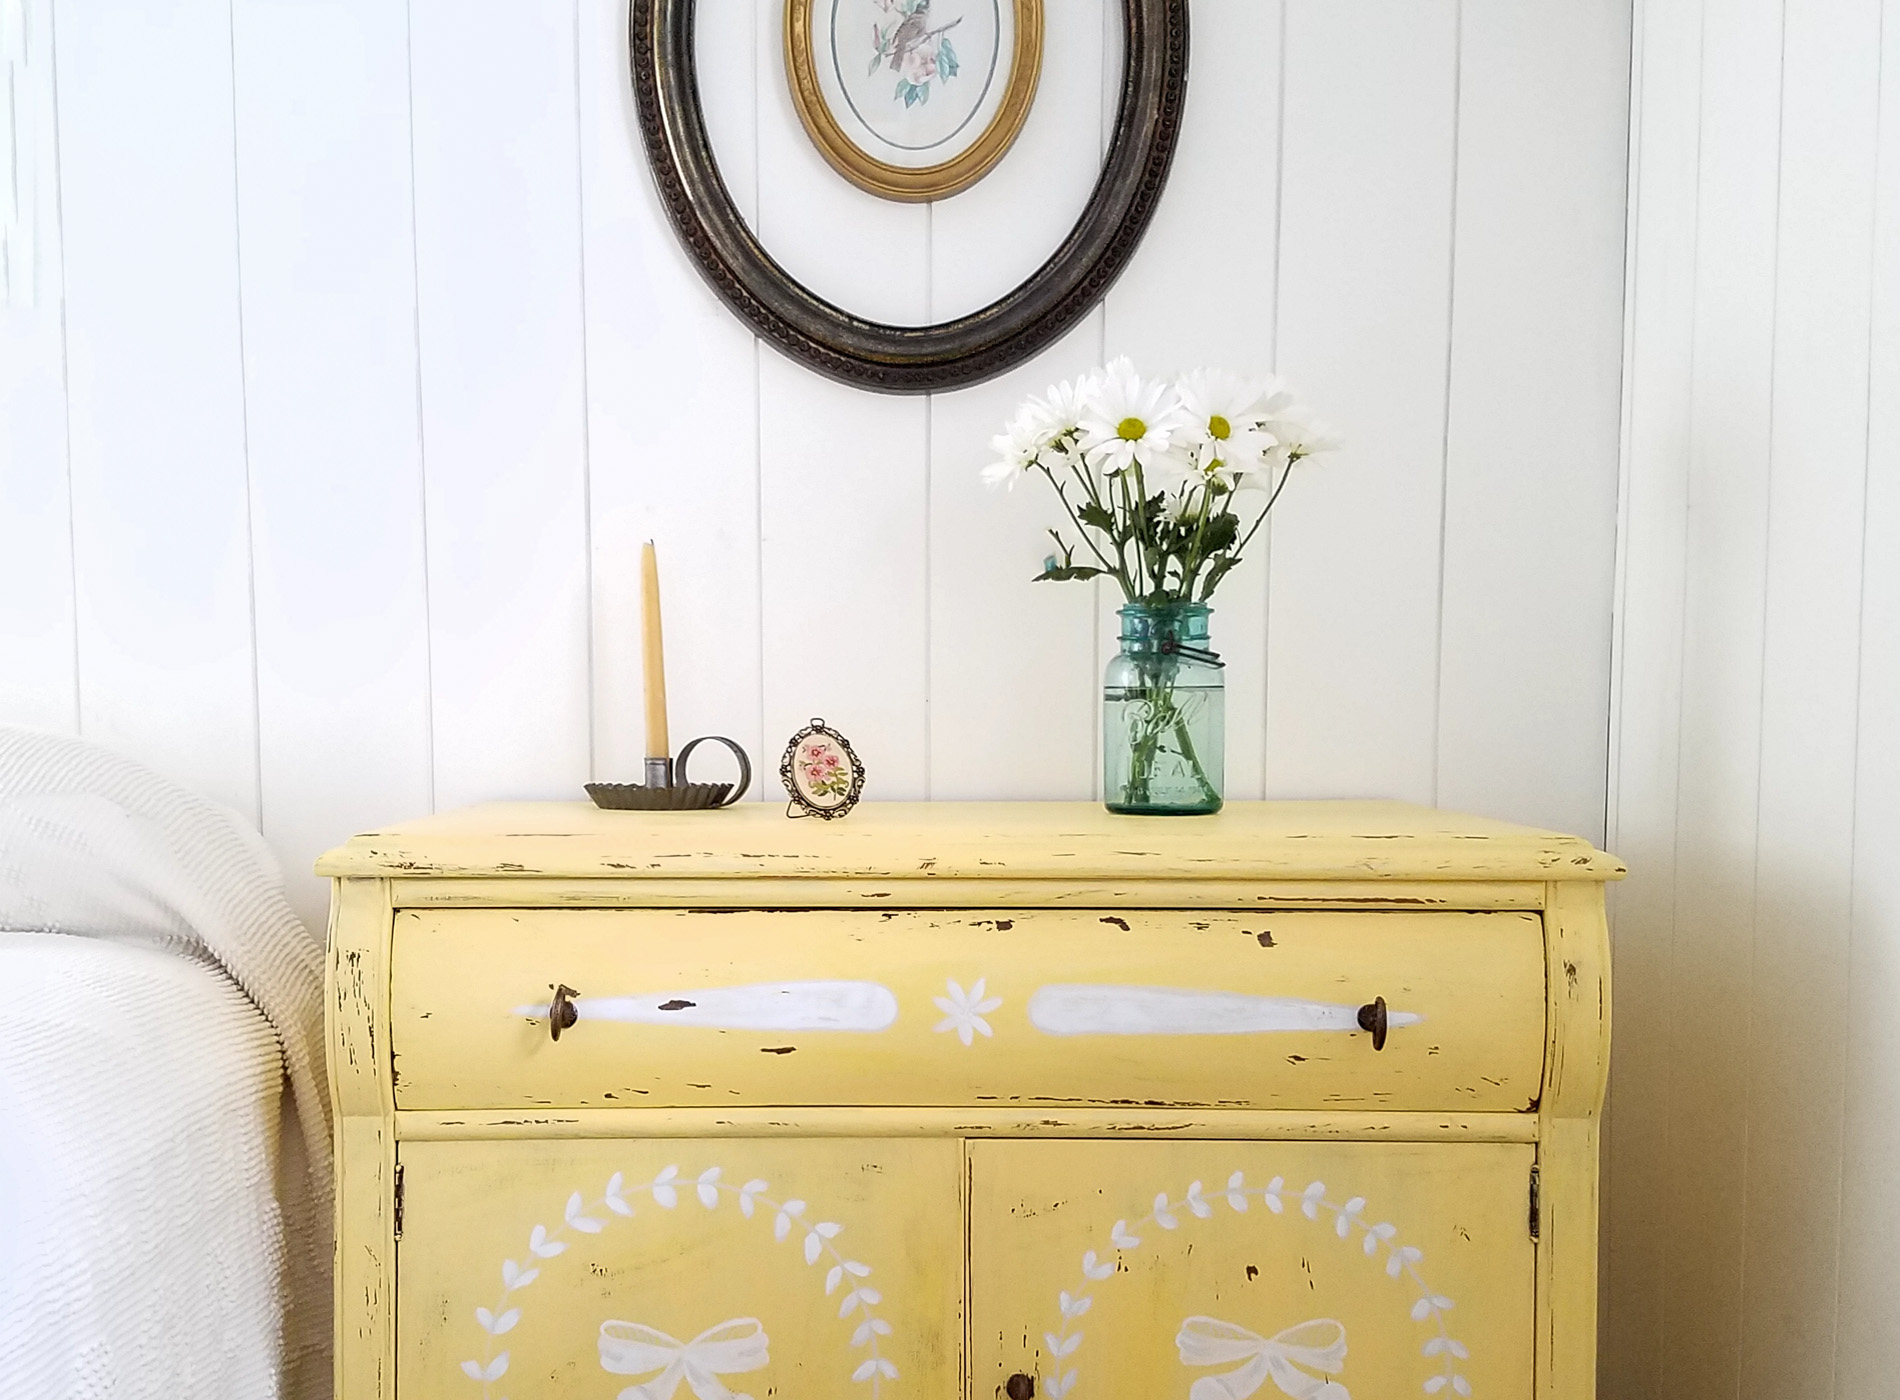
REVEAL TIME
Last, I use a bit of sandpaper to distress those waxed surfaces and edges, and then apply my hand-rubbed wax. Take a peek at my finished results.
 The color is perfect for my vision. I had such fun praying, reflecting, and dreaming while working on this piece.
 I envisioned the story of this chest to be one of great adventures, like being hauled across country to a new land. The chips and marks show love, and that this was a family-loved piece. Am I being a romantic? You betcha.

 What made this piece feel more authentic were those truly unique pulls.
 Peek inside to see the vintage wallpaper lining. See...It's smiling at you. tee hee.
 While you're at it, if my newest creation strikes your fancy, you can purchase it from my online store.

 Finally, my hope is that my vintage chest makeover has inspired you to give DIY a try. Making your house your home doesn't have to break the bank. Additionally, I invite you pin and share to inspire others too!
 Before you go, to get these DIY tips & tricks in your inbox, be sure to sign up for my newsletter.
Likewise, don't miss out on the inspiration from these ladies.


What is more, here are some projects like my vintage chest makeover:

