Don't you just love a happy ending? I am beyond excited to share a story with you today that I know will leave you inspired. You see, this vintage buffet makeover you're about to see is the sort of "icing on the cake". Let's get this DIY part started!

This ol' beauty is definitely in need of TLC. It's nothing I can't handle, right?
RENO TIME
First, there's the obvious surface wear to the top and the rest. Plus, it's missing hardware.

However, there is some structural issues going on too. At first glance, I saw the foot coming apart. Then, I found more issues that are prevalent because both of the doors are stuck.

On pieces like this that span a great width, many builders didn't account for sagging in the middle. I see it often in buffets or long dressers. You can see a similar one we helped my son rebuild
HERE by adding a center foot. This lack of support caused the frame of the buffet to sag, which made the doors off square.
Oh, and you gotta love the paper-lined drawers.

That paper totally reminds me of a scratchy couch and love seat my parents had in our TV room. You know the kind of ugly furniture you get because you know kids will demolish it? Yup.
FIX 'ER UP
First, I made necessary repairs to the missing veneer patches all over the bottom with wood filler. The doors and sides had pretty big gouges too.

Then, I used my sander to remove the flaking top finish. I do believe we are looking at a beautiful mahogany veneer peeking out. mmm...

While I couldn't remove all the scratches without running through the veneer, I was at least able to get to a point of satisfactory. The goal in the vintage buffet makeover is to give it a mix of farmhouse, industrial, and steampunk styles. This piece will reside in the dining area and be used as a coffee bar.
Now that the top is ready, I used my favorite Early American Stain to give it a fresh coat. Once that cured, I give it several coats of a satin poly.

BRING ON THE PAINT
Next, I wiped everything down on on the cabinet with vinegar mixture to prep it for paint. My color choice to get the look they were after is black. Just a simple flat black that gives a sweet contrast to the stained top.

Meanwhile, I washed up my brush and then gave the interior side cupboards a fun pop of color. I'm using a soft, minty green. I love a peek-a-boo effect with drawers and cupboards like this. Those deep spaces can seem like a dungeon on an old piece. Am I right? Plus, it helps refresh it for odors too.

Last, I apply a protective coat of black wax. The wax really deepens the color and adds the softest glow after buffing it.
FINISHING UP
I want to share a few more details that I tackled so that you can learn the process too. First, if you remember the buffet was missing hardware. To remedy that I chose to move all the bail pulls to the drawers in the center. That way I can add knobs to the side drawers and cabinet doors. I want a steel looking effect and bought these knobs to fill those spaces.

The original hardware was a mix of steel and brass, so I gave them a refreshing coat of paint with this Weathered Steel spray paint.

After two coats and curing time, I used Ebony Rub 'N' Buff to deepen the color and draw out details. See the before in front and the finish I'm after in the back?

One last tip for you. If you ever have felt-lined drawers that are a hot mess (most are), don't fret. In most instances you can remove it in a simple manner. I am greeted by this awful purple that's got to GO.

First, flip that drawer over and using a putty knife or similar, gently break the bond of glue between those little triangular pieces and the bottom of the drawer. Slide out the drawer bottom. Likewise, I realize not all drawers are built like this, so you'll have to adapt to your own situation.

Then, remove the felt and replace with more felt, or paper, paint it...whatever you like.
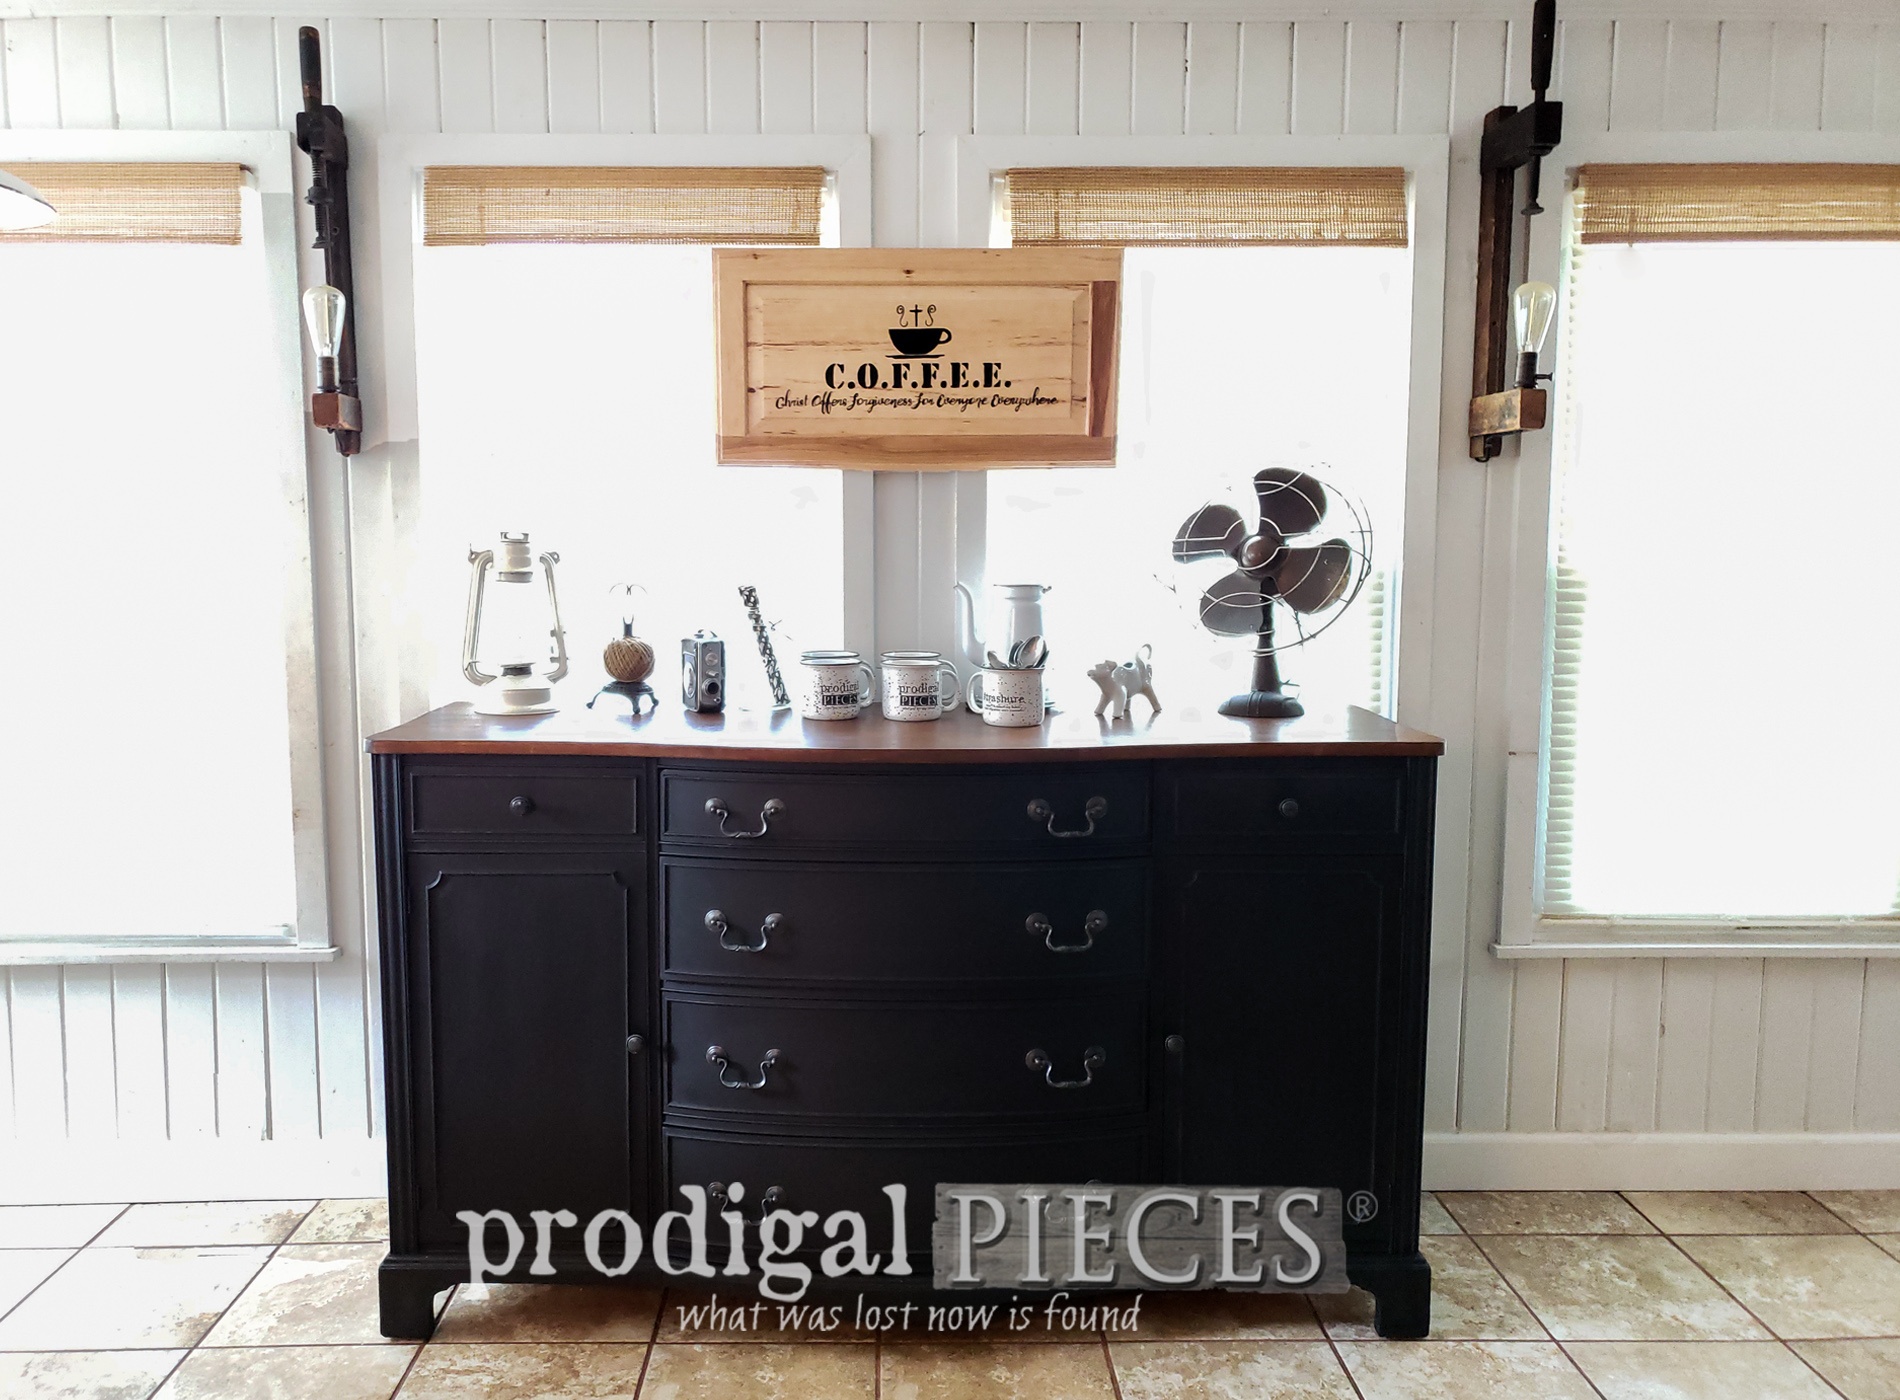
THE REVEAL
It's
finally time to see this vintage buffet makeover reveal. {{happy dance of all happy dances}}


It's complete and I'm so happy with the outcome. The top came out wonderfully and the cabinet finish is what I was after.


Likewise, for added fun, I create a sign using one of my remaining cupboard doors from
my stash to end all stashes. The acrostic stands for: "COFFEE - Christ Offers Forgiveness For Everyone Everywhere".


Oh! Let's not forget the party going on in the inside. tee hee.

Last, I hope you are inspired, not just in creating your own story for your own space, but also to use your talents and gifts to help others.

Also, do pin and share this vintage buffet makeover to inspire others.

Up next, I'll be getting my DIY game on for some autumn decor. Stop by
OVER HERE to see what I created.

Before you go, be sure to
sign up for my newsletter. Until next time!

 PINTEREST | EMAIL
While you're at it, here are more furniture projects like my vintage buffet makeover: