 What you see above is a collection of three items I chose to use to start my autumn decor in my home. First is a peg shelf, second is an antique hand drill, and the third a little bushel basket. Two of the three of these things can be found most anywhere, but the third will need some DIY spirit. The best part is you may even have something you already own at home that could use a makeover. Shopping your home is the most affordable way to decorate.
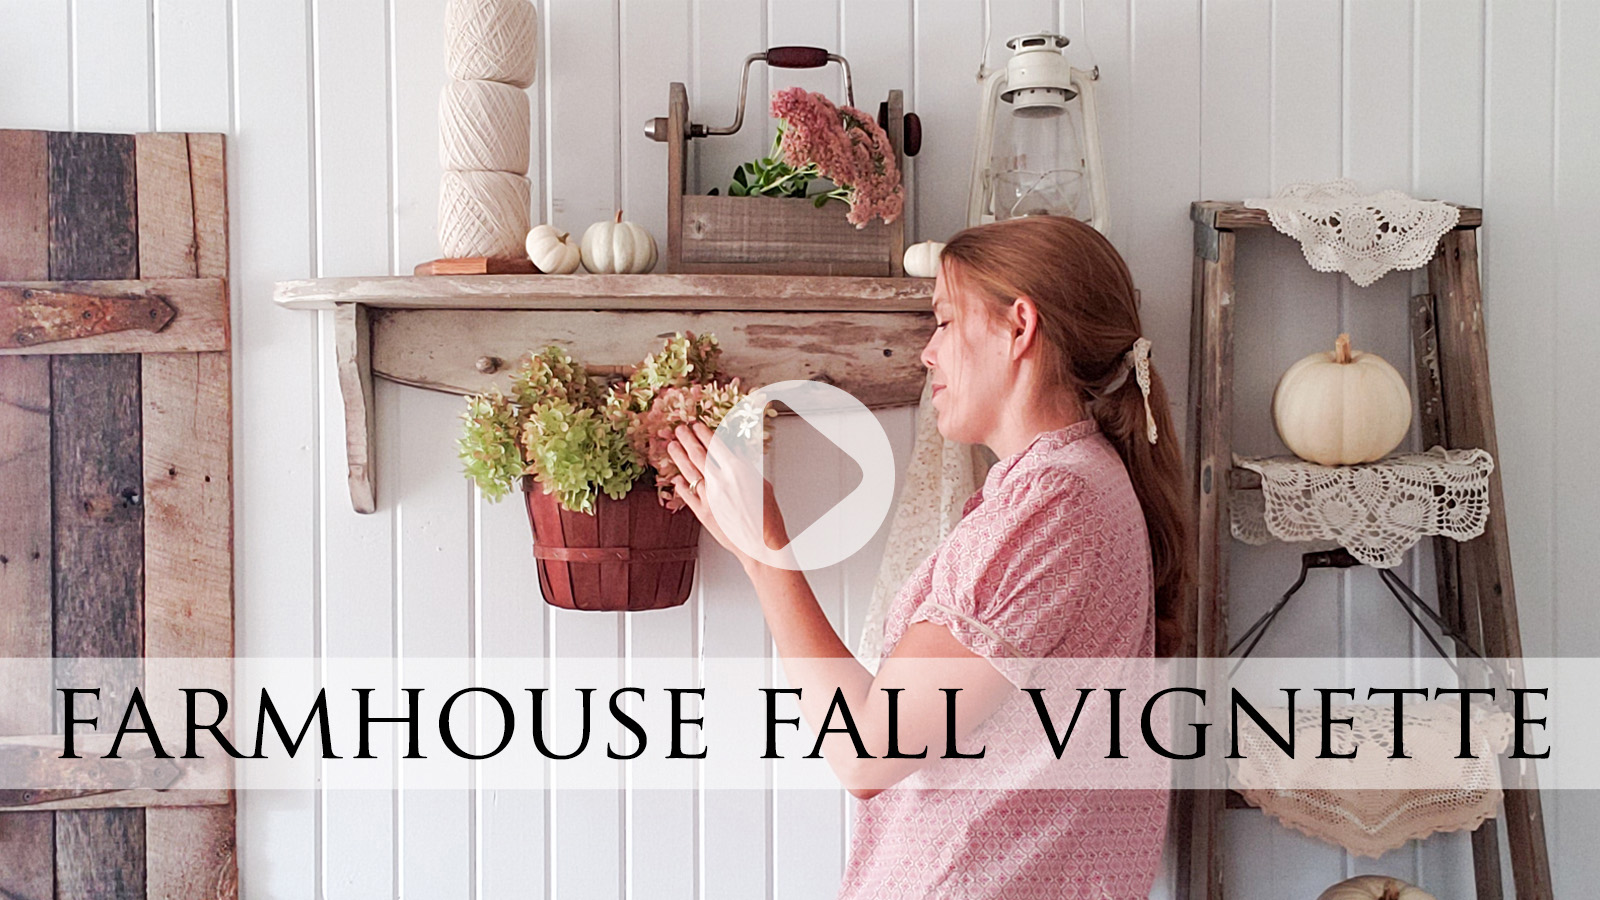
Also, I've created a video for you below to take you through my thought process behind this vignette, but I'll also map it out here. In addition, you know I love to create my own home story and my goal is to inspire you to create your own too.
What you see above is a collection of three items I chose to use to start my autumn decor in my home. First is a peg shelf, second is an antique hand drill, and the third a little bushel basket. Two of the three of these things can be found most anywhere, but the third will need some DIY spirit. The best part is you may even have something you already own at home that could use a makeover. Shopping your home is the most affordable way to decorate.
Also, I've created a video for you below to take you through my thought process behind this vignette, but I'll also map it out here. In addition, you know I love to create my own home story and my goal is to inspire you to create your own too.
LET'S GET STARTED
First, I'll start with the peg shelf since that is what my vignette is based around. I like the painted color that it currently is, but the paint does have discoloring and marks that I can't color match. However, that doesn't mean I can't make use of that color as a base coat. I give it a good cleaning with a vinegar/water mixture to prep it for paint. My goal is to create a layered effect to give it a time-worn story. I begin by using an old wax candle to rub areas I want to show wear.
*post sponsored by HomeRight (see full disclosure)
Then, out comes my sprayer. Notice I've set up my shelter with my DIY furniture lazy susan so I can spin the shelf as I work. I fill my Super Finish Max with an antique white paint slightly thinned and I'm using the green tip with my flow set to spatter the paint a bit. Yep...spatter. I want it to be an aged appeal...like I found this shelf in the corner of a barn. hee hee! To get that setting, simply practice on cardboard or scrap wood before beginning. You can see the demonstration of my spraying in the video below.
Once the first coat is on, I wash up my sprayer so it will be ready for the next layer in a bit.
I fill my Super Finish Max with an antique white paint slightly thinned and I'm using the green tip with my flow set to spatter the paint a bit. Yep...spatter. I want it to be an aged appeal...like I found this shelf in the corner of a barn. hee hee! To get that setting, simply practice on cardboard or scrap wood before beginning. You can see the demonstration of my spraying in the video below.
Once the first coat is on, I wash up my sprayer so it will be ready for the next layer in a bit.
THE NEXT STEP
While I am waiting on the paint to cure, it's time for me to make use of another of my thrifted finds. This time I'm making I'll be taking the antique drill and a bit of my wood stash and getting my build on. I'm tellin' ya it pays to grab that old picket fence gate off the side of the road because that's what I'll be using. (especially when your husband helps haul the beast) Isn't the patina in that wood fabulous?
 While I could lay out the steps to build your own tote, I'm going to reference my previous tutorial HERE so you can take a peek. Since I am building this tote to fit the drill, there is no set parameters. However, it's pretty simple. It entails two tall end pieces, two side pieces, and a bottom. Feel free to have fun with it!
 I'll show you my end result of my build in a bit. In the meantime, it's time to apply the final coat on my peg shelf I painted a bit ago. This time around, though, I will be using a dark brown self-made glaze. It's simply a latex paint watered down as I demonstrate in many of my posts, particularly in my DIY faux wood garage door tutorial.
To apply, I simply spray it on in a sweeping motion, not aiming to hit every inch of the surface. Then, I take a damp rag and wipe off the excess letting the glaze remain in crevices and cracks. In addition, I'm also using a wet distress method to remove the bits of white paint that are on top of the wax I added earlier. My layering loving heart is happy!
I'll show you my end result of my build in a bit. In the meantime, it's time to apply the final coat on my peg shelf I painted a bit ago. This time around, though, I will be using a dark brown self-made glaze. It's simply a latex paint watered down as I demonstrate in many of my posts, particularly in my DIY faux wood garage door tutorial.
To apply, I simply spray it on in a sweeping motion, not aiming to hit every inch of the surface. Then, I take a damp rag and wipe off the excess letting the glaze remain in crevices and cracks. In addition, I'm also using a wet distress method to remove the bits of white paint that are on top of the wax I added earlier. My layering loving heart is happy!

ONE MORE THING
Last, but not least is that little bushel basket I couldn't resist. I mean, who doesn't love a basket, am I right? At this time of year there are so many gorgeous colors that offer a cozy effect. I head out to my limelight hydrangeas and snip a few to fill my basket. If you're like me, I dry my blooms so I can enjoy them all winter long. Simply place a shallow dish inside the basket, fill with water, then replace daily.
 The hydrangeas will dry while in the water. The key is to refresh the water daily. I also enjoy my sedum, mums, and hostas that are still producing a show. Do you have any favorite fall plants?
TIME TO ASSEMBLE
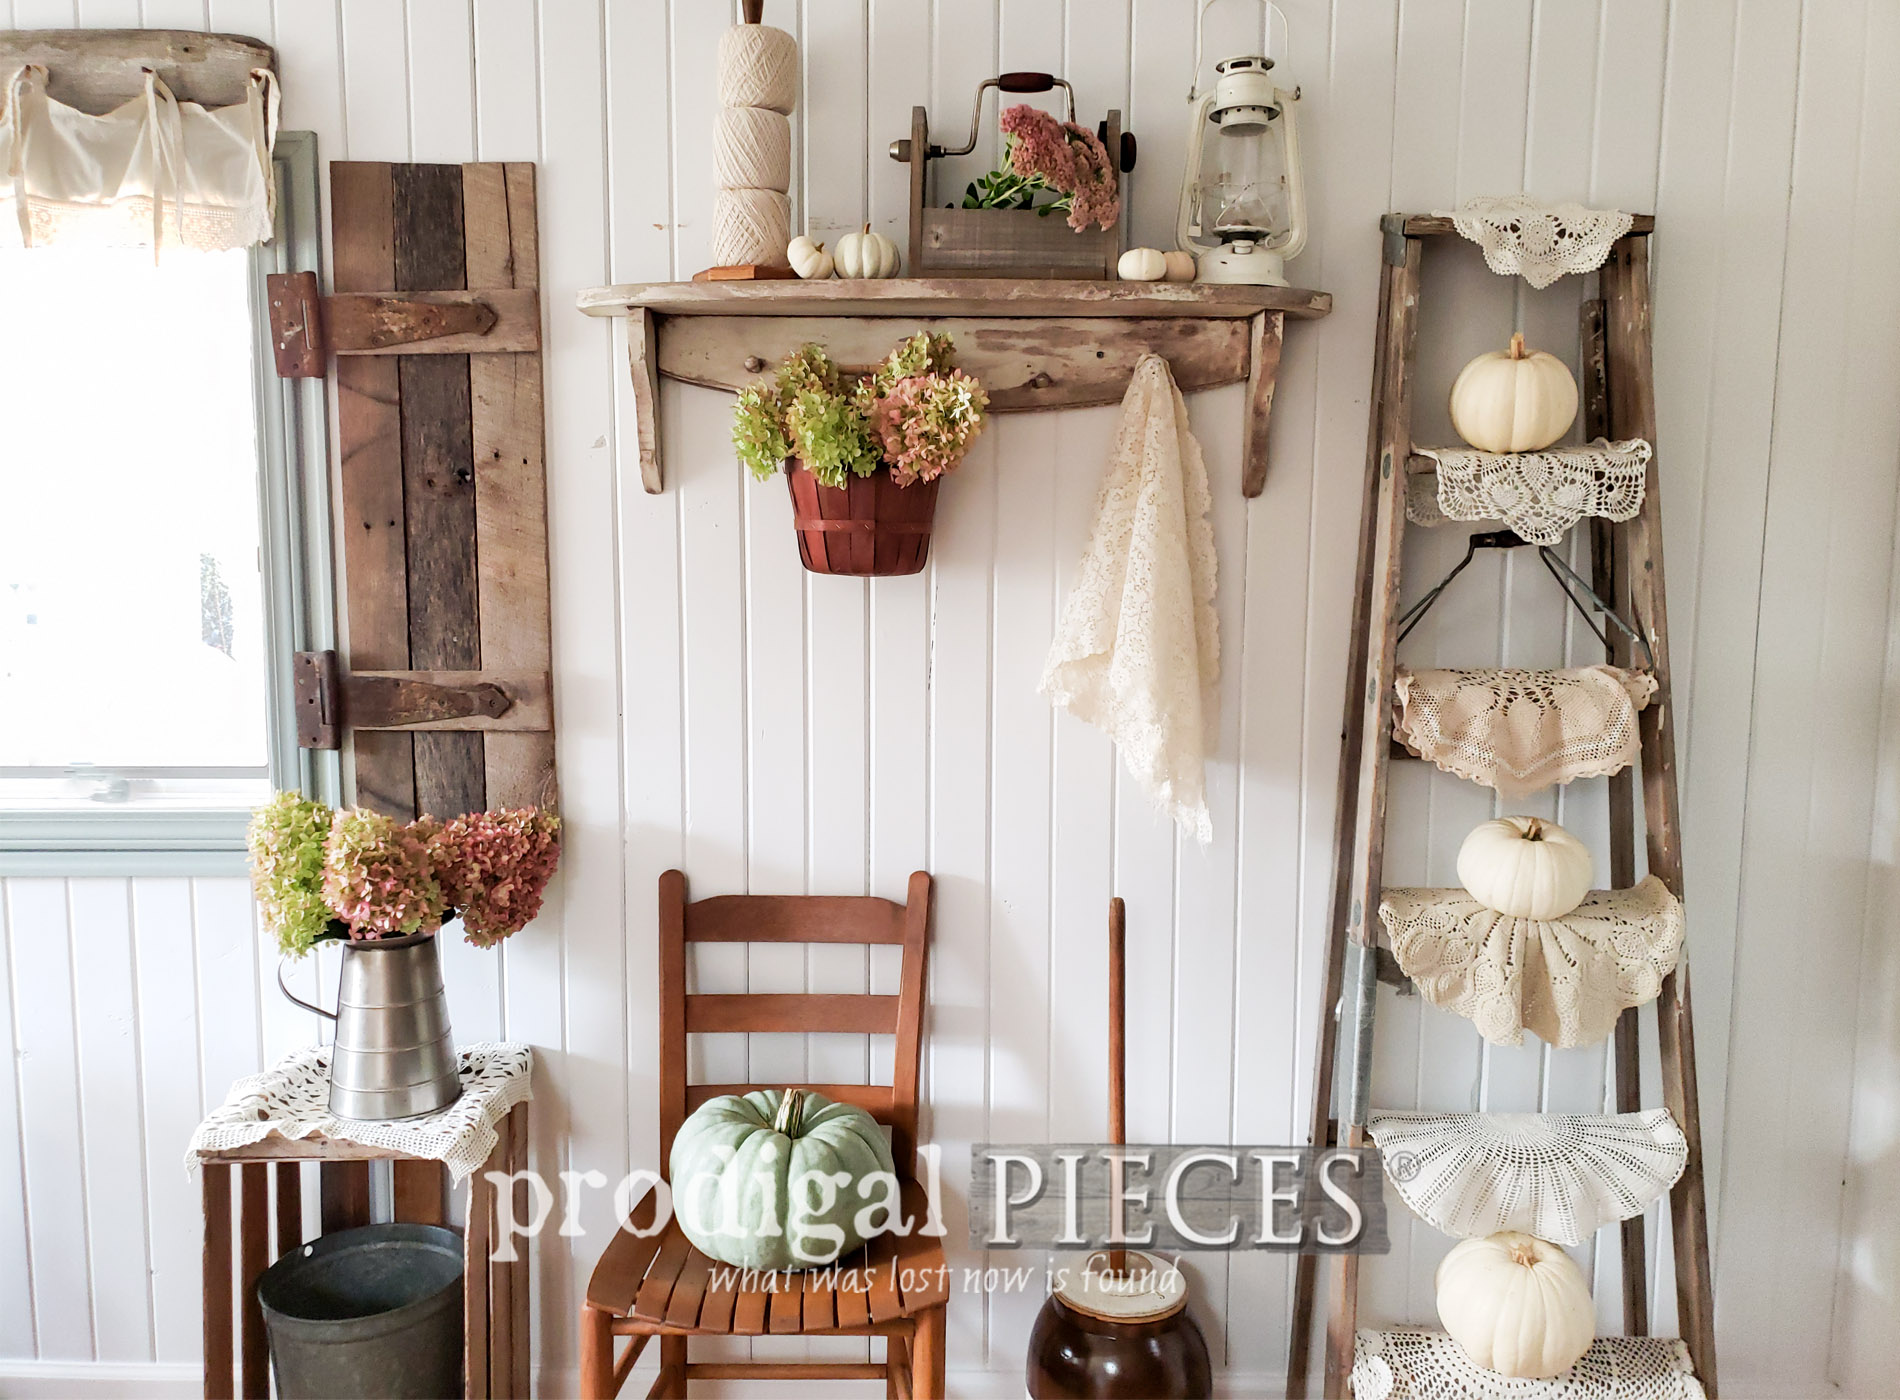
Now we have all our pieces ready to put together this farmhouse fall vignette. I don't know about you, but "farmhouse" for me is not this carbon copy made-in-wherever junk (pardon my slang) you see at box stores. Nope. It's the easy way of living displayed by using utilitarian objects as decor, as well as in our everyday living. Just like our grandparents used to do.

 I adore simple, refreshing ways to decorate making use of textures, colors, and lighting. When I begin to create a vignette, I start with the base structure. In this instance it would be my crate table, my chair, the ladder, the shutter, and the shelf. Notice those are all wood (ie. natural).

 I then look to add a bit of metal and textiles, followed by natural elements like flowers and pumpkins. Almost all of what you see here is from the curbside (aka. trashure), a thrift store, or my own garden.

 I don't know about you, but the soothing tones of fall can be just as beautiful as the bright oranges, yellows, and reds. They are all so wonderful and bring such joy.

 Are you inspired yet? I sure hope so! That's what I'm all about.
 Be sure to pin and share this farmhouse fall vignette to inspire others to skip the box store and create their own home story too.
. Larissa of Prodigal Pieces shows you how in her video tutorial | Head to prodigalpieces.com prodigalpieces diy fall farmhouse home homedecor autumn") Up next, it's Reduce, Reuse, REFASHION time! I'll be showing how to remedy a bleaching situation when it happens to your favorite duds. Head HERE to see.
Up next, it's Reduce, Reuse, REFASHION time! I'll be showing how to remedy a bleaching situation when it happens to your favorite duds. Head HERE to see.

 To get these DIY tips & tricks in your inbox, be sure to sign up for my newsletter. Until next time!

In addition, more autumnal projects like this farmhouse fall vignette:

