Could it be that time again? Wow! It's the second Tuesday of the month which means that it's
Trash to Treasure time! Not only does that mean you not only get to see my latest revival from the curb, but also, I'm joining up with four other awesome bloggers sharing their inspiration with you as well. It's city spring clean-up in my neighborhood, so you can imagine there's plenty of
trashure to be found. Take a look at this vintage bookshelf that I spy.
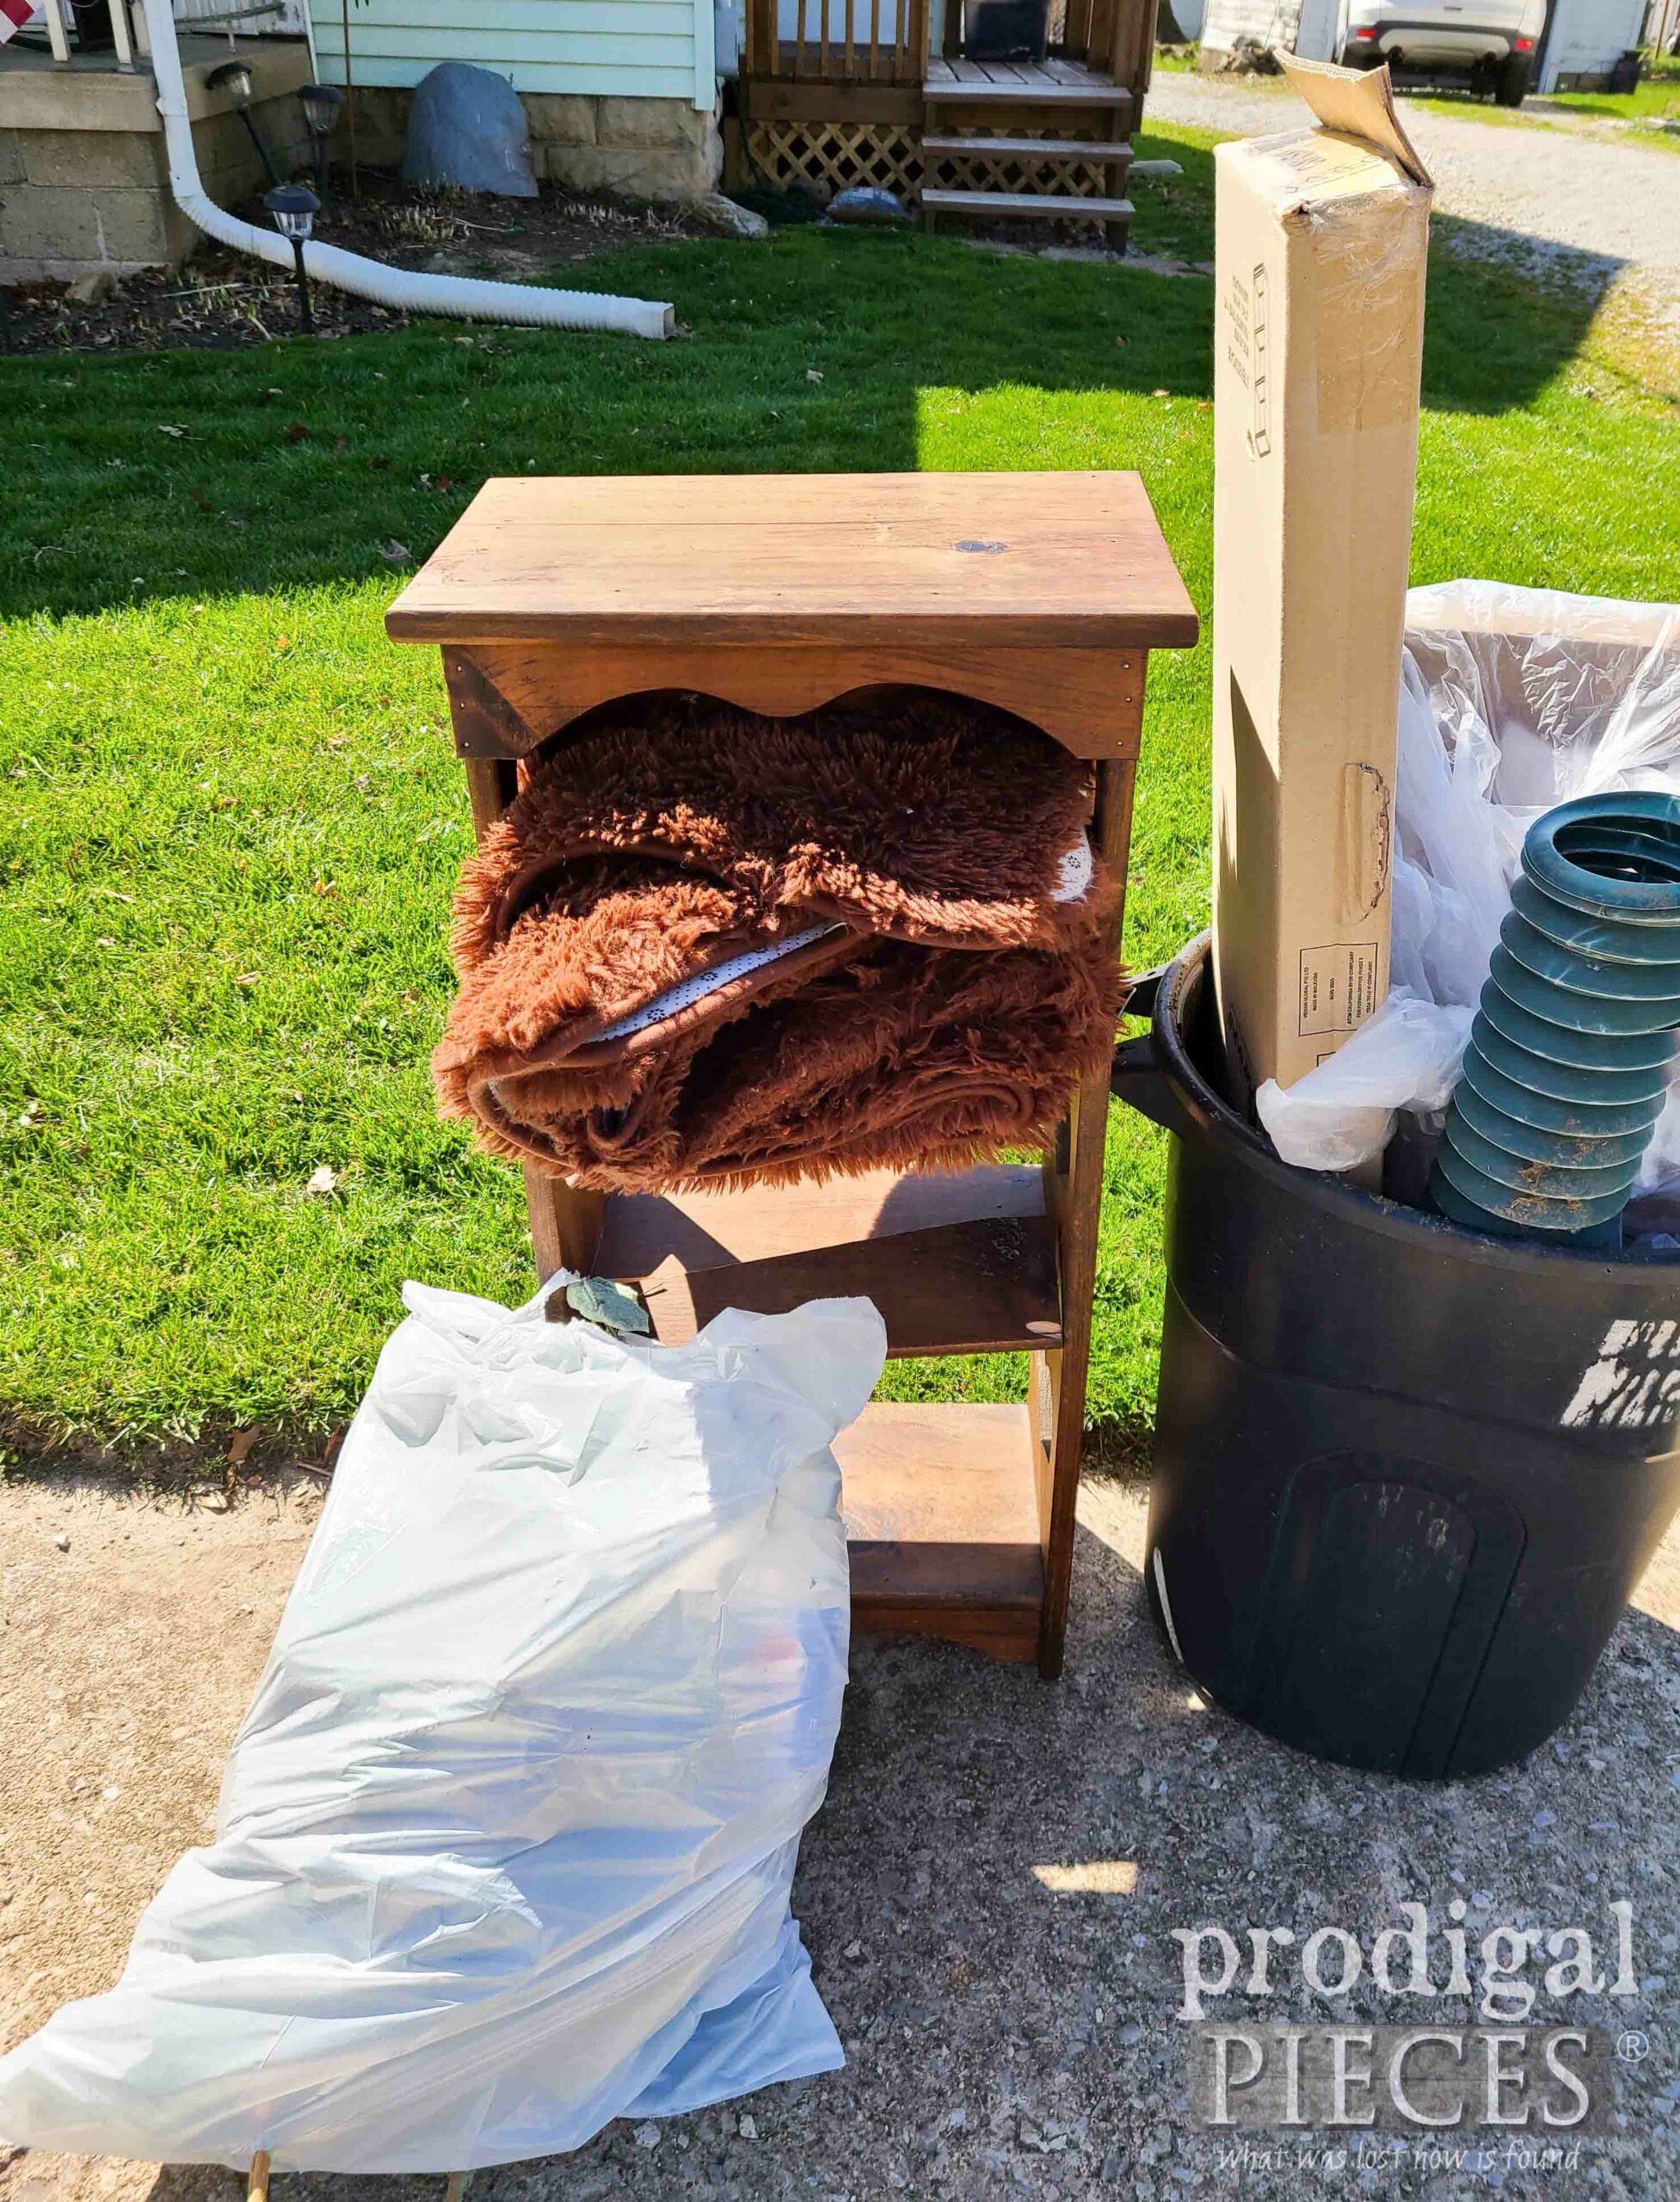
Y'all...I literally drove for five minutes to find a project and this was right there. Look at my sidekick,
Loula, enjoying the adventure!

The first sight I caught as I came up on around the corner was...{{dramatic music plays}}
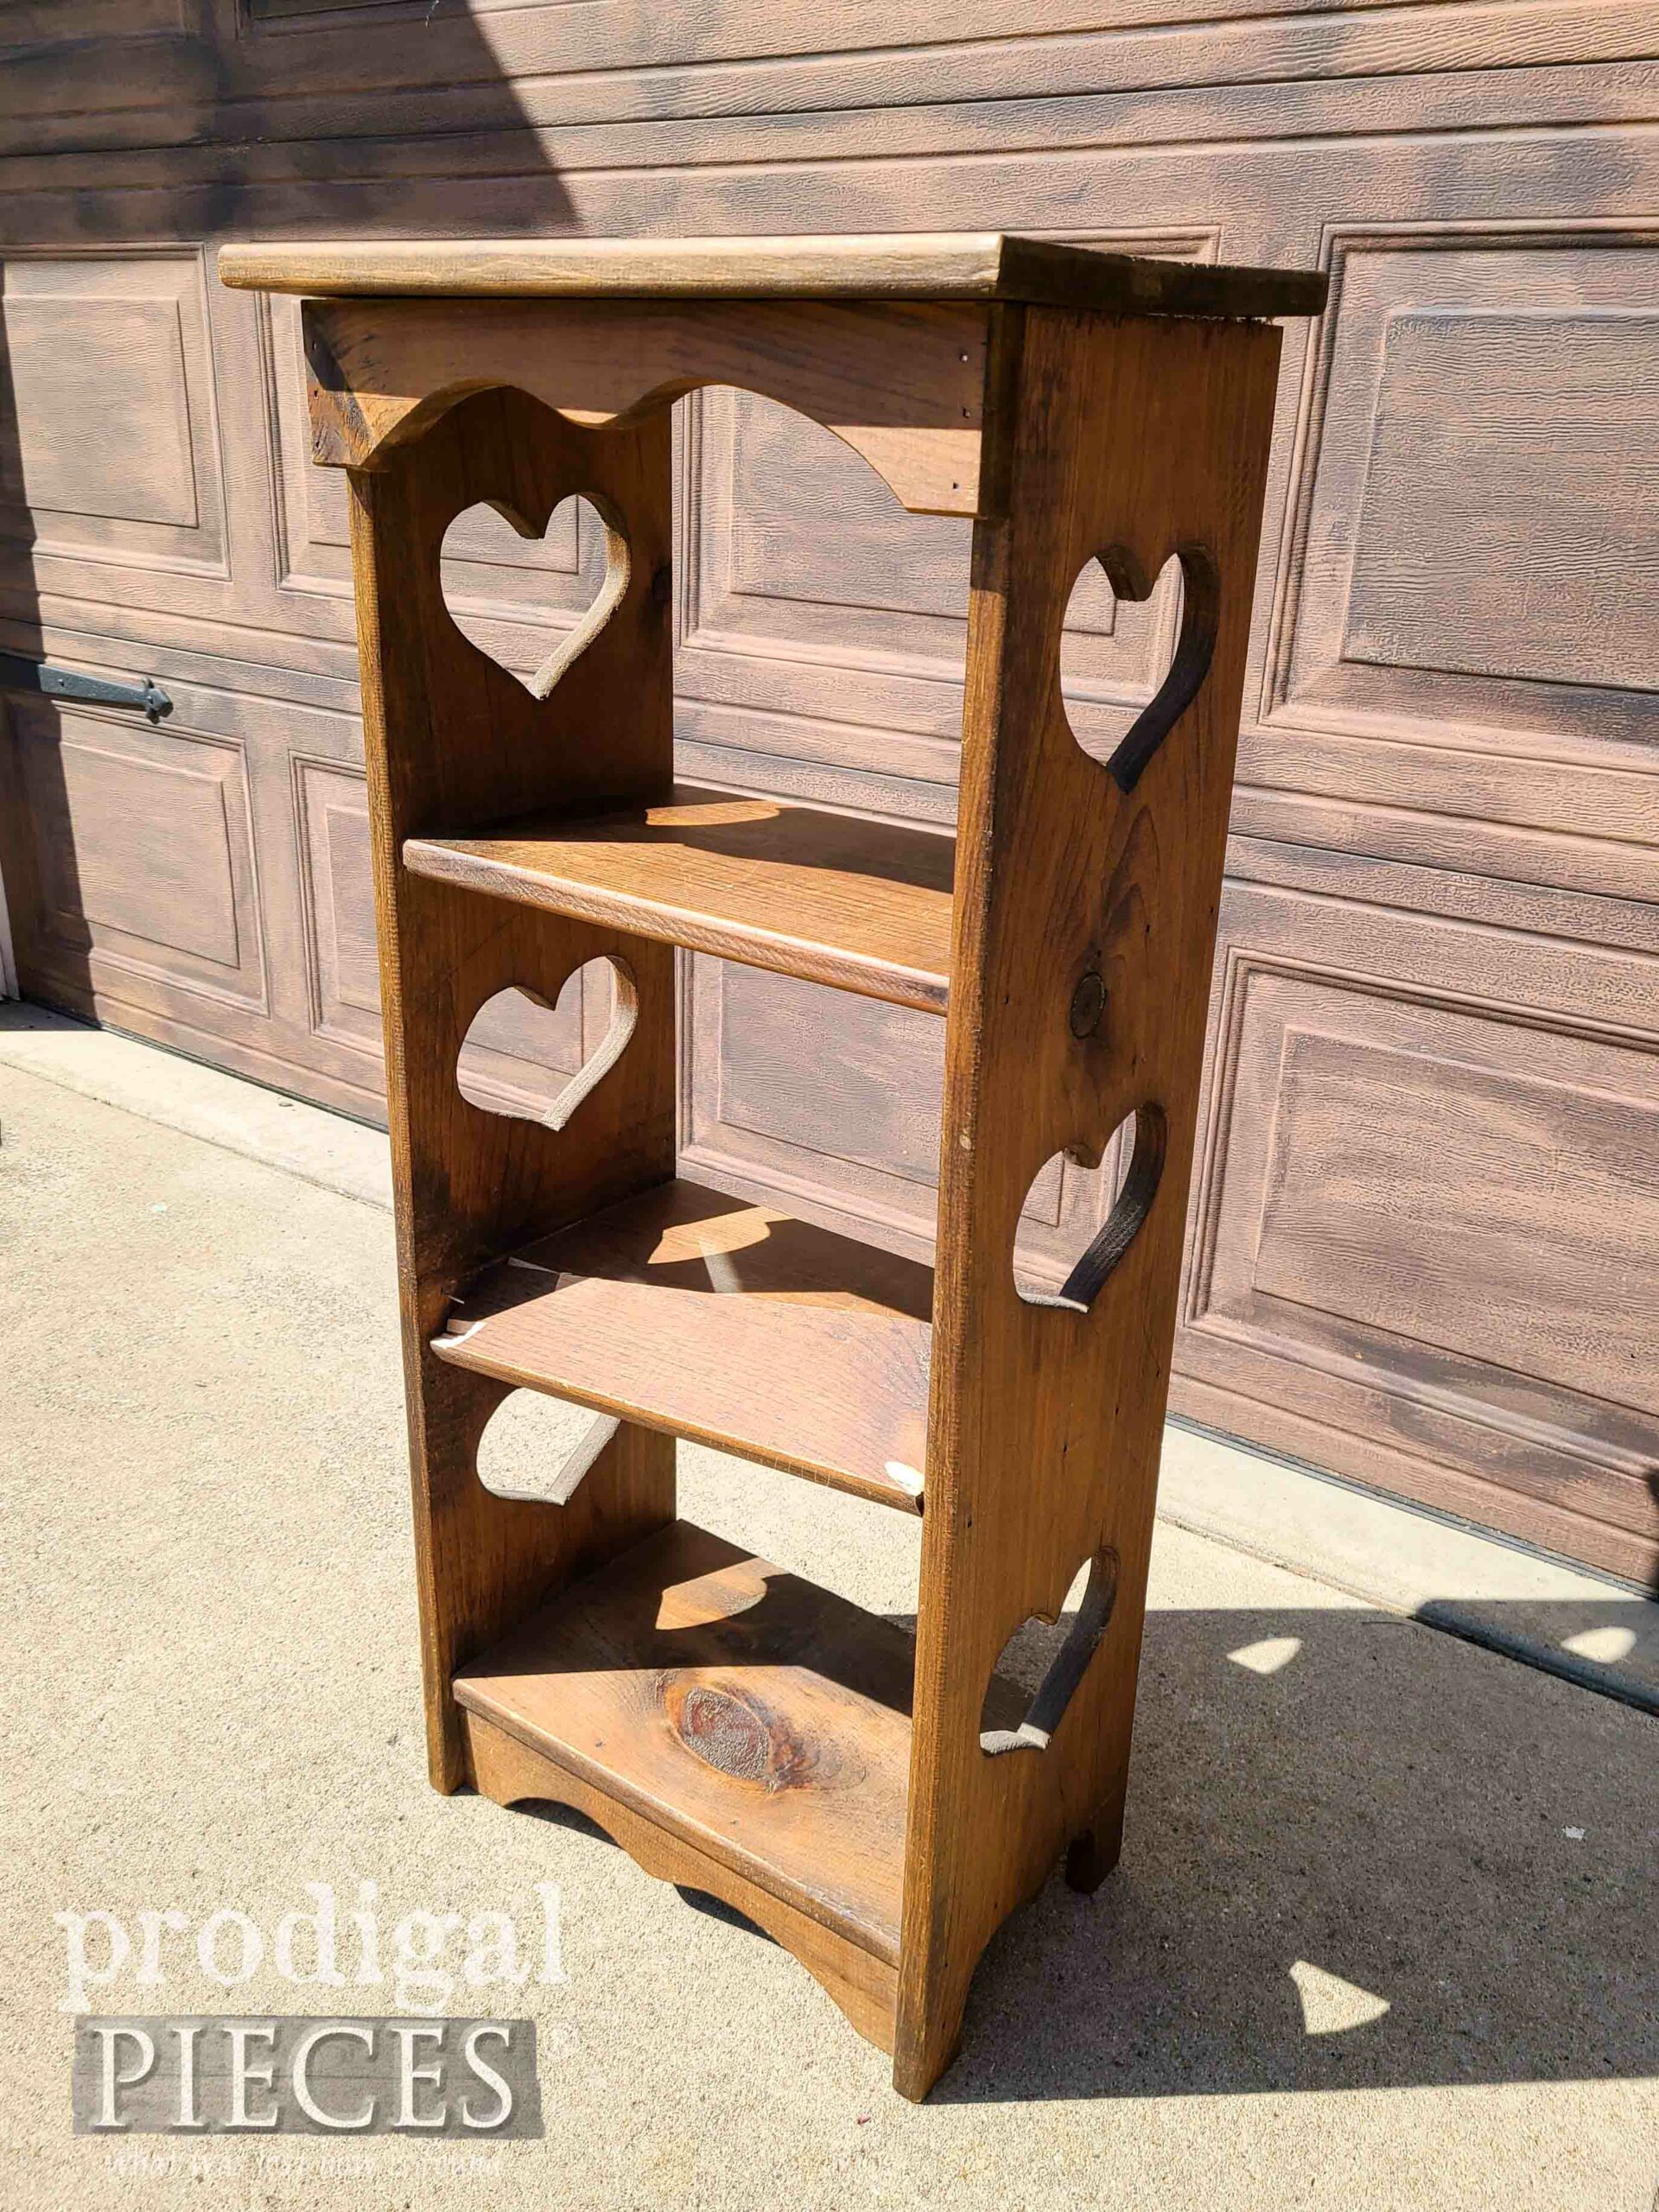
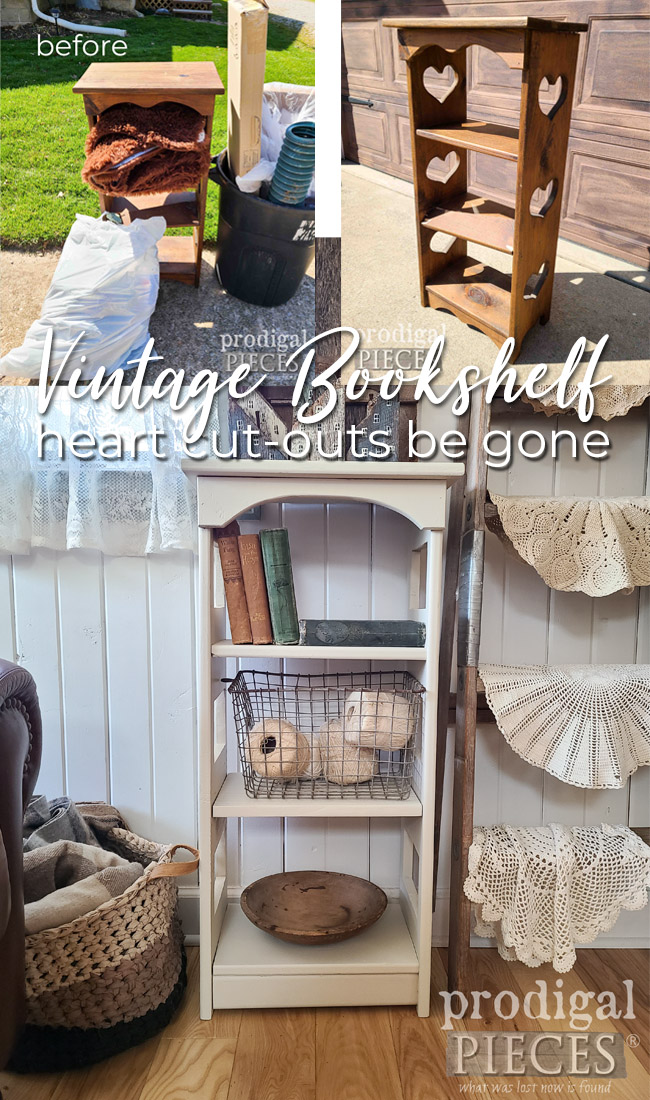
...HEARTS. Lots of 'em. If you've been with me for long, you know that I either remove those 80's cutouts or embrace them. You can see what I mean in
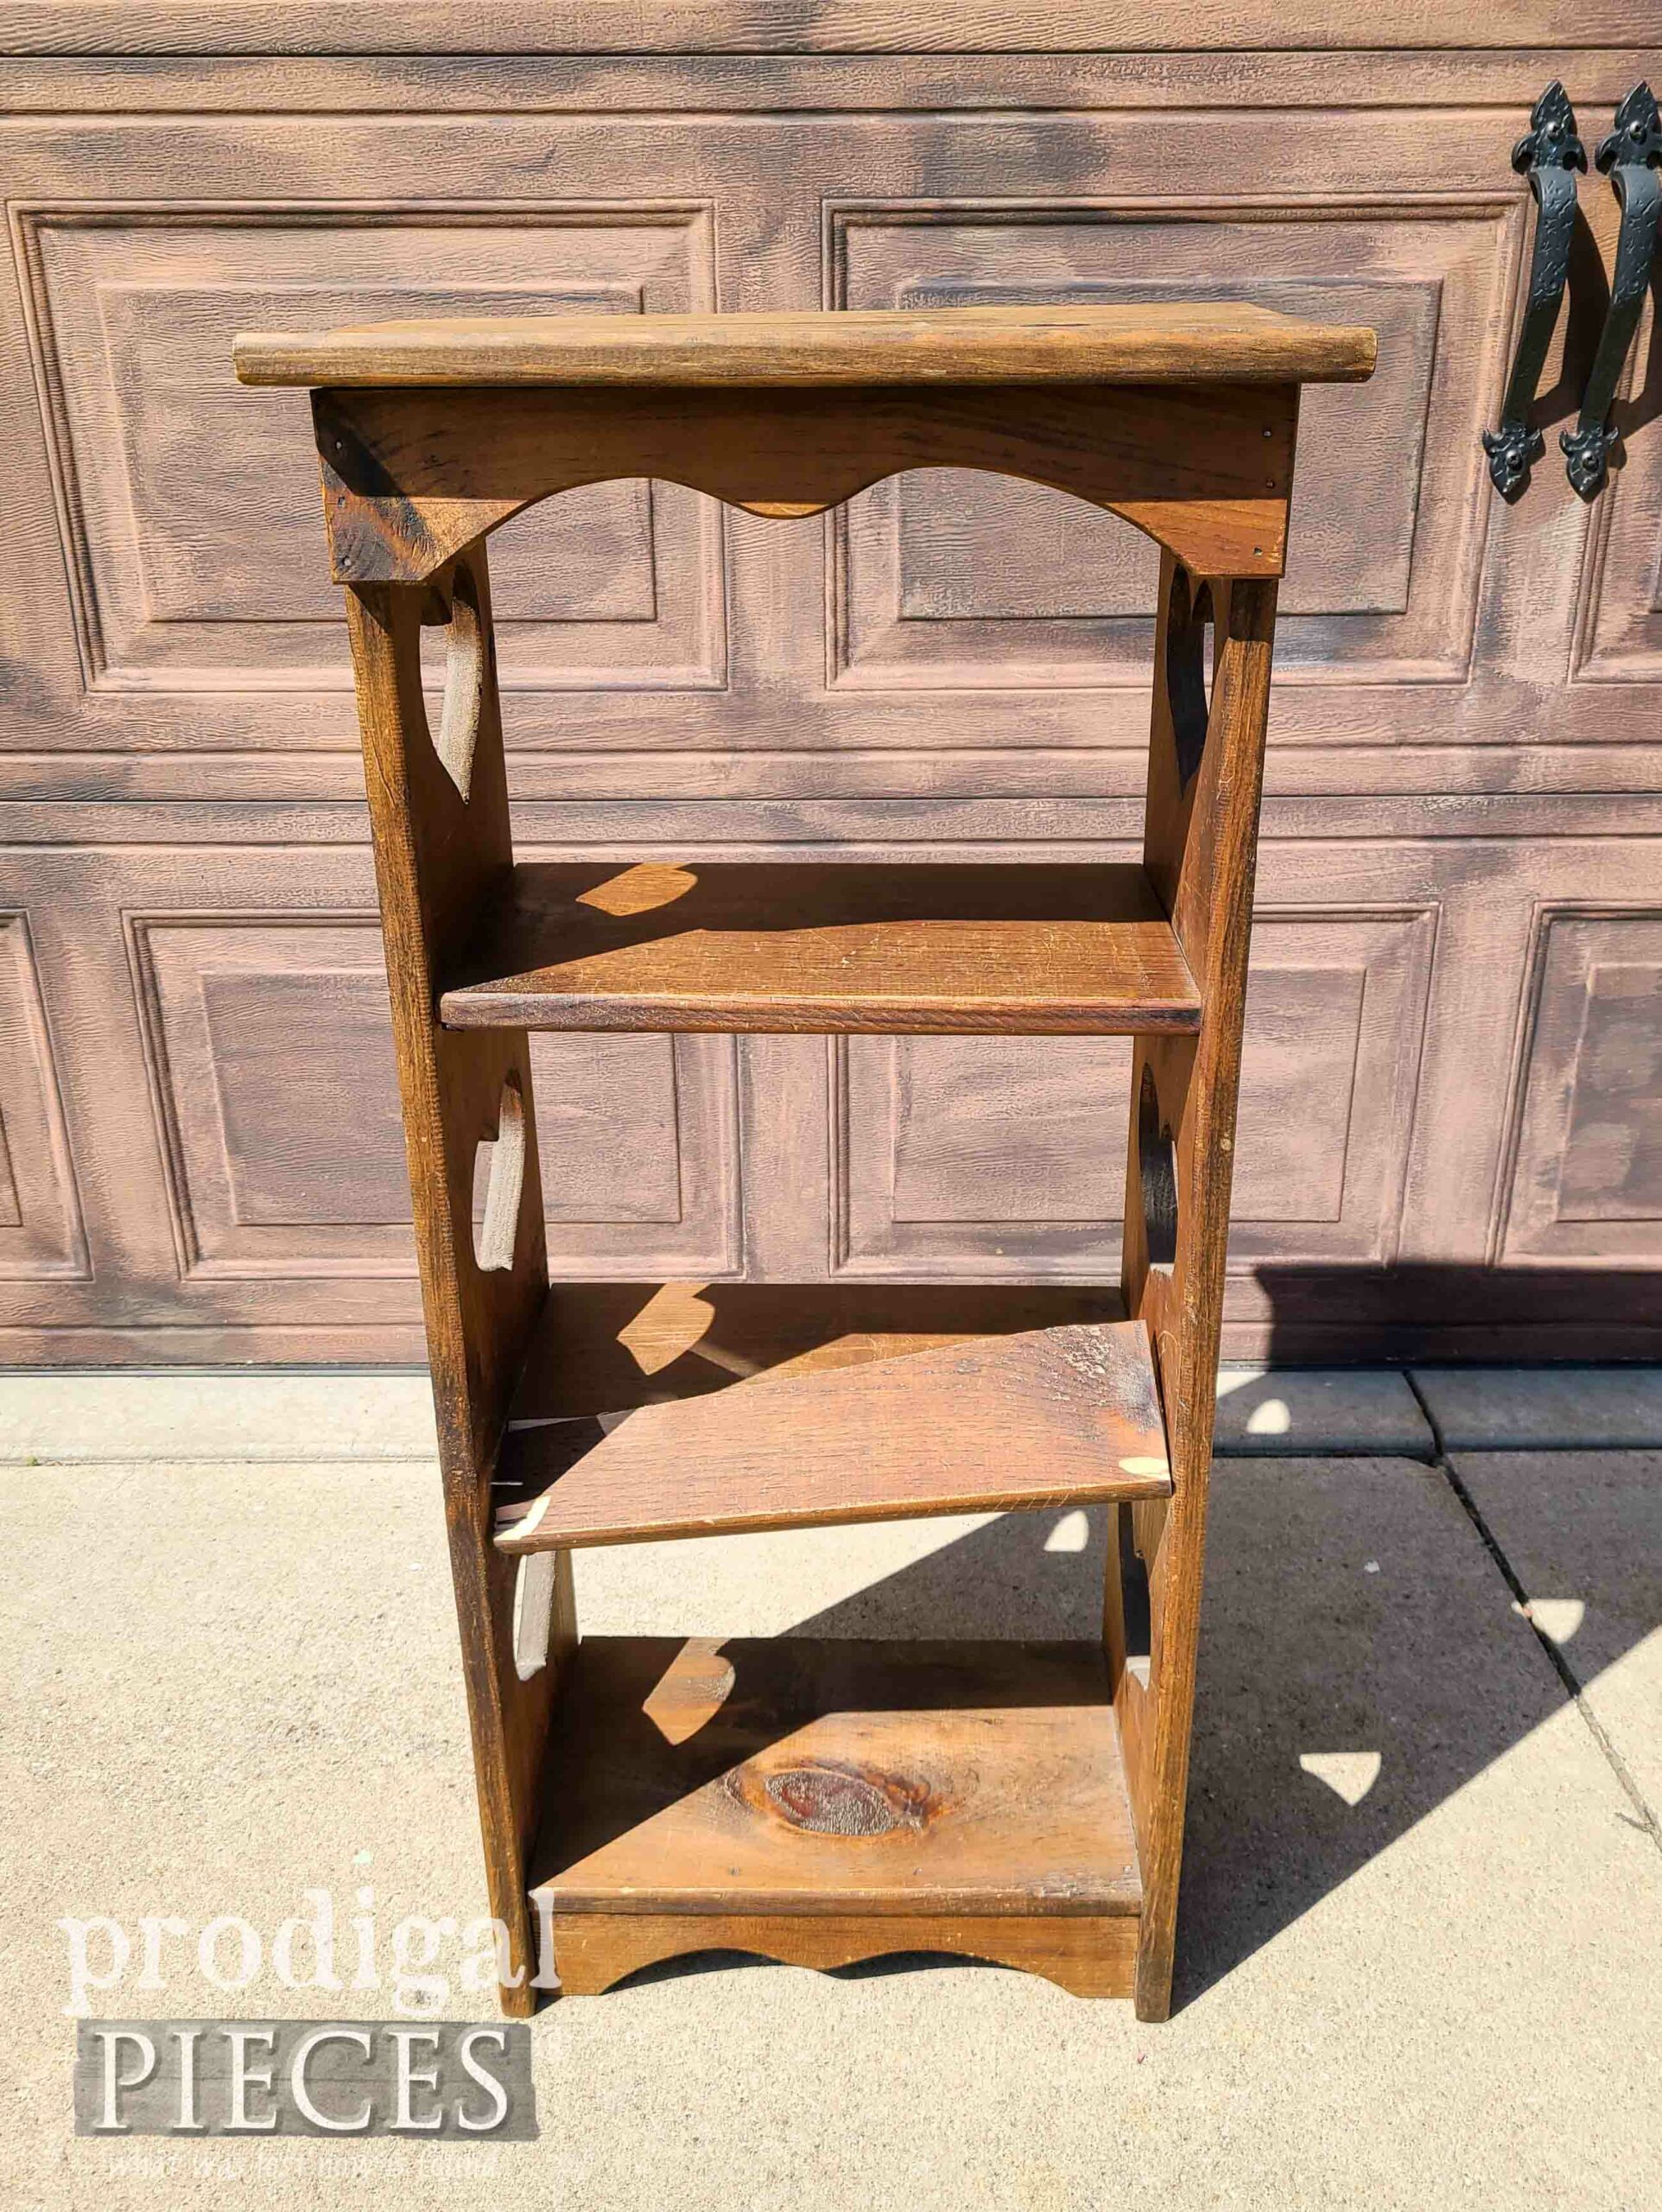
these past posts. What is more, the middle shelf is broken down the length, so that will need replaces as well.
FIXIN'
As you can see, I have my work cut out for me (pun intended). First, I break out my jigsaw because I need to cut the broken shelf out.
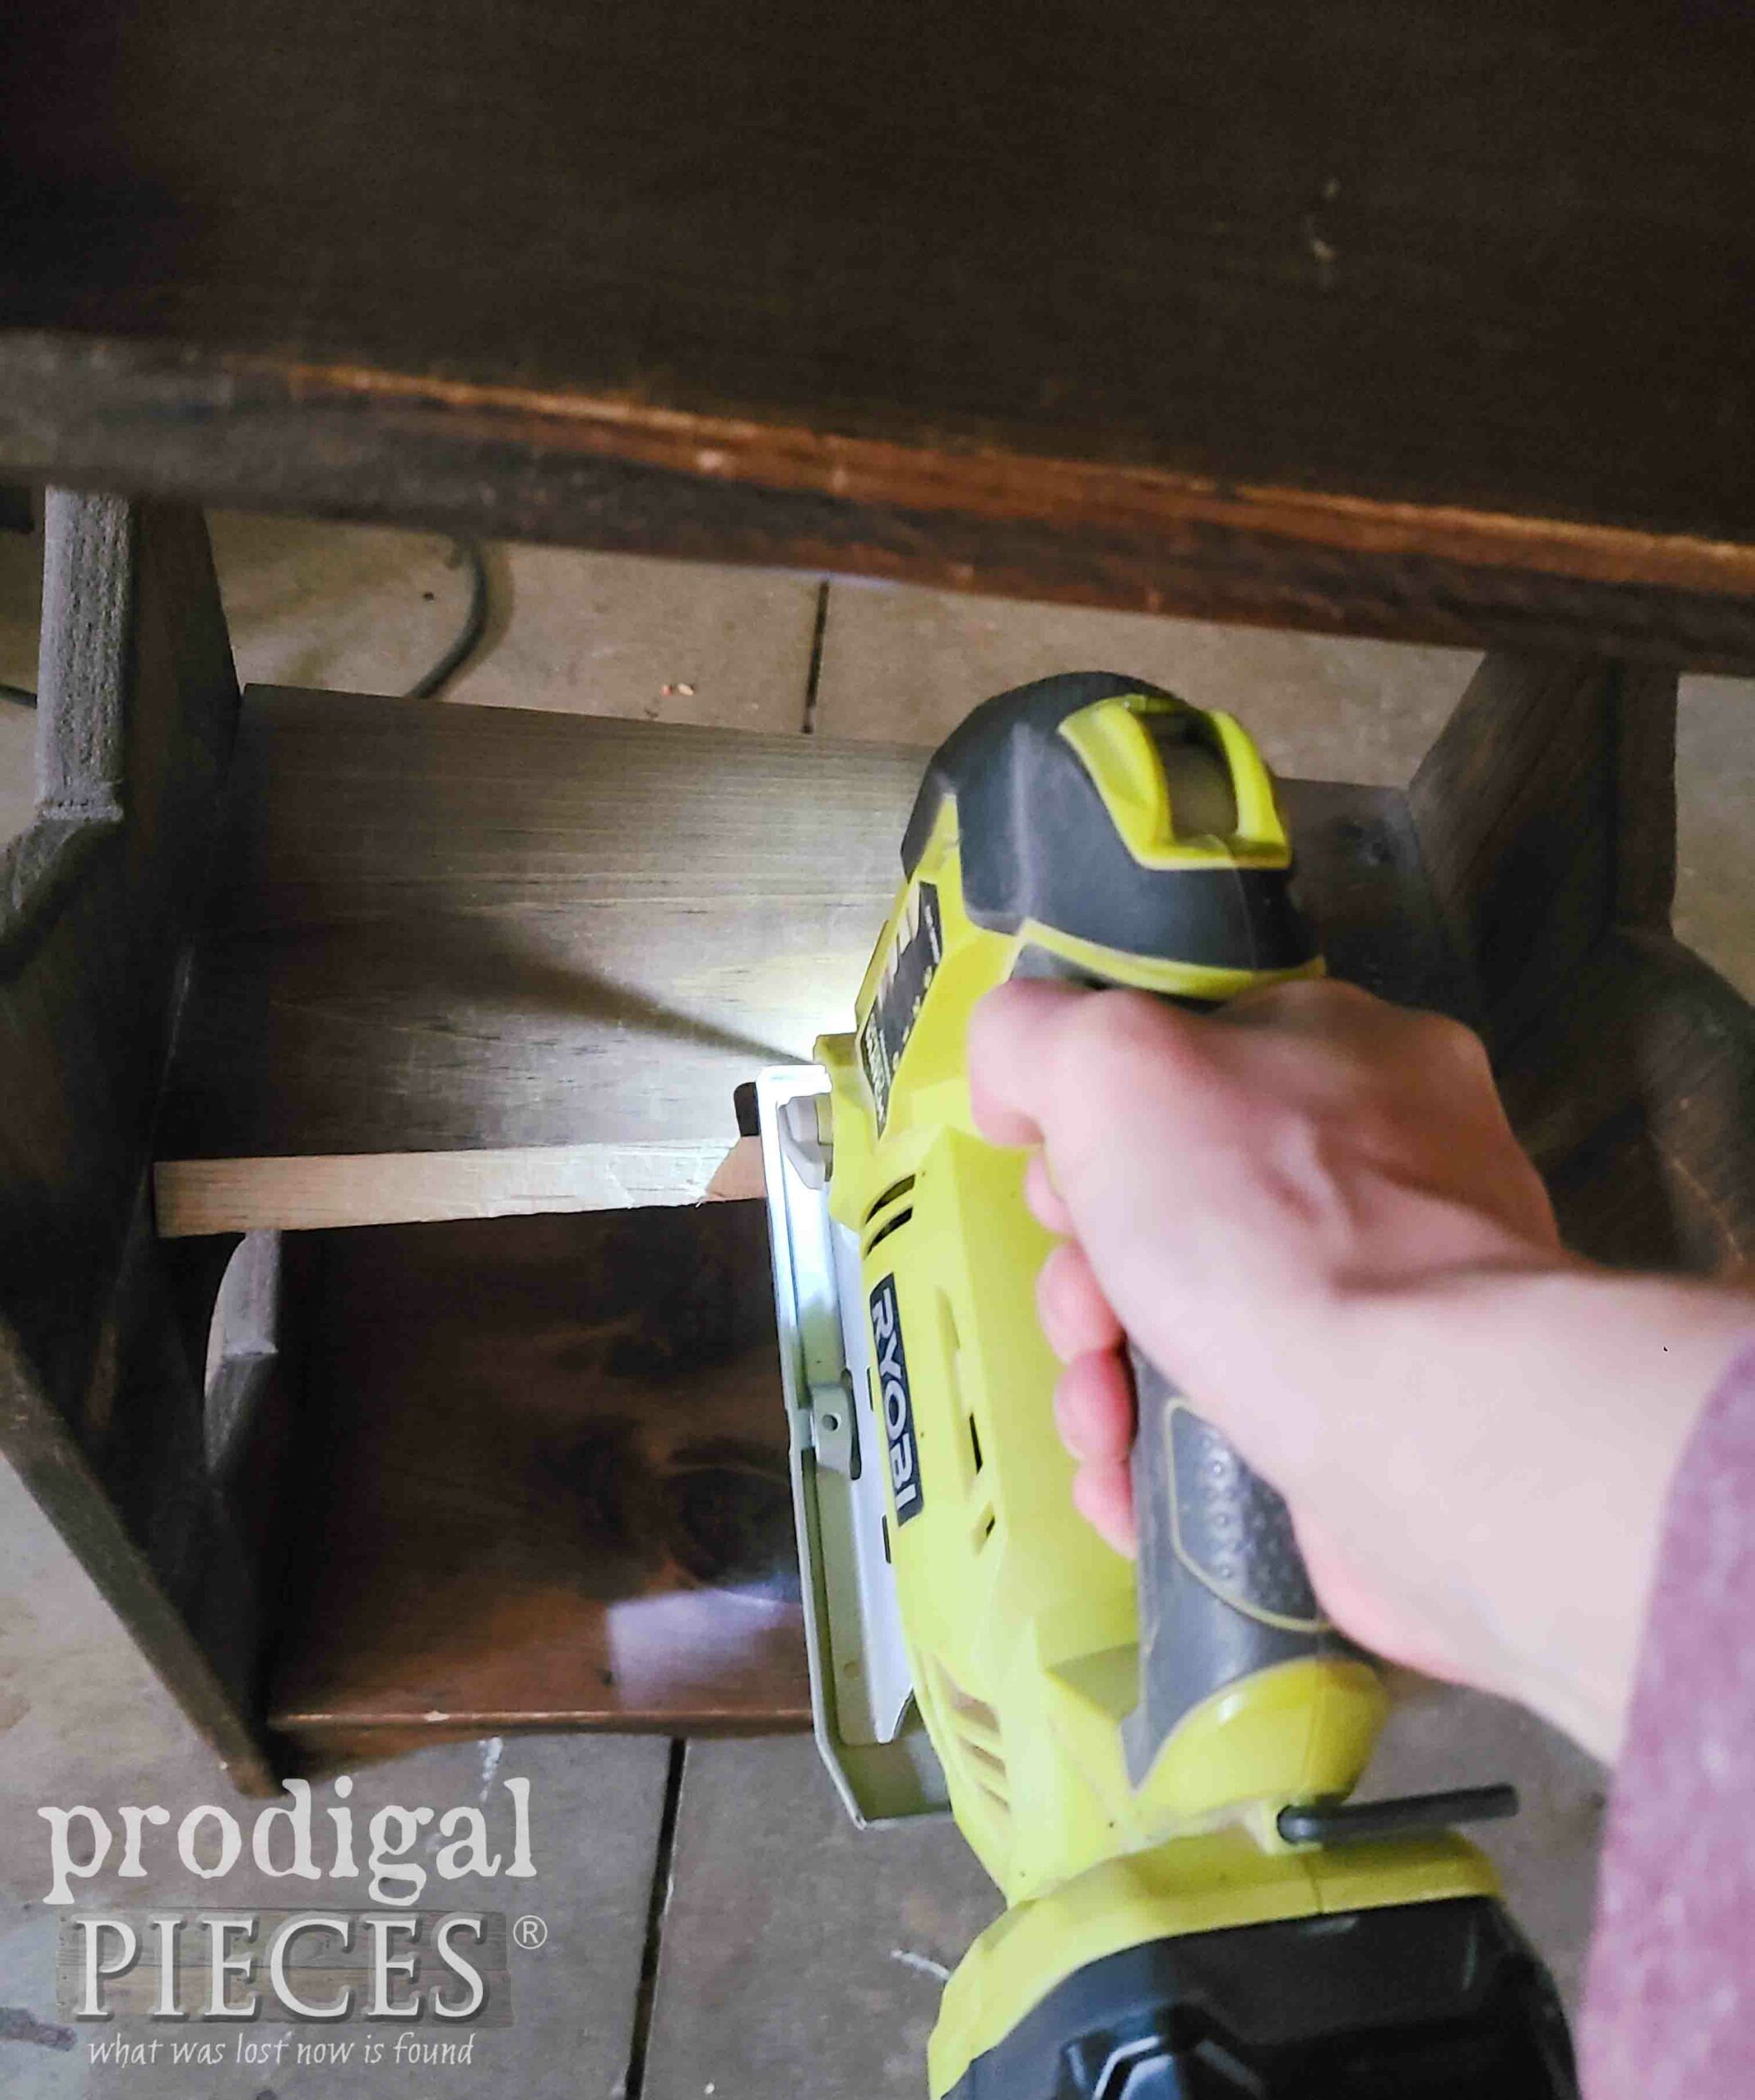
Then, I aim to cut out those hearts. Yes, you could totally leave them there, right? However, my goal is to show you how to change something completely with little effort and oodles of know-how. Next, I cut a template from scrap wood and measure and trace over each heart.
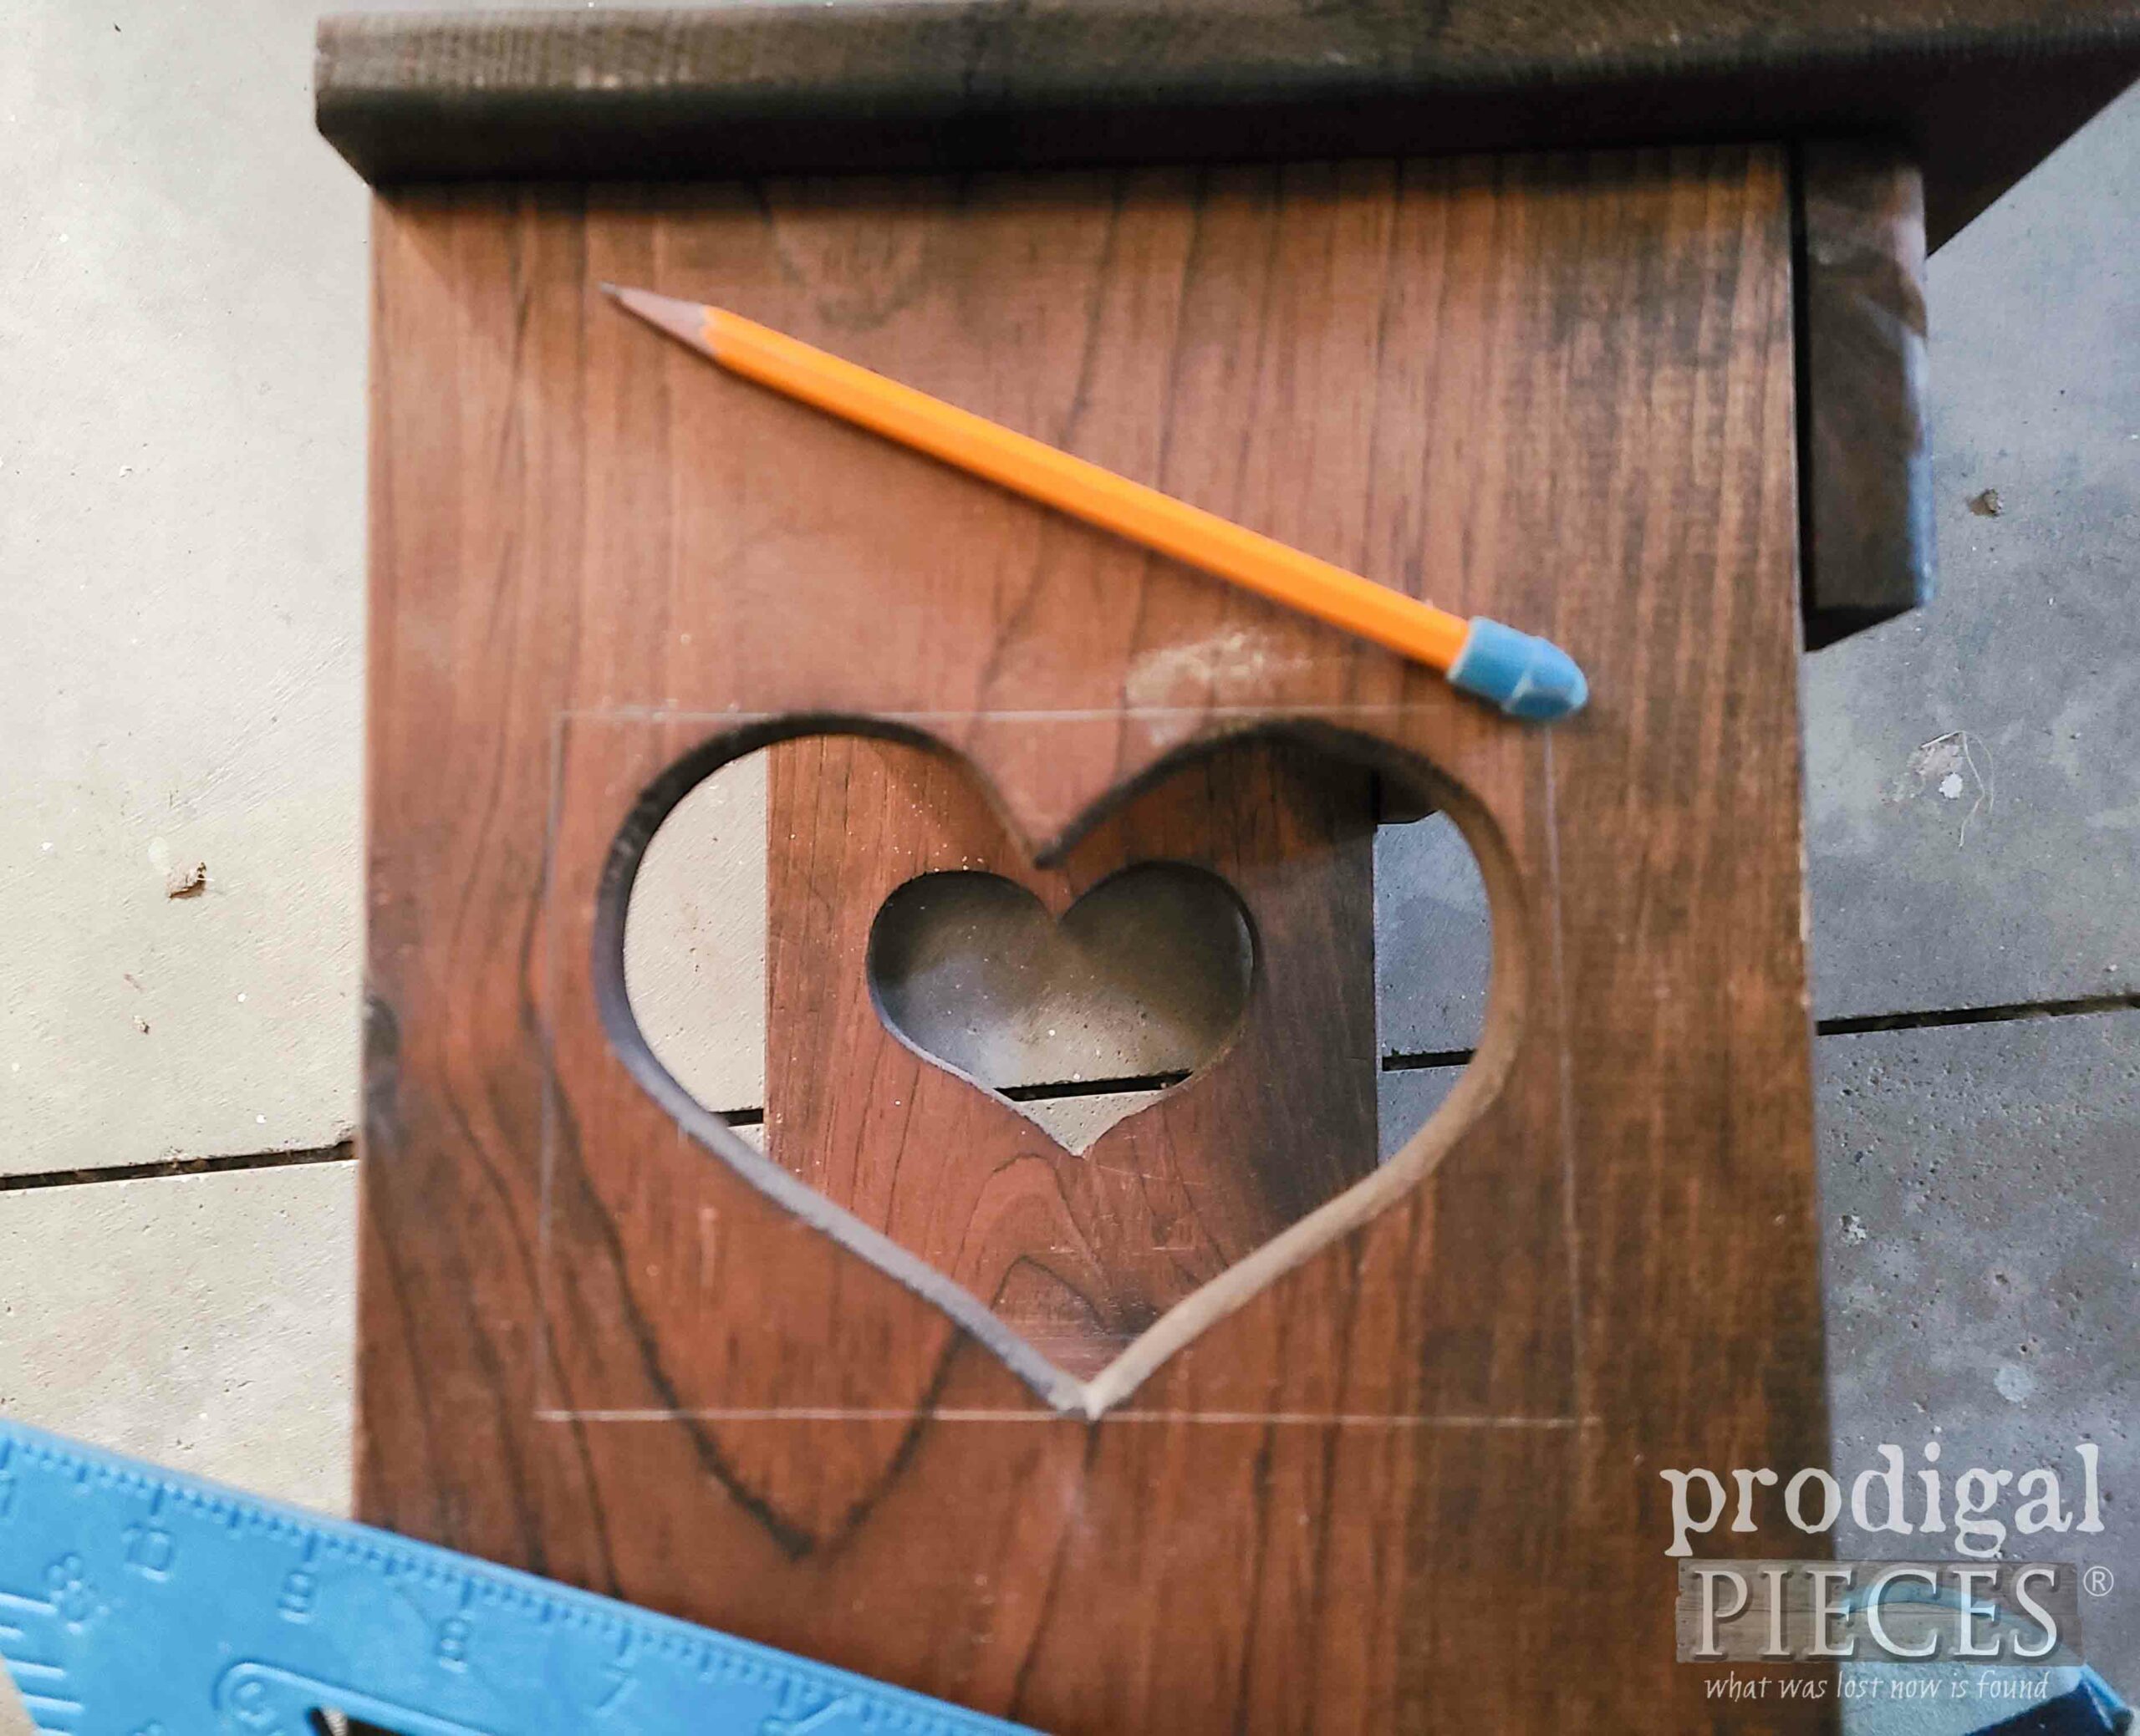
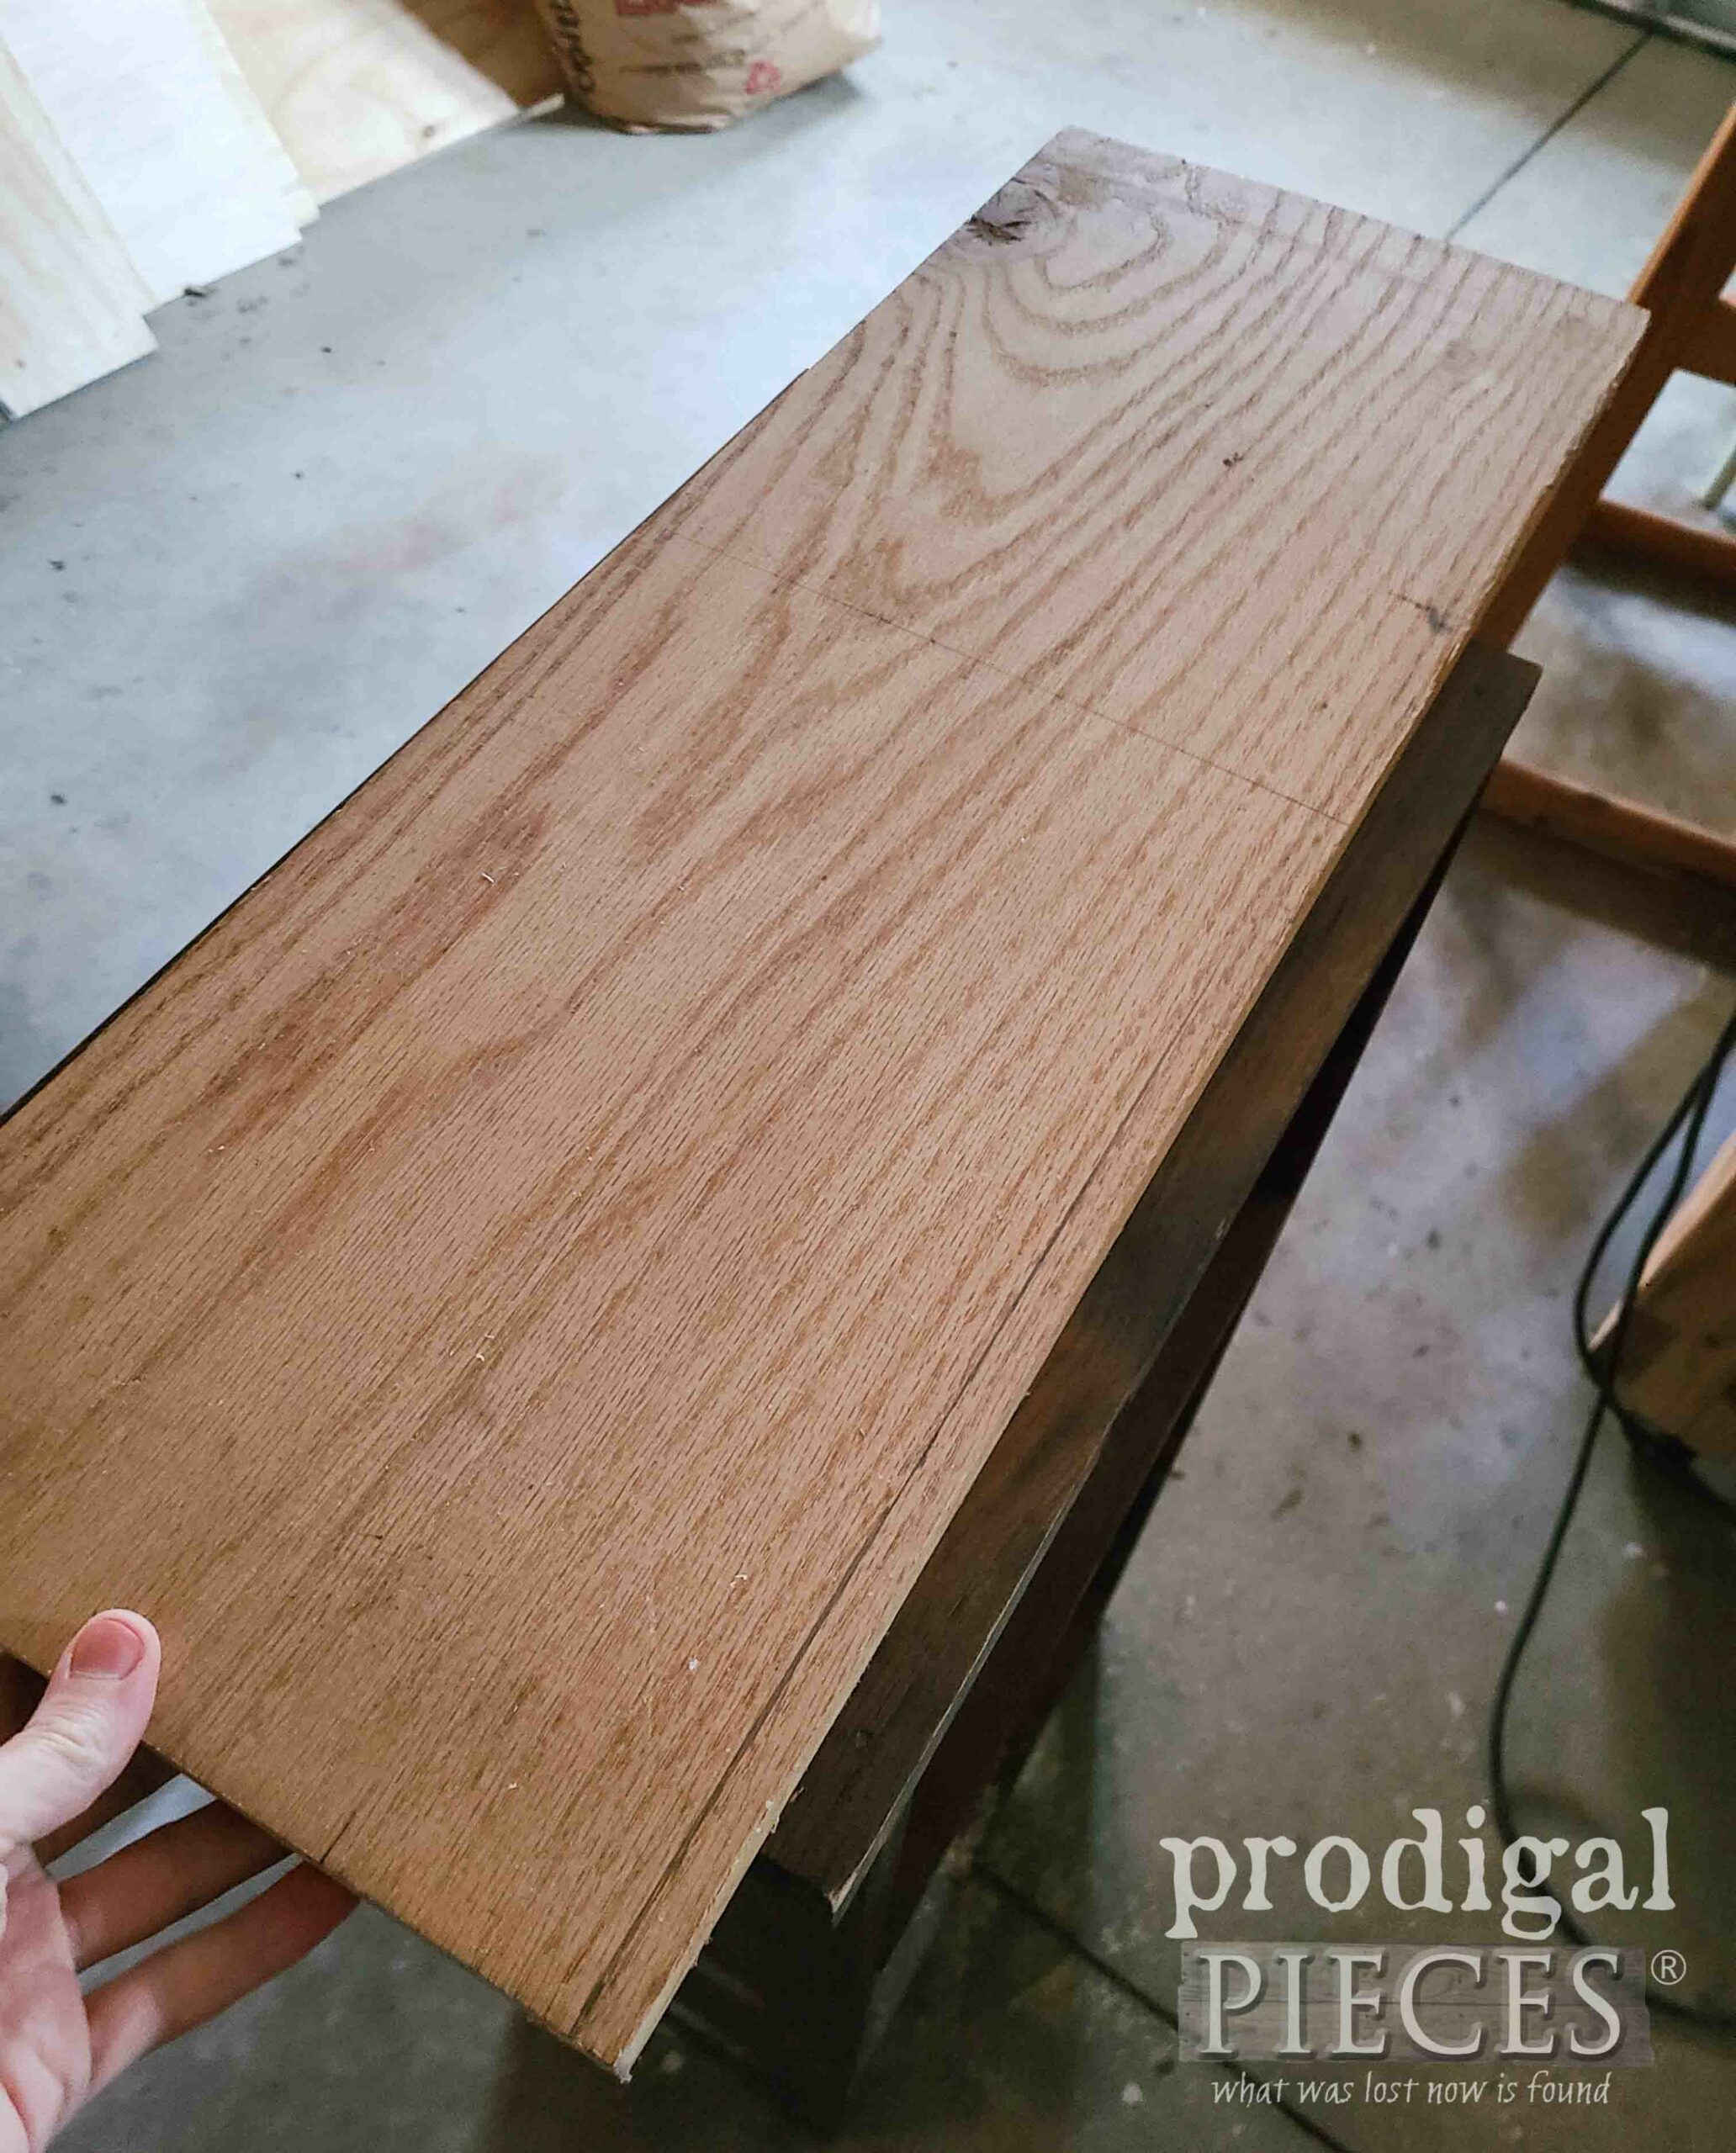
After that, I cut each one out, and I also cut to adjust the side scallops and the front scallop. Additionally, I replace the front skirt with a new piece of scrap wood from a bed frame support and a new shelf from oak my brother gave me. Don't you just love having a stash?
Last, but not least, I bring out an antique white color of seconds paint I recently acquired to give it two coats, letting cure in-between.
STORAGE AND STYLE
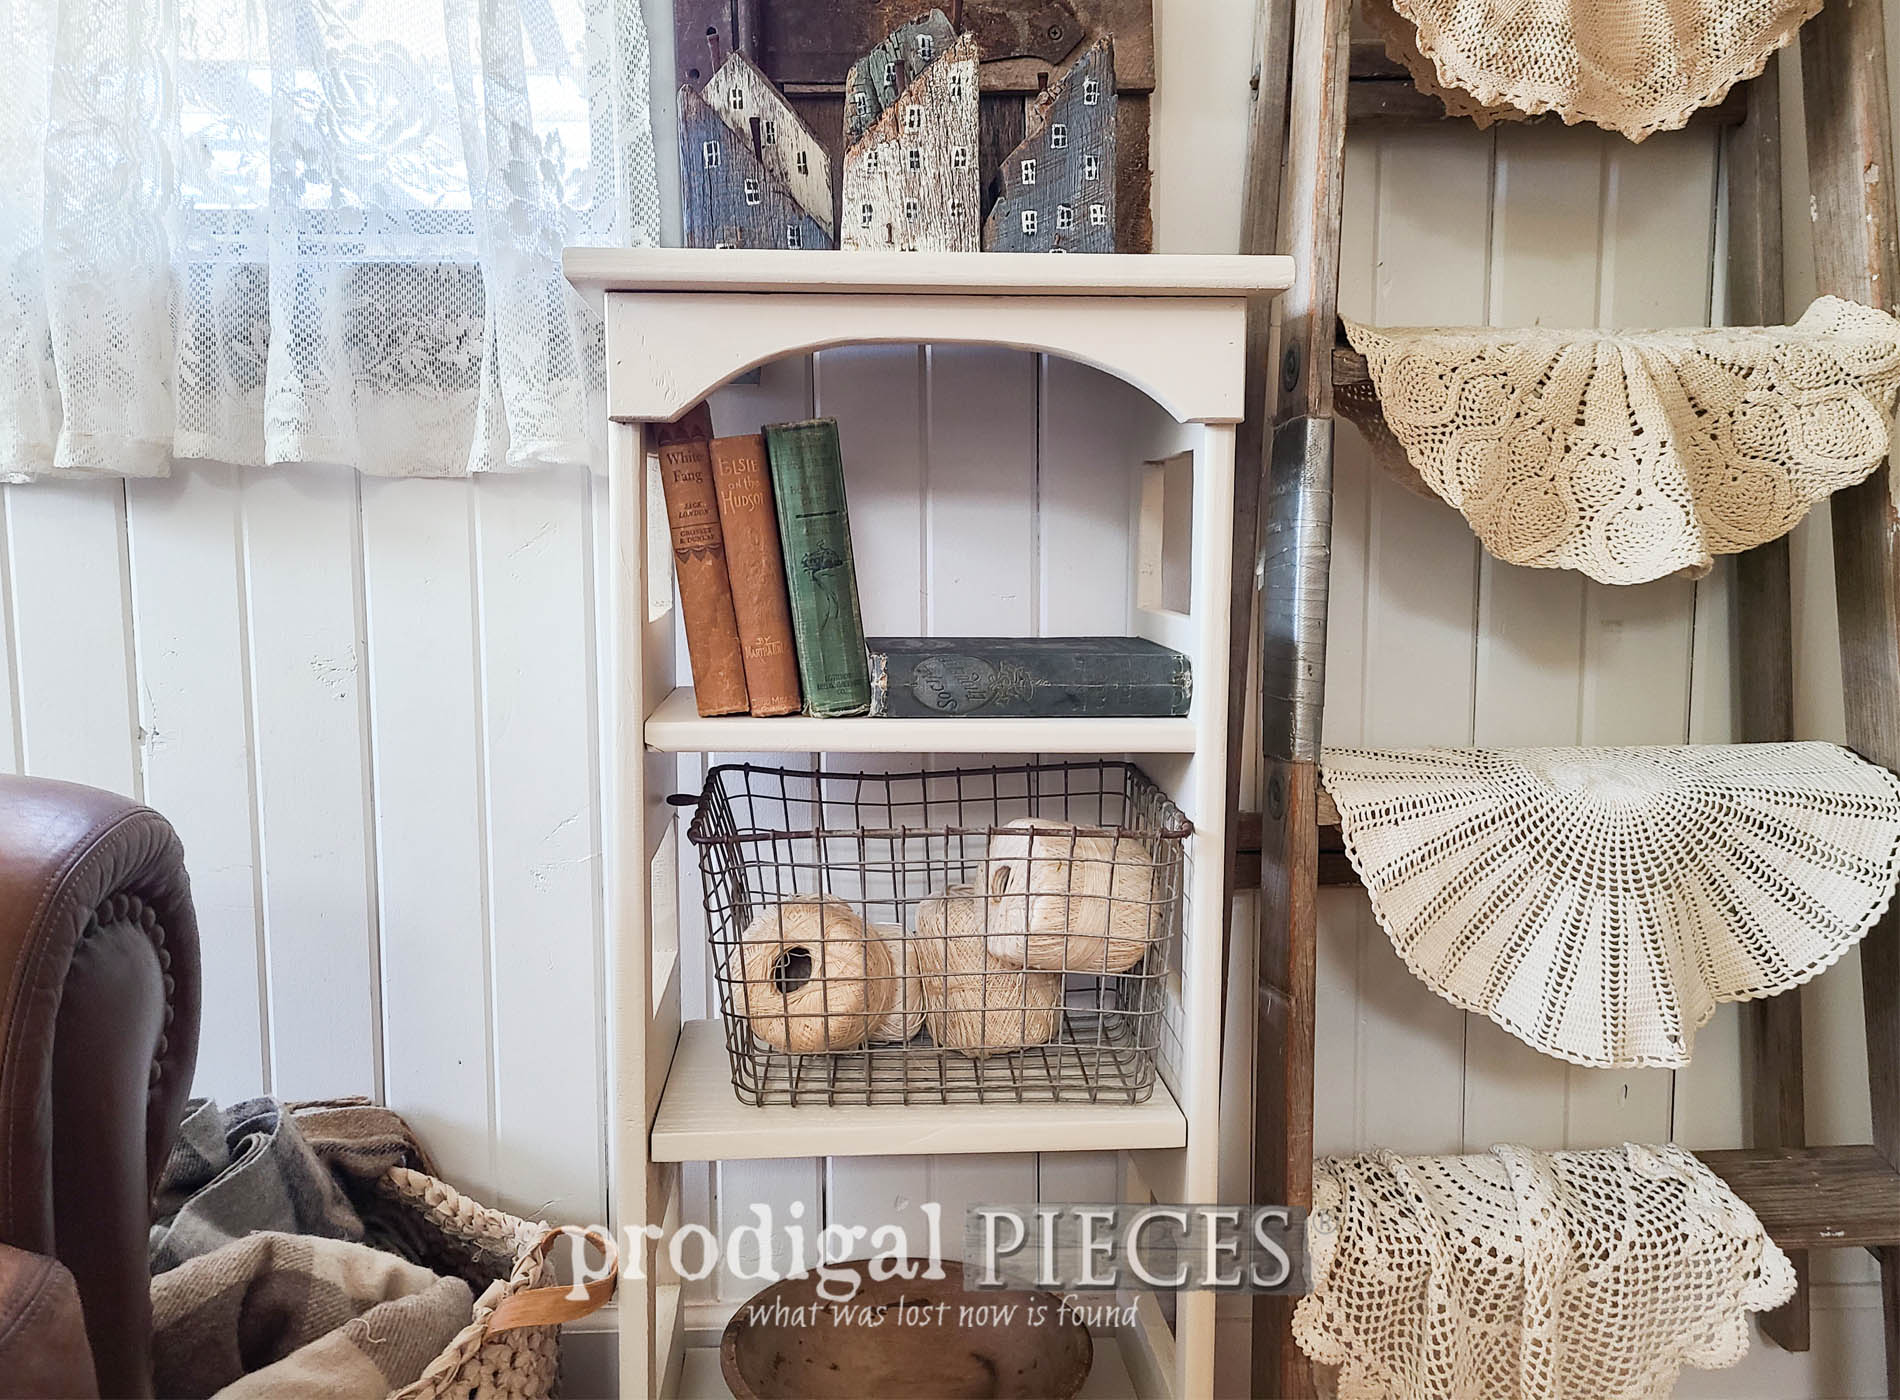
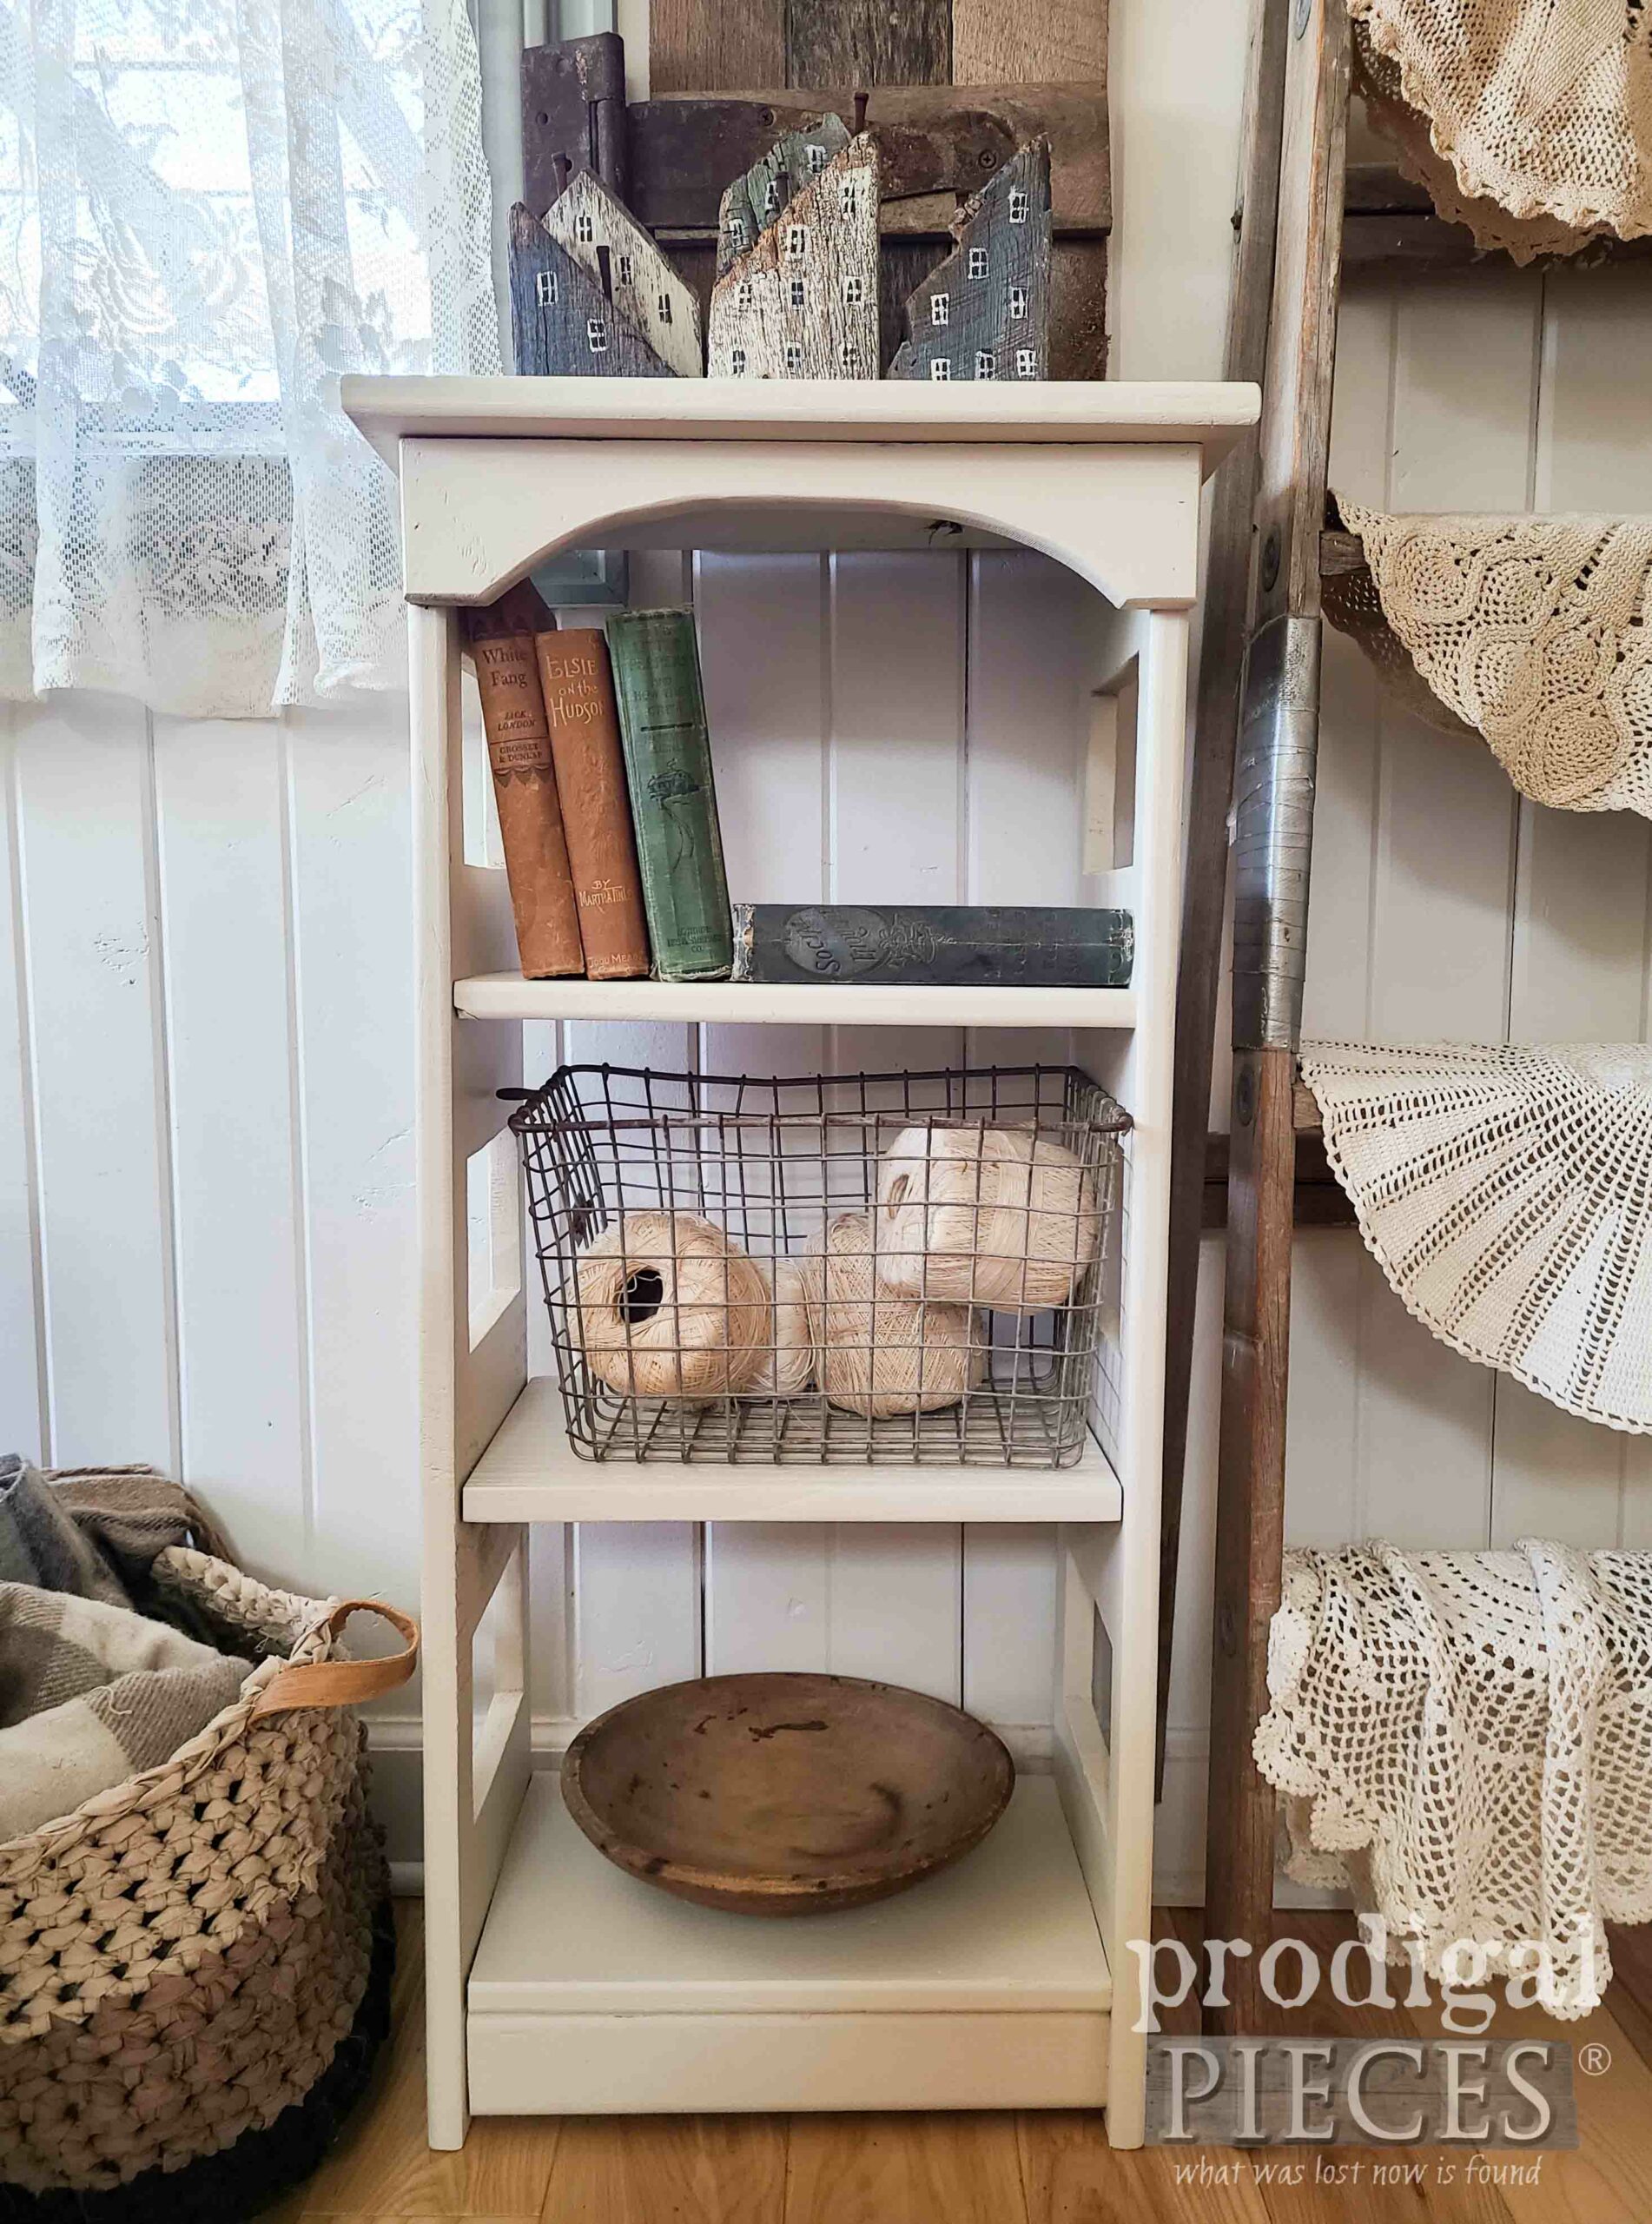
Finally, here is my vintage bookshelf with cosmetic surgery to remove the hearts and damage that once caused it's Curb le Chic fate.
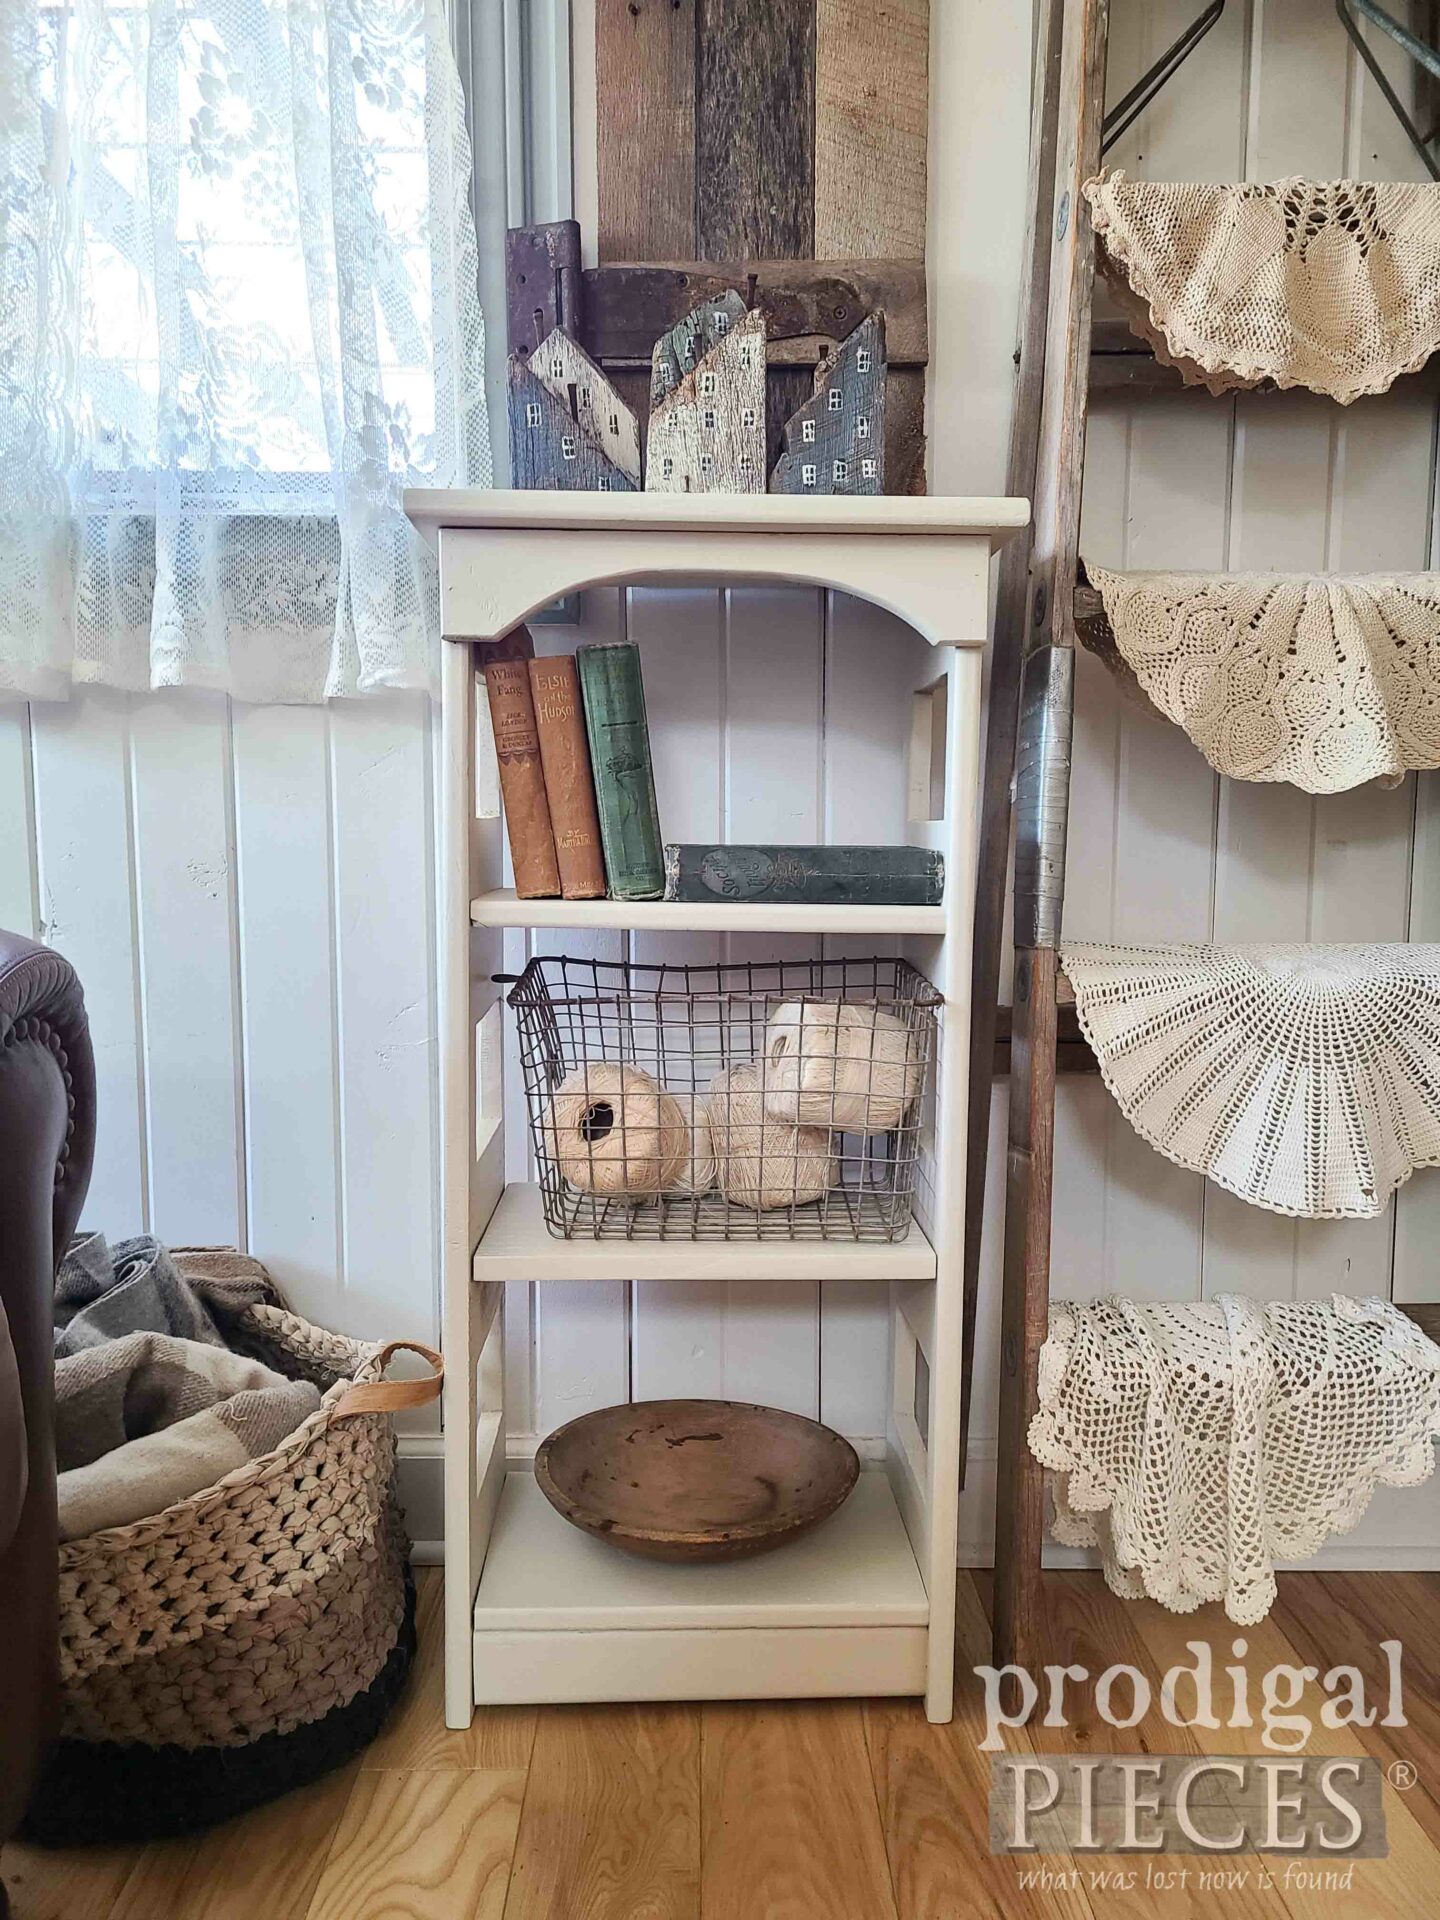
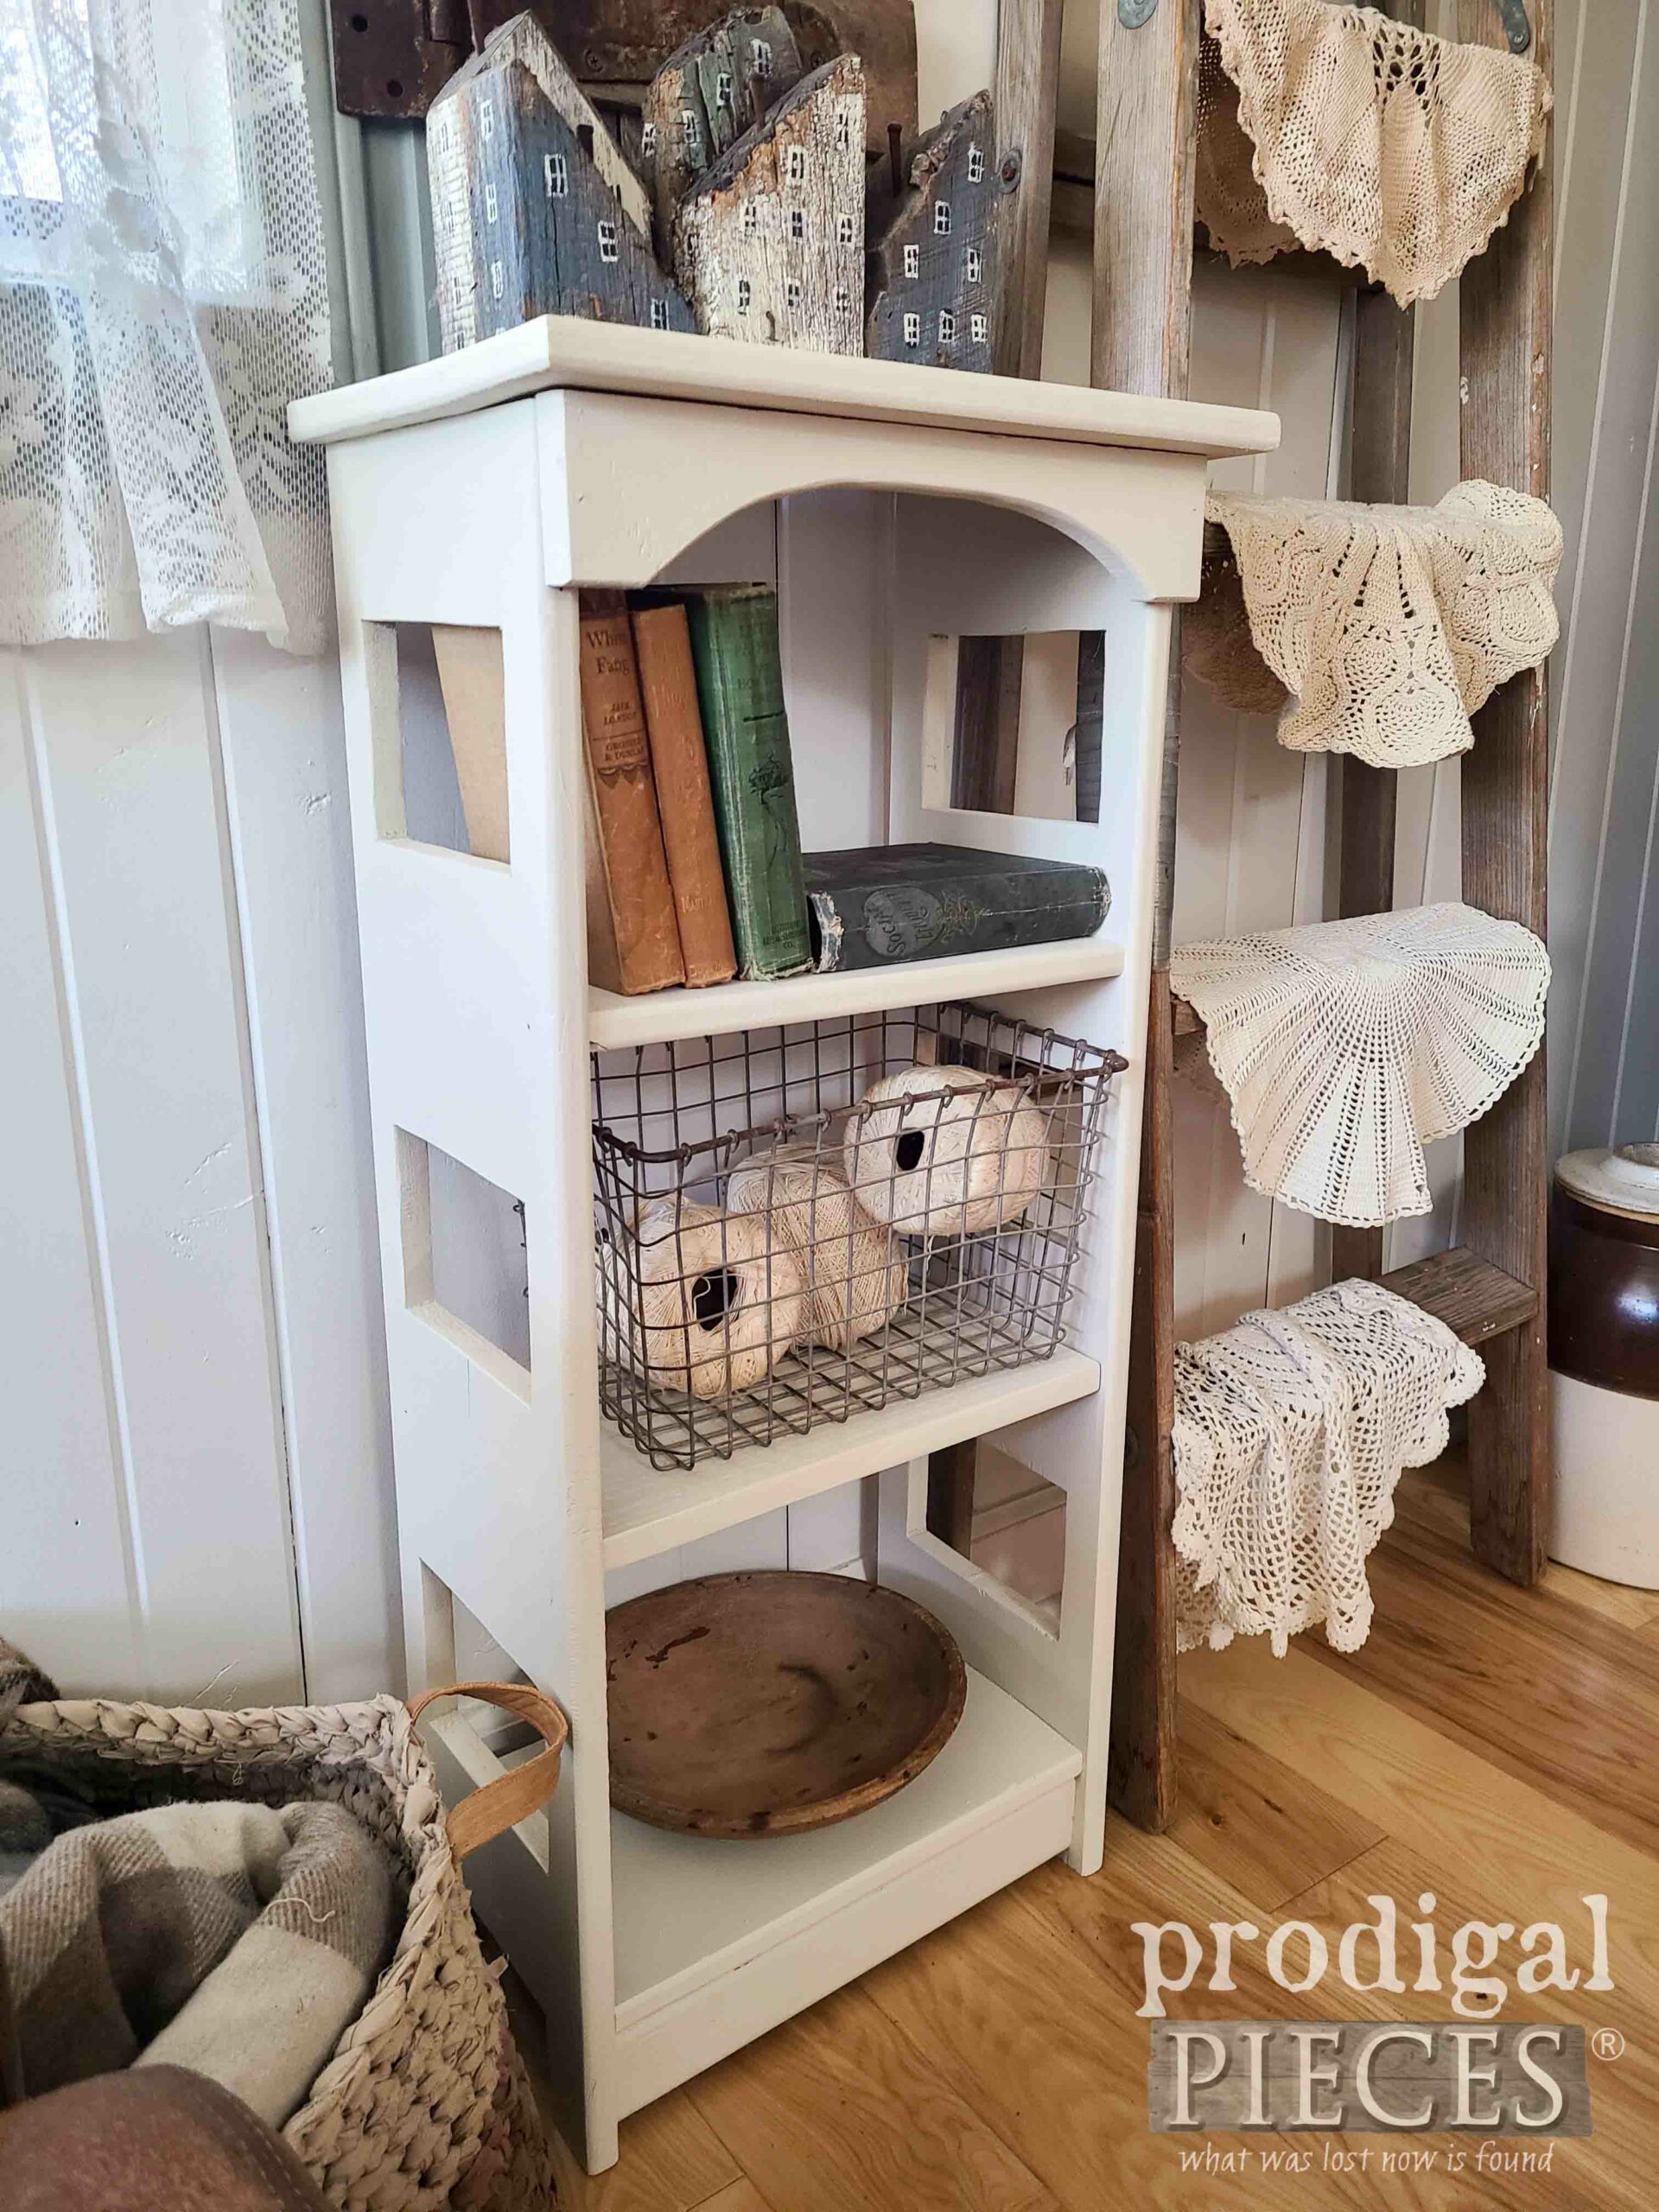
In short, it's showcasing a new look and is ready to go for many more years. As a matter of fact, this kind of piece is perfect for any room in your home. What would you tuck in it?
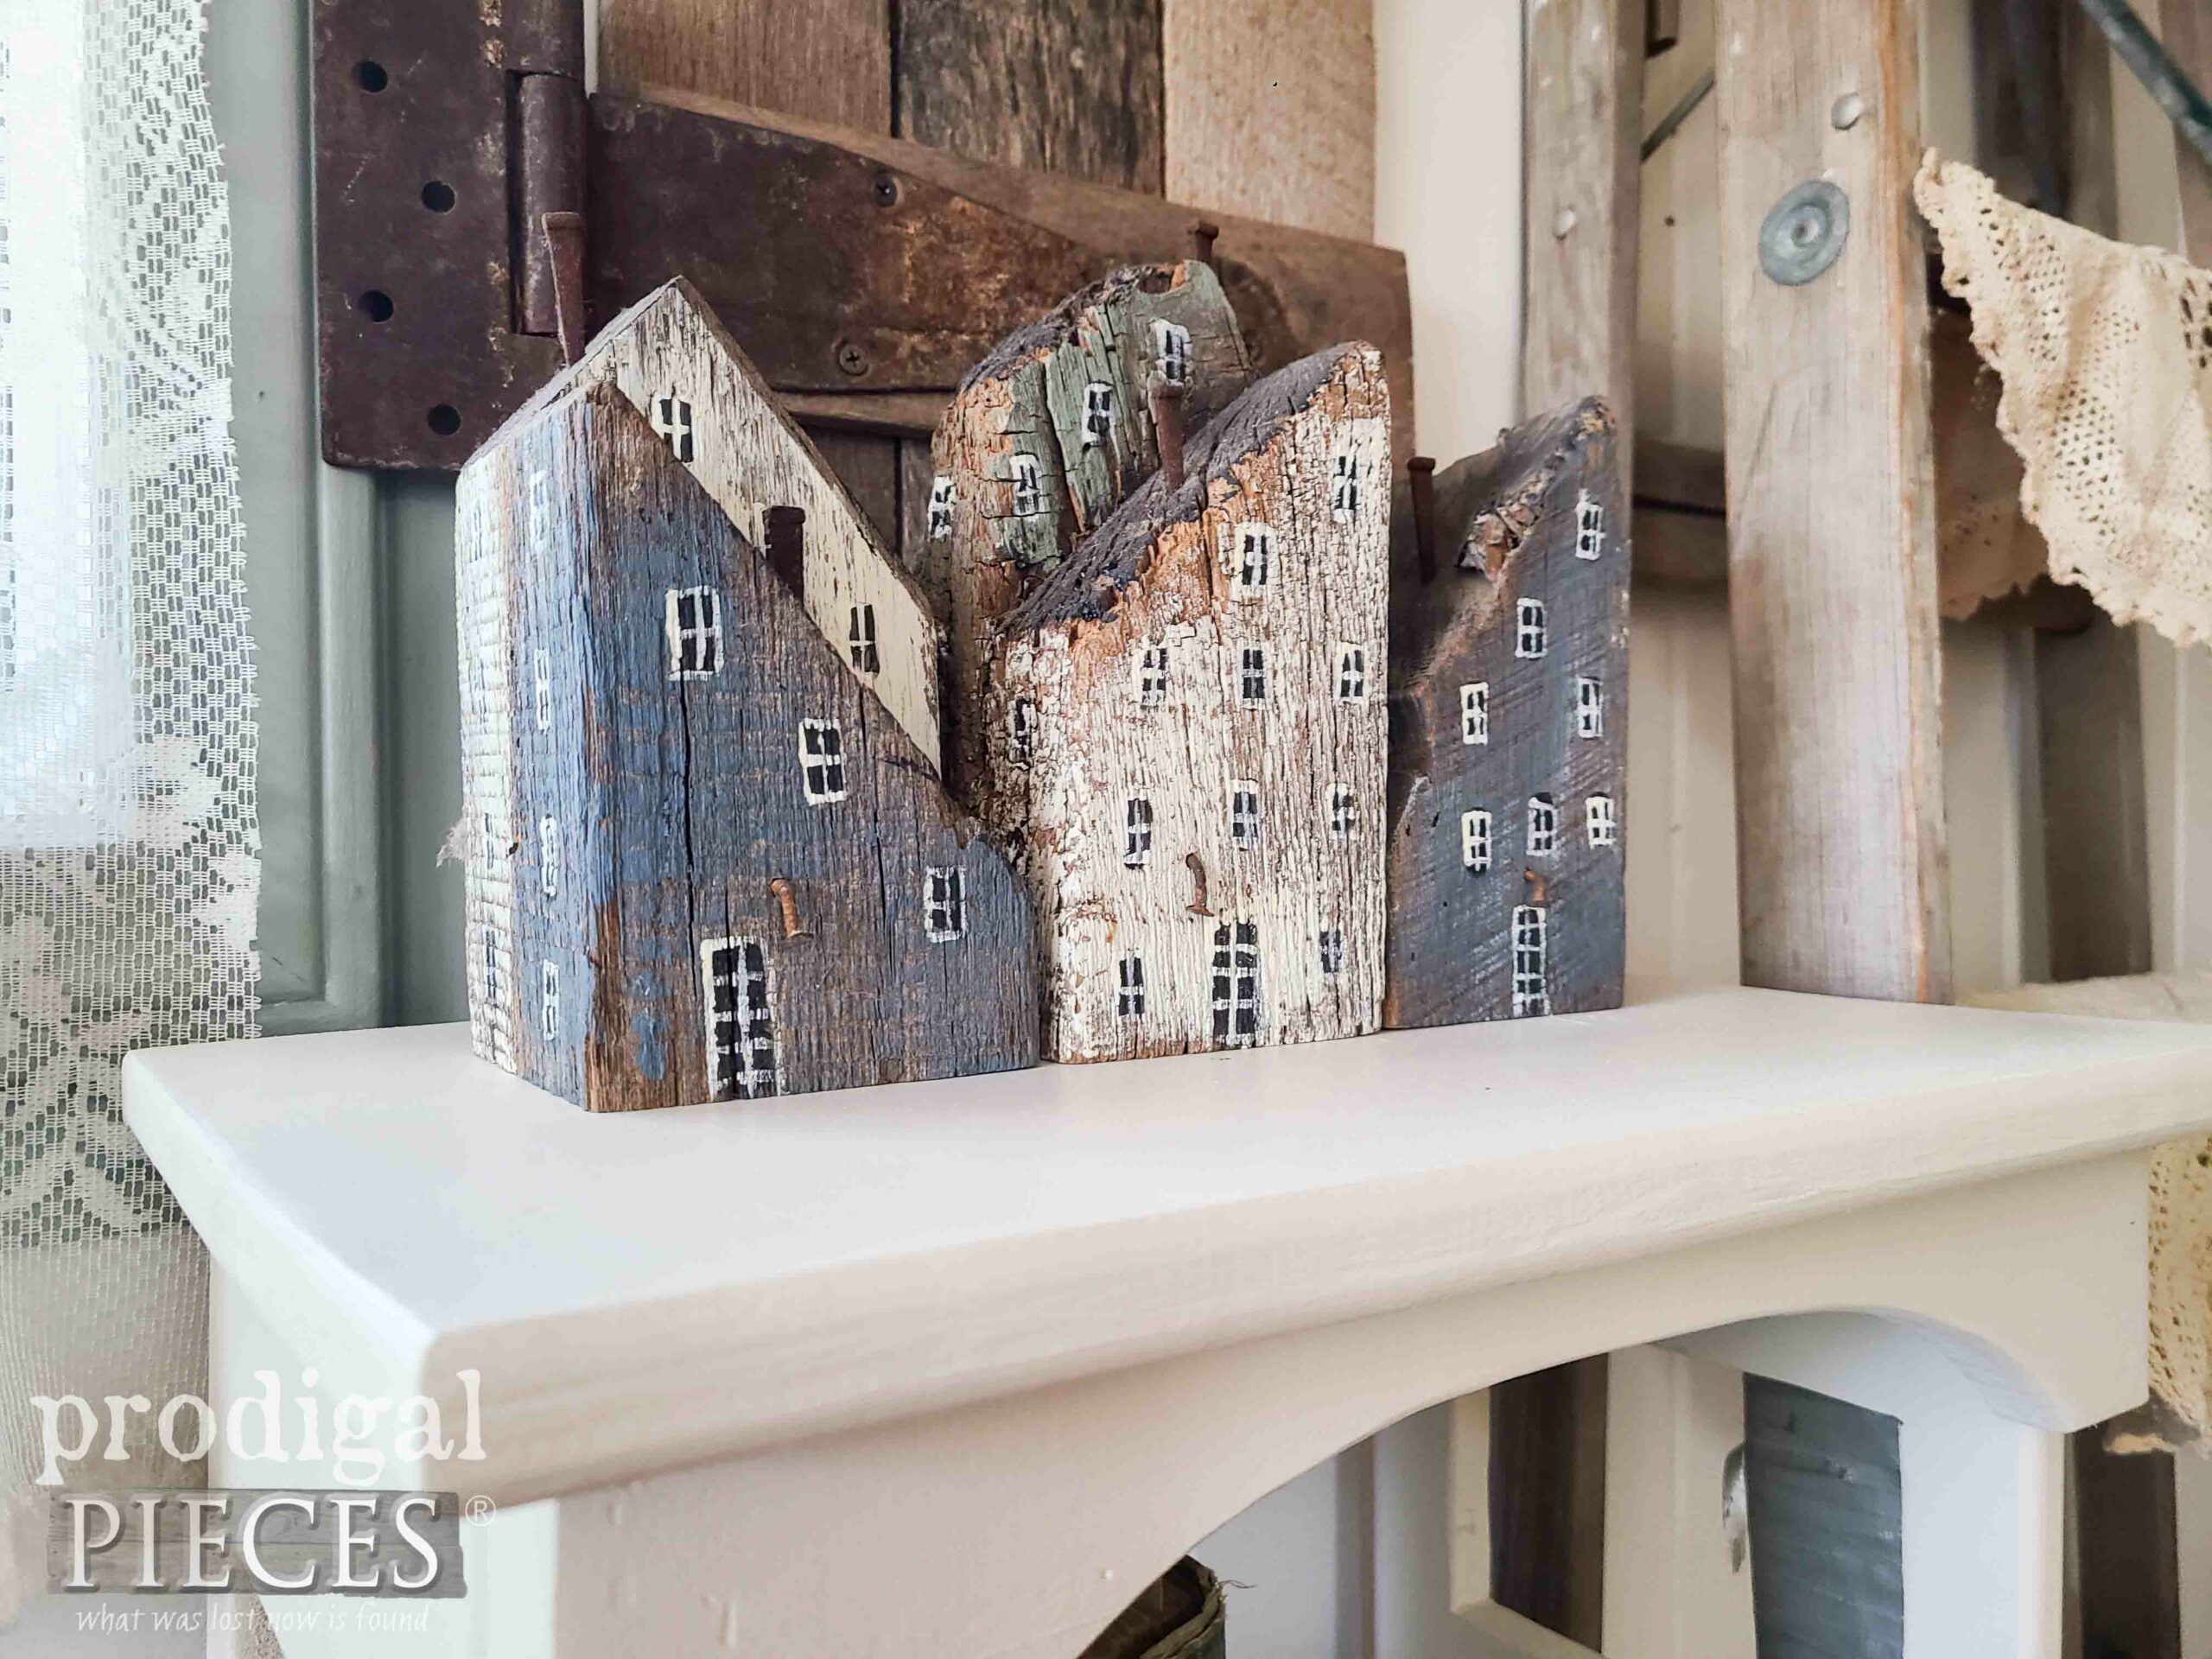
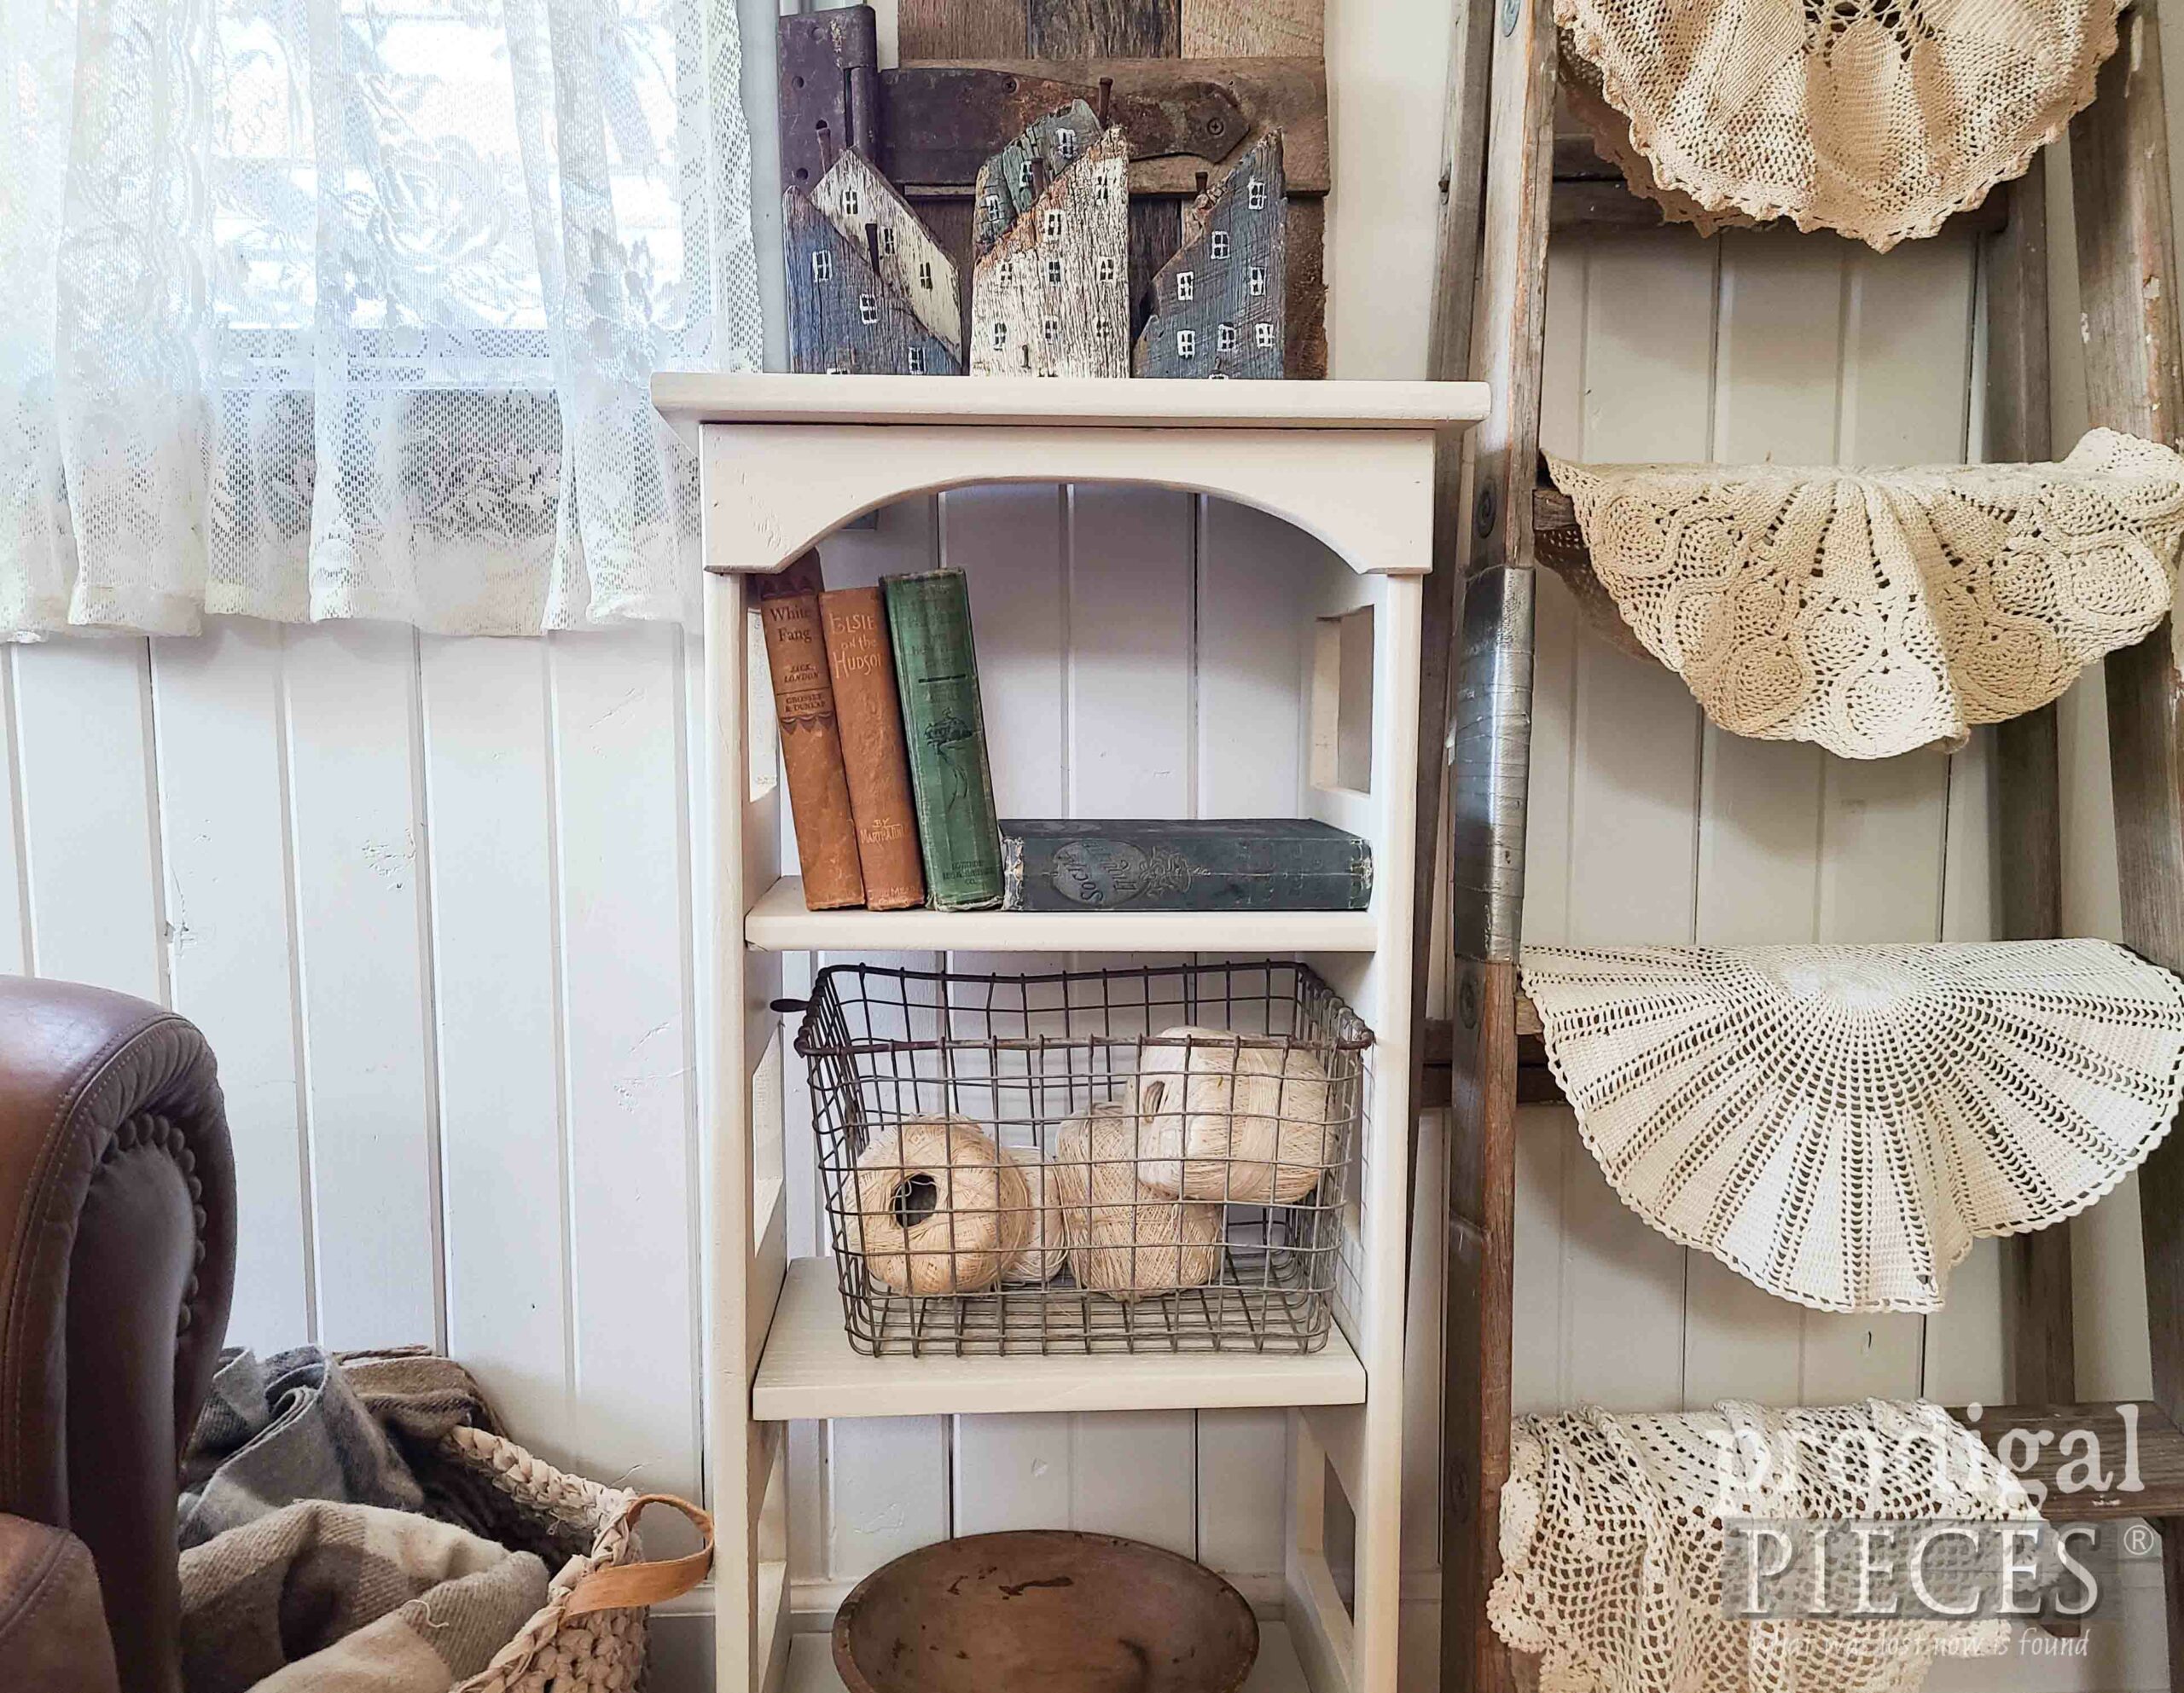
In addition, if you look closely, you can see
my reclaimed wood houses, my
upcycled sheet crochet basket, so you have no excuses for not trying DIY. {{wink, wink}}
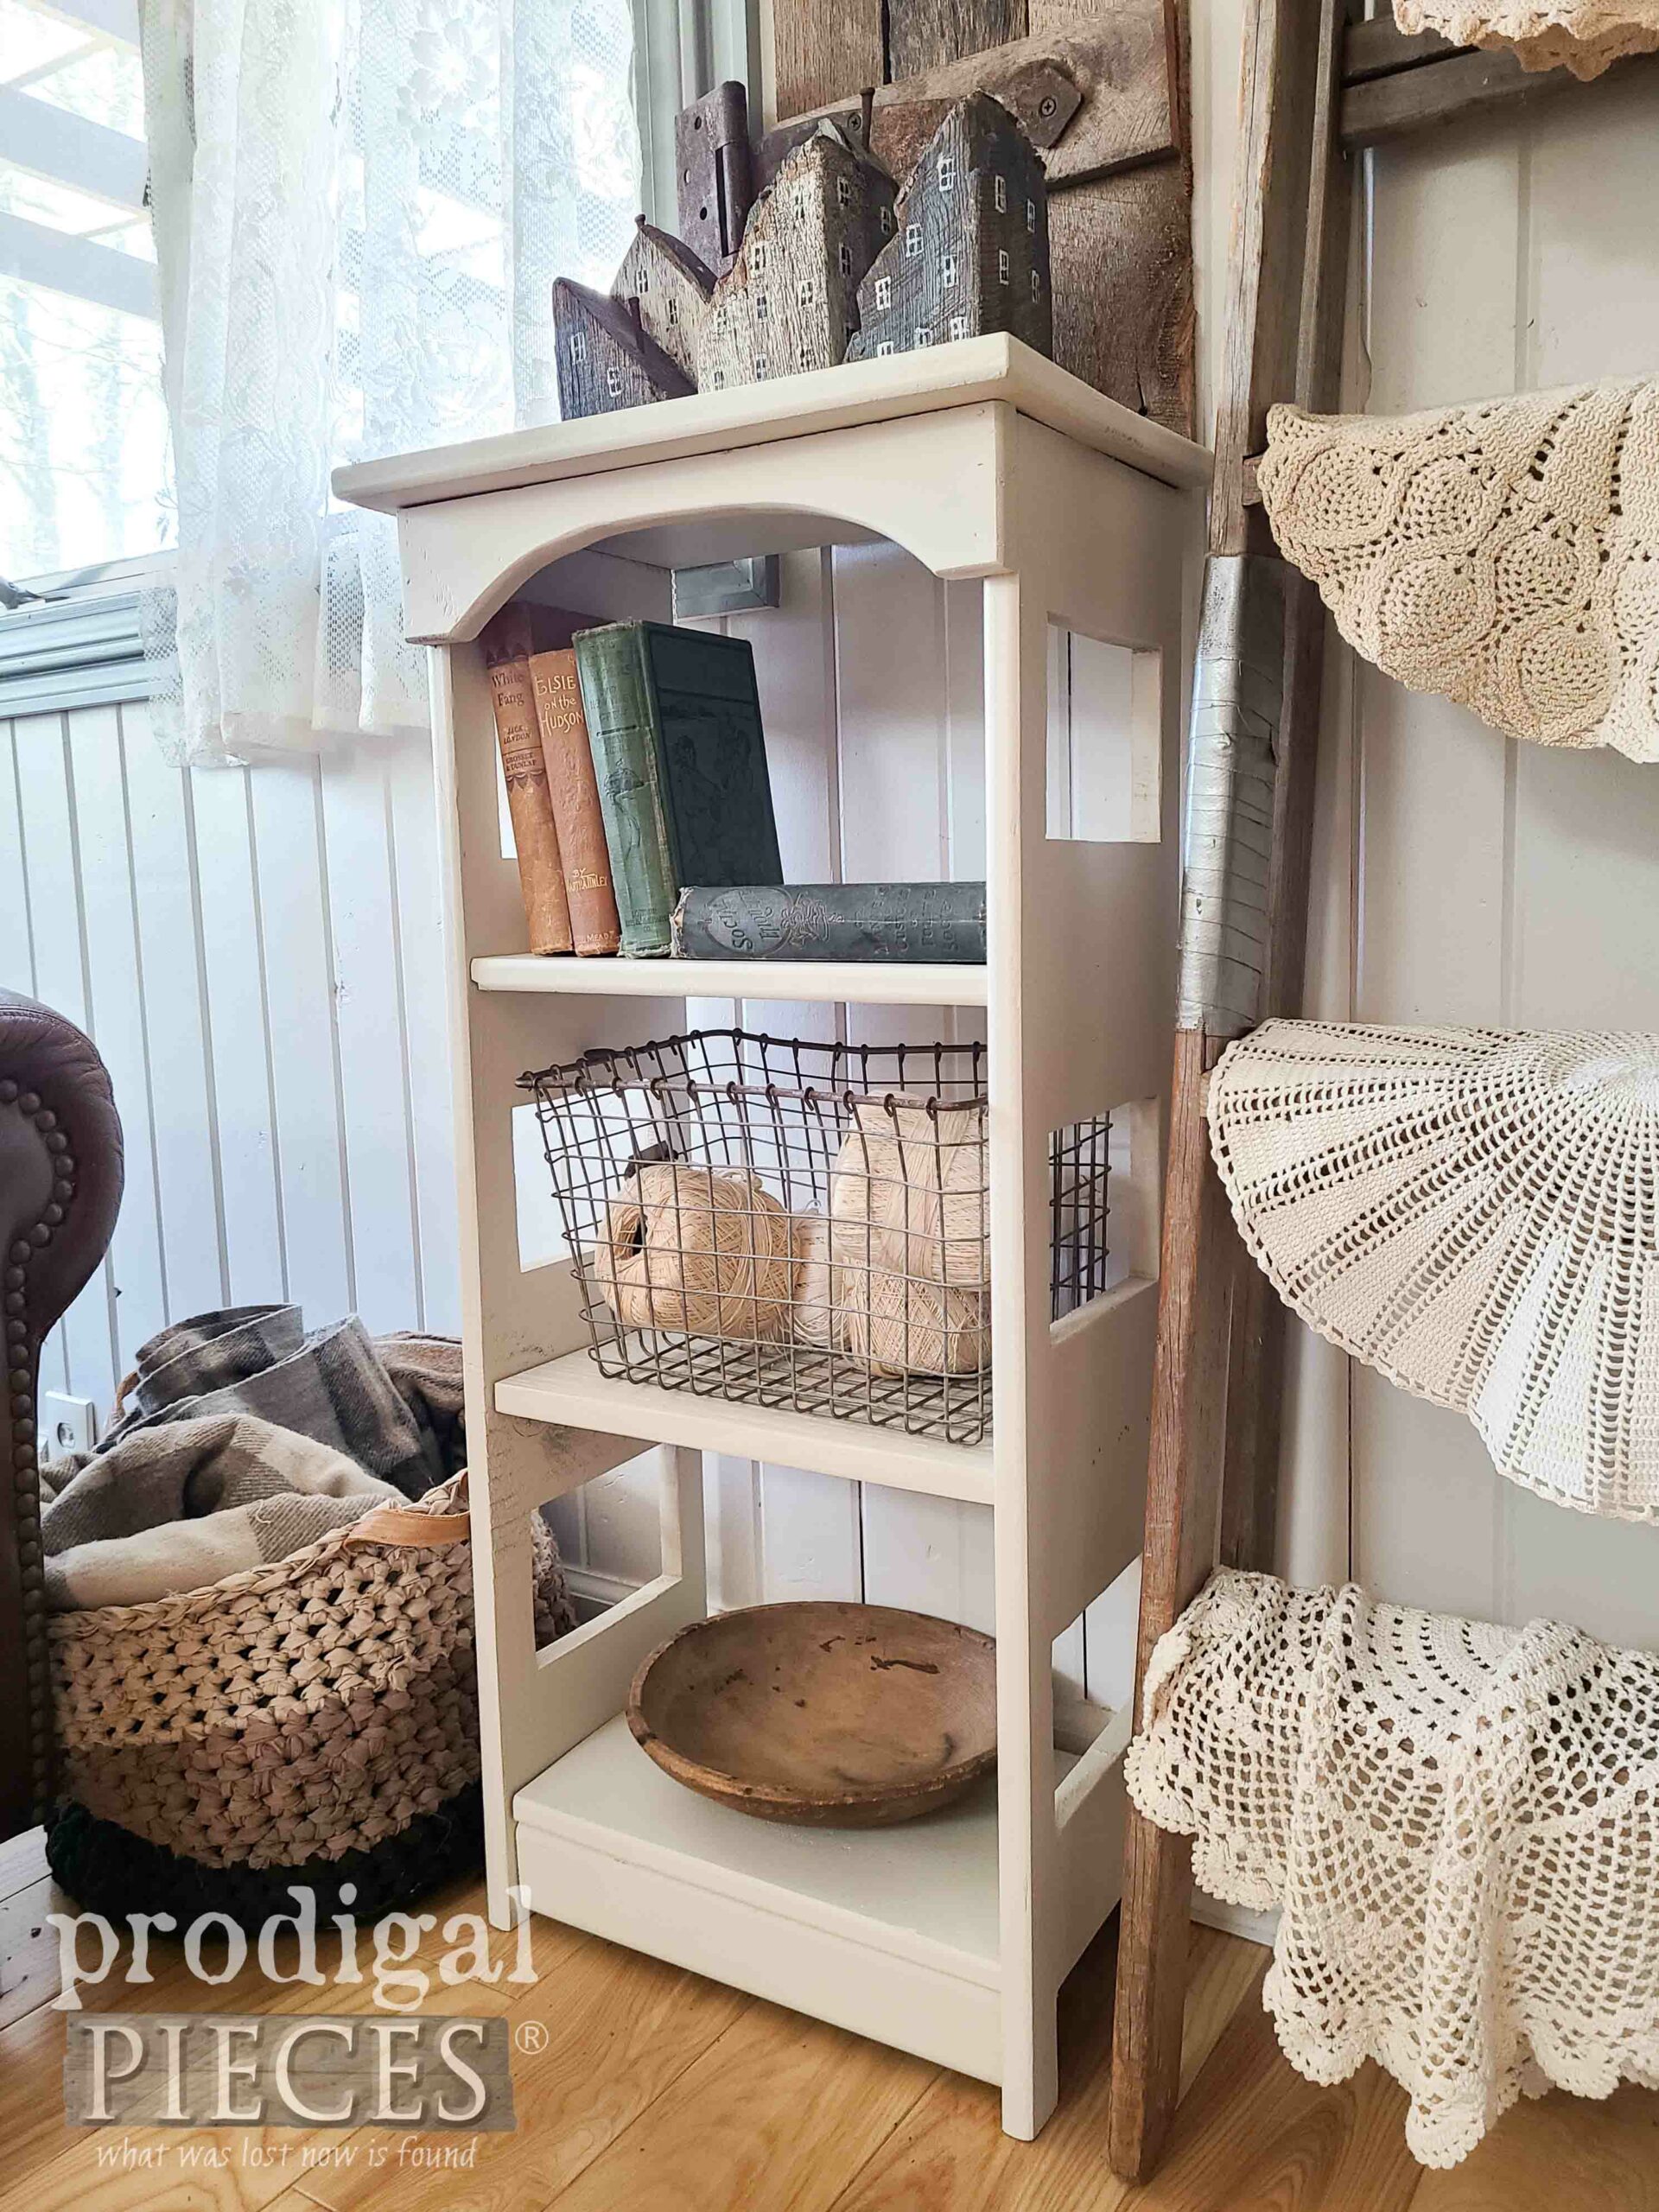
Also, if you'd like to add this to your home story, you can find it and more in
my online store.

SHARE
In the first place, my goal is always to encourage you to create your own home story. Whether it's by taking what you already have and making it new, or simply reinventing a find. Ultimately, I wholeheartedly enjoy sharing with you.
While you're at it, leave some comment below on this DIY fun, but also pin and share to inspire others to look at their damaged items in a new light.
Additionally, to get these DIY tips & tricks in your inbox, be sure to
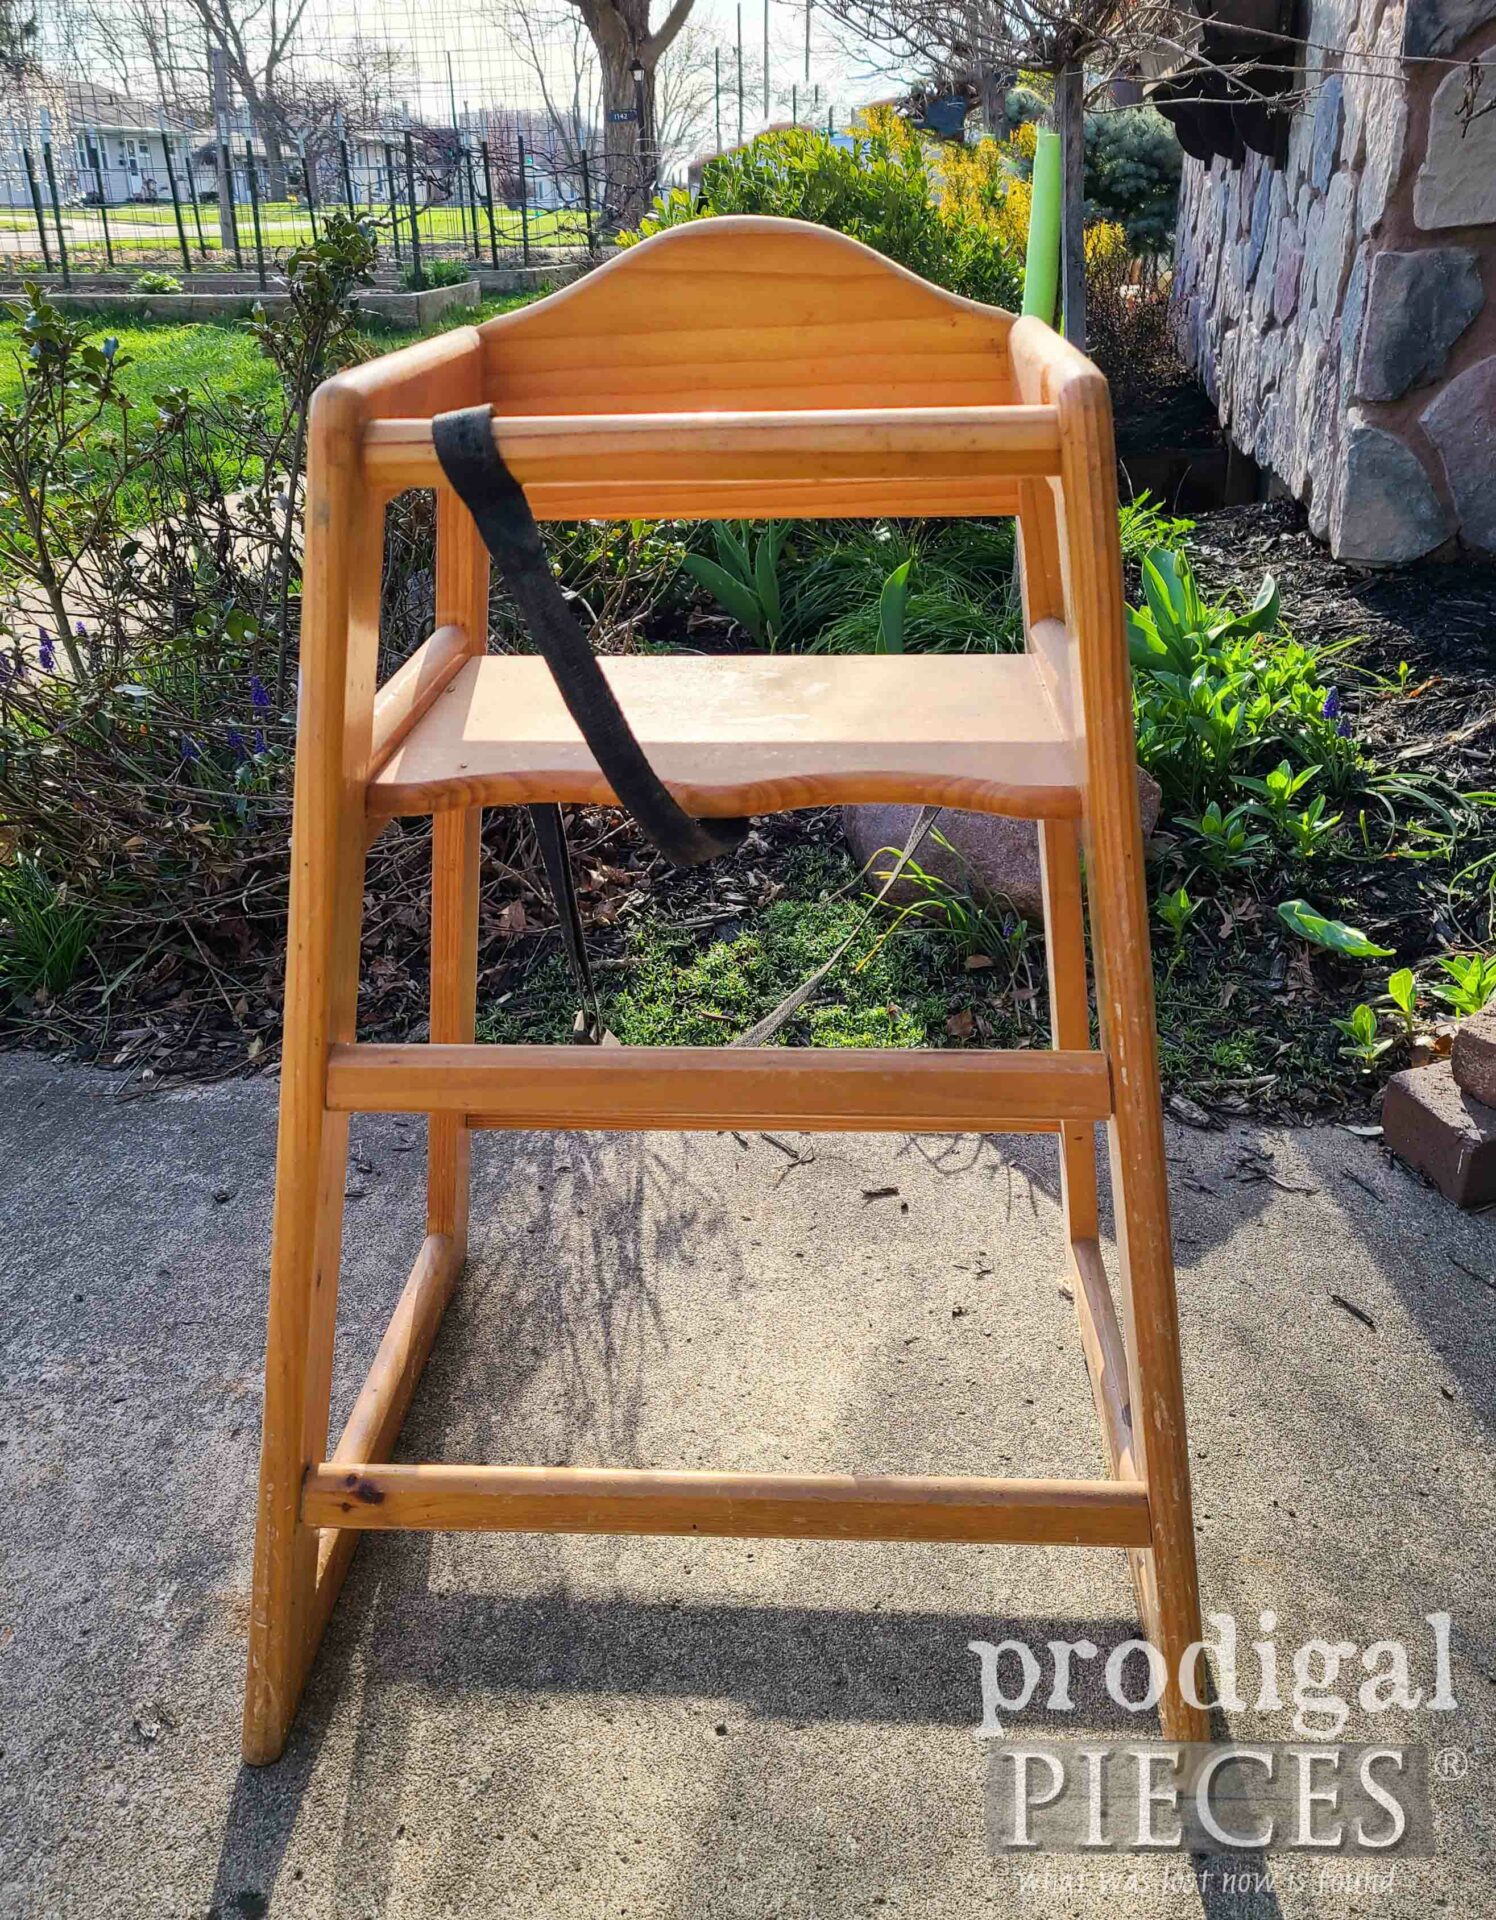
sign up for my FREE newsletter to see what I make of this boring highchair -
HEAD HERE.
Also, before you go, head below for more Trash to Treasure fun!

 PINTEREST | EMAIL

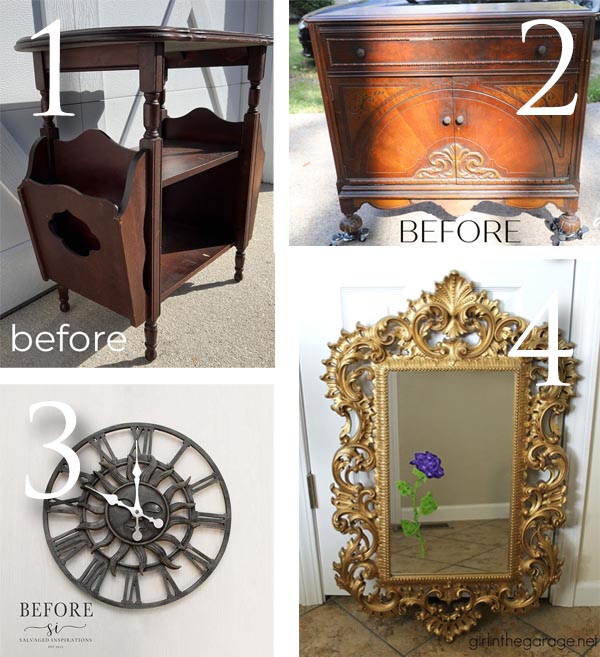
- Confessions of a Serial DIYer
- Artsy Chicks Rule
- Salvaged Inspirations
- Girl in the Garage
What is more, check out these other trash to treasure transformations like this vintage bookshelf:
 Y'all...I literally drove for five minutes to find a project and this was right there. Look at my sidekick, Loula, enjoying the adventure!
 The first sight I caught as I came up on around the corner was...{{dramatic music plays}}
 ...HEARTS. Lots of 'em. If you've been with me for long, you know that I either remove those 80's cutouts or embrace them. You can see what I mean in these past posts. What is more, the middle shelf is broken down the length, so that will need replaces as well.

 Then, I aim to cut out those hearts. Yes, you could totally leave them there, right? However, my goal is to show you how to change something completely with little effort and oodles of know-how. Next, I cut a template from scrap wood and measure and trace over each heart.
 After that, I cut each one out, and I also cut to adjust the side scallops and the front scallop. Additionally, I replace the front skirt with a new piece of scrap wood from a bed frame support and a new shelf from oak my brother gave me. Don't you just love having a stash?
 Last, but not least, I bring out an antique white color of seconds paint I recently acquired to give it two coats, letting cure in-between.

 In short, it's showcasing a new look and is ready to go for many more years. As a matter of fact, this kind of piece is perfect for any room in your home. What would you tuck in it?

 In addition, if you look closely, you can see my reclaimed wood houses, my upcycled sheet crochet basket, so you have no excuses for not trying DIY. {{wink, wink}}

 Also, if you'd like to add this to your home story, you can find it and more in my online store.
 Additionally, to get these DIY tips & tricks in your inbox, be sure to sign up for my FREE newsletter to see what I make of this boring highchair - HEAD HERE.
 Also, before you go, head below for more Trash to Treasure fun!


