Once a junker, always a junker...even a junker who shares the love with her kids. Scripture says, "
Train up a child in the way he should go, even when he grows older, he will not abandon it." Proverbs 22:6. And so, look at this goodie my son pulled from the trash one fine spring day. What is it? I assume it's a toolbox, but what's better than that is I have a vision for this as a antique medical box. Are you with me?

Originally,
Mr. O picked it out and brought it home to lock up his goodies. Since he's now a newbie to the DIY world, he wanted to paint it, but I said he shouldn't. Not only is that red paint awesome, but it also tells a story. For a year or so, he let it sit on the floor collecting dust. Then, I finally told him it's time to clean up the space and he put it out for trash. {{gasp}} NOO!!


Apparently, he removed the hinges and threw them away (say what?!) because of one thing...he lost the key to his lock.

With this in mind, I ask him if I can have a try at giving it new life and he eagerly agreed.
DIY TIME
So, you may be wondering why I am interested in this crusty old thing? Well, because I see the potential in what it can become. Furthermore, a few years ago, I found a wall clock thrown out for trash and turned it into a
Swiss medical cabinet. With that past project in mind, I decide to add a bit to this to make it into an antique medical box. Sounds good, right?
First, I need to get the lock off it...ahem.

In order to do that, I use my bolt cutters and it comes off relatively easy.

Then, I need to replace those hinges. Thankfully, I have these hinges leftover from my recent upcycle of a
vintage sewing machine table that suit this box perfectly.

However, the lid of the box is pretty thin, so I cut reinforcements out of scrap luan to add to the back so I can use screws to hold the hinges in place. Originally, the screws stuck out into the box as I remember warning my son to be careful of them.
Last, once assembled, I add another scrap piece of wood to the interior for a shelf. Also, I paint the inside of the lid white. As a final point, I'm a sucker for typography using
my transfer method, so I had to add that as well. eep!
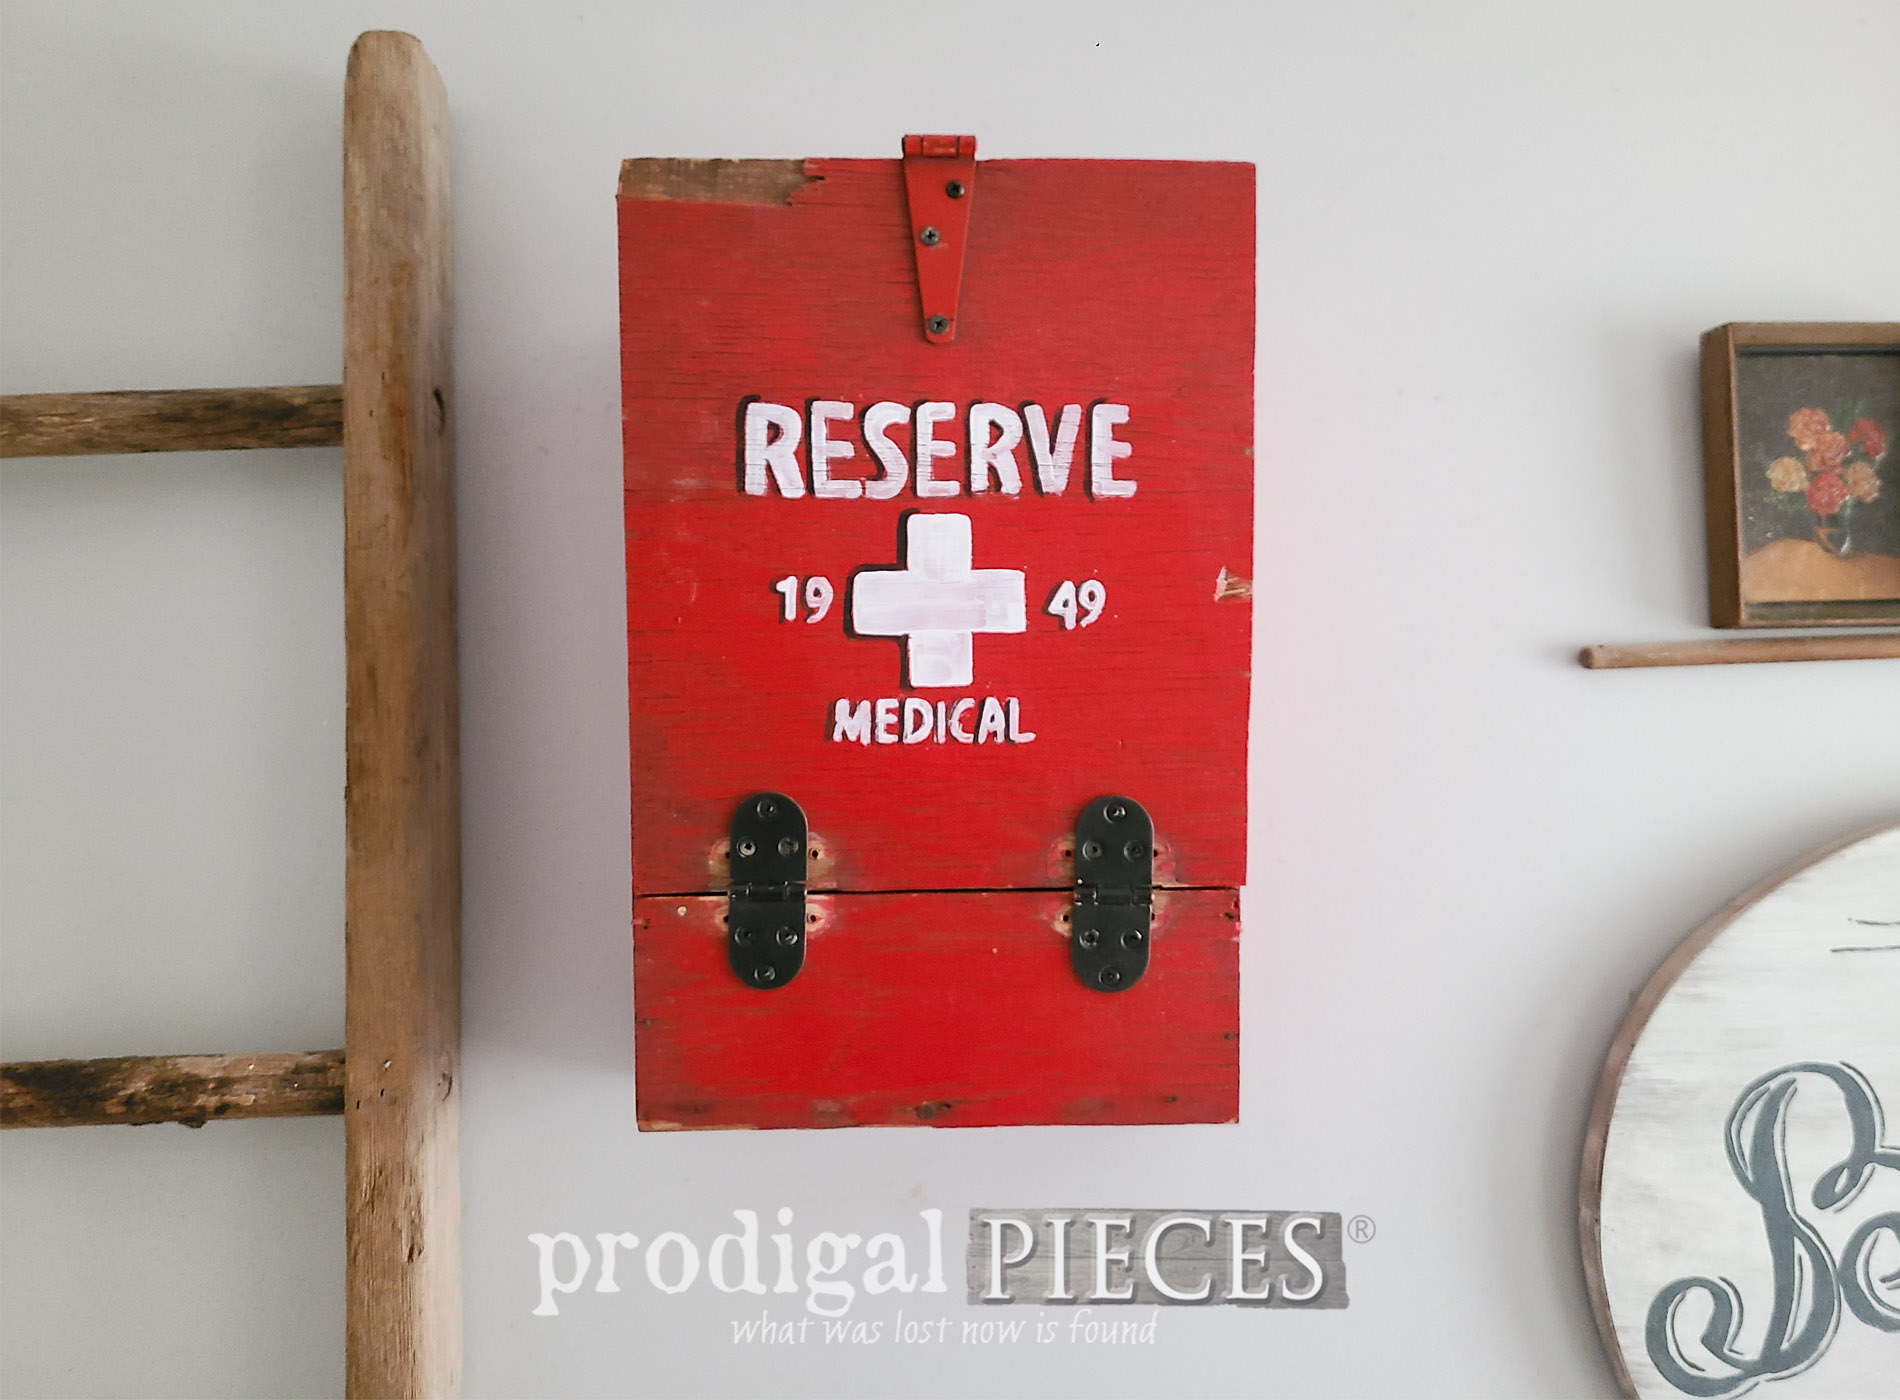
MEDICAL FIX
Finally, after my little DIY stent, this now antique medical box is ready to add a bit of spunk to someone's wall decor. I love it!


Not only does it have that rustic vibe, but it also offers storage for daily grind goodies, medical supplies.


Maybe I'm a little on the nutty side for seeing the potential in this
trashure. However, that's what makes my DIY adventures fun. Additionally, make this a part of your home story by finding it available in
my online store.


SHARE
In addition to leaving some comment love below, I invite you to pin and share to inspire others. Who knows, maybe there are other boxes out there just needing some TLC. Even more, I'd love to hear what you would have done with this box. I'm always here to inspire you to give DIY a try in any facet of life. Let's explore together!

What is more, you'll want to
sign up for my FREE newsletter. That way you get the details on my next
Trash to Treasure Tuesday fun! Until next time!

While you're at it, check out these other fun DIY projects like my antique medical kit:


 While you're at it, check out these other fun DIY projects like my antique medical kit: