 It's made of wood and that's about all it's got going for it. Check out the geese...
 They look angry! hahaha!! However, it appears they are tearing off the bow on the apple. It made me LOL in the thrift store! Okay...sorry...not sorry. Too funny to not point that out.
Well, you know I had to do something with this, so it's makeover time for this vintage bed tray. I've created a video tutorial for you below, but I'll walk through the simple steps too.
They look angry! hahaha!! However, it appears they are tearing off the bow on the apple. It made me LOL in the thrift store! Okay...sorry...not sorry. Too funny to not point that out.
Well, you know I had to do something with this, so it's makeover time for this vintage bed tray. I've created a video tutorial for you below, but I'll walk through the simple steps too.
DIY FUN
First, I wiped it all down with a vinegar/water mixture to get rid of any grime or nasty. Then, I grabbed my paint brush and an antique white paint to dry brush a coat of paint. Once the paint cured, I used a bit of dark wax and an older brush to age the paint a little.

WALLPAPER
As soon as the wax was buffed, I used gave the vintage bed tray a rubbing with some sand paper. That not only adds to the aged feel, but allows a little of the wood to peek out underneath. Also, you may be wondering why I chose white, or why distress it at all. Well, you see my end result in my mind was going to include this chippy painted wood wallpaper. Ever tried this stuff? It's absolutely awesome as you can see how I used it on the dated Broyhill hutch desk or in these projects HERE. What a difference! Likewise, I, too, was a wallpaper hater after pulling down and scraping many rooms of the stuff. However, I am totally sold on the new line of repositionable papers. Easy to use and easy to adjust. In addition, it comes in all sorts of fun patterns and styles.
You can see the process of how I applied it in the video. Just cut and work on a short end to lay it down, pulling the paper back as you go. Also, if bubbles show up, just lift it up and begin again.
It's absolutely awesome as you can see how I used it on the dated Broyhill hutch desk or in these projects HERE. What a difference! Likewise, I, too, was a wallpaper hater after pulling down and scraping many rooms of the stuff. However, I am totally sold on the new line of repositionable papers. Easy to use and easy to adjust. In addition, it comes in all sorts of fun patterns and styles.
You can see the process of how I applied it in the video. Just cut and work on a short end to lay it down, pulling the paper back as you go. Also, if bubbles show up, just lift it up and begin again.
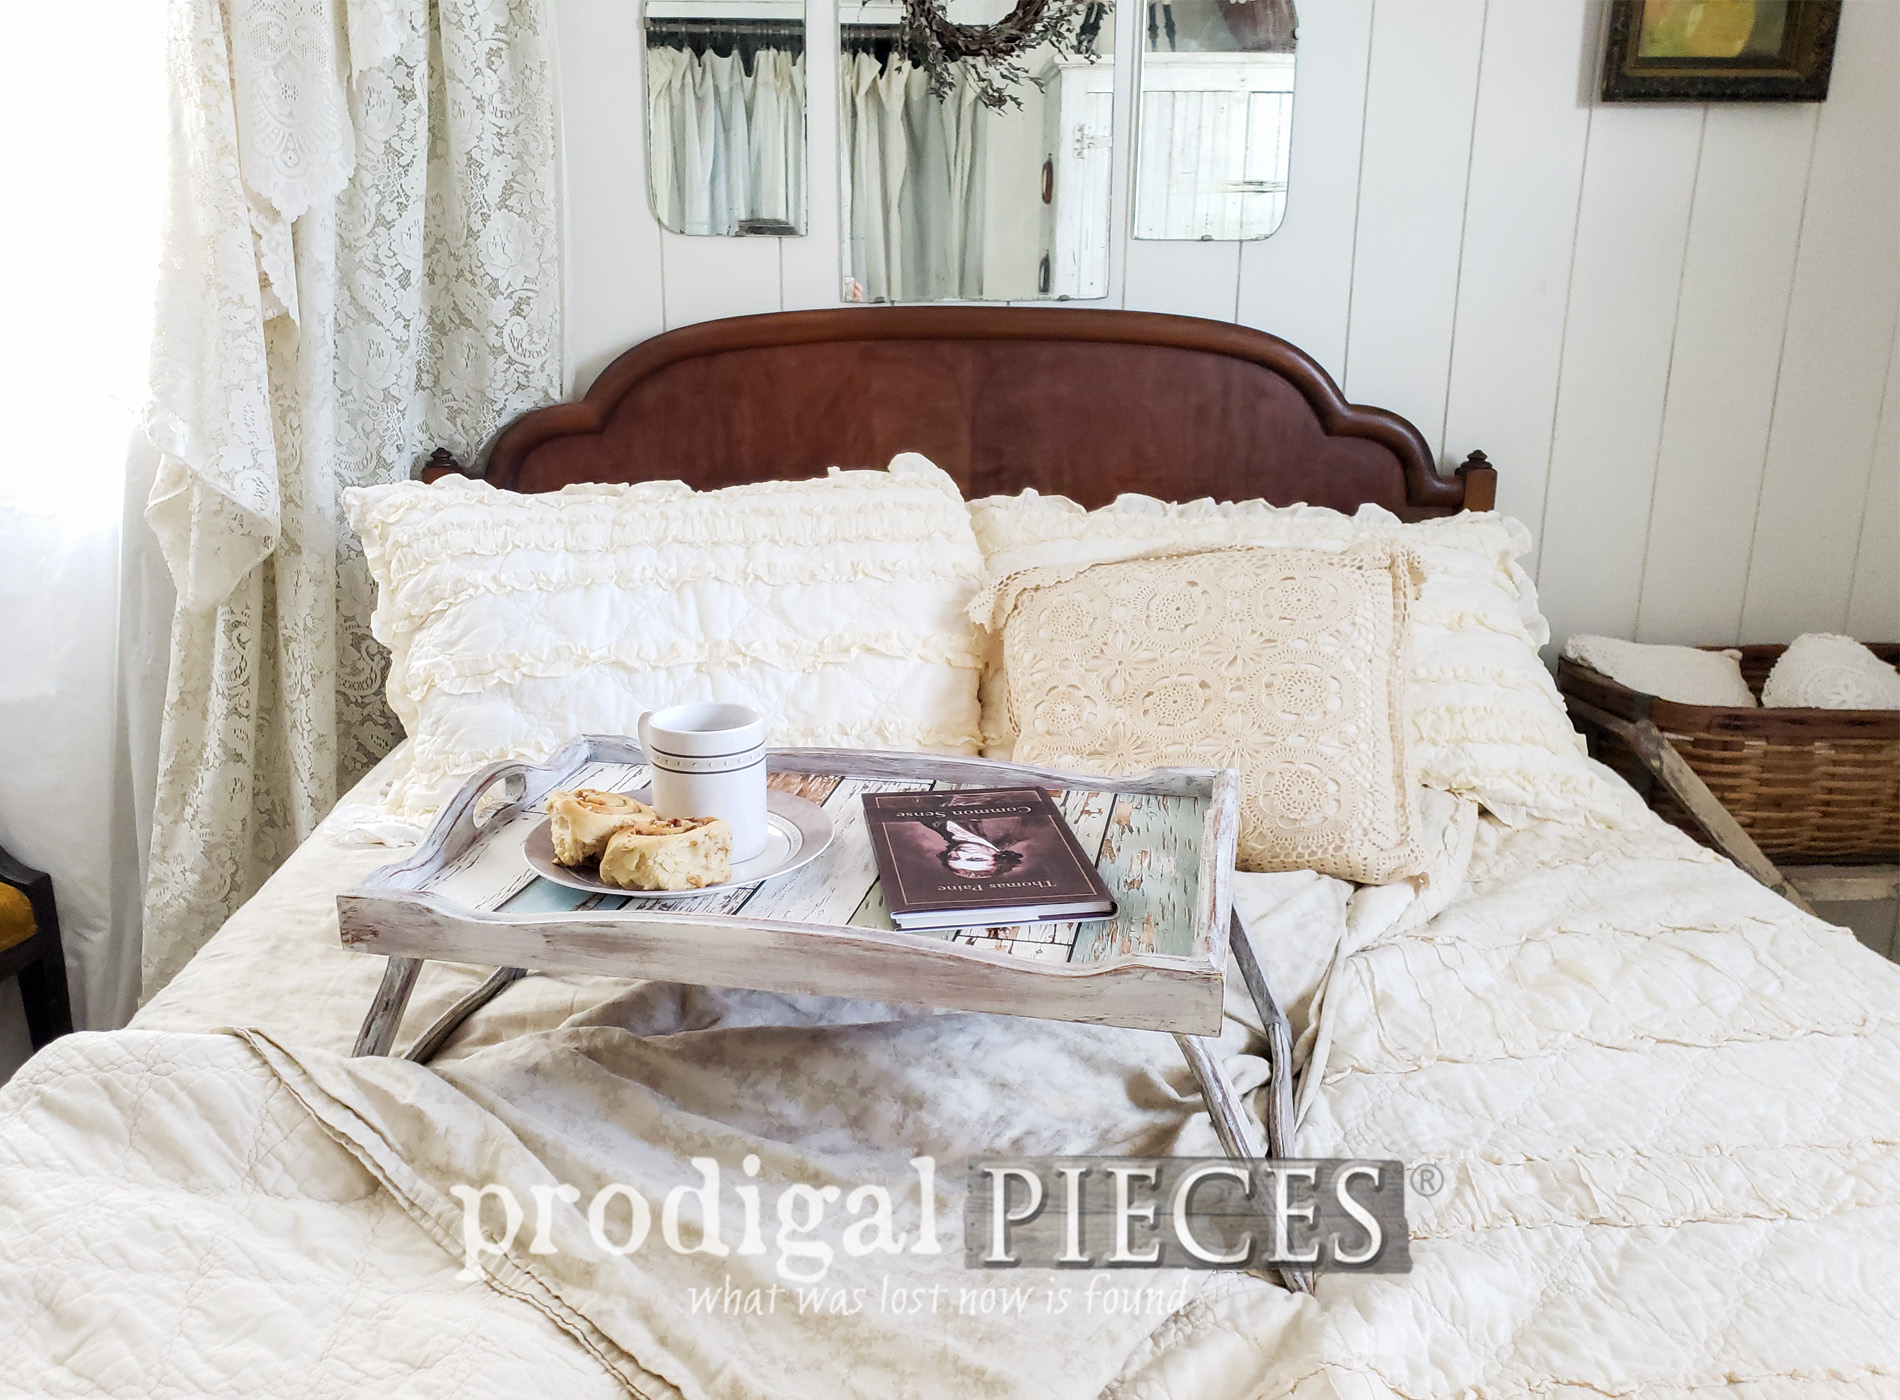
ALL DONE
Finally, after a few DIY steps, my vintage bed tray makeover is complete. In other words...the geese are gone, baby! {{happy dance}}
 As a result, we now have an updated and refreshed tray that has a great many more years of life in it. Wasn't that fun? Additionally, see the video demo below.


 So...I have to ask...have I convinced yet to give wallpaper a second chance? You know you want to. haha. However, in the event that someone gets tired of the paper, all they have to do is peel it out and add new.

 Likewise, you can find this bed tray and oodles of other furniture, home decor, and handmade goods in my online shop.
[metaslider id=30251]
 Also, pin and share this vintage bed tray makeover to inspire others. I'm all about getting you to try a DIY project of your own.

MORE FUN
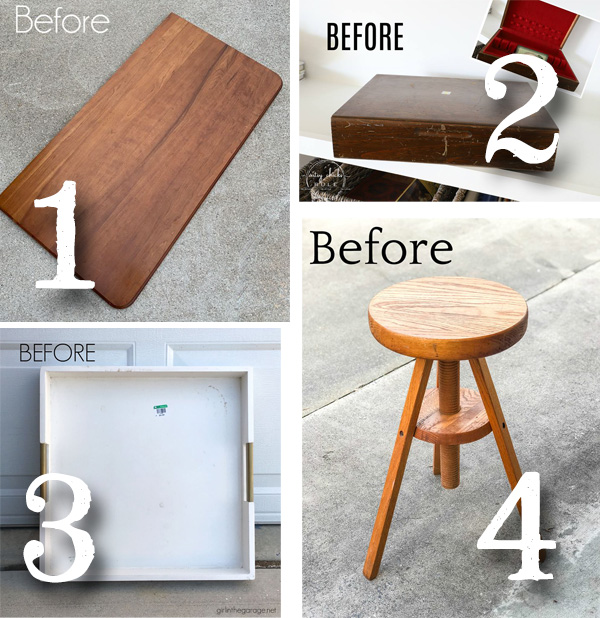
Up next, these two wooden boxes are fair game for a fun makeover. See their new look and function HERE. To get these DIY tips & tricks in your inbox, be sure to sign up for my newsletter. PLUS, you will get your FREE Furniture Buying Checklist and special discount to my shop. Now it's time to see what my Trash to Treasure gal friends have for you below.
 Last, but not least, time to check out what these talented ladies have worked on for you today.

In addition, more projects like this vintage bed tray makeover:

