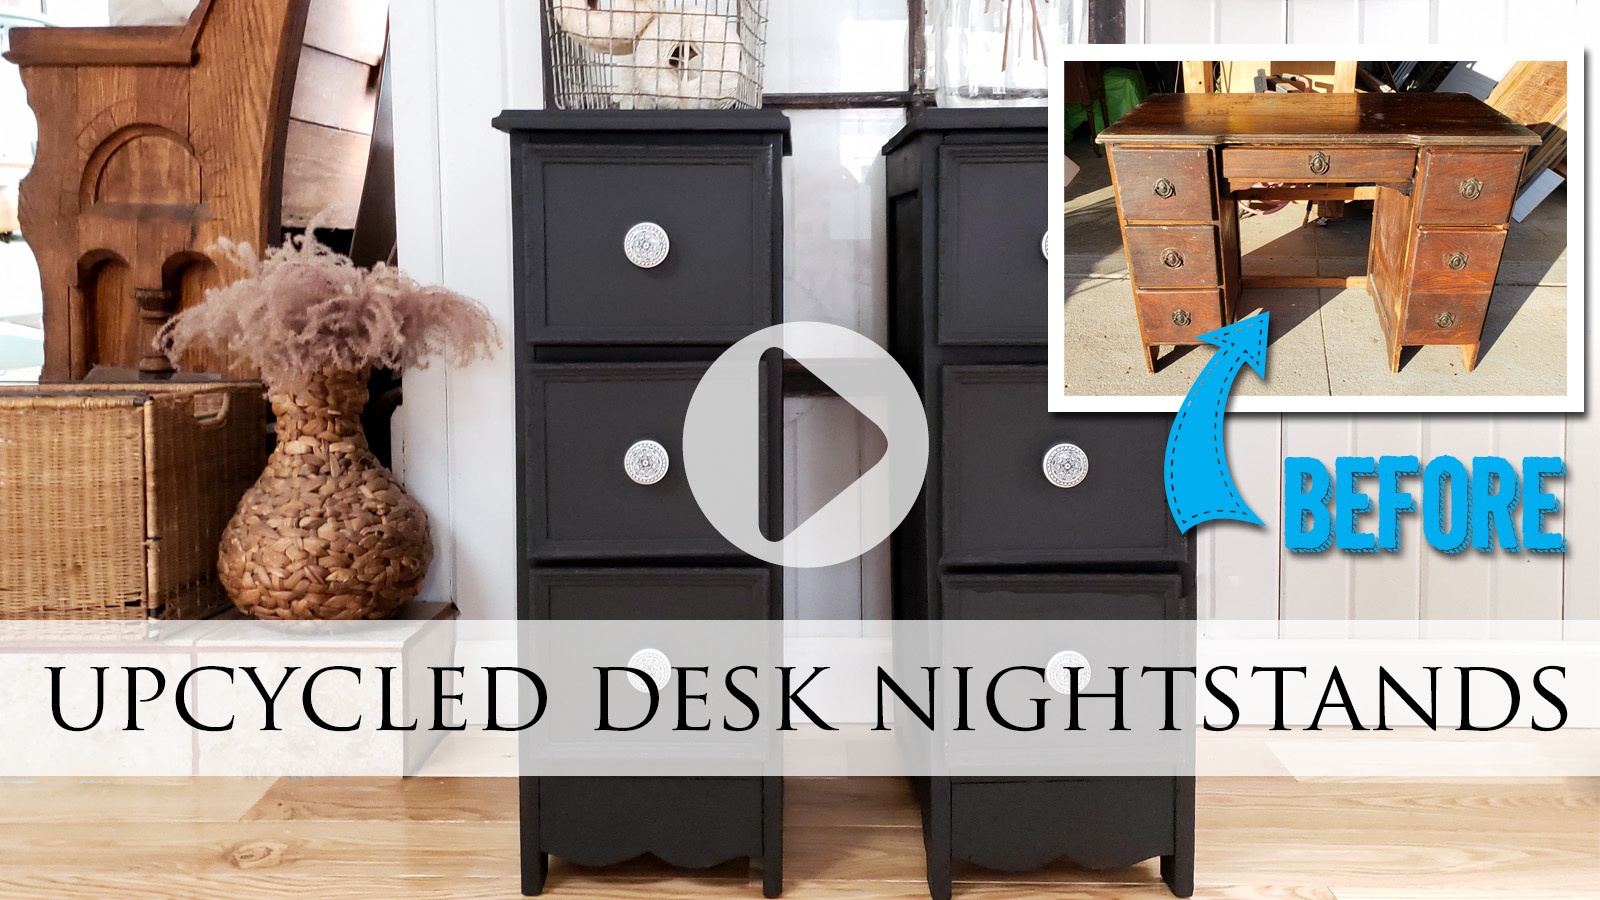
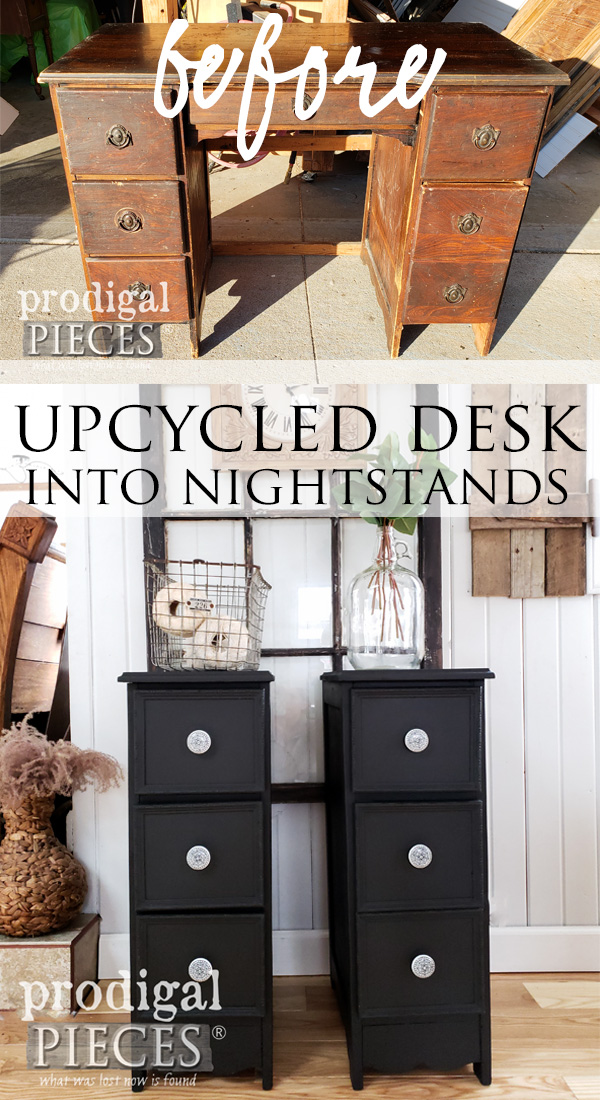
Ooh...do I have a fun makeover for you today. Not only is this one is not your typical dress-up-a-piece project, but also really a complete metamorphosis. I'm a sucker for the worn down and beaten, and this beauty below is no exception. Hang with me as I turn this upcycled desk into nightstands. {{enter in dramatic music}}
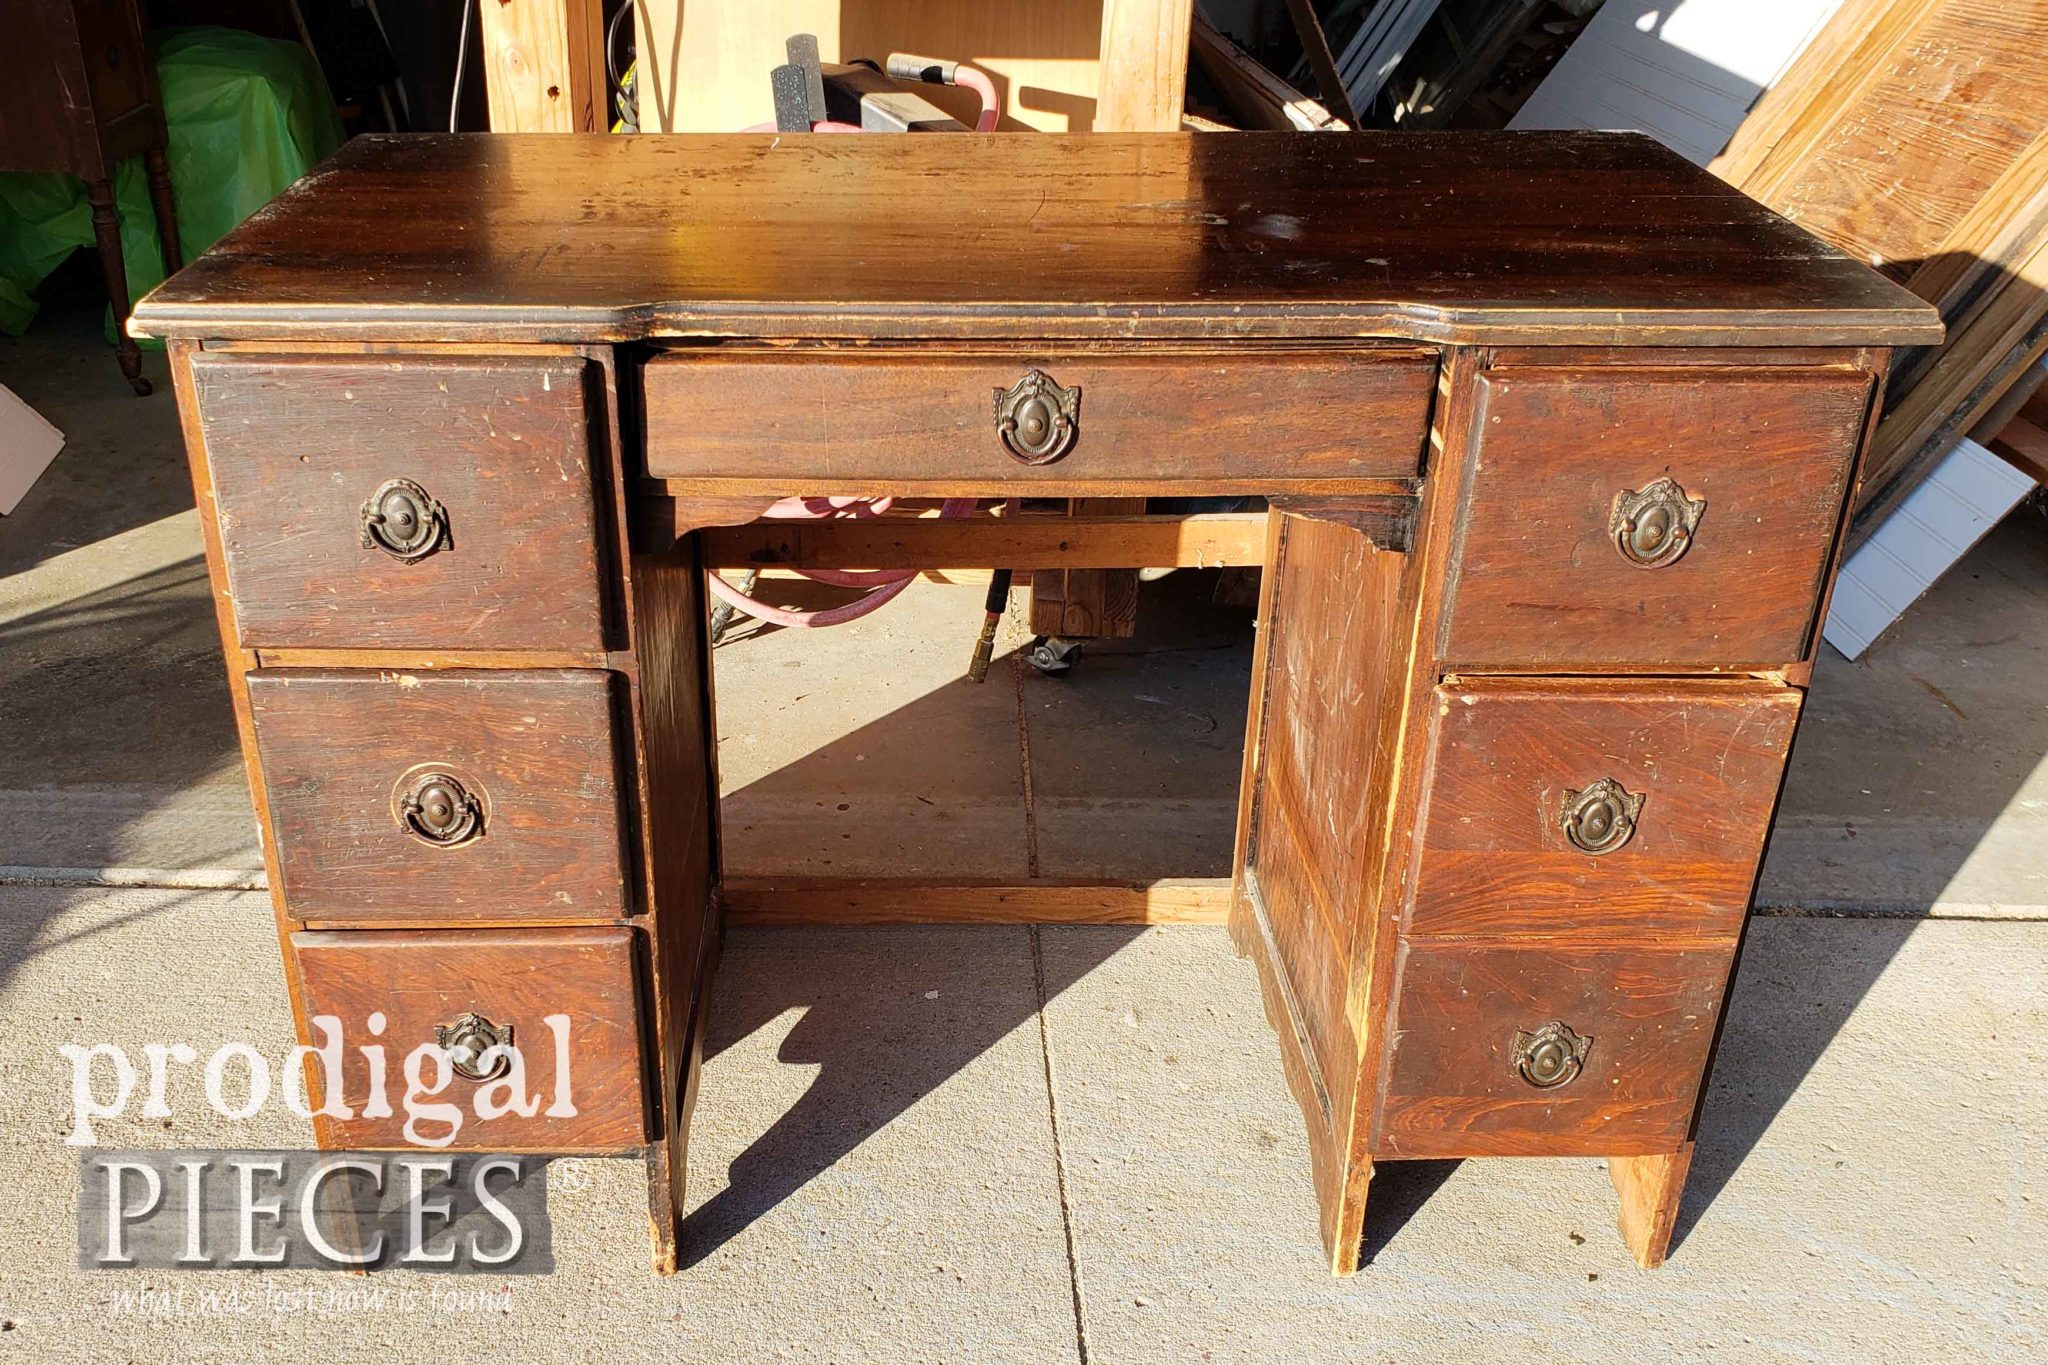
A few weeks ago, I told you the story about a lady named Donna, who had recently passed. Her daughters were working through finding homes for her estate items, and I purchased an antique dressing table and this desk. You can see the
antique dressing table in this post. (It's a good one!)
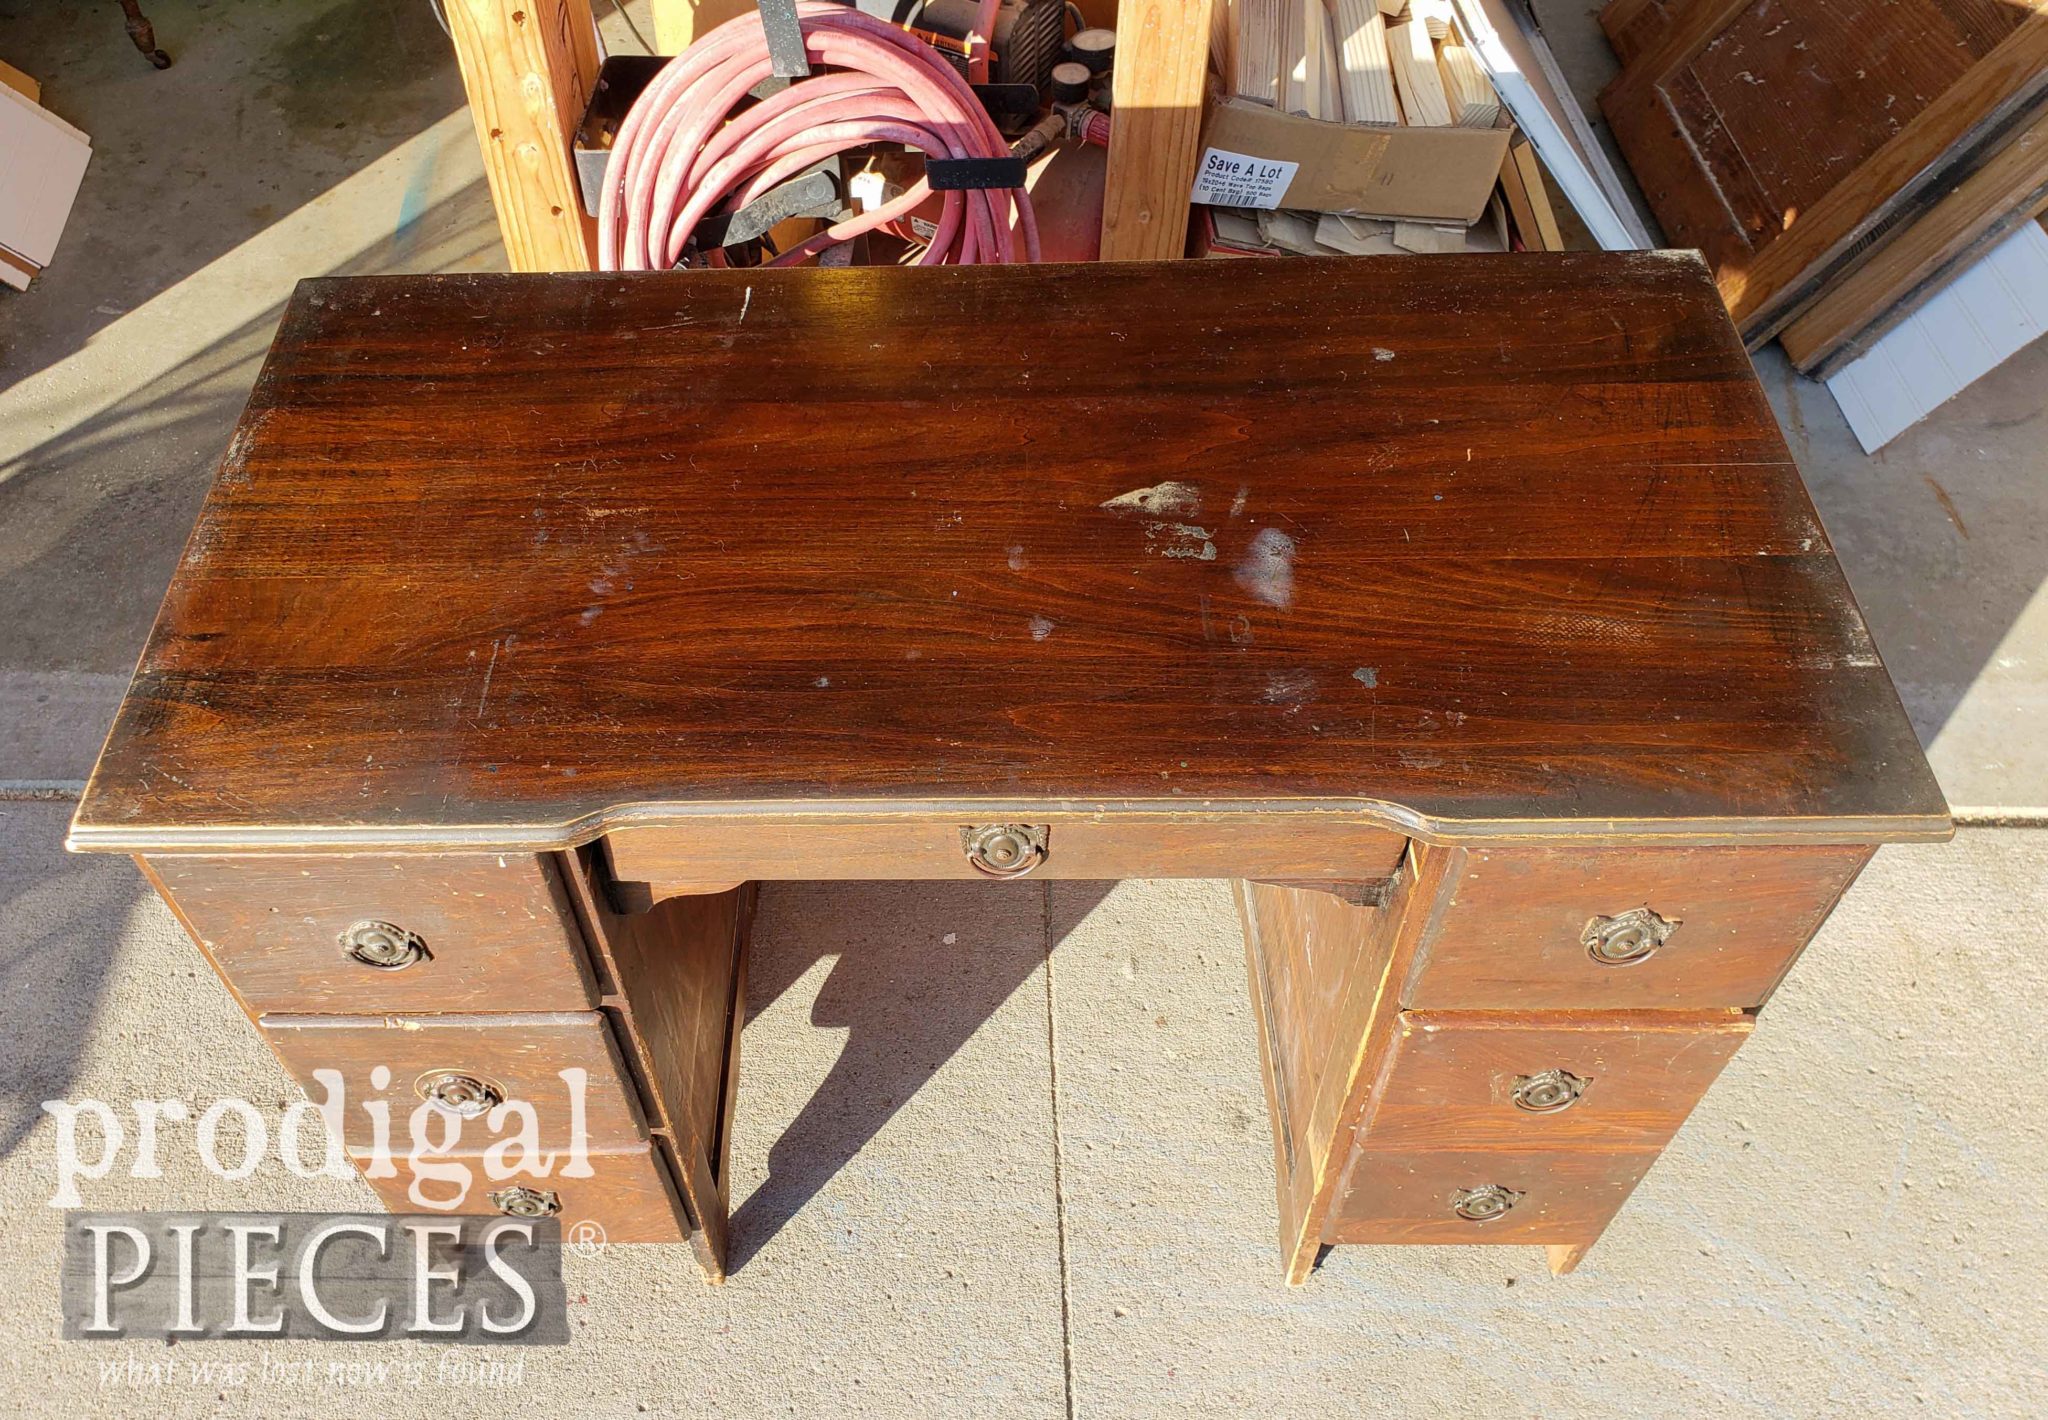
Today, it's all about this desk. I will be completely honest and say that I didn't want it. Initially, I went to look at both pieces and instantly said a "NO" in my head when it came time to purchase it. Further, the desk is beaten up and looks like more work than I felt like messing with. However, the softie that I am felt compassion for the ladies who were grieving, so I brought it home with me.
THE GOOD, THE BAD
I figured I could do something with it and didn't realize how bad of shape it really was until I pulled it out and looked closer. That being the case, it's not a high-end desk, but a desk, nonetheless. This silly thing is even held together by those boards in the back. Essentially, the drawers were all but falling to pieces and I had my work cut out for me. At long last, it was then I decided to make this an upcycled desk into nightstands project. In all honesty, this is probably where I should have stopped. haha!
First, I take out all the hardware and supports that were holding the top of the desk on. Those removed pieces go into my scrap pile for a higher purpose in the future. Hence, nothing goes to waste around here. Also, I've created a video demo of this below just because I wanted this fun on tape.
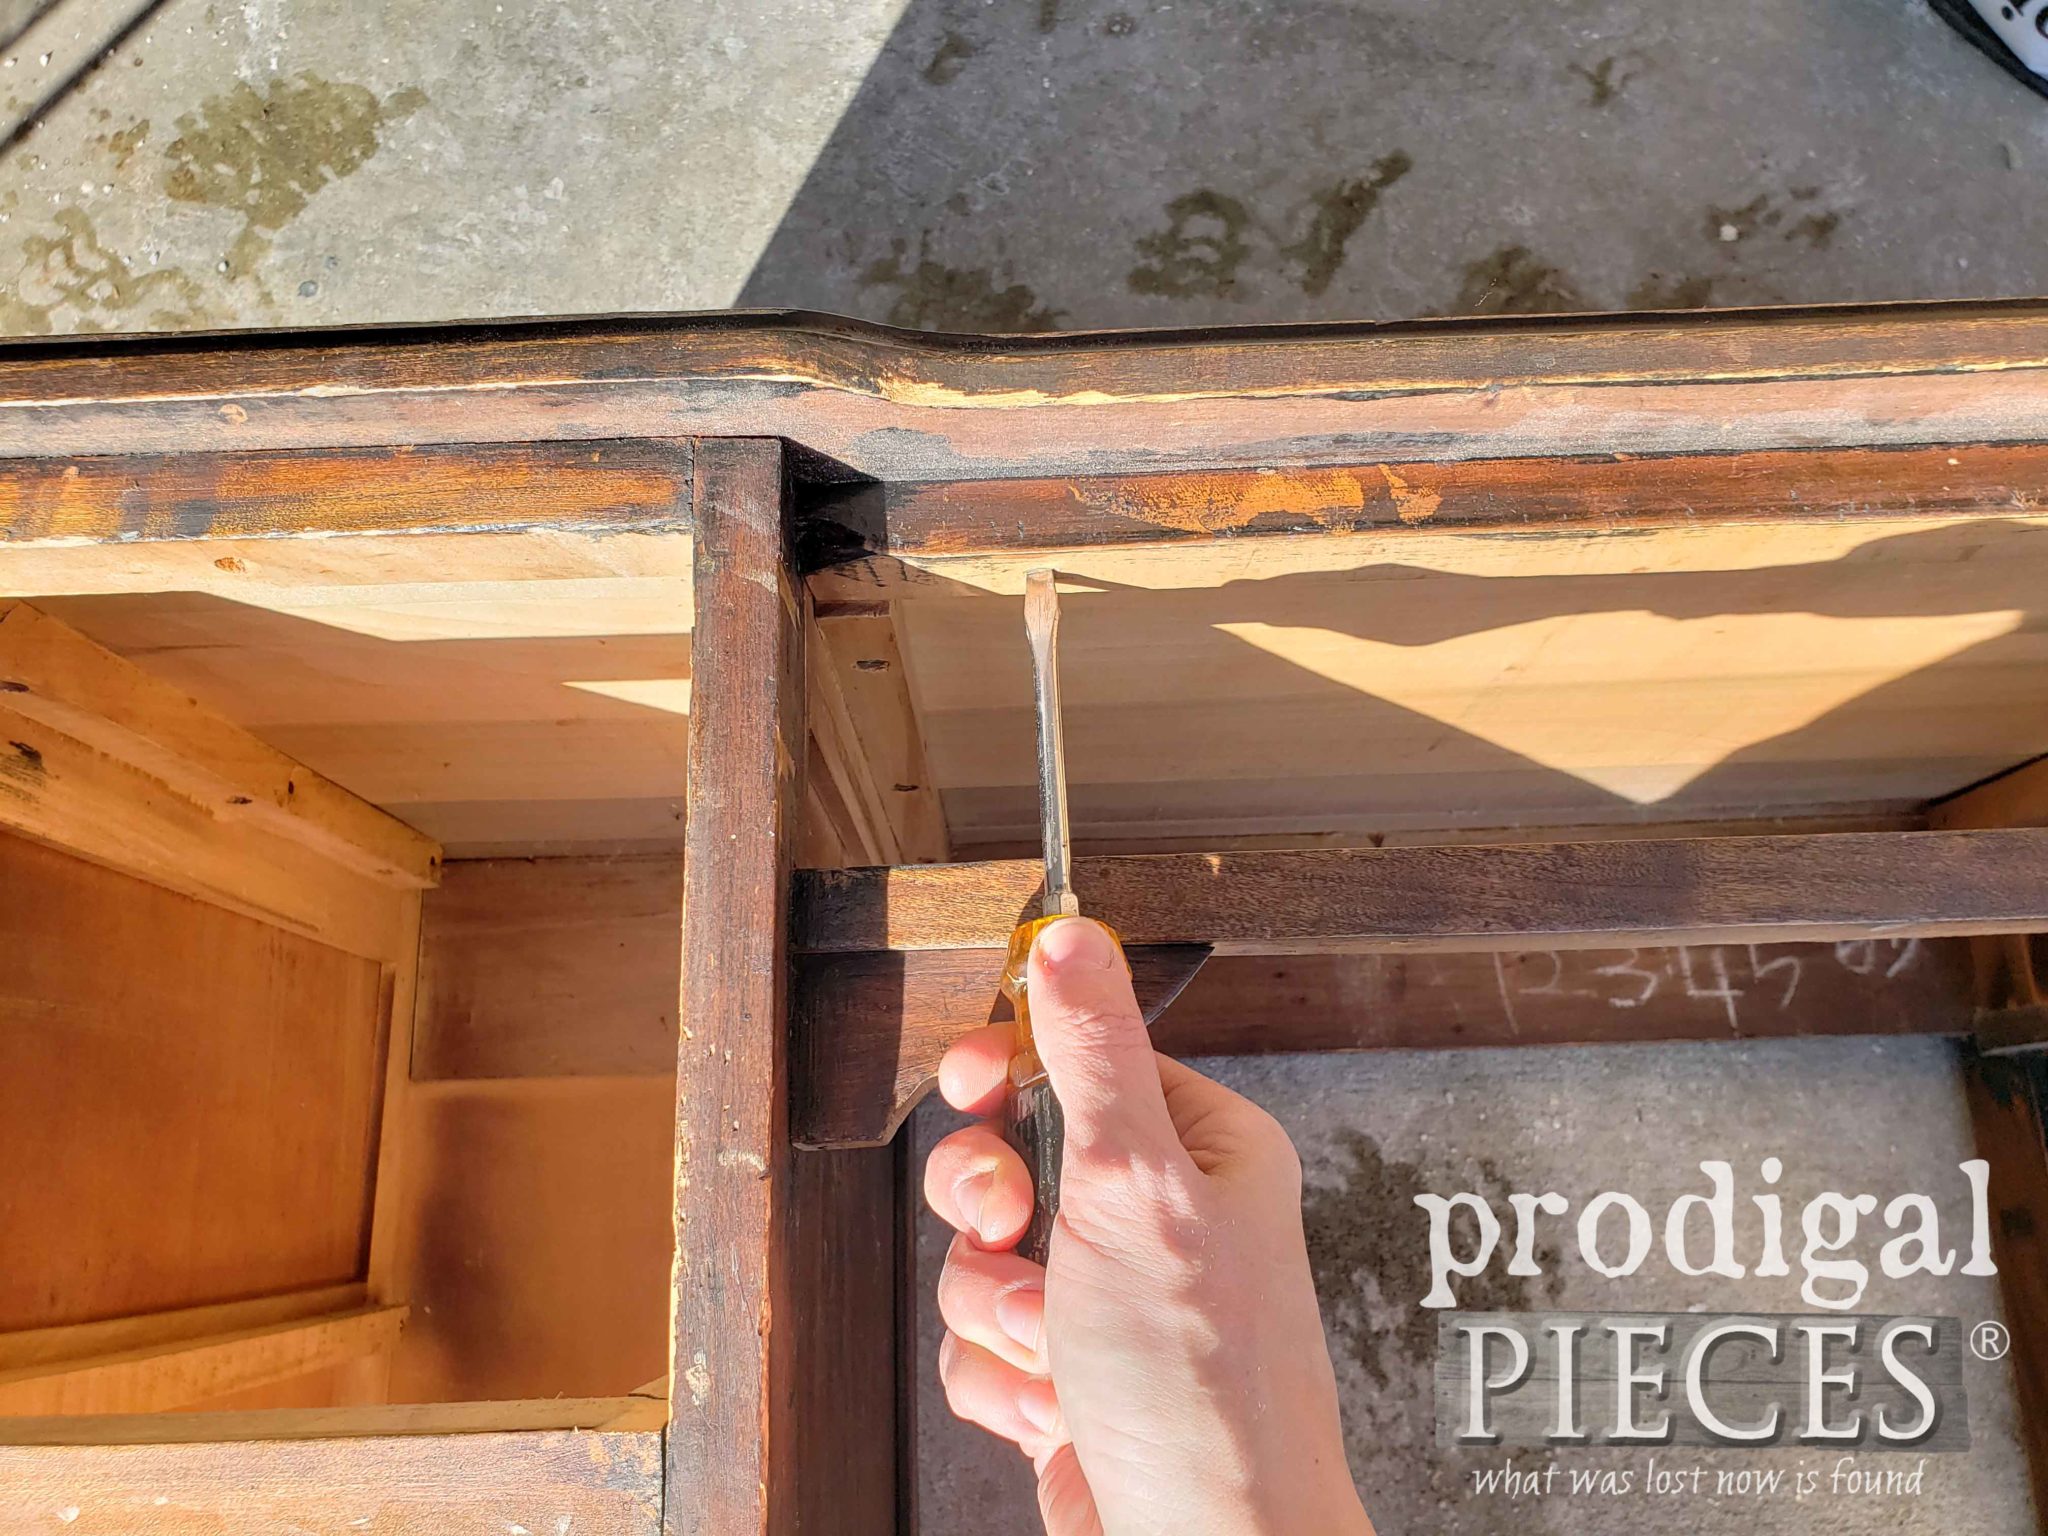
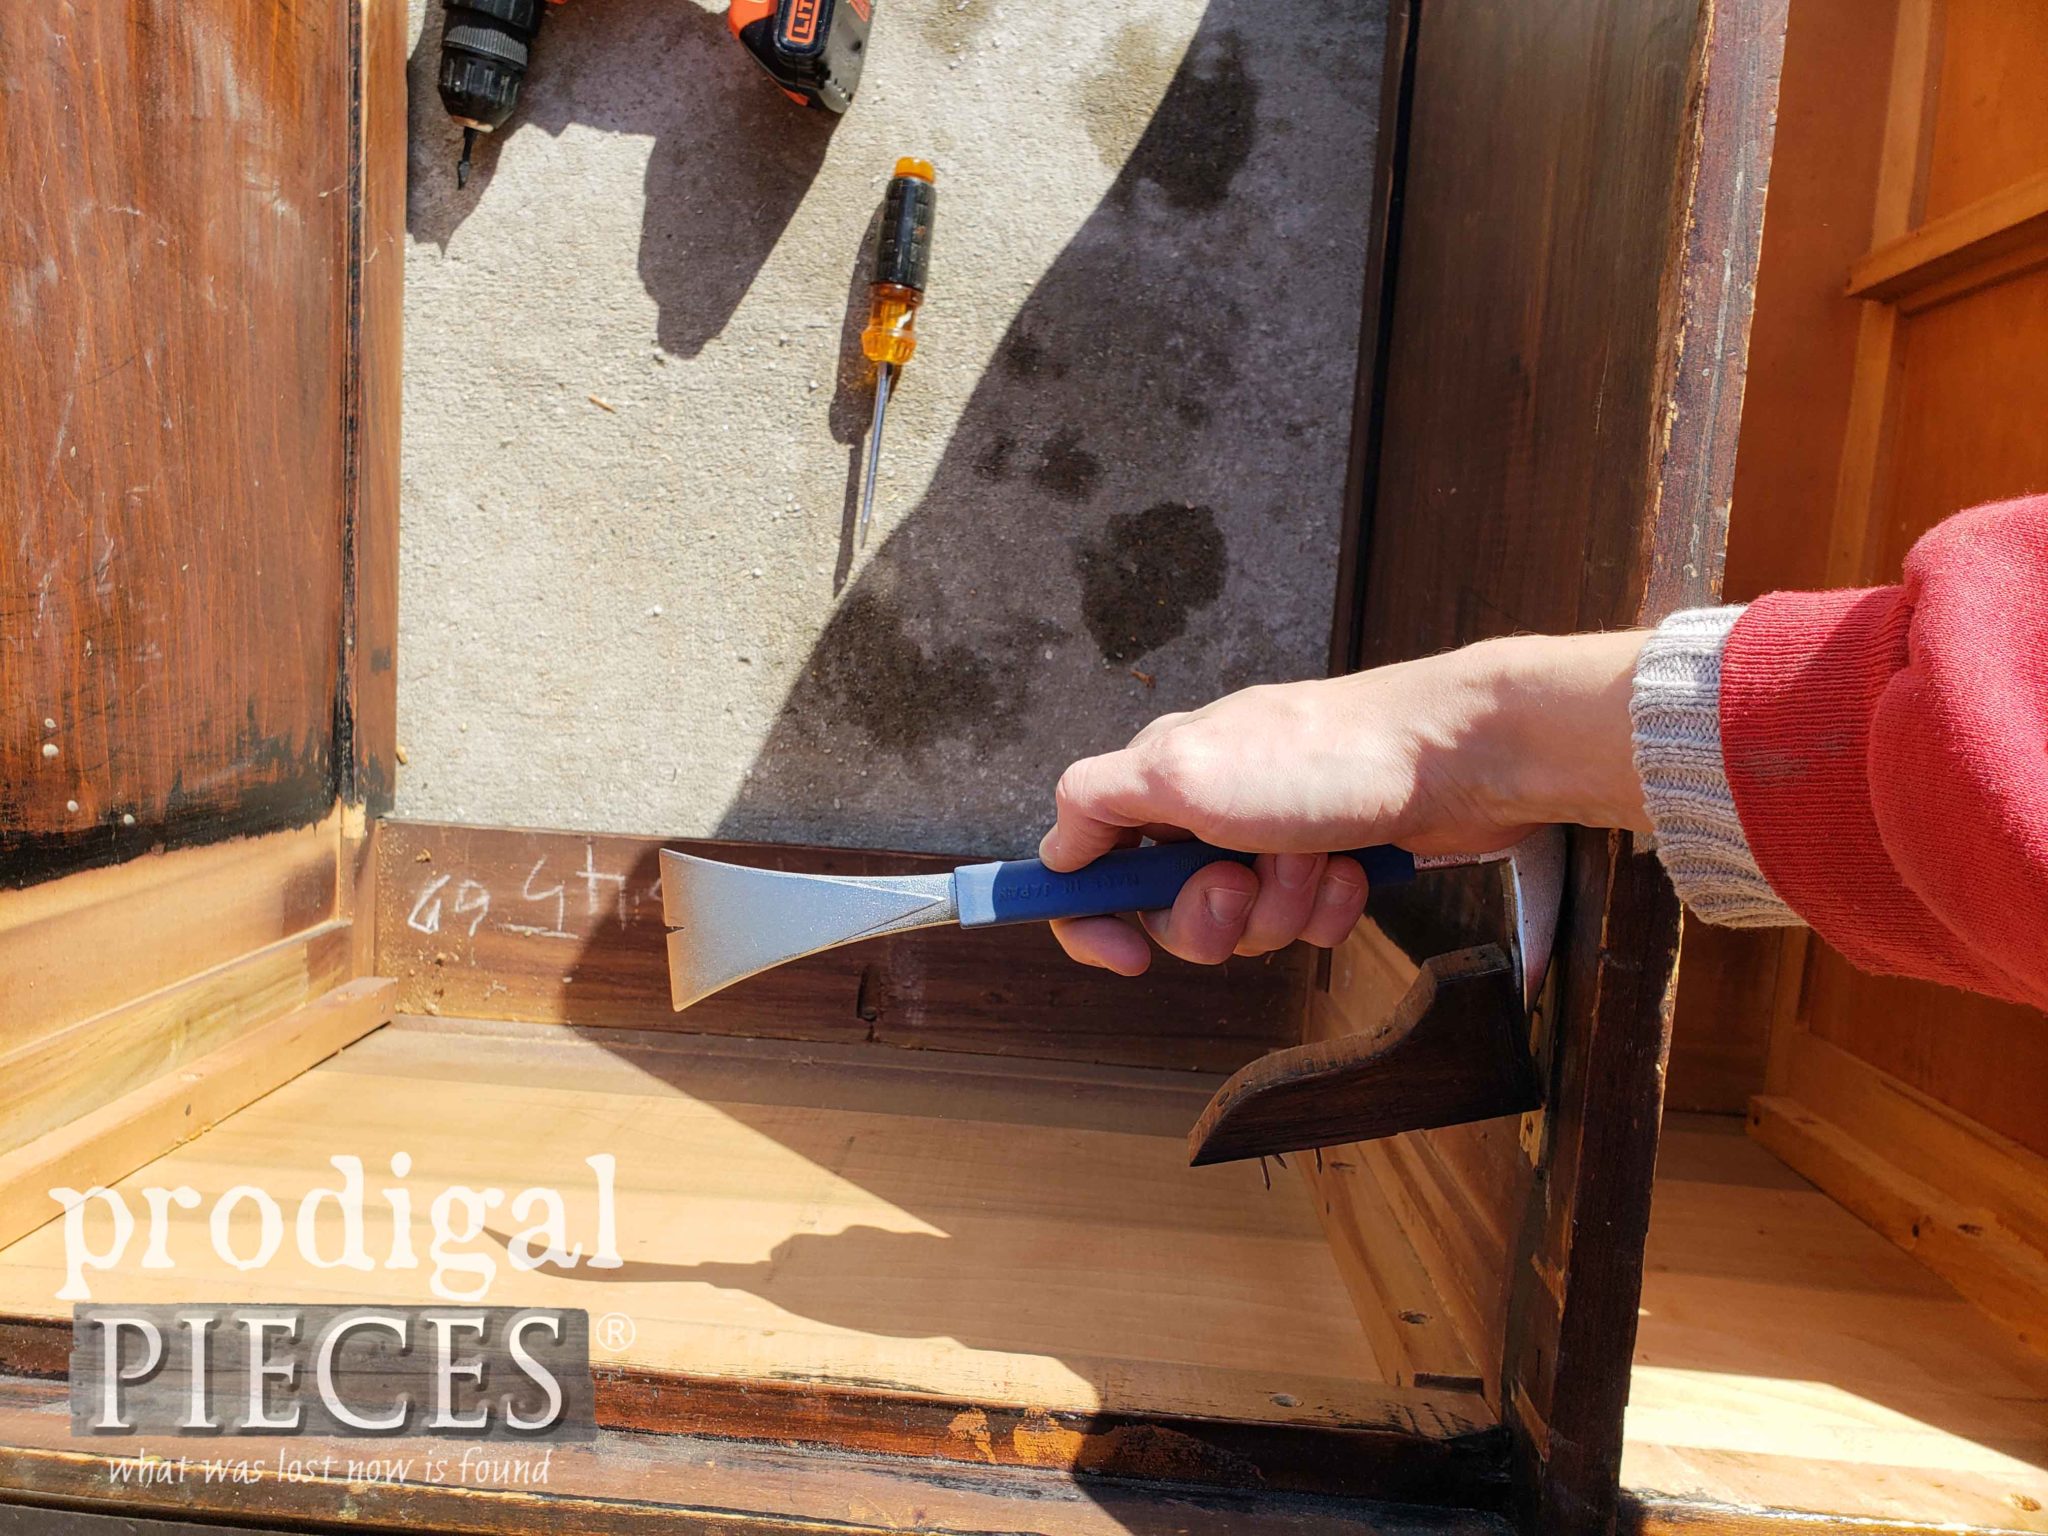
Now the top is off and I just have that one adjoining board at the back.
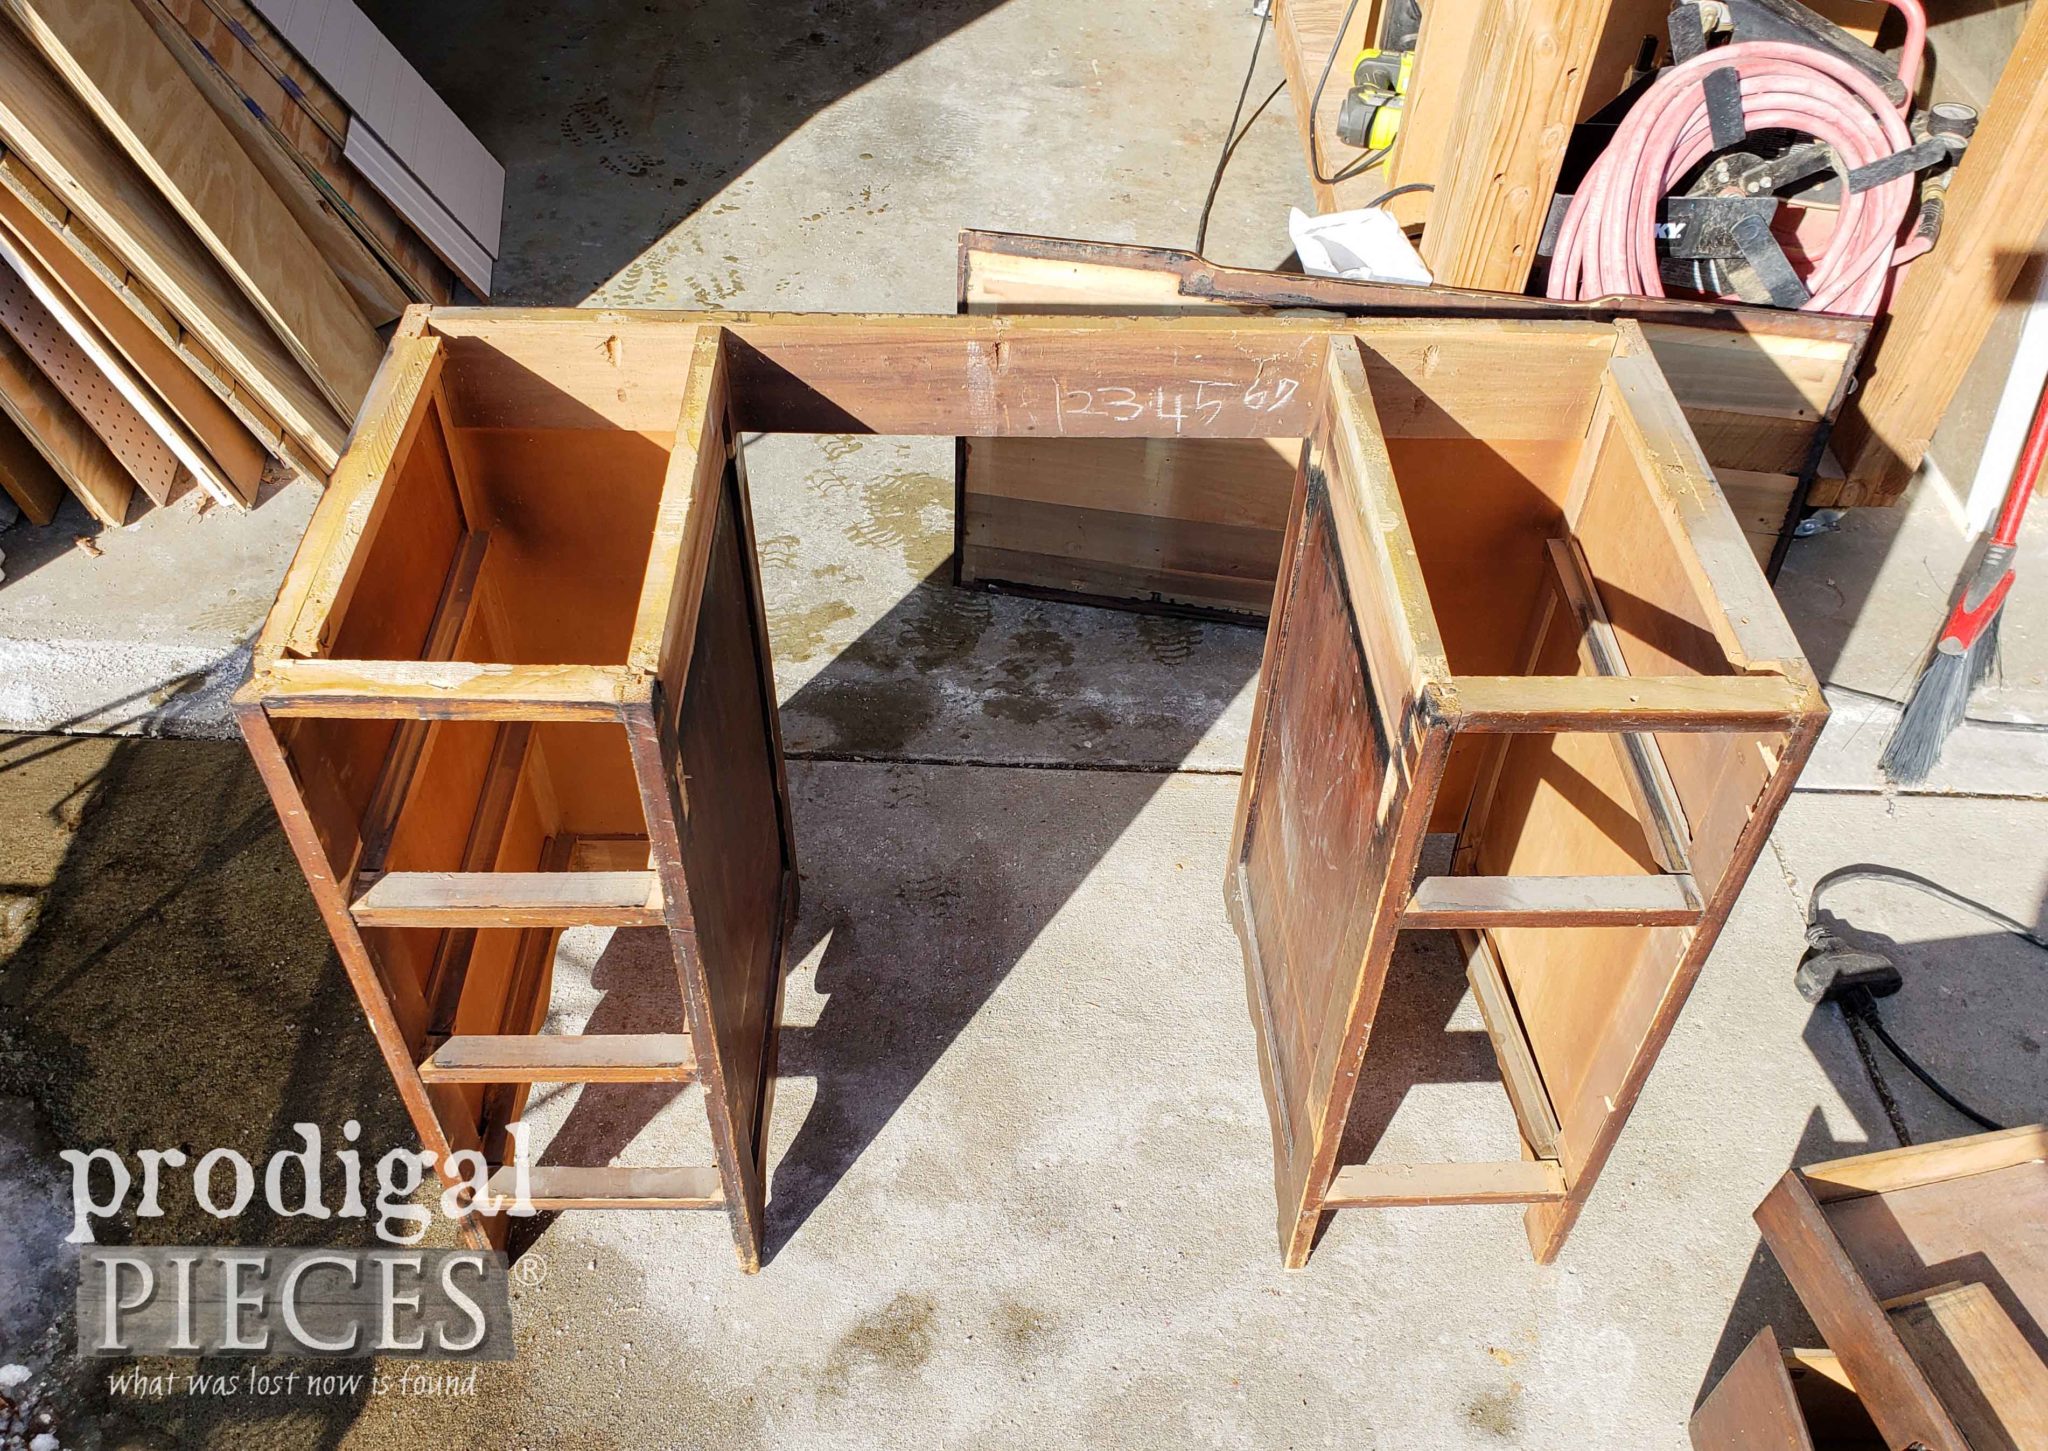
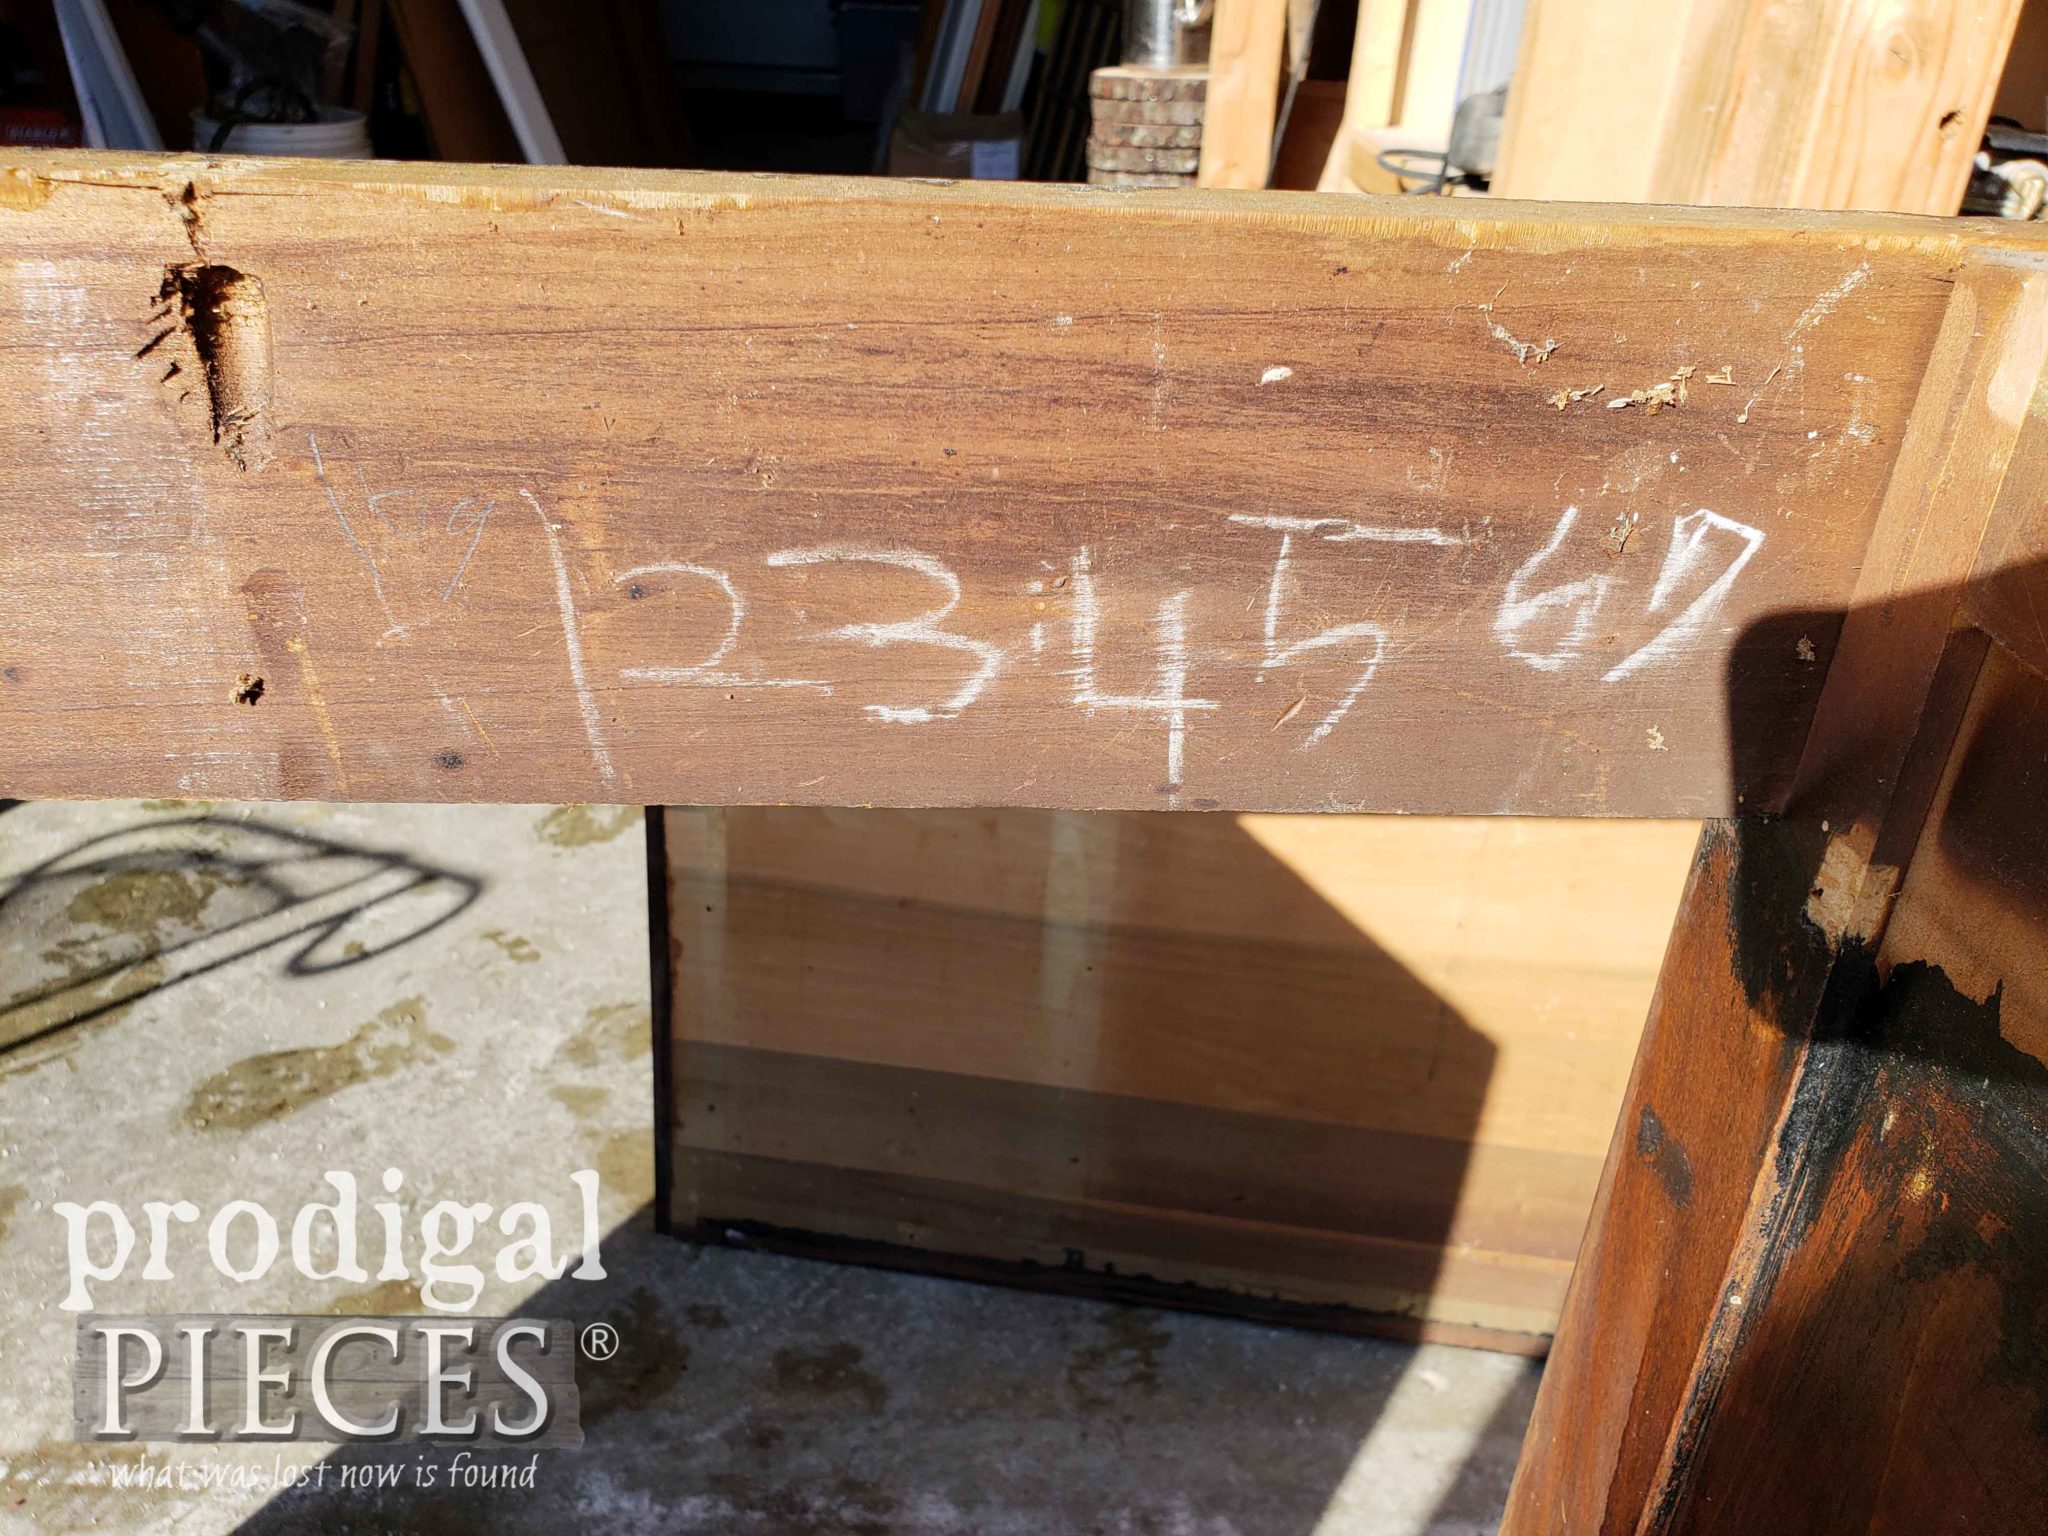
I just love finding these kinds of notes and marks like these chalk numbers. Some kiddo crawled up under the desk and practiced their numbers. So fun!
NEXT STEPS
Next, I pounded the board out and cut it into 3 pieces on my miter saw. The two shorter pieces are replace the empty spot at the back of the nightstands. Meanwhile, the 3rd longer piece heads to my stash.
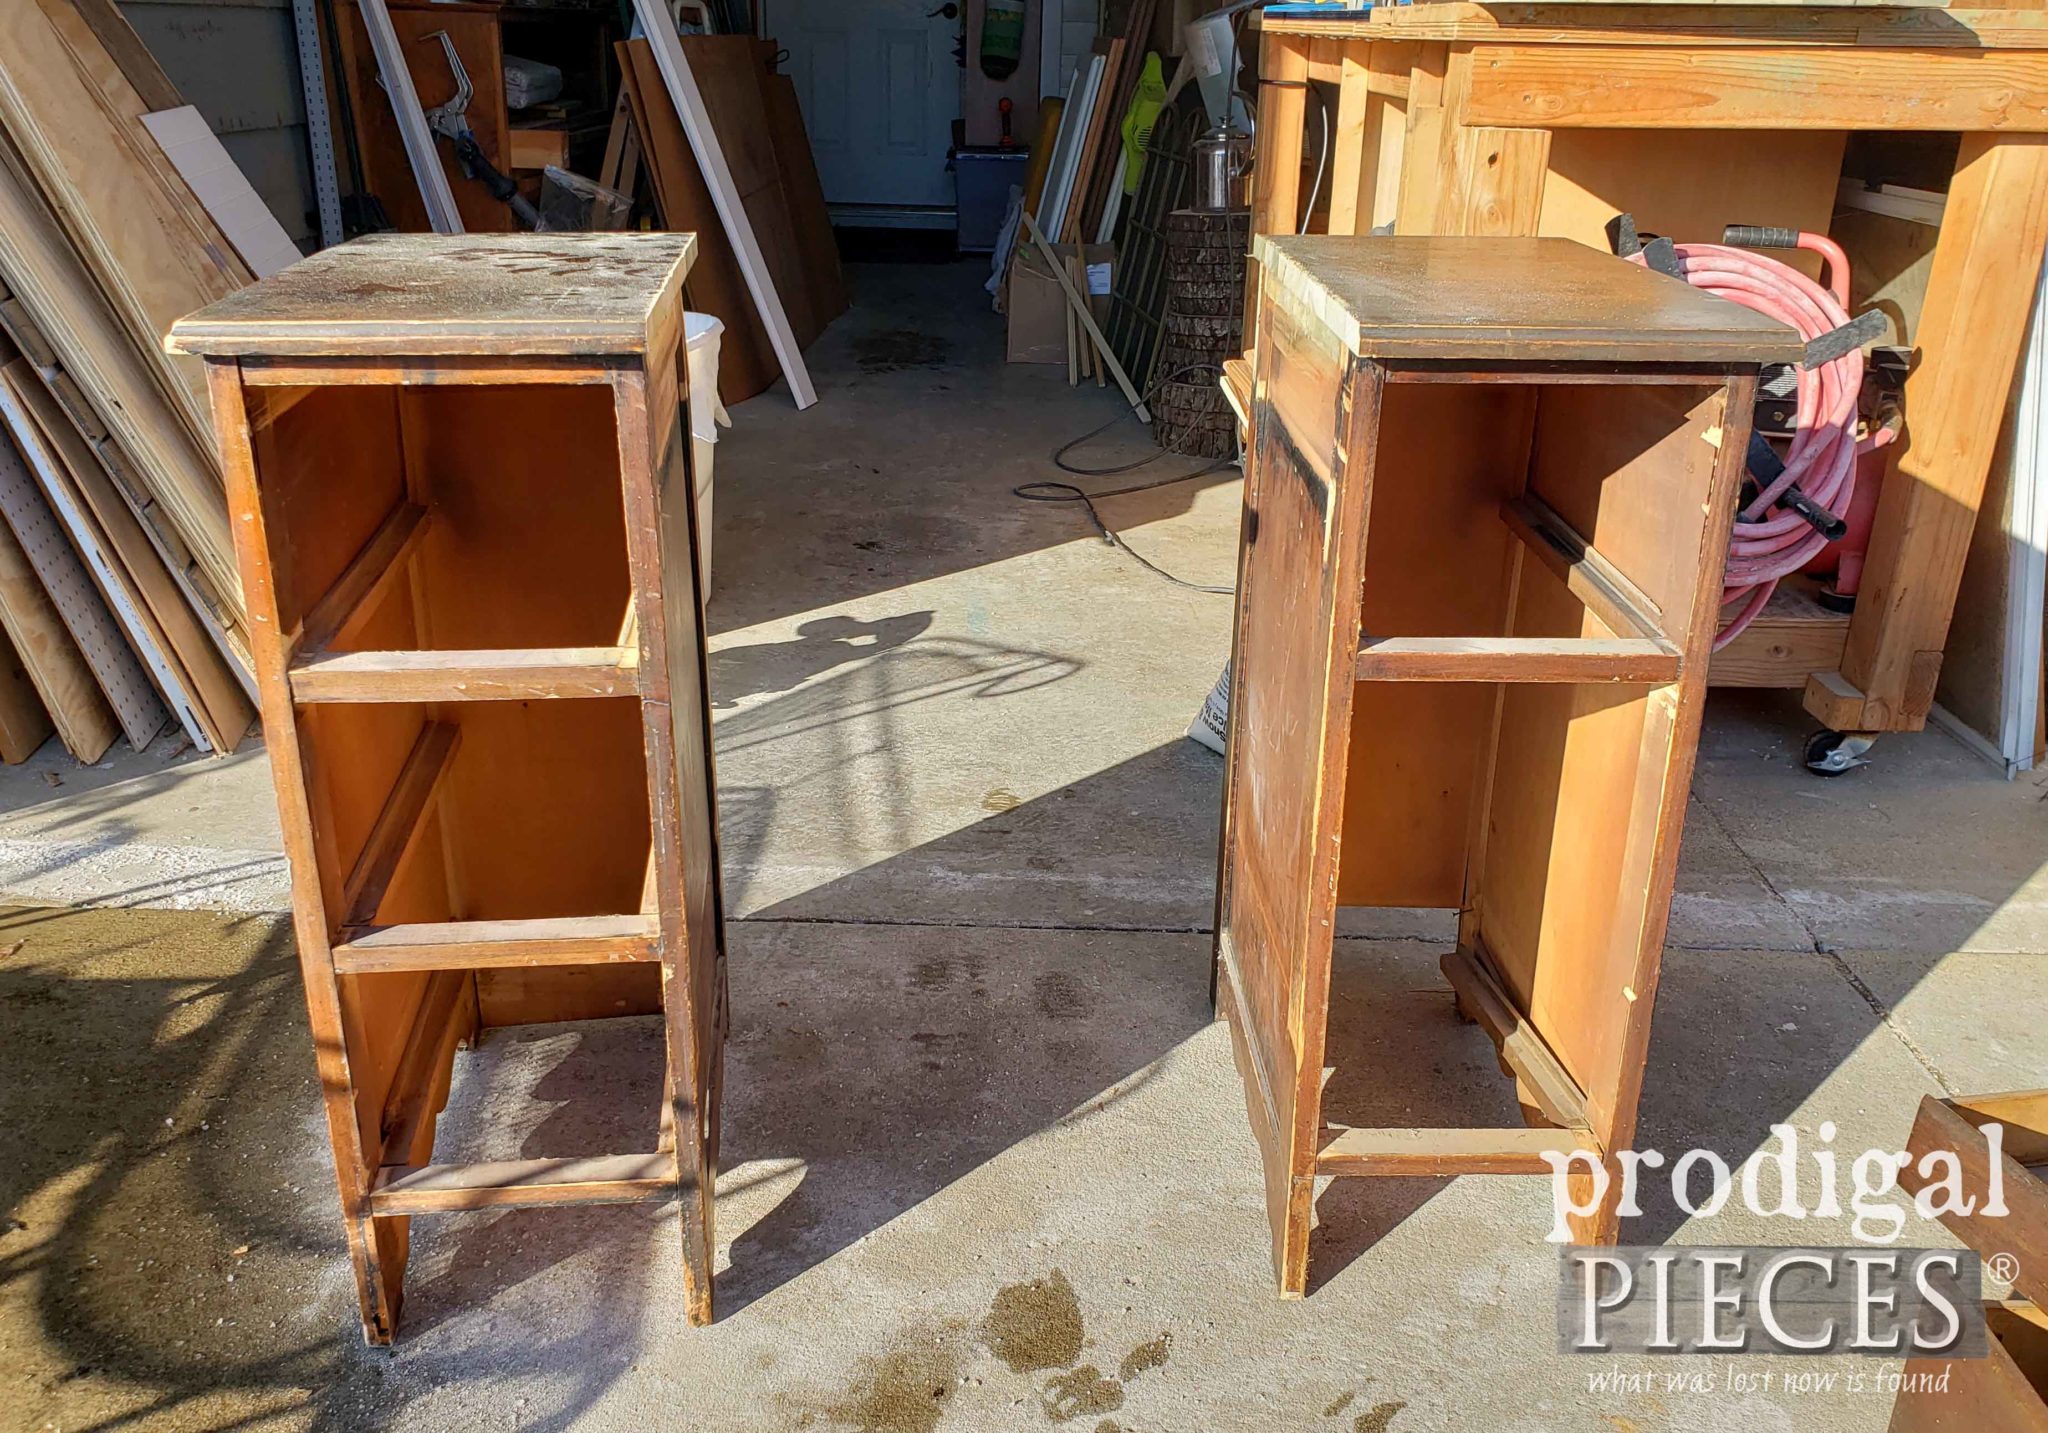
You can see in the video how I used my circular saw and Rip Cut Jig to cut off the end of the desk top to make new tops for the nightstands. Here they are resting on the dry fit upcycled desk into nightstands. If you were to touch these at this point, the would crumble to the ground. eep!
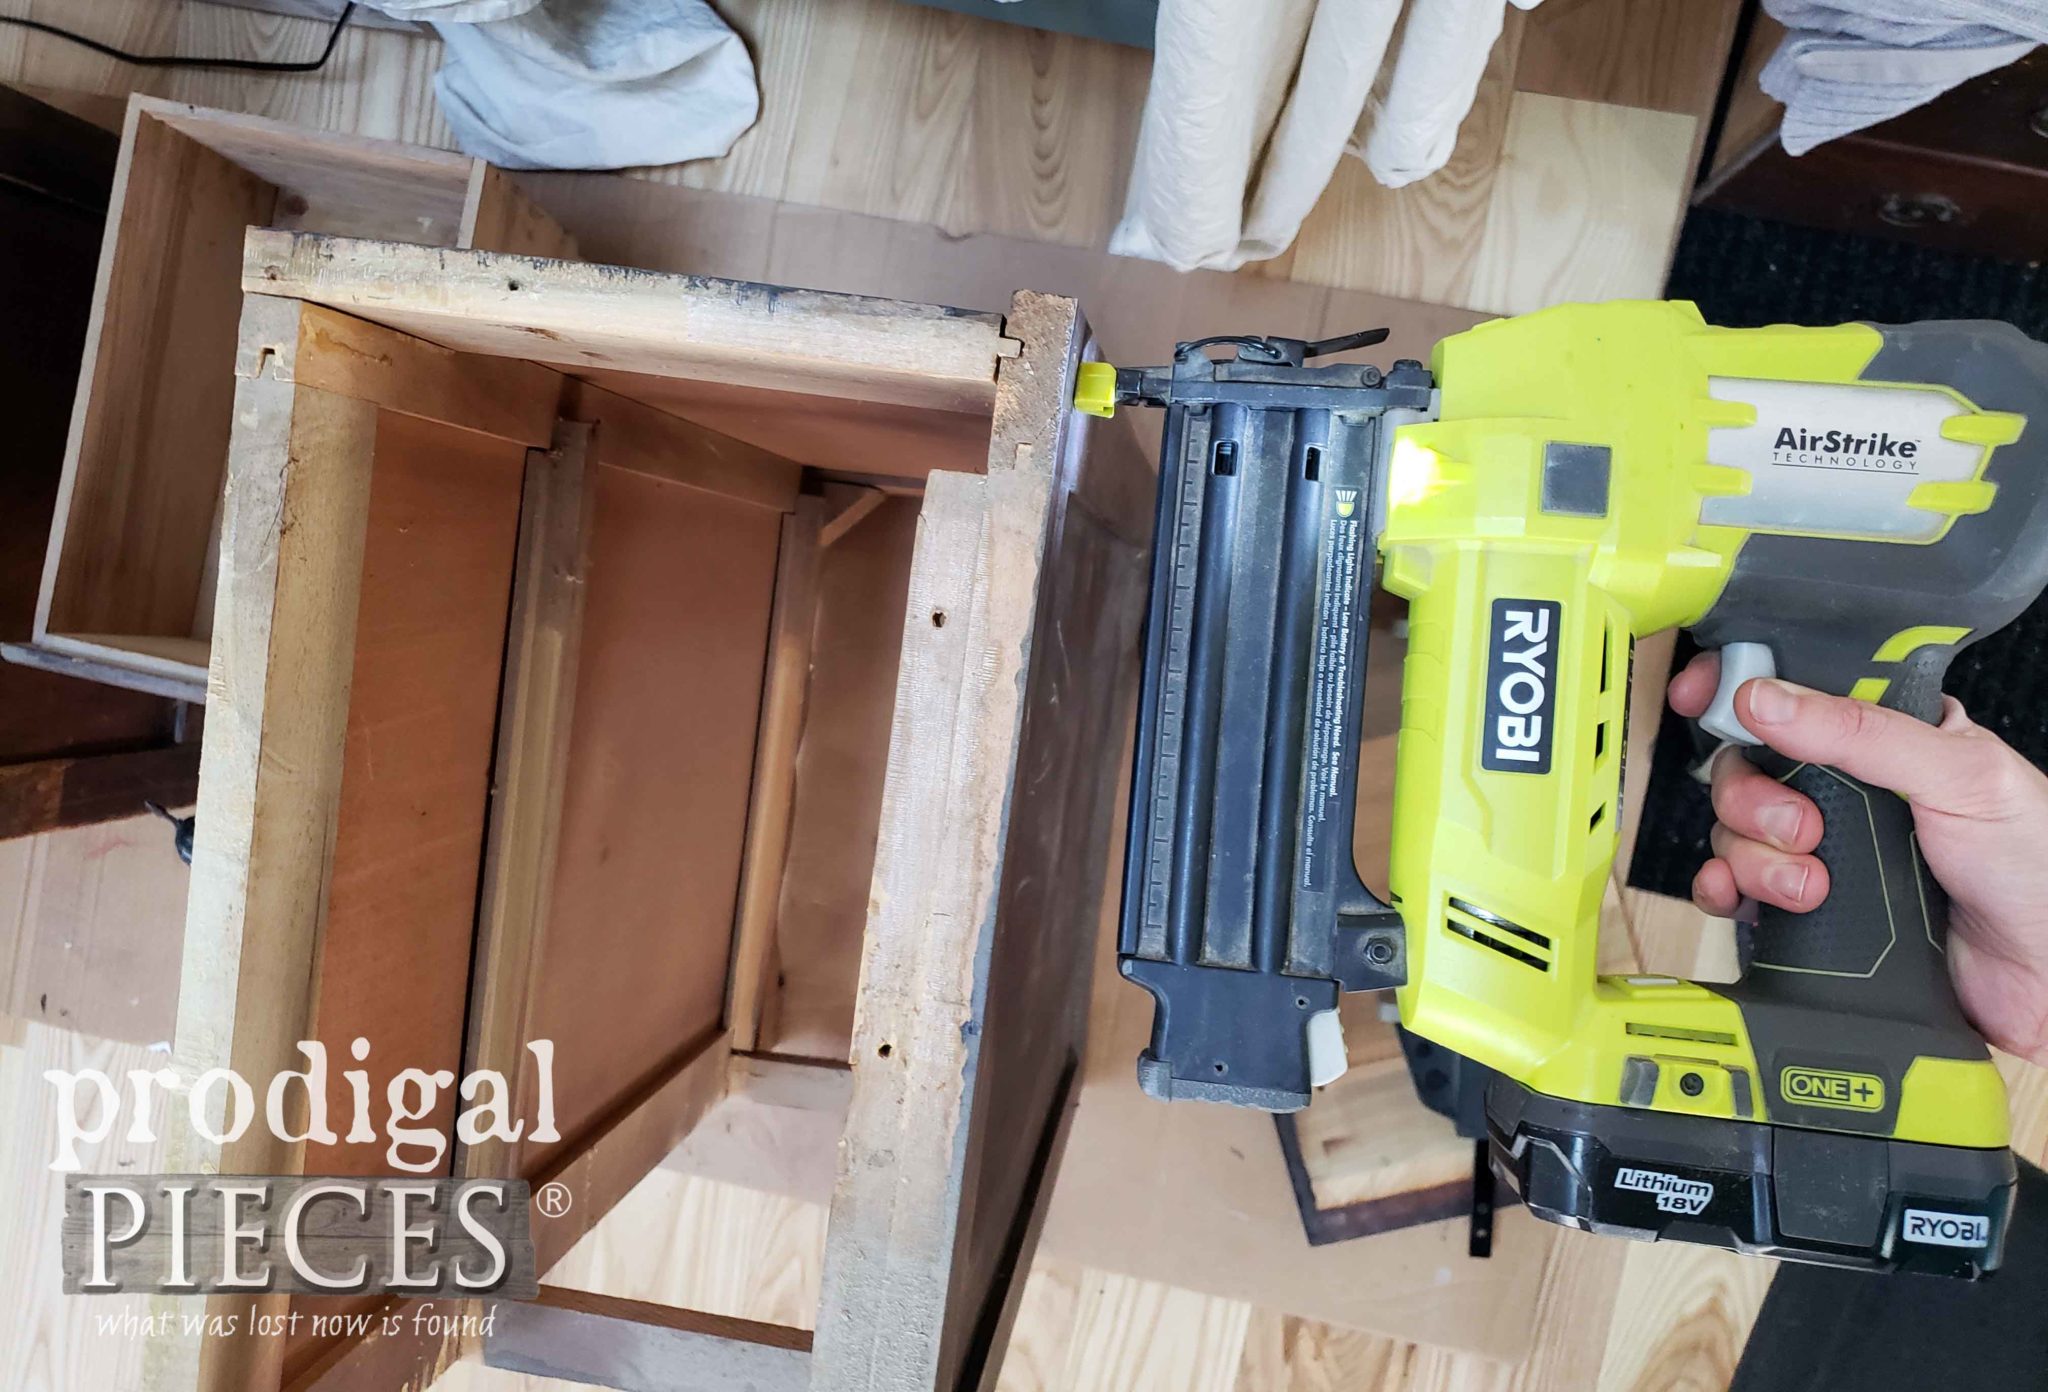
It's at this point I took them inside to assemble them and get the ready for the next steps. My nailer is my best friend when doing this job.
HOT MESS
Enter in the "what did you get yourself into" train. This is definitely not the first time I've had this joyride, but I am hoping this is the last. ahem. And so, after tons of wood filler and repairs are in order since most of the drawer faces are falling off or have nails protruding EVERYWHERE.
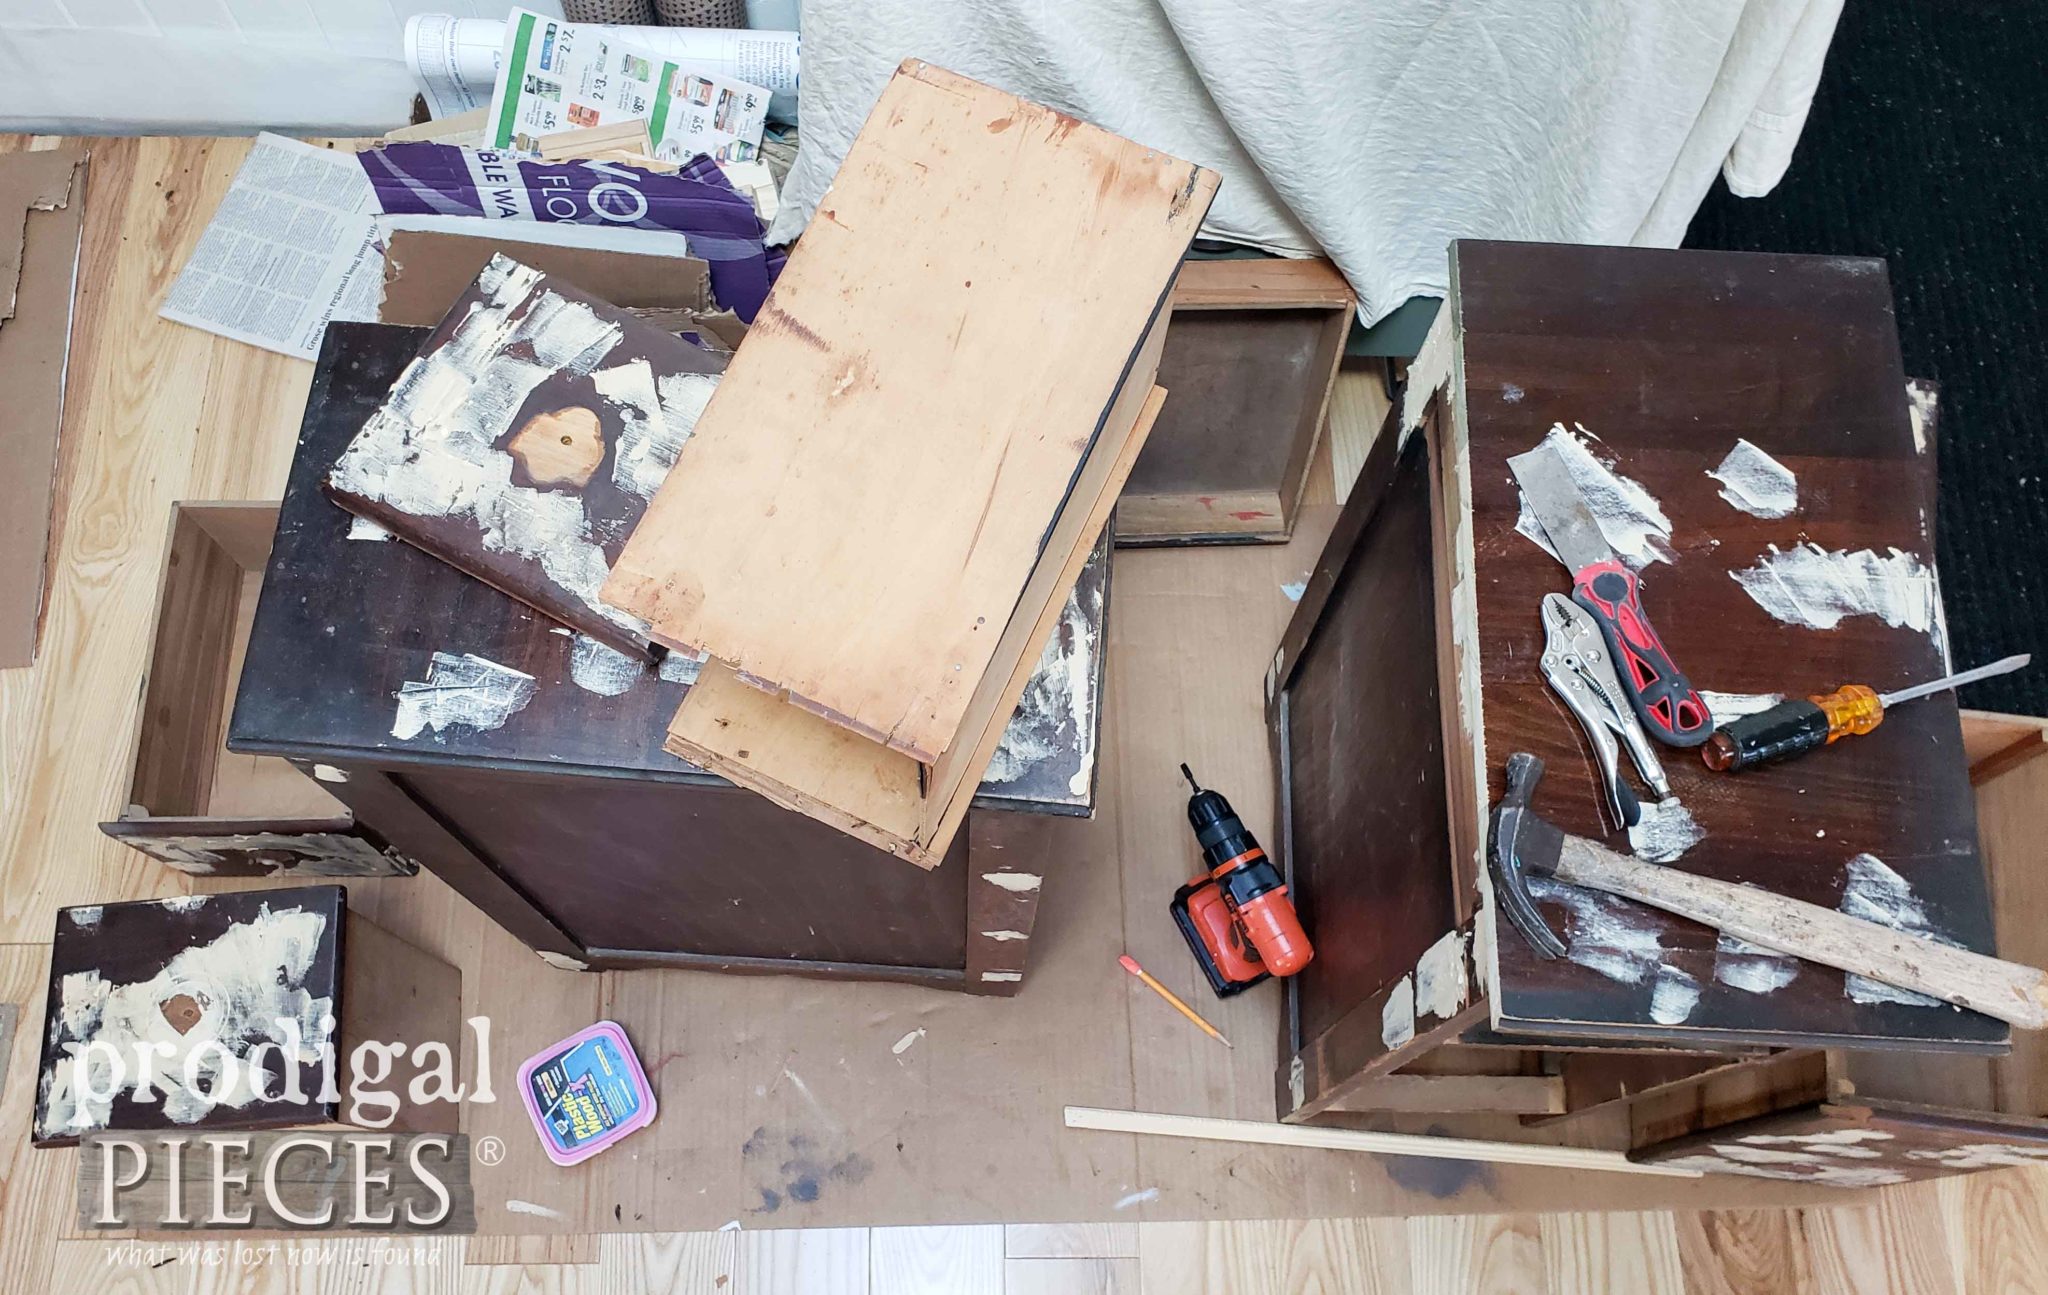
Now, my desk drawers are assembled, but still needing some lovin'. One particular drawer had a missing corner. I remedied that by cutting trim to cover ALL THE DRAWER FACES. ugh. Lots of hand miters and gluing and nailing. BUT...I'm gettin' er done.
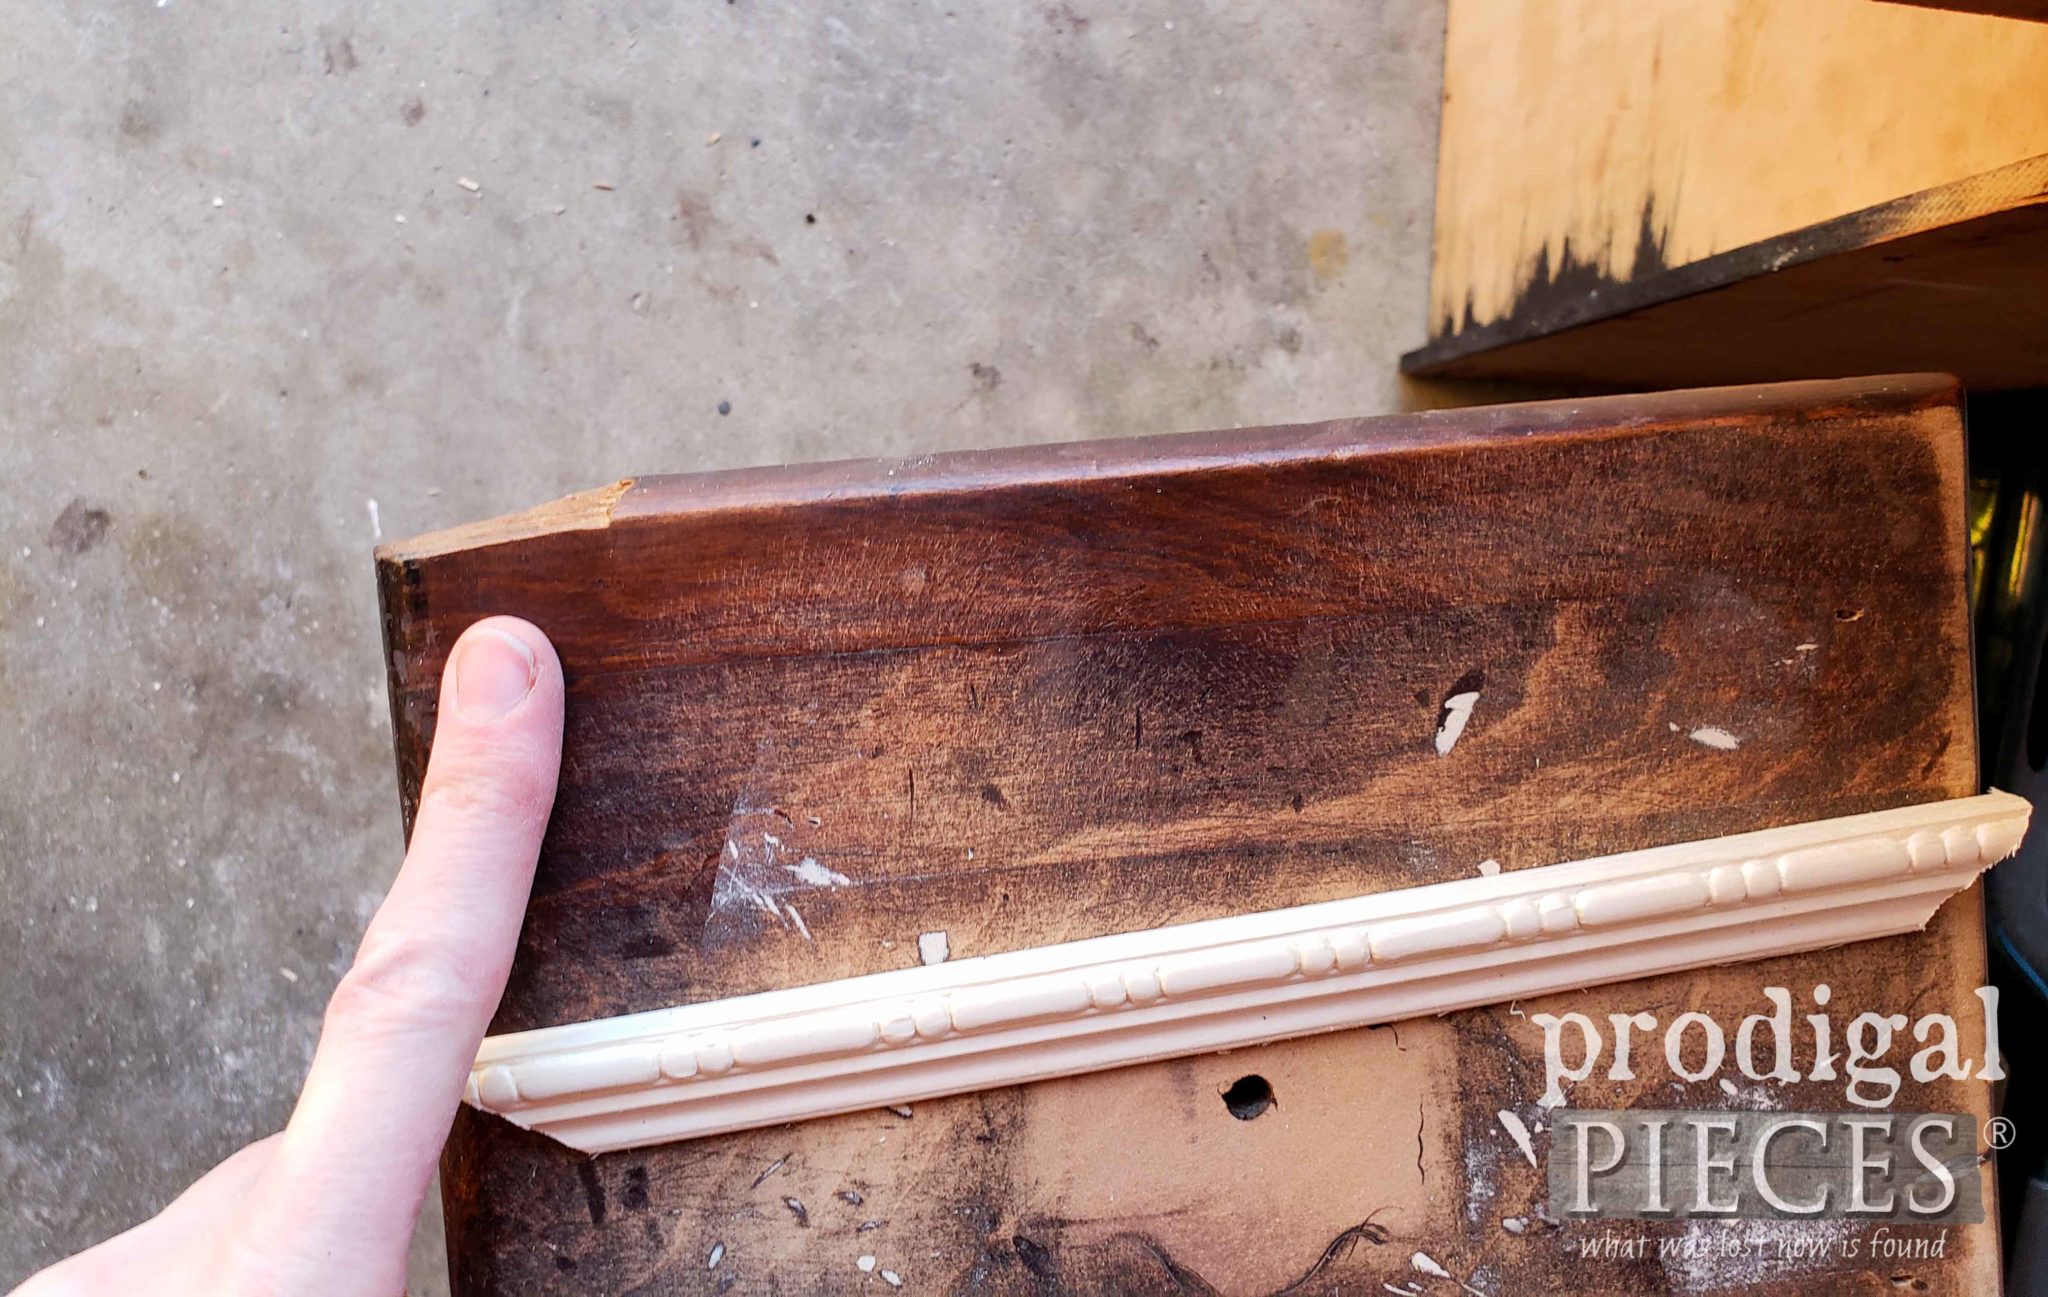
After the drawer faces, I created a scalloped skirt for the front of the nightstands. As a result, I make a pattern using the existing skirt, then cut out with my jigsaw.
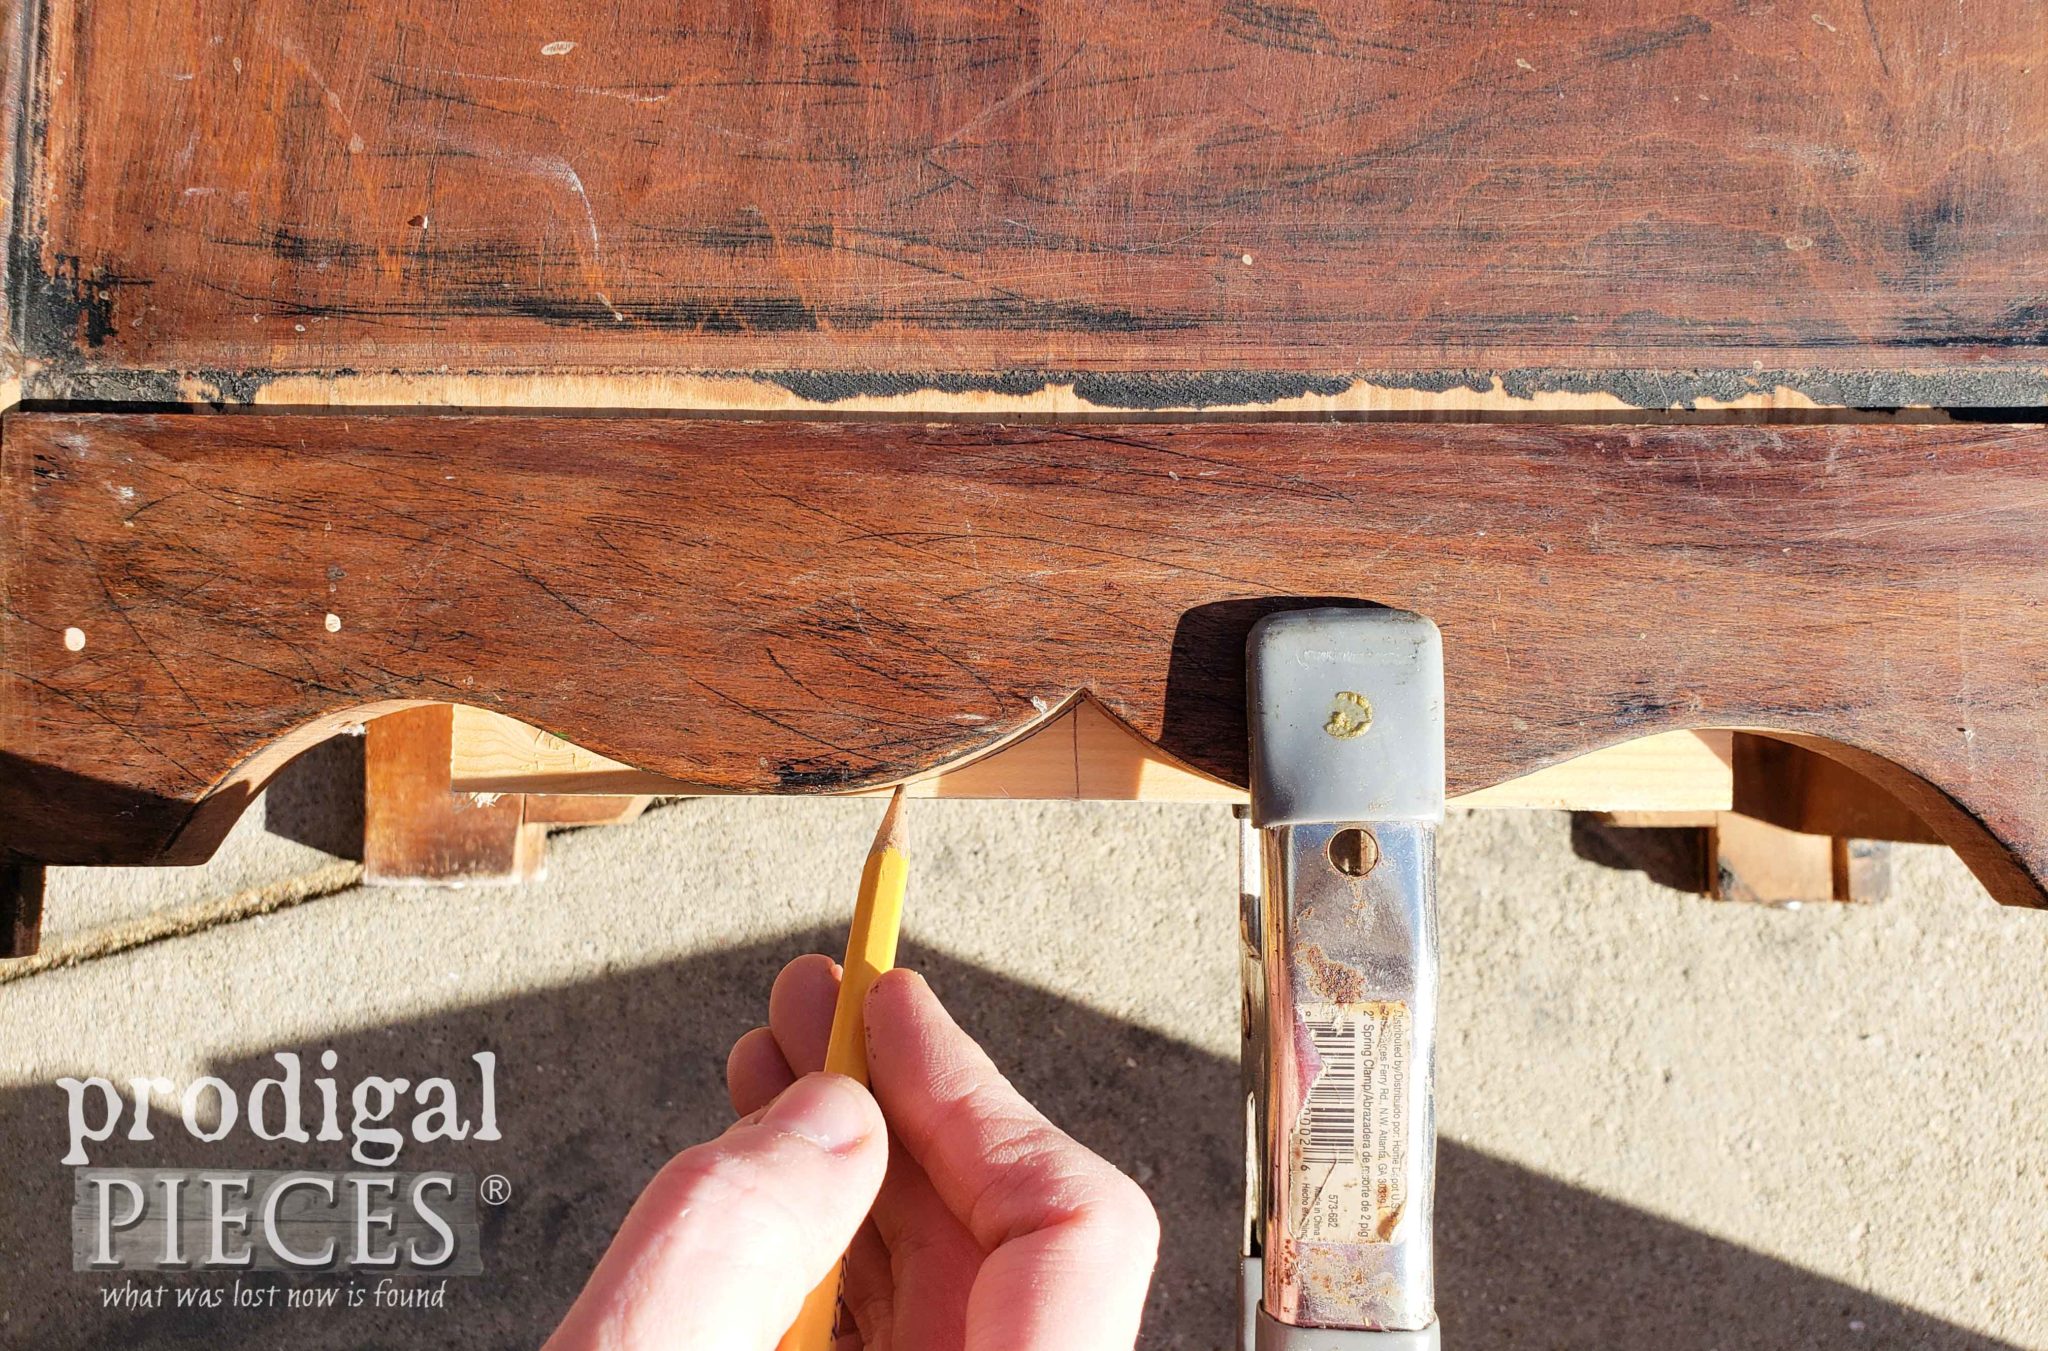
After that, I create pocket hole joints to the skirt pieces using my drill and my Kreg Jig.
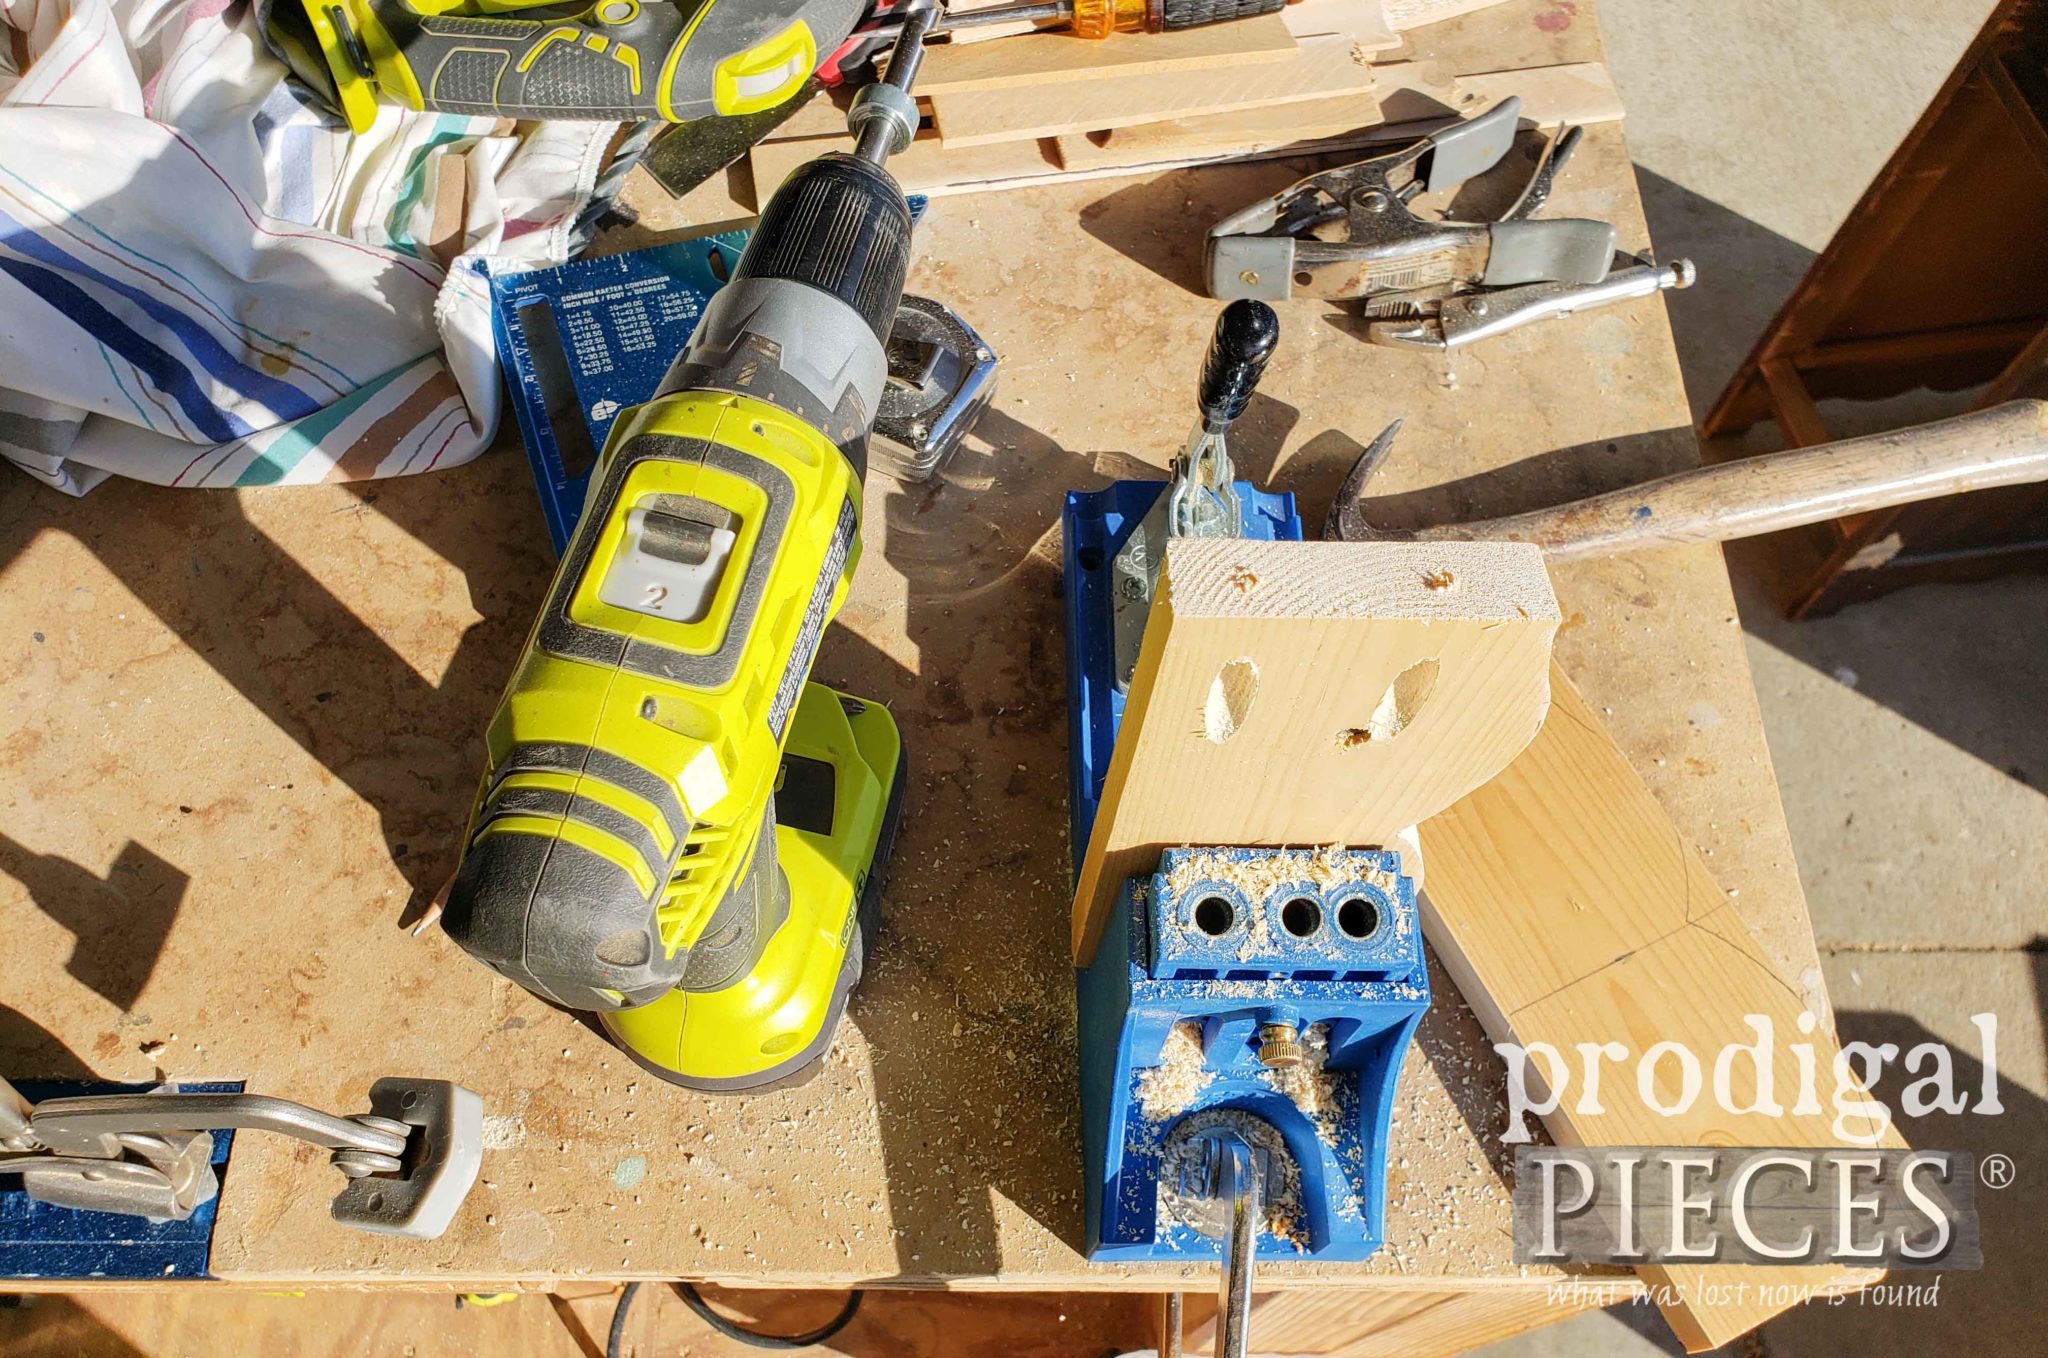
Alas, here are my upcycled desk into nightstands ready for a new lease on life.
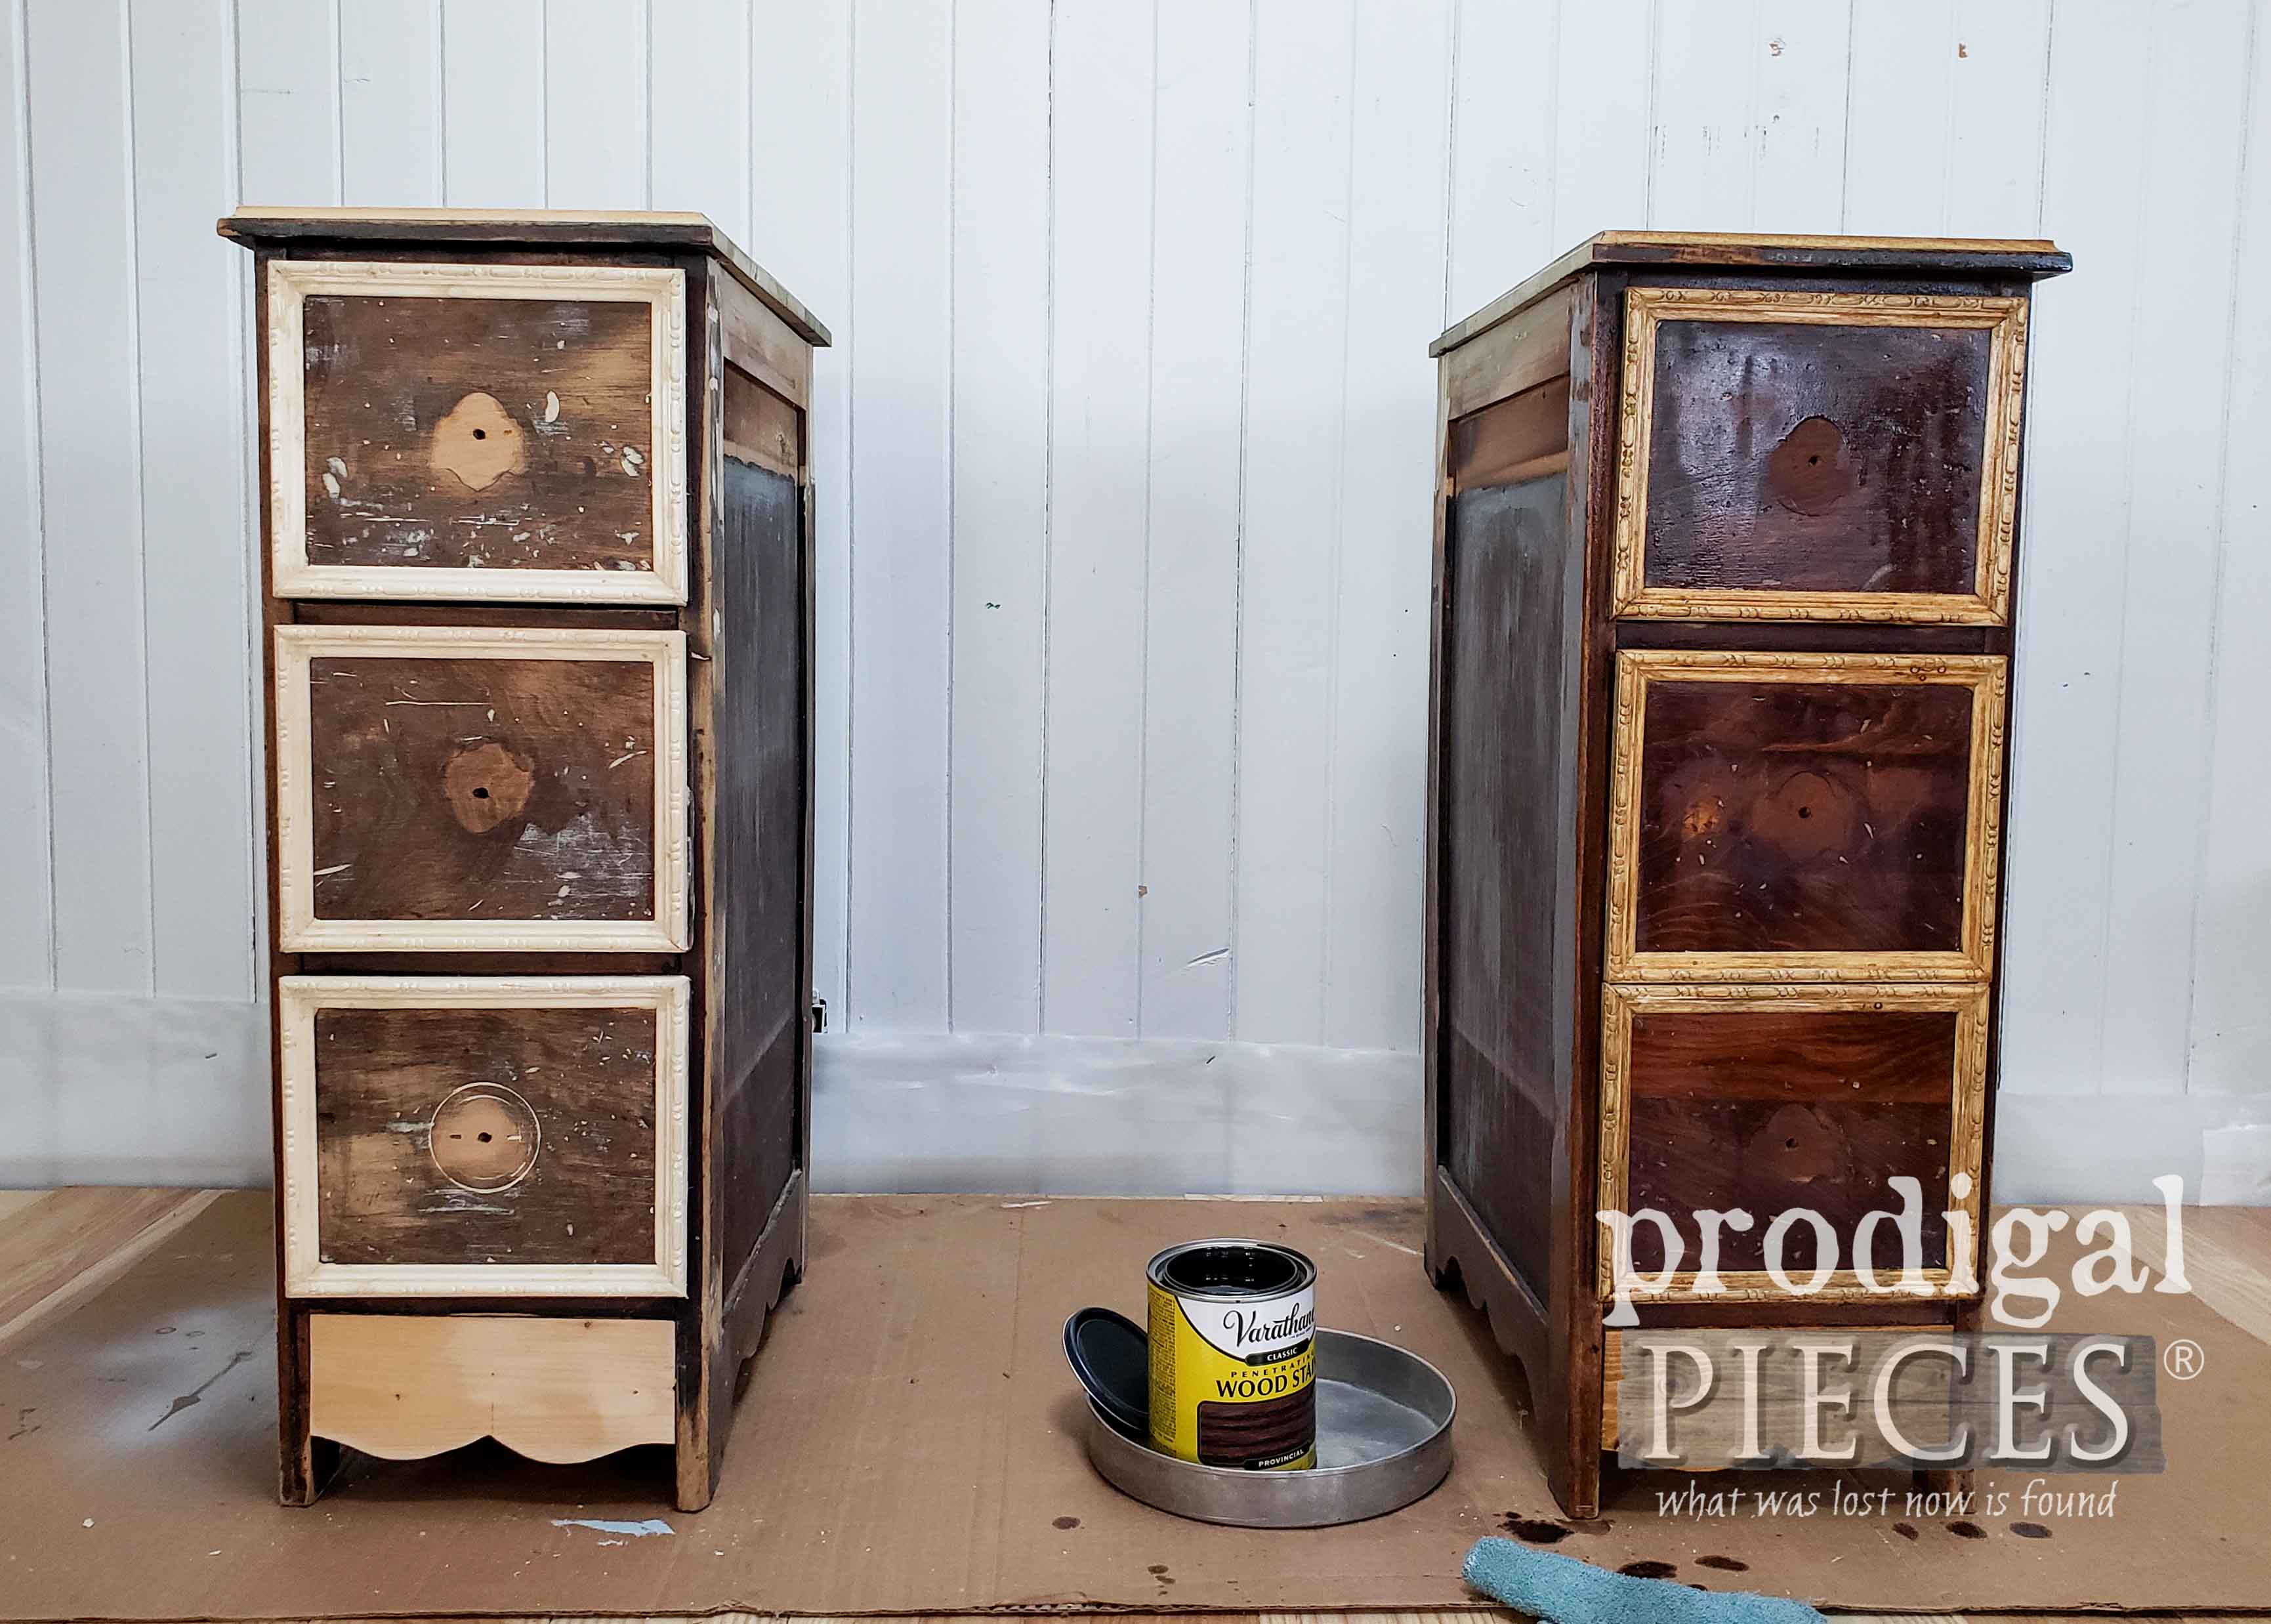
ALMOST THERE!
As a result, can you see the awesome routed edges and all the new details? I'm excited!! Do you blame me?
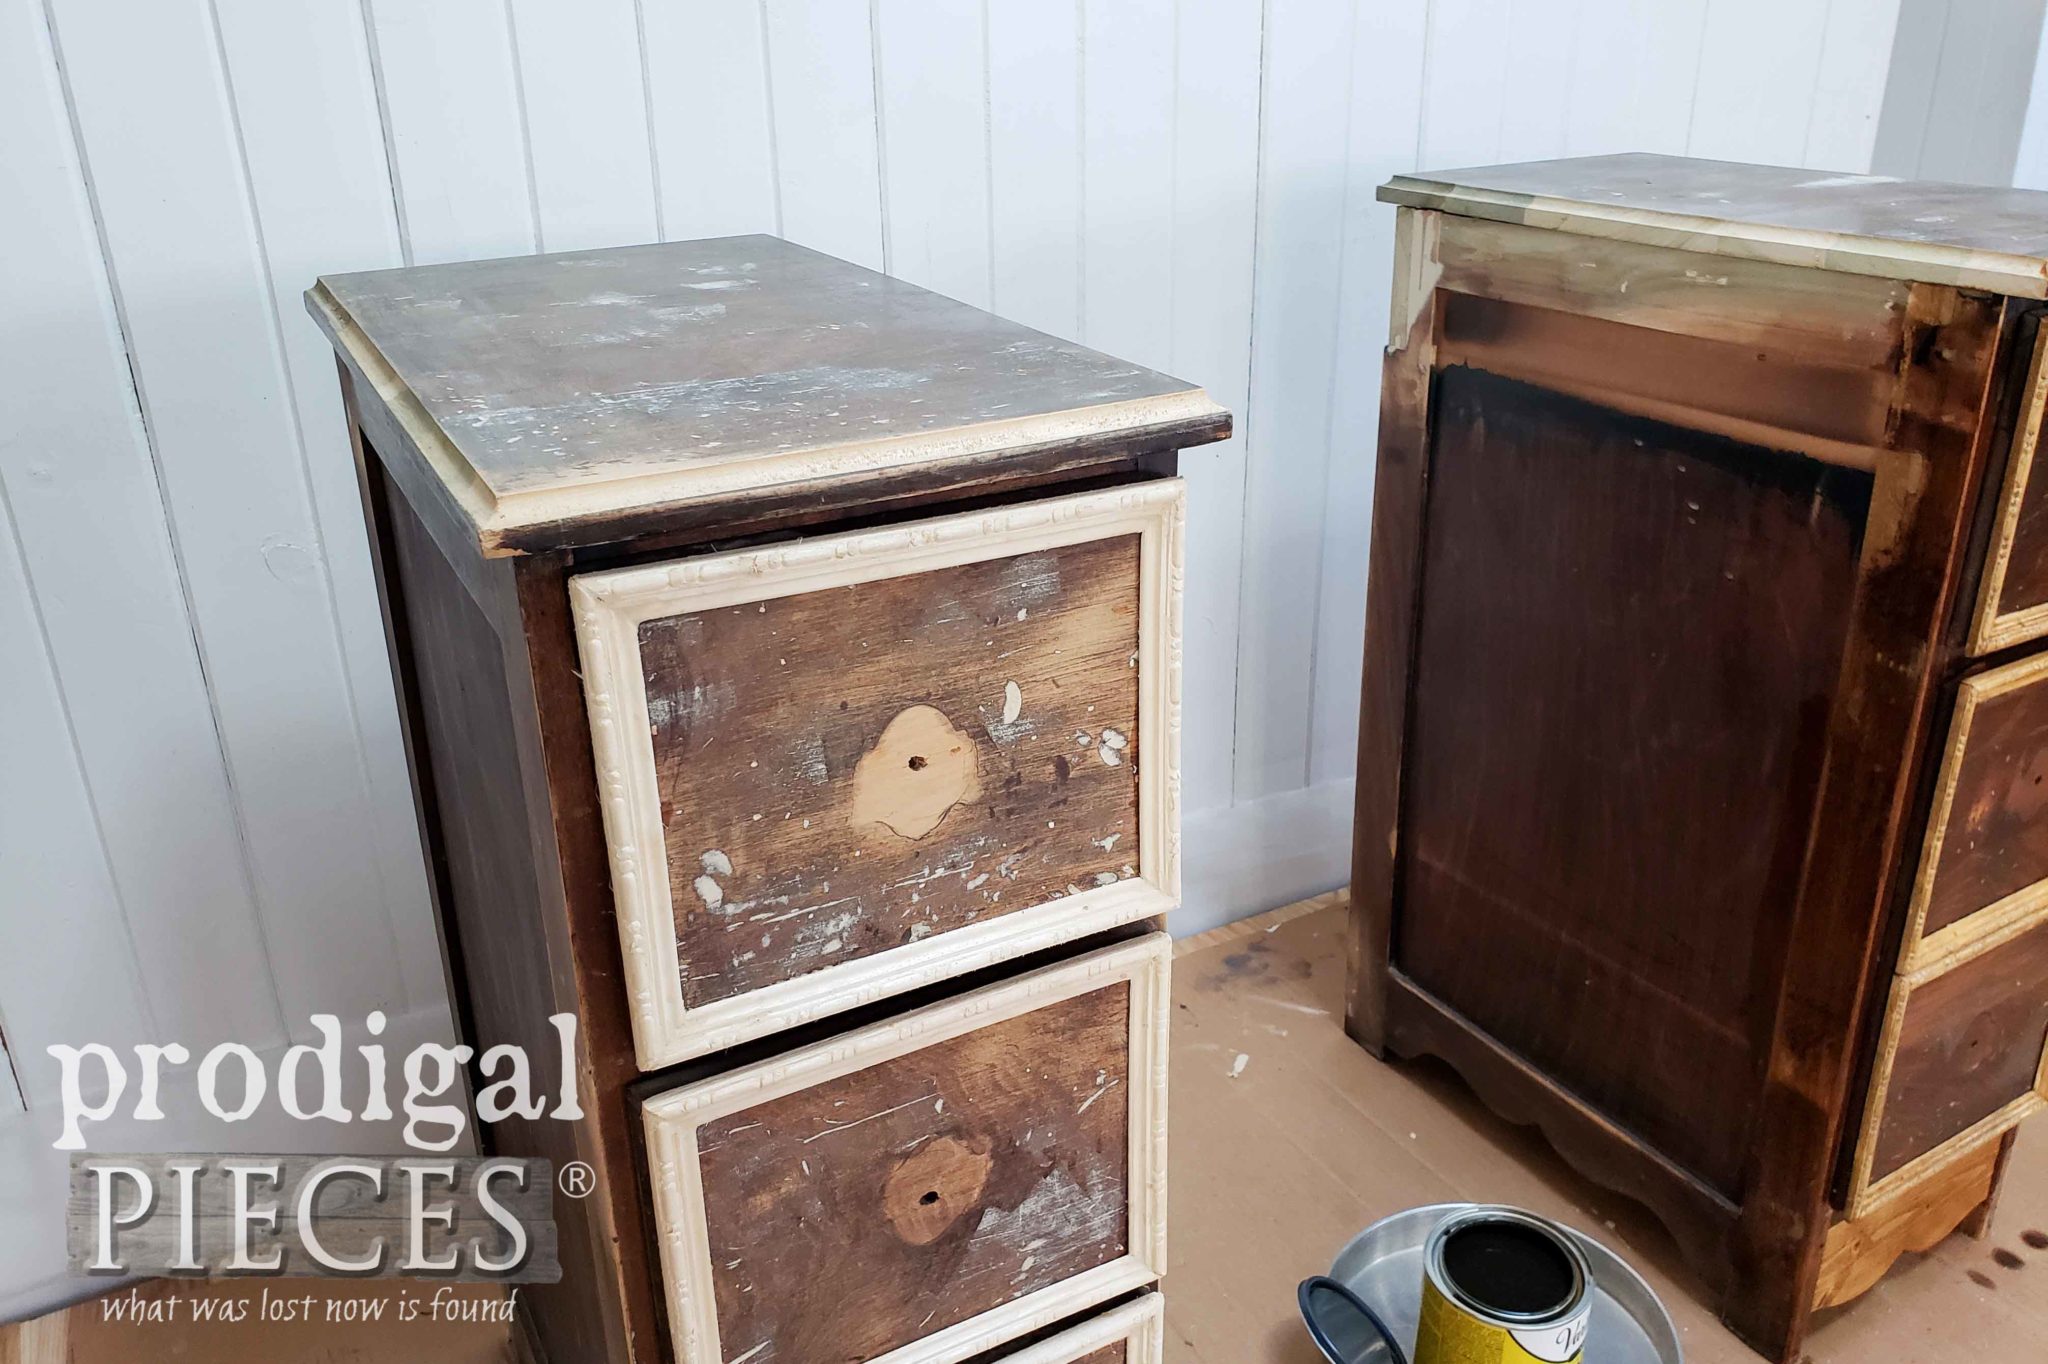
I've started to stain the new additions of wood just to deepen the color a bit to prep it for paint.
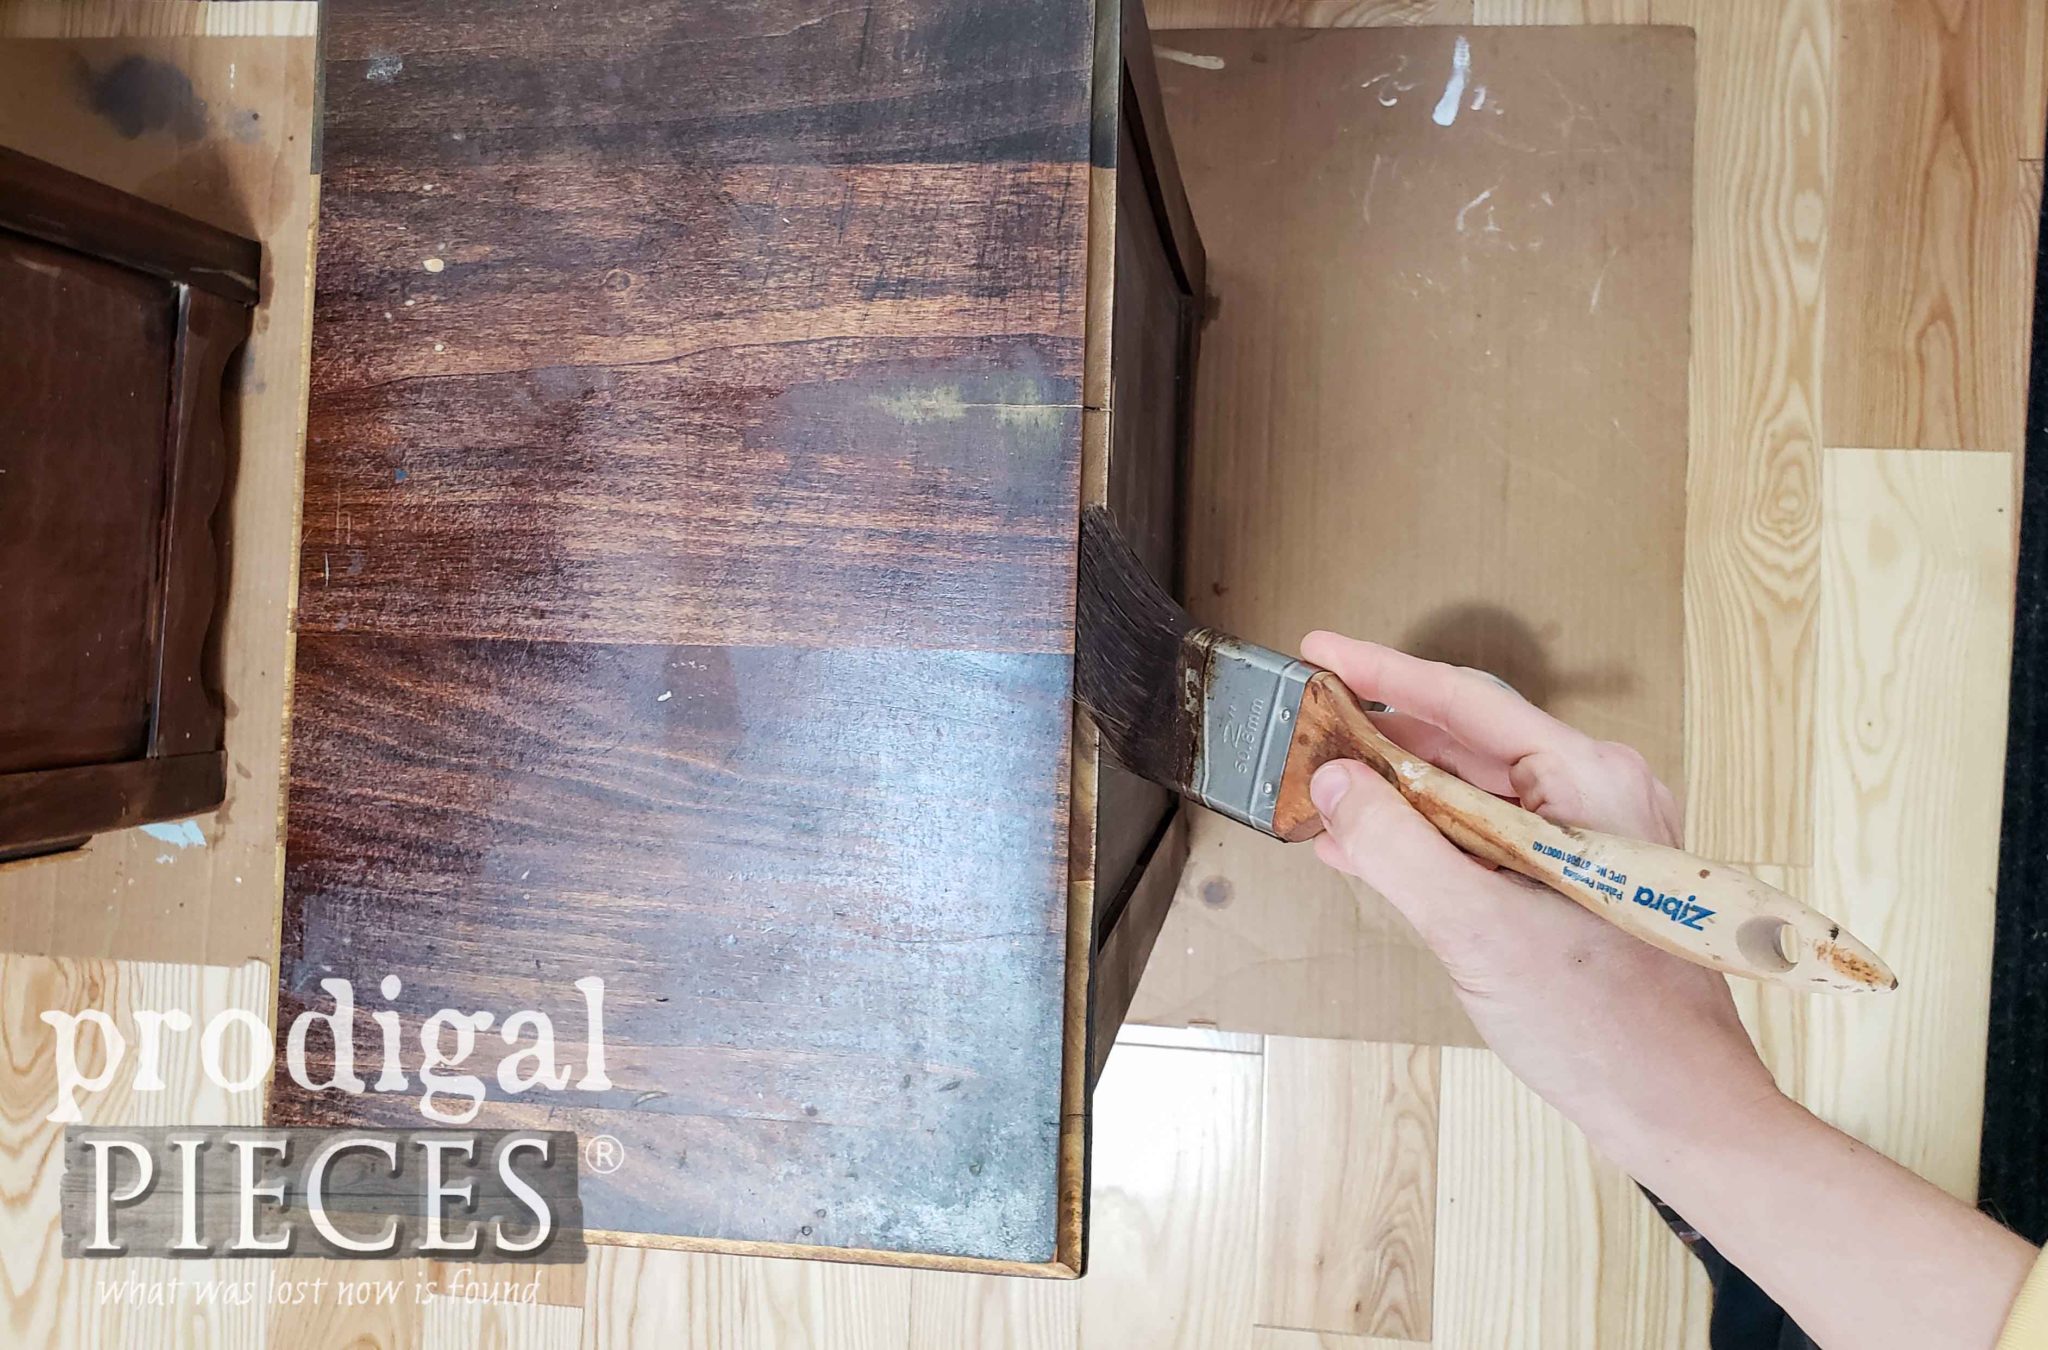
Next, the stain has cured and it's time to make these beauties shine again. I've chosen to use a flat black paint to apply two coats of paint. (letting cure in between, of course)
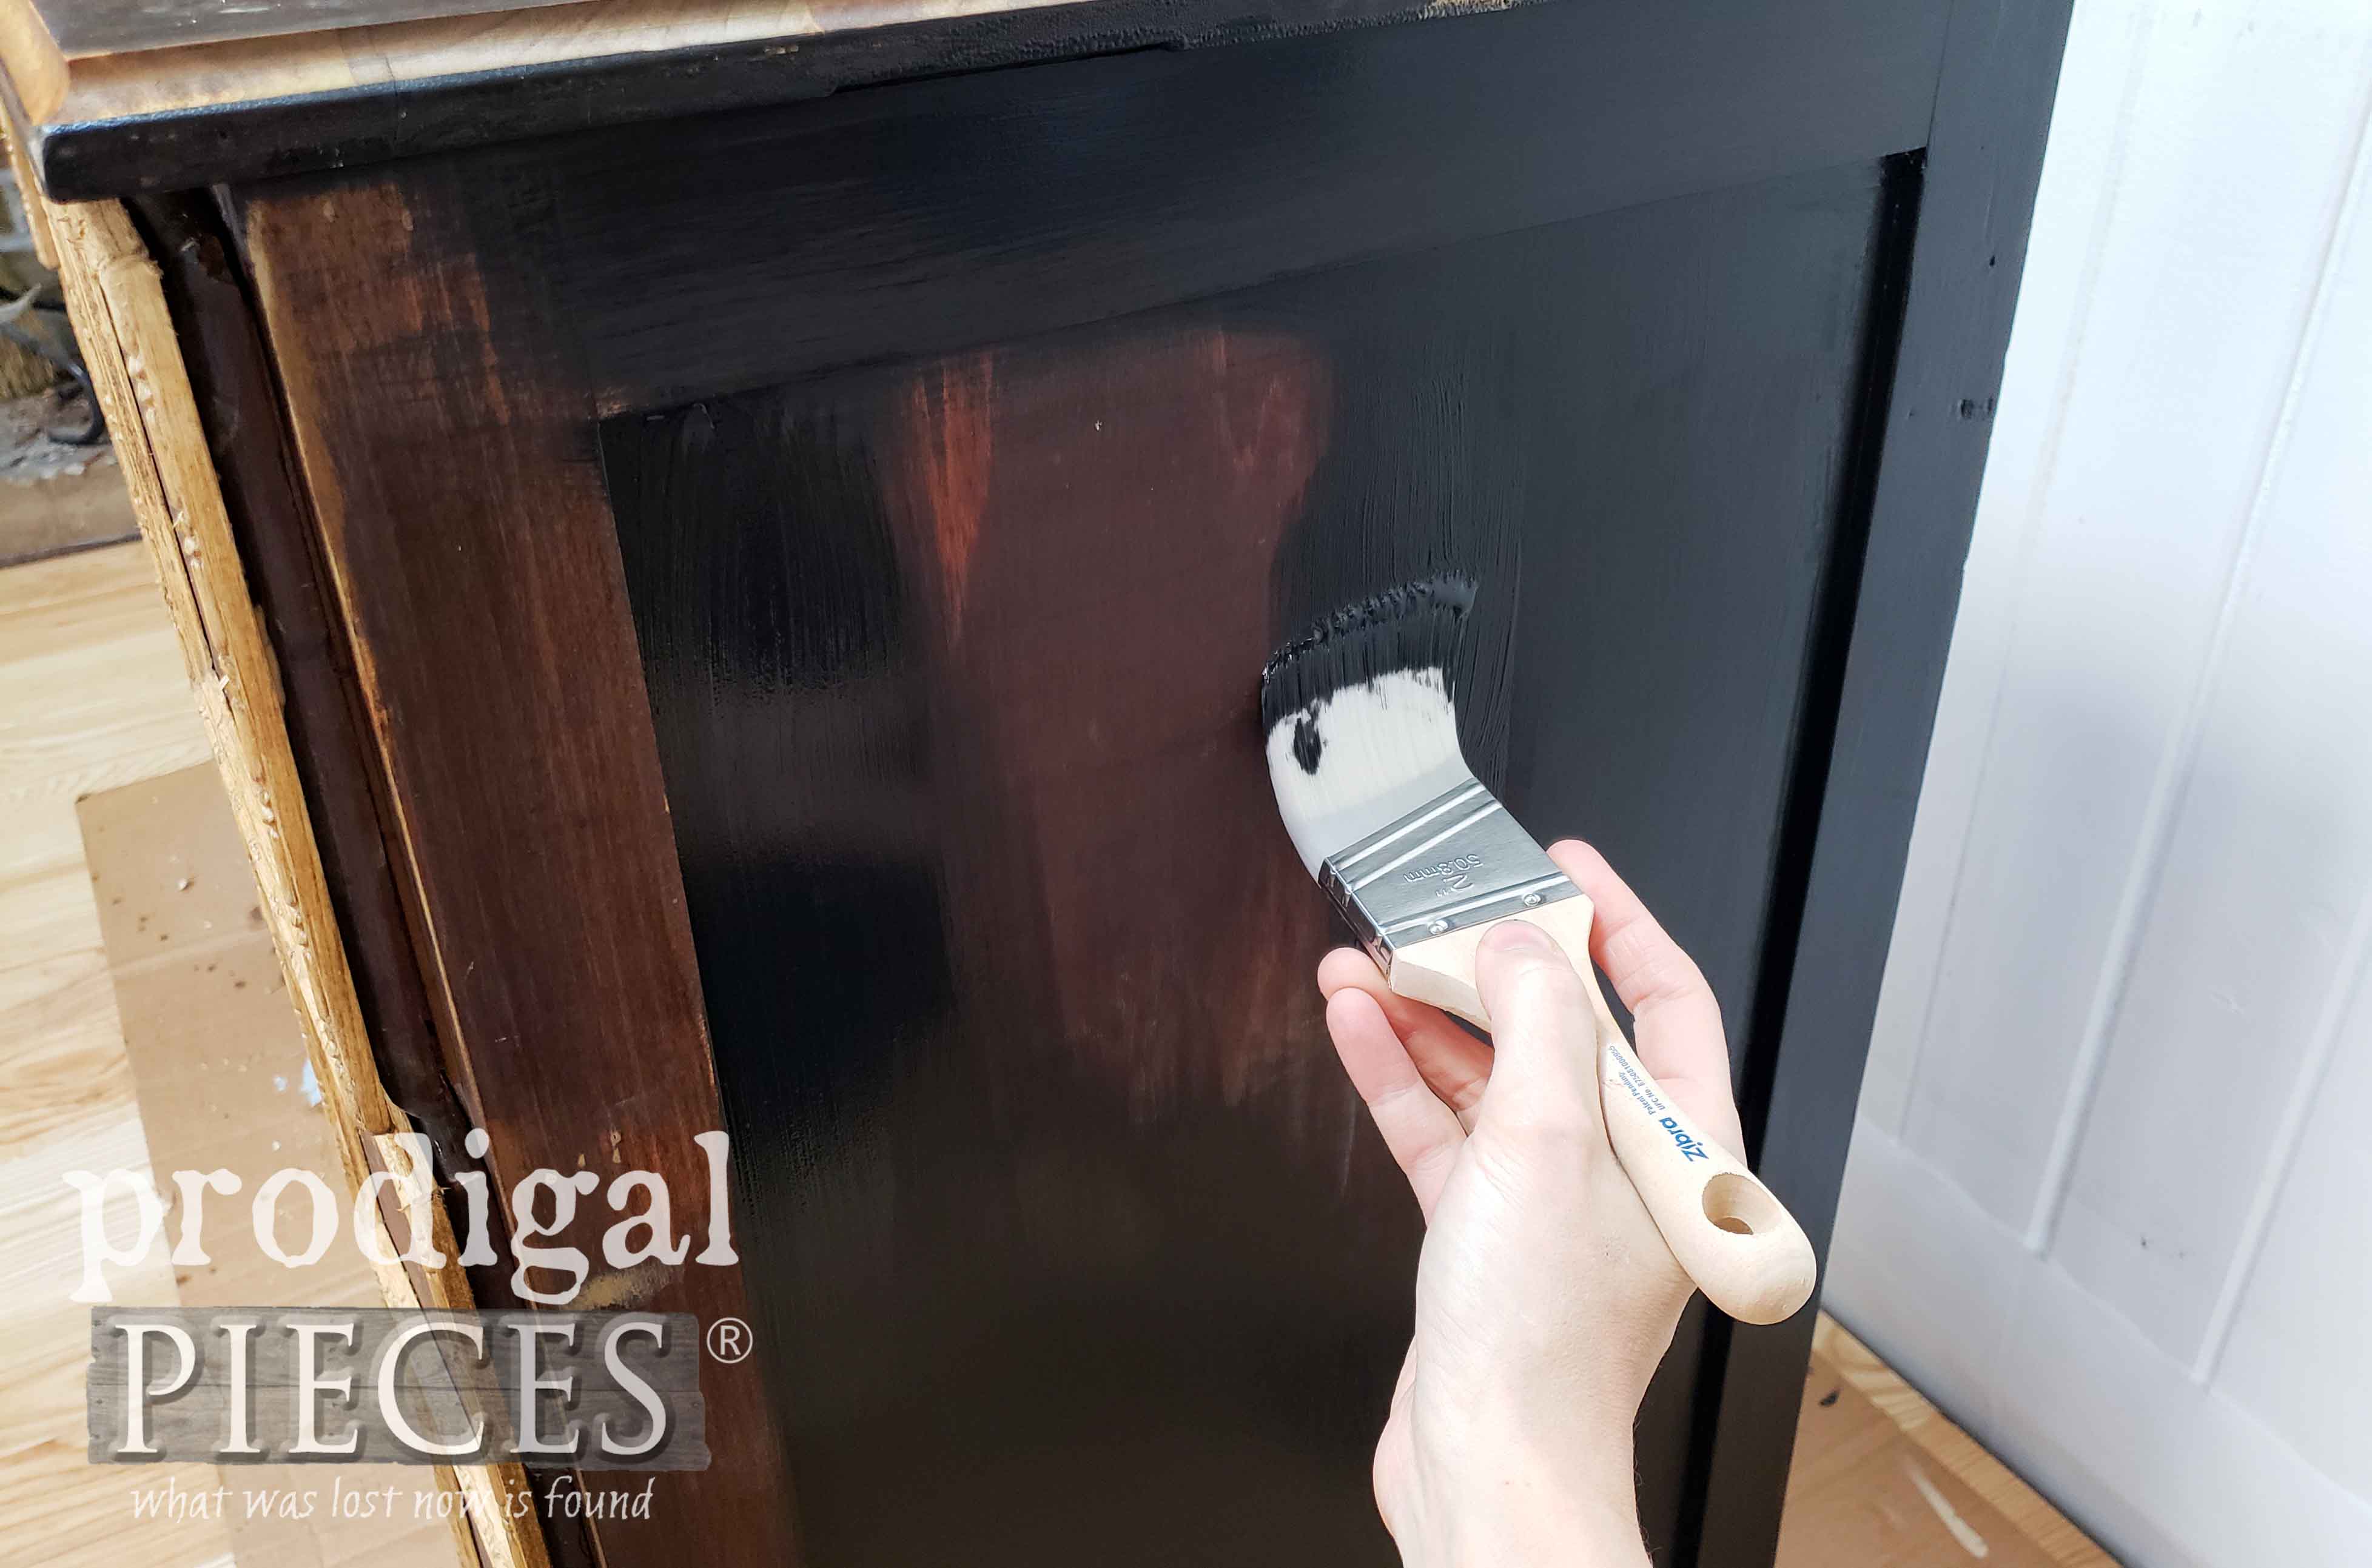
Then, I tackle the drawers. Believe me, they need some pep!
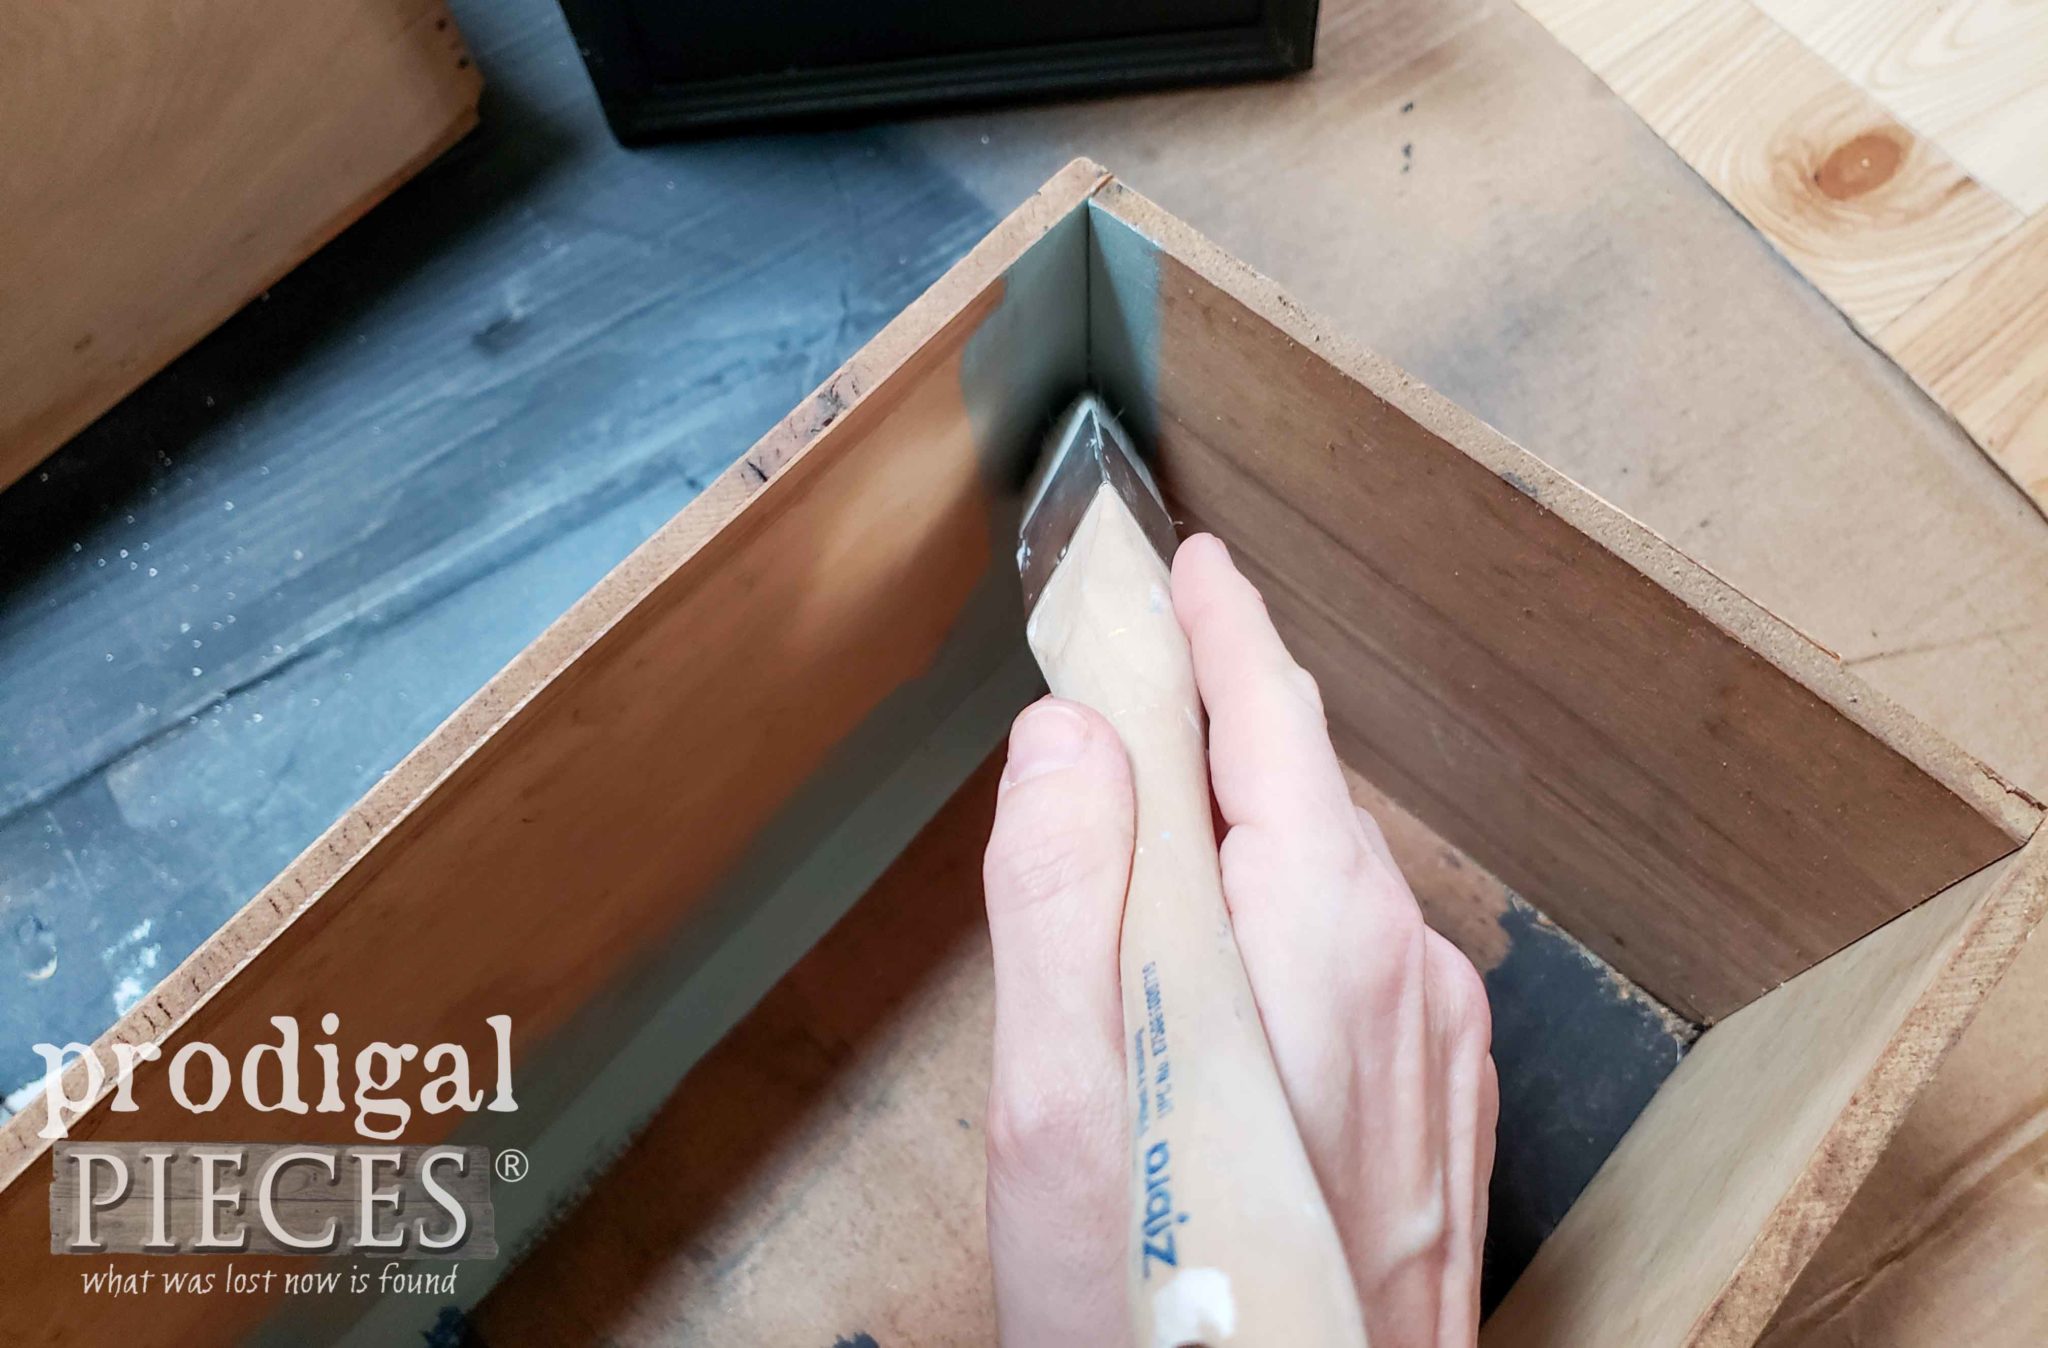
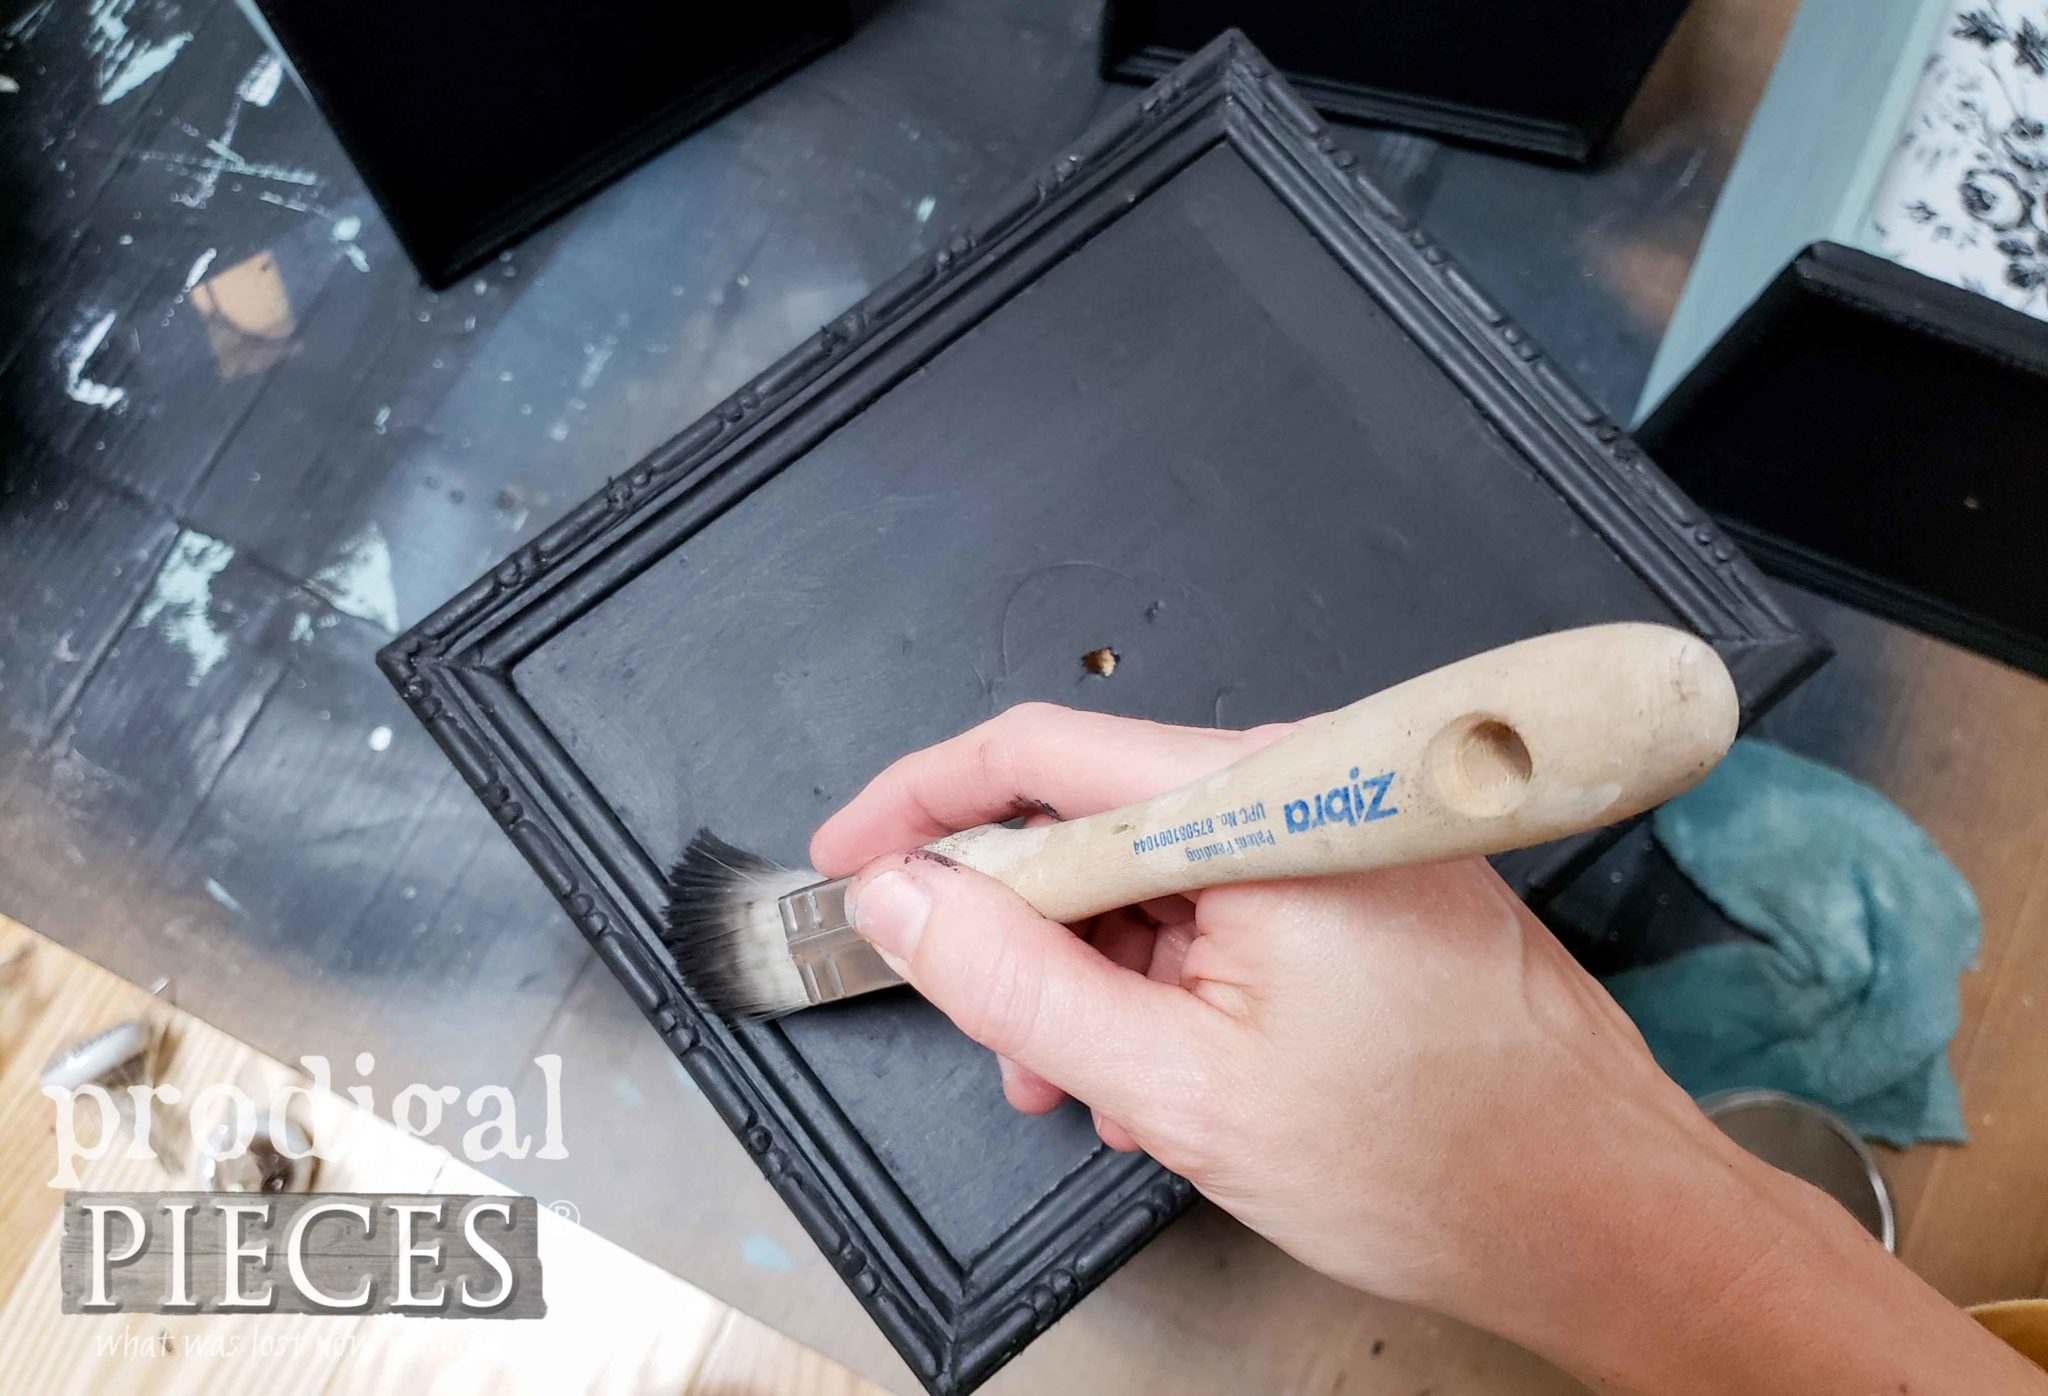
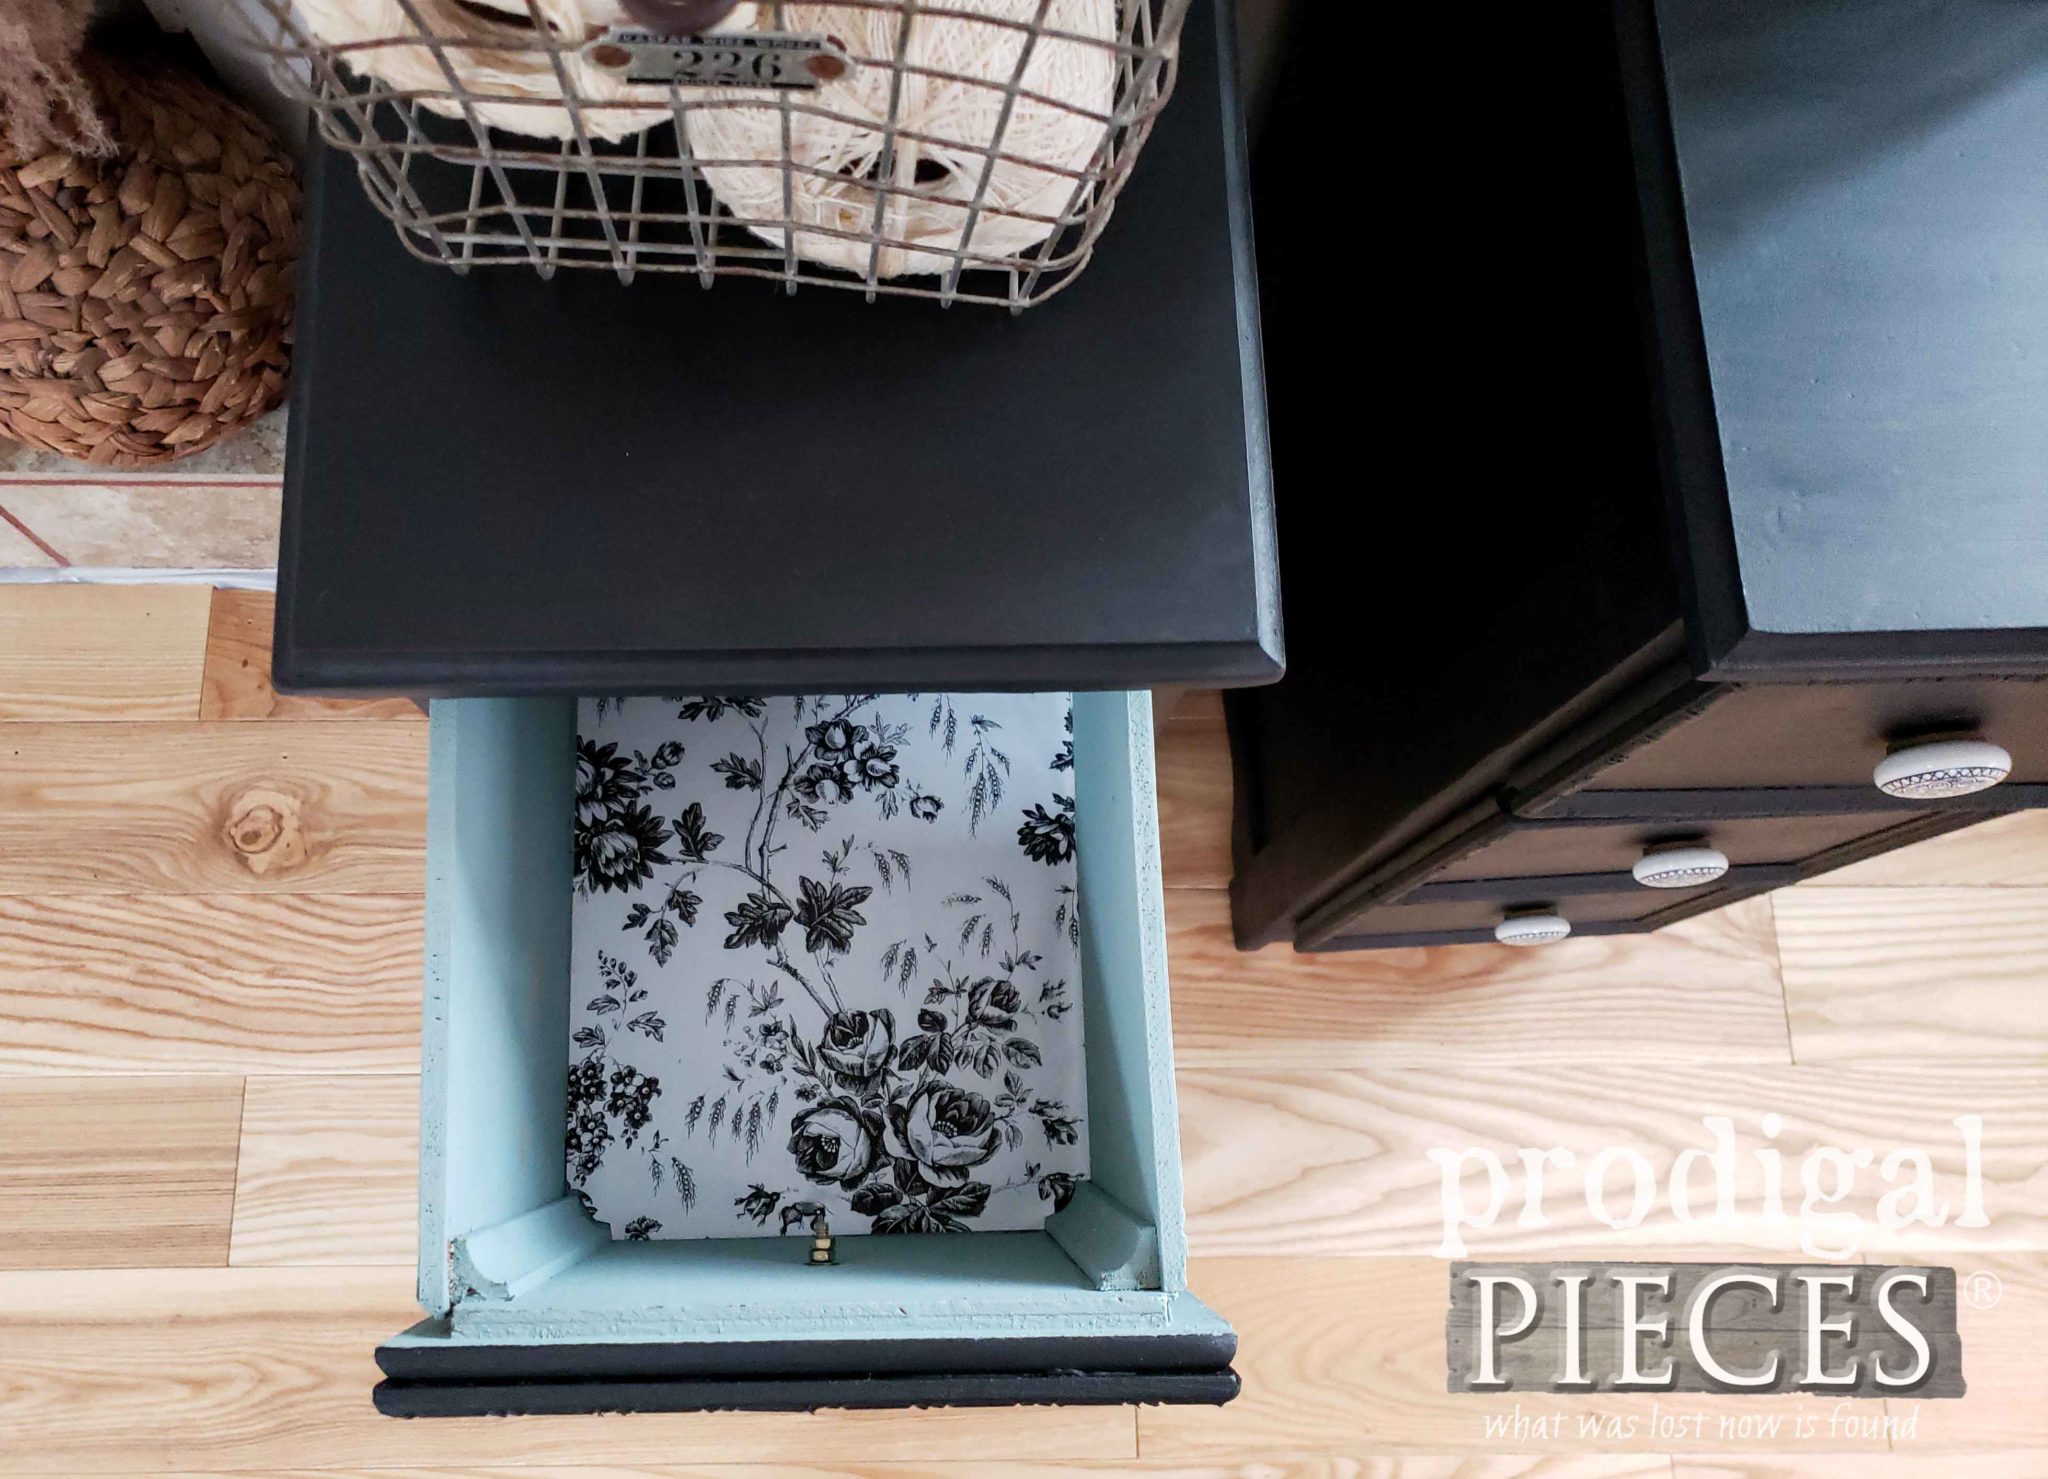
Last, but not least, I added paper liner to the drawers, and also black wax to protect paint. With that in mind, I use an older brush to apply the wax, and then buff to a low lustre.
ALL DONE
Finally, meet my upcycled desk turned nightstands COMPLETE and ready for a new life. WOOT!
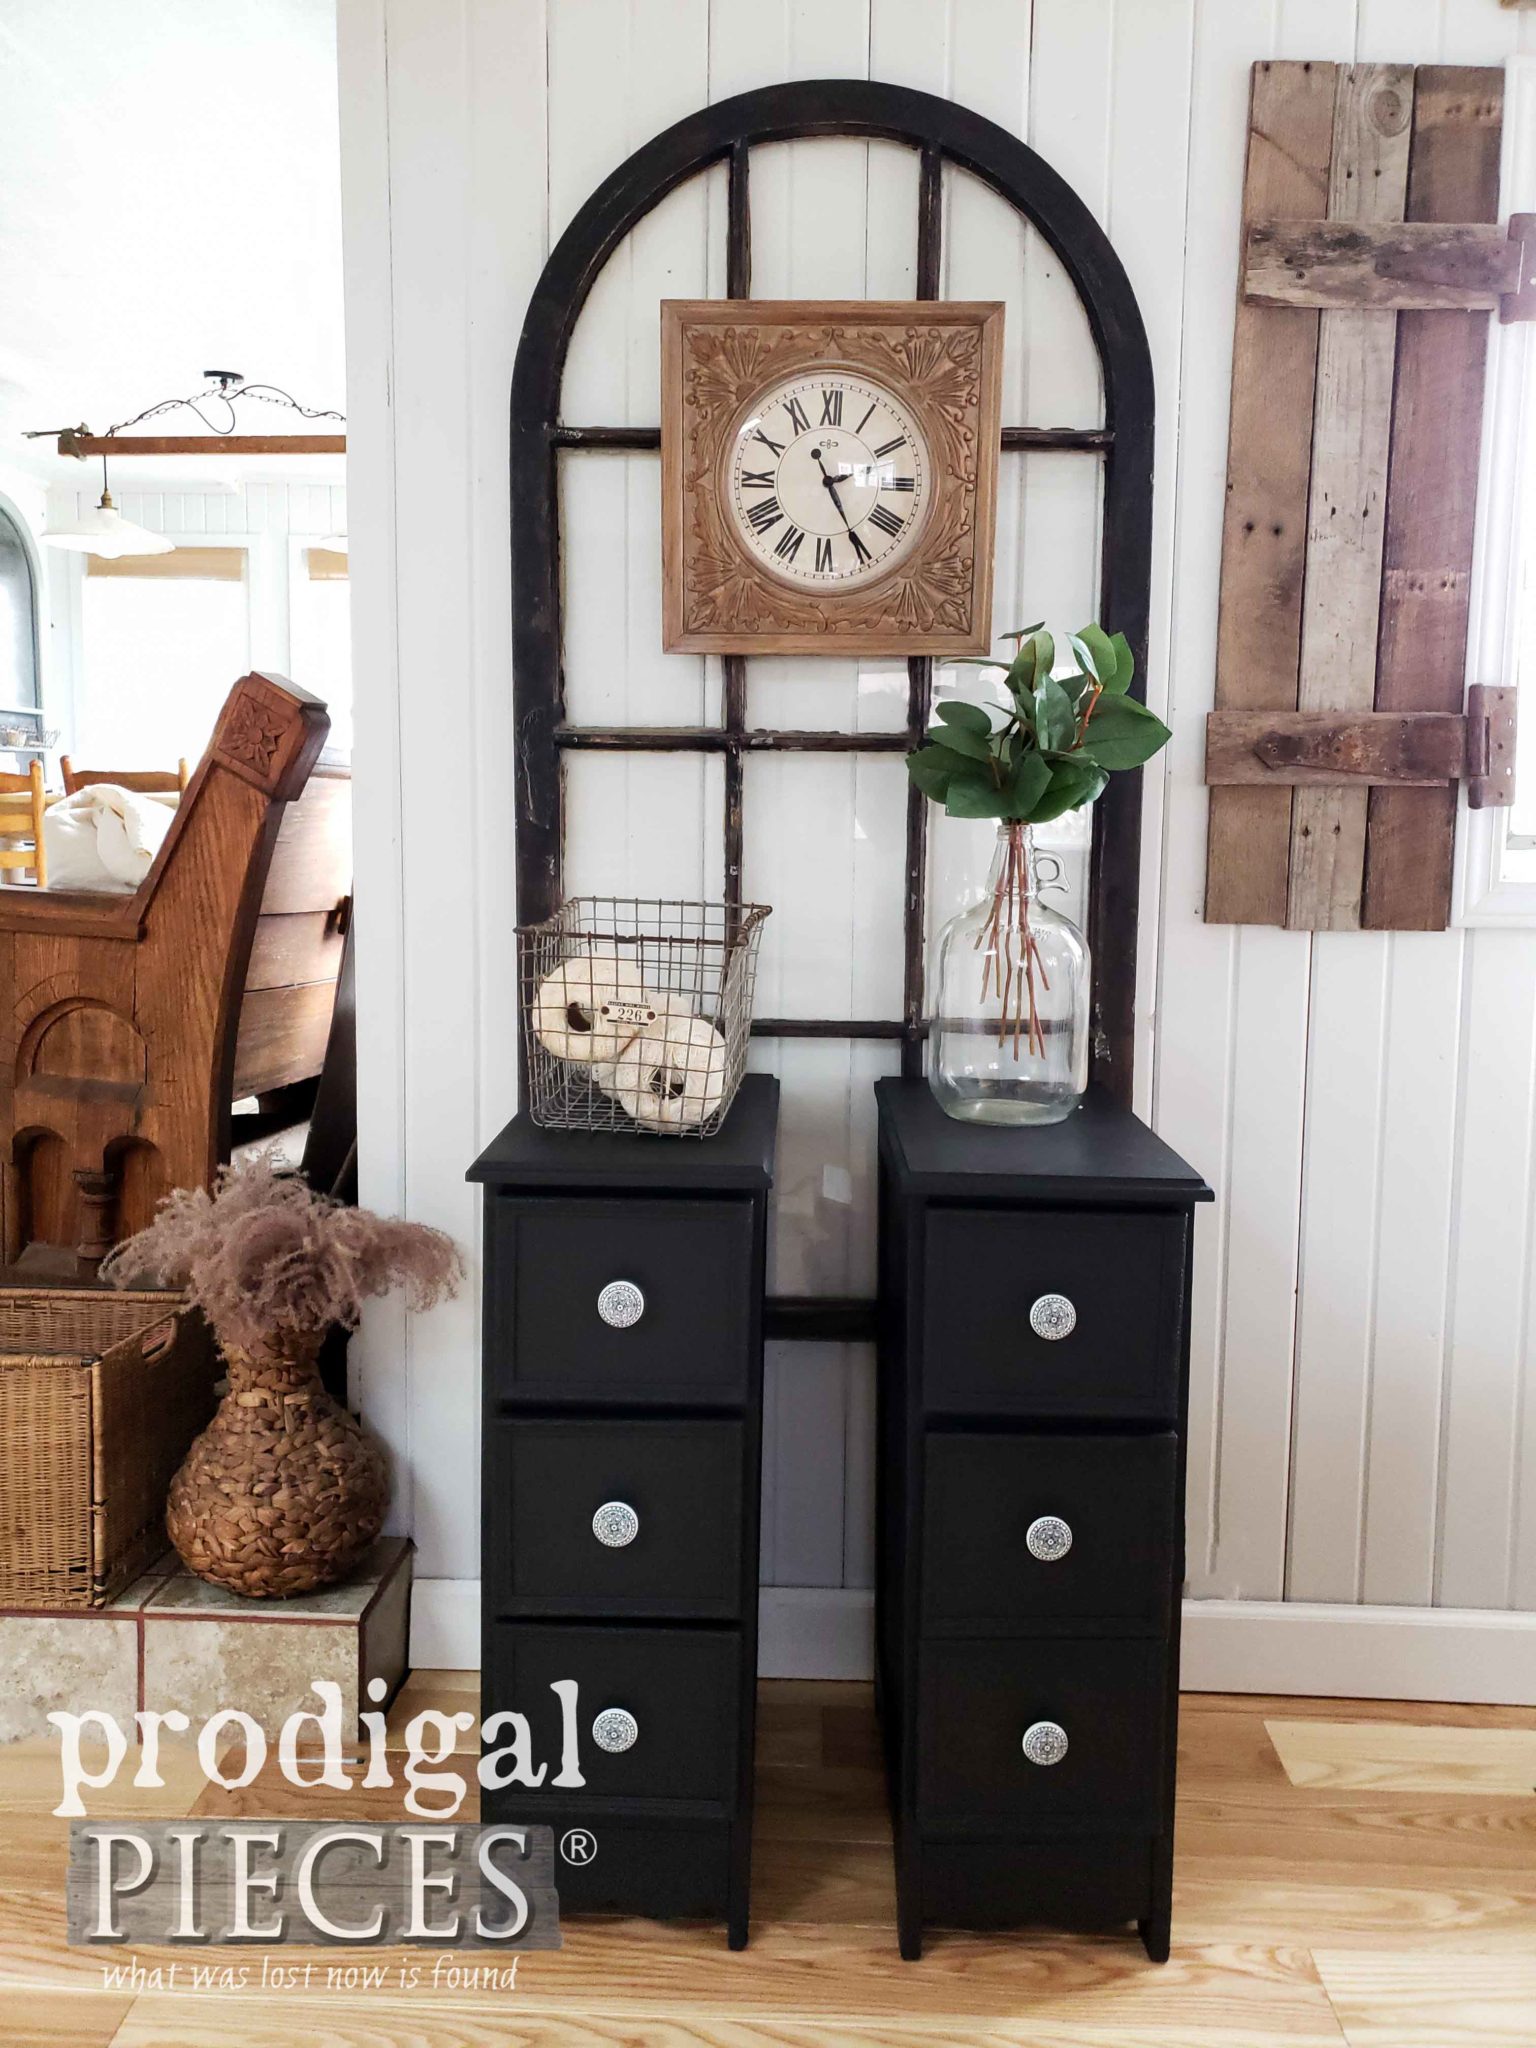
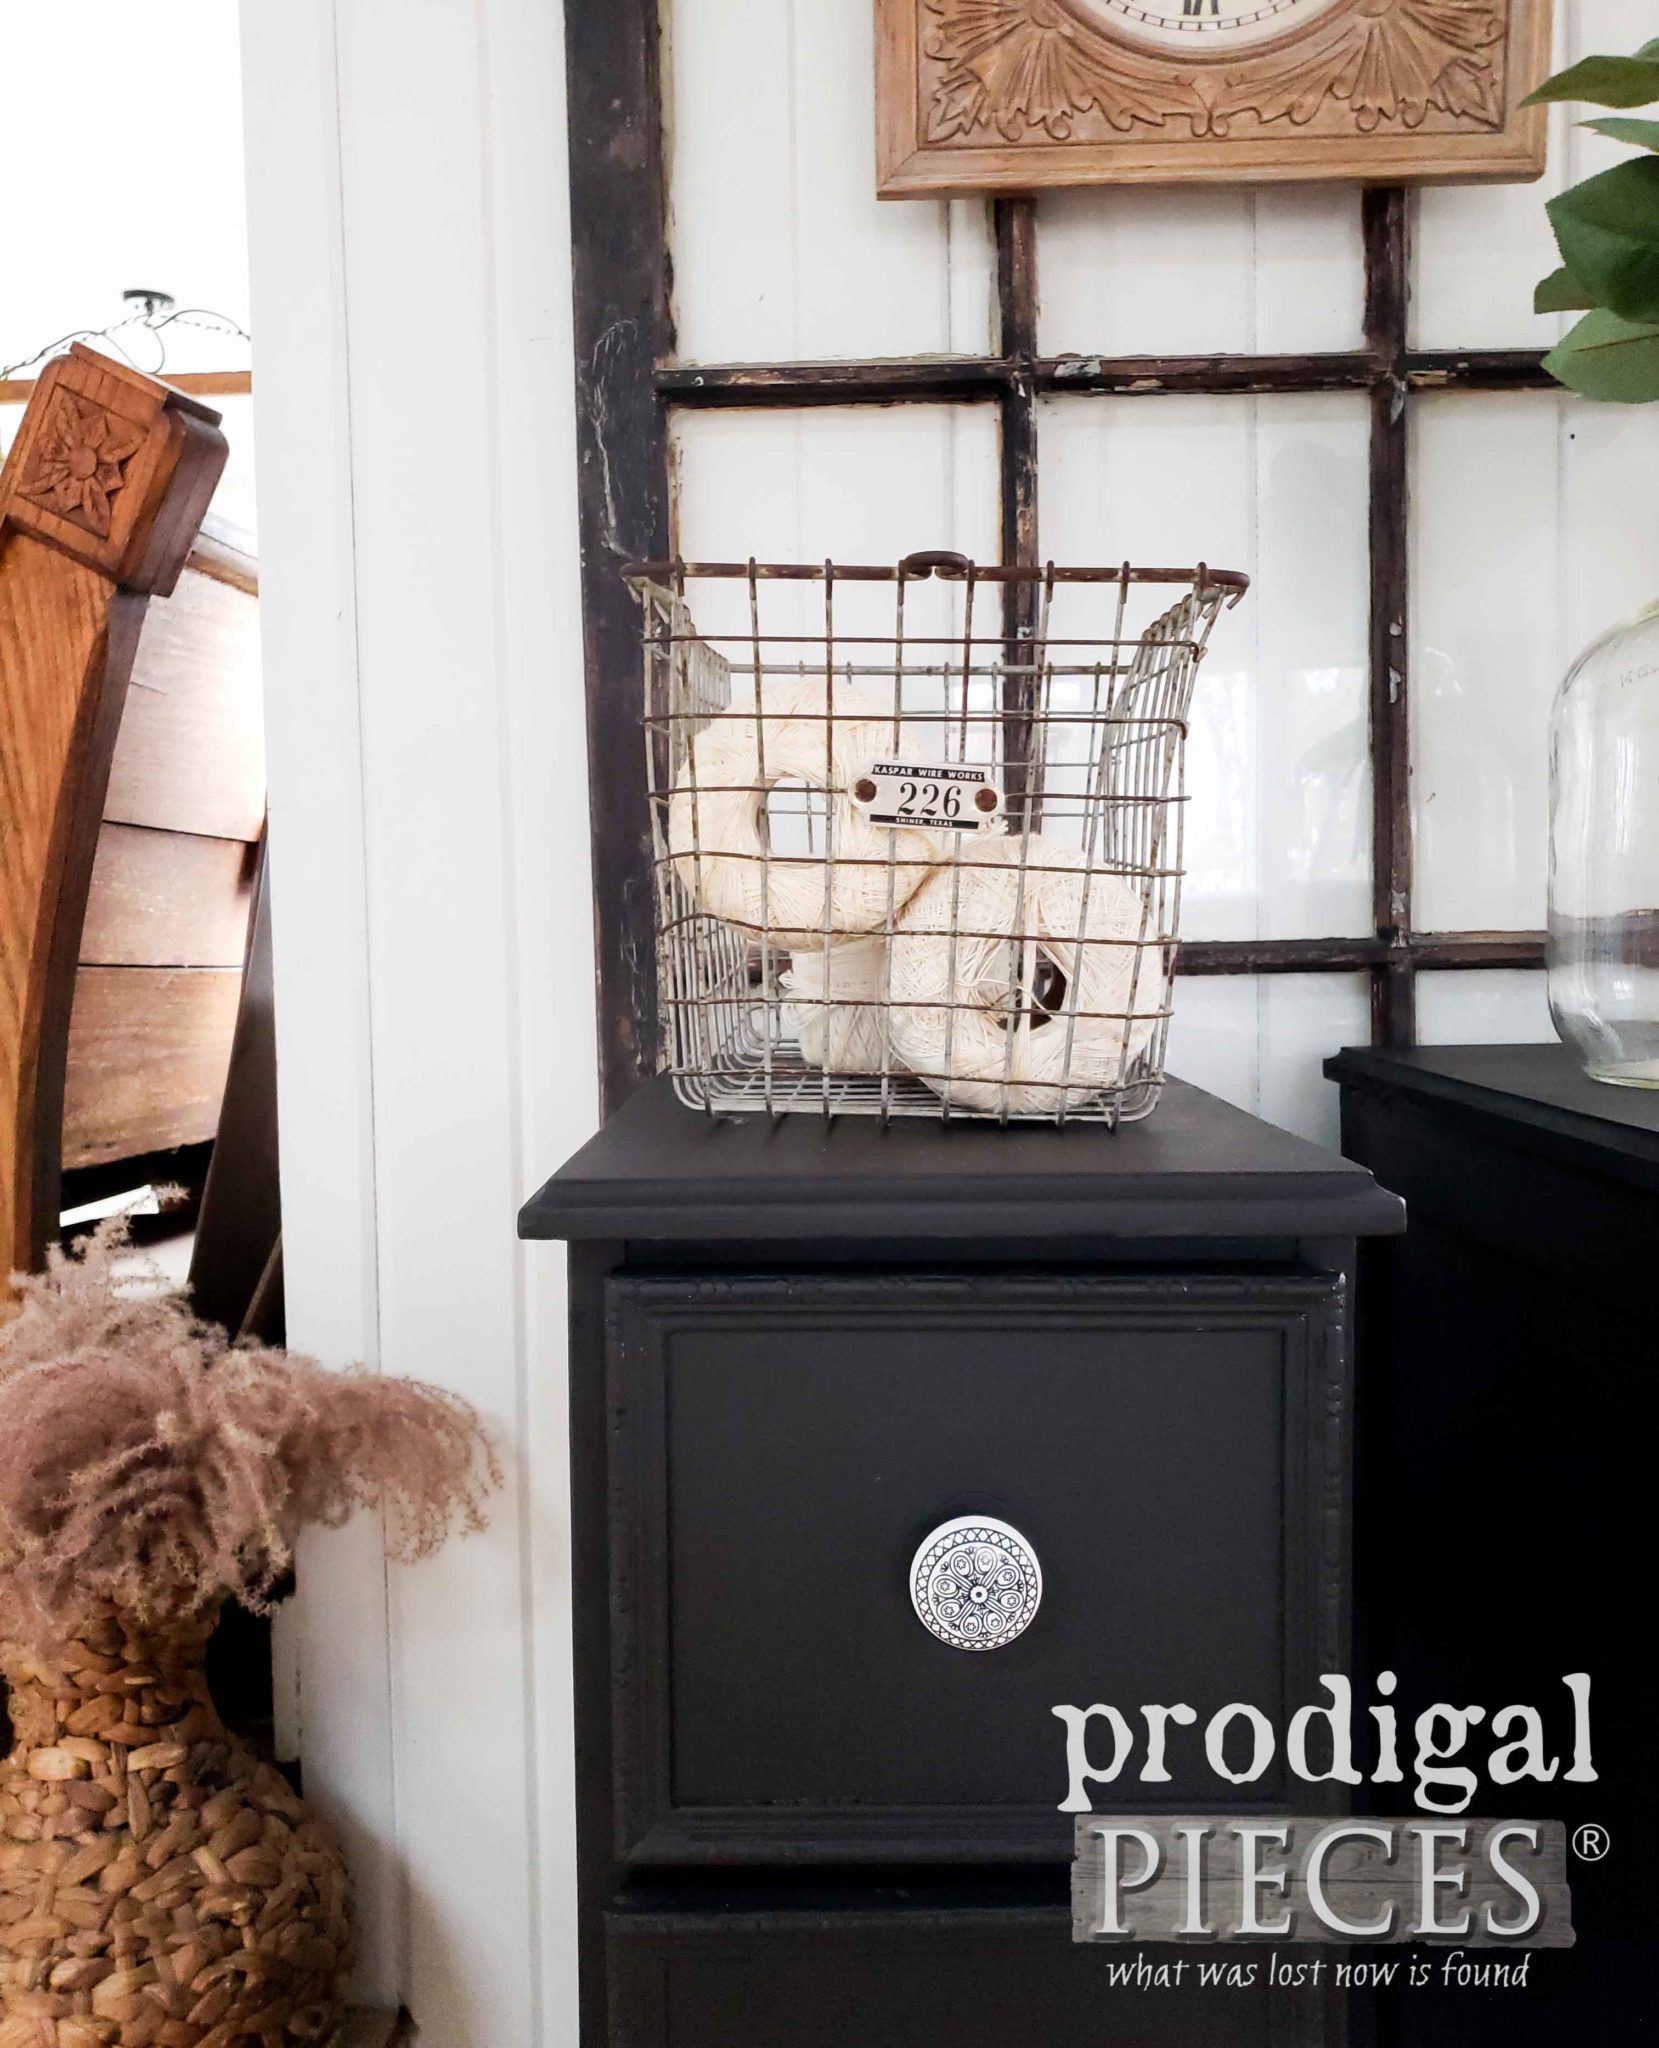
With this set done, I can now say that I would do it again, but with a better project piece condition in the first place. Furthermore, what a challenging set to build!
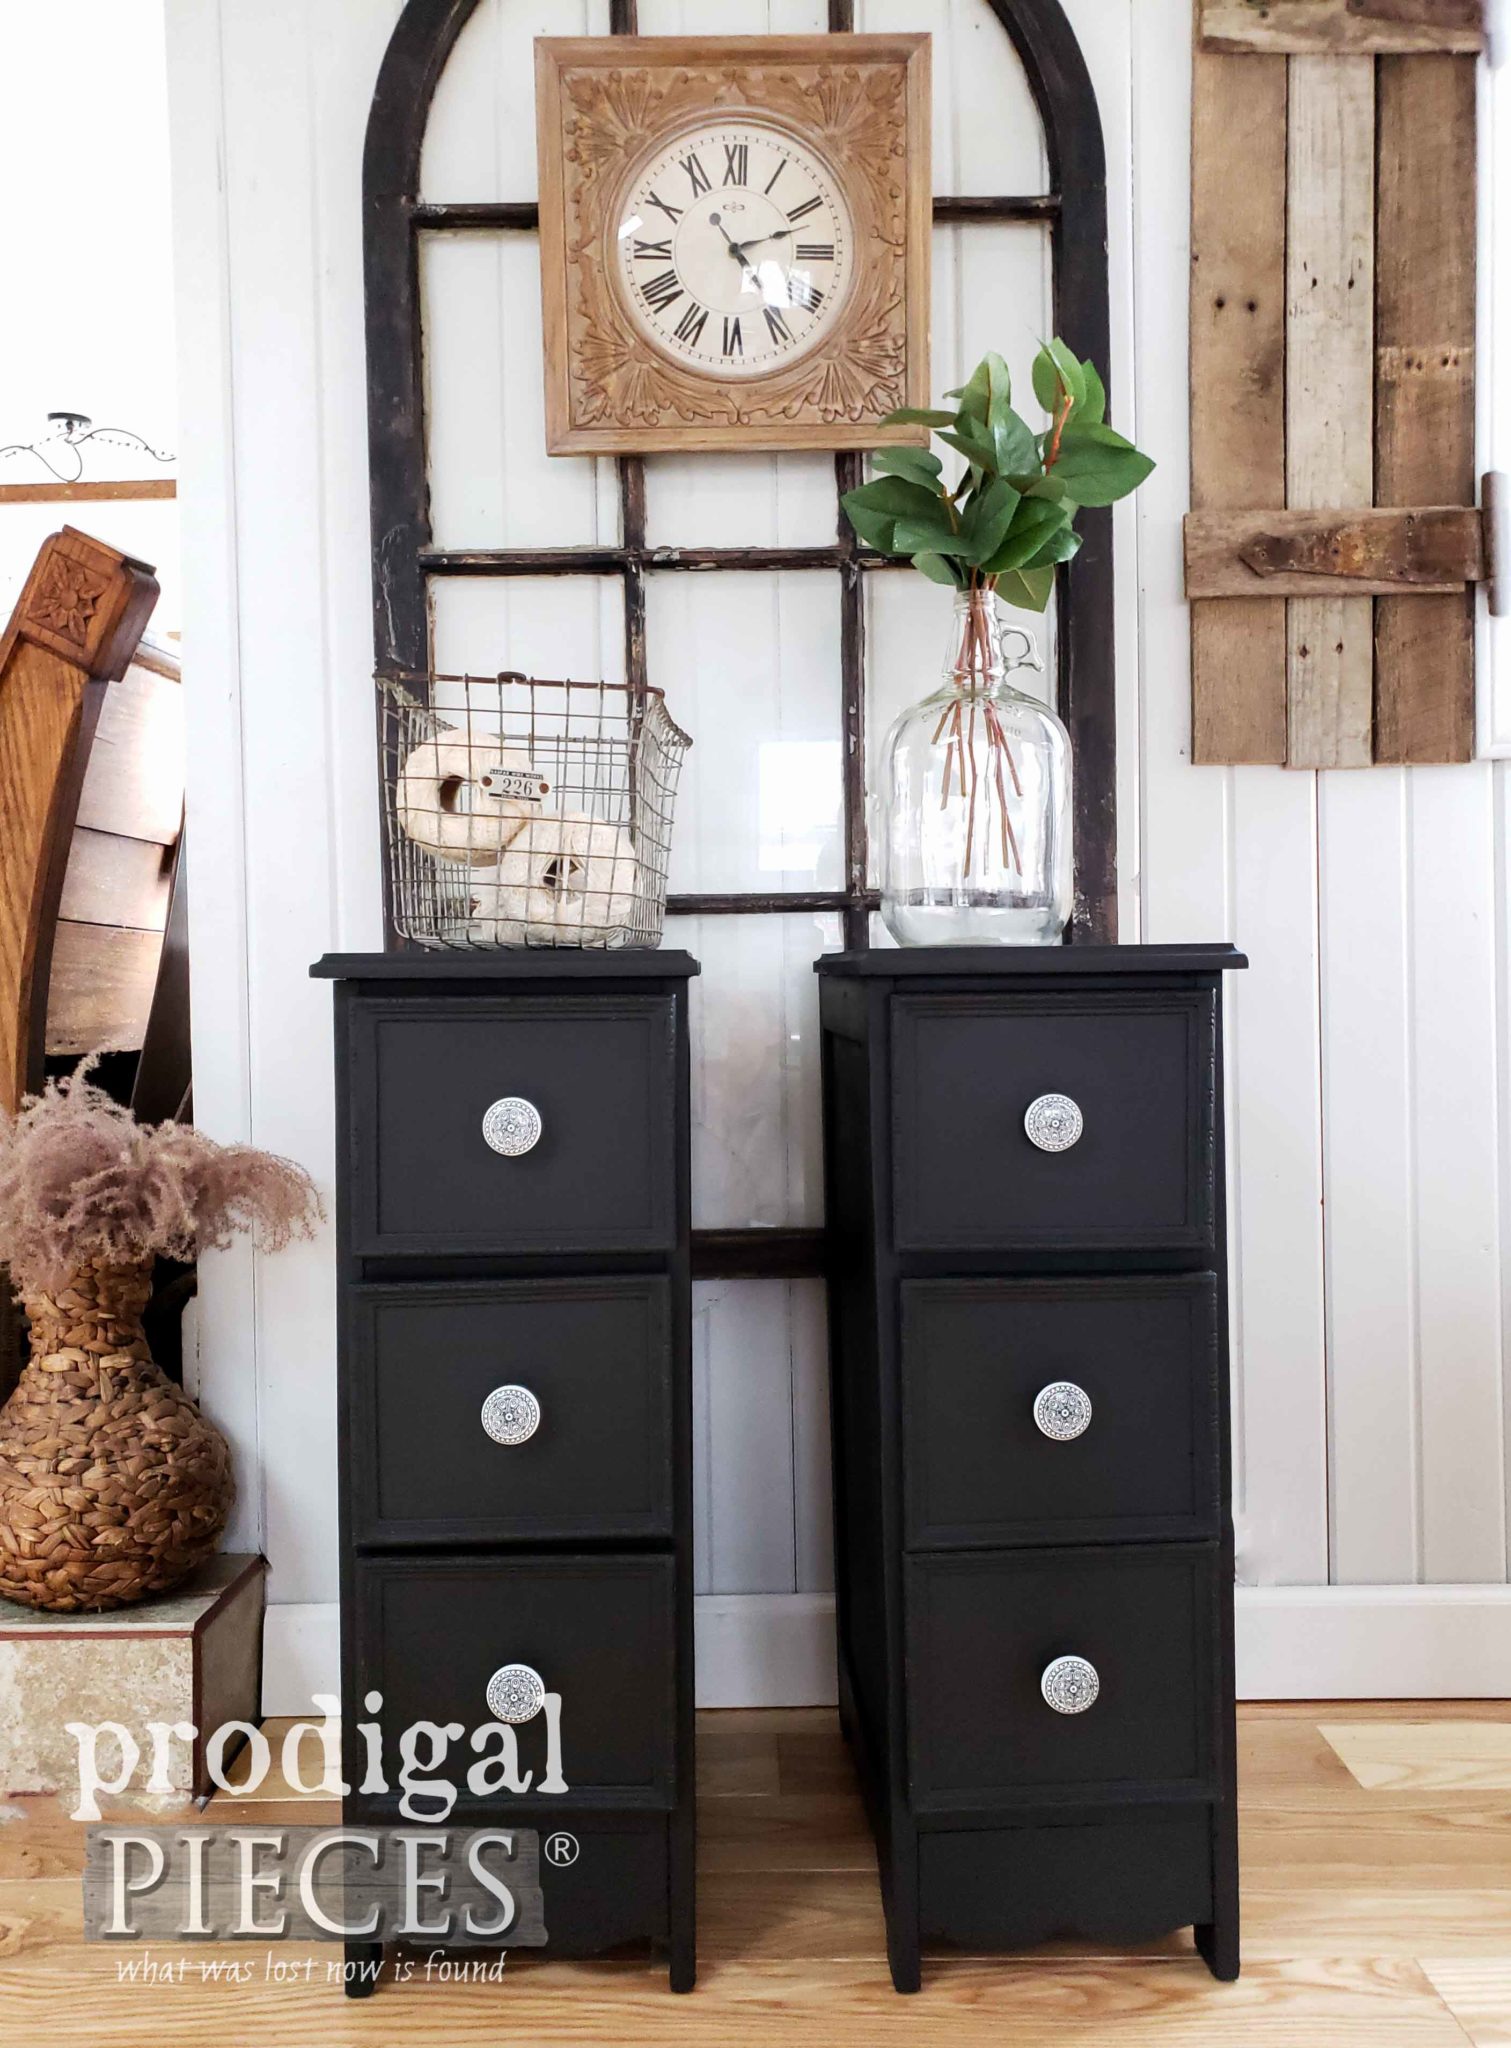
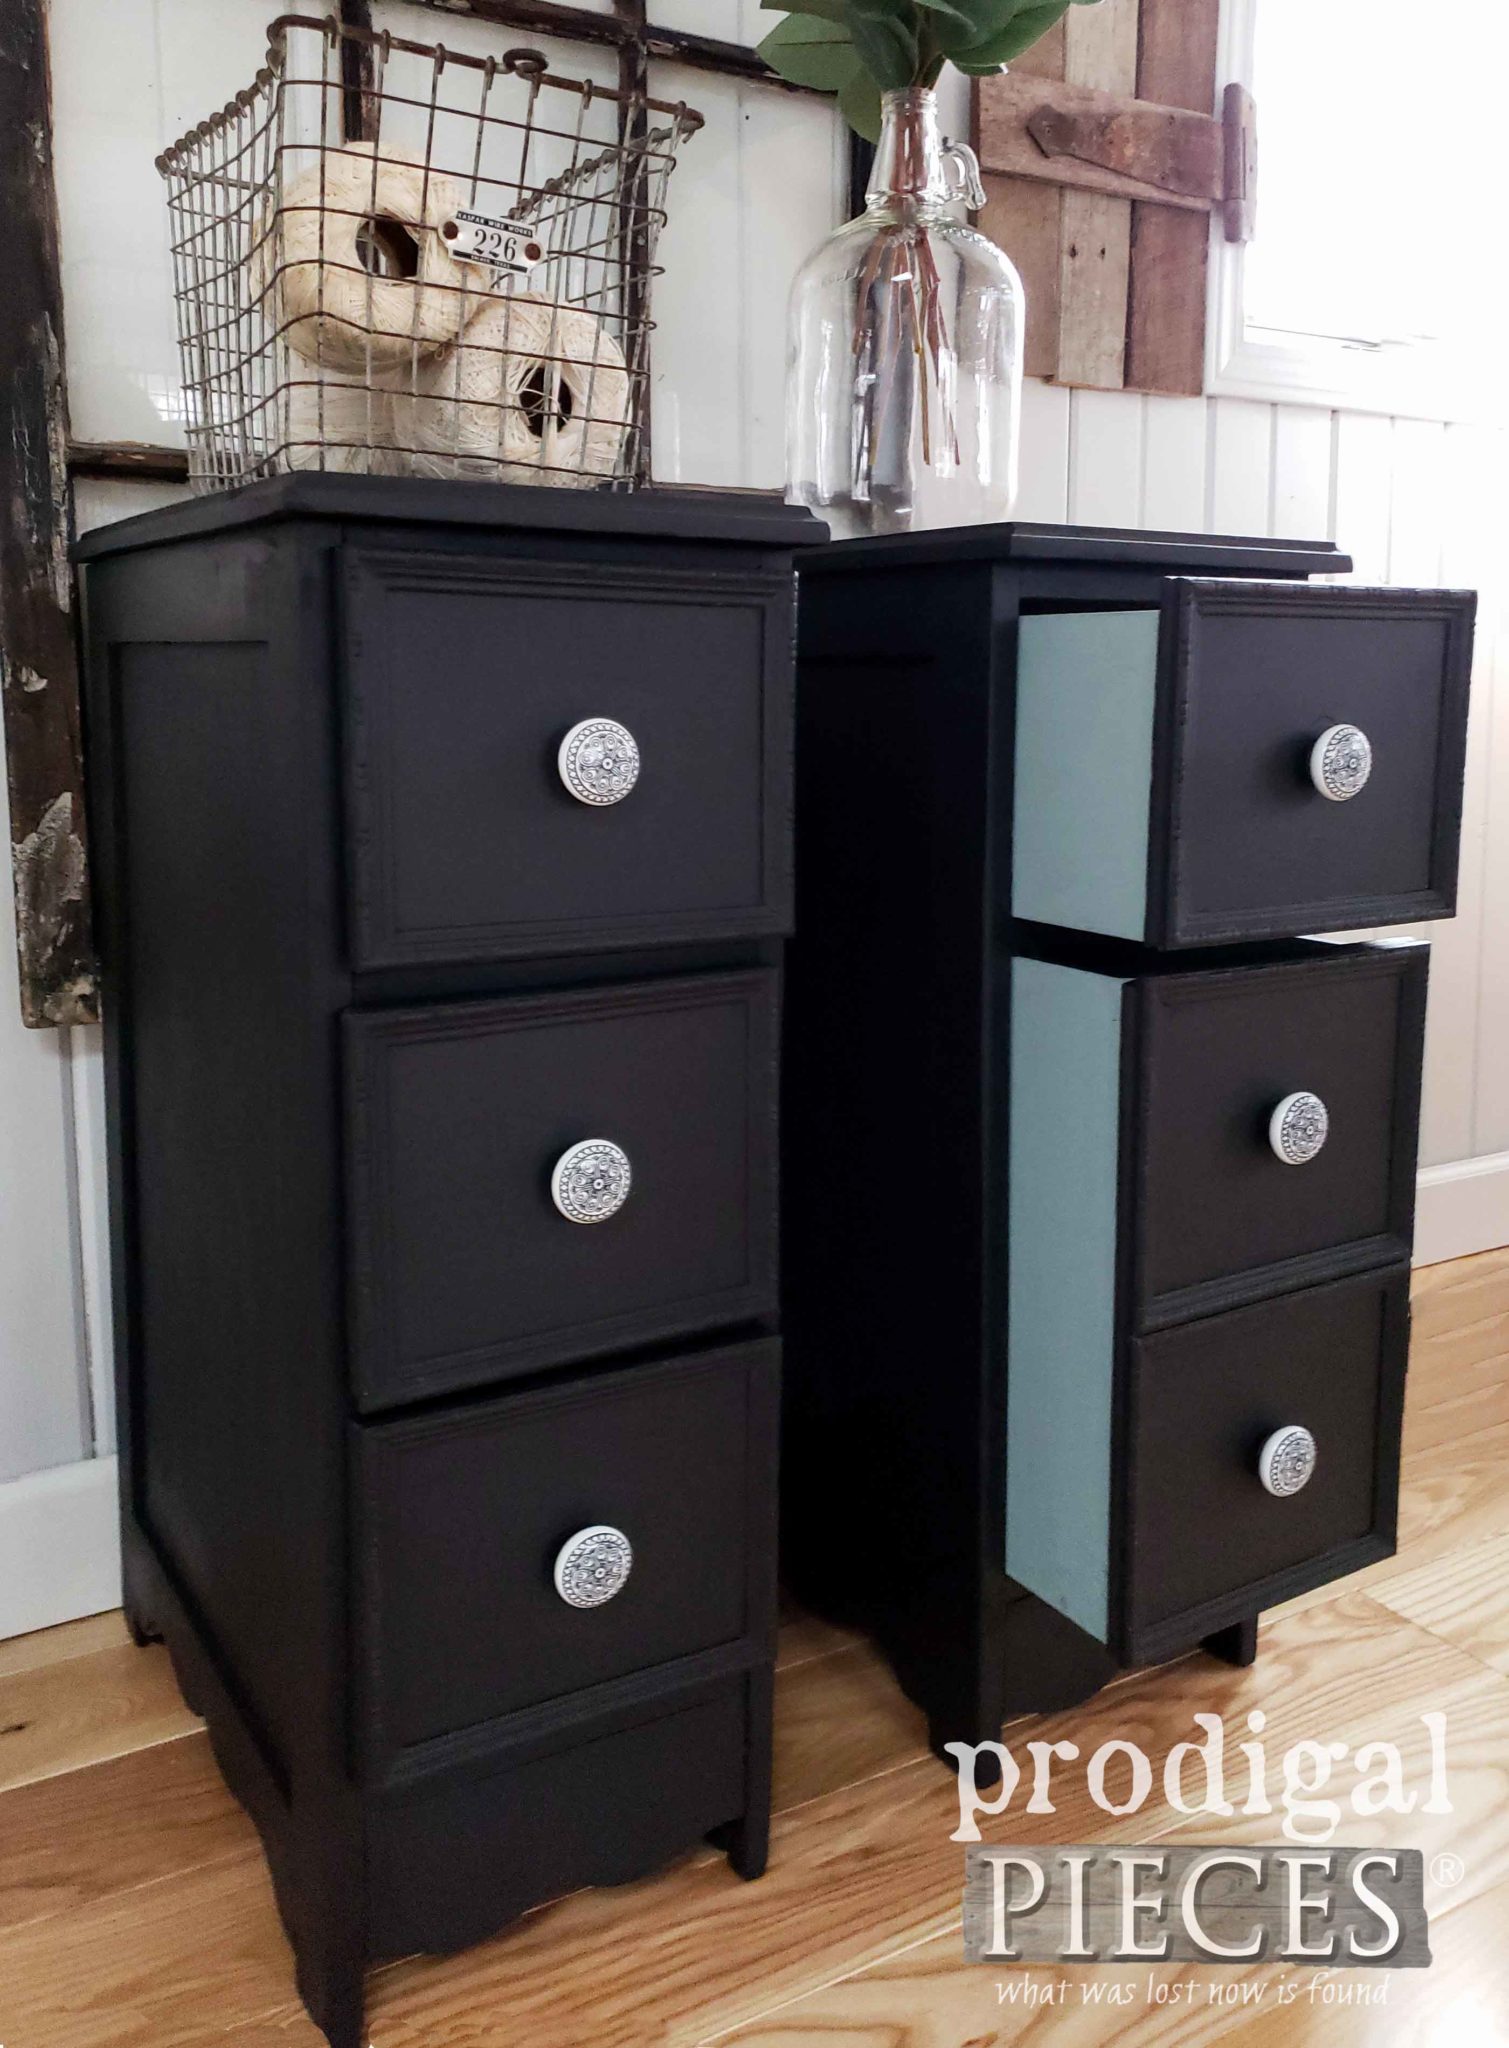
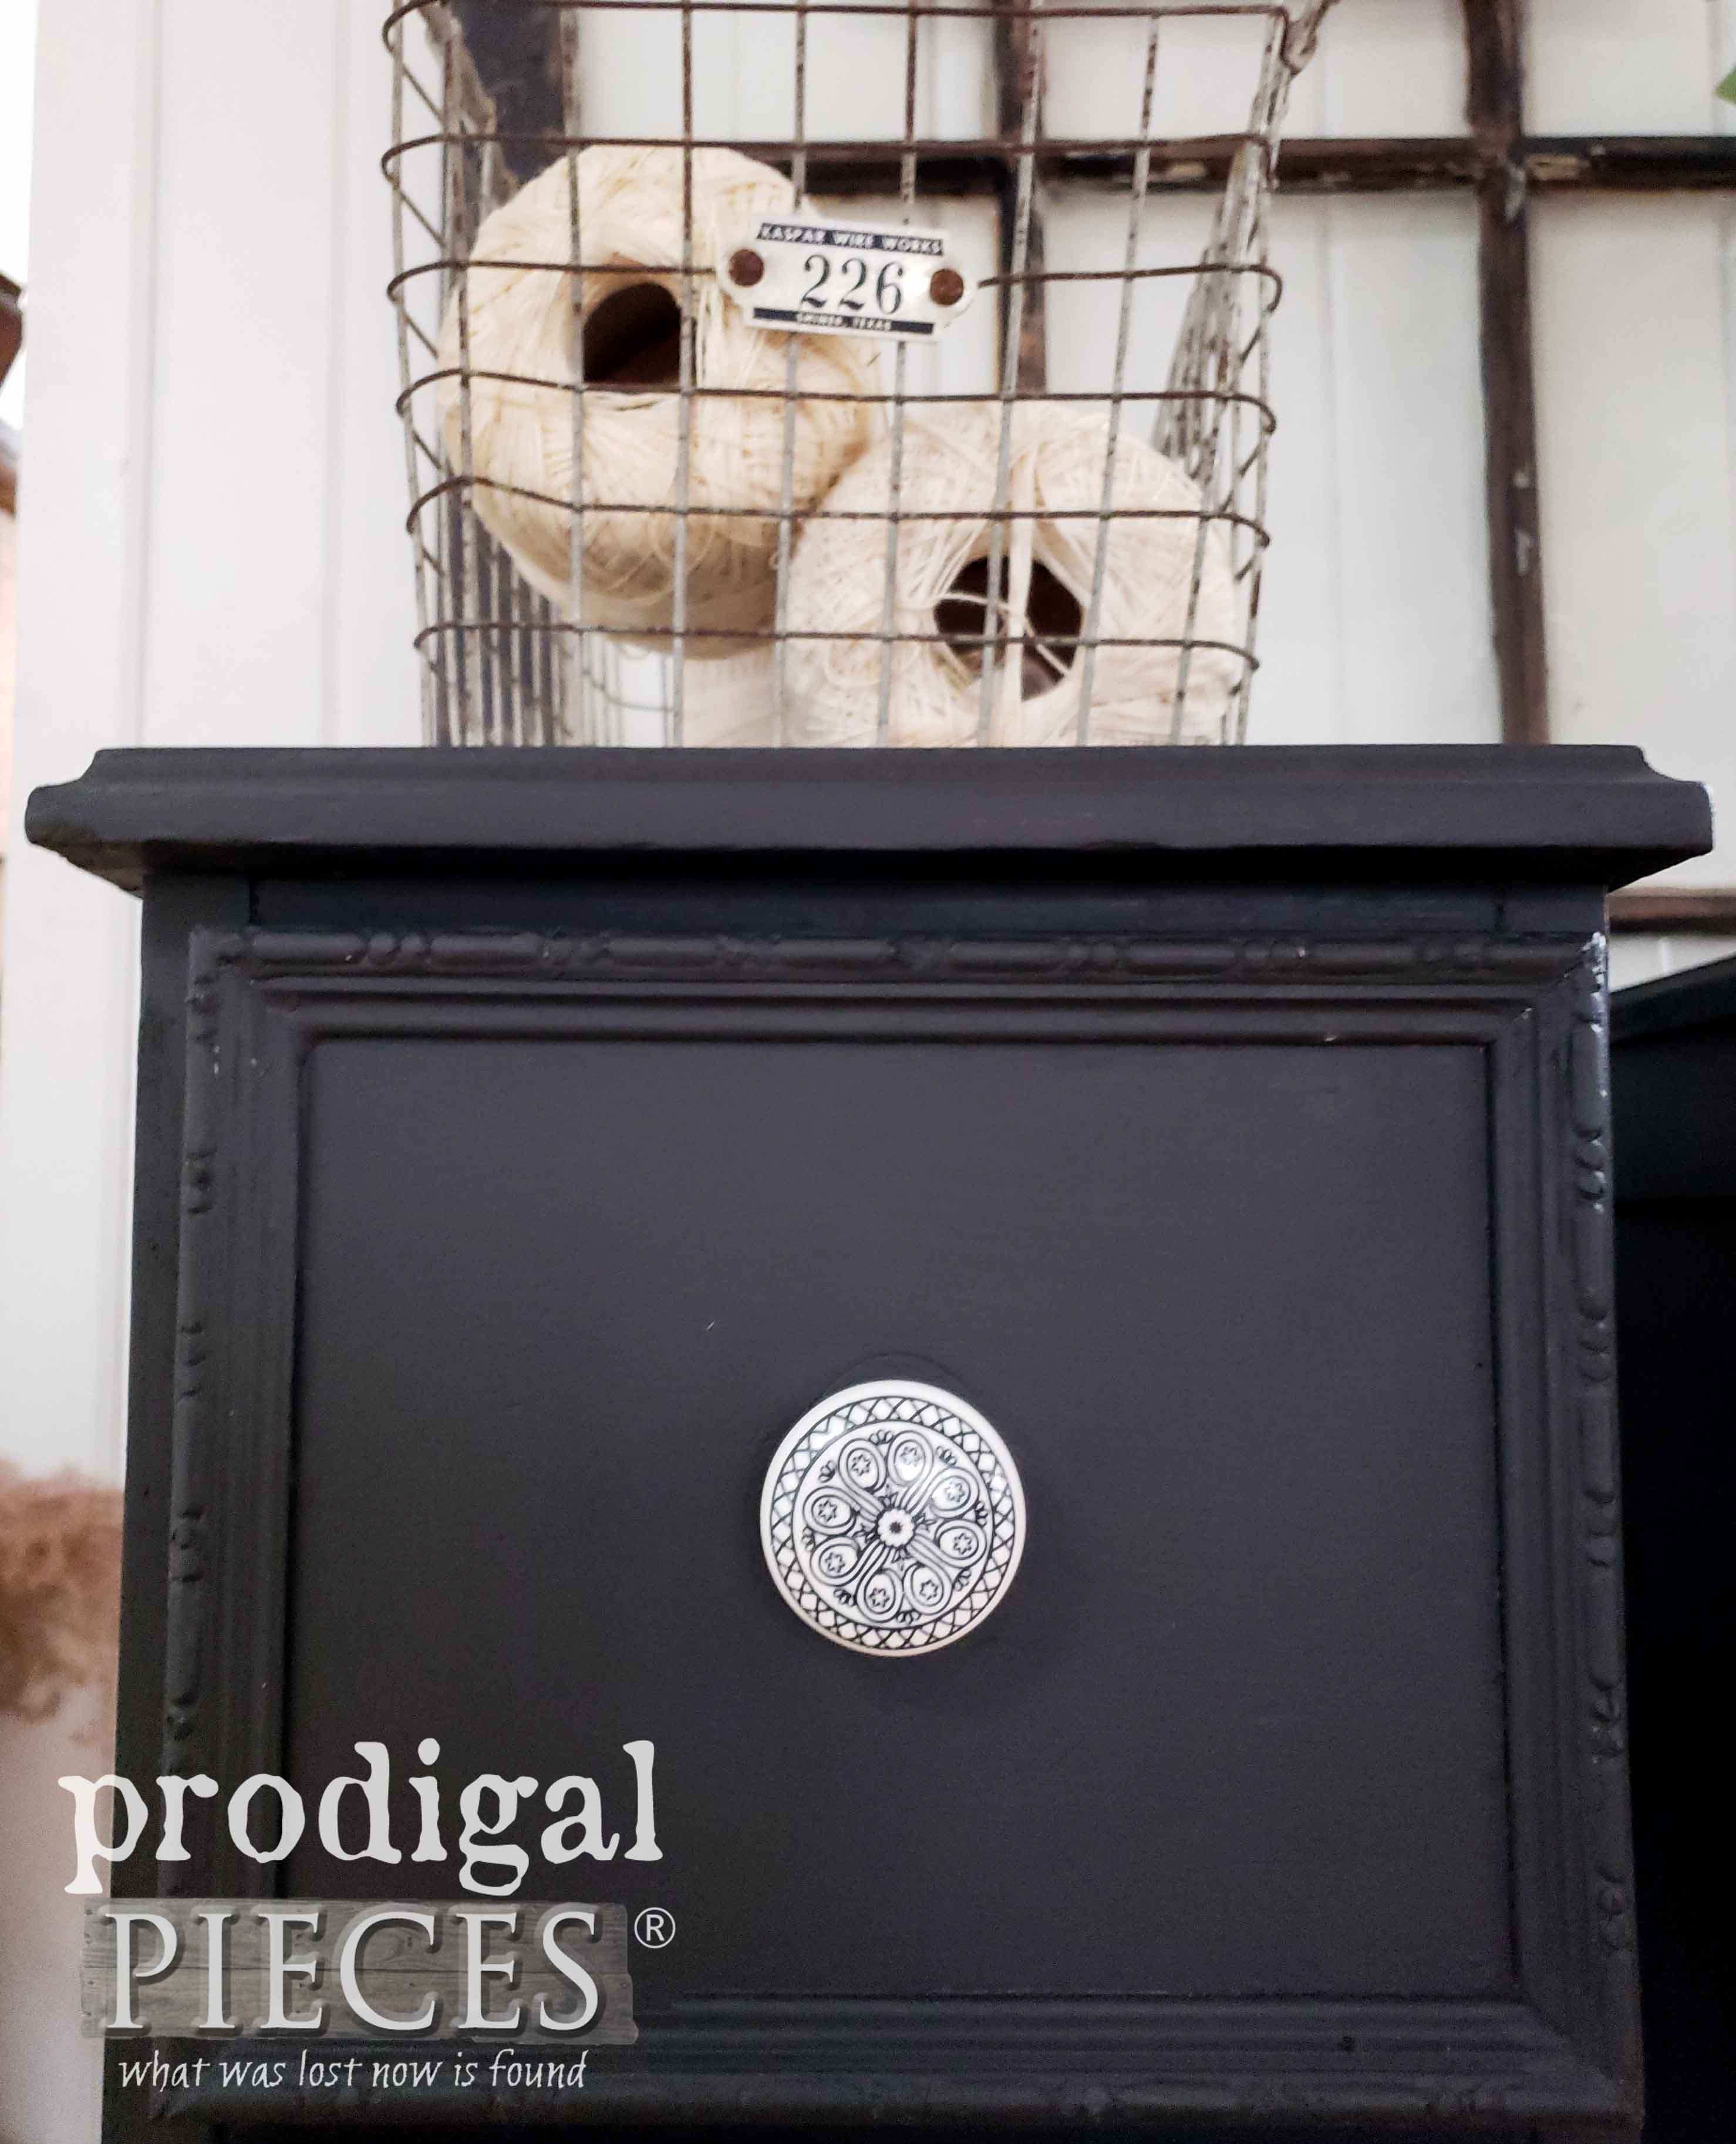
The drawers got that fun peek-a-boo effect, and the new knobs really made a difference in the feel of this set. No worries as the old ones will be getting new life too.
MORE FUN
Oh, and in case you had forgot... While most of the remnants of the desk are awaiting new life, I did make good on my promise to recreate the middle drawer. This is, again, to honor the prairie style I felt would emulate Donna's life.
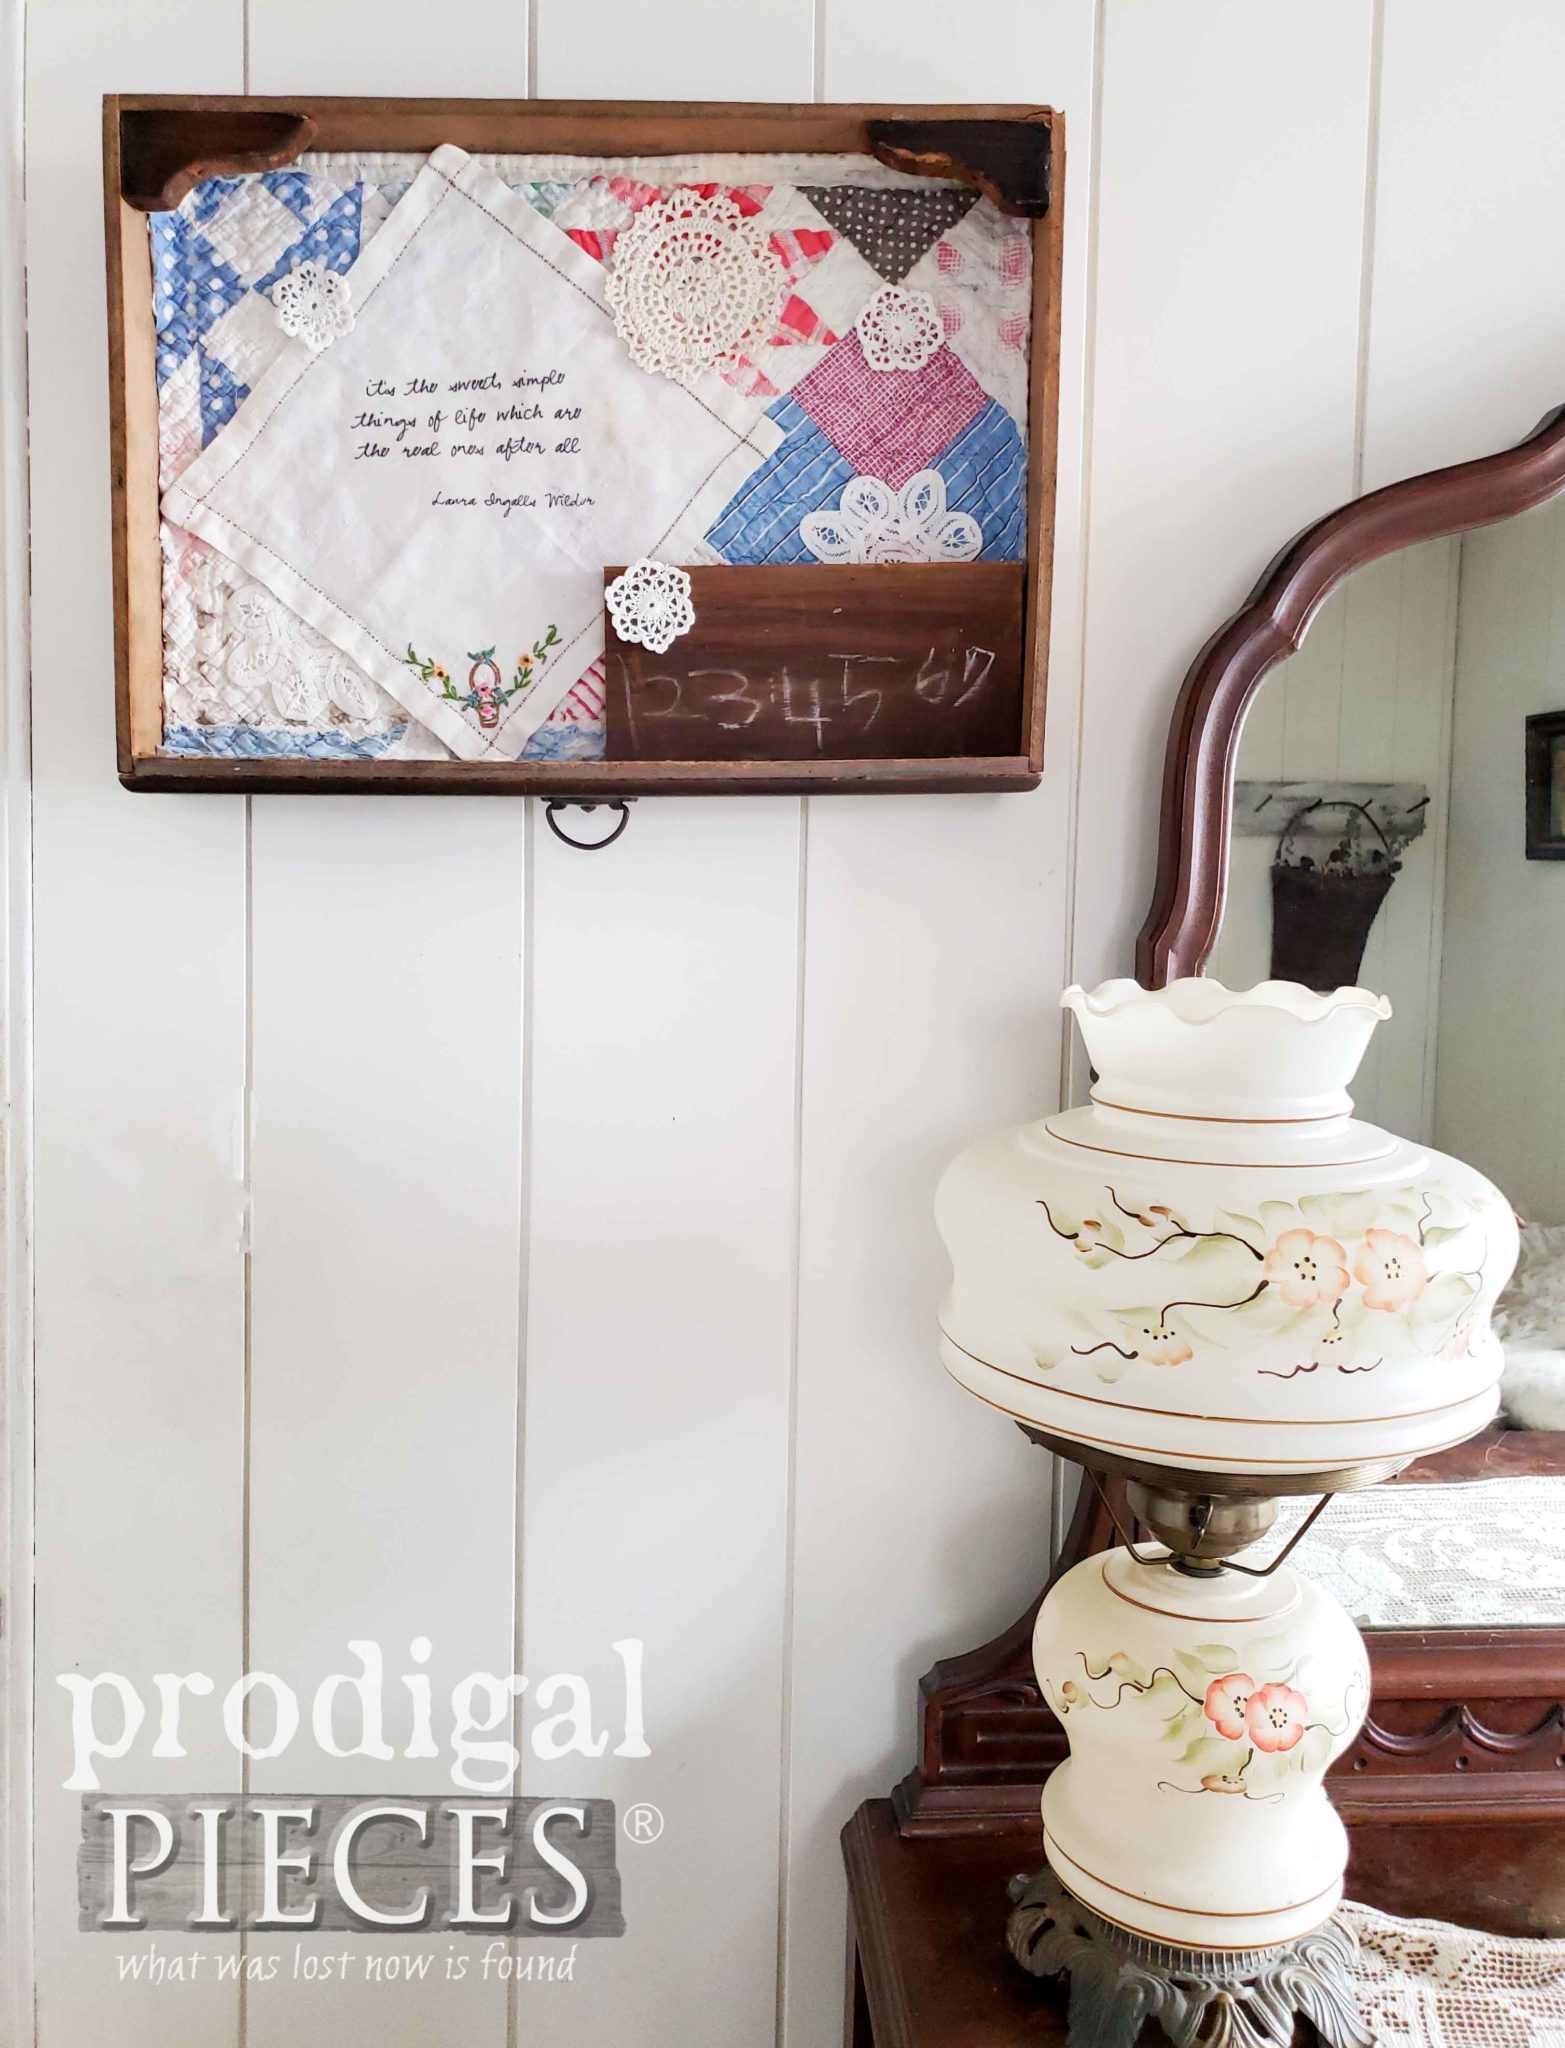
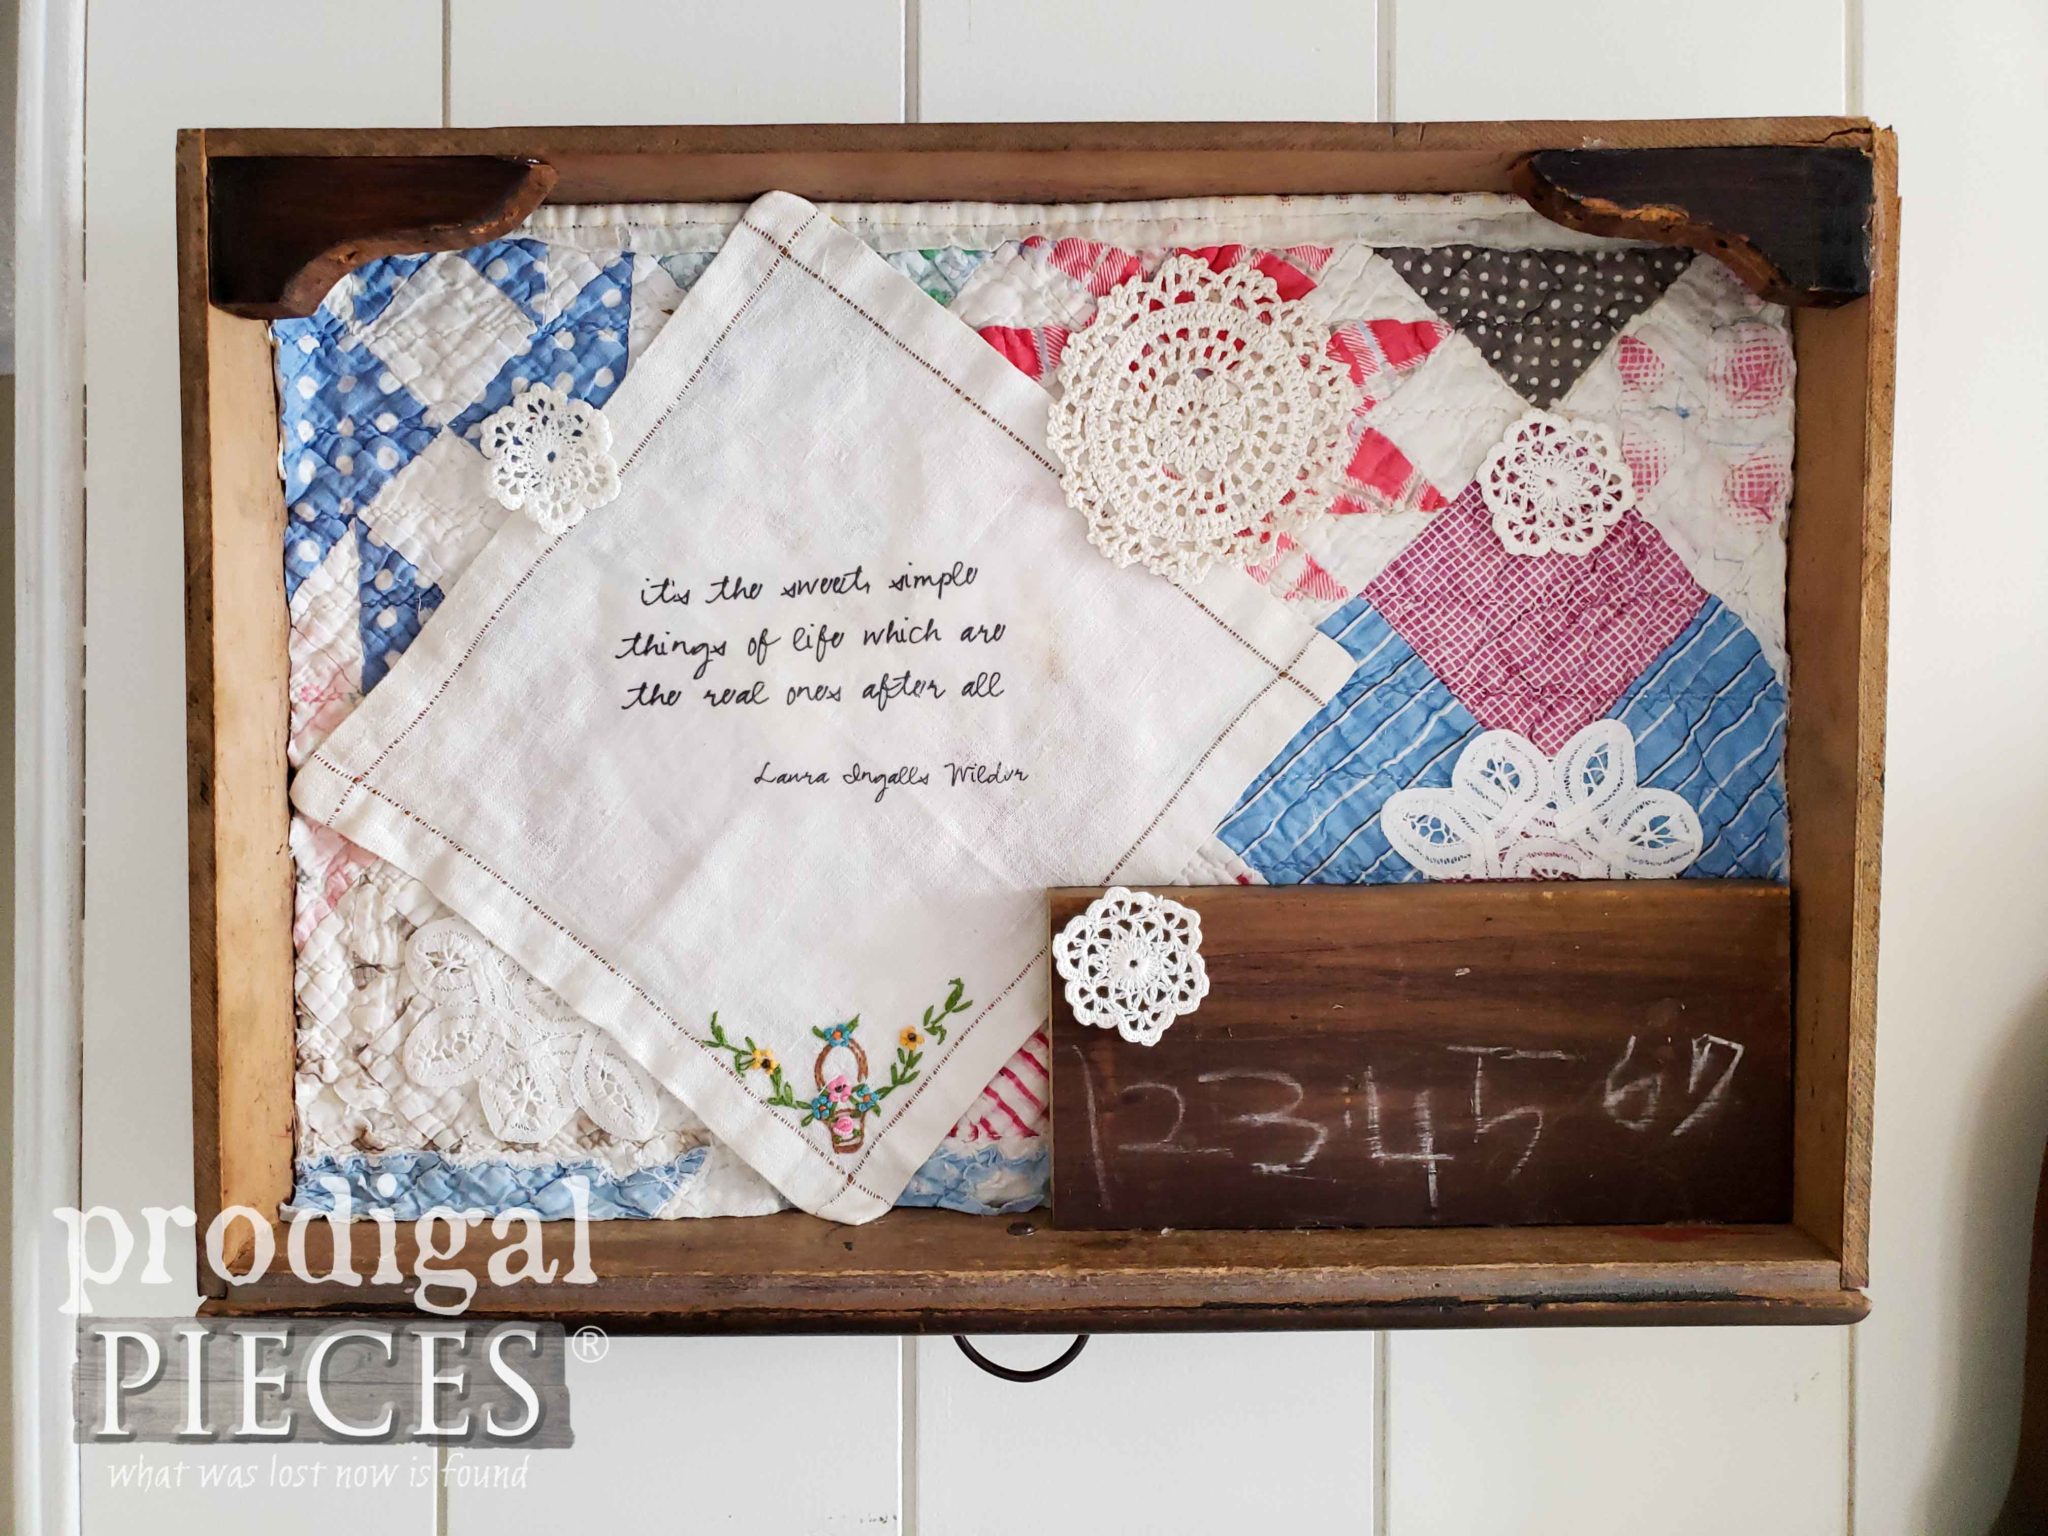
It's filled with a remnant of a tattered quilt I found at a garage sale and made use of
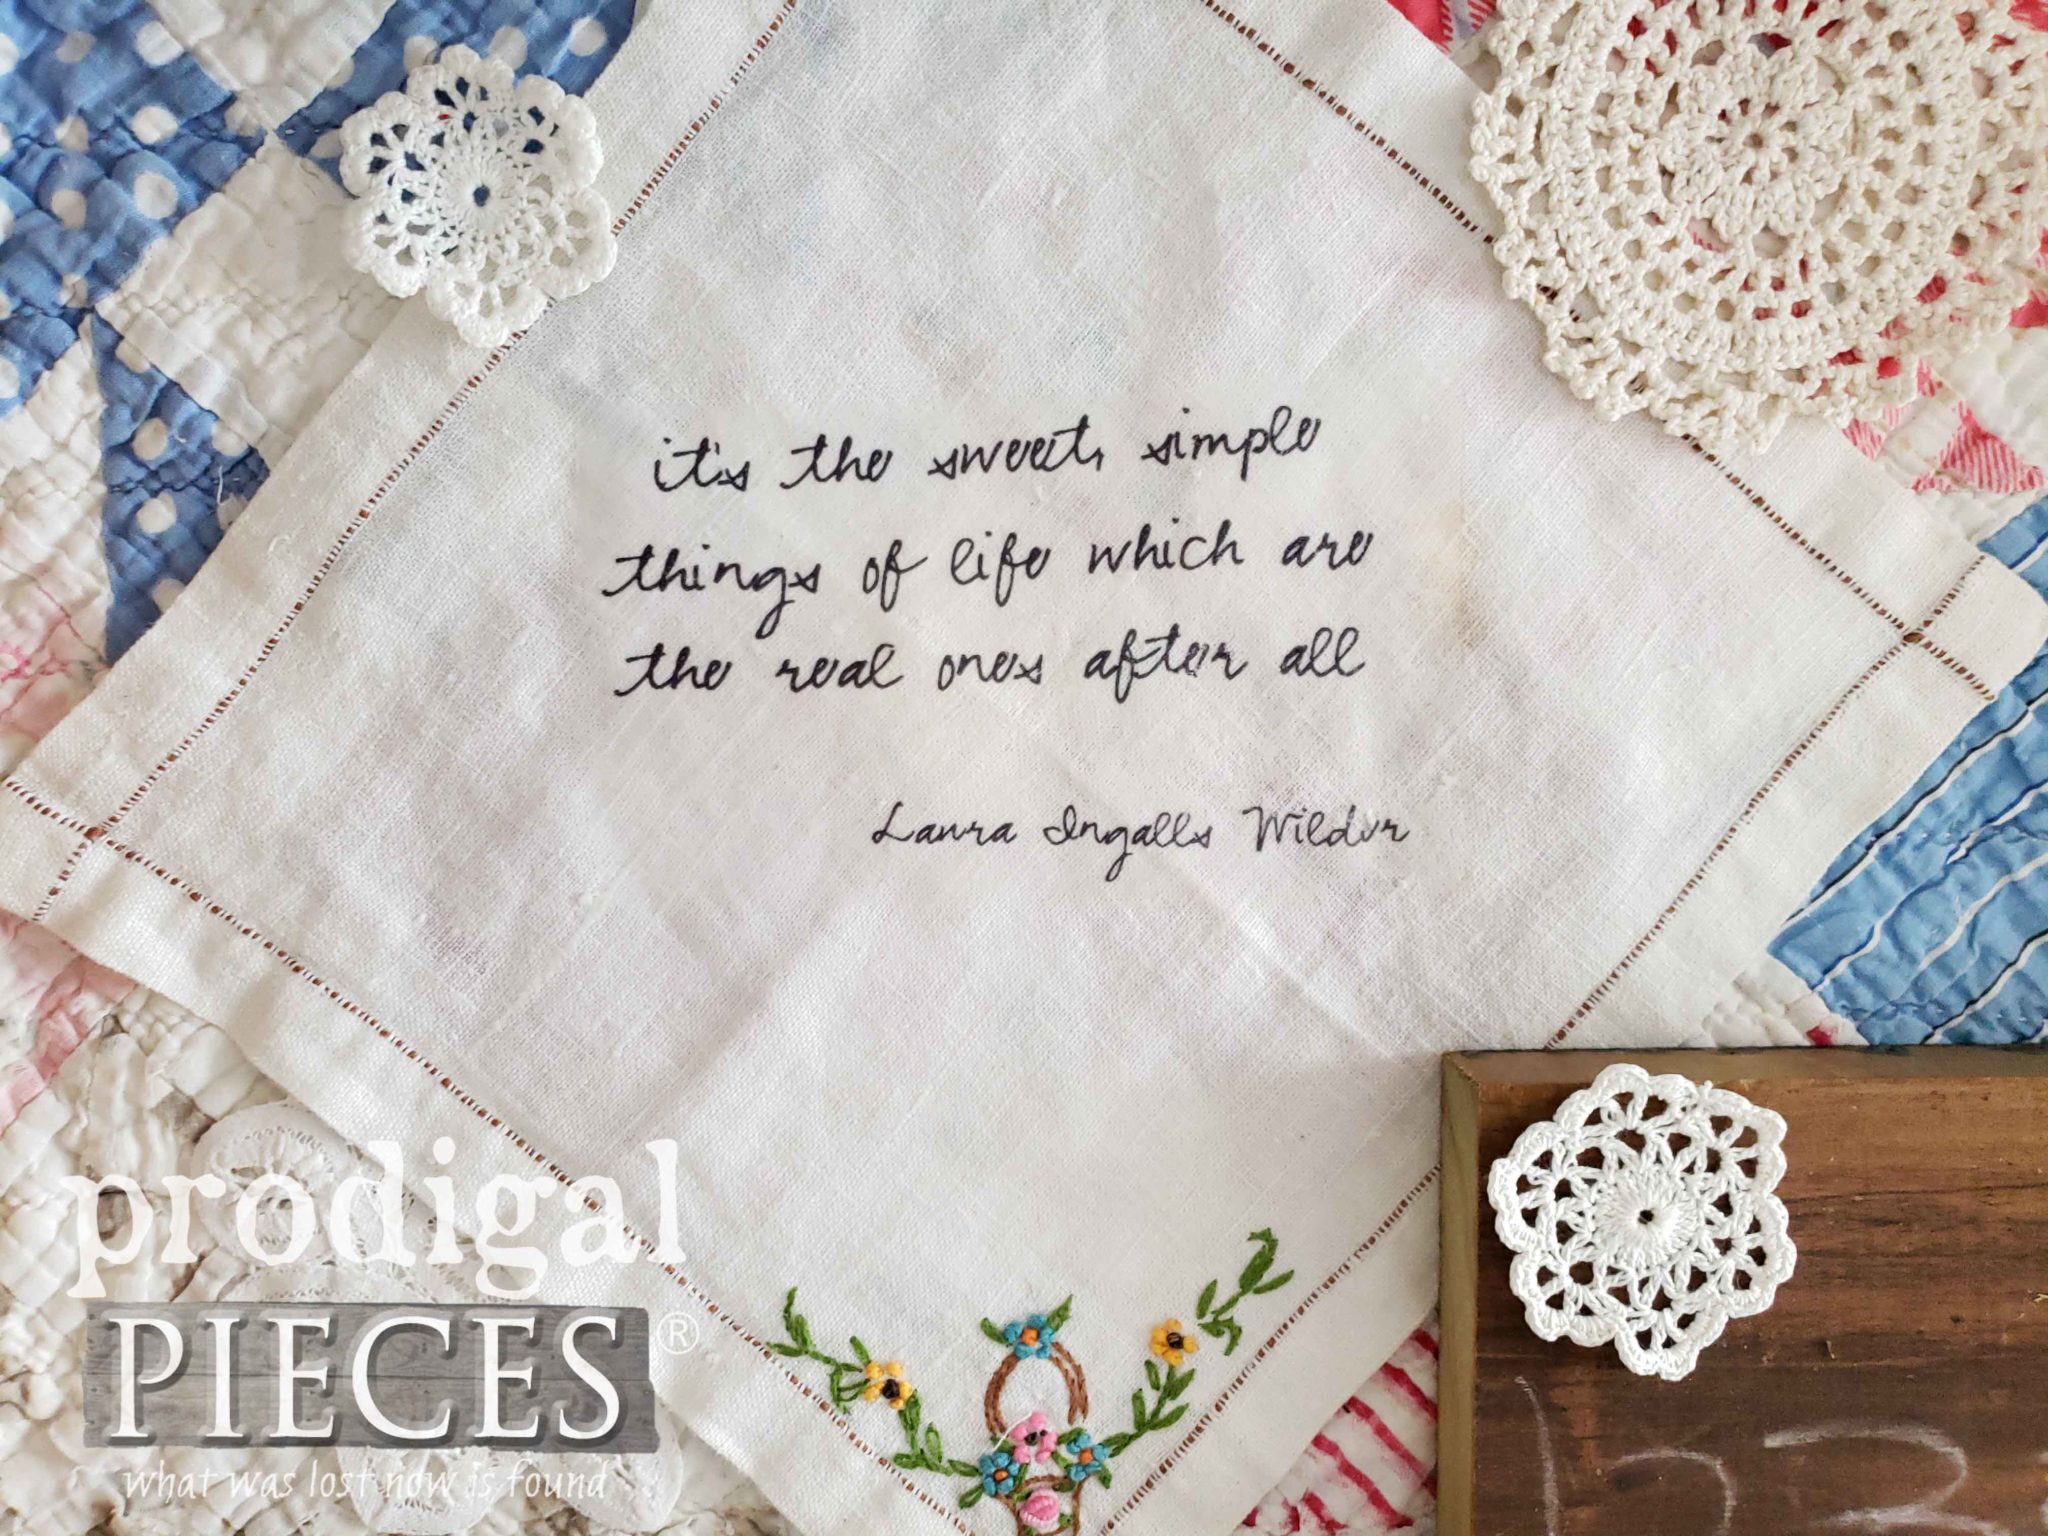
HERE. Also, I used a vintage hankie to put a few of the words of wisdom by Laura Ingalls Wilder. Likewise, the little crochet doilies are the icing on the cake, as well as the scrap of chalk-written numbers from the desk. Did you notice I even salvaged the tiny corbels for the upper corners too?
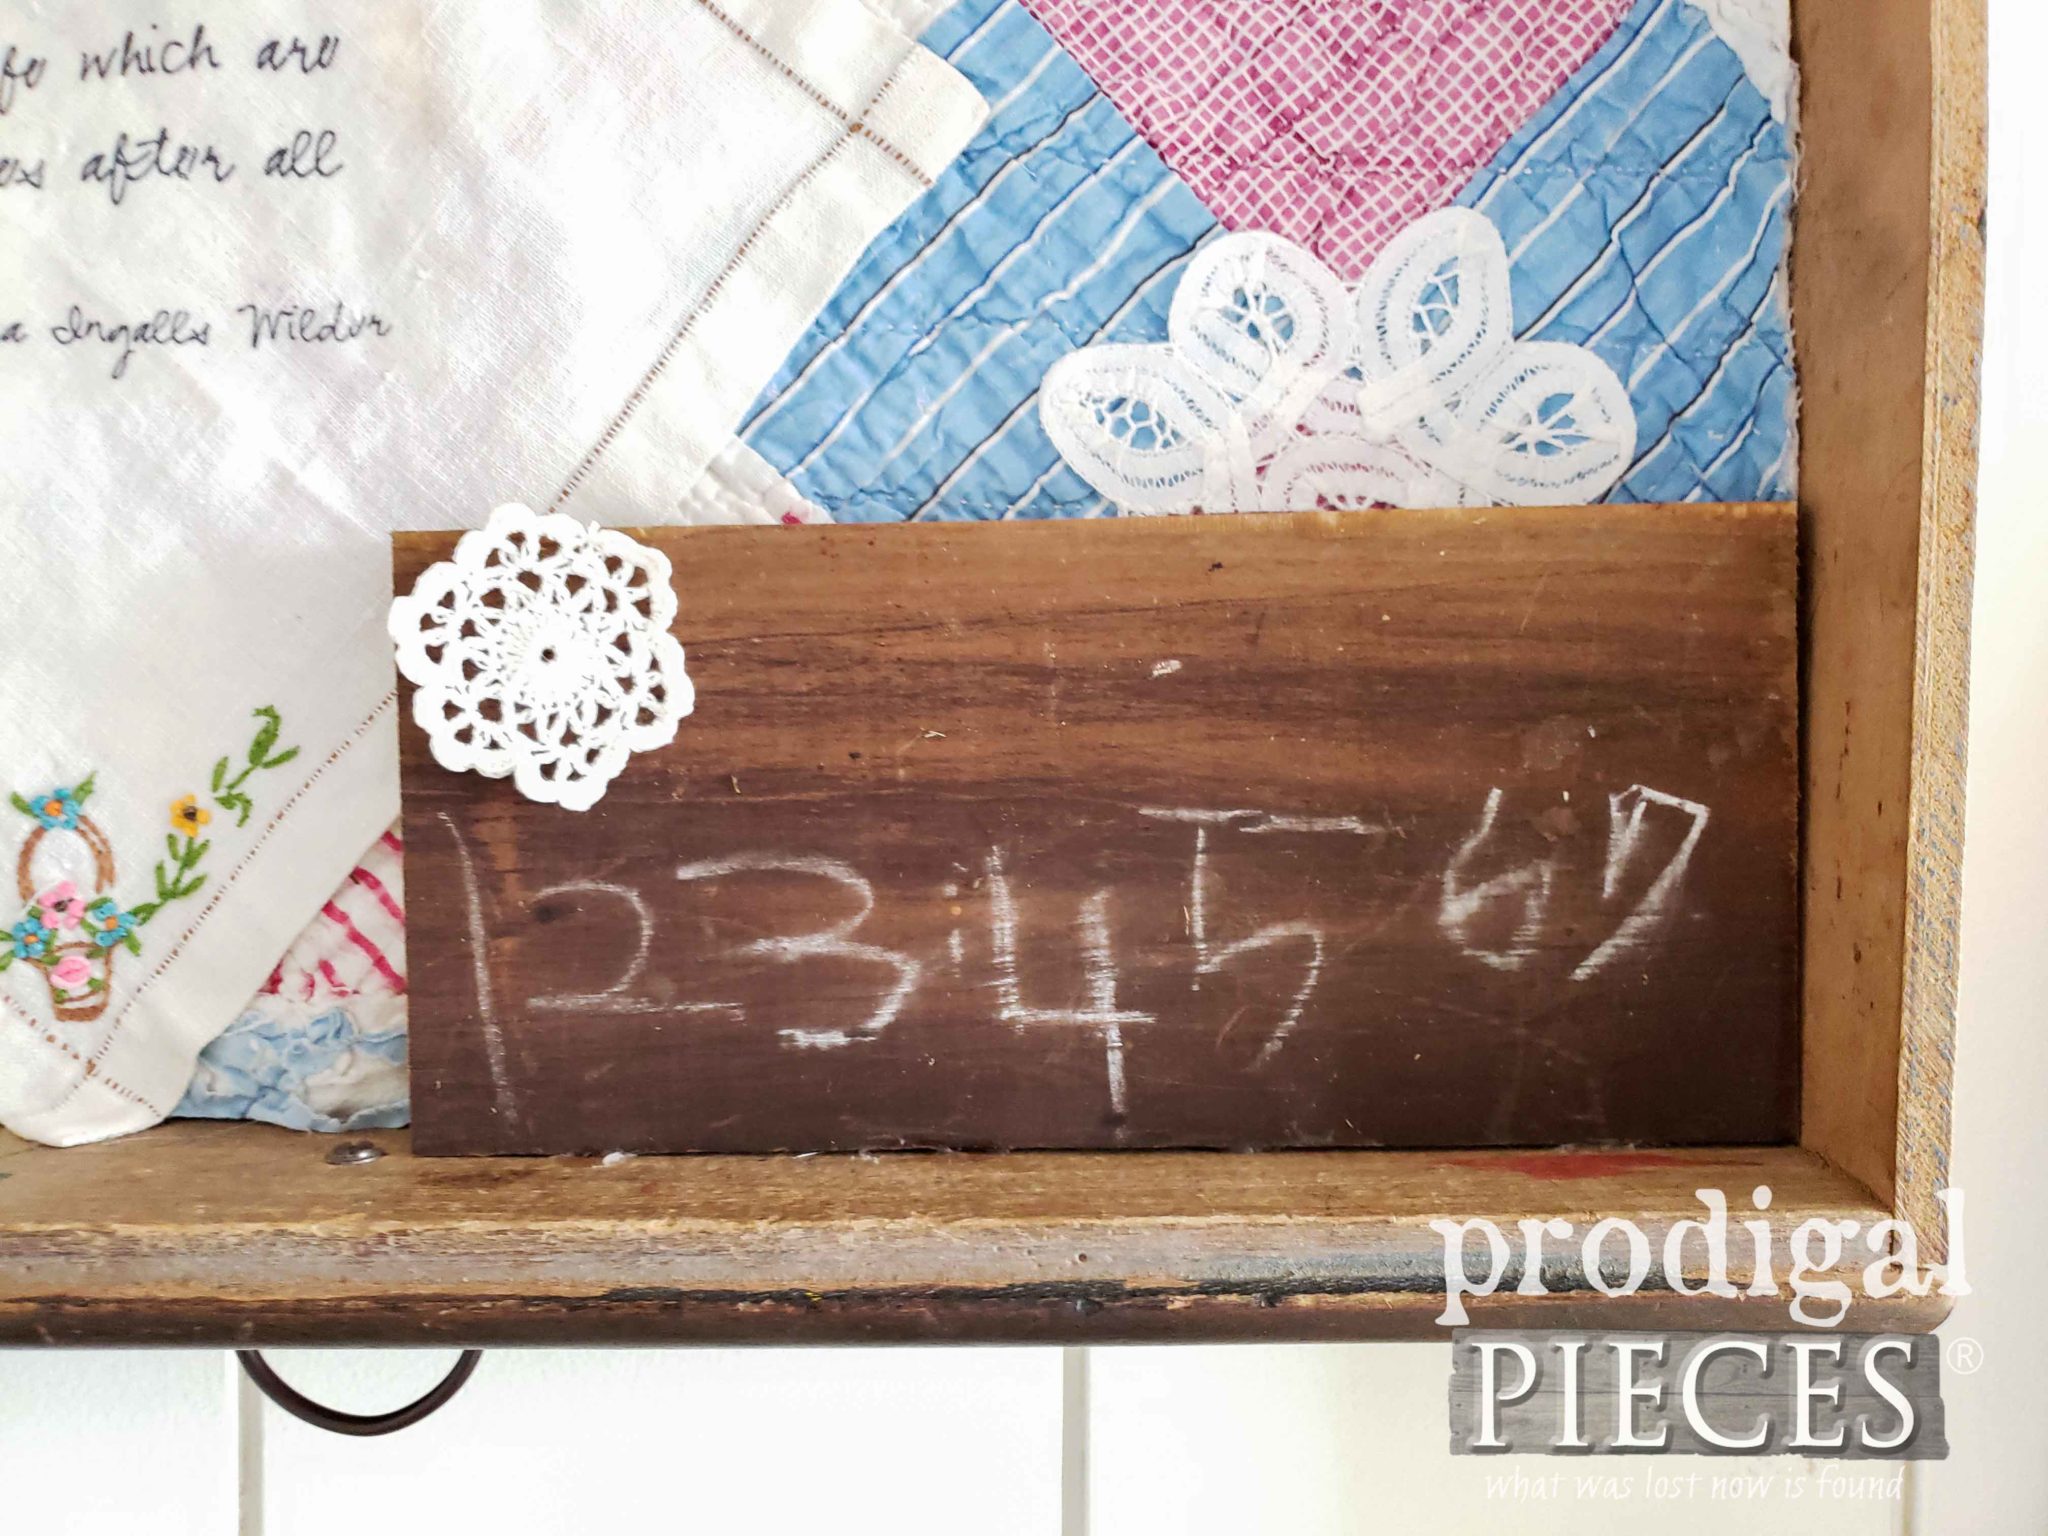
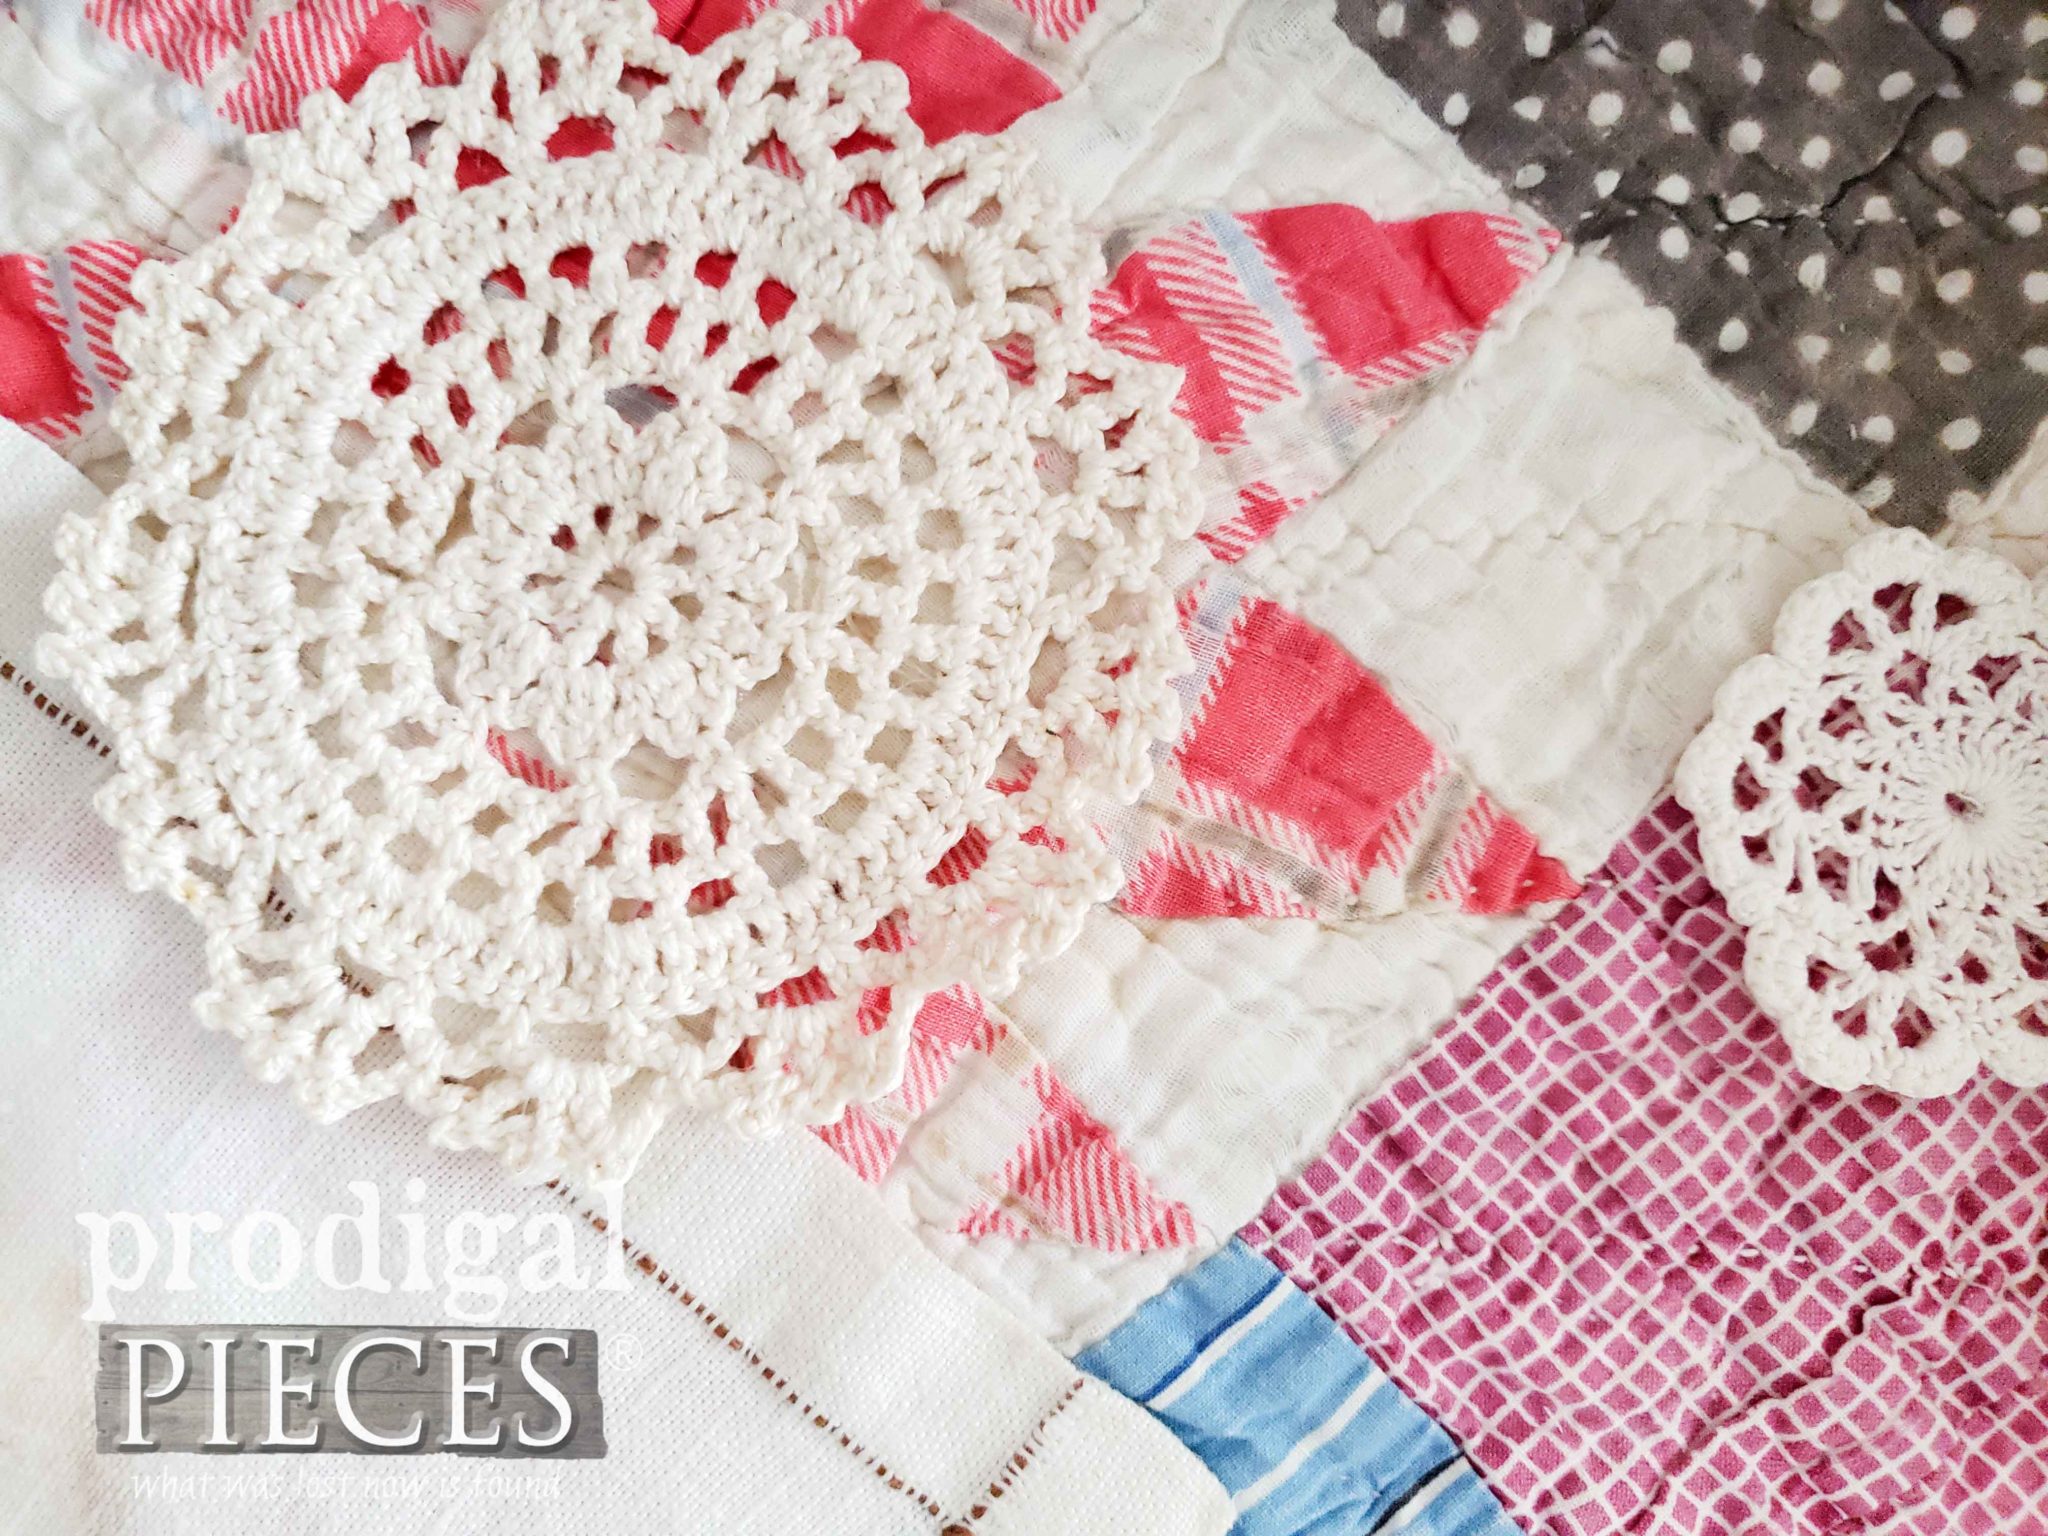
Are you inspired yet? I sure hope so! If you like either the nightstand (end table) set or drawer wall art, they are now available in
my online store.


SHARE
In addition, pin and share this upcycled desk into nightstands fun. I'm sure there's another desk out there somewhere waiting for a rescue! :)
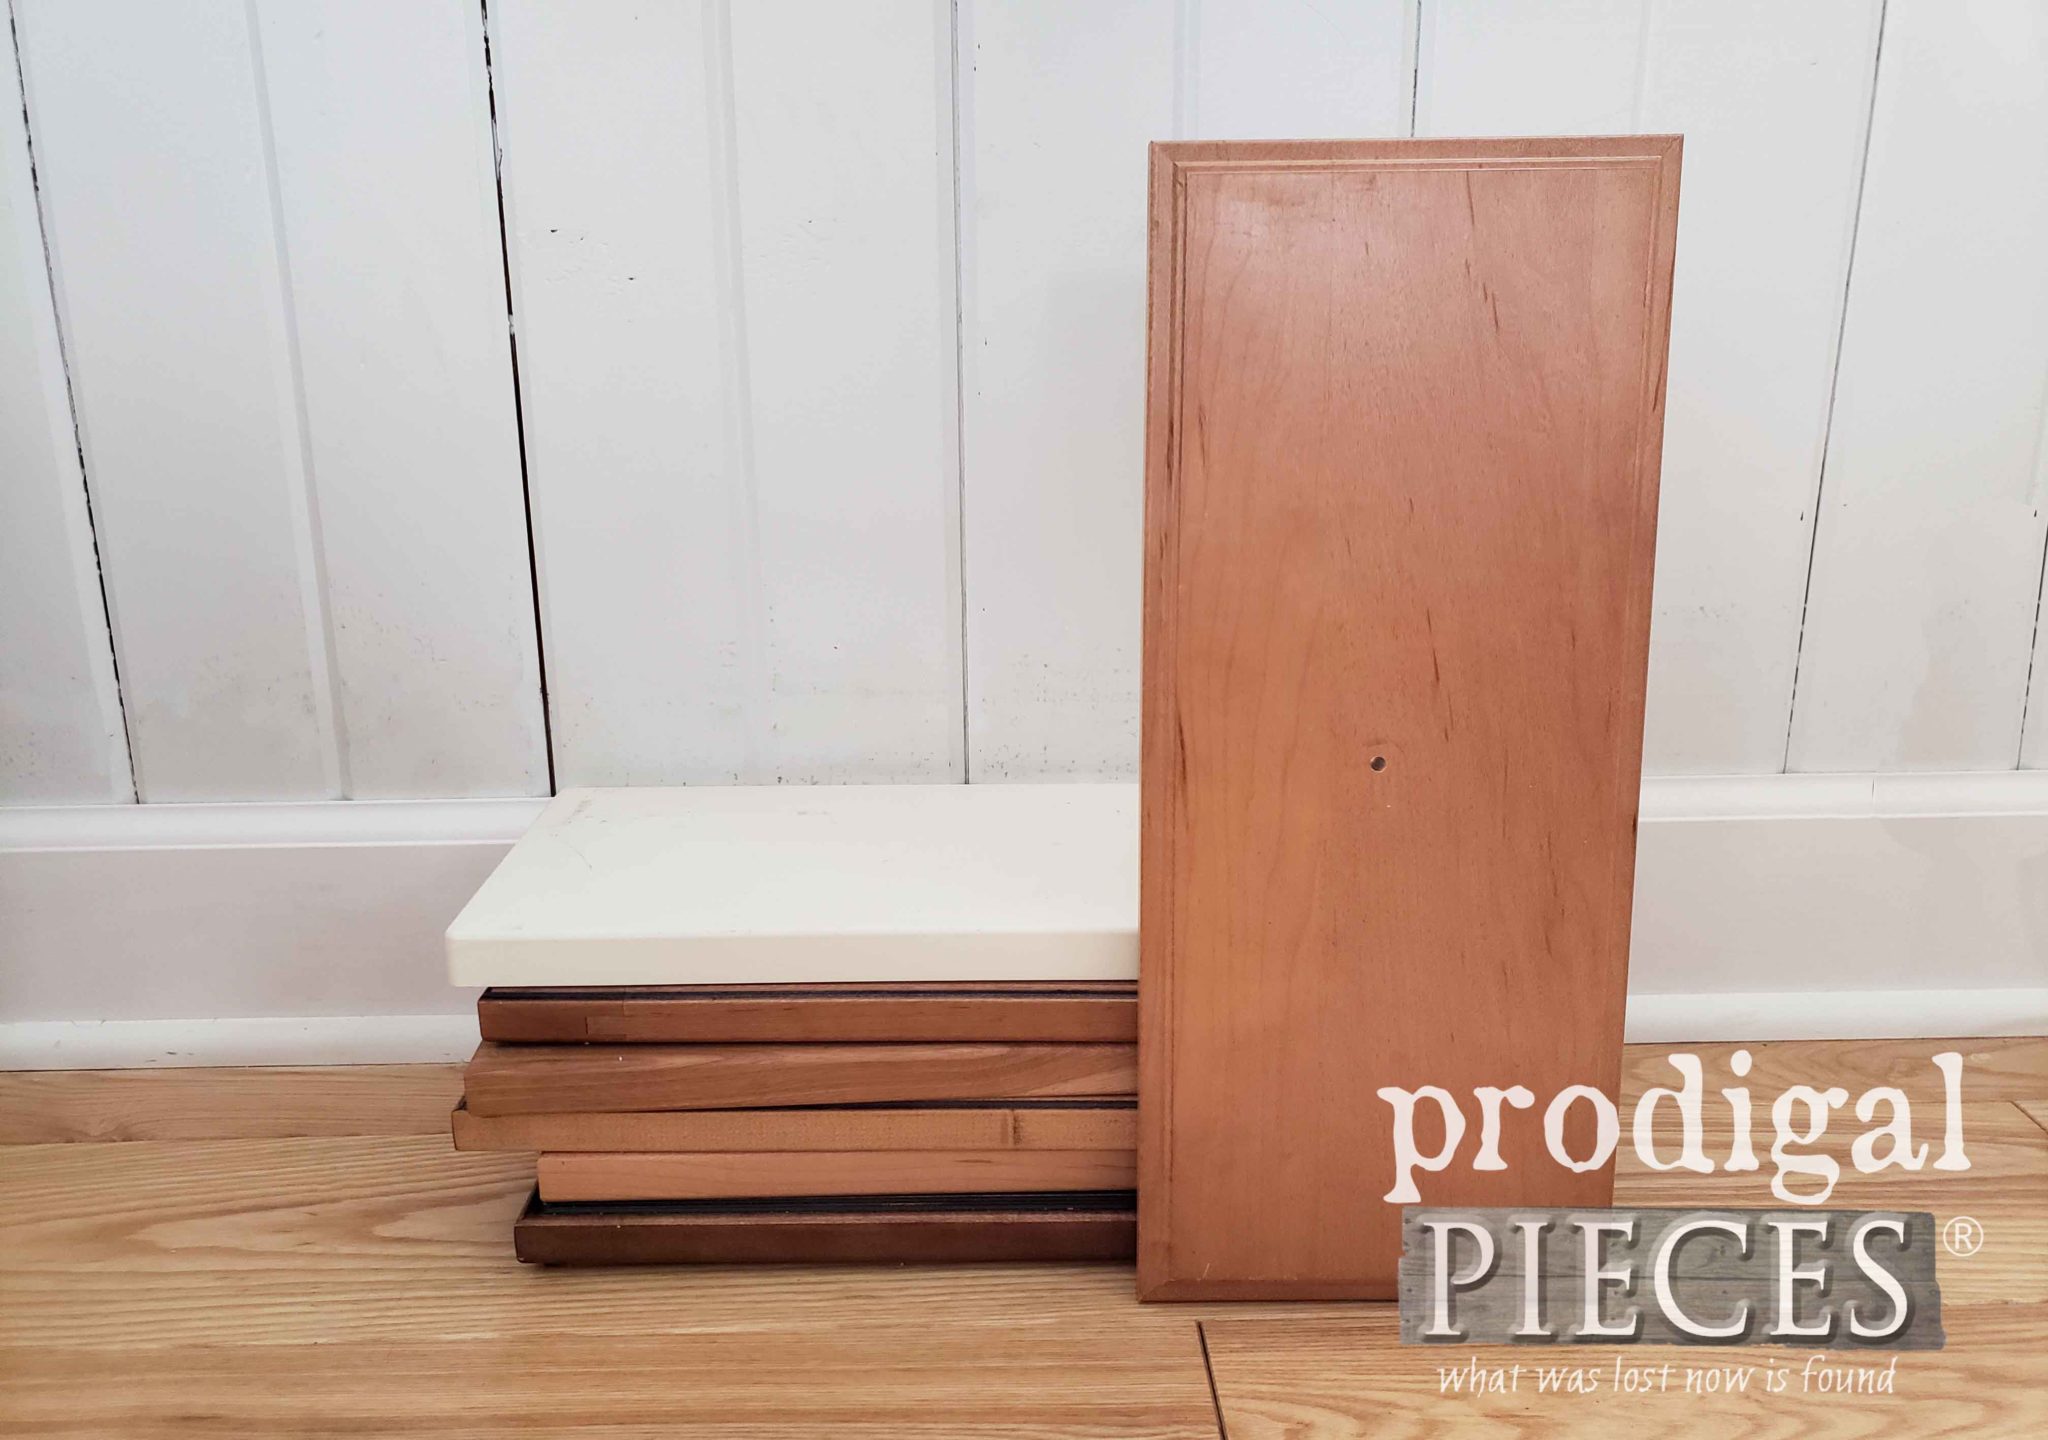
Up next, I'm going to tackle this pile of drawer fronts to give them a whole new life.
SEE THEIR NEW PURPOSE HERE.
Before you go, be sure to
sign up for my newsletter. Until next time!

 PINTEREST | EMAIL
Also, more projects like this upcycled desk into nightstands:
 A few weeks ago, I told you the story about a lady named Donna, who had recently passed. Her daughters were working through finding homes for her estate items, and I purchased an antique dressing table and this desk. You can see the antique dressing table in this post. (It's a good one!)
 Today, it's all about this desk. I will be completely honest and say that I didn't want it. Initially, I went to look at both pieces and instantly said a "NO" in my head when it came time to purchase it. Further, the desk is beaten up and looks like more work than I felt like messing with. However, the softie that I am felt compassion for the ladies who were grieving, so I brought it home with me.

 Now the top is off and I just have that one adjoining board at the back.
 I just love finding these kinds of notes and marks like these chalk numbers. Some kiddo crawled up under the desk and practiced their numbers. So fun!

 It's at this point I took them inside to assemble them and get the ready for the next steps. My nailer is my best friend when doing this job.

 Now, my desk drawers are assembled, but still needing some lovin'. One particular drawer had a missing corner. I remedied that by cutting trim to cover ALL THE DRAWER FACES. ugh. Lots of hand miters and gluing and nailing. BUT...I'm gettin' er done.
 After the drawer faces, I created a scalloped skirt for the front of the nightstands. As a result, I make a pattern using the existing skirt, then cut out with my jigsaw.
 After that, I create pocket hole joints to the skirt pieces using my drill and my Kreg Jig.
 Alas, here are my upcycled desk into nightstands ready for a new lease on life.

 I've started to stain the new additions of wood just to deepen the color a bit to prep it for paint.
 Next, the stain has cured and it's time to make these beauties shine again. I've chosen to use a flat black paint to apply two coats of paint. (letting cure in between, of course)
 Then, I tackle the drawers. Believe me, they need some pep!
 Last, but not least, I added paper liner to the drawers, and also black wax to protect paint. With that in mind, I use an older brush to apply the wax, and then buff to a low lustre.


 With this set done, I can now say that I would do it again, but with a better project piece condition in the first place. Furthermore, what a challenging set to build!


 The drawers got that fun peek-a-boo effect, and the new knobs really made a difference in the feel of this set. No worries as the old ones will be getting new life too.


 It's filled with a remnant of a tattered quilt I found at a garage sale and made use of HERE. Also, I used a vintage hankie to put a few of the words of wisdom by Laura Ingalls Wilder. Likewise, the little crochet doilies are the icing on the cake, as well as the scrap of chalk-written numbers from the desk. Did you notice I even salvaged the tiny corbels for the upper corners too?


 Are you inspired yet? I sure hope so! If you like either the nightstand (end table) set or drawer wall art, they are now available in my online store.

 Up next, I'm going to tackle this pile of drawer fronts to give them a whole new life. SEE THEIR NEW PURPOSE HERE.
 Before you go, be sure to sign up for my newsletter. Until next time!


