 Actually, these are just too good to pass up and are perfect for my project vision. Their chunky turned selves are so cute, don't you think? So, how does one go about making an upcycled ottoman? It means it's time to dive into my stash and get my build on.
DIY TIME
For real tho...I so enjoy looking at my "junk" pile of wood and letting my brain scheme of what's yet to be. Also, I often challenge myself to not purchase a thing and only use what's on hand. To tell the truth, it makes it fun and really makes me dust the cobwebs from my noggin'. First, I've cut a plywood top and four sides to make a box with my pocket joint jig. Not only does knowing how to use the tools make it easier, but also getting it done right. Then, once I have the basic box shape, I add two strips that I can sink in the hardware for the feet to be able to attach. Next, drill a pilot hole and hammer in to secure.
 Finally, after my hour spent building, my rustic, yet super fun, ottoman is built. Kind funky, sweet isn't it?

NEXT STEPS
Last, but not least, it's time to put on the upholstery. I always have batting and extra supplies on hand since that's what I do. First, I cut two layers of the batting to fit. Next, I also prepare the foam and the upholstery. Thankfully, I have just enough of this gorgeous linen left from my antique dressing table makeover that a sweet reader gifted to me.

 Building alone is a blast, but even better is having the right tools to get the job done easily and professionally. You know my motto... toolsoverjewels. tsk. Do you have a favorite tool? In addition, if you'd like to see the basic steps of upholstery, you can view this tutorial HERE.

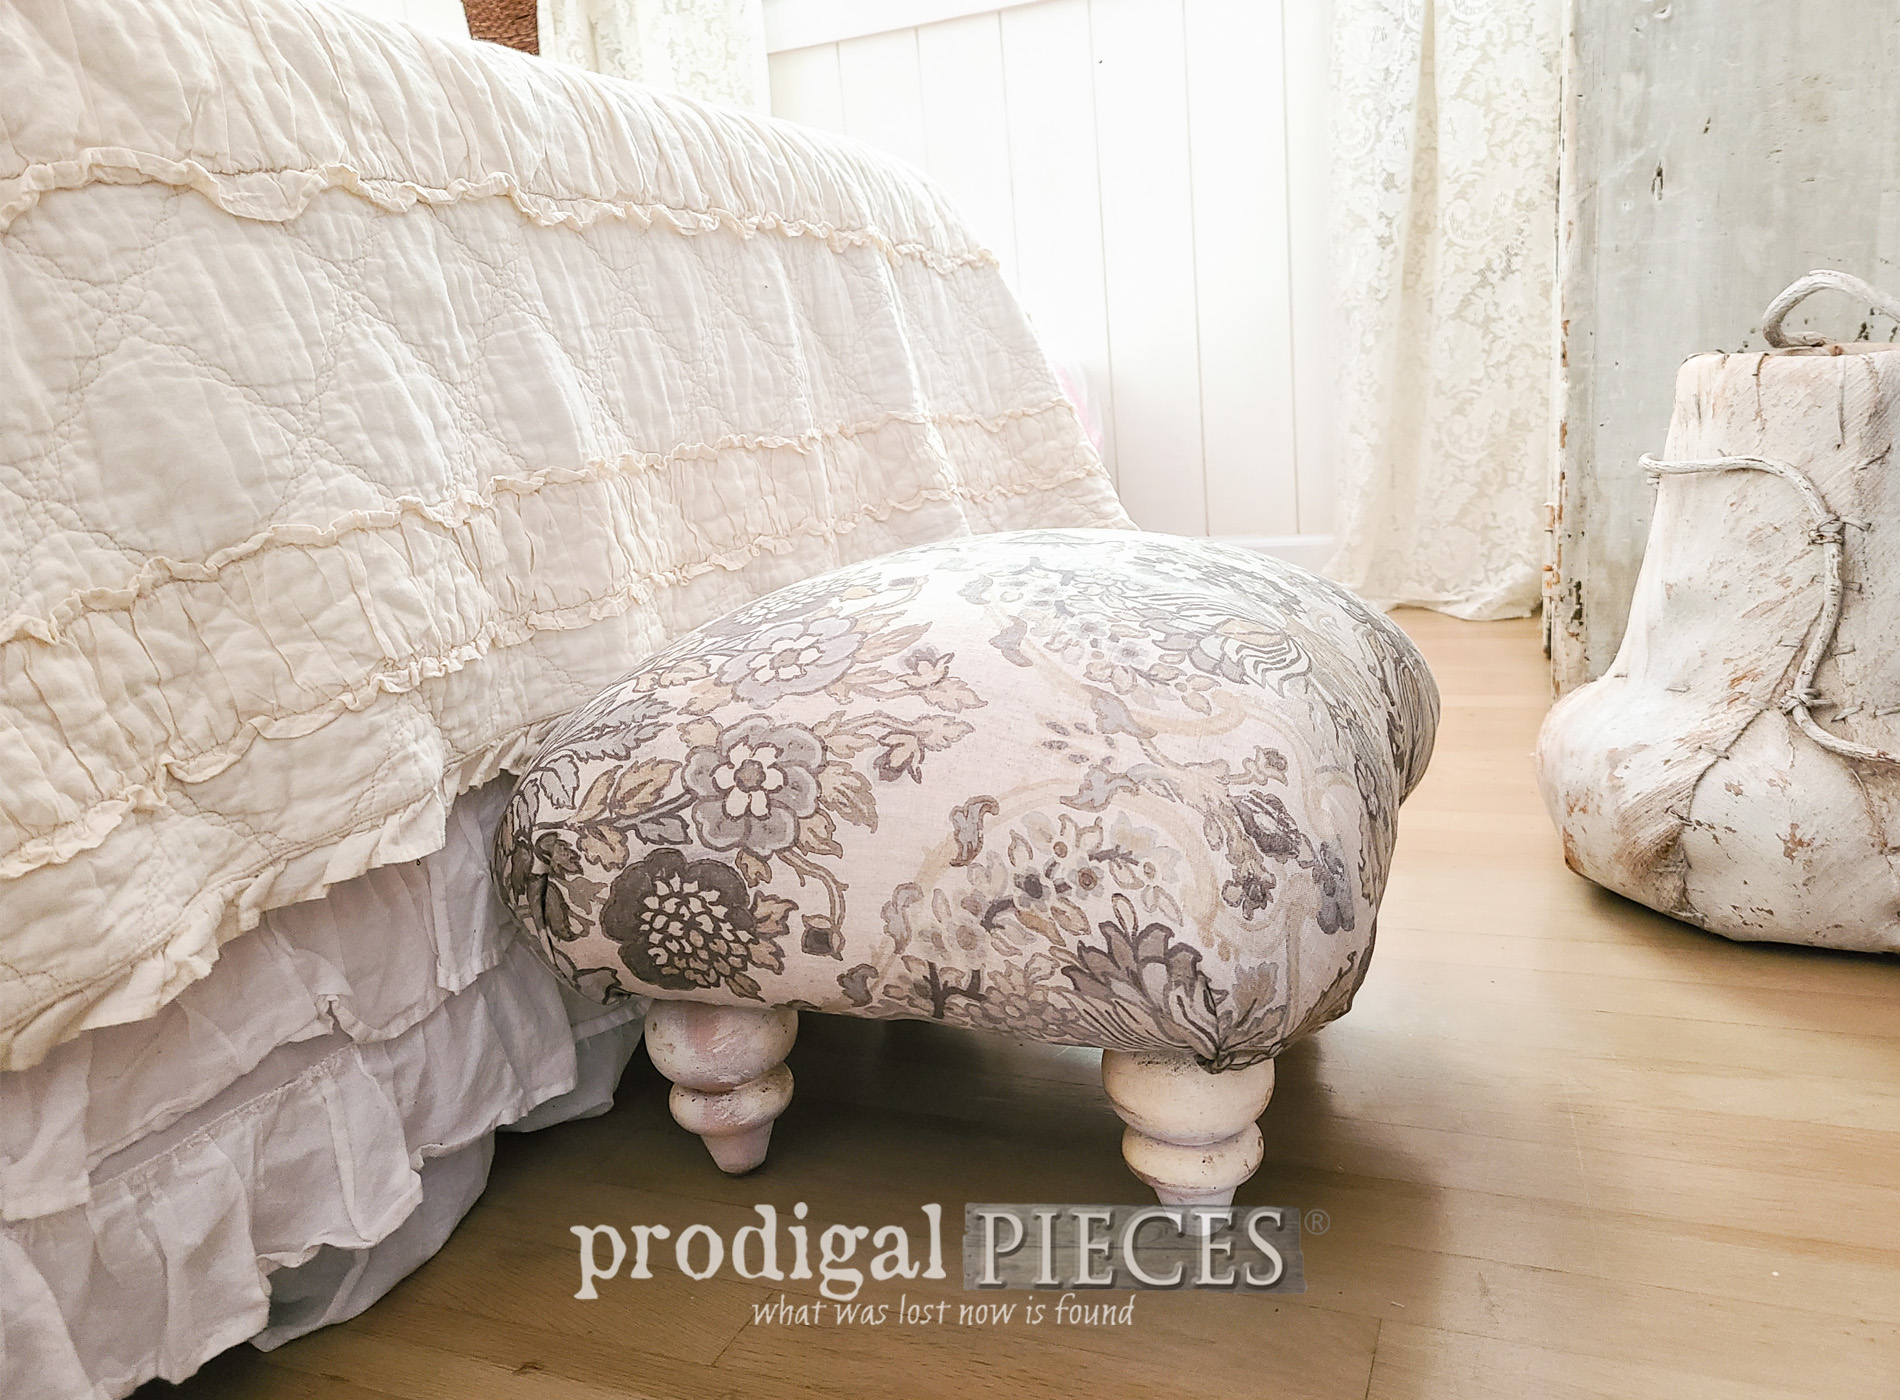
THE REVEAL
As a result of spending an hour building, another hour adding upholstery, and then a little bit of finishing off, my upcycled ottoman is ready to go.
 Aren't those chunky legs cute? I had fun creating this and seeing my vision come to fruition. Actually, half the fun is in the imagining and then also have of making it happen? Likewise, I'm also very happy to make use of my stash.

 So, the next time you see a couch or chair on the side of the road, don't hesitate to grab the feet! There's so many uses for cast-offs that the imagination can go wild.
 Also, if you'd like to make this cutie a part of your home decor, just visit my online shop to see this and more.
[metaslider id=30251]
 In addition, do pin and share my upcycled ottoman build to inspire others. Creating from found items sure is fun!

UP NEXT
Further, up next I have an awesome giveaway for you and fun creation for fall. Come see its makeover HERE! Before you go, be sure to sign up for my newsletter. However, it's time to head below for my friends' projects for you.
 Finally, it's time to check out what my Trash to Treasure friends have for you too!

 1. Artsy Chicks Rule
2. Girl in the Garage
3. Confessions of a Serial DIYer
2. Salvaged Inspirations
1. Artsy Chicks Rule
2. Girl in the Garage
3. Confessions of a Serial DIYer
2. Salvaged Inspirations
While you're at it, more fun trashure creations like this upcycled ottoman:

