You know how it goes...you walk into the store with one or two things on your list and then...POOF! All of a sudden, your cart is full with treasures and you head skip-happy to the checkout line. Tell me I'm not alone, k? At least, I knew when I spied this vintage thrifted footstool, I knew it was meant to come home with me. Do you see the potential too?

It has a solid wood base, but that upholstery job was definitely what I refer to as a Pinterest fail. eep!

I'll just stop there with that so we can get this DIY party started. If you recall, I've had a blast recreating
other footstools in the past. For instance, look at this dynamic duo I recovered in felted wool sweaters. (
full tutorial HERE)

With that in mind, let's start this footstool makeover, shall we?
DIY TIME DECONSTRUCTION
First, I remove those tacks and awful fabric from the stool top. In order to do that, I need to remove the hardware and screws with my handy screwdriver.

Then, I can remove the old upholstery and breaking down foam. blucky.

Next, I want to address the footstool base. I could strip it and even bleach that wood, but this time around I'm choosing to use a paint that will compliment this gorgeous rose fabric I have in my stash. When you're working your own project, you can use your own fabric of choice, of course.


For the purpose of creating an aged appeal, I'm using a flat finish latex paint and brushing the color on. However, you could also use a paint sprayer or spray paint as well.
FABRIC
Meanwhile, while I wait for two coats to cure - dry-time is approximately two hours. I set my task to recovering the thrifted footstool top with fresh batting and upholstery. If you've ever wanted to give upholstery a try, a footstool is really the simplest way to get started. You can read my step-by-step tutorial in
this past blog post HERE.
To start, I place my fabric wrong side up, topped with batting, and then the stool lid facing down on the very top. Notice I allow enough to wrap the corners and have plenty to staple down.

While I usually use my power staple gun, I'm opting for my hand-held stapler this time around.

Last, to top it off, I cut a square of fabric large enough to cover the bottom of the lid and hide the staples. My battery-operated hot glue gun makes a breeze of that part. To finish, I coat the upholstery with a fabric protectant as well.
JUNK NO MORE
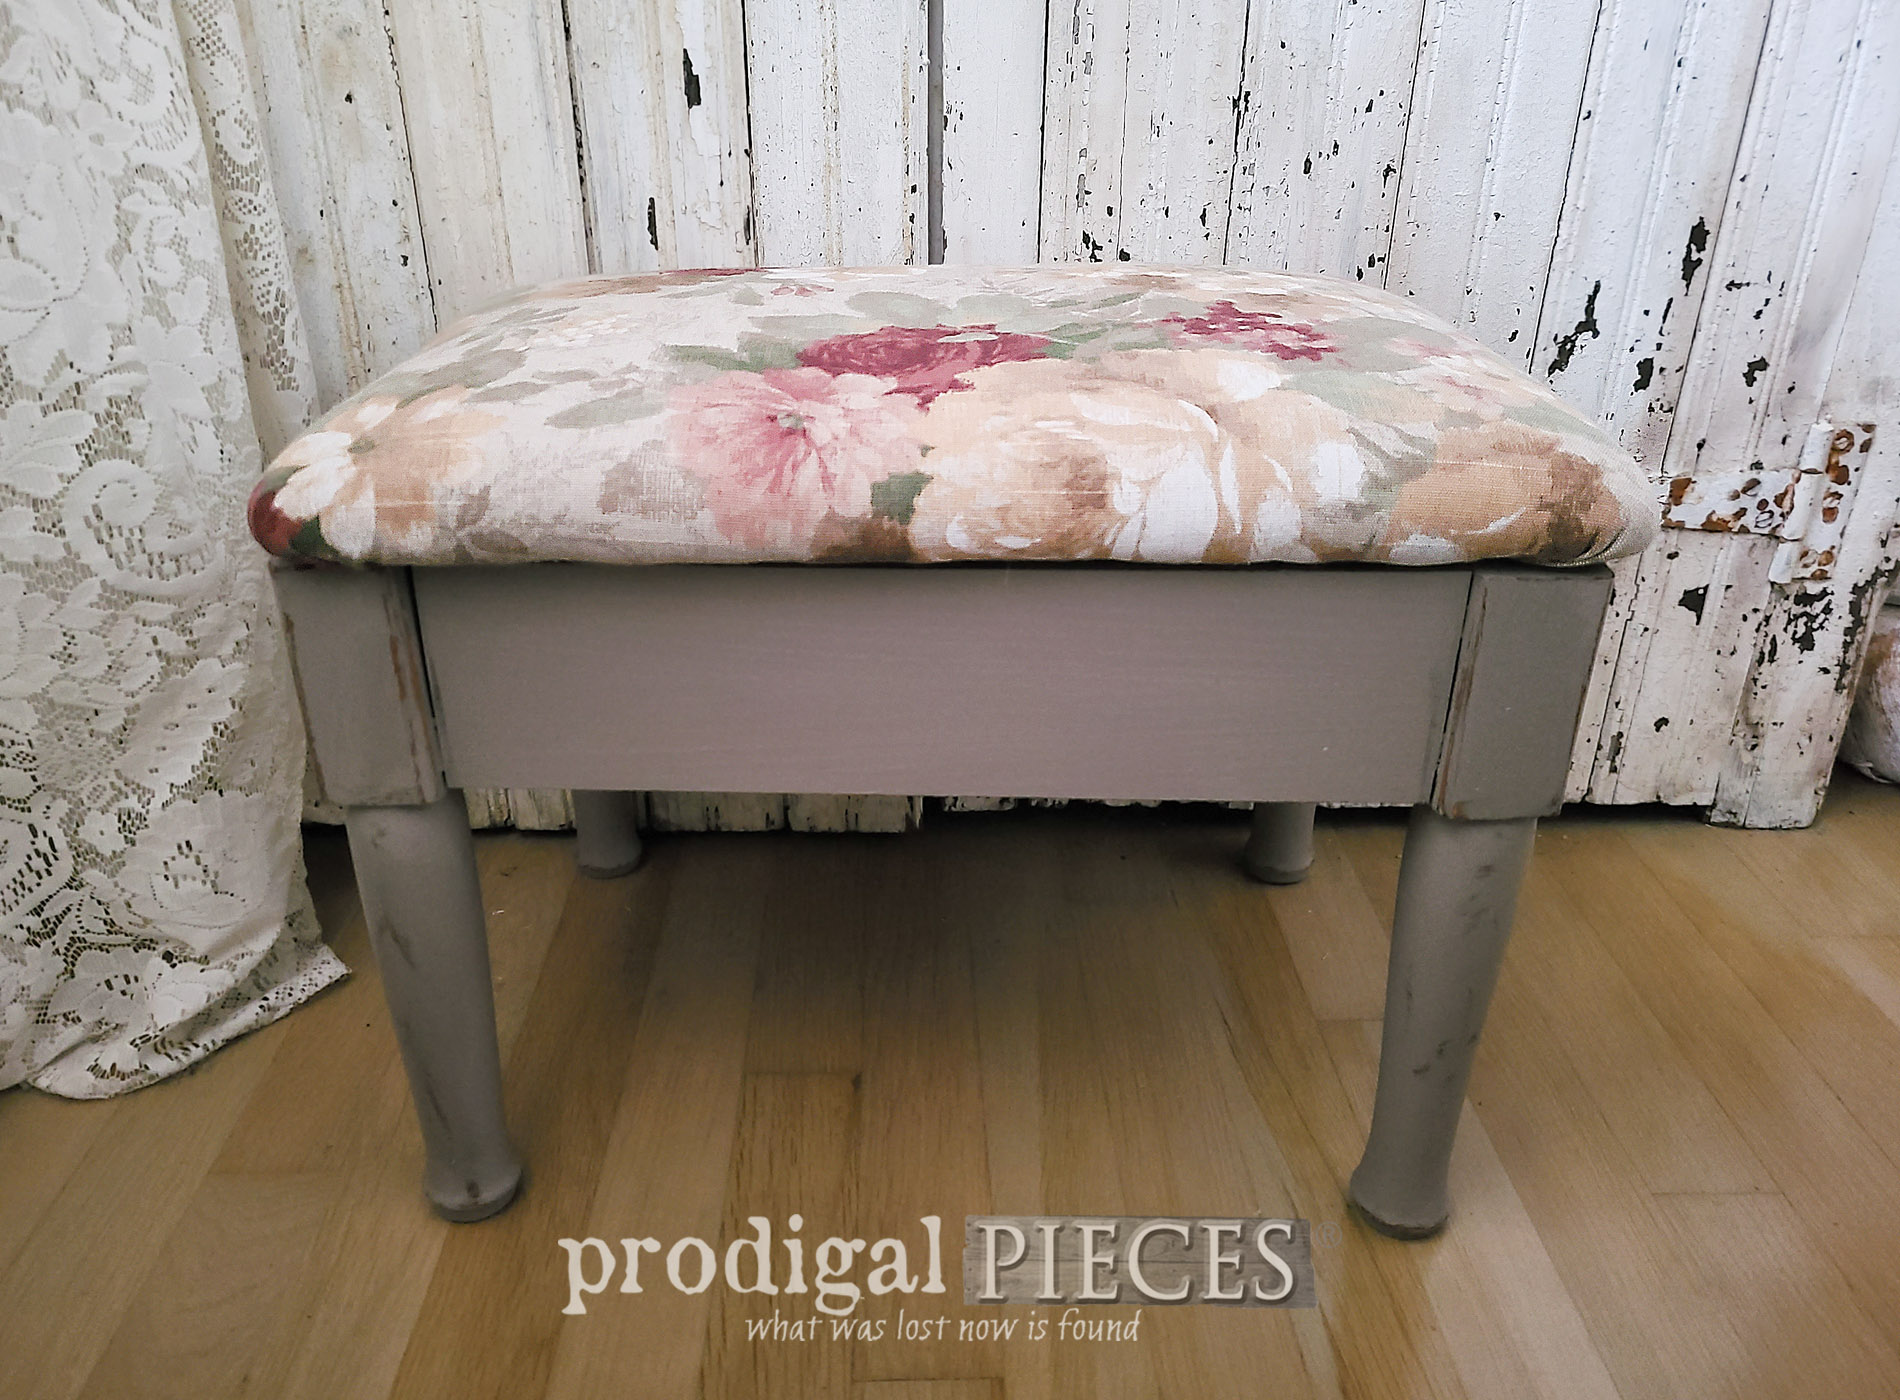
Finally, here is my vintage footstool straight from needing TLC to a new life transformation. tee hee!


While some folks would have stuck the original in the trash headed to the landfill, it only just needed a few adjustments and creativity to bring it to life again. What's more is the inside offers that bonus storage space for your magazines, sewing supplies, or to hide the treats you want to hoard for yourself and hide from the kids. {{wink, wink}}


ONE MORE THING
Additionally, I want to mention that in order to make room for the hinges, I notched the batting so the hinge could rest flush to the lid. That way there's no strain on those screws holding the goodness together. Bonus! This fabric, which I believe my mother passed along to me, is the cherry on top of this makeover.

And that, my dear DIY friends, the finish of this adventure. Do you love it? Maybe you would have done a leopard print with a black base, or maybe a bold chevron with gold legs? Either way, my goal, as always, is to inspire you.
Want to make this footstool your own? You can find it and much more in
my online store. Discount for those who sign up for my newsletter!

SHARE
Likewise, with that in mind, leave some comment love below on my thrifted footstool makeover. Then, pin and share to inspire others too!

WAIT! Don't miss out on my next thrifted gem...what is it? I spy hearts...
Peek inside HERE.
 Sign up for my FREE newsletter
 to furniture makeovers and more creative DIYs in your inbox. Until next time!

 PINTEREST | EMAIL
Also, more makeovers of a thrifted footstool: