On the second Tuesday of each month, my blogger friends and I put together a collection of DIY posts for our
Trash to Treasure Transformation fun. What could be better than creating with junk from like-minded gals? You'll see there projects in a bit. But now, you'll see that my recent thrift store adventure had me all caught up on these beautiful picture frames. My fun begins with how I turned them into a repurposed picture frame shelf.

I found these solid wood frames along with the items in my
Operation 80's makeovers, and knew they had potential. They are big and ornate, so that was a no-brainer purchase for me. However, I have already used picture frames for
chalkboards, and other
wall art and wanted to really do this pair justice.
DIY TIME
They definitely had beautiful design and just needed to be filled. An idea struck to turn them into shelving and I couldn't wait to get started. First, I took off their wire hangers on the back and removed the remnant paper backing by soaking it and scraping.

When figuring out design, I decided to build my shelving right to the interior opening of the frame so it would be nice and flush. Once I had my measurements, I used my circular saw and RipCut Jig to make pieces out of ½" thick cabinet grade plywood. You can make it as deep as you like. I chose my depth of the box to be 3 ½". I could have used basic 1" x 4" pine boards too, but wanted to use up my stash. Plus, the ply is a bit lighter for hanging on the wall too.

NEXT STEPS
With my shelf frame pieces cut, I then wanted to add pocket holes using my Kreg Jig so I could attach it to the back of the repurposed picture frame. I'm not kidding when I say this is one of THE MOST versatile tools ever and it is must in my arsenal.

Now my shelf pieces are ready to be assembled. I could have used pocket joints on the corners, but I wanted a cleaner look. Using wood glue and my nailer, I butted up the corners and attached.

Take a peek at my repurposed picture frame shelf set up for a dry fit. Lookin' good, isn't it? It would be better if the pic wasn't fuzzy...meh.

Before attaching the shelves to each frame, I spray painted them a few coats. Once done, I attached with my drill and screws into the pocket holes I created. Easy-peasy.
After that, I cut two pieces of beadboard for backing and attached using my nailer. I gave one of the shelves painted beadboard, while the other got wallpaper placed on the reverse side of the beadboard using wallpaper paste. Finally, to mount the shelves to the wall, I use keyhole hangers attached to the top back.

THE REVEAL
Ready to see my dynamic duo in action? I'm so eager to hear which one is your favorite. First is the gilded ornate frame in all its glory.


I'm smitten with the bold colors and excited that the blue paint was the perfect match. I used that same blue on
this chest of drawers and love its regal feel.


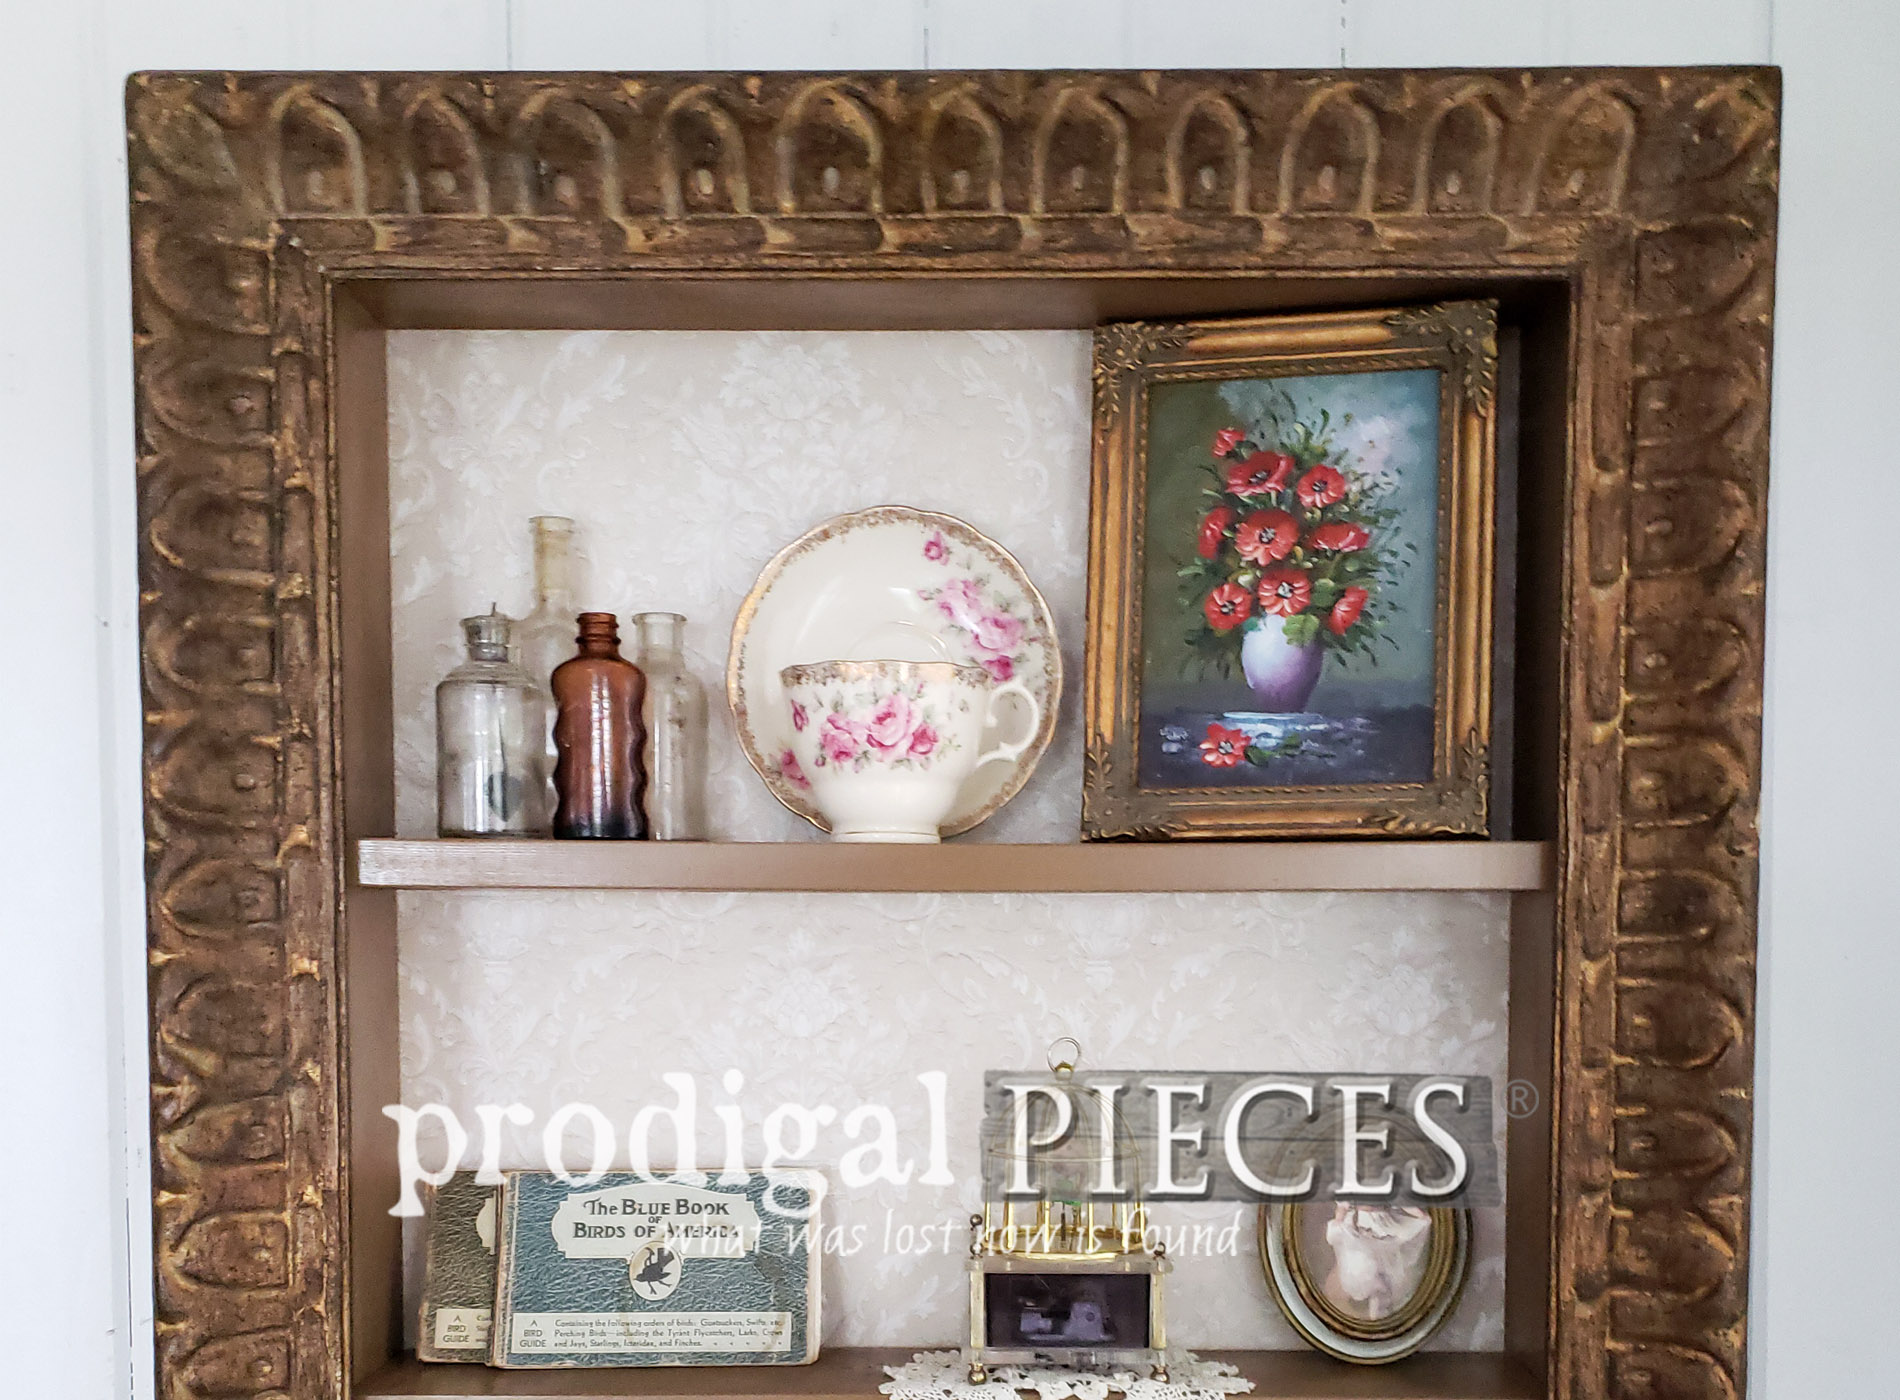
The second repurposed picture frame shelf has a bit more subtle feel and the embossed wallpaper really adds the antique feel to it.


These shelves are nice because they're deep enough to make a fun vignette, but not so deep that they intrude into your room.


So...I have to ask...which one strikes your fancy? Both work for most any room in the house: kitchen spice rack, bathroom for toiletries, bedroom display, or any room for any use. Additionally, you can find both shelves available in
my online store along with all of my other redeemed furniture, vintage finds, and handmade goods.


Do pin and share this repurposed picture frame fun so that others can be inspired to DIY their home decor too.

Up next, I'll be sharing what becomes of my vintage piano bench. You don't want to miss it!
Head HERE.

Before you go, be sure to
sign up for my newsletter. Finally, it's time to see what my Trash to Treasure friends have for you below.

 PINTEREST | EMAIL


- Artsy Chicks Rule
- Bless'er House
- Confessions of a Serial DIYer
- Girl in the Garage
While you're at it, here are more projects like my repurposed picture frame shelf:
 for your wedding, shop, birthday, welcome sign...you get the idea. Get the DIY details at Prodigal Pieces | prodigalpieces.com prodigalpieces homedecor diy shopping")