Today's the last of my Operation 80's makeover that started a week ago. Can I get a high five?! Three different thrifted projects all a blast from the past. I'm a bit giddy to wrap up the fun I've been having because this last one was a hoot. Check out this totally vintage country find that I'm going to turn into a farmhouse sewing basket. Genius, right? Hang with me now...

However, let me back up for a minute for those just joining us. A few weeks ago, I brought home a haul of 1980's goodness that included what you see below.

Those country blue benches got a facelift seen
HERE, and the goosey nail barrel got its own new look
in this post. You've gotta take a minute to see!
Last, but not least is this sewing basket that I had been staring at for far too long. On the plus side, it's got function, cute look, and even a ticking stripe. Obviously, the little hearts in the ticking as well as those chunky hearts on top just had to go.
SEWING FUN
I love to sew and have made many sewing baskets for myself and my kids, so this was going to be fun. These kinds of skills are falling to the wayside in our society and are something we should continue to teach. If you'd like, you can see my sewing furniture creations
in these posts too.
First up to create my farmhouse sewing basket was to dismantle it all. That was therapy in and of itself.

I saved the fabric pieces to use a template for my new fabric. Much easier that way than reinventing the wheel, if you will.
Since I don't like to waste a thing, I made use of what I had. My handy Kreg Jig (pocket hole jig) came out and helped me permanently reattach those hearts into their frames.

DIY TIME
Once they were attached, I used wood filler to cover the heart seams and used wood filler to make it smooth. Buh-bye hearts!

After that, I removed the heart handle to the center piece as well and gave it all a fresh new coat of Early American stain. Also, it's one of my favorite classic colors I've used in my home and on my projects
seen HERE.
Since I removed the handle, I had to make a new one. What's better than a stash of vintage wooden spools to help a girl out? Hoarder? nah... I use them for all sorts of projects and crafts.

While I'm waiting on my stain to cure, I set about creating a reinforced bottom to my farmhouse sewing basket so that I can add casters. yessss...casters are always fun and make life easier. Don't you agree?
HOT MESS
So, if you look in a bushel basket, you'll see it has a domed center.

How does one go about creating a bottom for a dome? Well, it's all in the cut. I set my jigsaw blade at a 30° angle to cut a circle from some scrap wood.

What you see is my exterior cut to a ring I'm creating to rest in the bottom of the basket. For the interior cut, I reverse the 30 ° angle to allow it to go around the domed center. Here it is in place.

It may not be pretty, but no one will see it when I'm done. To attach the casters, I simply use screws and drill through the basket into the ring. However, I did have to add a small shim to keep the casters level since the basket is not flat on the bottom. Now it's ready to roll...literally!
NEXT STEPS
My interior is prepped and it's time to reassemble. Next, I sew a new liner and make a base using the batting and cardboard I had pull out. My cordless hot glue gun makes this a fast project. I love that thing!

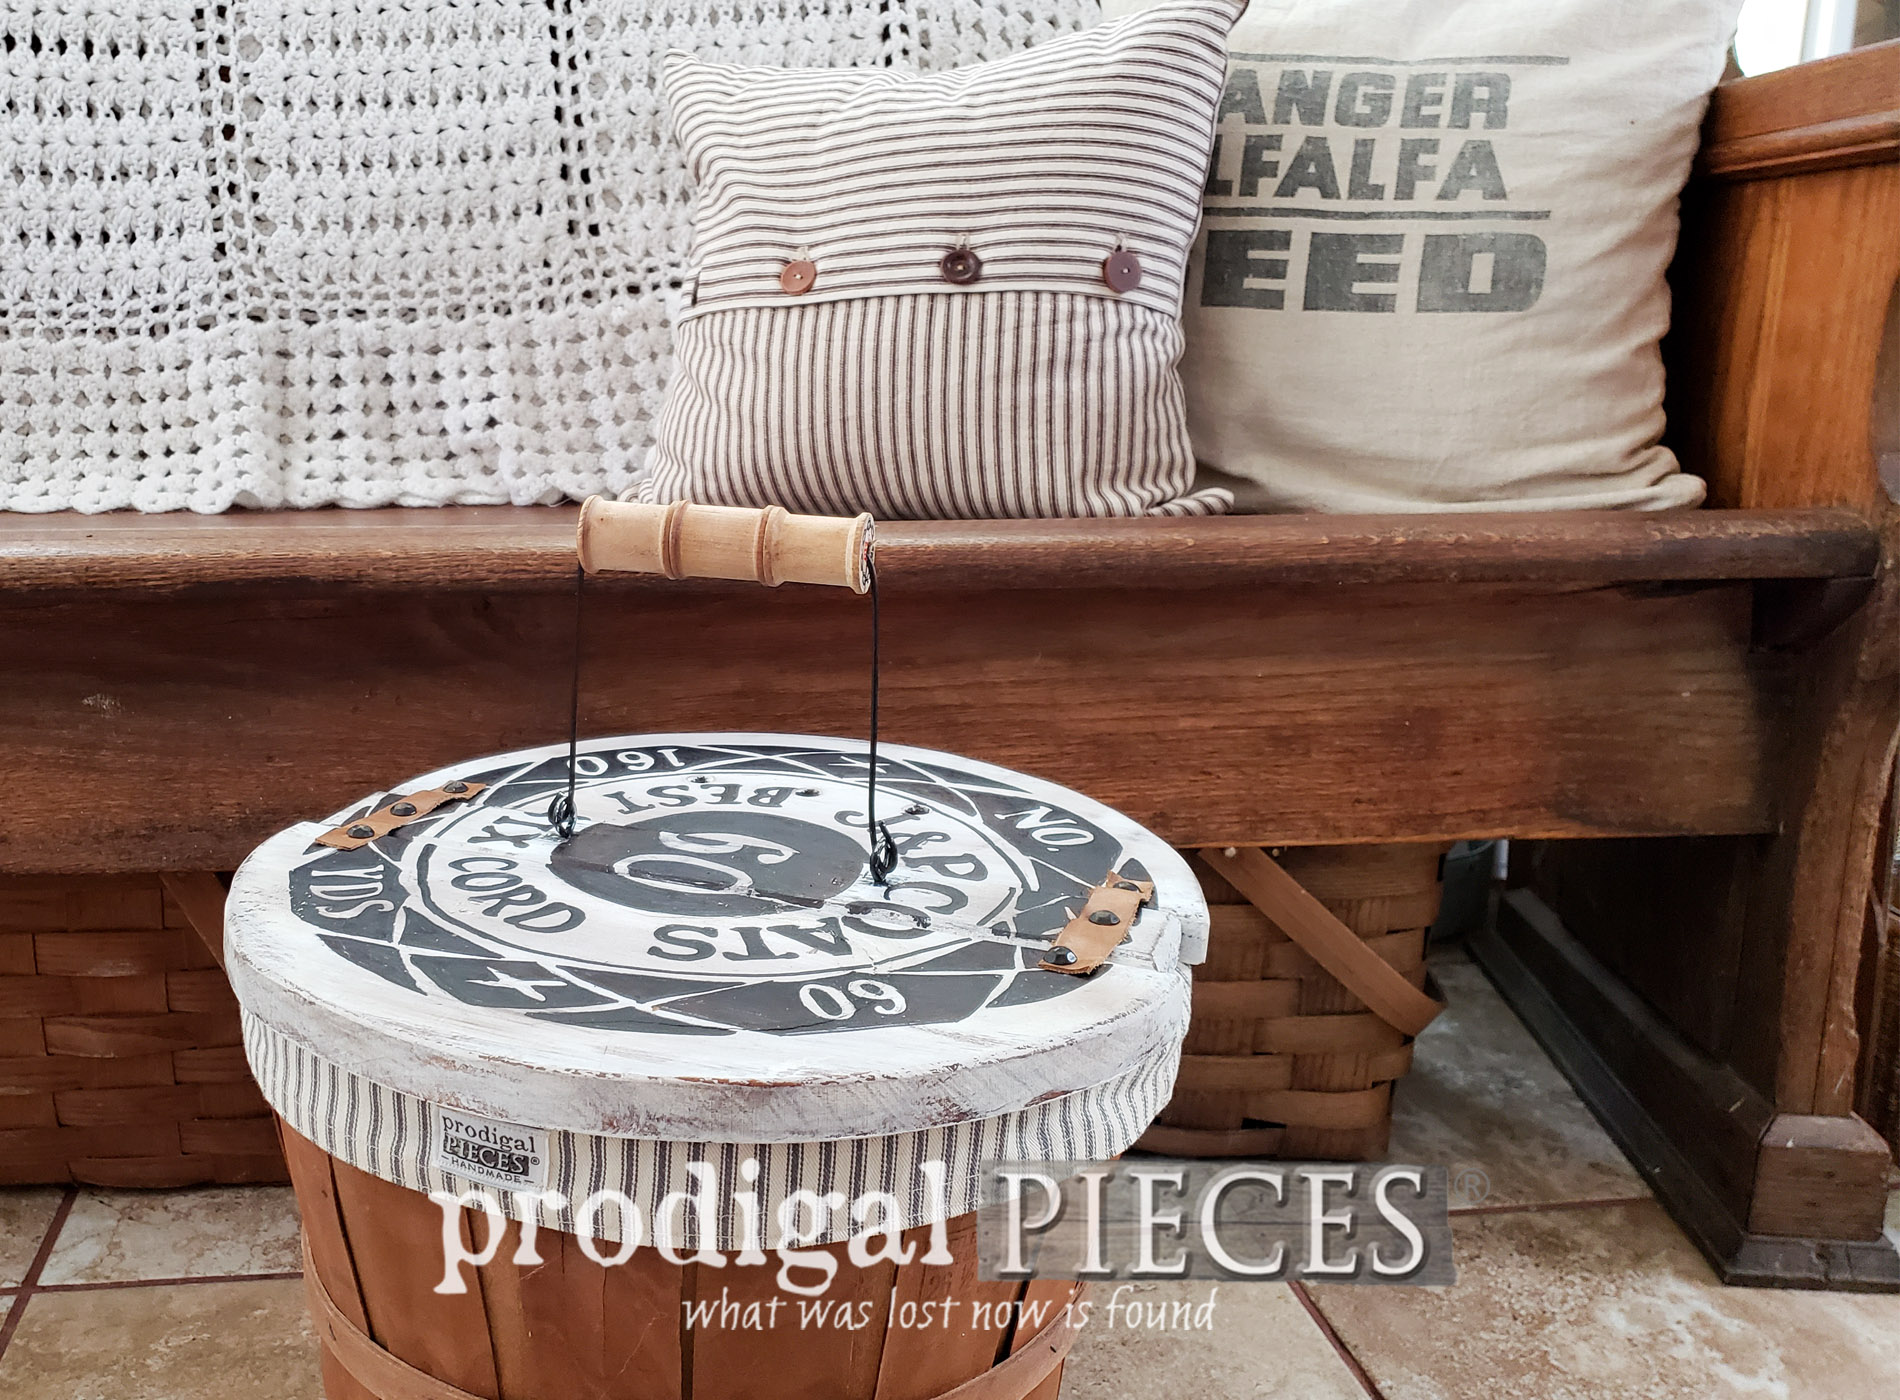
After a bit of assembly and a few new pieces, my farmhouse sewing basket it ready to go.


SEWING ANEW
This ain't your grandma's sewing basket. wahoo!! The new handle was attached with eye hooks, a piece of cut wire hanger, and my vintage wooden spools. I replaced the leather straps with remnants from
my leather bench and painted the tacks black. Of course, I added some vintage typography because
I LOVE typography. The basket lid reminded me of the end of a thread spool, so why not?

My new gray ticking lining is minus the ruffle and bit cleaner looking. Notice the 3 holes I've added to the lid? I'll show you what those are for in a minute.

Originally, those hearts on top are supposed to be pin cushions, but whoever made it didn't add near enough cushion to make them functional. Since I'm all about function over form, I add in a few design upgrades to make it for my own liking.

I've added a built-in pin cushion with steel wool filling to sharpen the pins, storage for some essentials, and we're good to go. However, you could change it up to suit your needs too.

Then, if you turn the basket around, you can see that I've added a leather strap and snap closure to hold those two flaps together.

MORE FUN
Meanwhile, the other holes I drilled were for yarn...one of my favorite textiles. Just plug in your skeins and crochet or knit your heart out! It keeps them from tangling and helps you enjoy your crafting.


This farmhouse sewing basket DIY was absolutely fun and hope you enjoyed my zany Operation 80's adventure. Likewise, you can find this basket along with all of my other redeemed furniture, vintage finds, and handmade goods in
my online shop. 

In addition, pin and share my DIY fun so that others can be inspired to create their own home story too.

Up next is
Trash to Treasure Tuesday, and these thrifted beauties are going to get an entire new purpose.
Head HERE to see.

Before you go, be sure to
sign up for my newsletter. Until next time!

While you're at it, here are more projects like my farmhouse sewing basket: