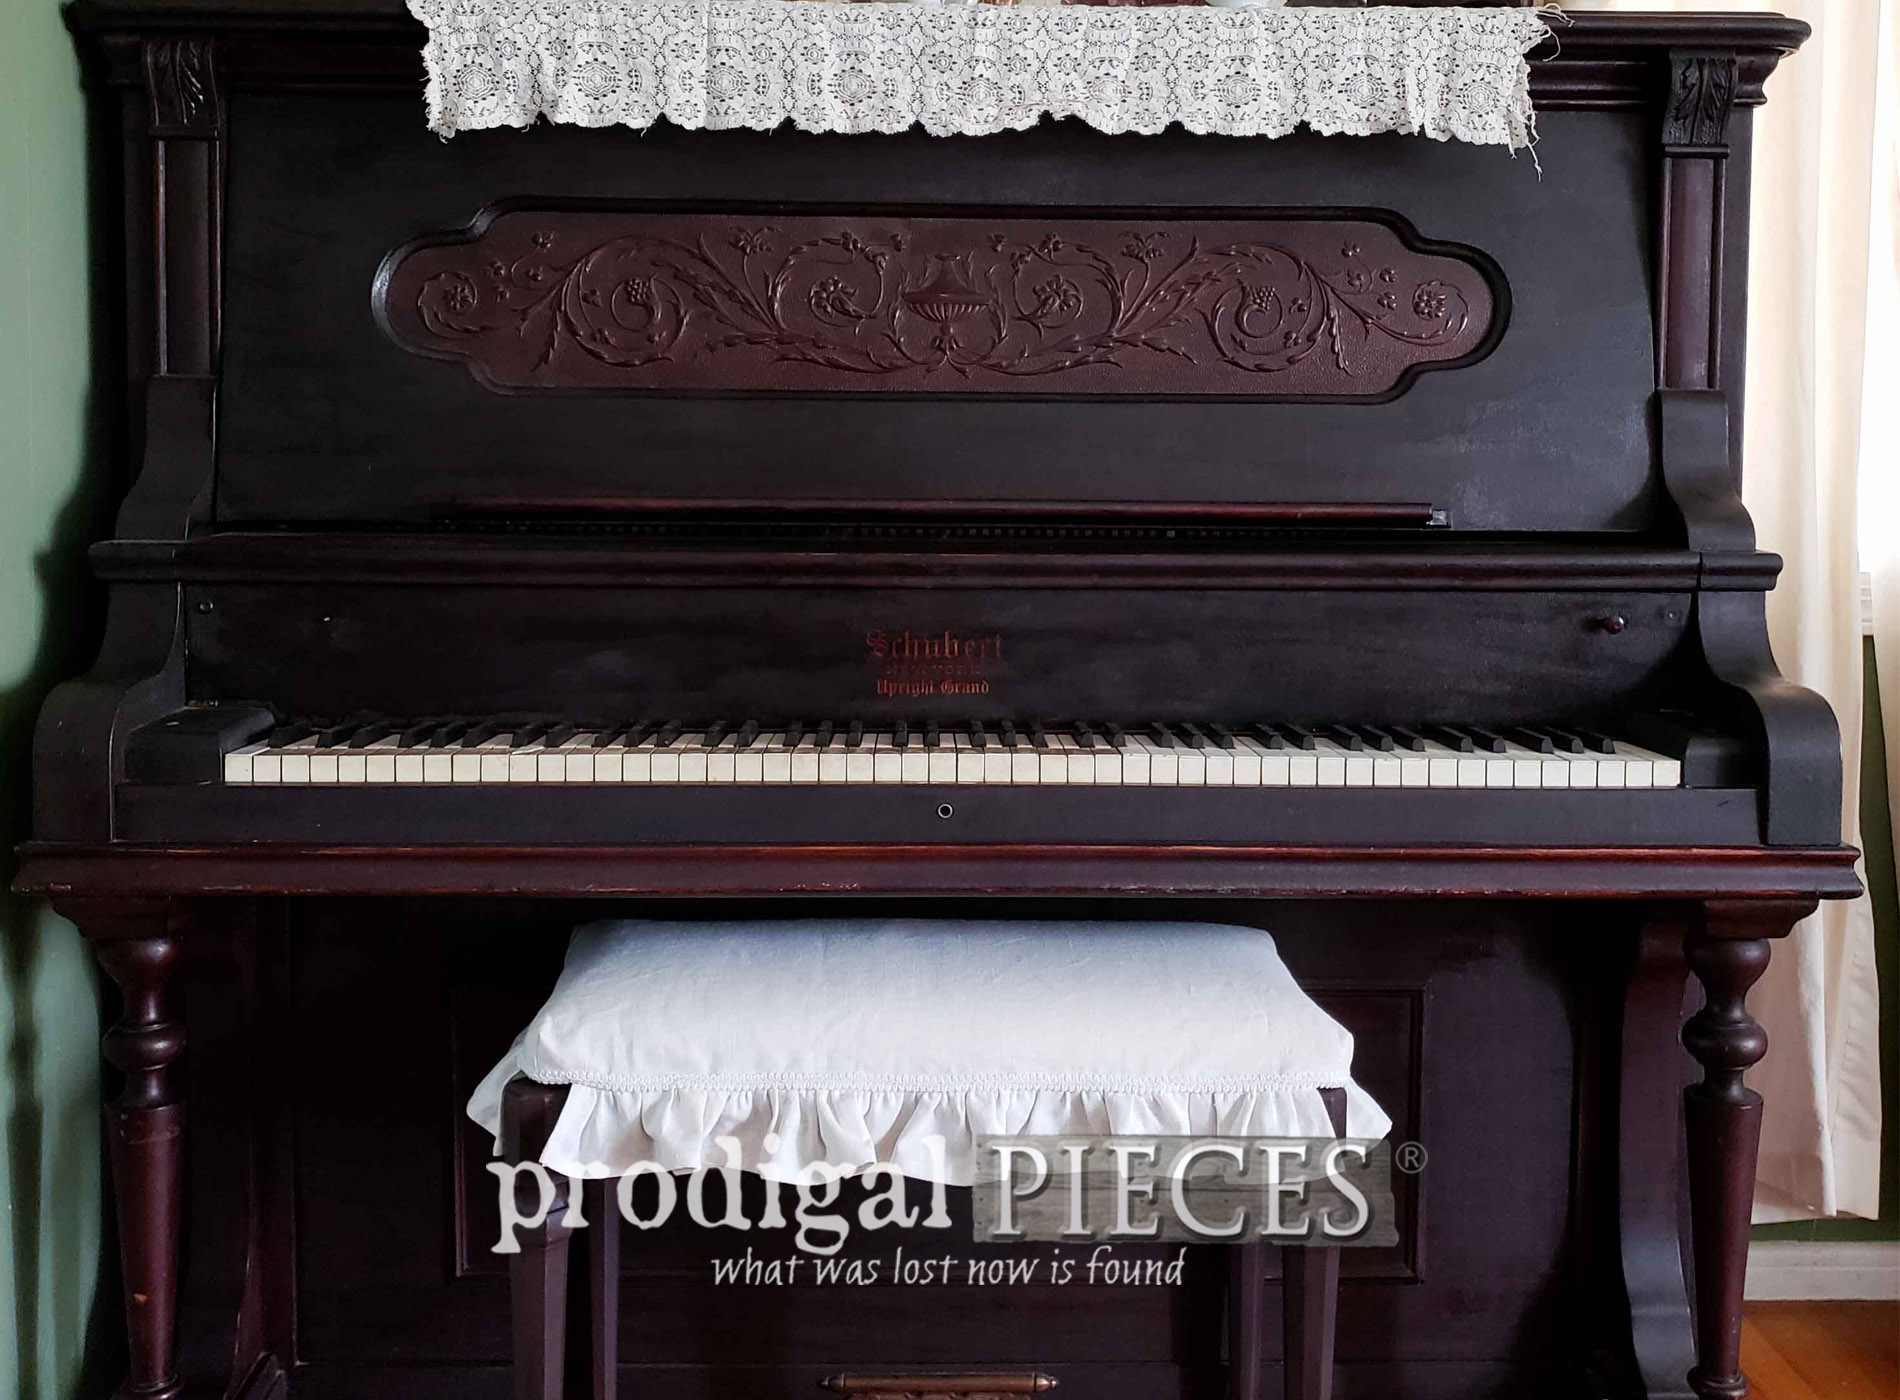
 Truth be told, it's actually a bench from an organ we used to own. Once upon a time we were given a free organ and had a blast using it along with our antique upright grand piano you see above. The organ eventually broke, so I gave it away but kept the bench for my piano.
That gorgeous antique upright grand was also a freebie given to us by a lady who took care of elderly in her home. I was so moved at what she was doing with her life so that others could live their days in comfort. The piano is a reminder to me to try to see where I can help others in their daily battles.
Truth be told, it's actually a bench from an organ we used to own. Once upon a time we were given a free organ and had a blast using it along with our antique upright grand piano you see above. The organ eventually broke, so I gave it away but kept the bench for my piano.
That gorgeous antique upright grand was also a freebie given to us by a lady who took care of elderly in her home. I was so moved at what she was doing with her life so that others could live their days in comfort. The piano is a reminder to me to try to see where I can help others in their daily battles.
DAYS GONE BY
As a child, I took four years of piano lessons and love to play, though I rarely do anymore. One day there will be a time where I can take time to tickle the ivories again. In the meantime, I teach my kids to play and that is a treasure in and of itself. Do you know how to play? Okay, so my little piano bench makeover is about to happen. I've been not-so-patiently waiting to do our living room remodel to get this project done. Since that isn't going to happen anytime soon, I figured it was time that awful orange upholstery is going to go. The light-colored wood needs to jive with my upright grand as well, so it doesn't stick out like a sore thumb. First order of business is to remove the top. I unhinge it and take off the support brace.
*post sponsored by HomeRight (see full disclosure)
DIY TIME
For the rest of the base, I gave it a good cleaning before starting. It's going to be getting a new look using my sprayer and my spray shelter. You can see the spray shelters in these posts. One thing I use in my makeovers is a thrifted Lazy Susan so I can access all sides of my project at the same time. Then, I figure it would be awesome to have a furniture Lazy Susan too. So... I'm going to show you how I built one.
Here's what you'll need:
Materials:
- 1 - 4' x 8' ¾" plywood - either in cabinet grade or standard, you choose
- Lazy Susan Turntable
- self-tapping metal screws
Tools:
- circular saw
- jig saw
- drill / drill bits
- drill / drill bits or sanding block
- tape measure
- 40" length of twine
- metal washer
- pencil
Step 1
Cut a 36" square from your 4' x 8' panel of ¾" plywood. I had a large piece of scrap left of cabinet grade ply that was already just under 36" wide, so I just needed to shorten it. BTW, I am making my cuts from the back side of my panel.
Step 2
Find center of your 36" square at 18" in from two sides and mark.
Step 3
Tie your 40" length of twine onto your metal washer. Drill in a 1" screw ½" deep through your washer with twine into your center mark.
Step 4
Tie the pencil onto the opposite end of your twine making sure the distance between the pencil and the screw is 18". You could also make a strip of wood to serve the same purpose as the twine, but since this is a rustic build I went simple.
Step 5
Keep your twine taught and make a circle with the diameter of 36". You can double-check your dimensions by take a few measurements around your circle. I chose to make my "sides" squared off so when I store it, it won't roll.
Step 6
Once you have your circle drawn and ready, it's time to cut. Using your jig saw, saw off the rounded corners, and then sand edges and surface smooth.Step 7
Next, time to cut your base and assemble. I made my base a 20" x 20" square using the same methods to finish as outlined above. You can use any Lazy Susan hardware you want, but this one cost less than $5. It bears a load up to 400 lbs, so that will suffice nicely. Follow the instructions on the back to assemble. Here it is from the backside so you can get the idea of the finished product.
 Now that you've got your Lazy Susan done, it's time to paint the piano bench. yeehaw! I have had this seconds color sample in my stash also for a length similar to eternity waiting for this day.
 There's no stain going to get me close to that gorgeous patina on my piano, so my goal is to match it with layering as best I can. This deep, dark purple, plus a few touches of wax and such should do the trick {{fingers crossed!}}
I fill up my sprayer using the blue tip for a fine finish and give it a full coat in less than 10 minutes. Amazing! My DIY Lazy Susan made the job go quick and smooth. Isn't that plum color pretty?
There's no stain going to get me close to that gorgeous patina on my piano, so my goal is to match it with layering as best I can. This deep, dark purple, plus a few touches of wax and such should do the trick {{fingers crossed!}}
I fill up my sprayer using the blue tip for a fine finish and give it a full coat in less than 10 minutes. Amazing! My DIY Lazy Susan made the job go quick and smooth. Isn't that plum color pretty?


 While my first coat is curing for a couple of hours, I tackle the bench top for this piano bench makeover. Instead of just recovering the old seat with new upholstery, I decided to change it up a bit. This mama to 6 kids knows that this bench will see much wear, so it's time to change the game.
UPHOLSTERY
I removed the old upholstery and trim and replaced it with new using my stapler and cordless hot glue gun. I chose a muted heavy cotton and matching gimping as my base fabric. However, I also planned to make a linen slipcover from remnant fabric from my channel back chair so that I could pull it off for easy cleaning. My serger and I had a great time together.
 Plus, the slipcover gives me the option to make a different one if when our remodel is done the current one doesn't match. Or maybe make seasonal ones just for fun. eep!
Once my sewing is done, I head back out to second coat the piano base bench with another layer of paint. That second coat also has to cure and then I add some waxes and layers to try to mimic the age in my antique piano. Since my piano had red tones, I did a wash of a custom mixed red and my paint brush to apply.
Plus, the slipcover gives me the option to make a different one if when our remodel is done the current one doesn't match. Or maybe make seasonal ones just for fun. eep!
Once my sewing is done, I head back out to second coat the piano base bench with another layer of paint. That second coat also has to cure and then I add some waxes and layers to try to mimic the age in my antique piano. Since my piano had red tones, I did a wash of a custom mixed red and my paint brush to apply.

THE REVEAL
Here it is all reassembled and ready to take on more memories.
 This was a simple, yet much needed piano bench makeover to create a cohesive look to my living space. I still have the storage function, but now a touch of style too.

 Being the smart mama that I am, I also coated all the fabric with Scotchgard. hee hee hee. Will stains happen? Oh yes, indeed. But, I at least tried.


 Now I can at least say that my living room is coming together but will be happy as a lark when the floors, ceiling, and walls are done too. See the room reveal HERE.

SHARE
By pinning and sharing this piano bench makeover, you are helping others learn DIY skills to. So, pin away my friends!
 Before you go, be sure to sign up for my newsletter. Until next time!

While you're at it, here are more projects like my piano bench makeover:

