 | Prodigal Pieces | prodigalpieces.com") You may remember that a few months ago I took the screen door and repurposed it into a chalkboard. The transformation and DIY tutorial are HERE. Also, you can see the window over in this post HERE.
You may remember that a few months ago I took the screen door and repurposed it into a chalkboard. The transformation and DIY tutorial are HERE. Also, you can see the window over in this post HERE.
 This time it's the main frame's turn. I'm planning on turning it into a repurposed door mirror. I have always wanted a huge mirror leaning in my living room and now was the time. However, I'm not paying over $200 for a mirror to be cut and installed.

DIY TIME
I've been searching for over 3 years for a mirror to fit in this thing. Then...it finally happened. I walked into the store and as I headed to the back, (looking for something else) and there it was. It had a price marked $20 and that seemed like a score already. Also, I ask the owner if I could borrow a tape measure to see if it fit. Funny thing was that I had no idea the dimensions of my door at home but was hoping it would work. I asked her if she would hold it for me until I could get home and check. She not only agreed but offered it to me for $10. WOOT! {{happy dance!!}} It was even made in Cleveland, OH in 1952. You can imagine the minute I got home I checked the opening... it was a match!! Now this thing that had occupied my garage for far too long would soon have a new life. I mean, just look at what is peeking out at me...gorgeous wood. Swoon!
NEXT STEPS
To be sure all systems were go, JC hauled the frame and mirror to a local glass shop to make sure it could be cut to fit. $45 dollars later I am headed home a happy mama. All I needed to do was peel of those 6 layers of nasty on the door to reveal the beauty within. My mind was set on revealing that gorgeous oak, and then this happened... I found pine, and not old pine. meh. That is not my favorite thing to find and changed up where I was going with this makeover. Enter in another new favorite tool. Remember, my motto is toolsoverjewels - yeah baby!

*post giveaway sponsored by HomeRight (see full disclosure)
BRING THE HEAT
When I began with this door, I was trying to just use my putty knife to knock off the loose debris, and then maybe hit it with some heavy-duty sanding. It seemed it was going to take me more than a day to work on this silly door, and I wasn't about to waste that kind of time or expensive sanding pads. Then it dawned on me that I had my heat gun. {{major head smack}} Normally I tend to run and hide in a corner when dealing with a painted piece based on my past experiences. I have sworn them off with vengeance and you can read why in this post. Since I had only used a heat gun while on the paint crew in college, I knew the jist of it, but this one is tweaked out. Multi-purpose tips, digital temp control and cool variable speeds. mwahahahaha.... Call me slap happy and shut the door. I started out with the head concentrated tip just to try it and set it at 550° and got what you see below. NOTE: Take every precaution to check for lead in old pieces. Grab a testing kit and use a ventilator, just in case. Basic dust masks don't do it for ya.
LAYERS
All the layers coming off at once. I squealed out loud and then quickly did some more. Likewise, no messy chemicals, no dust flying...I am one happy mama. I've been working on our kitchen remodel. So, of course, the heat gun came in handy to get the bubbles out after applying the epoxy. The heat gun was much safer and easier to use than a torch.
MORE LAYERS
Once I got going with it, I found that the deflector tip and temp set to 1020° (yes, it gets that hot!) was much more suited for my job. At this point I began to see the door telling me which direction to go with it. Just look at all 6 of those yummy layers. My repurposed door mirror is now taking shape. Yes, I am leaving the layers on purpose. tsk. You should know me by now, right? Since I was so thrilled with this tool that at last minute, I decided to put together a video to show it to you in action.
 Now you've see it for yourself and I'm happy camper. After getting it to the point that I loved it, I added a few pieces of trim cut with my jigsaw and secured the mirror in place with my AirStrike. The hardware got boiled in a pot of hot water until paint slid off. Easy-peasy.

THE REVEAL
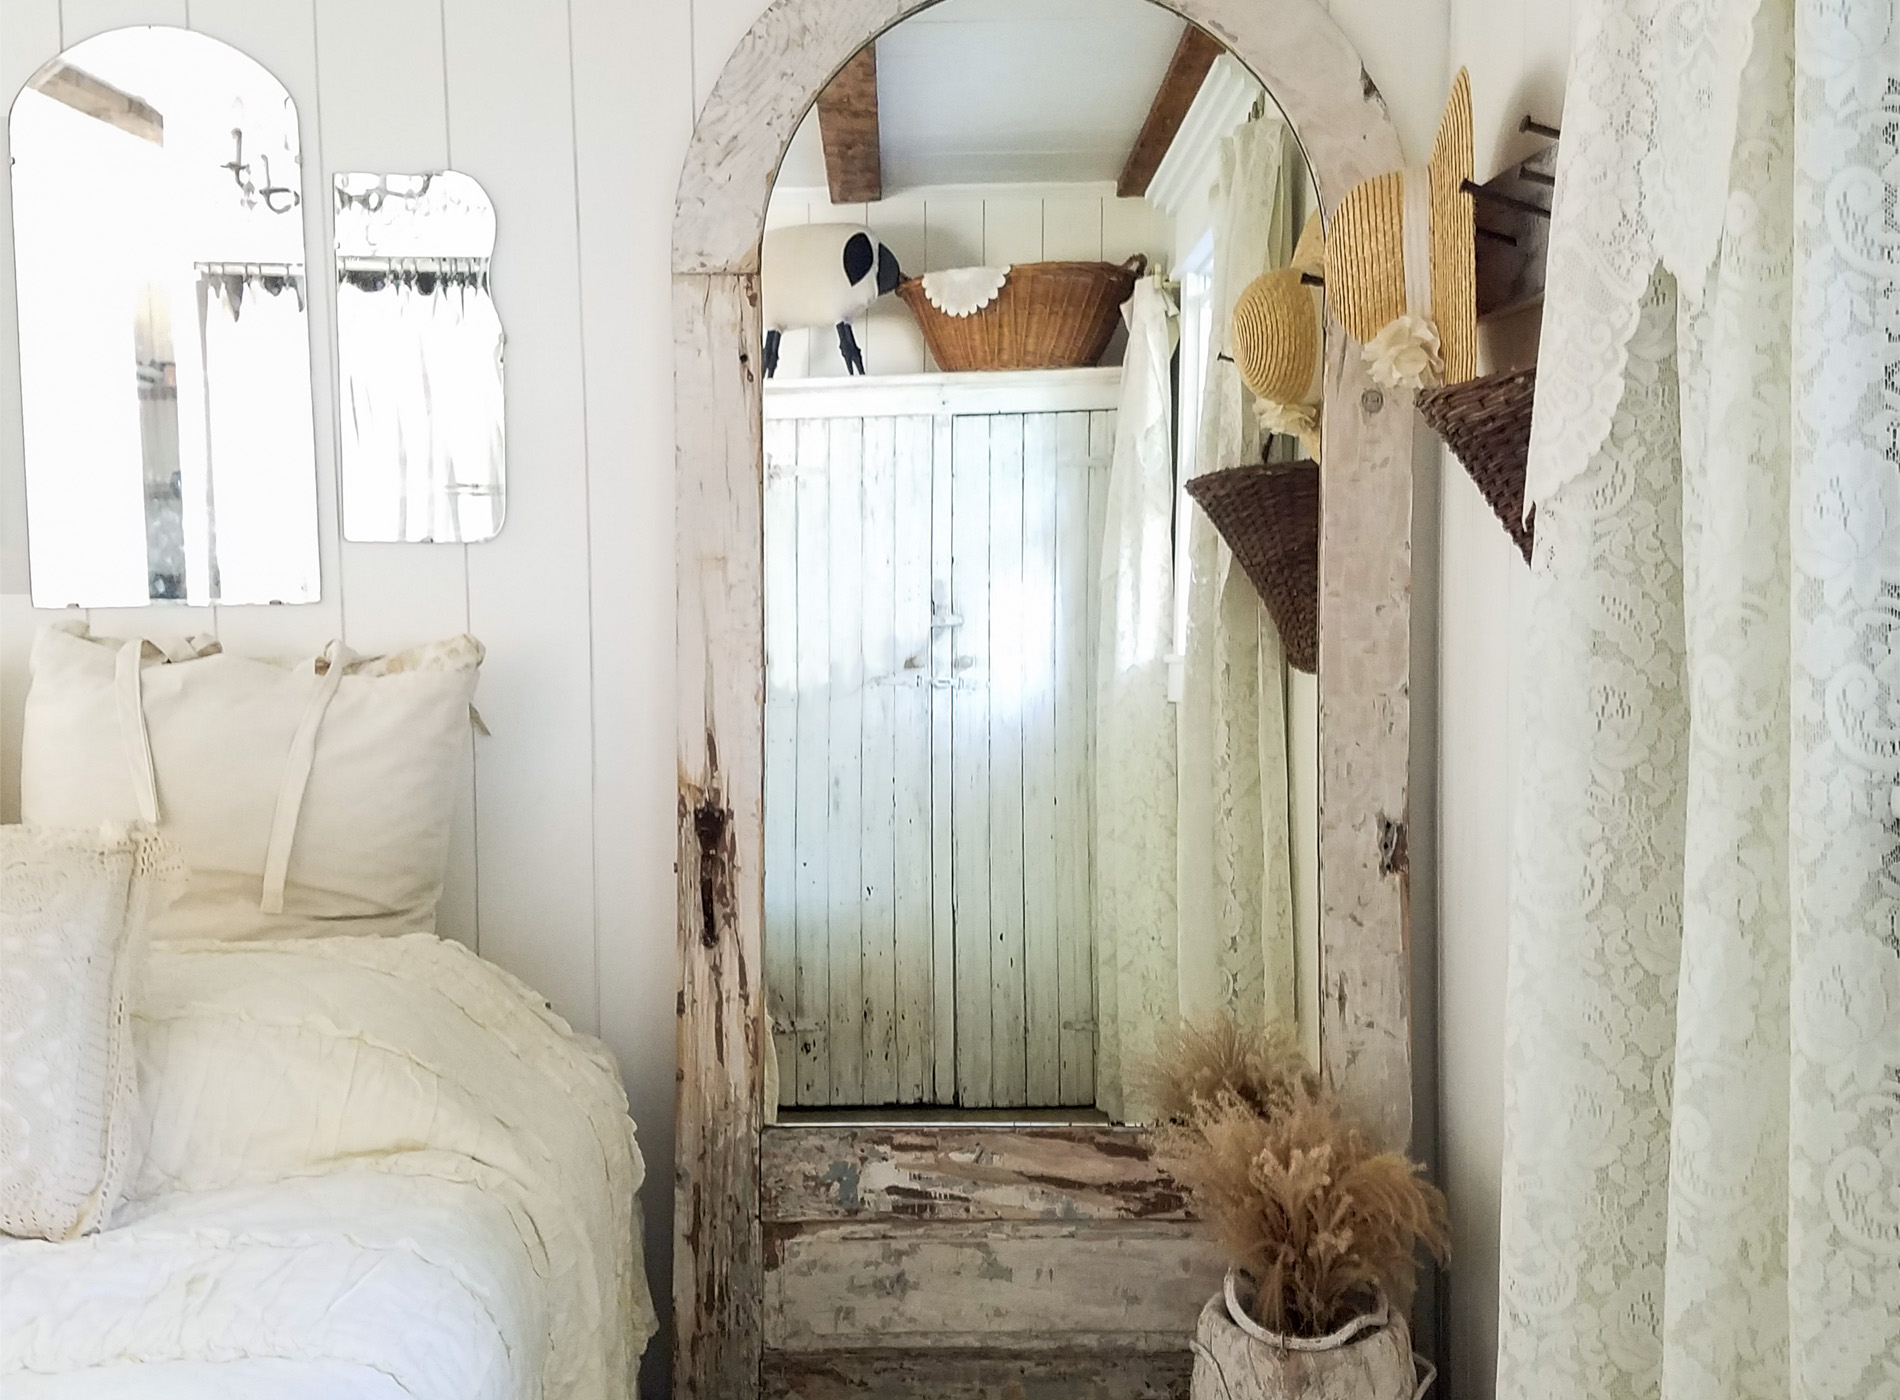
Finally, my repurposed door mirror turned out just as I had hoped and even better. Today, I'm showcasing it in my bedroom, but it will have its permanent home in my living room when it is completed. However, that's after our kitchen, and after our family room. We don't bite off more than we can chew, do we? ha. If you love our remodel in there, you can get all our DIY details in these bedroom posts.
Now, just look at those gorgeous layers - two whites, two browns, two grays with one being slightly bluer. Yummy.
Today, I'm showcasing it in my bedroom, but it will have its permanent home in my living room when it is completed. However, that's after our kitchen, and after our family room. We don't bite off more than we can chew, do we? ha. If you love our remodel in there, you can get all our DIY details in these bedroom posts.
Now, just look at those gorgeous layers - two whites, two browns, two grays with one being slightly bluer. Yummy.


 Delighted to no end that this project came out as planned and that my 3-year-wait has finally ended. Do you blame me? I mean, it's so fun to have it in my home now. And, I might add, that this is the first full-length mirror I have ever had. No more having to climb on the bed to see the other half! hahaha! (and I know I'm not the only one who has done that. tsk)


SHARE
My goal was to inspire you to see the treasure in what some call trash and give DIY a try. And I hope you love my repurposed door mirror. Likewise, pin and share to inspire others too. You never know who needs that bit of encouragement. Also, up next, I am showing you my gift to self for my 40th birthday using this pile of pallet goodness. Doesn't every girl build with these on their over-the-hill mark? Come see HERE.
 To get these DIY tips &tricks in your inbox, be sure to sign up for my newsletter.
 Additionally, don't forget to head below to see what my blogger friends have for you this Trash to Treasure Tuesday!


Also, more projects like my repurposed door mirror:

