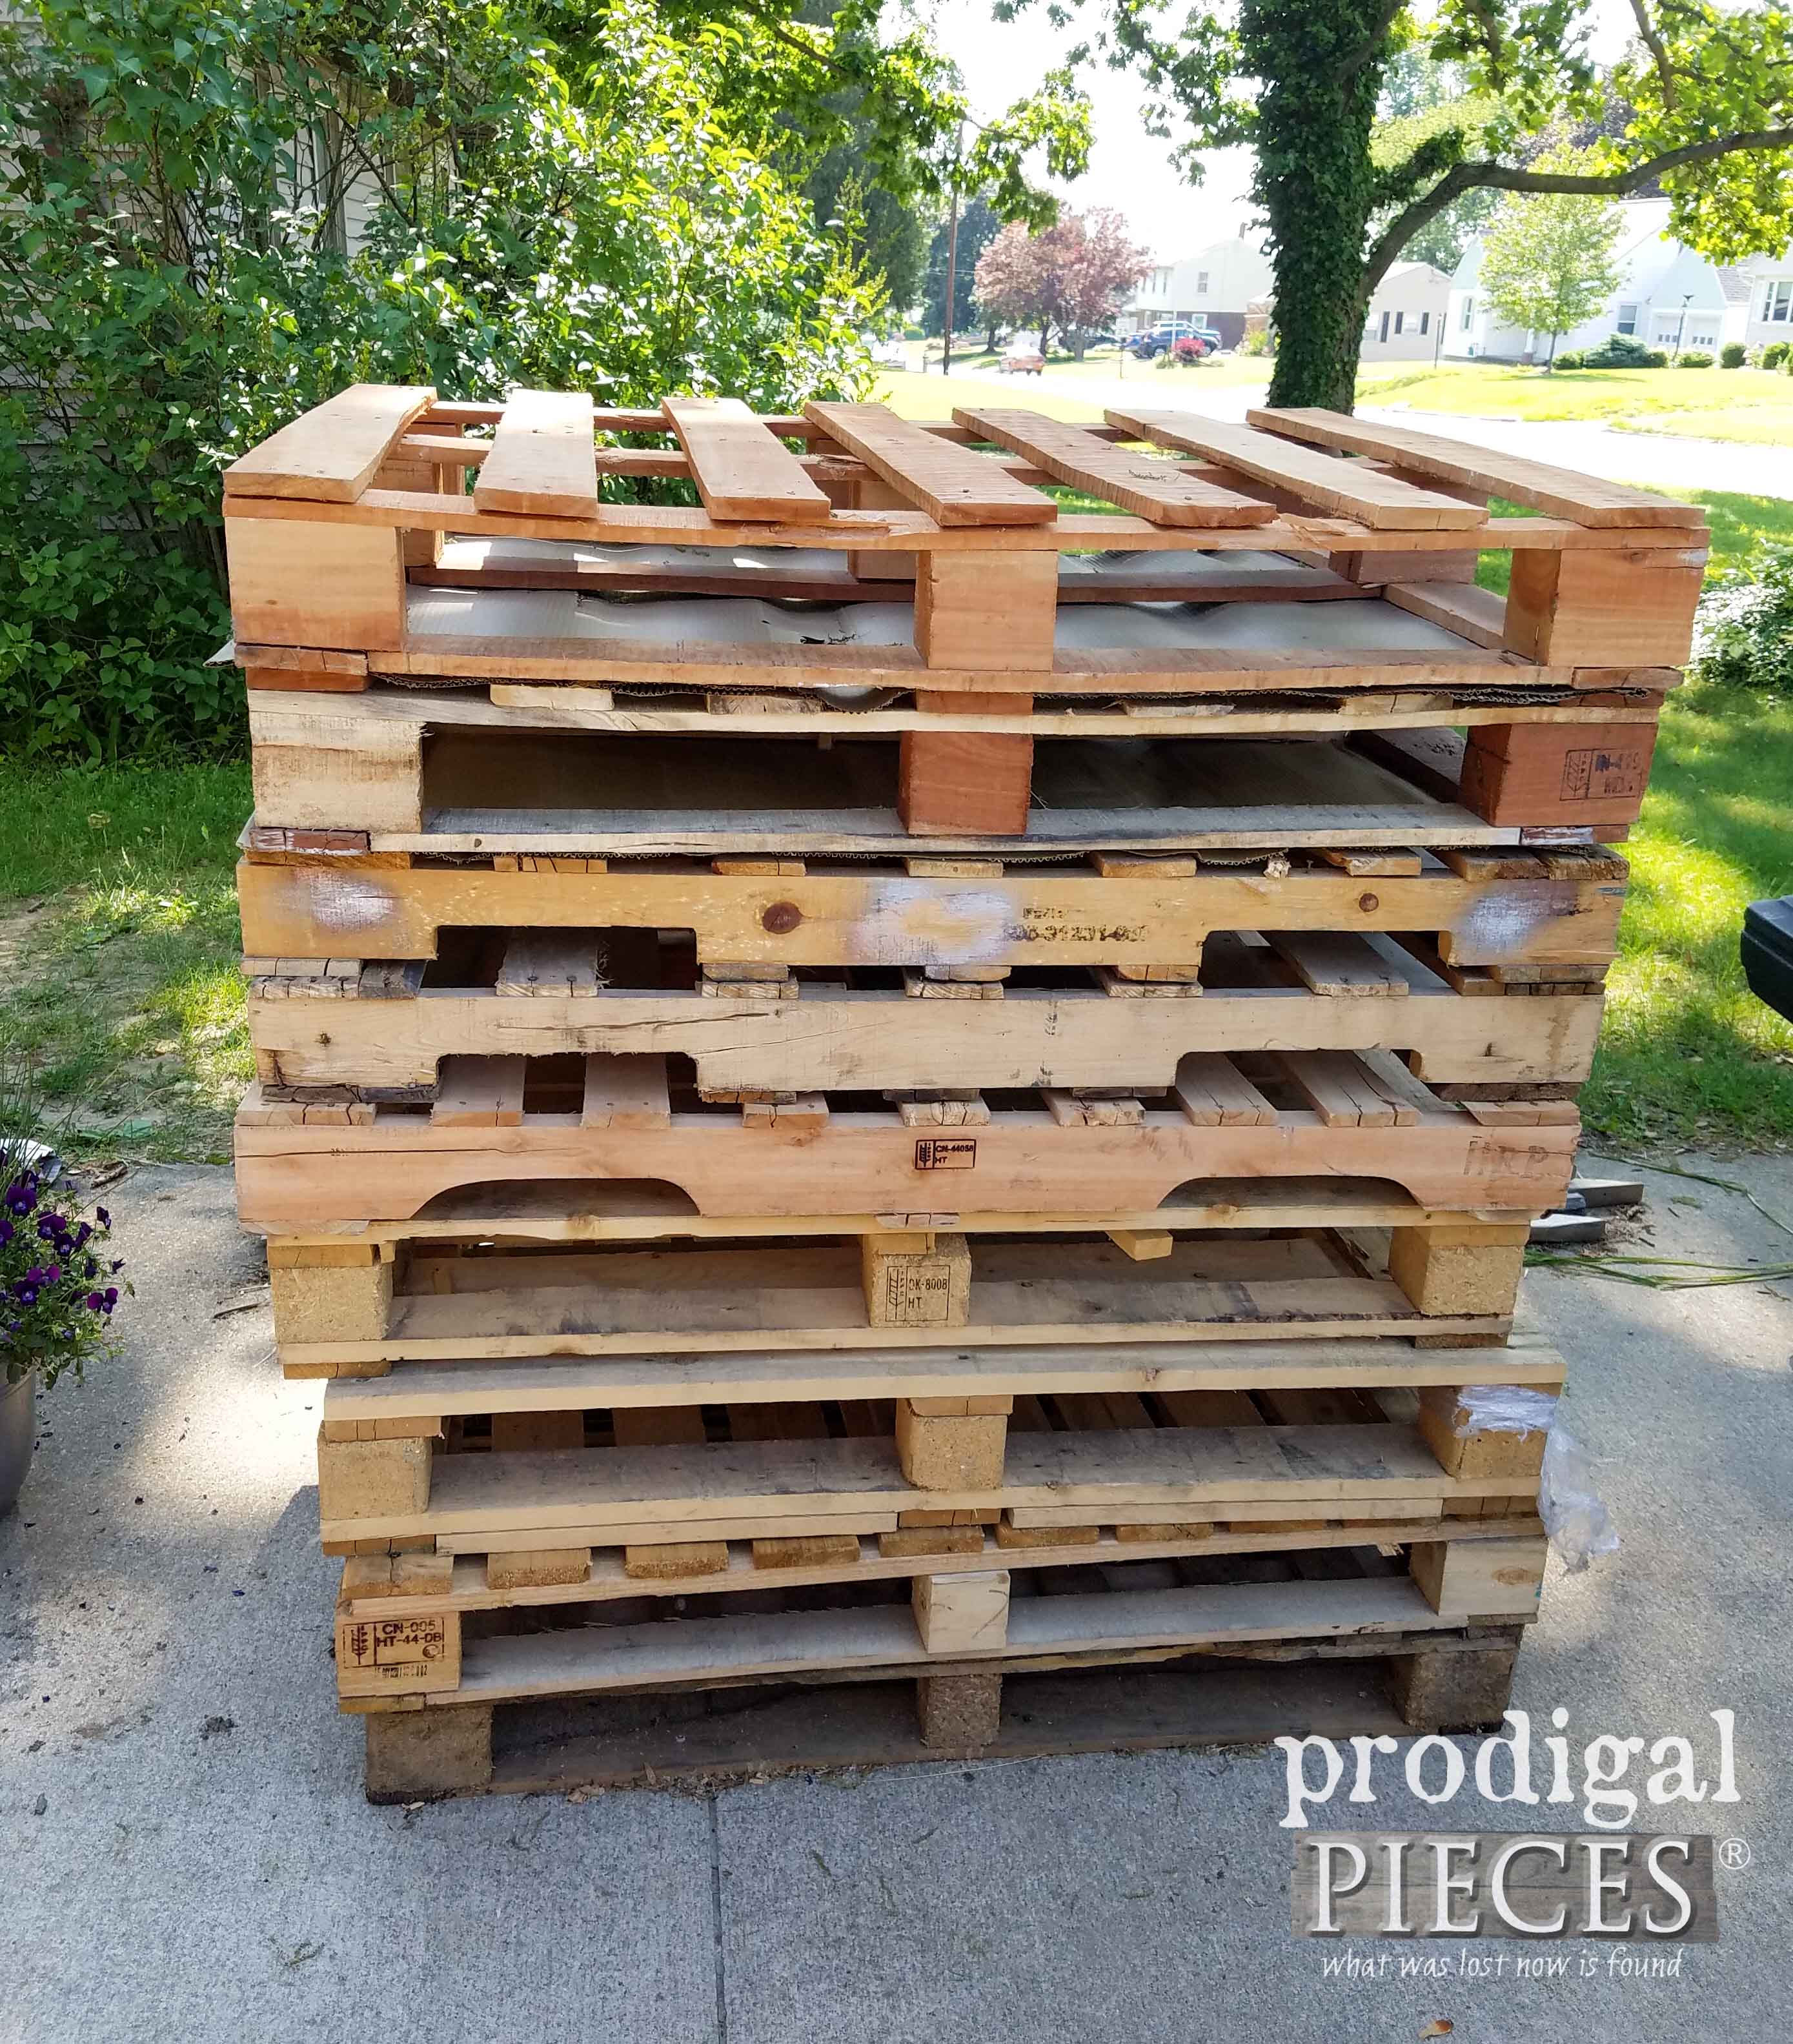
 That there is potential in more ways than one. The pallet infatuation has swept the world over and it doesn't stop here. These things have so many uses! I have built my shutters as seen here (DIY tutorial) and oodles of other pallet creations seen in this post.
 Like I mentioned in my 40th birthday post, we are back to getting our home finished and the back yard is my target for the summer.
BACKGROUND
We have been using the grow-more-mow-less attitude on our quarter acre lot of over 5 years now. Our original plan was to build a compost bin right off that bat. We actually built a tumbler using a food grade 50 gallon drum and a handmade crossbuck. That worked fine, but it was too small for us. We sold it and then this happens. However, you know how time can get away from you and you're left with this...a hot mess.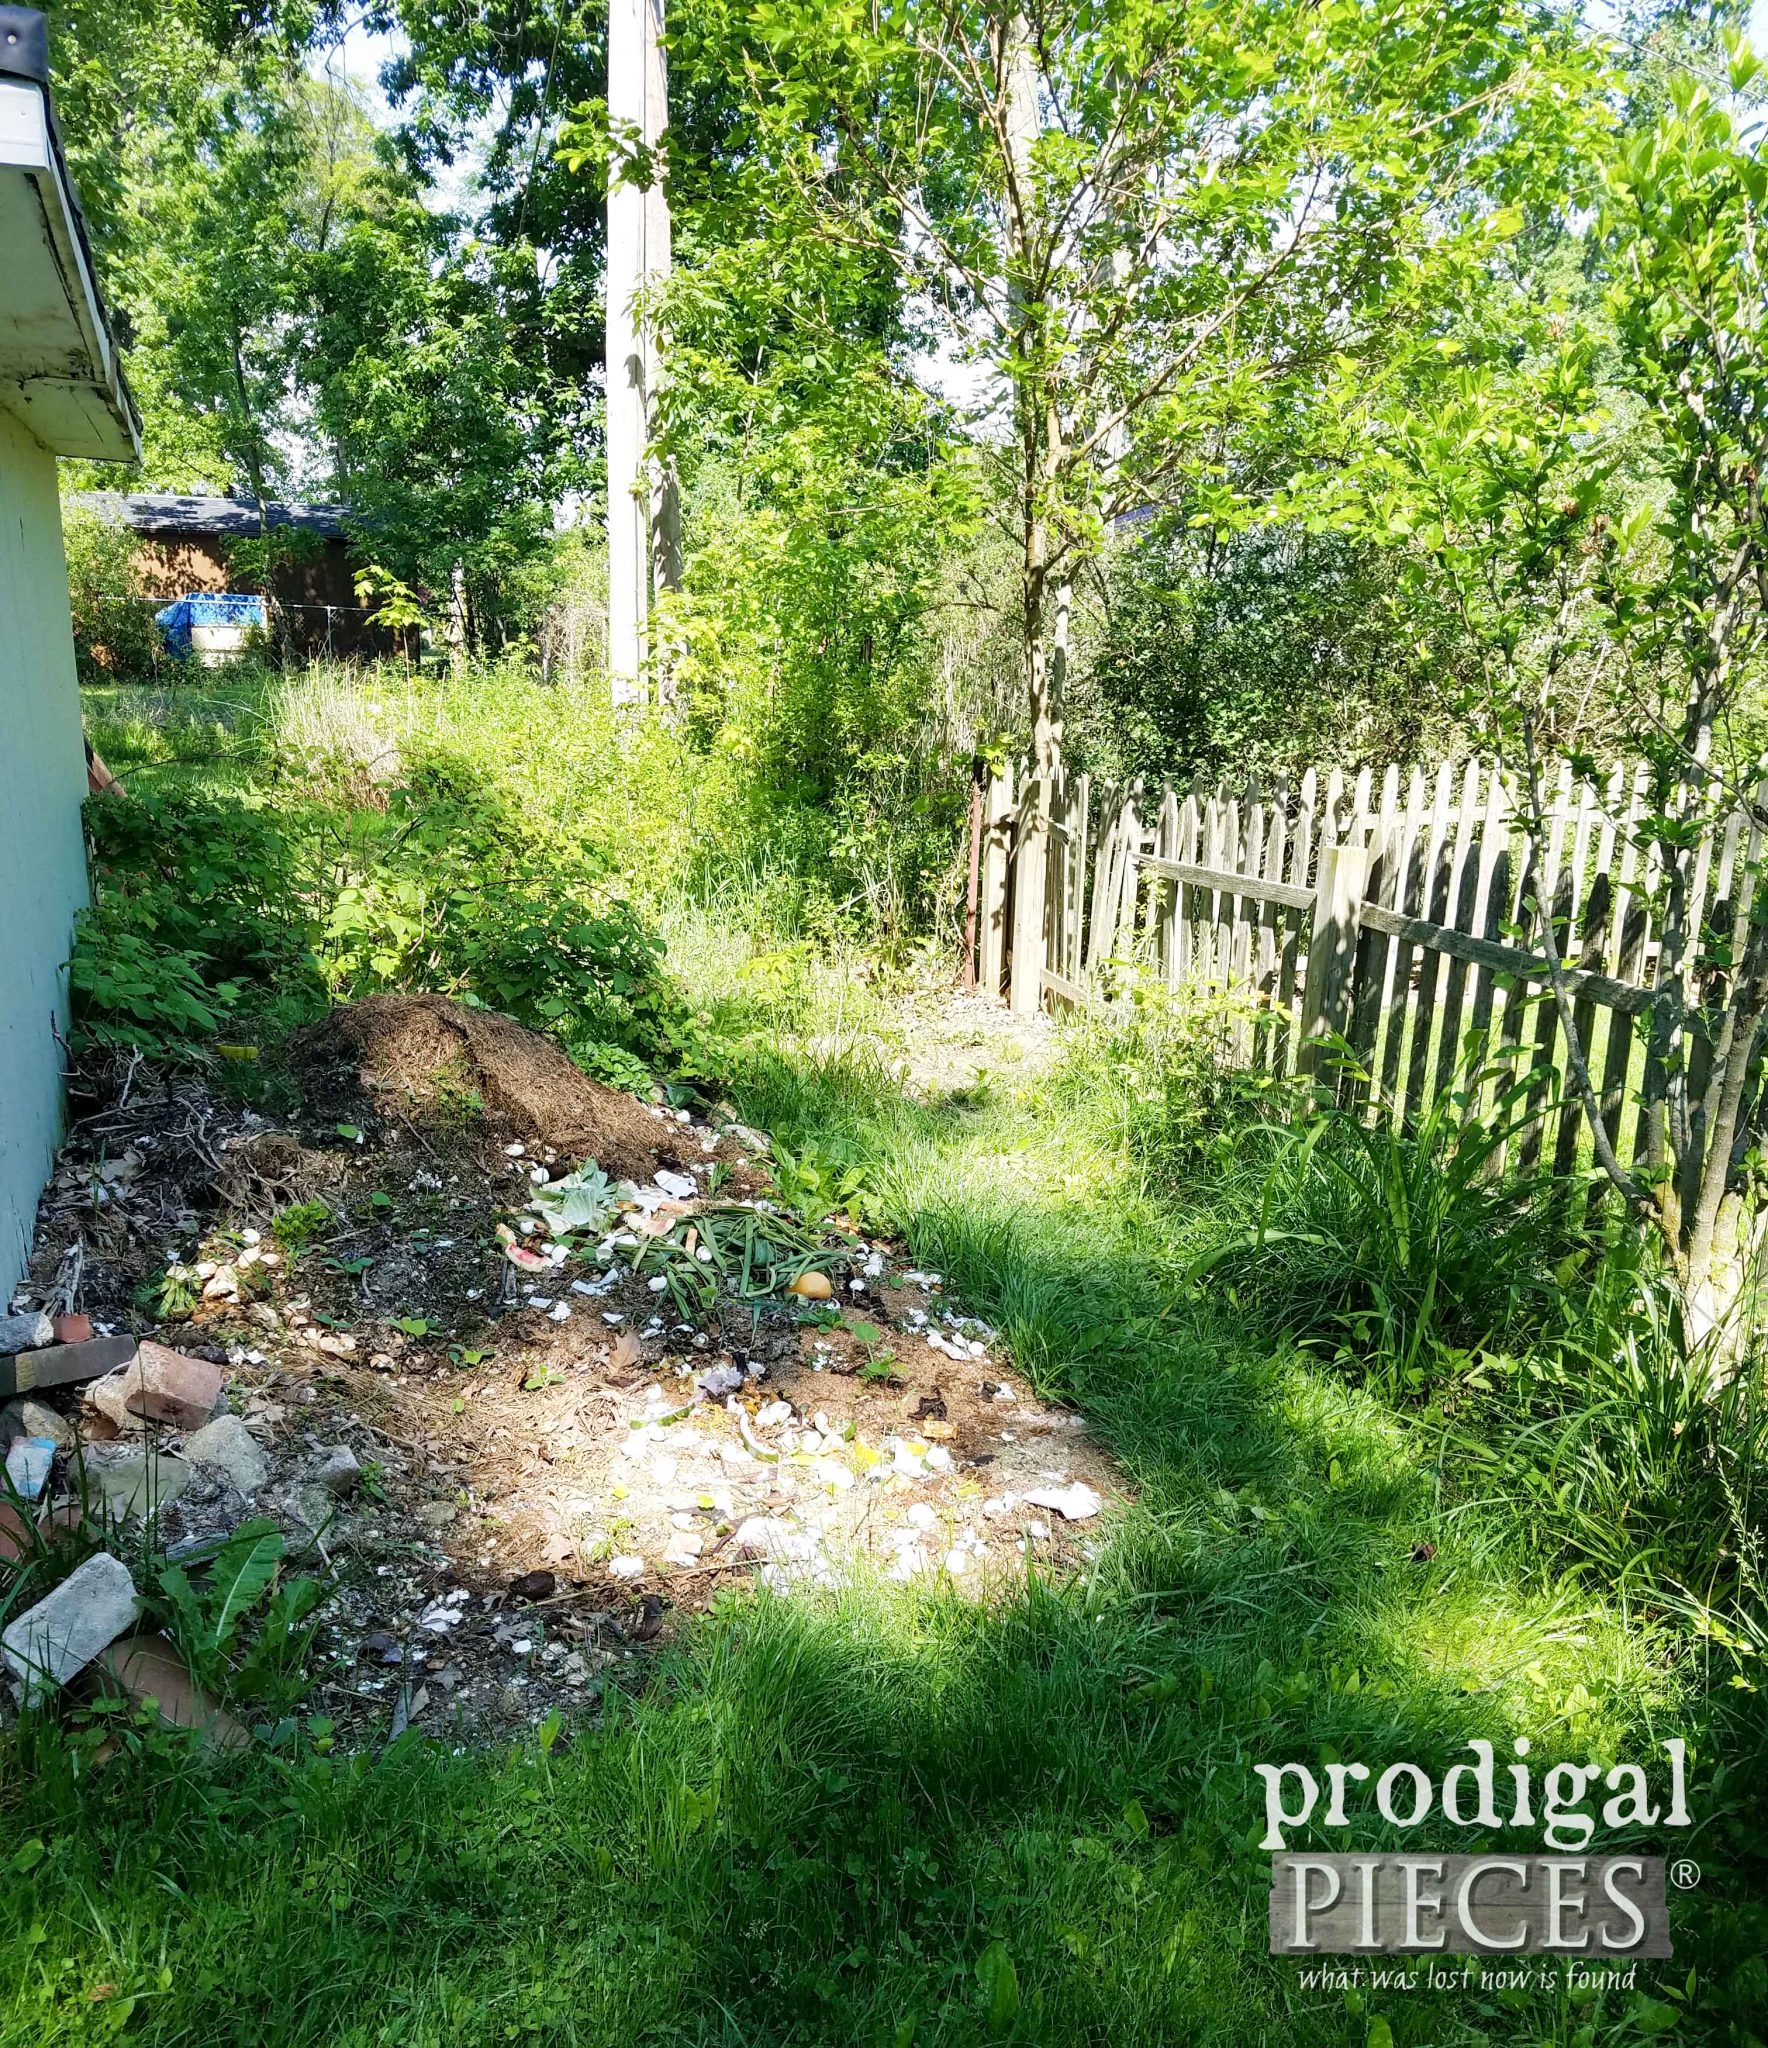 You have compost on the left, what's left of it anyway, after we added most of it to this year's garden. There's also broken bricks and concrete and a healthy growth of red raspberries that are not supposed to be there.
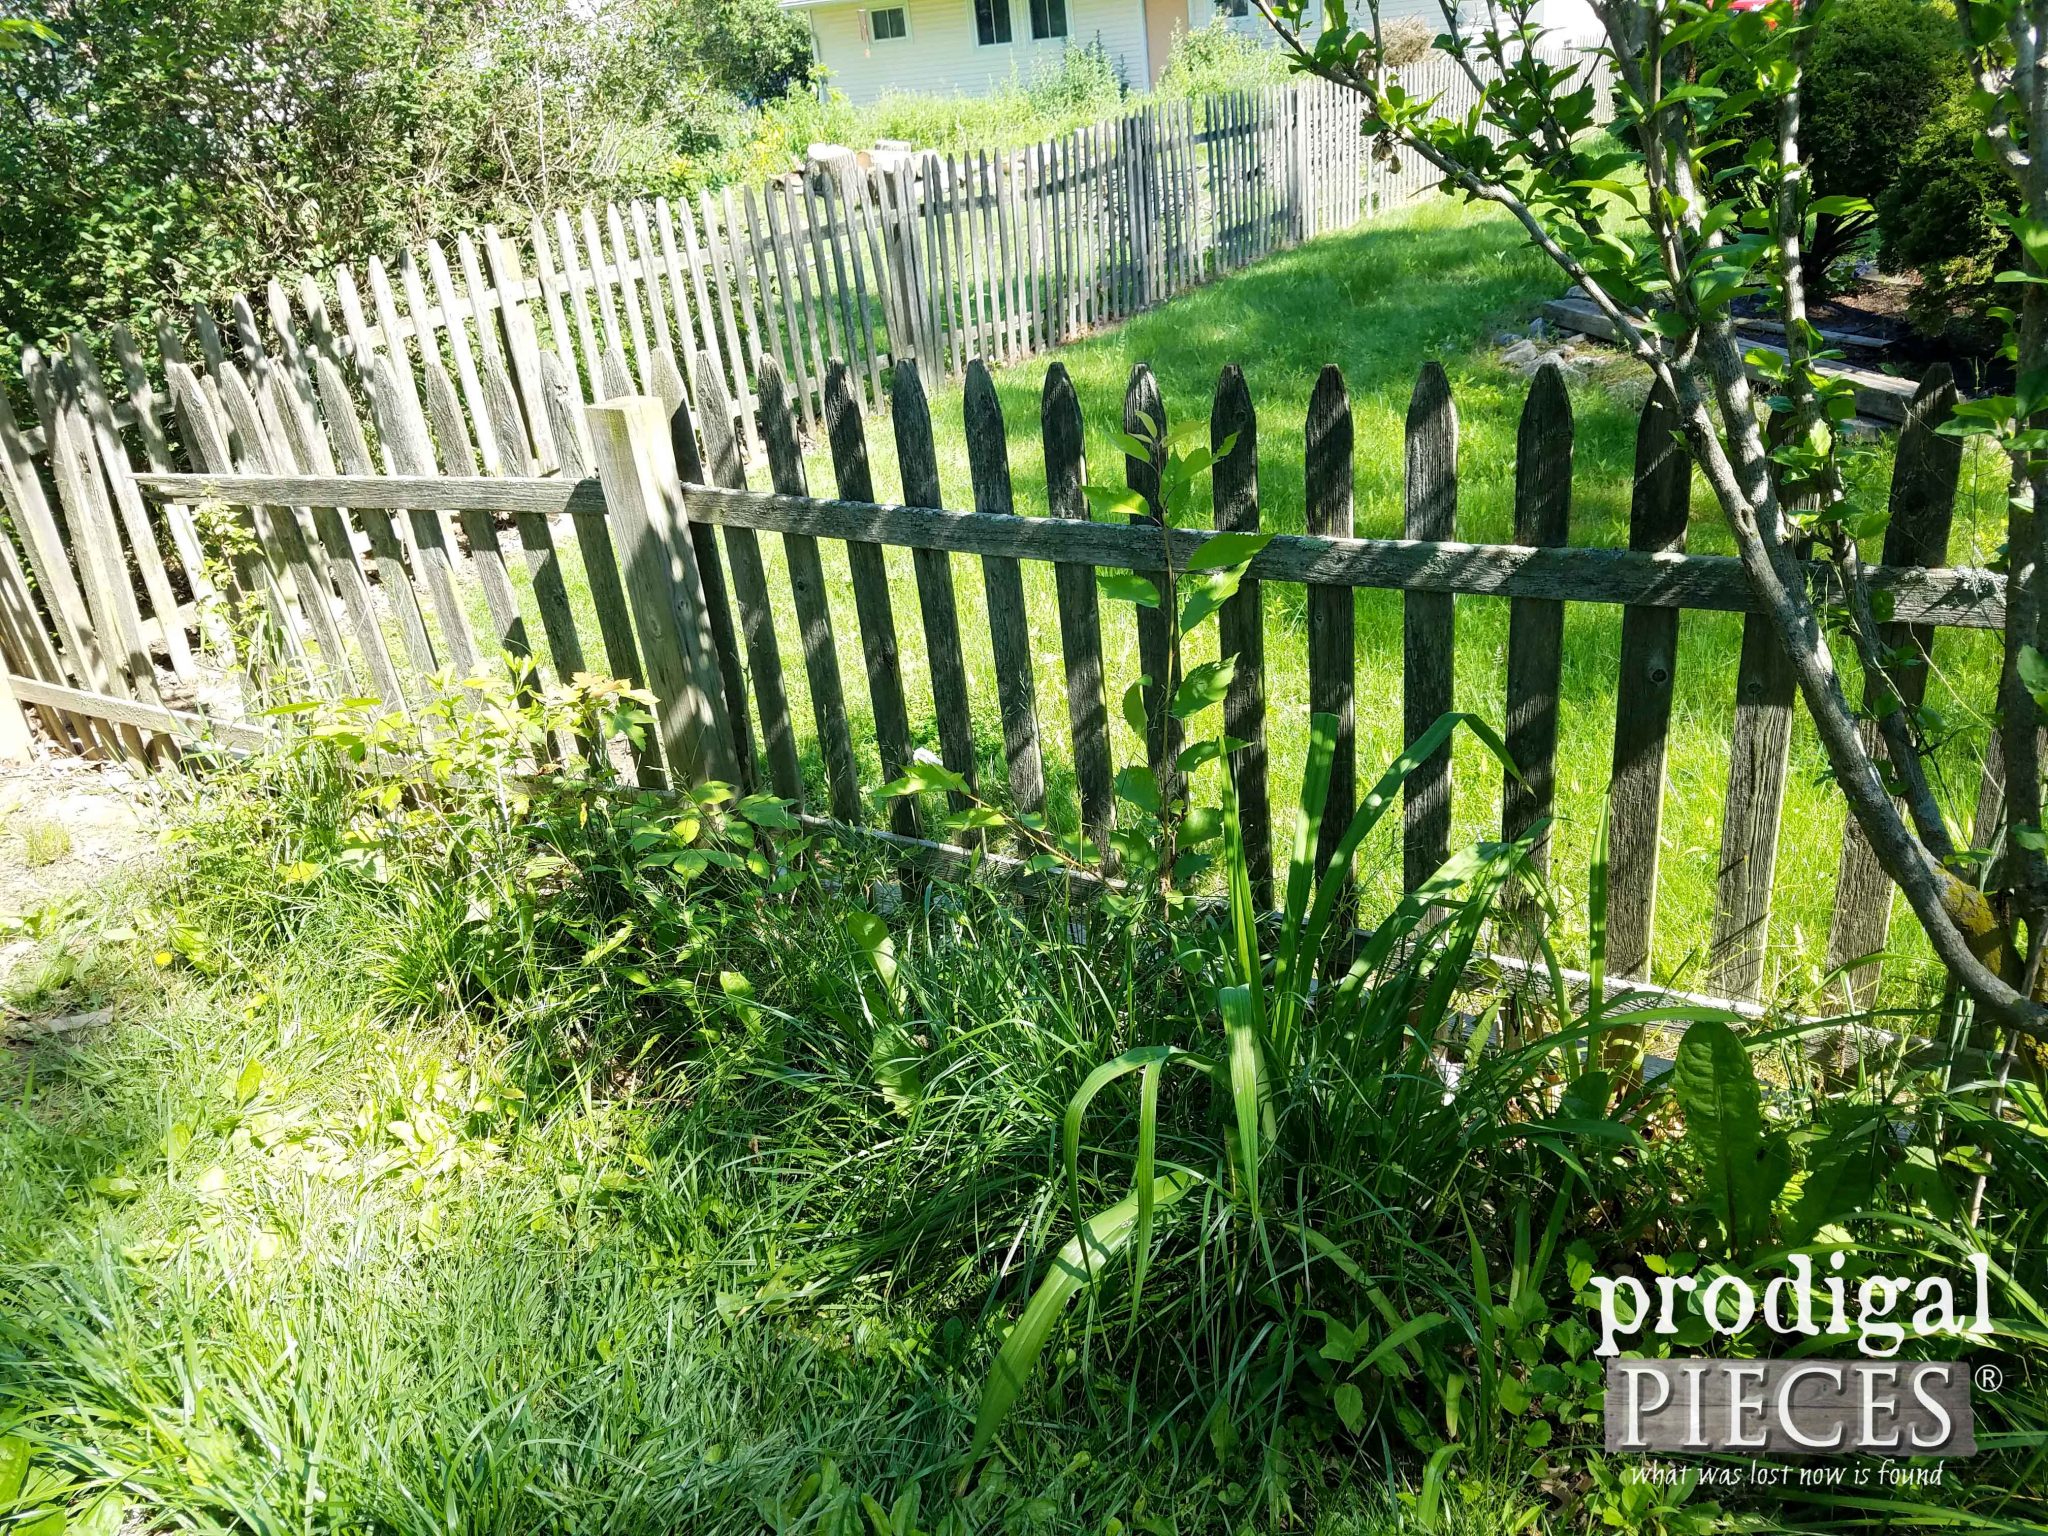
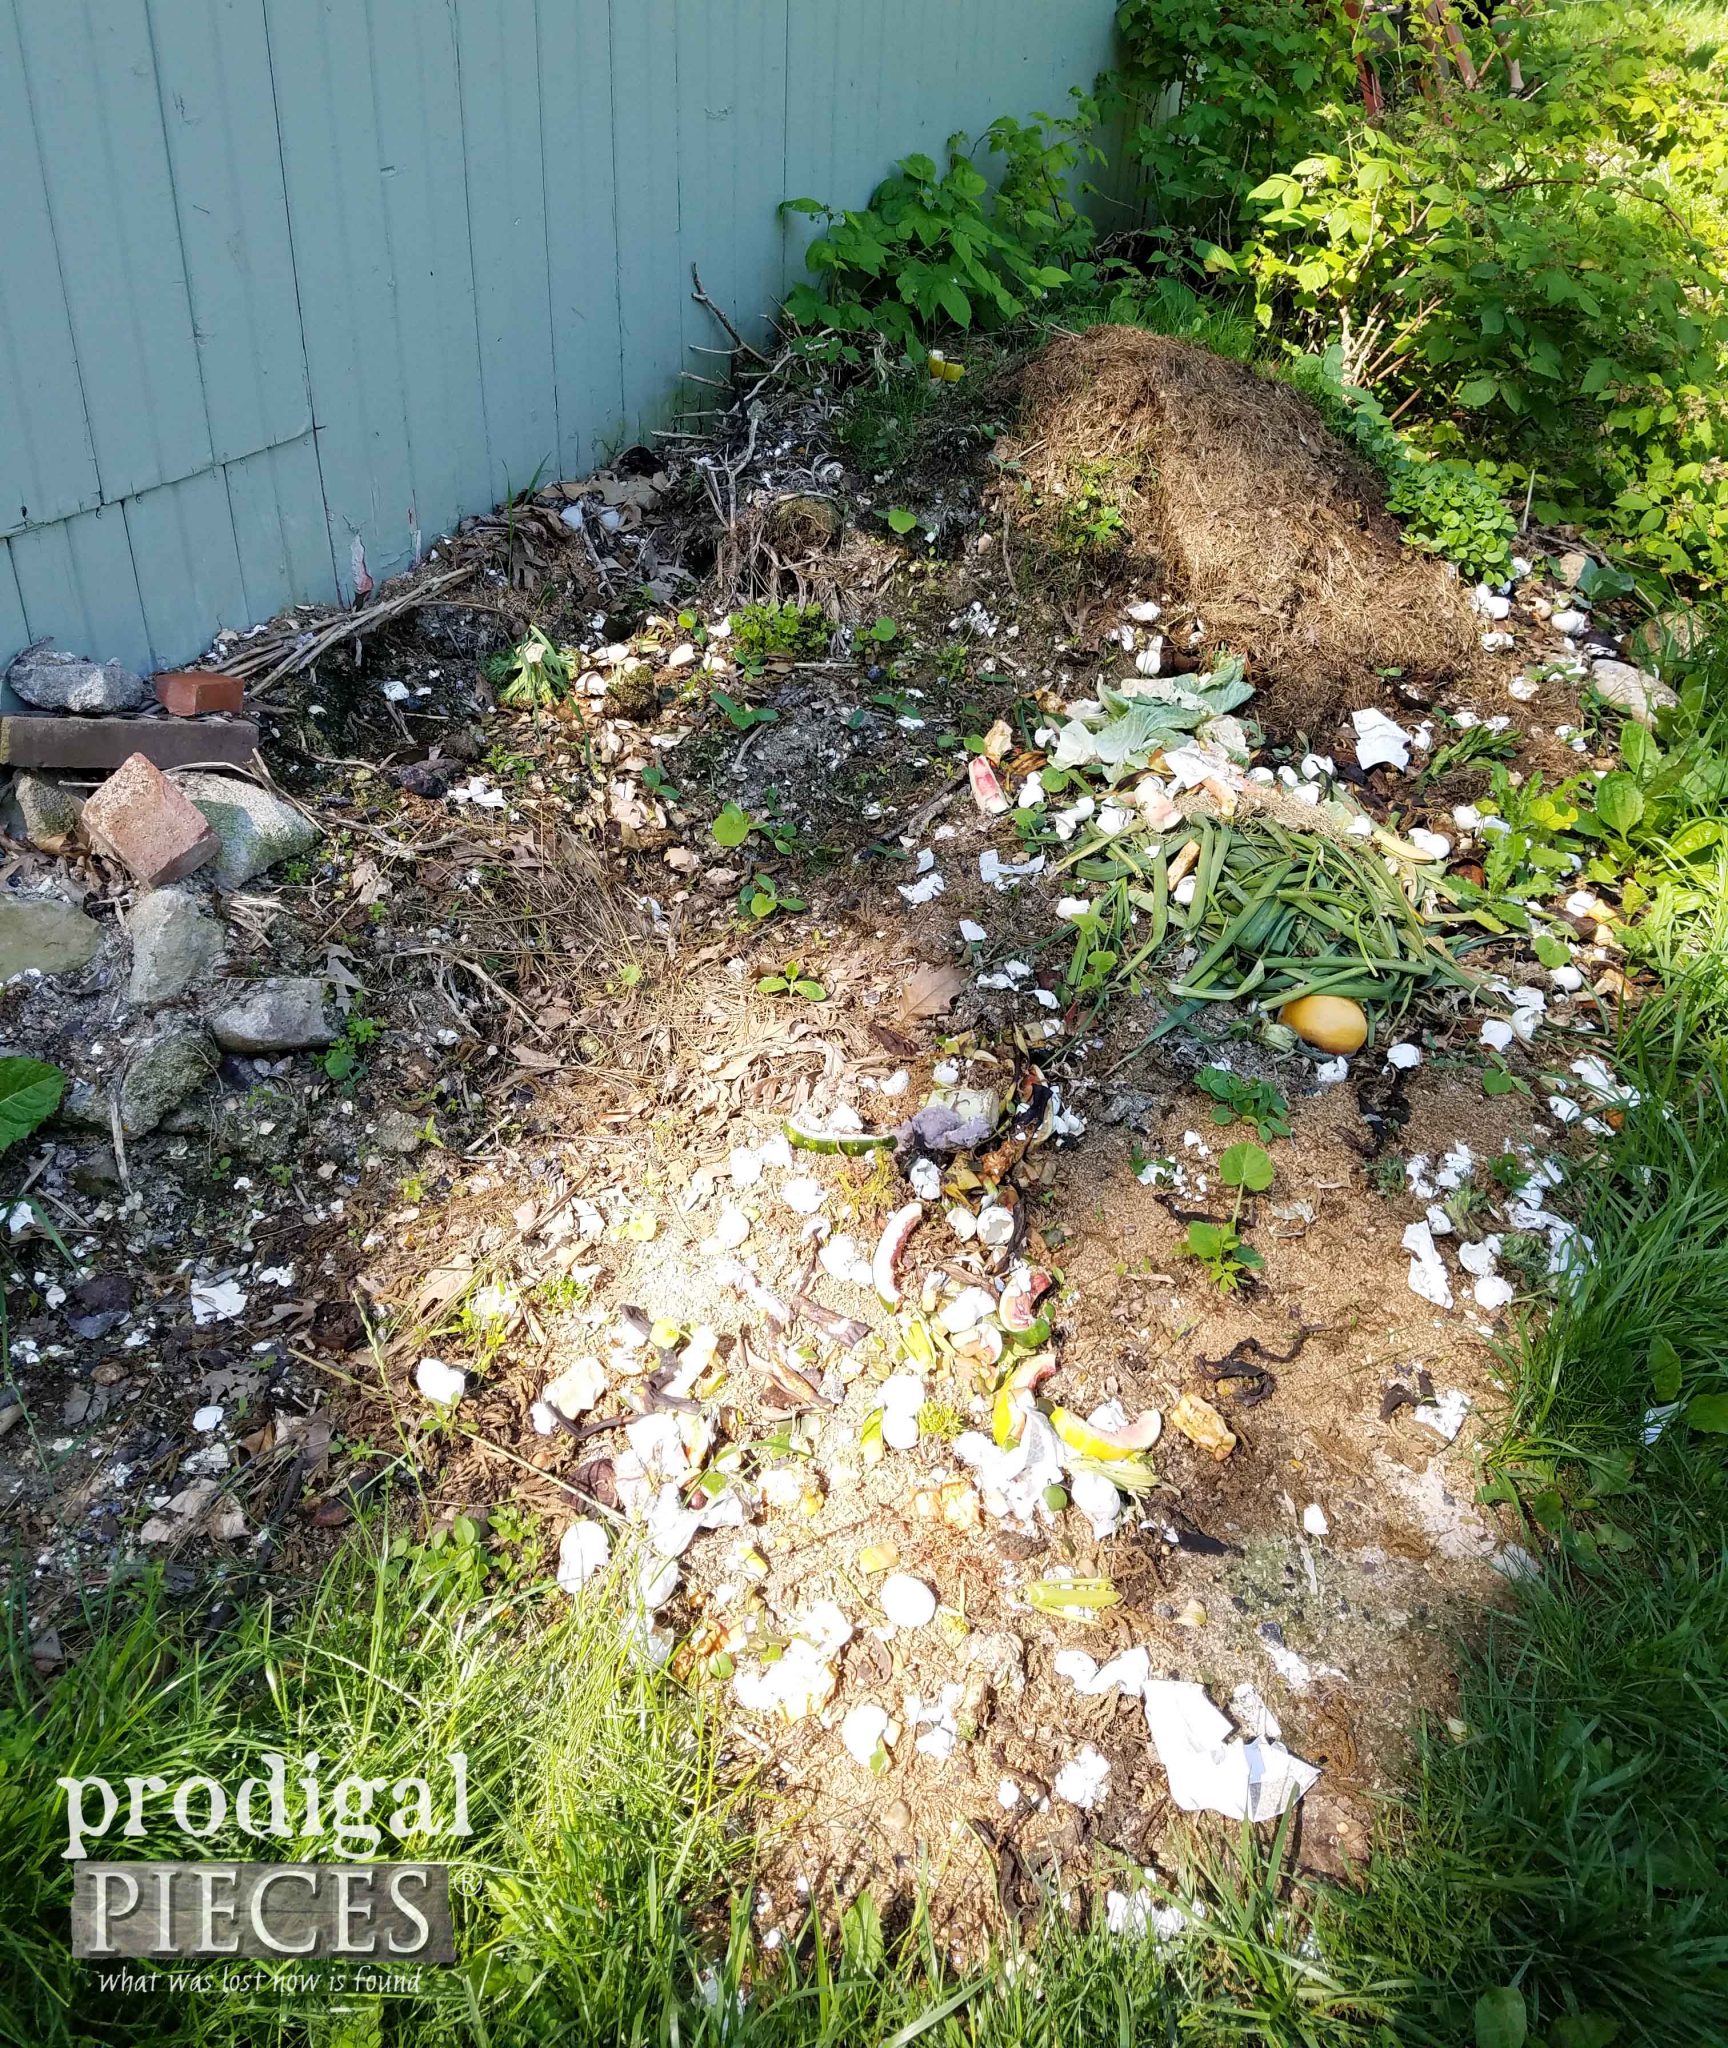 On the right is an overgrown mess of perennials, asparagus, strawberry plants, and weeds that but up against my neighbor's fence. Every time I come back and look at this stuff, I whisper to myself, "This is not my property". I say that because I have spent years cleaning all this up and had to let it go. Very frustrating.
DIY TIME
Well, those frustrated days are no more. I dug out that back fence mess and got ready to make use of those pallets. My kids were more than happy to help, and JC was stolen from our kitchen remodel for a bit to help me get started.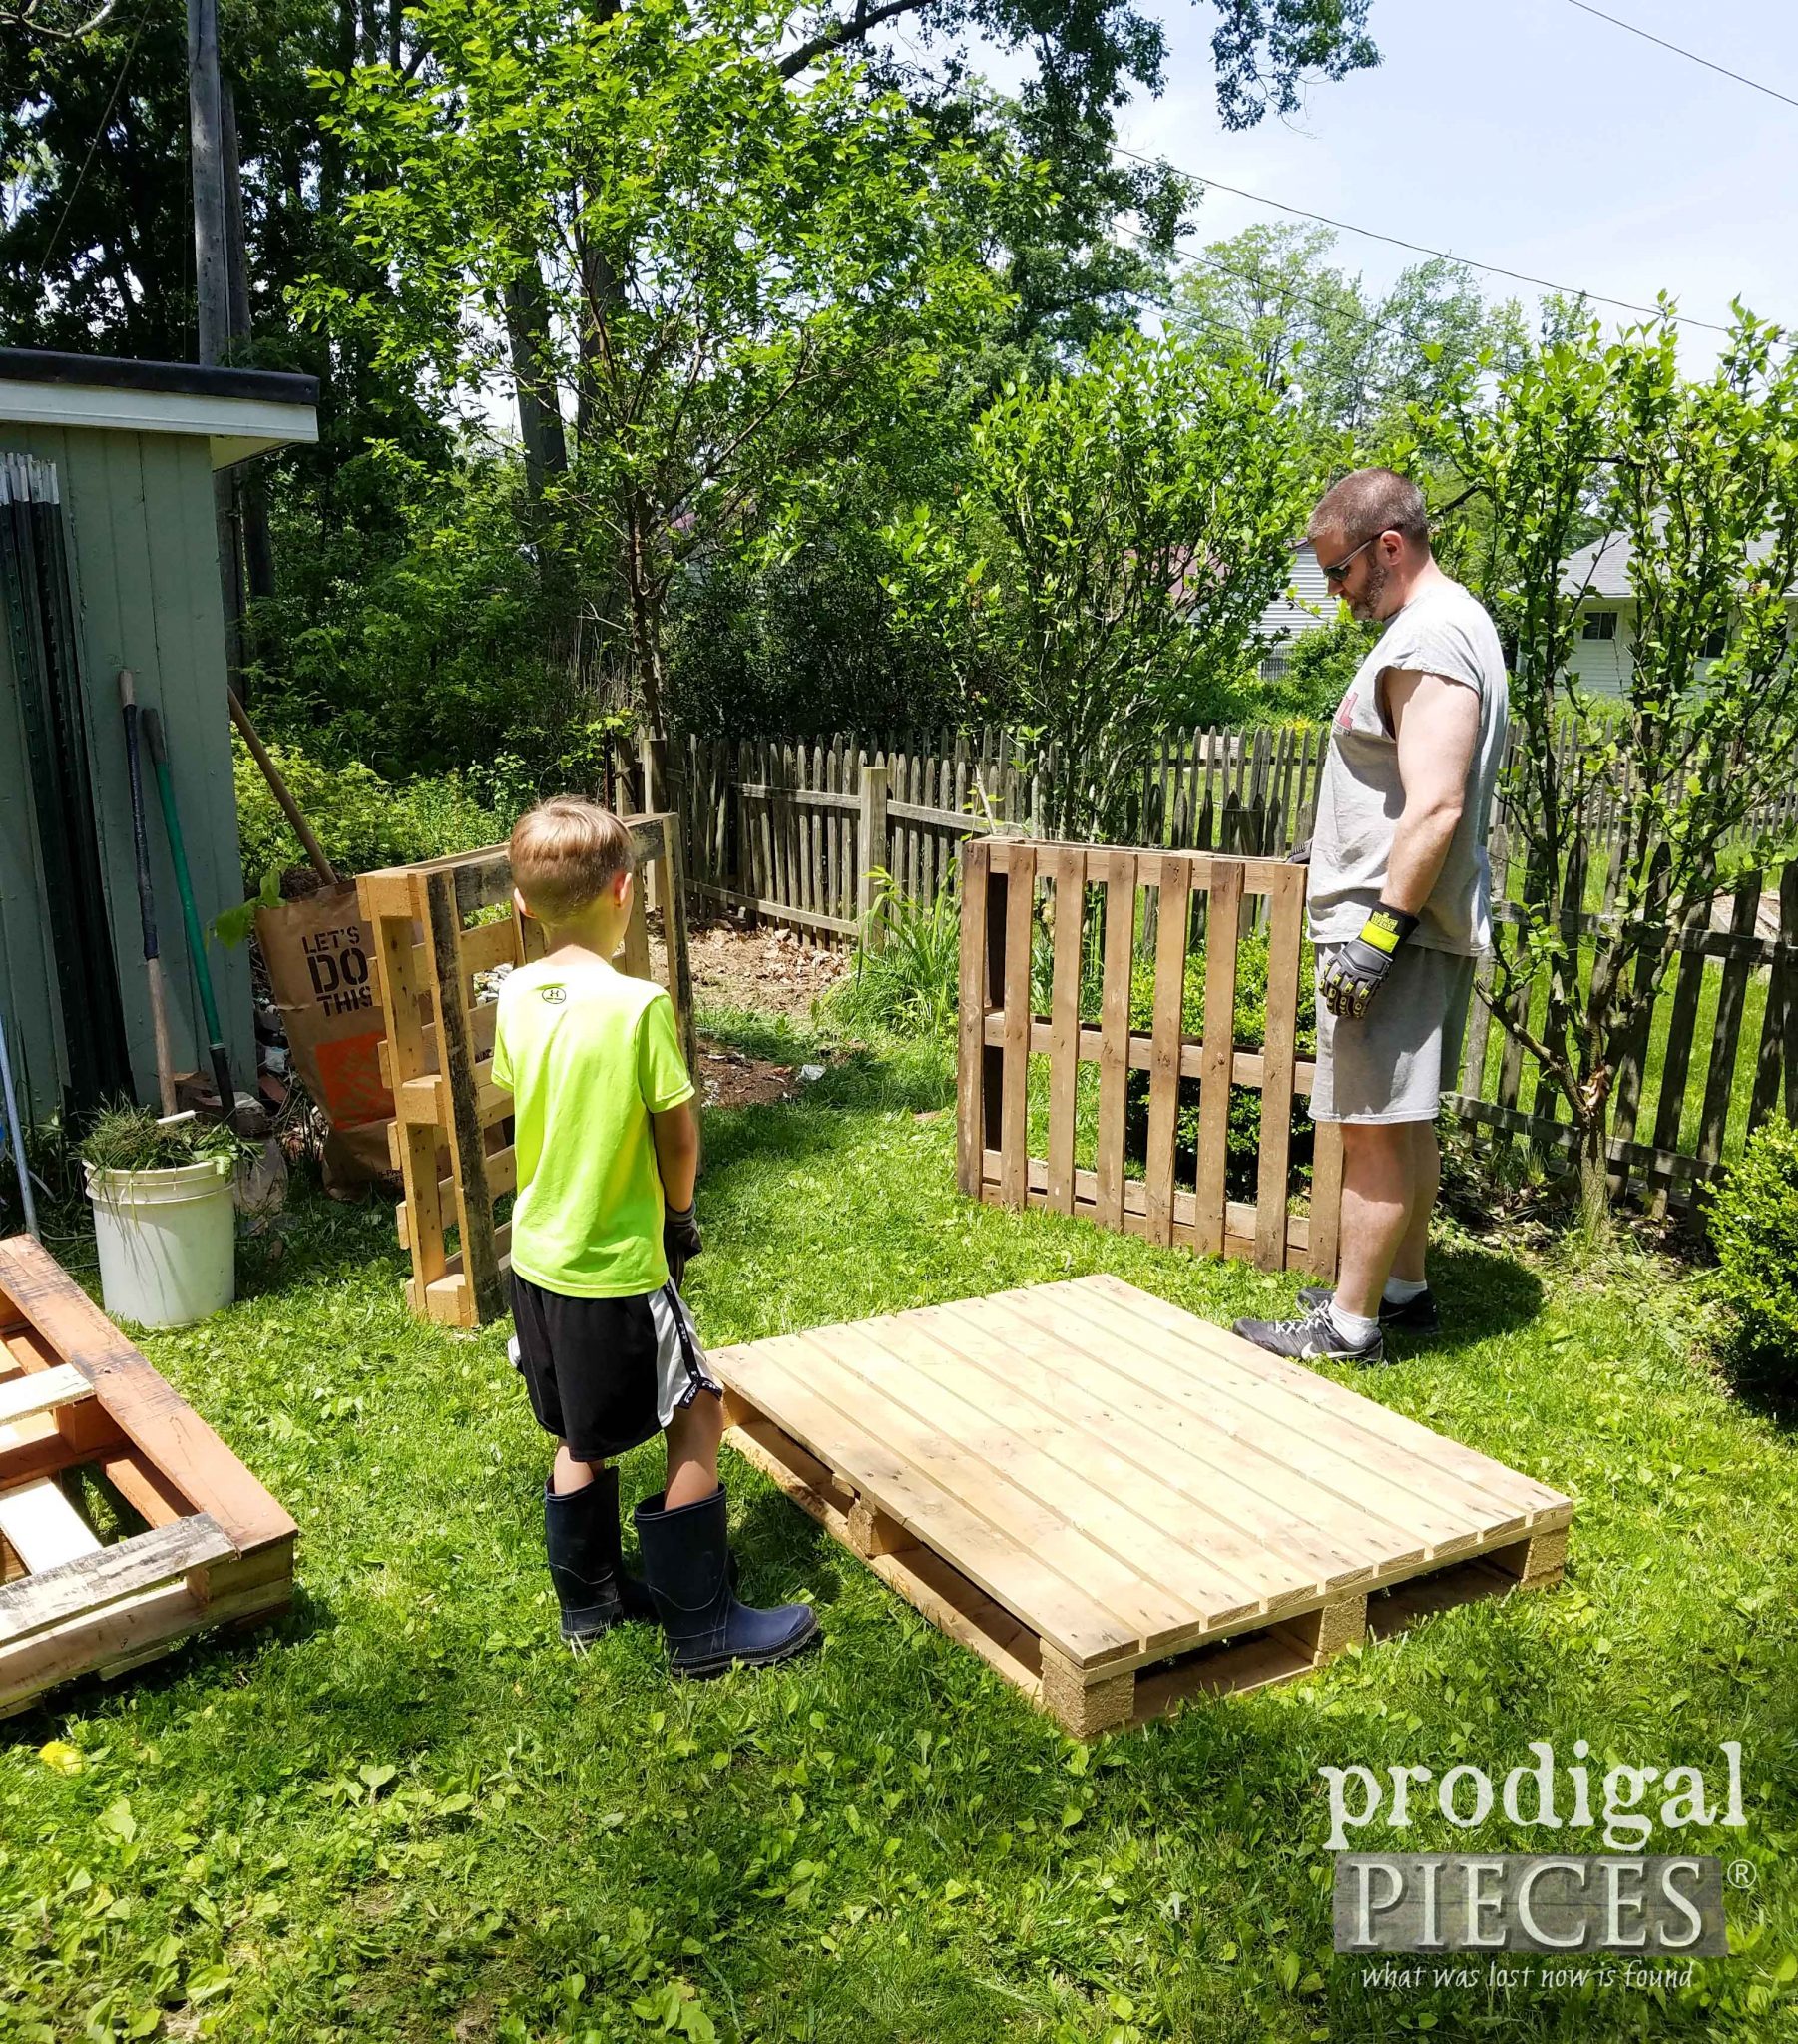
*post sponsored by Ryobi (see full disclosure)
JC is allowed to take broken or unwanted pallets from work, so we grab some when we can. First, we make sure they are heat treated so we know they do not leech chemicals into our compost. Just look for the HT stamp. We are also going to be building a wood shed and moving our firewood pile to a better place too. So, like I said, we always have much on our plate. To get our your own pallet compost bin going, here is what you need:TOOLS & SUPPLIES:
- 5 heat-treated pallets of roughly the same size (free in most places)
- Ryobi AirStrike Stapler
- crown staples
- 10 T posts (a couple of dollars each at Tractor Supply)
- chicken wire
- wire cutters
- drill/drill bits
- circular saw
- T post driver
- cardboard
- scrap wood
- gloves
- safety glasses and/or hearing protection
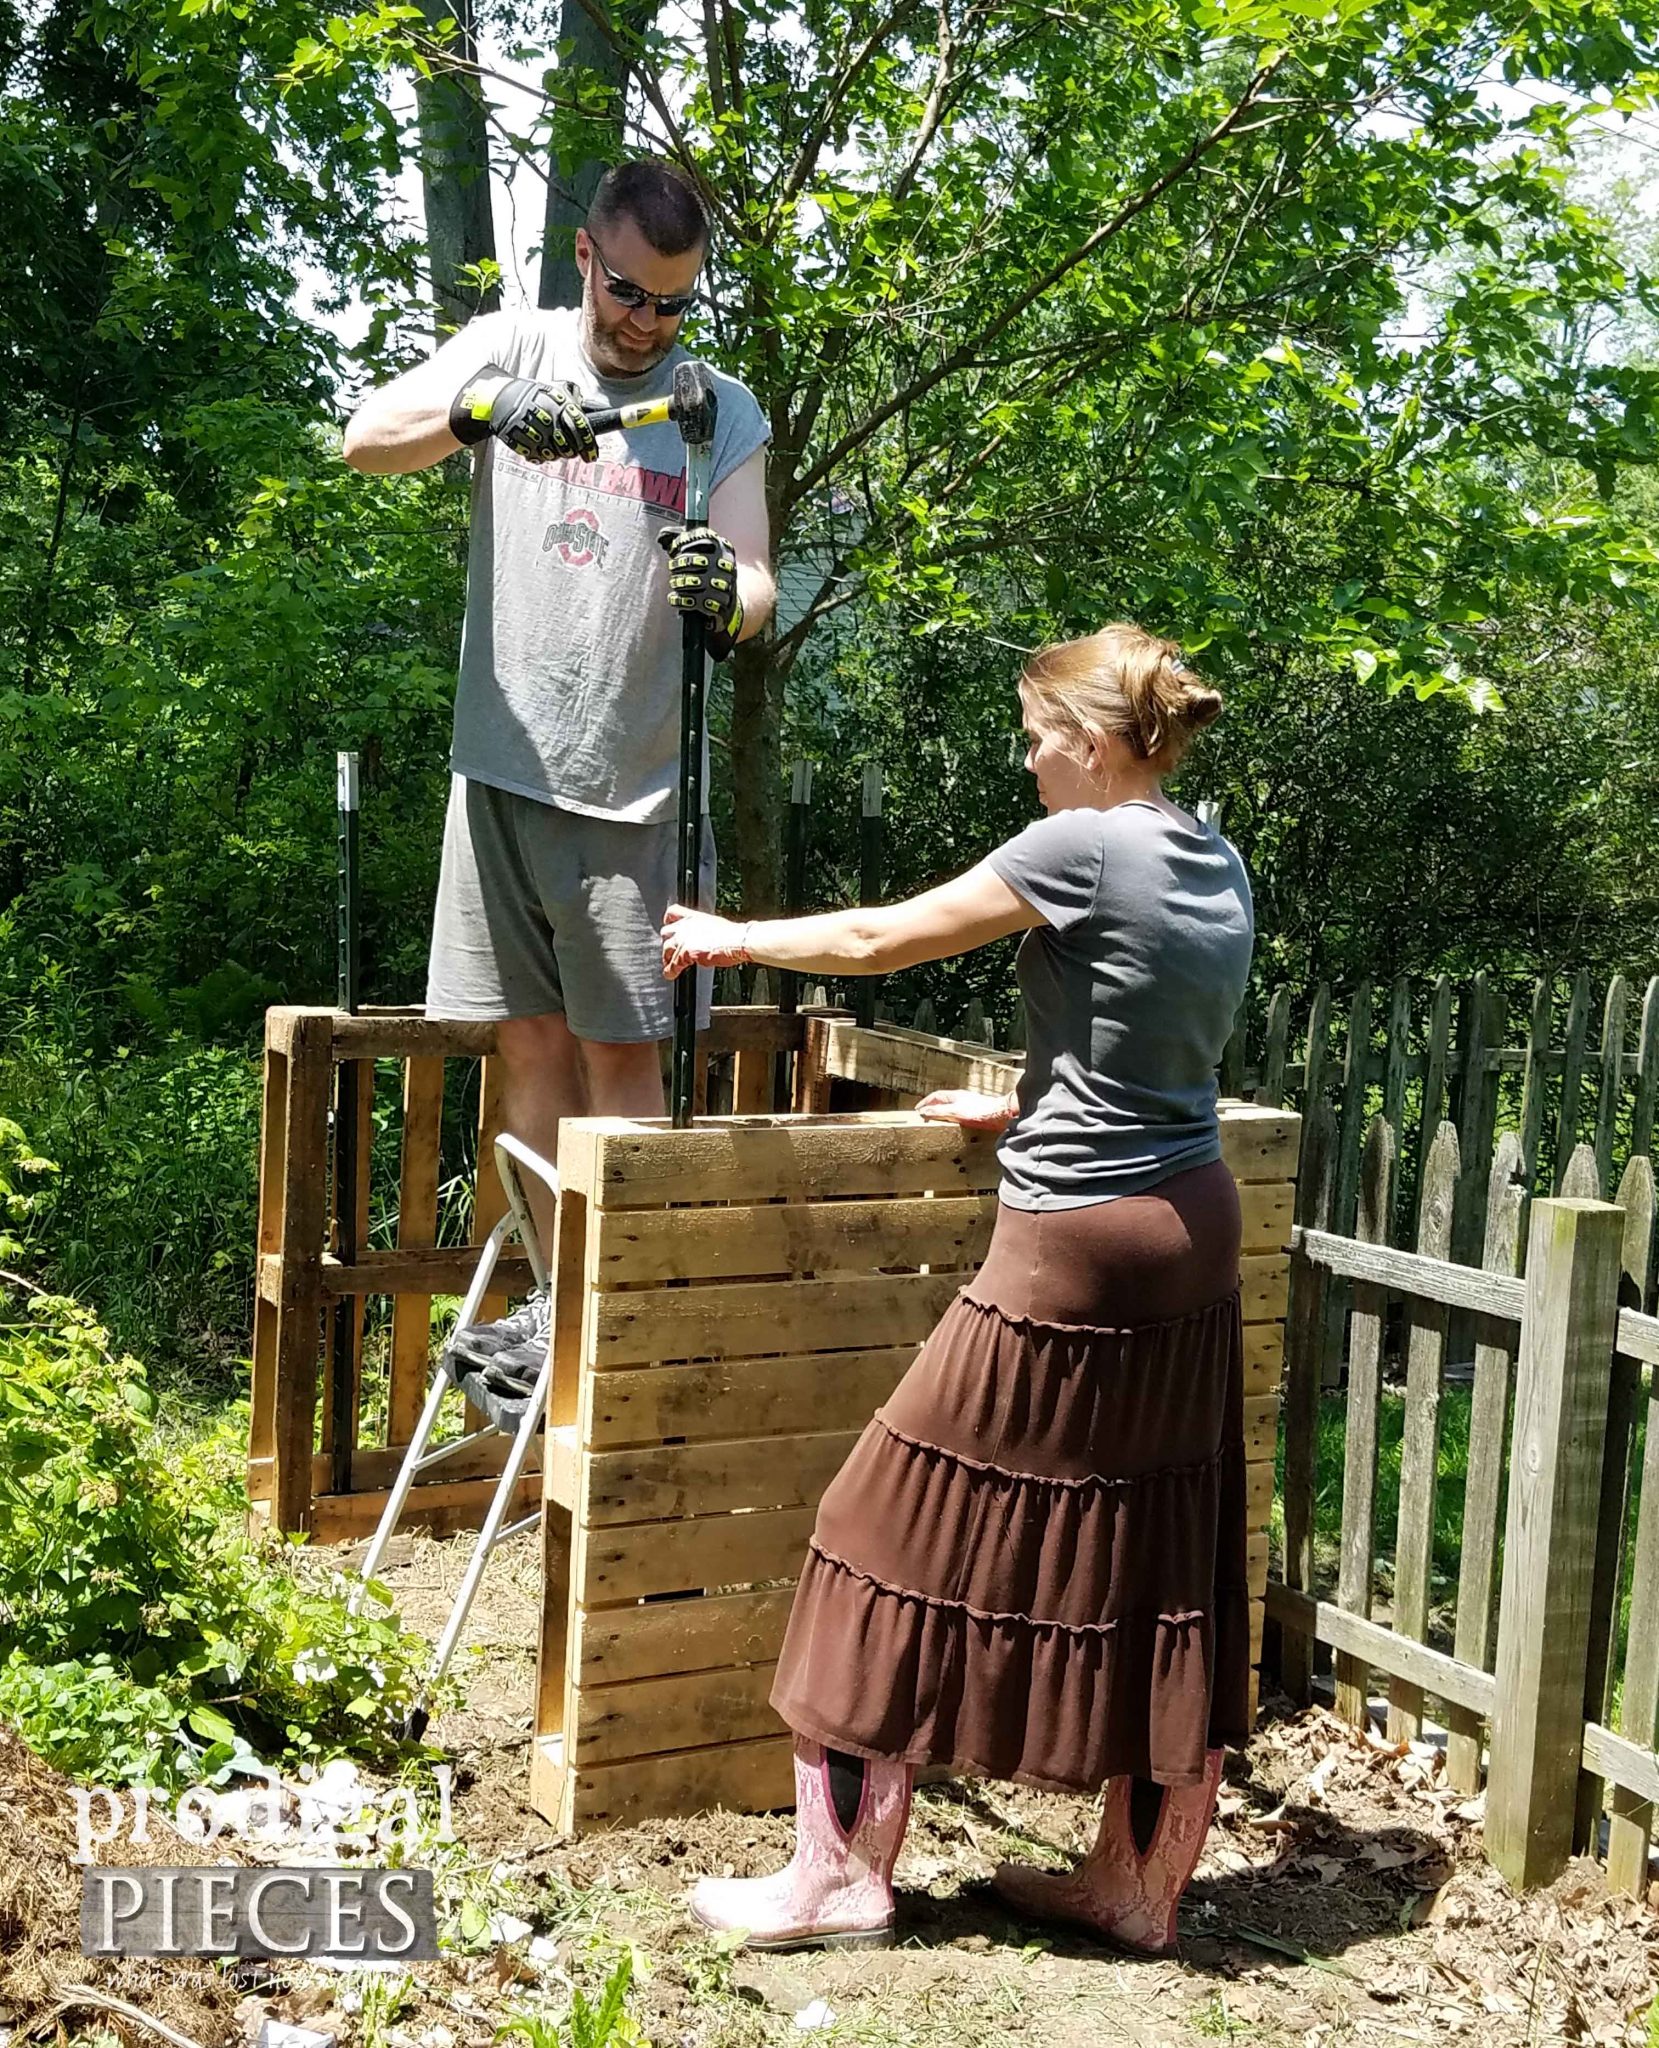 My bad for not getting a T post driver when I got the stakes, as I have always wanted one of those bad boys. So we used our small sledge instead, but do note that I went back and bought one to use on our woodshed to make the job easier.
TWO IS BETTER
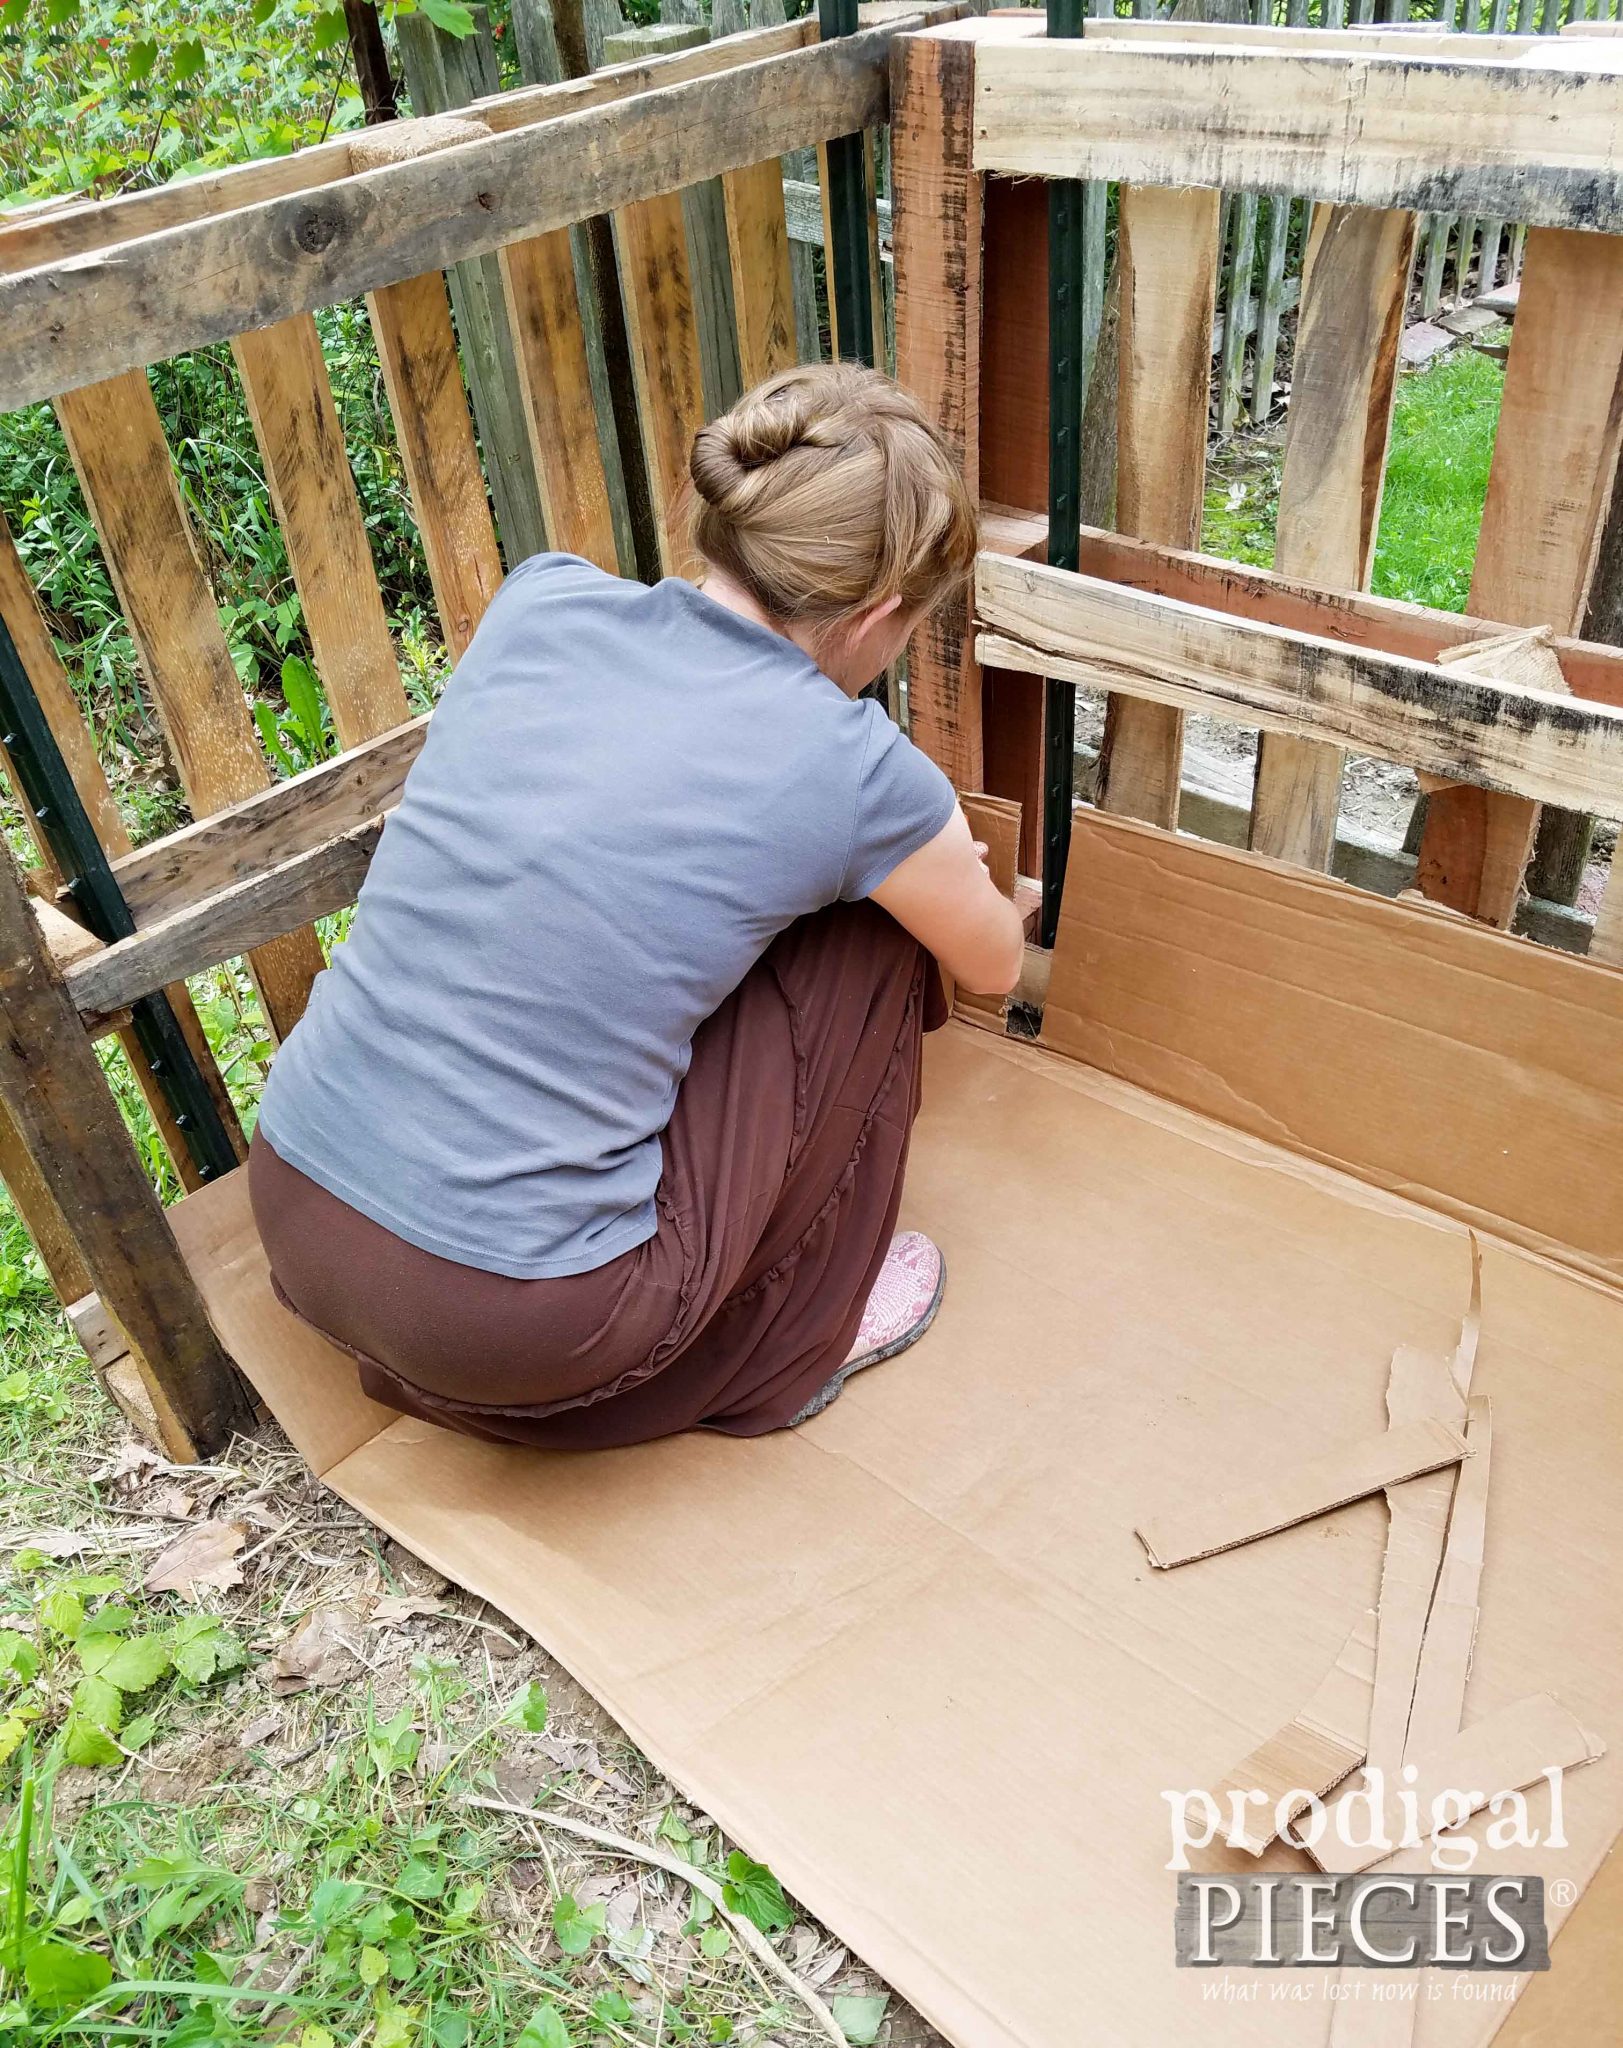
We wanted to create two bins - one of for fresh compost and one for the decomposed goodness (aka. black gold). We just added another back and side to create another bin adjoining the first one. Another note is that we could have used shorter T posts, but we weren't sure in the planning stages if we were going to turn the pallets on the long side or not. Five-foot posts would have been sufficient instead of our six foot ones.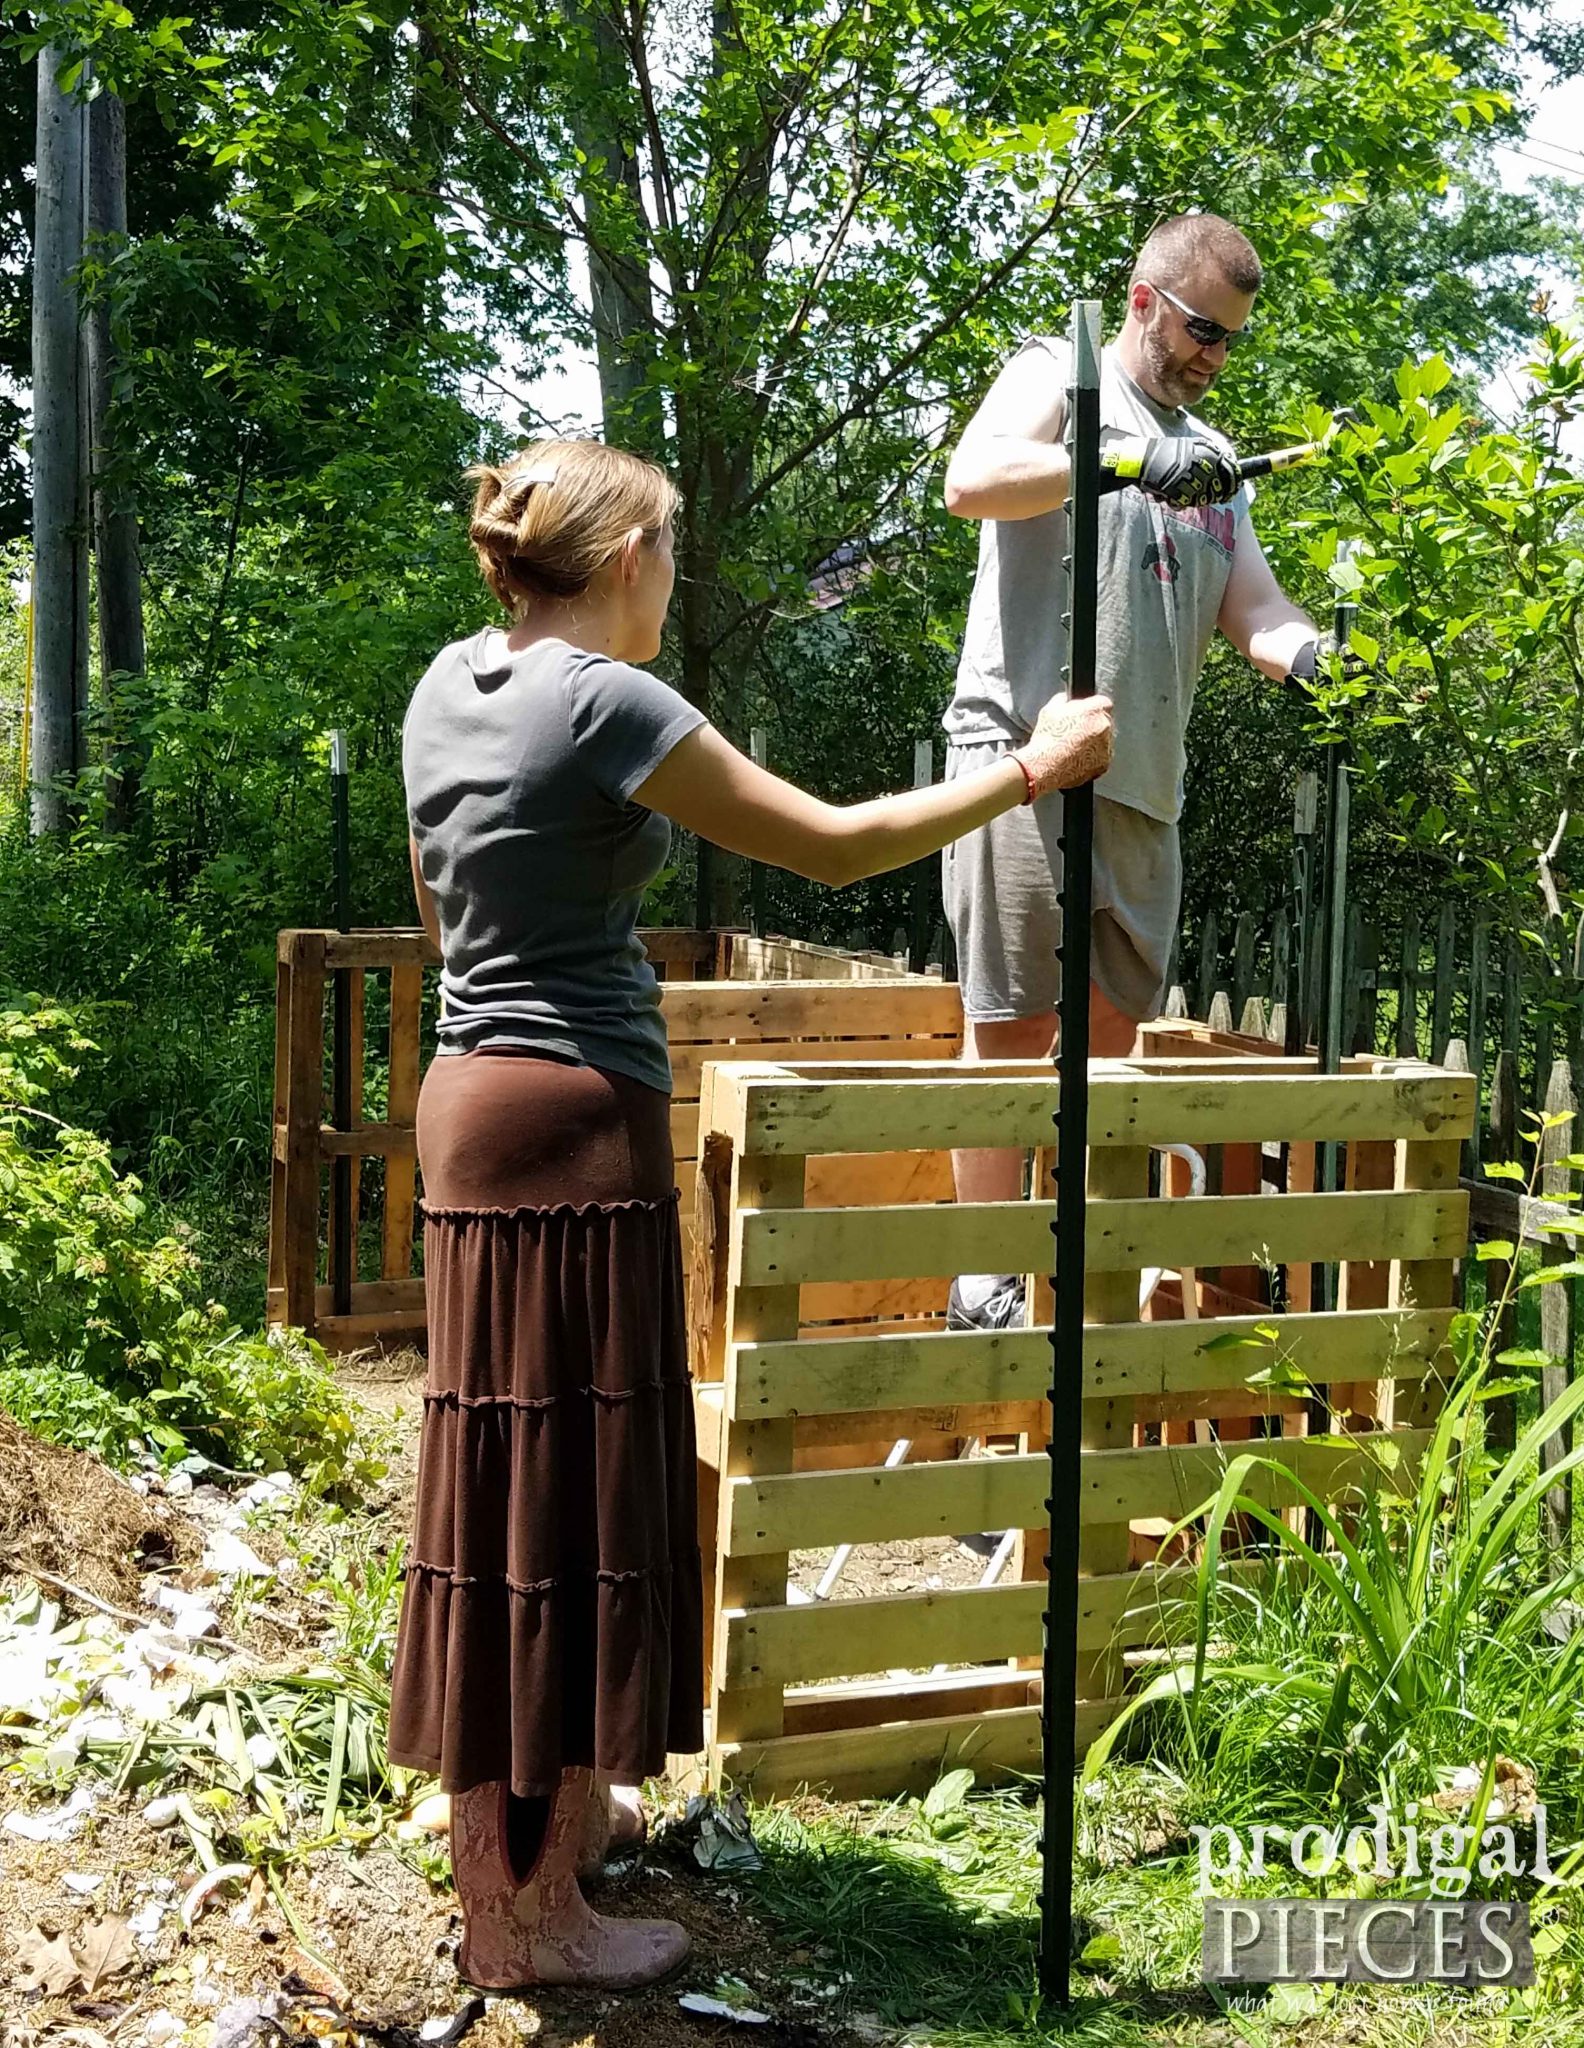 After set up, JC went back to kitchen work and the kids, and I finished up the rest. The next step was to line the bottom with cardboard. This is to create a composting weed barrier, just in case I had missed any when digging it all out. And the worms absolutely love it. It will encourage them to come up and have a feast. I even tucked it in the empty pallet spaces for weed control and can replace as it decomposes.
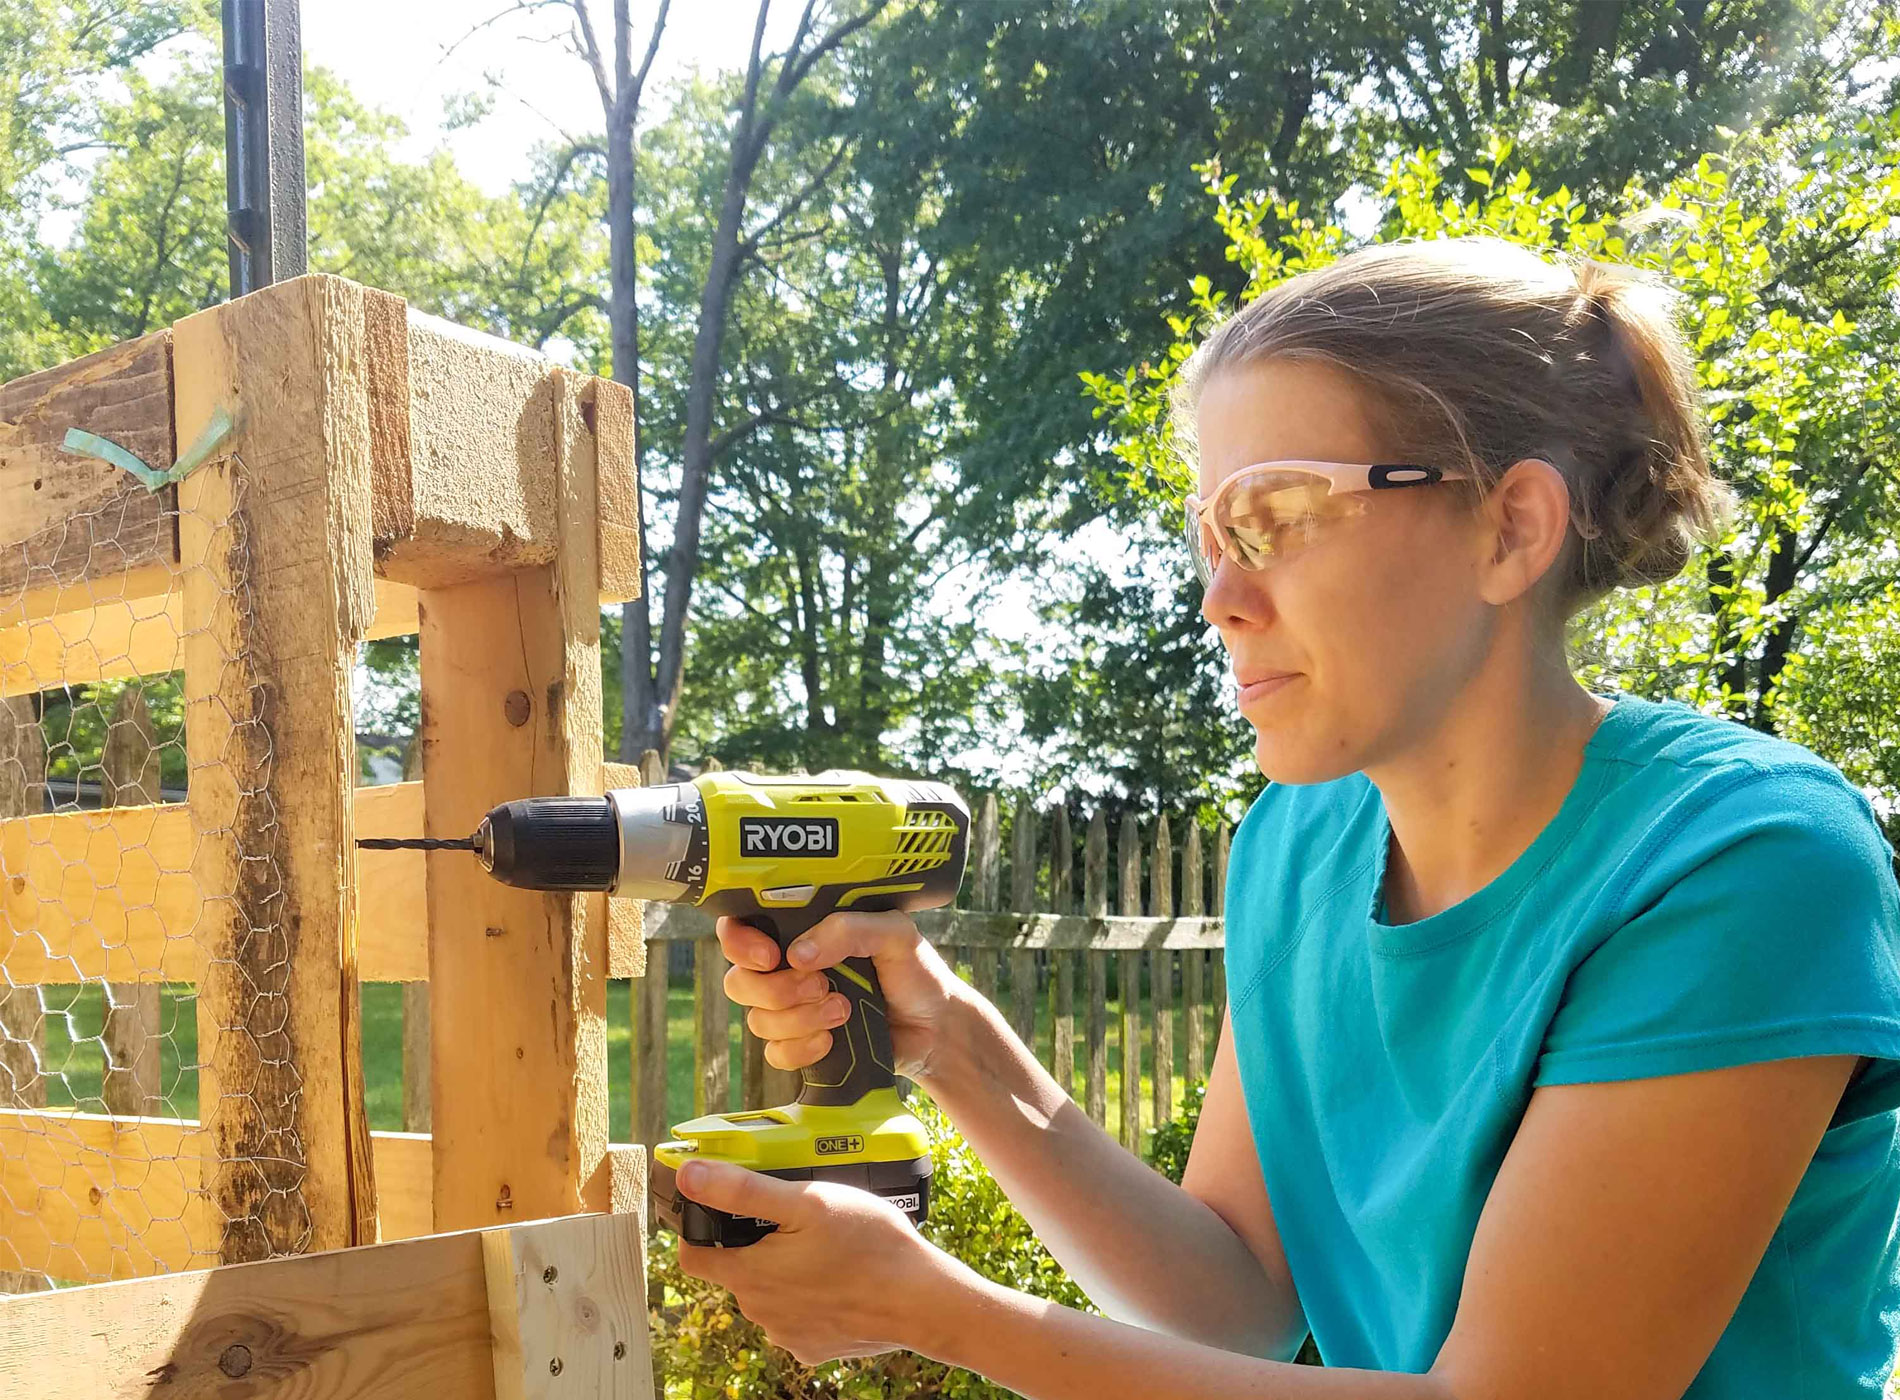
 The next step is to add chicken wire to line the insides. My extra help was all ready to roll because everyone wanted to try out my new toy - the AirStrike stapler. I don't blame them one bit!
BRING ON THE TOOLS
I repeat, my toolsoverjewels motto still stands as it has for over 20 years. This thing ROCKS!! No compressor needed like my other stapler. Just pop in the battery and I was sailing around these bins and had them done in no time. You can see how awesome it is for uphosltery in this footstool post.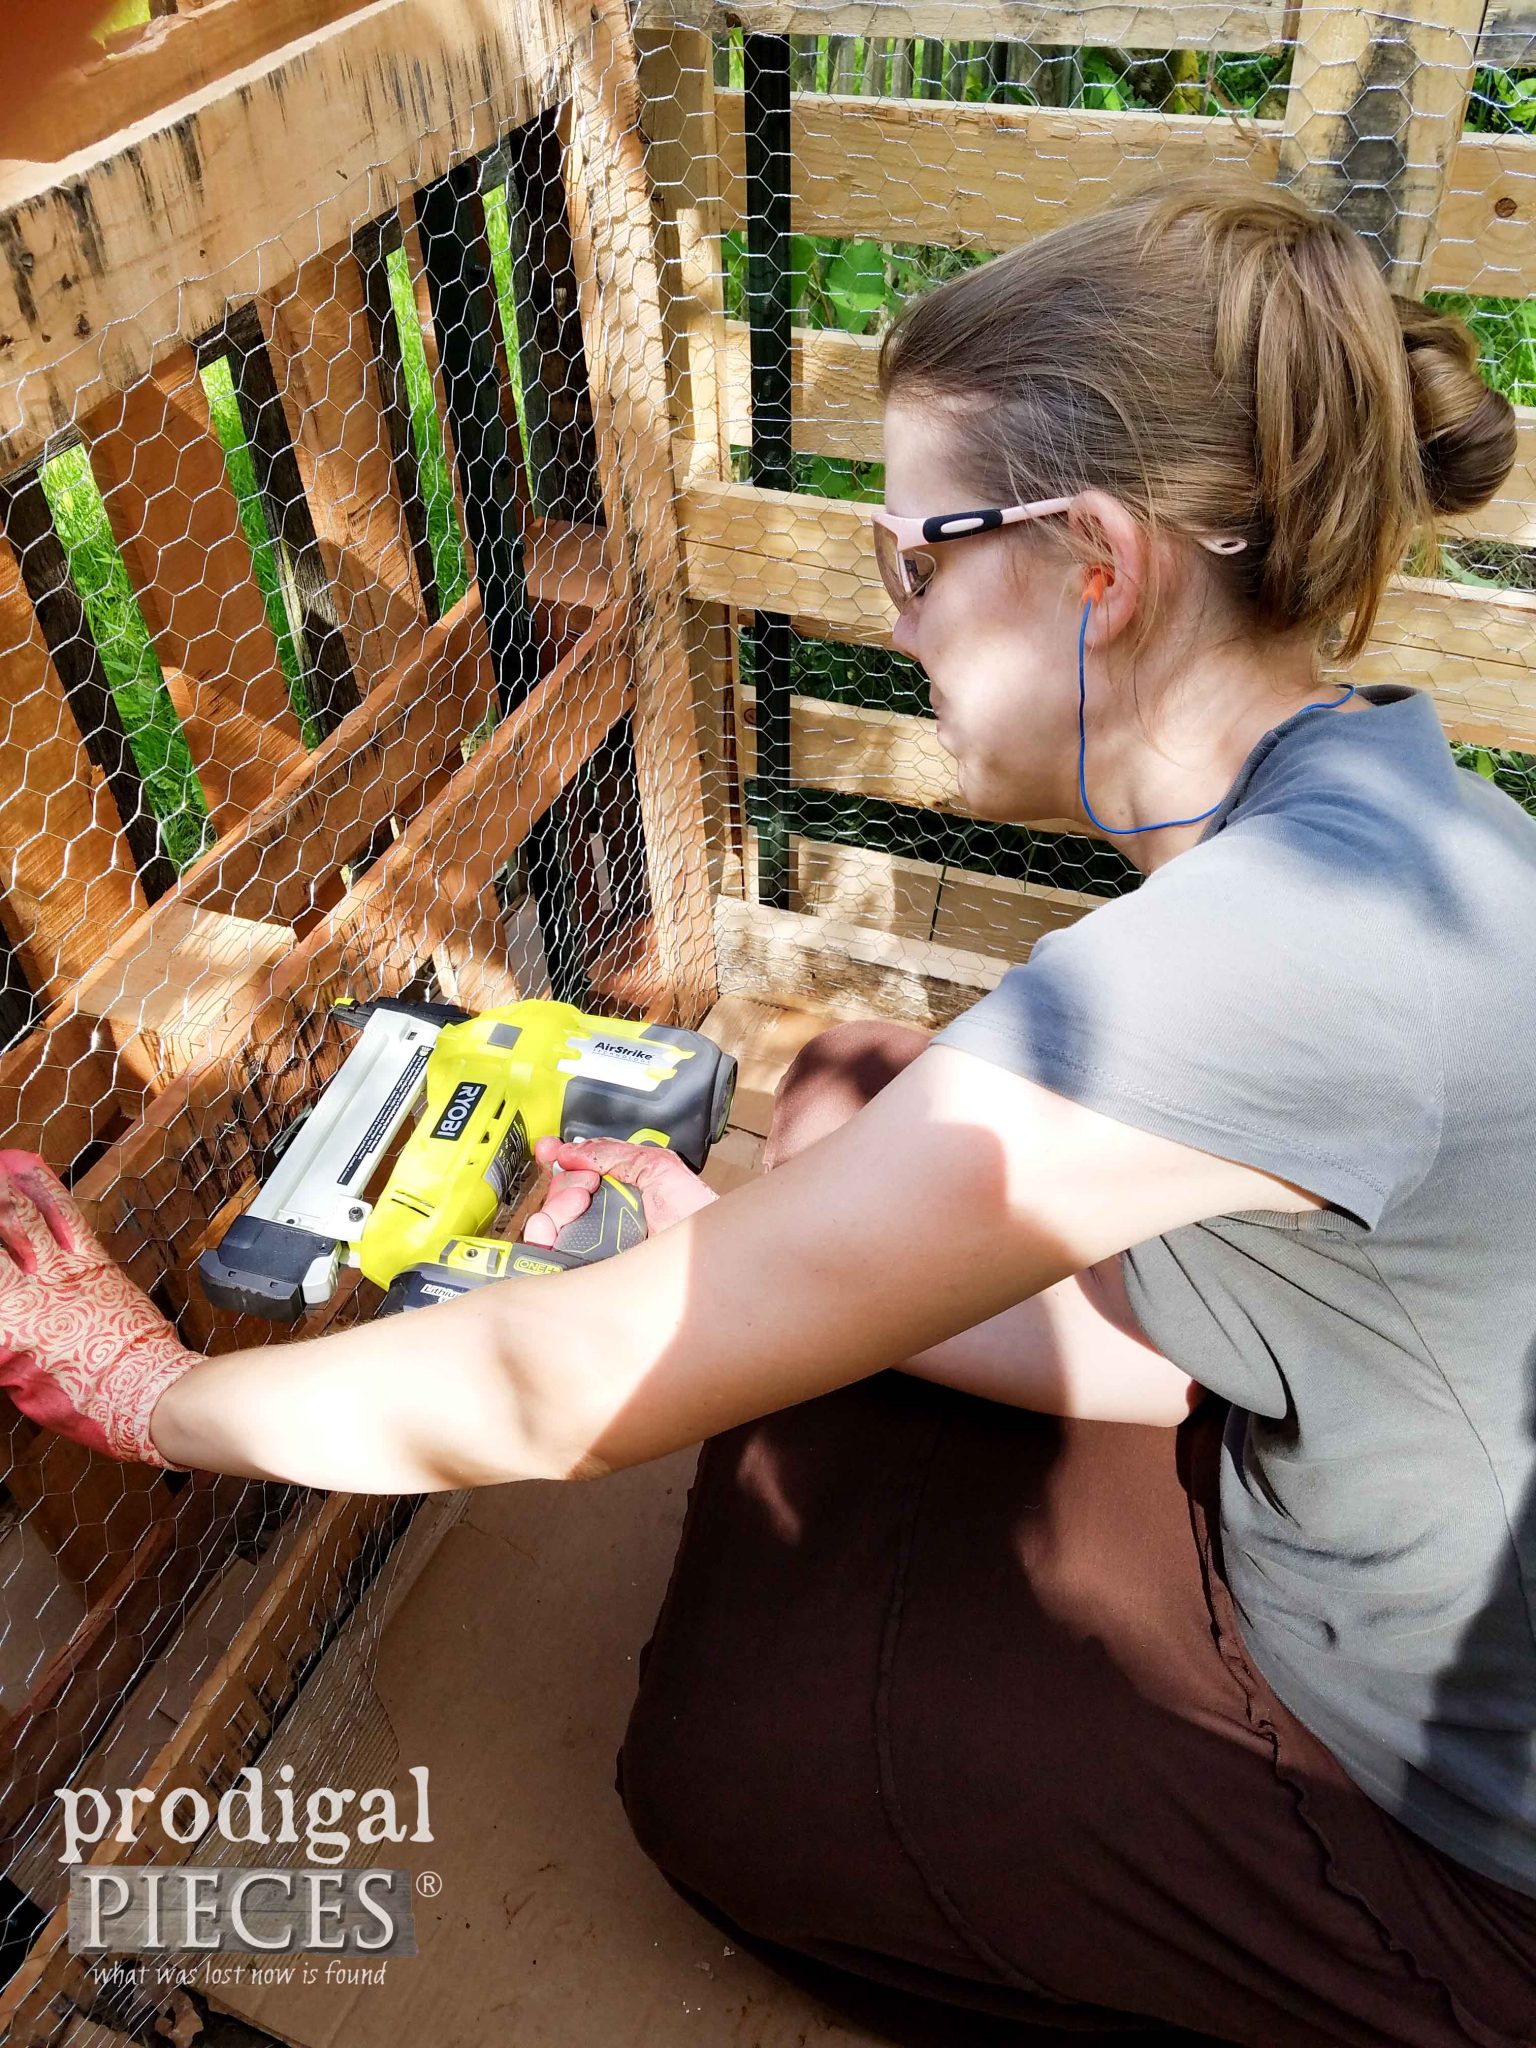 And...just look at my stash I've accrued. Best part is they all take the same battery and that alone makes my life soooo much easier.
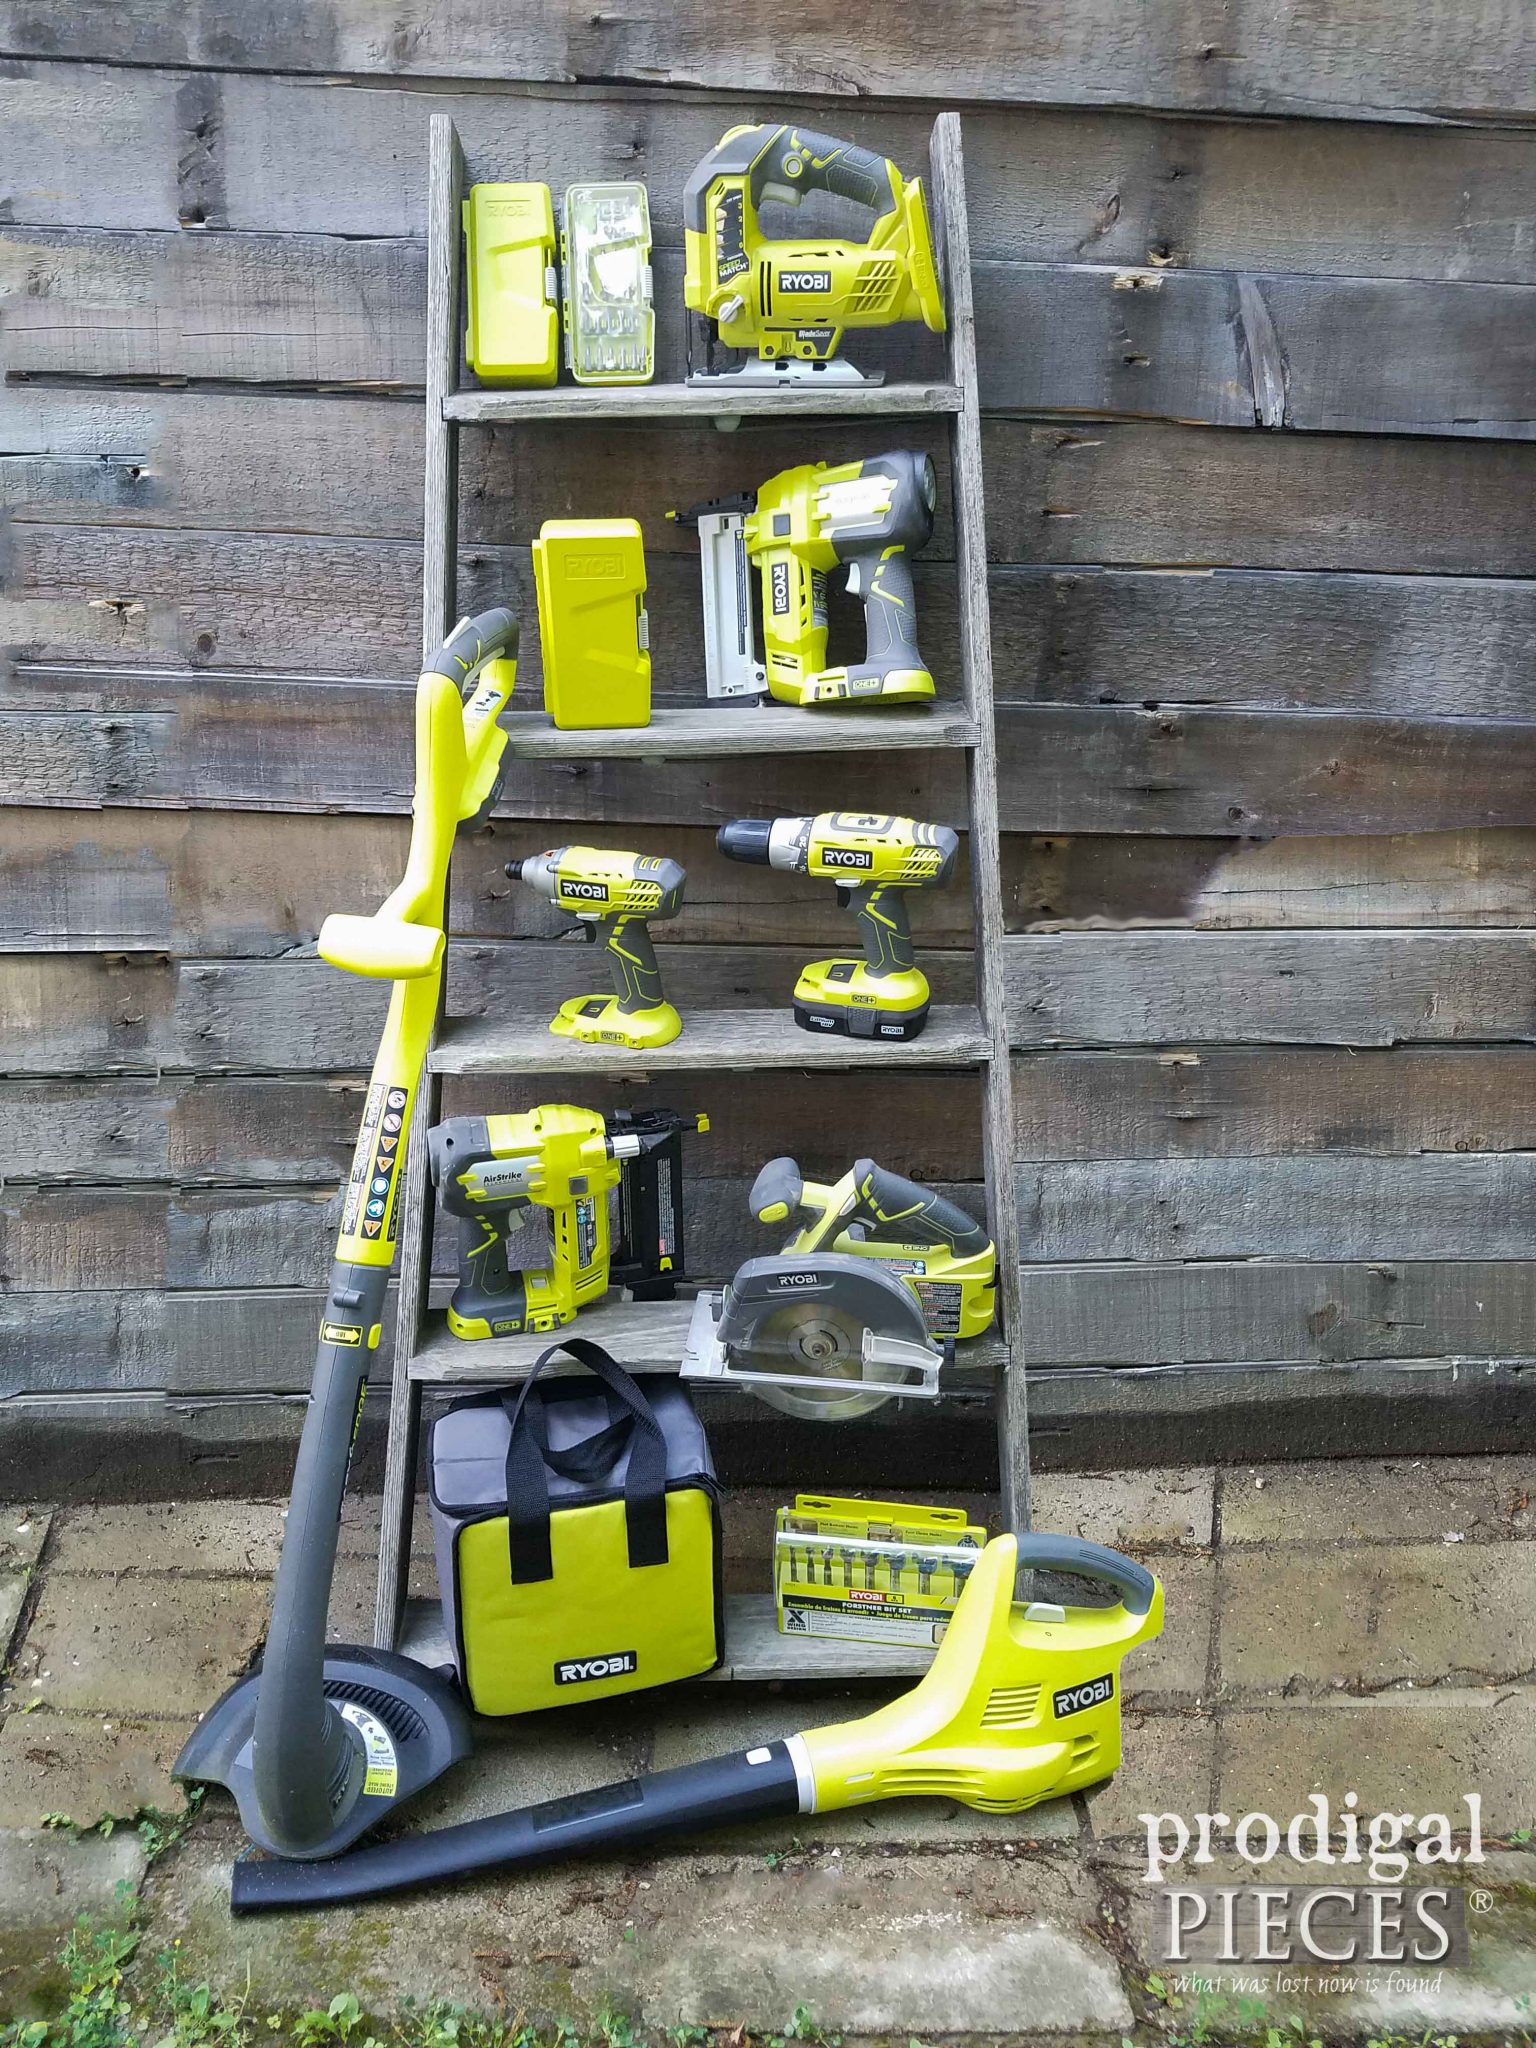 JC hears the thwack, thwack, thwack and came back and see how it was working. He was impressed, but I was having too much fun and wouldn't let him take it away from me, like he did in my last post. Good mama. hee hee hee.
Our next step was to move our current compost pile into the bins. Three of my six kids are with me most of the time as the others have work to do. Or my toddler just wanted to swing (as every toddler should, right?) They wouldn't let me do any of the shoveling at first, but I just waited and then knew it would come. They are tired and I finish it off. Too funny.

COMPOST TIPS
You may be wondering what makes good compost so here is a basic formula to follow :- brown materials such as hay, straw, old leaves, untreated sawdust, cardboard, wood chips, brown paper, newspaper (avoid colored inks)
- green materials such as table scraps, garden trimmings, grass clippings
- animal manure (except dog, cat, or pig), coffee grinds, and clean egg shells (they add calcium)
- avoid meats, oils, fish, dairy, bones, weeds that have gone to seed or spread by roots, diseased plants, chemically treated grass or weeds
BUILDING
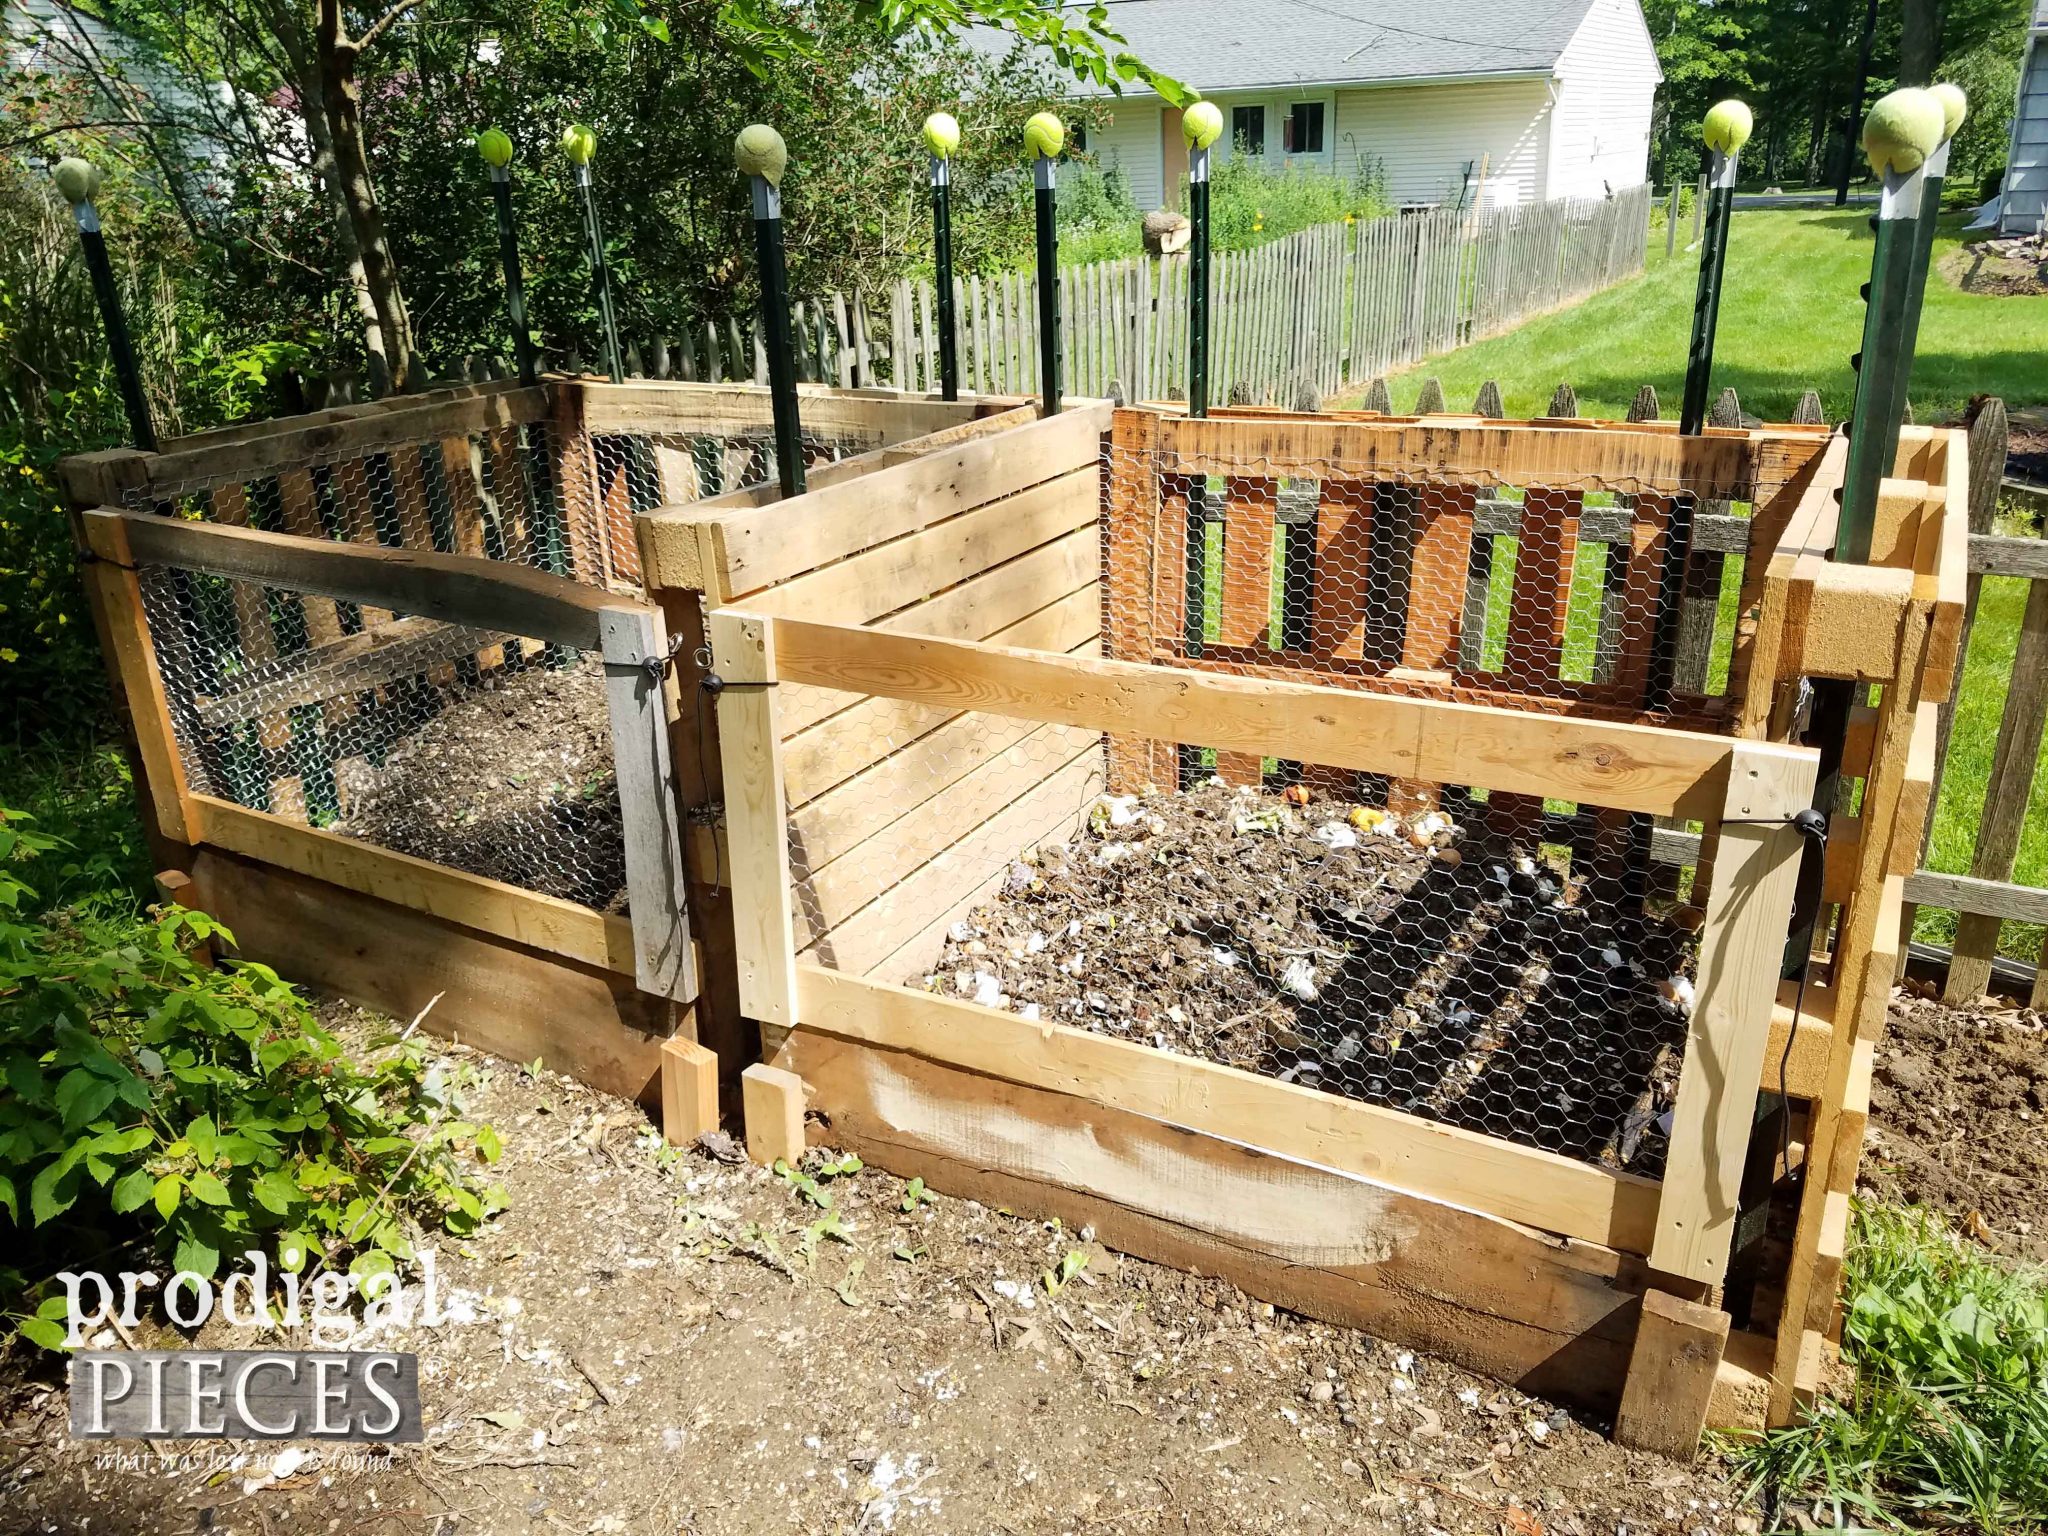
To create the front, I used my 5.5" circular to buzz up a few scrap reclaimed oak boards for a baseboard.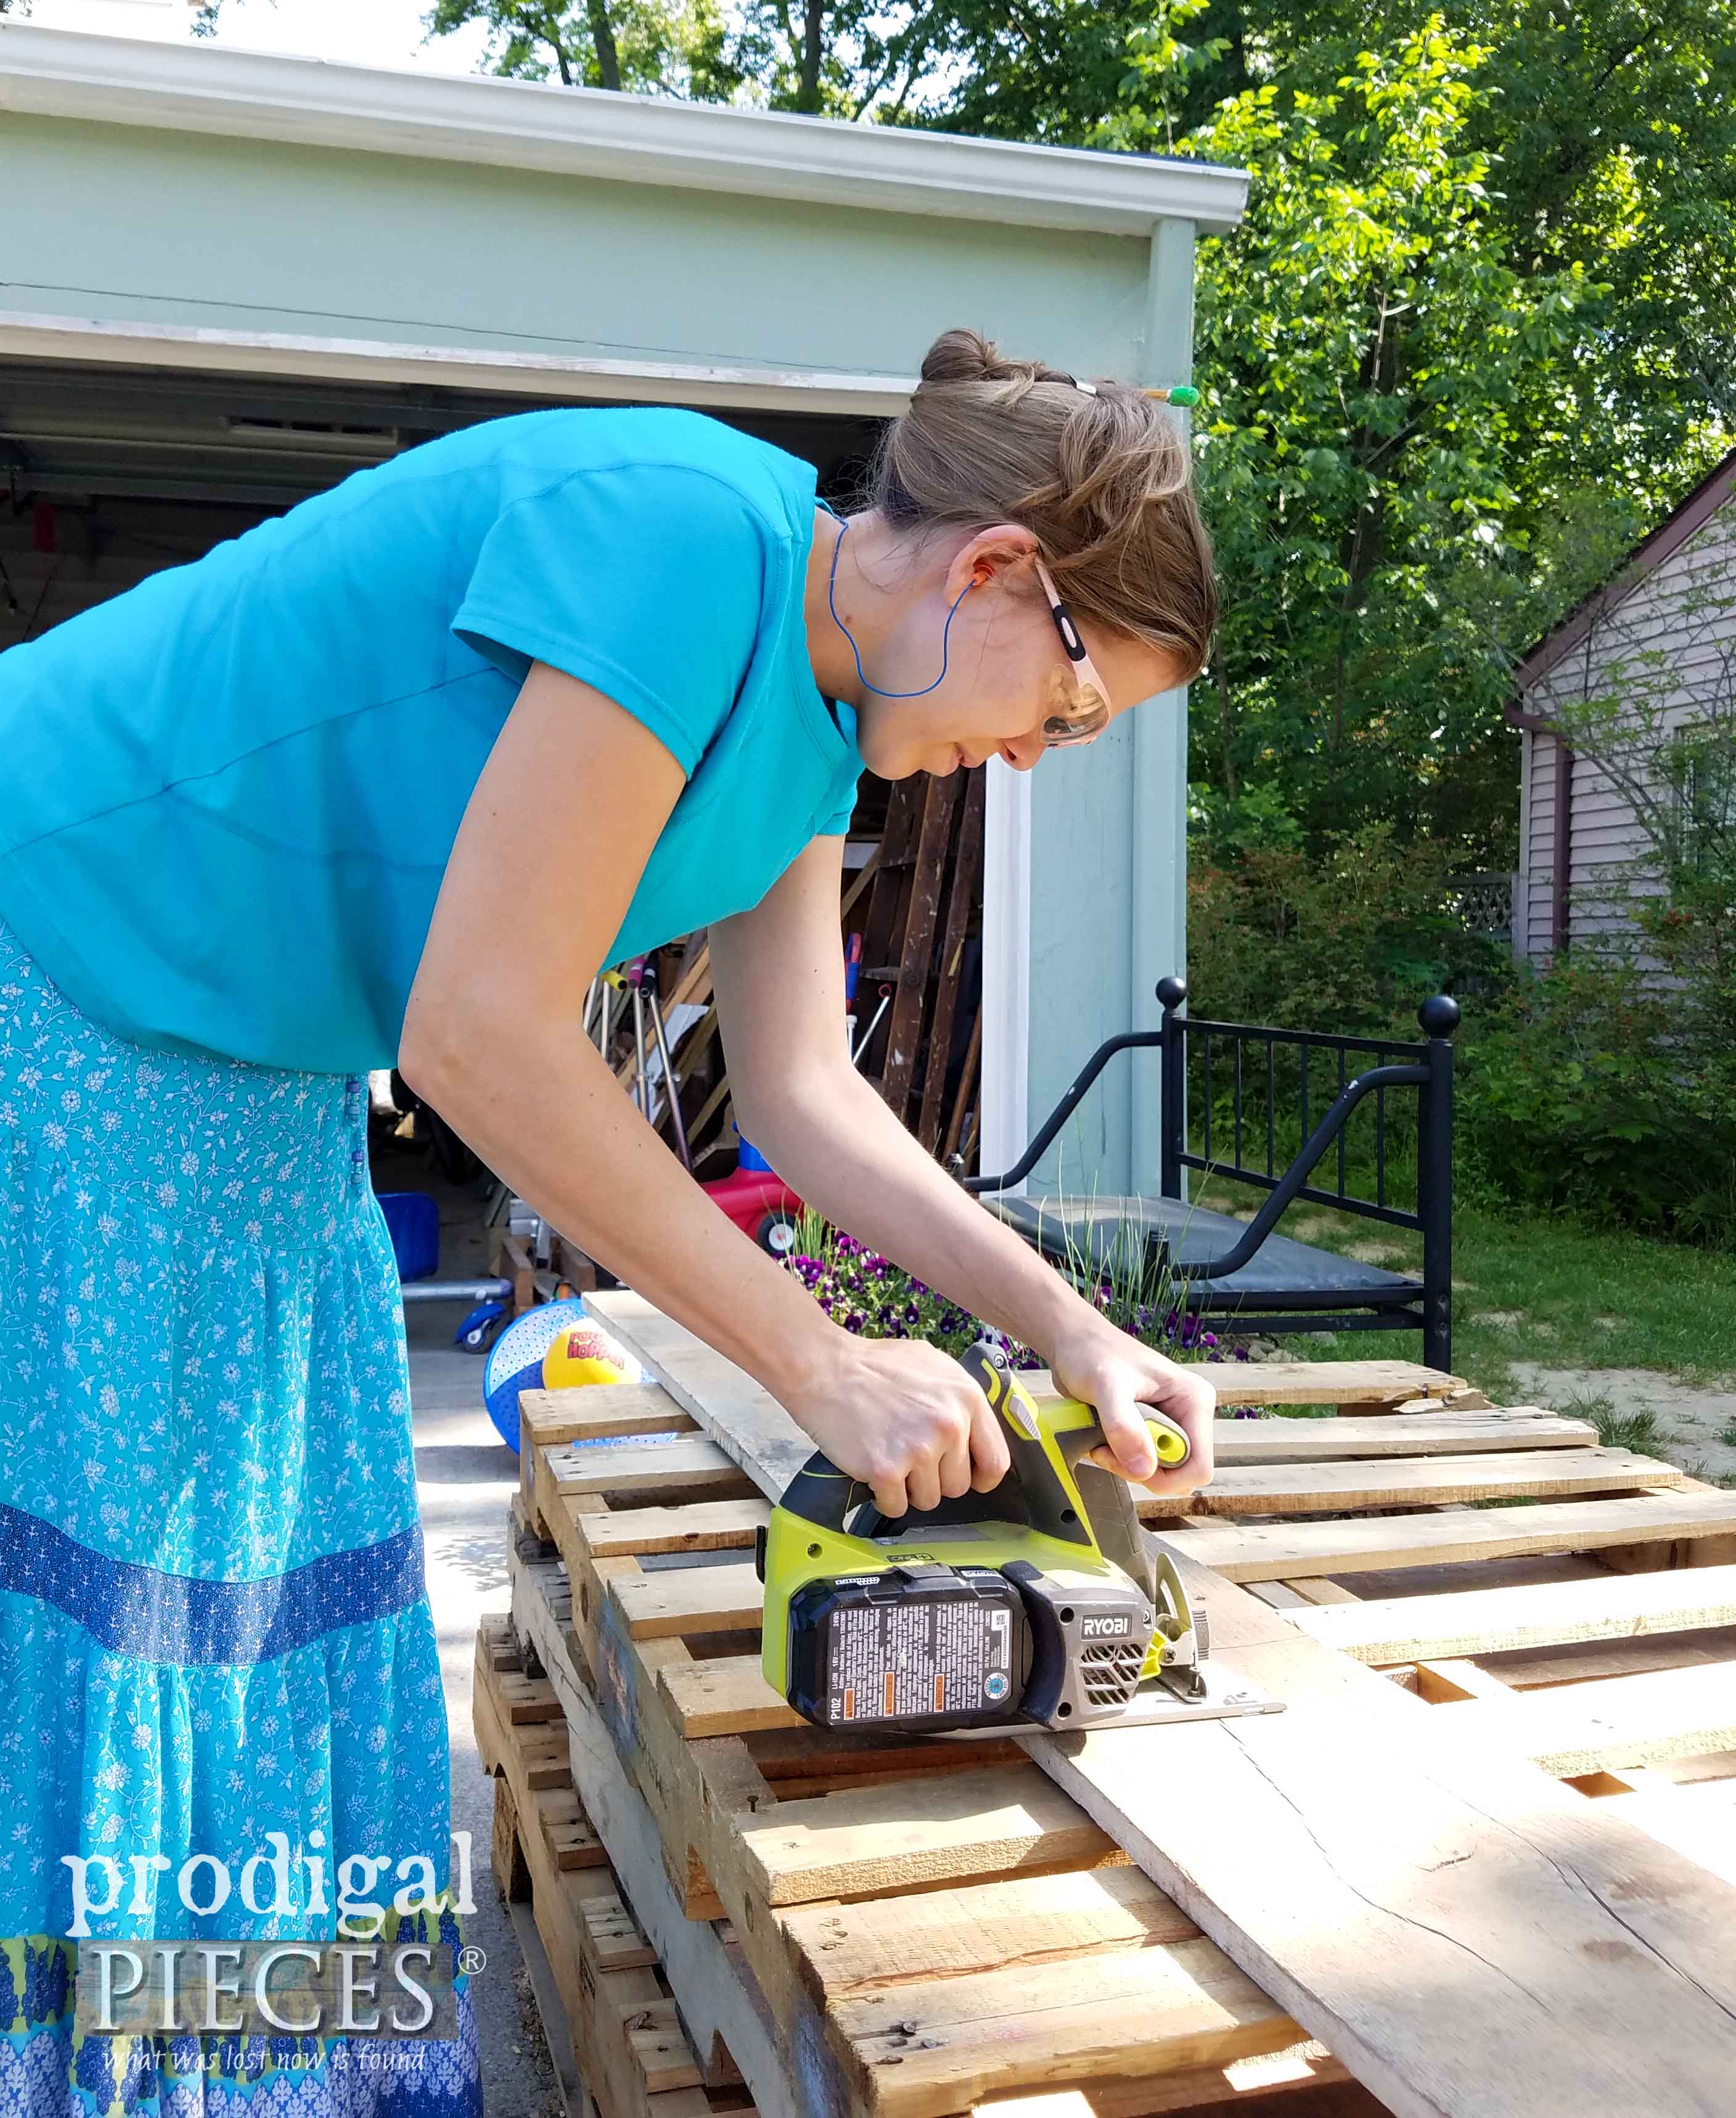 Then, we built a couple of screens. Just measure your opening and cut to size using 1" x 4" scrap or new untreated lumber.
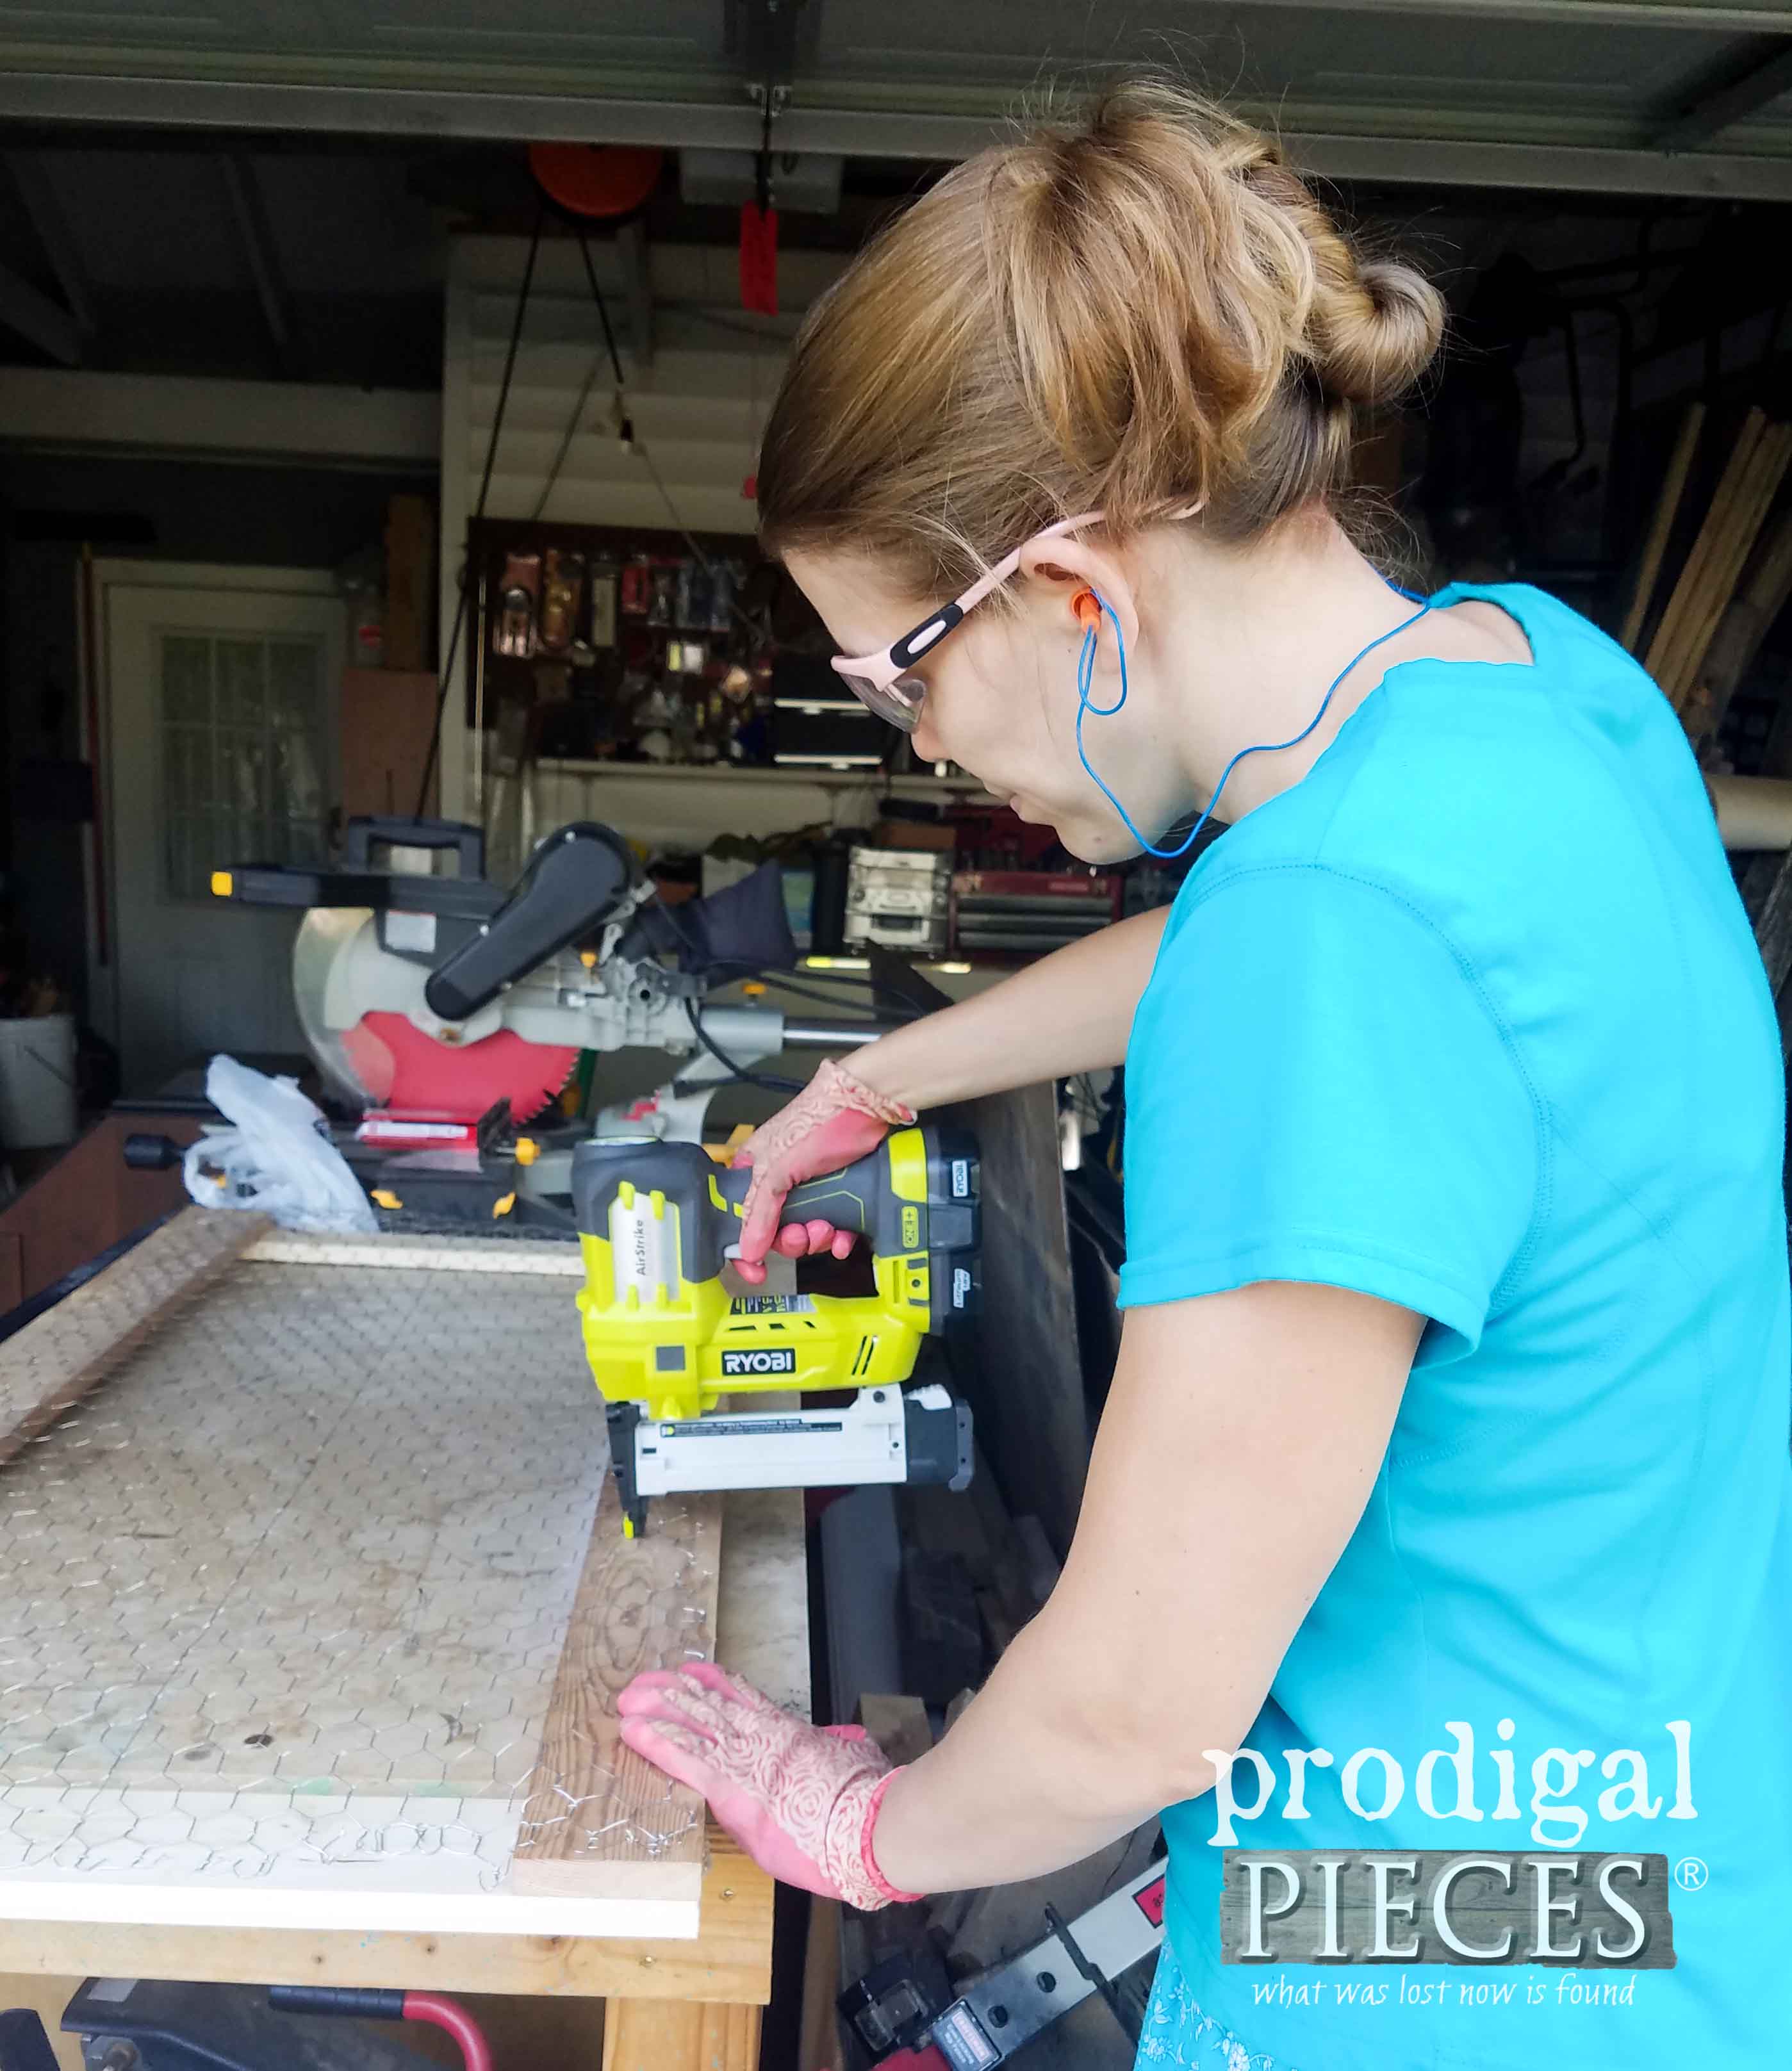
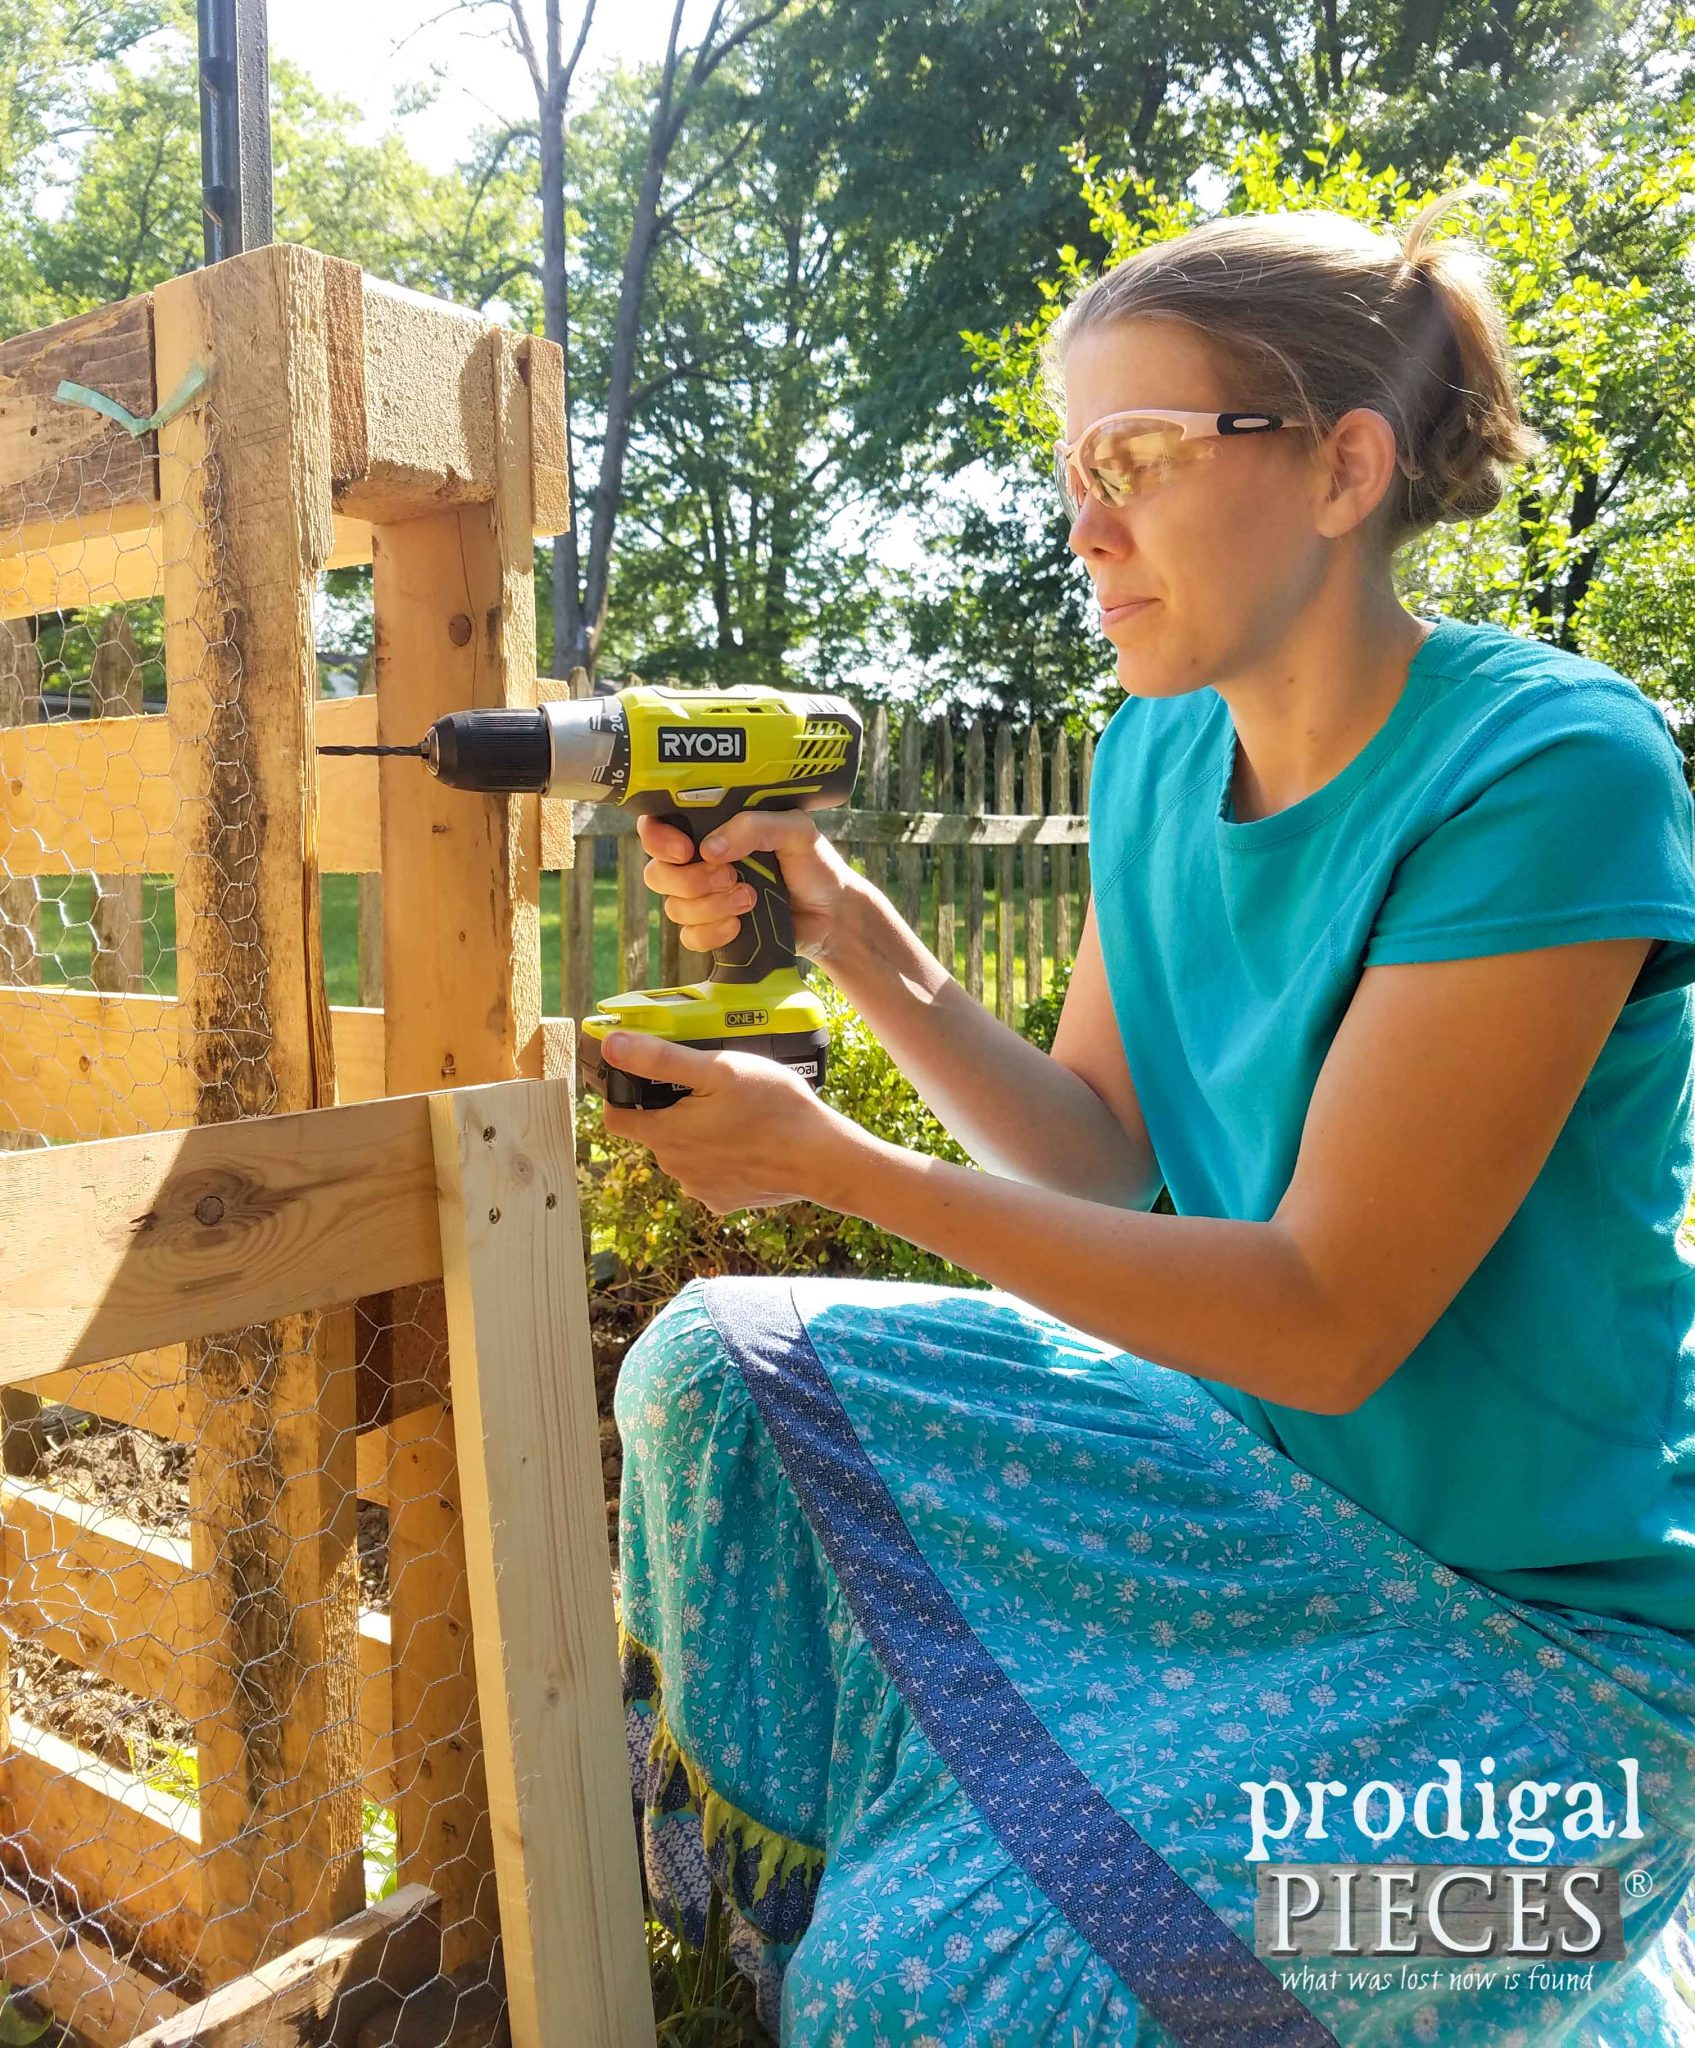 The screens are hung on the front of the bin using lag eye bolts and bungees for easy removal. The bottom board is wedged in with untreated 2 x 4 stakes so we can remove it to access and turn our piles. We could have added another pallet to the front and hung it on hinges. However, we wanted the kids to be able to reach over the bin to unload our kitchen scraps, and didn't really have the level ground for a door to swing easily.
THE REVEAL
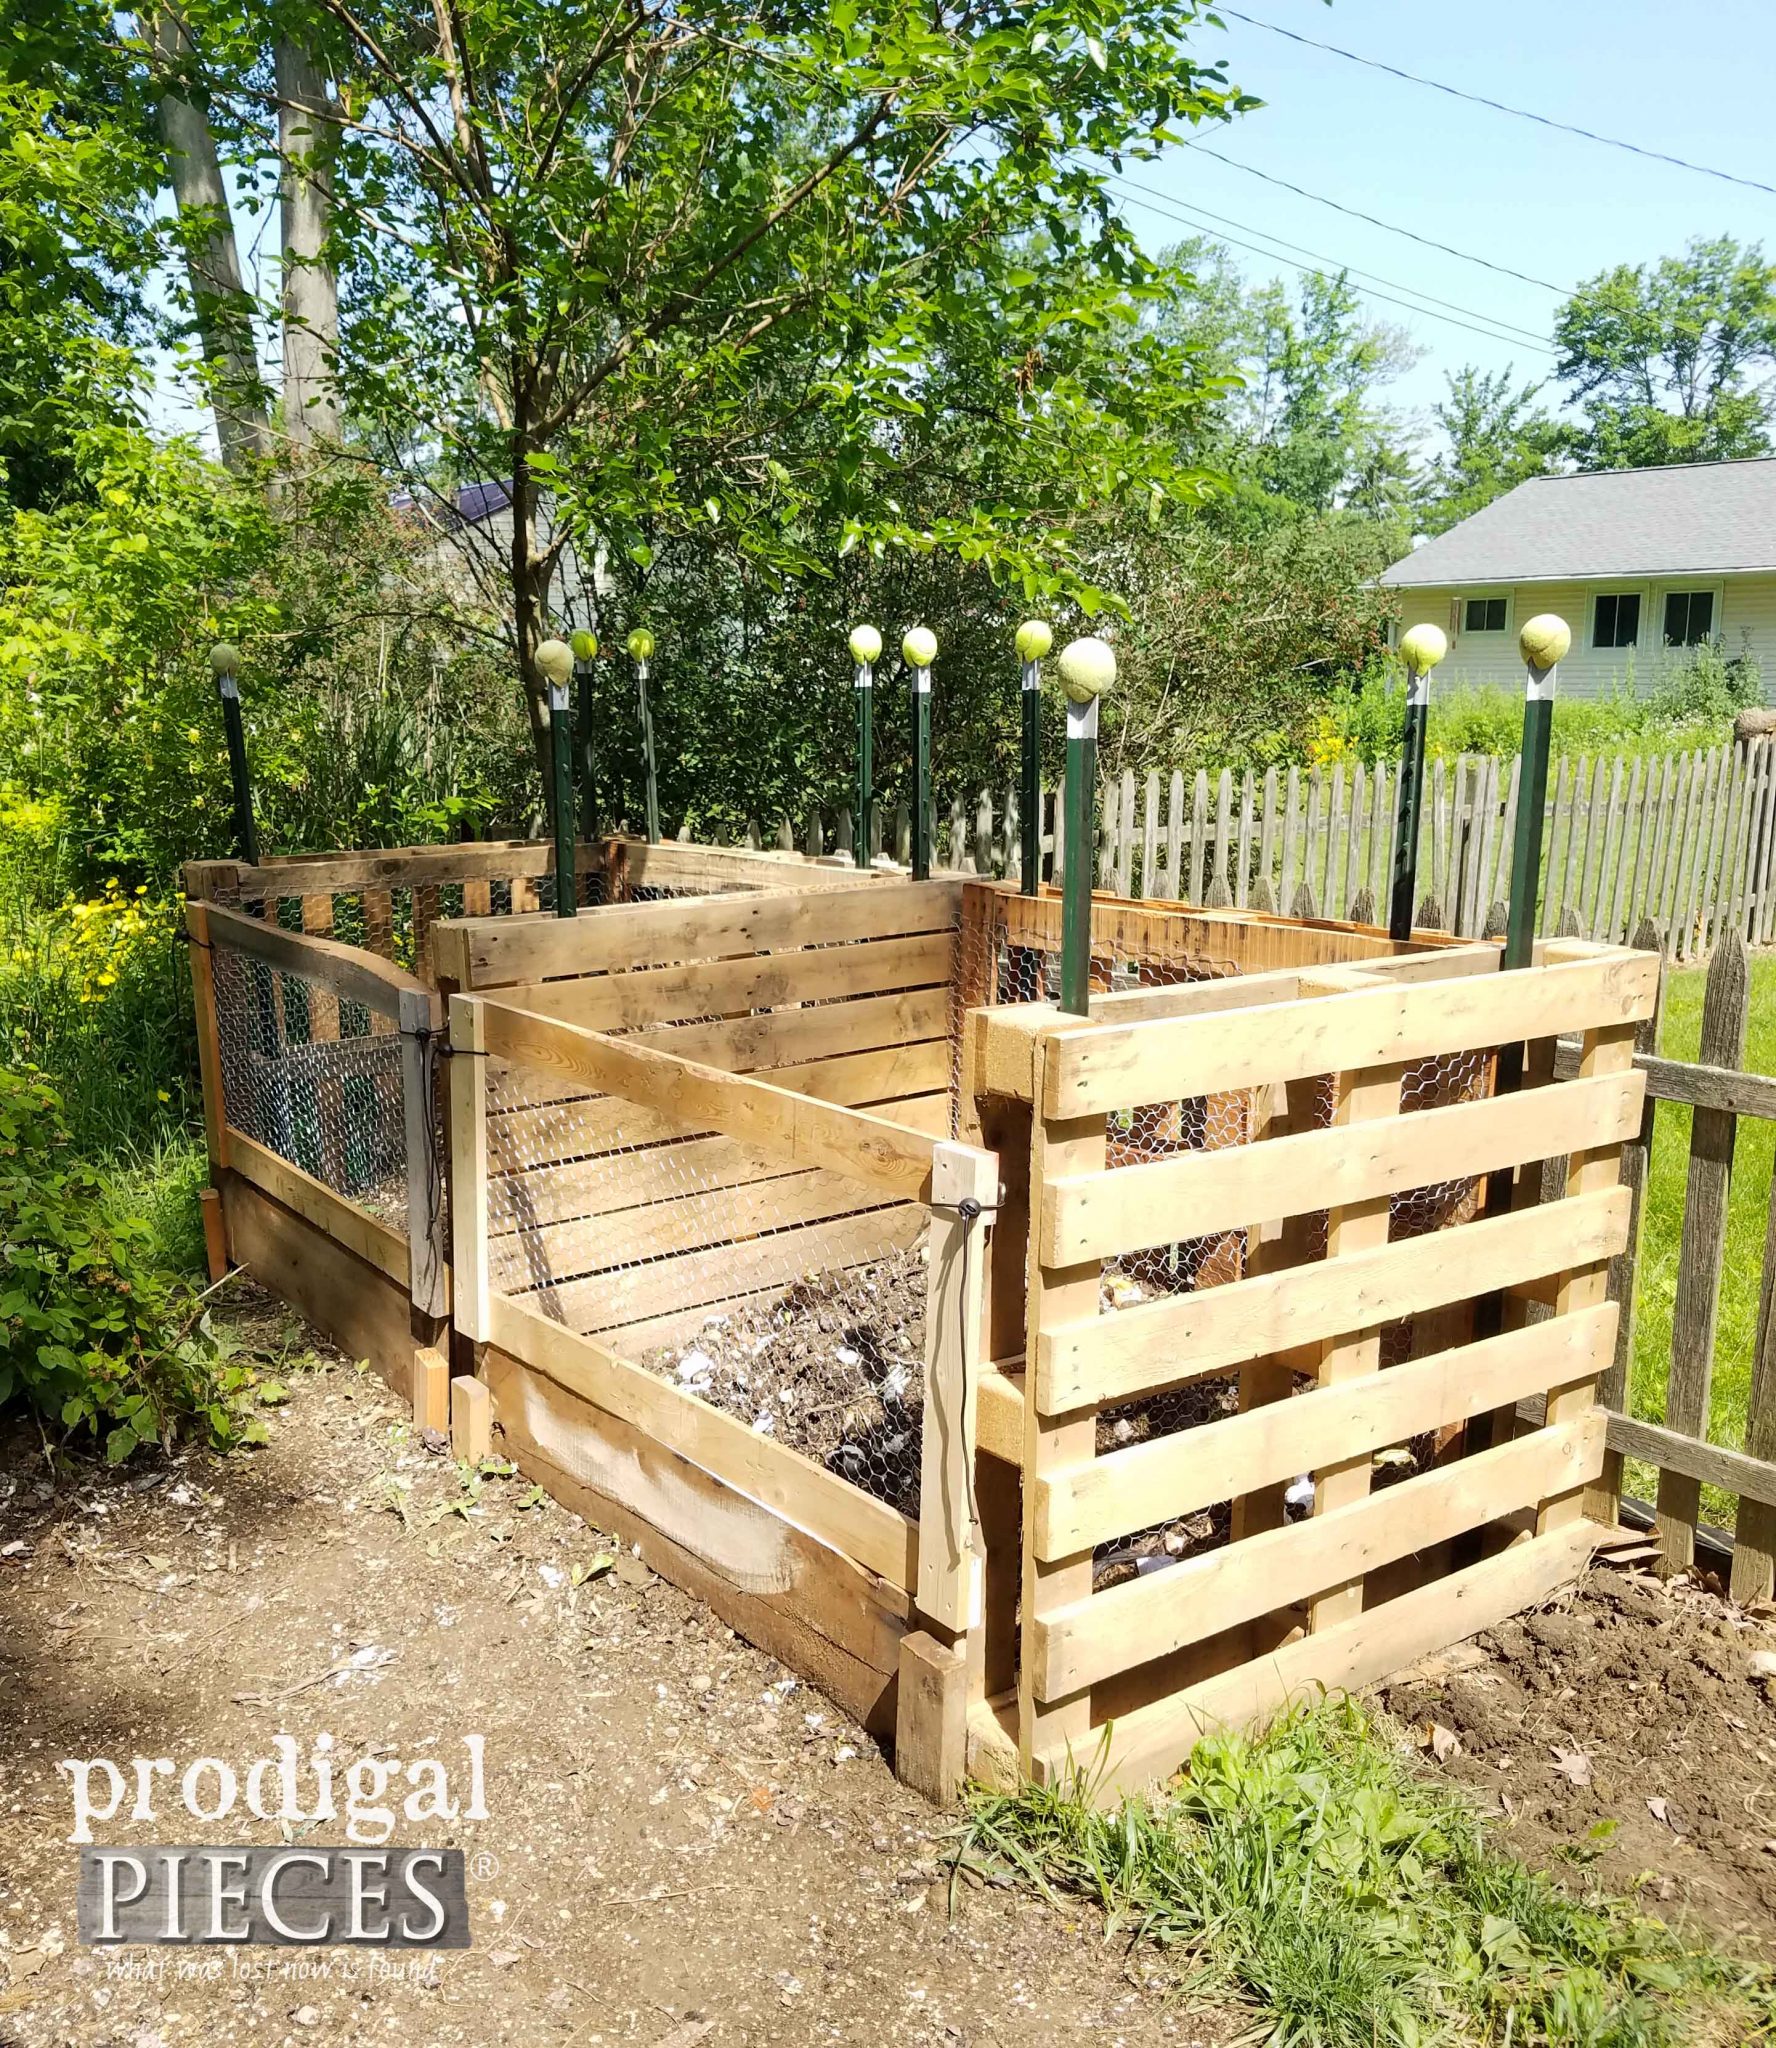 For added safety, I cut up old tennis balls to keep anyone from getting hurt on the T post, plus recycling more.
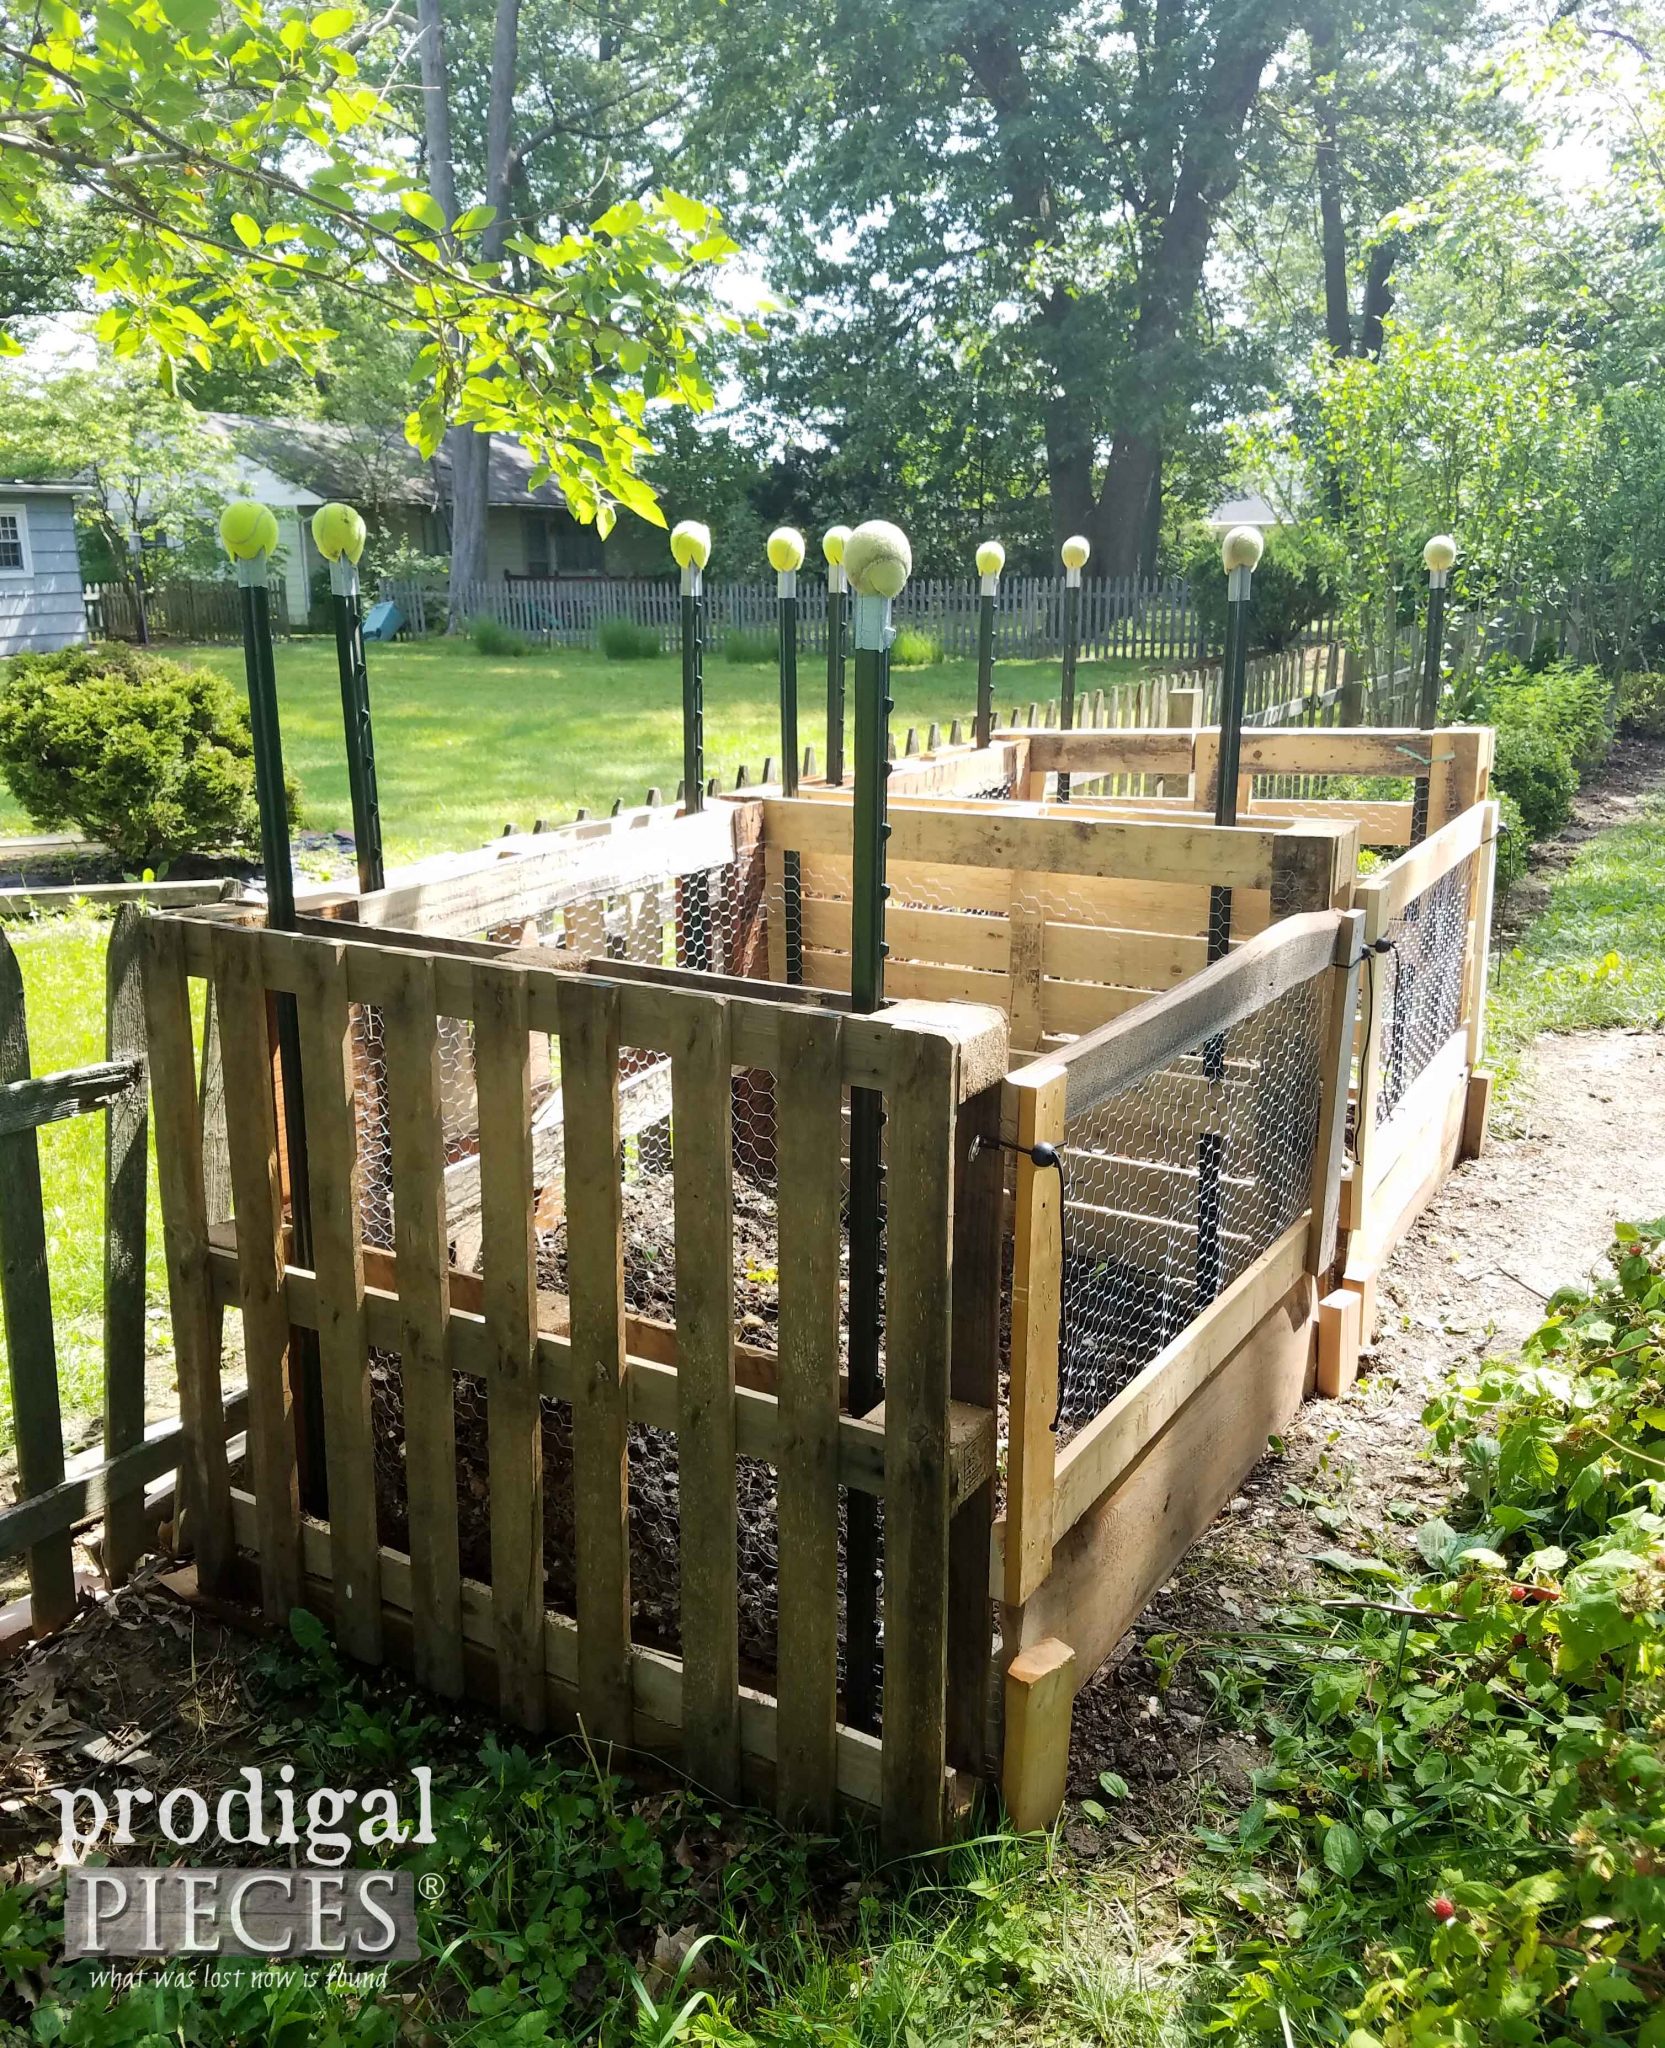 I must say this is delightful to have that mess cleaned up and in our pallet compost bin. Now we are able to make our time composting more efficient. We still need to move those stray raspberries back into our patch. However, we wait until fall when they are done berrying.
GARDEN
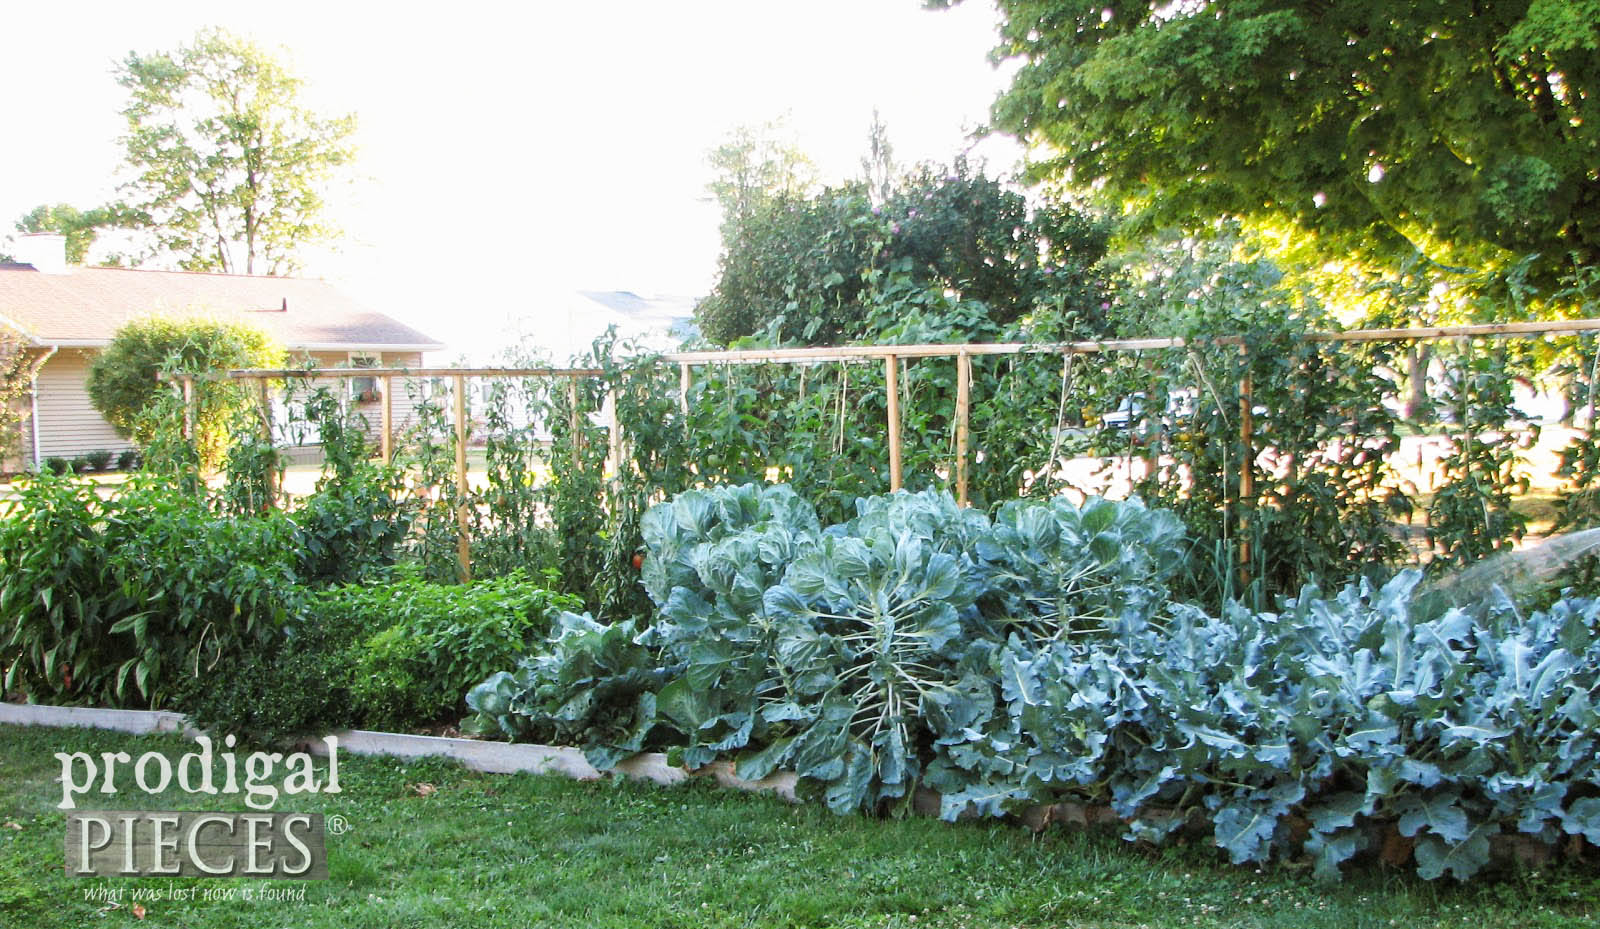
You may be wondering where our compost goes? We have had a garden in our front yard for about 5 years now. We use it there and on the more than a dozen flower beds I have around our home. It doesn't stink when done right and is so utterly beneficial to the land.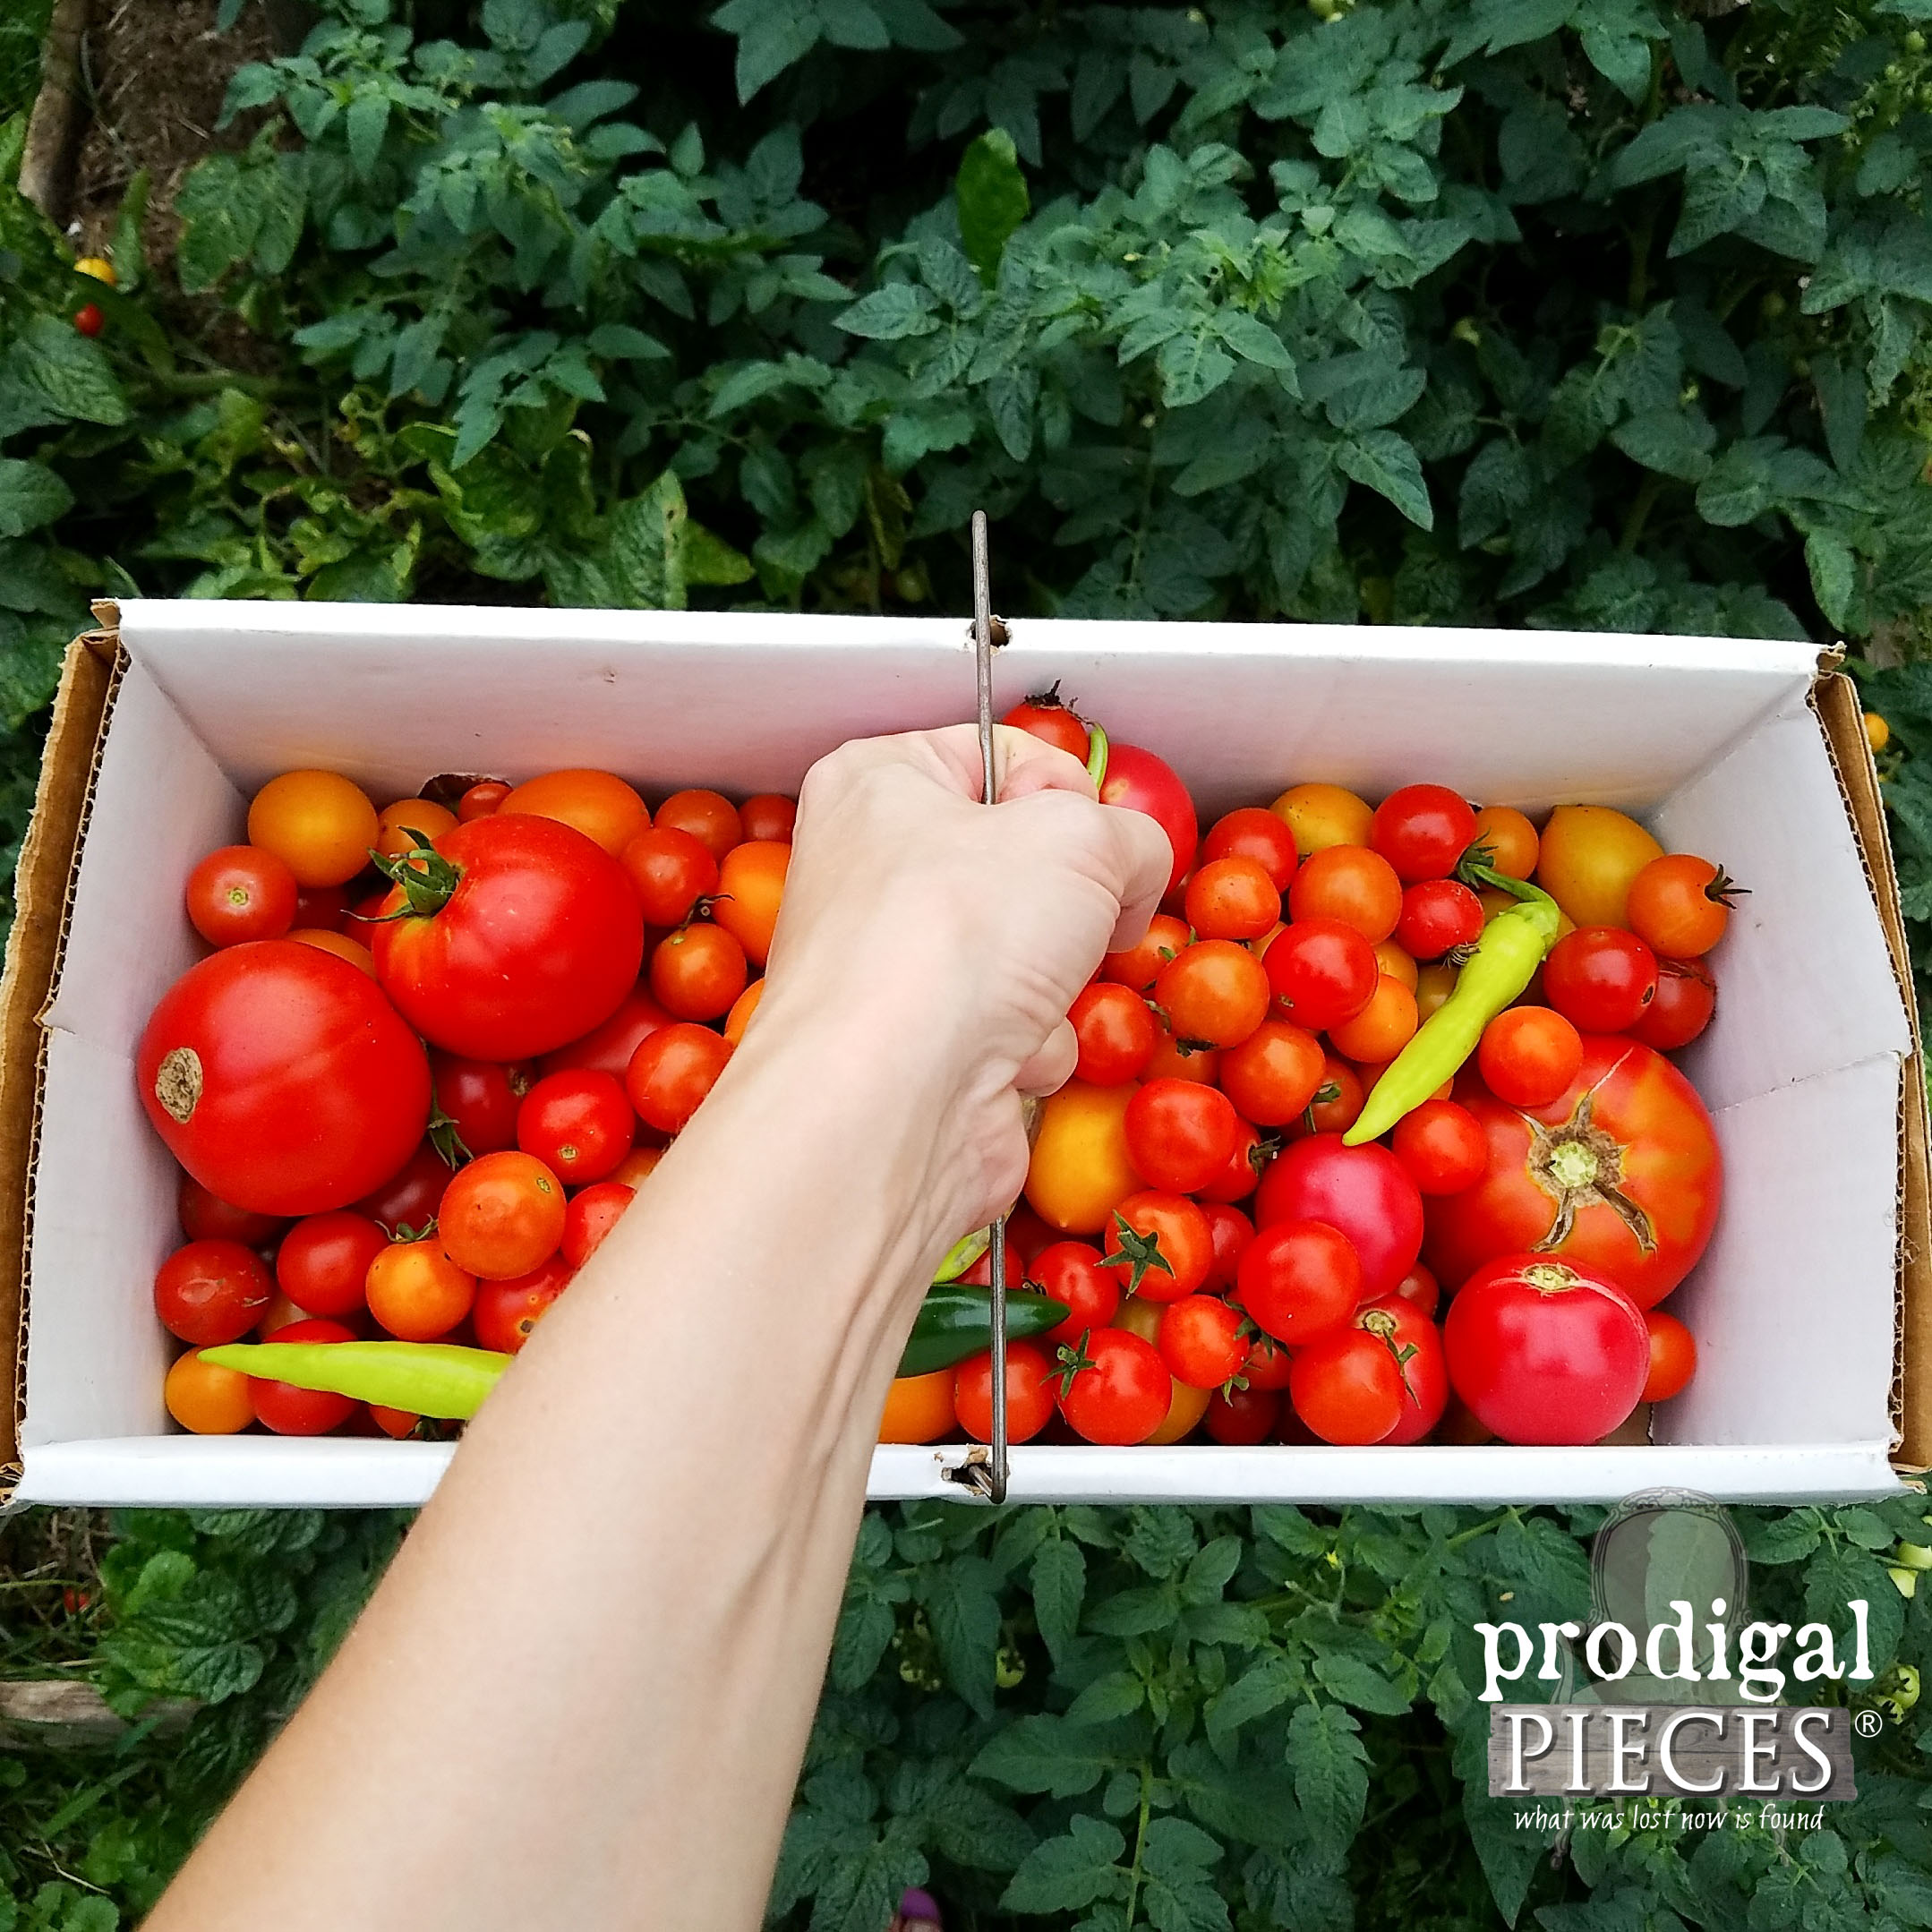
 Our front garden from years past...
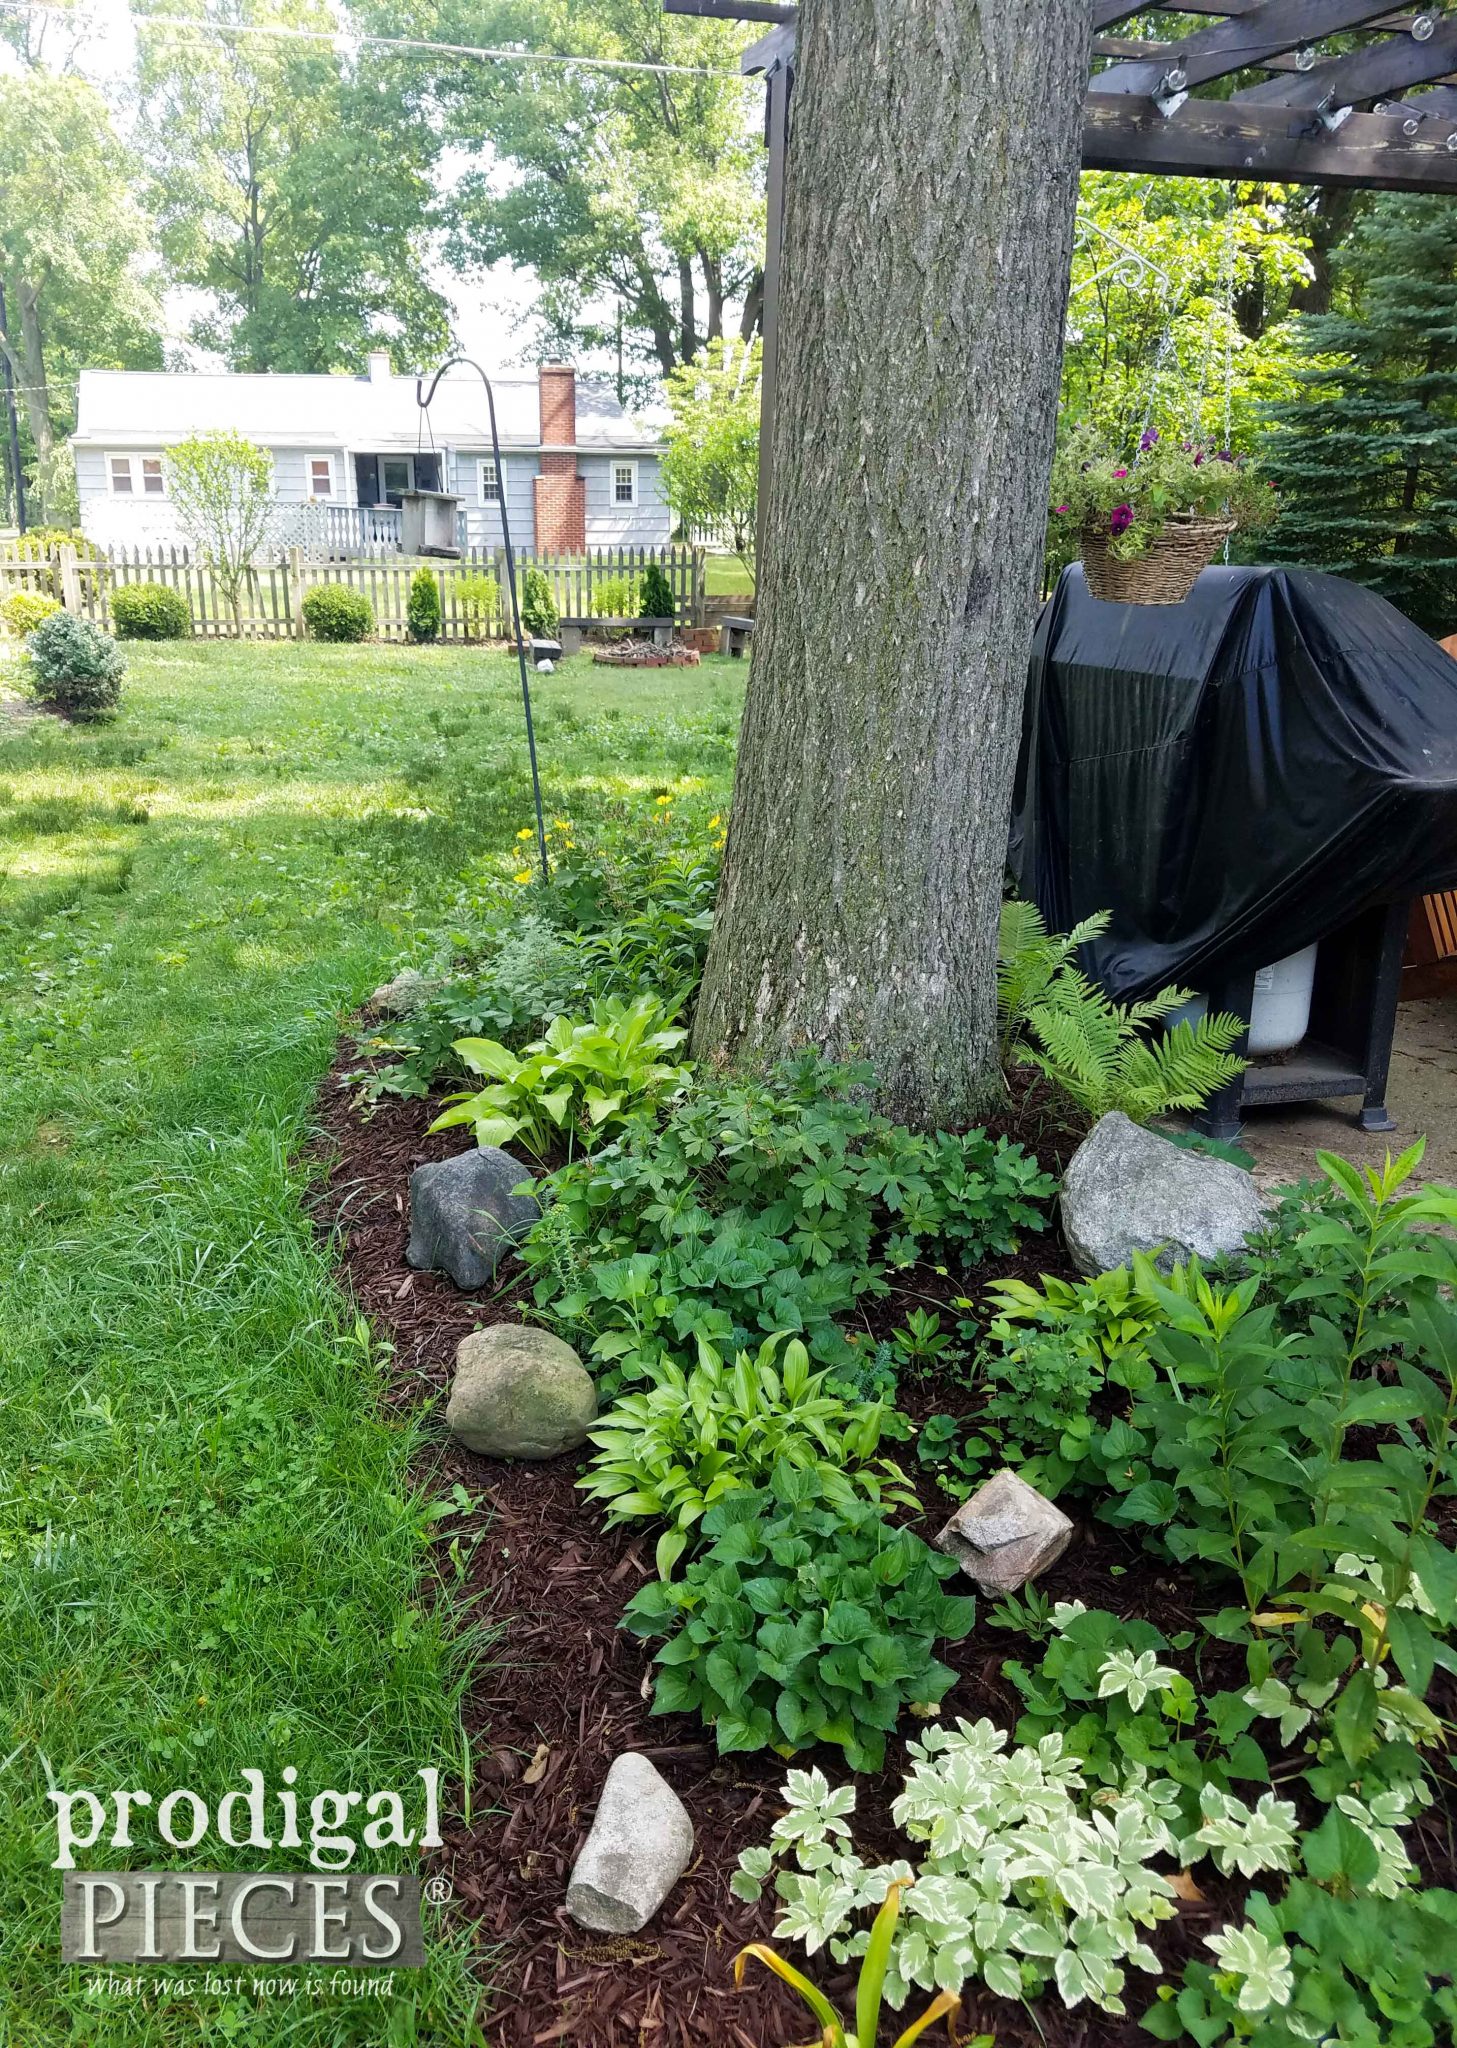 As for the rest of that overgrown mess beside our bins, it is yanked out and donated to a local Pay It Forward group. That included my asparagus, thousands of day lilies, yucca plants, ferns, and more. My mind is ready to start fresh and we did. I seriously almost went into the field of landscaping architect in college. Getting into the dirt and beautifying our landscape has my heart.
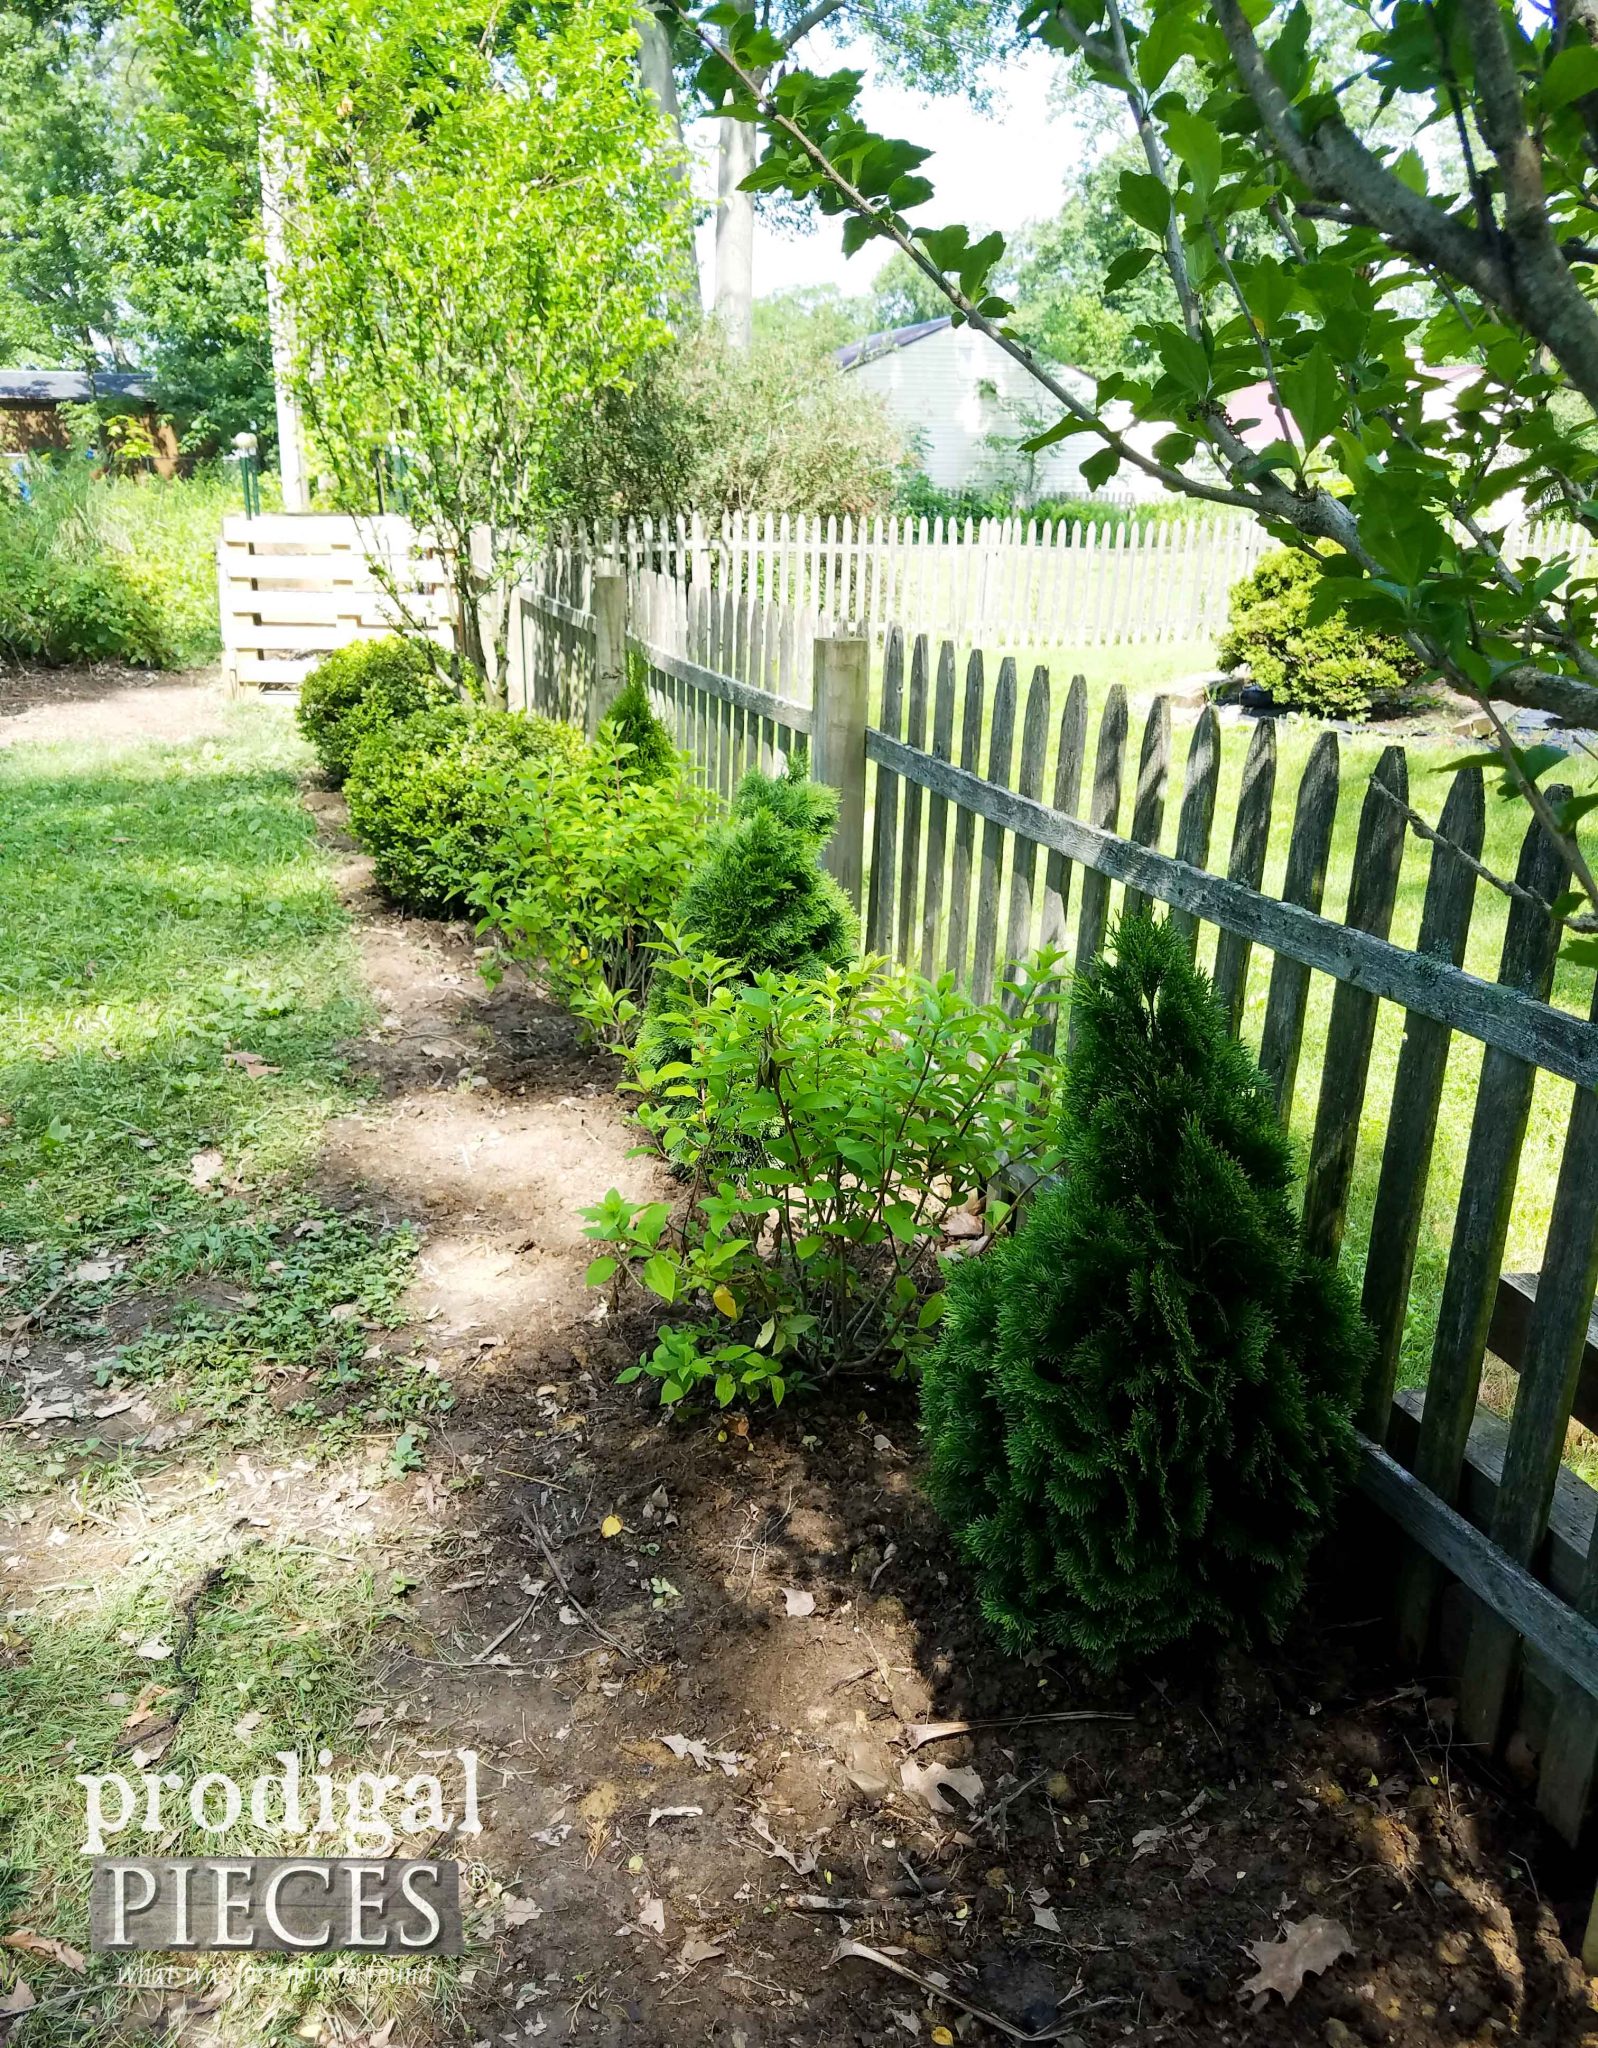
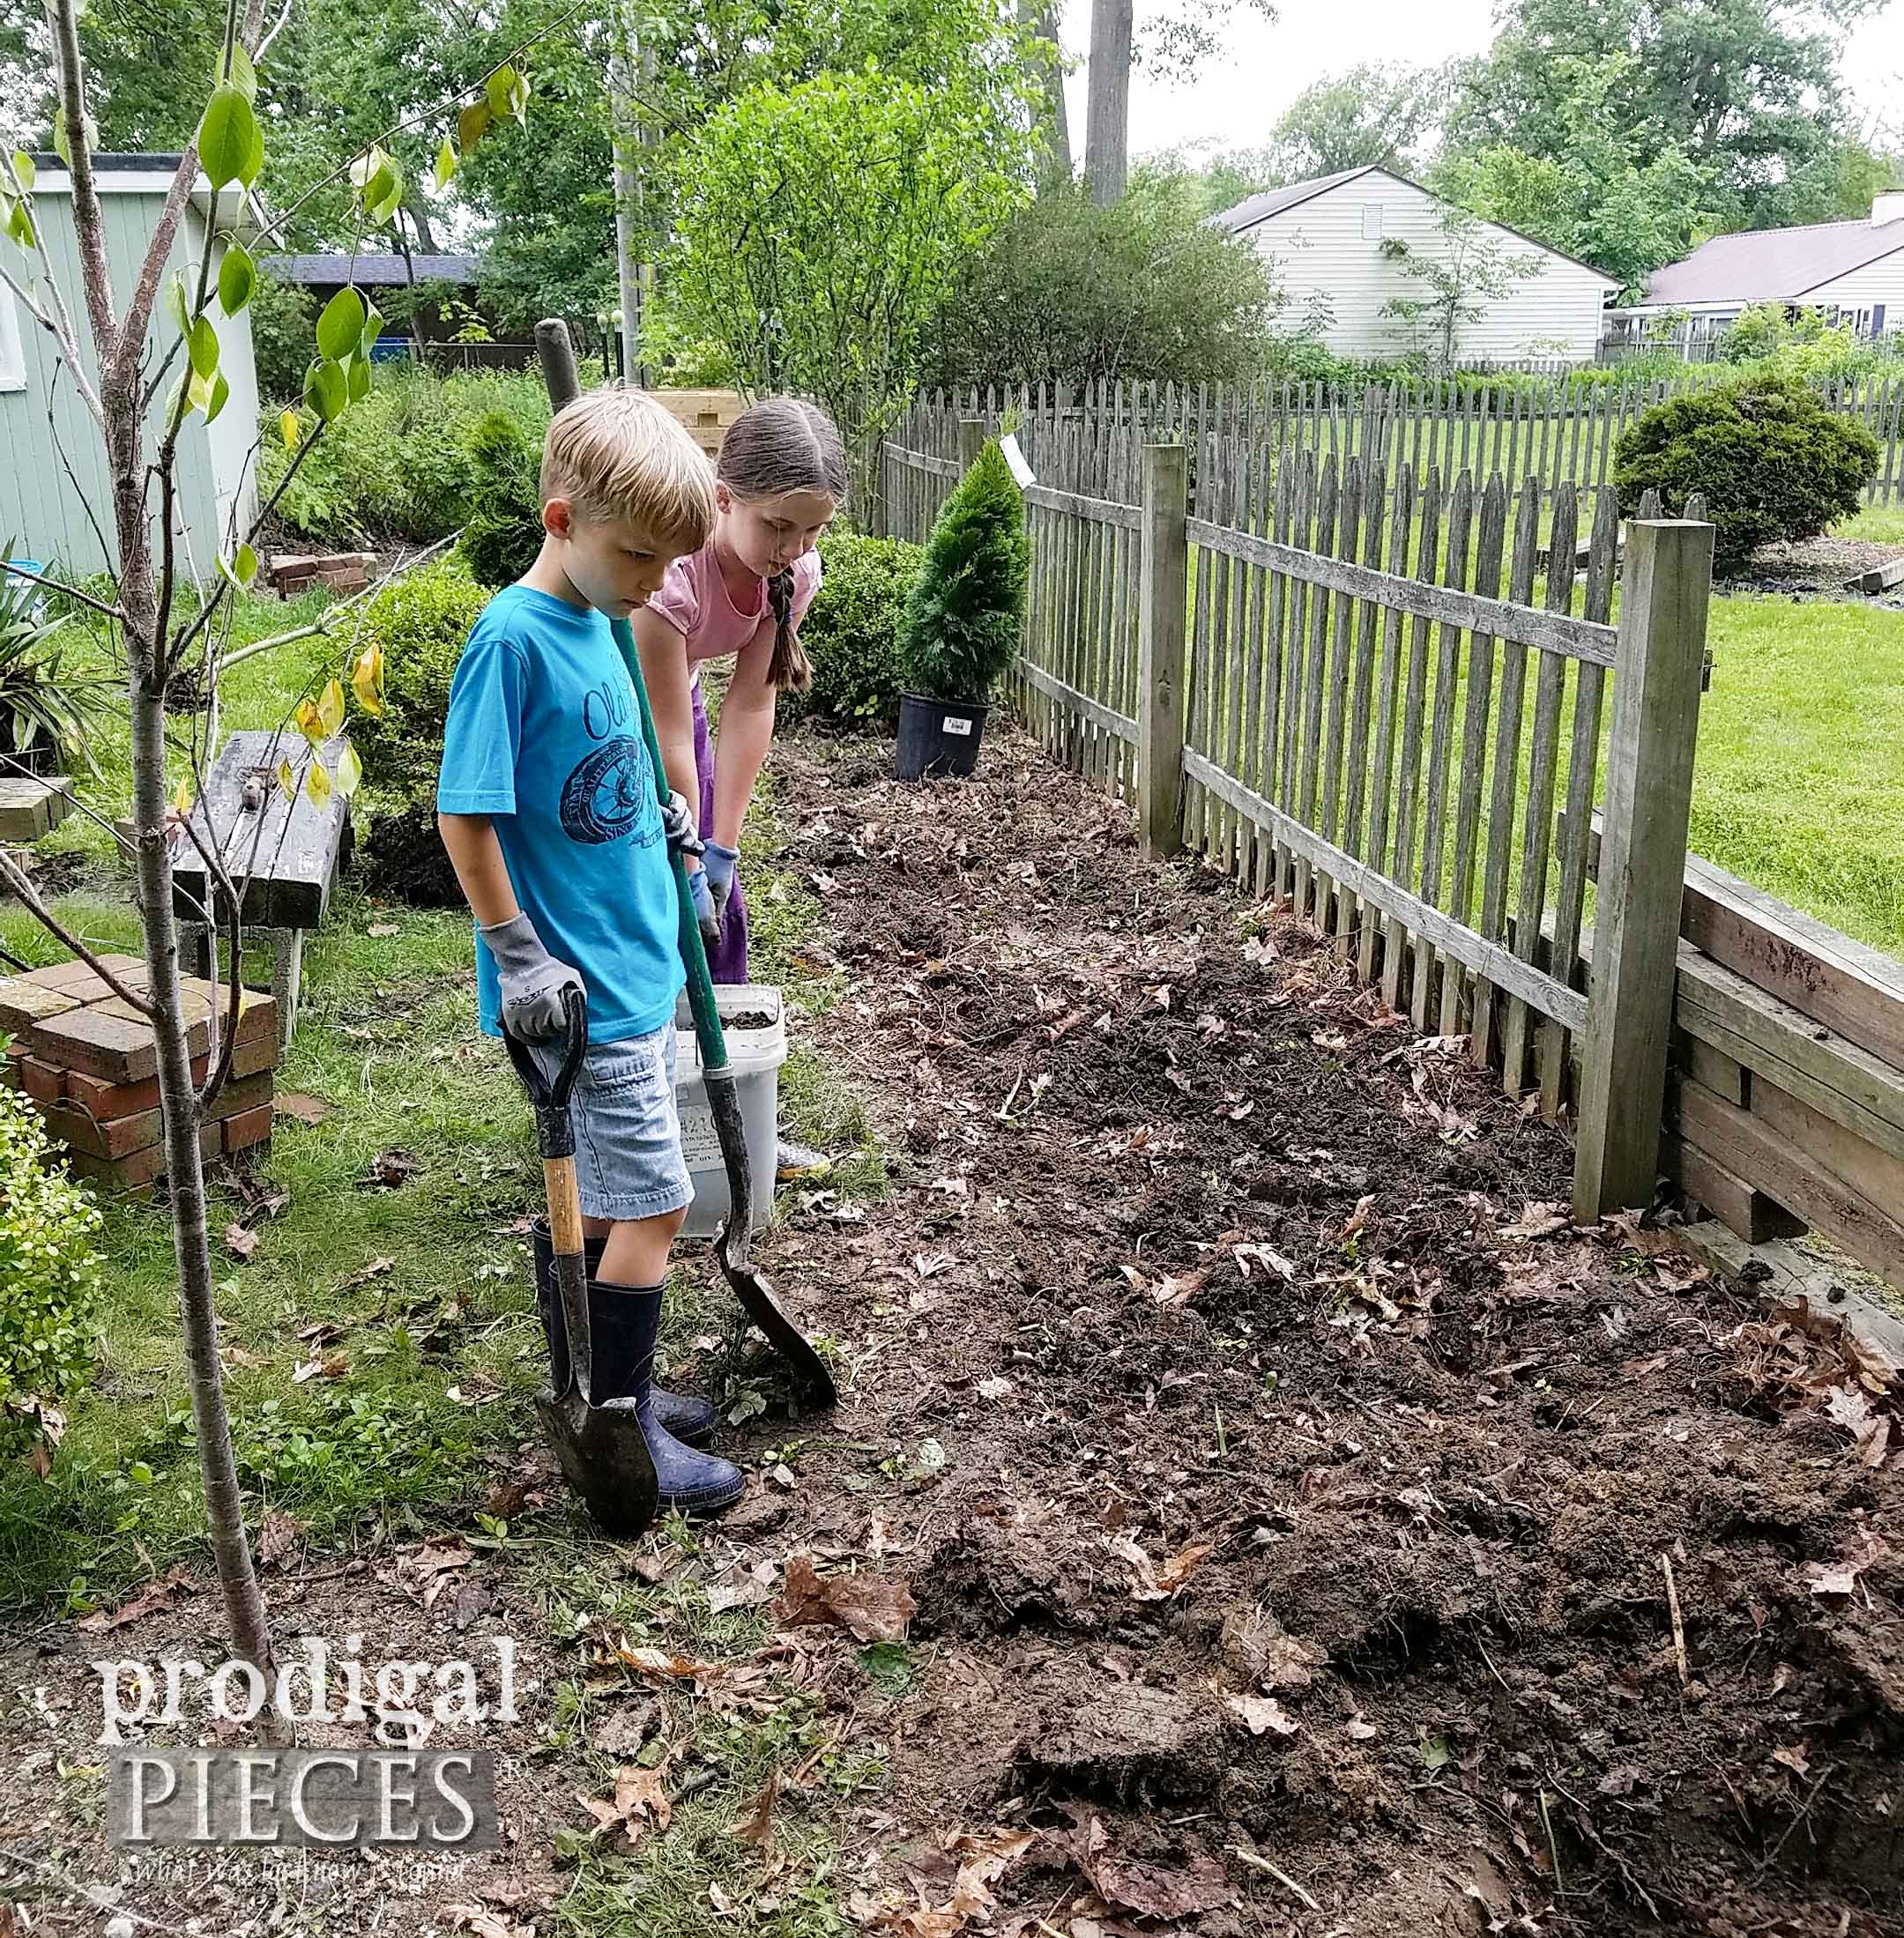 I dug and dug, and dug some more, and here is what is the start of my back fence fix. A few limelight hydrangeas, some bushes to grow for privacy, and moved oodles of trees too. There will be 7 ton of gravel on my driveway soon and this mama is haulin' stone. eep!
FIRE TIME
Our fire pit is next up on the hit list. You can see the story behind it here in one of my very first blog posts (oy, how time flies!). It's looking kinda sad (see that mess we yanked out on the left?) We have some awesome things in store by the end of the month. Come on over to see the video!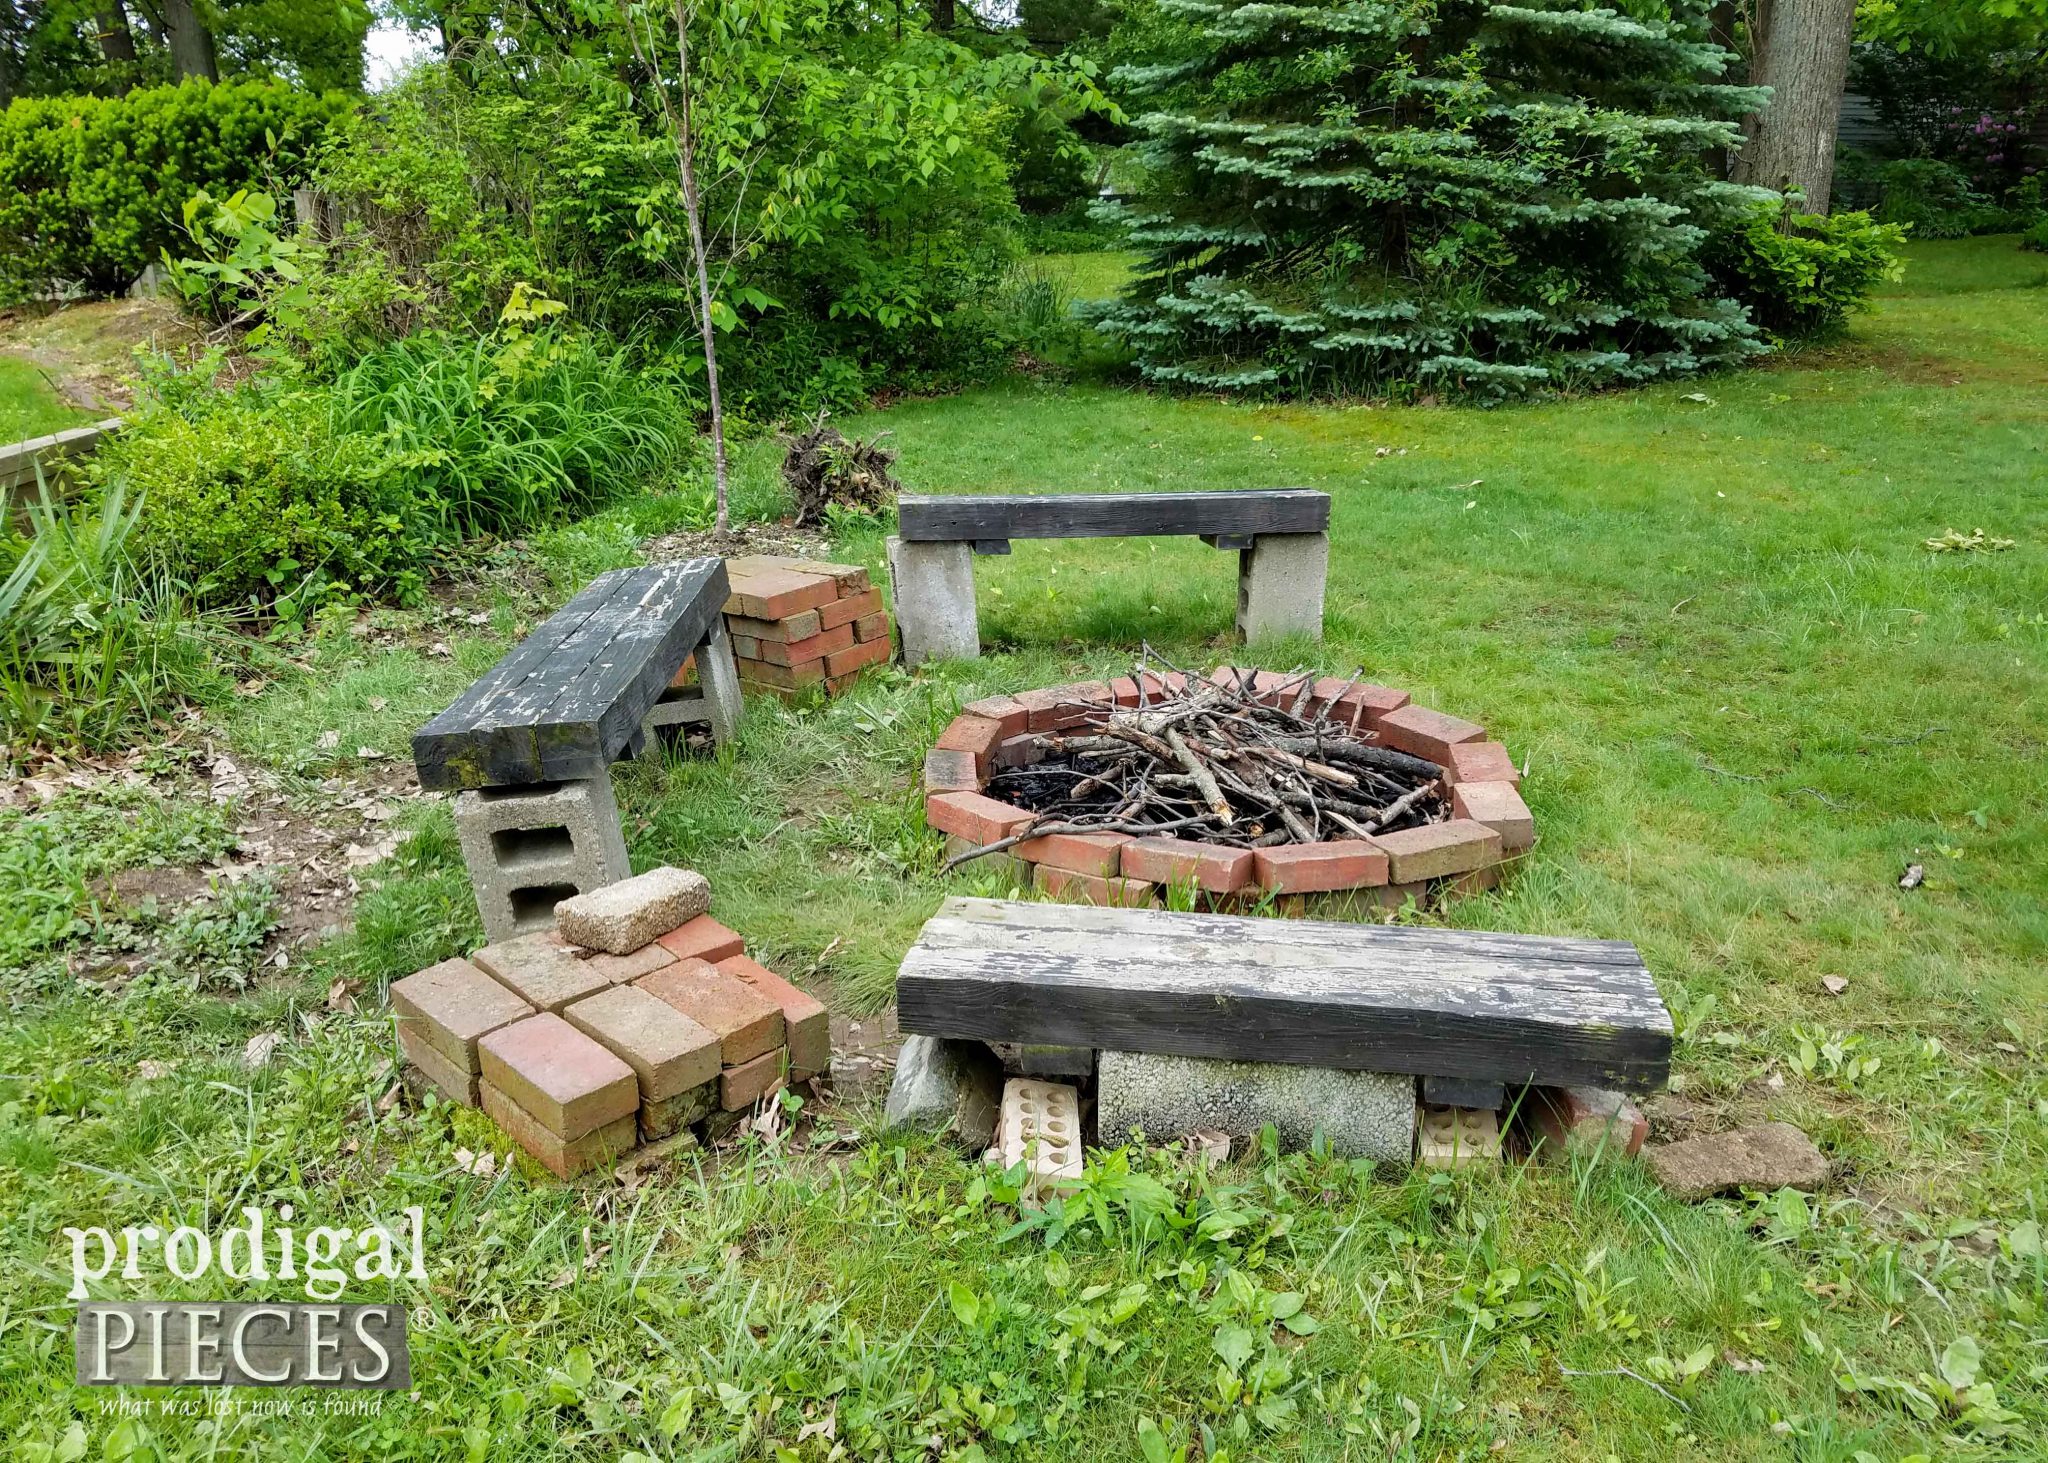 We may not live on my dream country property, but we do try to make the best use of our quarter-acre city lot. Our goal is to inspire YOU.
Consider adding a pallet compost bin to your yard. It's healthy for the environment, healthy for you. Even if you don't have a garden to put it on, you can share your black gold with those who do. They will grab it from you like its candy!
SHARE
In addition, pin and share our pallet compost bin to get others out to try DIY and get their green thumb on.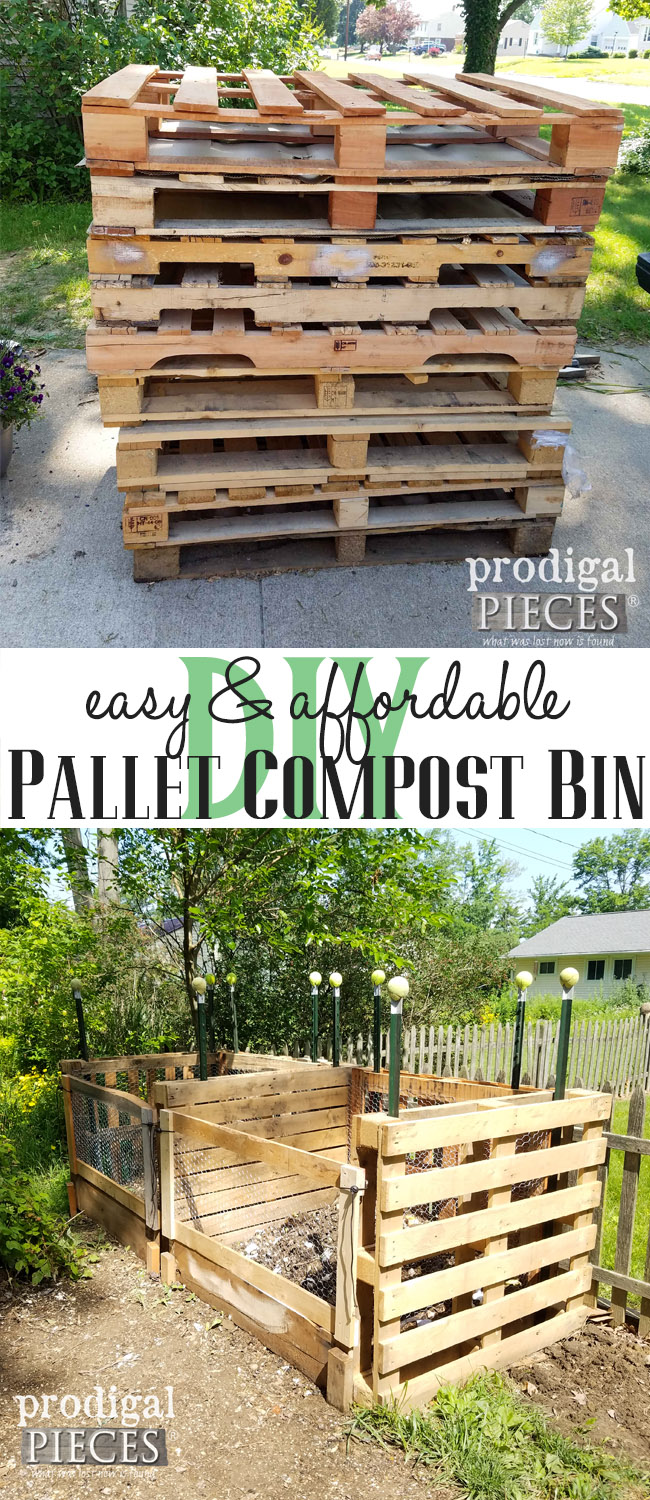 Up next, this sweet piece is a sewing machine desk...or is it? See the AFTER HERE.
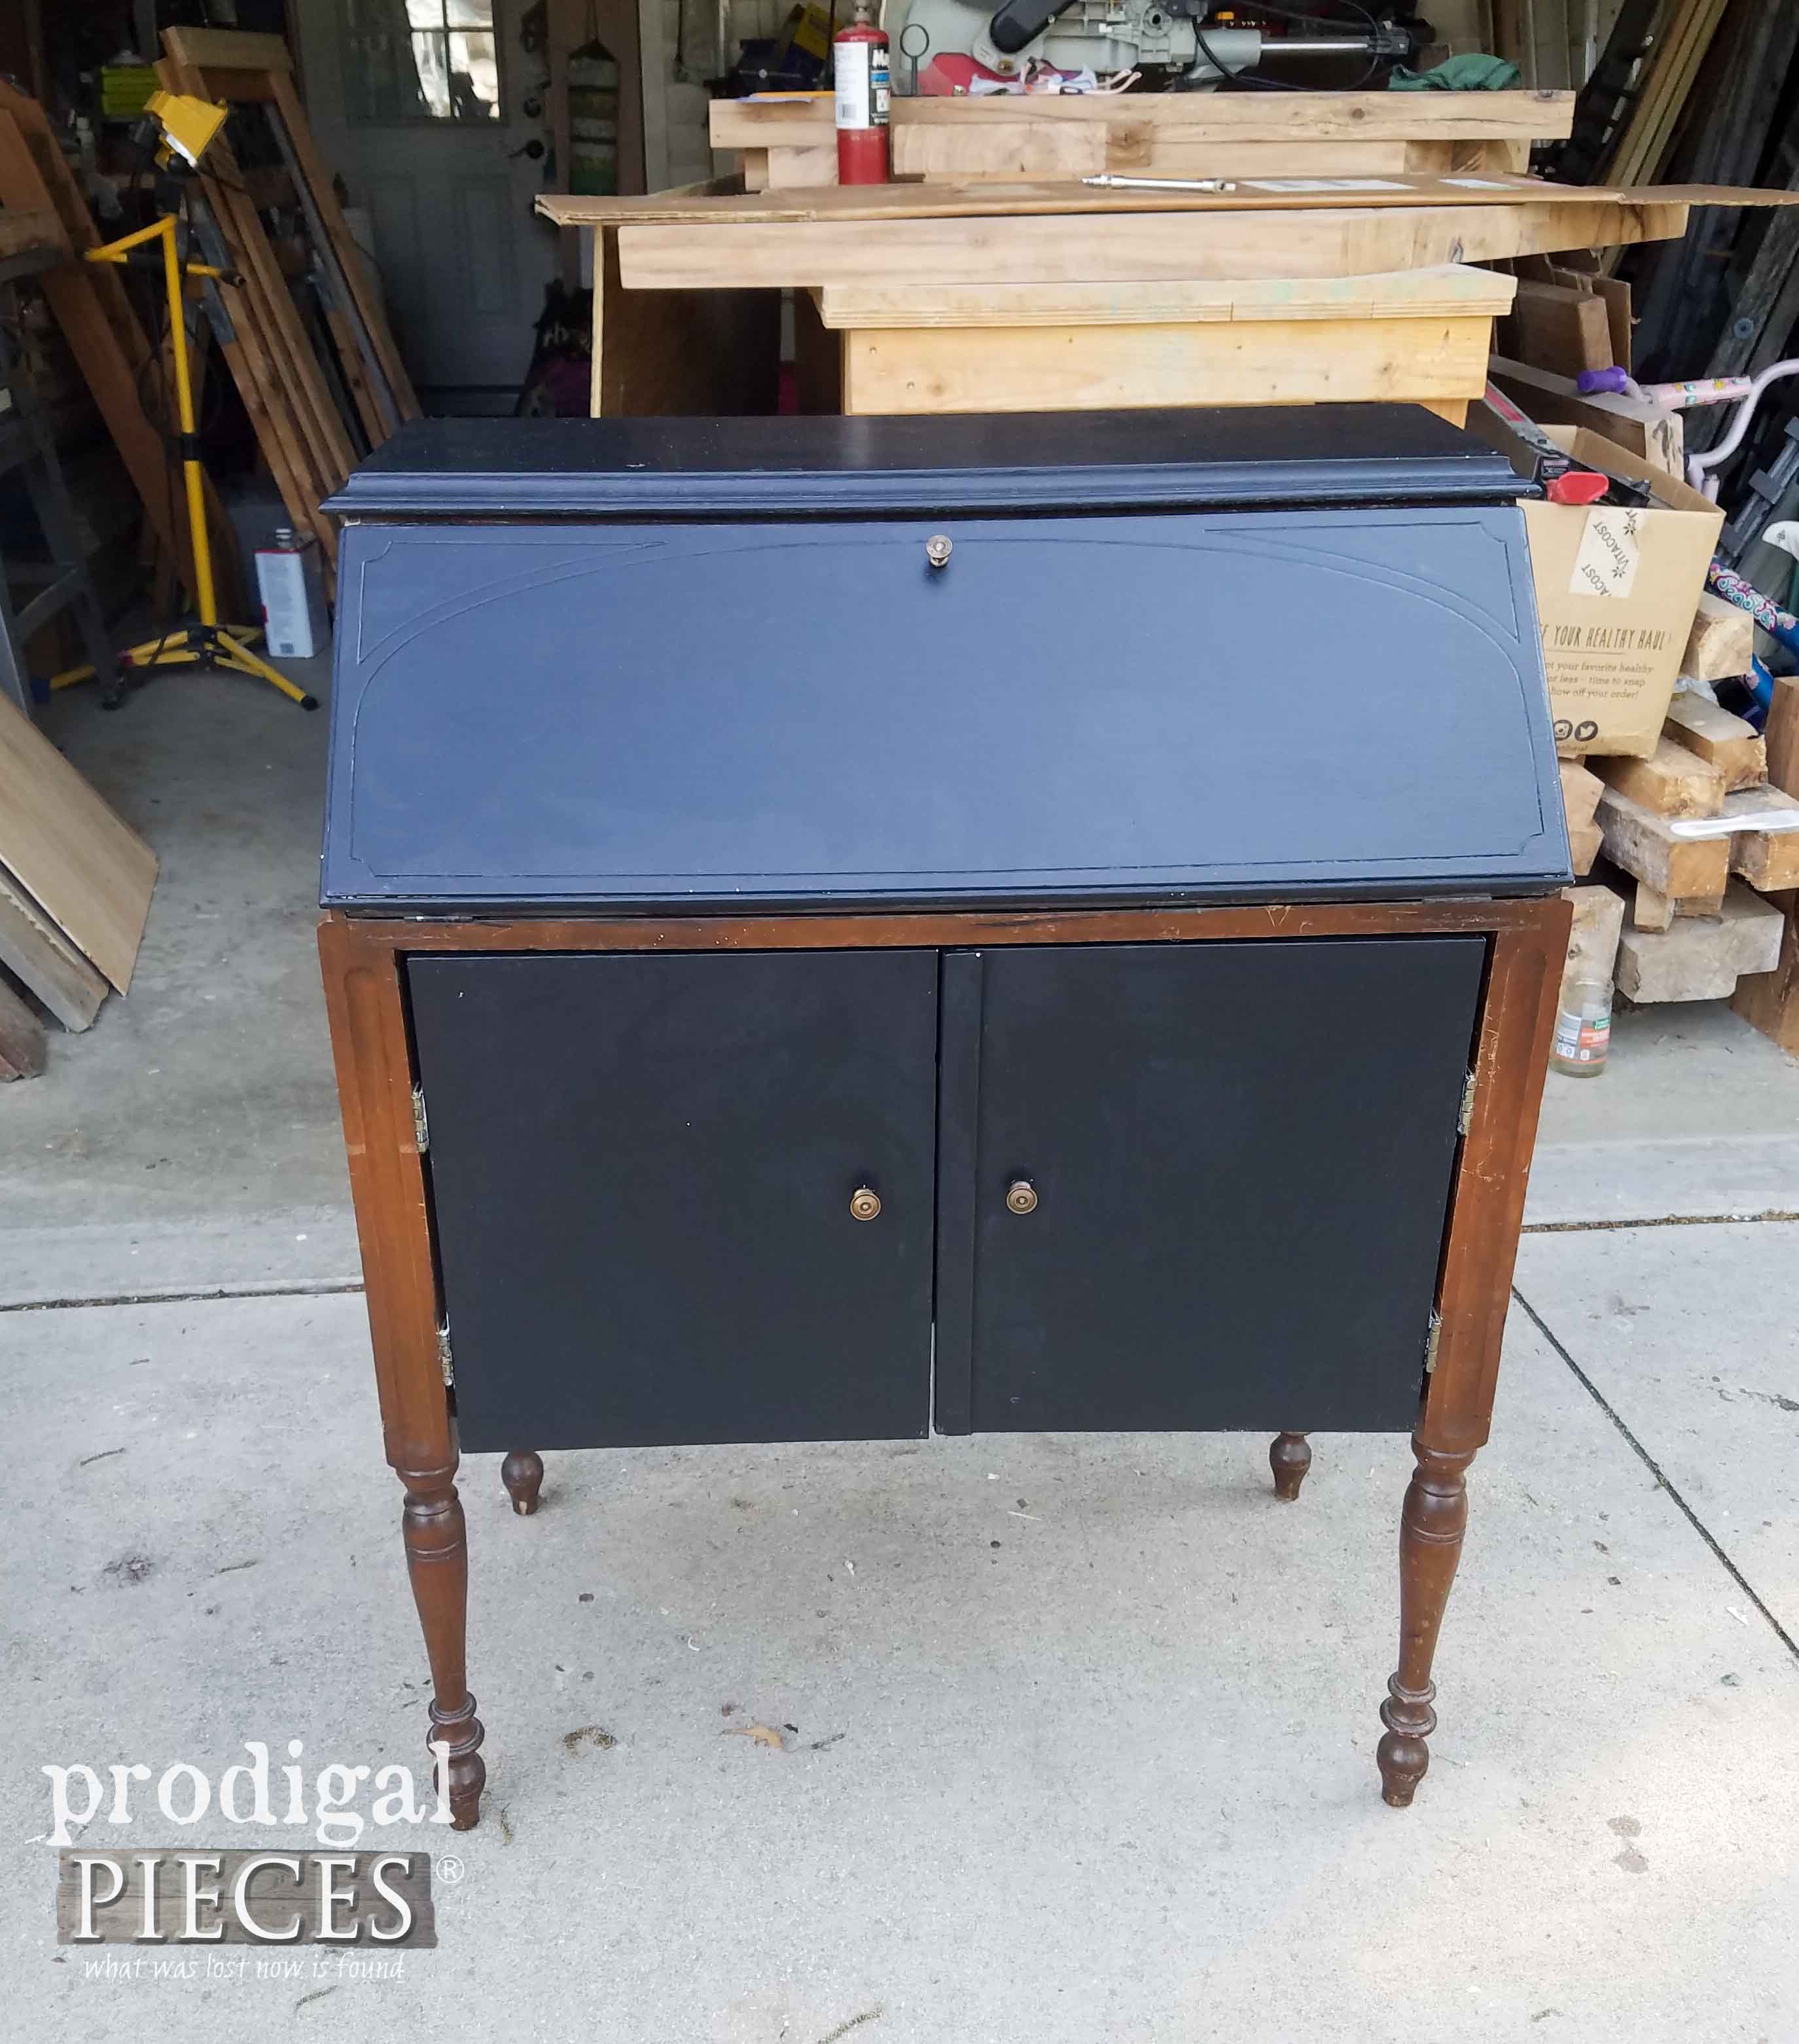 I'll be showing you what I did with it, so sign up to sign up for my newsletter to get the details in your inbox. Until next time!

Also, more garden projects like my pallet compost bin:
