Here's to keeping my word! Last week, I shared a thrifted table I upcycled
in this post. While I made use of most of it, I have these pieces left that are too good to add to my fireplace burn pile. So, let me ask you... what would you make with them? Above all, the kid in me wants to create reclaimed wooden toys. Let's go!

What you see are two legs, and one tabletop board left. Those curves in the legs definitely keep me in thinking about an animal. When I first disassembled the table, I saw animal legs like when I did
my antique Morris rocker turned game table. However, I only have two legs and another idea just itching to come out.
CREATIVE
If you've been around my blog before, you know I have a heart for kids, including my own brood of six. You can see
all my toy projects HERE.
whew! That's a ton of toys, but what's a few more? tee hee. Let's create some more reclaimed toy fun!
LONG NECKER
First, I want to start with the table legs as they would be the most fun for me. I see giraffes in them. Yeah, call me crazy, but that's what I see. In order to get them to my vision, I need to create a template so I can make a matched pair (and maybe future long-neckers). I trace the leg onto some cardboard from my recycling.

Then, I sketch a giraffe and cut it out to make a template. After that, I use the template to trace onto the legs.

Next, in order to get to toy status, I use my jigsaw to cut out the shape and sand to remove all roughness and harsh edges.
TIP: While I could break out my Dremel that I often use for things like this, I also can just grab a dowel and wrap it in sandpaper.

Last, but not least, I chop up that last tabletop board on my miter saw. Nevertheless, I got caught up with this and had to beat my deadline for posting today. That means you just need to read on to see what became of it.

LET'S PLAY!
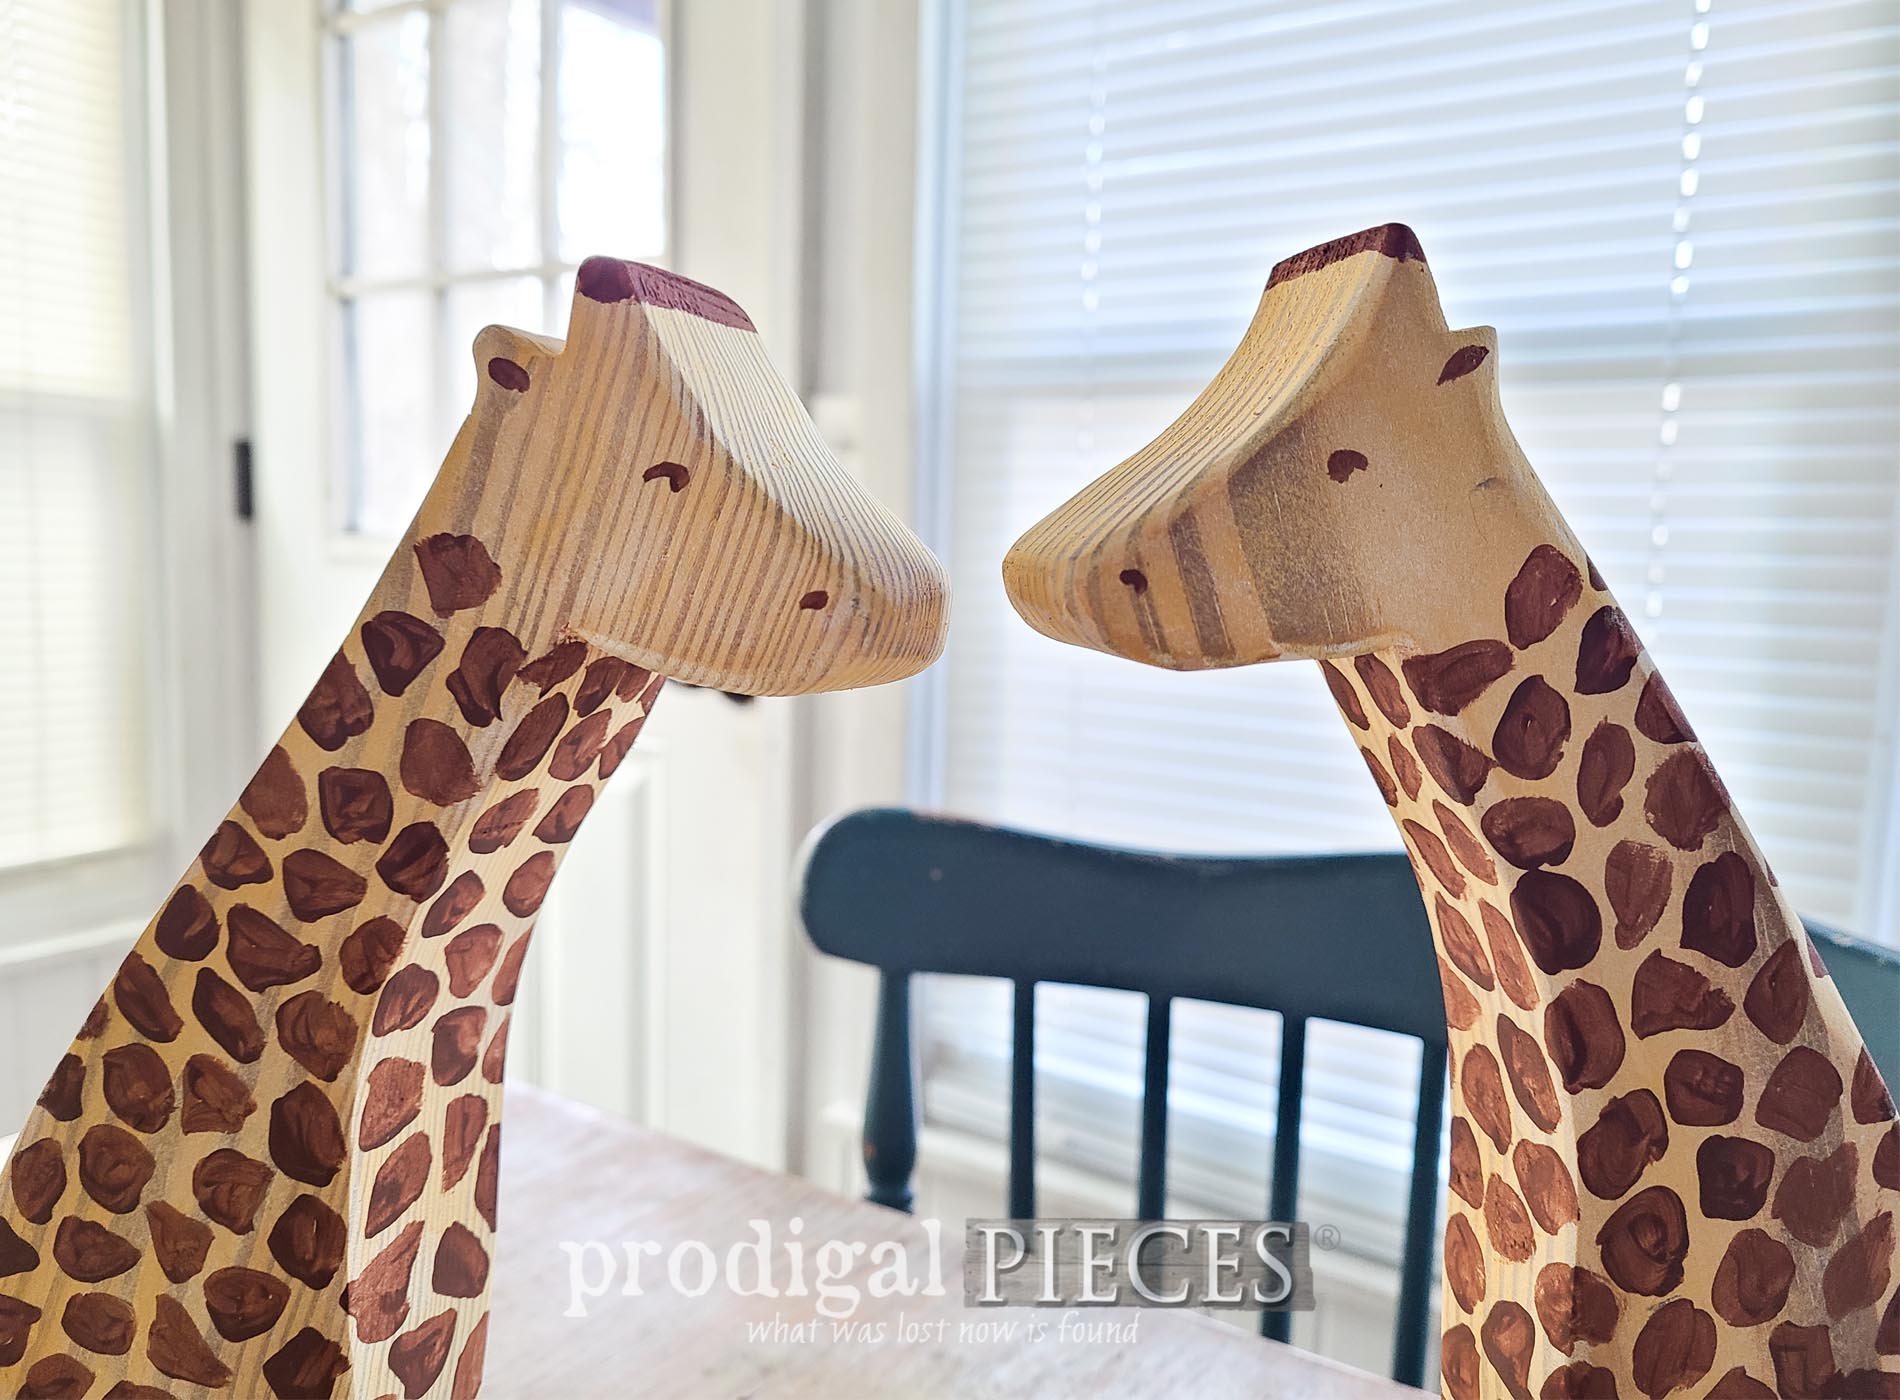
Finally, here are my reclaimed wooden toys ready to play!


How adorable are they?!? However, they need names... one is Gertie and the other... ? That's up to you.
They have a white stain to let that grain peek through, while I used thinned yellow to do a wash. Additionally, on top of that are hand-painted spots and details.


Next, for the grand finale, here is my wooden pounder toy. Everybody likes to pound something, right?


Incidentally, the base is all from that one board, while the dowels are from my stash which included sources from my remnants, a broom handle, and a thrifted large chunk. I've always said a good DIYer has a stash, y'all.


Likewise, if you'd like to make these your own or gift them to a loved one, you can find them and more in
my online store.

SHARE
Let me hear it! Not only do I write for you and encourage you to comment here, but I also love when folks comment on social media, but that disappears into nothing. Meanwhile, here your words are evergreen and there to encourage and inspire. In addition, pin and share to inspire others.

Before you go, be sure to
sign up for my FREE newsletter to get a peek at my latest hair
cut... er chop (this is the shortest of my trim - eep!).

Until next time!

 PINTEREST | EMAIL
While you're at it, here are more fun & games like these reclaimed wooden toys: