The change of seasons makes one want change too, doesn't it? I'm continuing on my deep purge and "get-out-of-here-now" journey. I want less to take care of, worry about, clean, and see on a daily basis. Not only does it feel glorious, but I'm also still seeing changes in my own self in more ways than one. It's been a year since I discovered
I have curly hair and after a strong learning curve (pun intended). It's time to purge my hair style with this DIY short curly bob haircut.
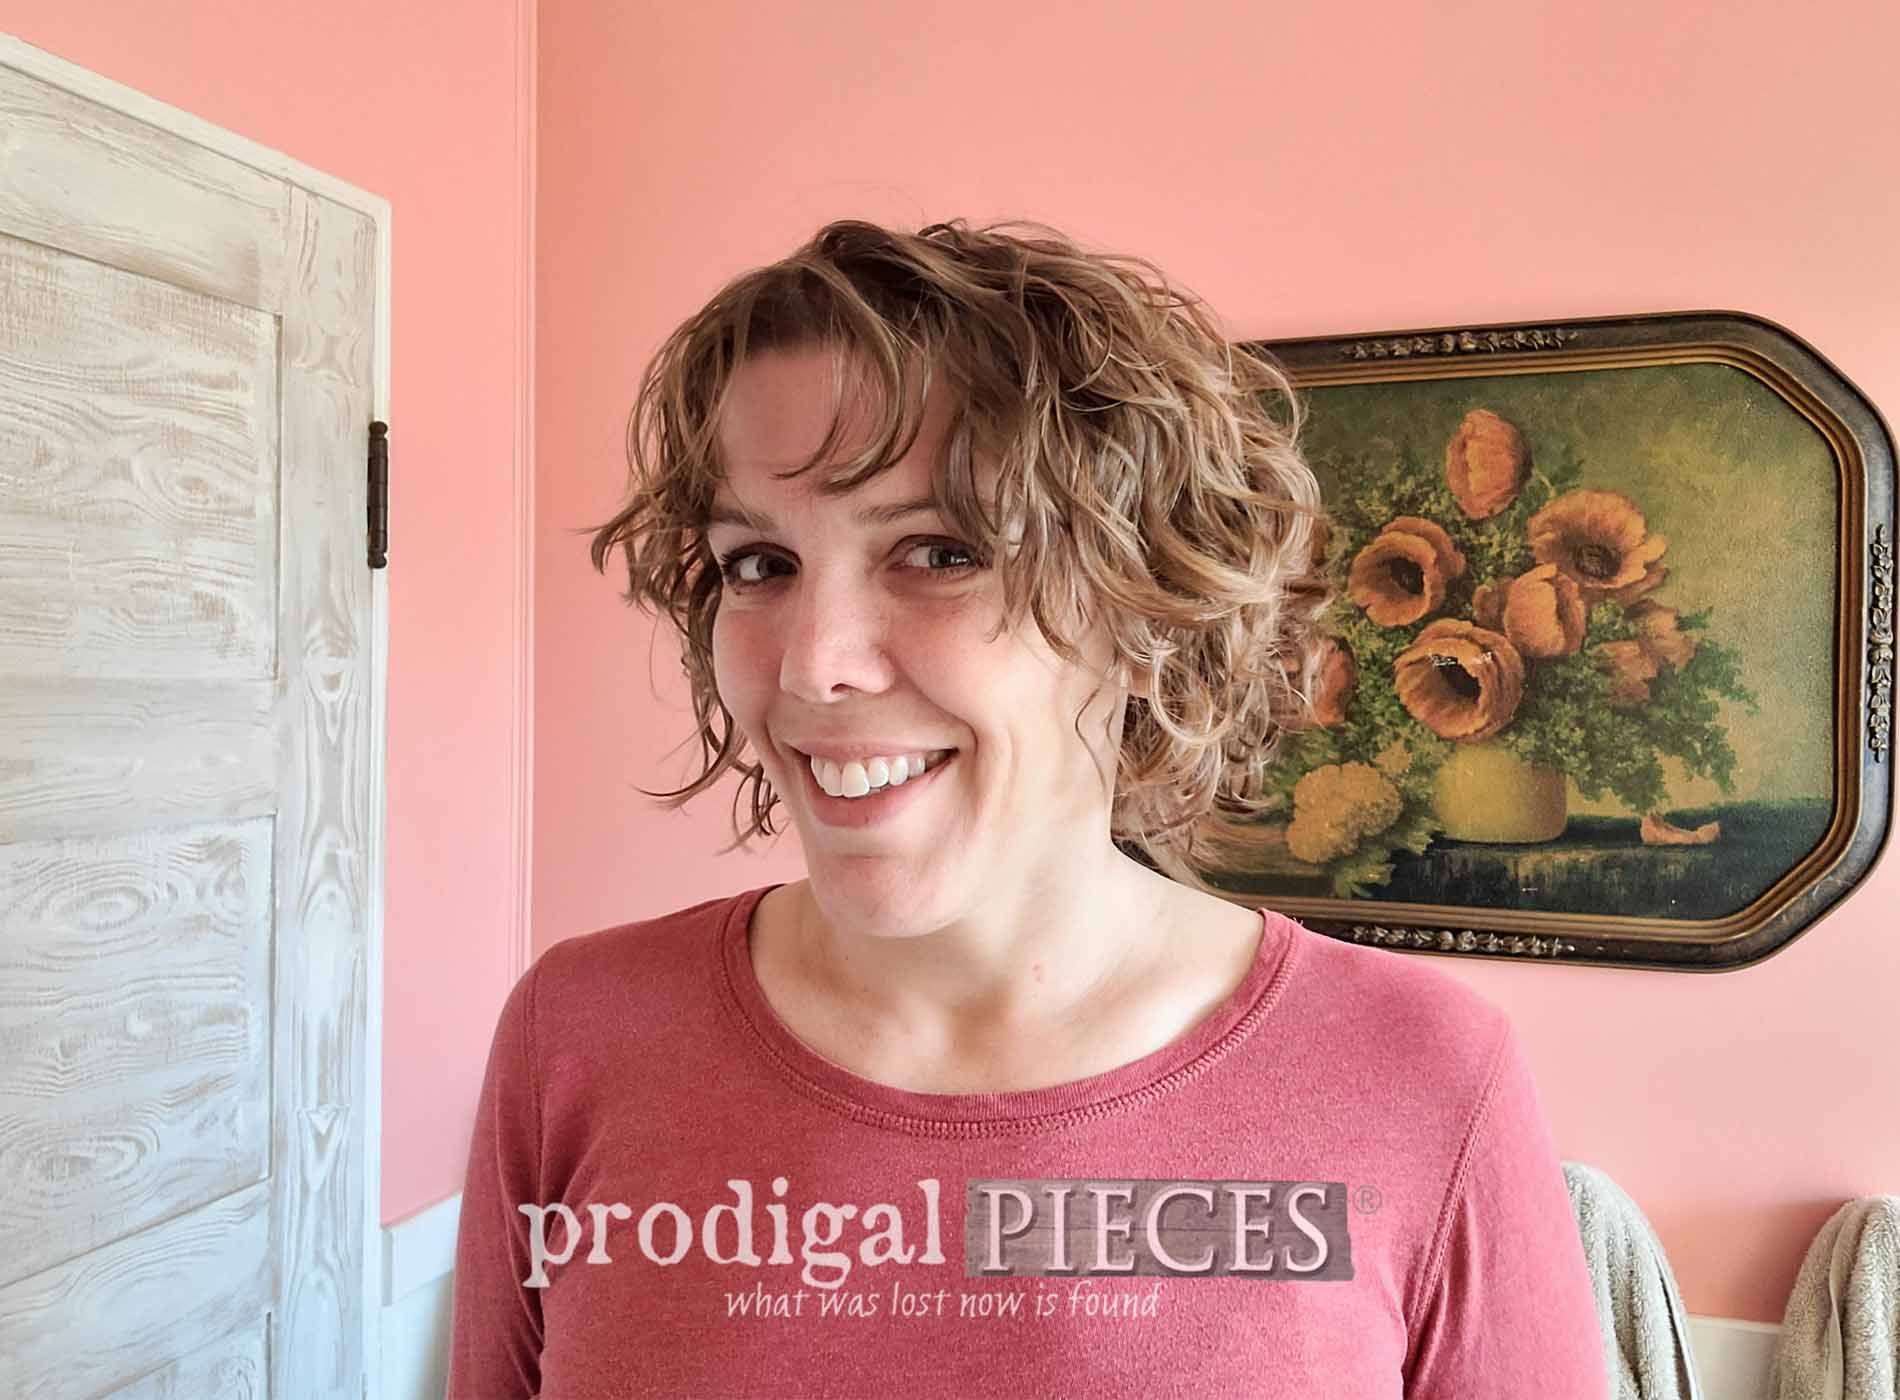
Now... don't laugh. Actually, I'm having a good belly laugh... bwahaha! My twin and I need a trim.

Nuff said.
Actually, what I found was that the layers I was doing grew out heavy giving that triangle "dog ear" shape. it works if you want that, but I want more body and bounce. See
my first cut HERE and
updated cut HERE.
CHANGE IT UP
First, I just want to send a shout-out to all those folks, like me, who put effort into providing free tutorials, videos, build plans, recipes, etc. It makes my life so much easier! With that, I want to thank Love Haircut for sharing the tutorial that made this easier for me. Full tutorial by
Love Haircut HERE.
To get this DIY haircut party started, I washed and conditioned my hair. No styler, just clean and wet.

Second, a huge shout-out to my daughter, Simone (
aka. Miss S), for taking the time to do this haircut for me. While attempting this myself was possible, I wanted to watch her do it and build her confidence as well. She's not an adult legally just yet but is one of the most amazing adults I know for numerous reasons (all my children, actually). She had an hour to loan to me and she rocked it (see in the video below)
To start, she began with four vertical sections on the back of my head.

Then, there were two sections on each side from the ear forward. In addition, instead of straight cutting or end cutting, she point-cuts each section for texture and flow.

Using a wider tooth comb, she pulled down the bottom layer of one of my back sections and cut off approximately two inches to rest just above my shoulders. The comb was not meant to have any tension but hold the hair in place. That way there wasn't any large jumps in the curls making for an uneven cut.
Next, she worked around to the sides cutting them the same as the back sections using the bottom as a guide.
It floors me that I look down and see tons of curls laying all over the floor!

LAYERING
Finally, it's time to layer. First, using the bottom layer as a guide, she pulls the hair out from the occipital bone out at a 45° angle. Then, using the crown as a guide to pull the hair at a 90° angle.

[caption id="attachment_45504" align="aligncenter" width="550"]

source[/caption]
After this, she creates a center part on top to over-direct one side to the other to cut working down to the parietal ridge using the back crown piece as the guide.

Afterward, continue down each side cutting in 90° angle layers. Repeat for the other side. Finally, if no hard part is desired, take center top and pull up at 90° angle and notch. However, if face framing is desired, cut that in at this time as well.

WRAP-UP
To conclude, I then use
my homemade flax seed gel to brush style (see video), then pixie and hover diffuse for the finish.

I love it! Yes, it's going to take getting used to how to style (see video for how I do all that). However, it's exciting to see how much life is now in my layers.


Not only is it fuller, but also swings wonderfully.


Are you feeling inspired yet? I hope you're at least enjoying my curly hair journey with me. In case you're curious, at this point, I don't intend to go any shorter. On my lifting day (wash day, dirty hair), I attempted ponytails so I could have it up and look at these panda buns... tee hee!


SHARE
To conclude with praises for all who help me in my curly journey is an understatement. Leave me some comment below on my DIY short curly bob haircut, plus pin and share. Have you ever had a bob? Or maybe learned later in life you have textured hair too?

Before you go, be sure to
sign up for my FREE newsletter because up next it's
Trash to Treasure time!

 PINTEREST | EMAIL
While you're at it, here are more hair-spiring tutorials like my DIY short curly bob haircut: