Never mess with a mama on a mission! All you mams and papas out there know what I'm talking about. After some major life changes, I'm purging by selling, donating, and making use. Today, I'm all about this overhead stash in my workshop. It's time to bring it down and make it GONE. I've had a vision of a reclaimed wood tote for quite some time, but with a bit of a different spin. This should not only be fun, but therapy to see that wood disappear.

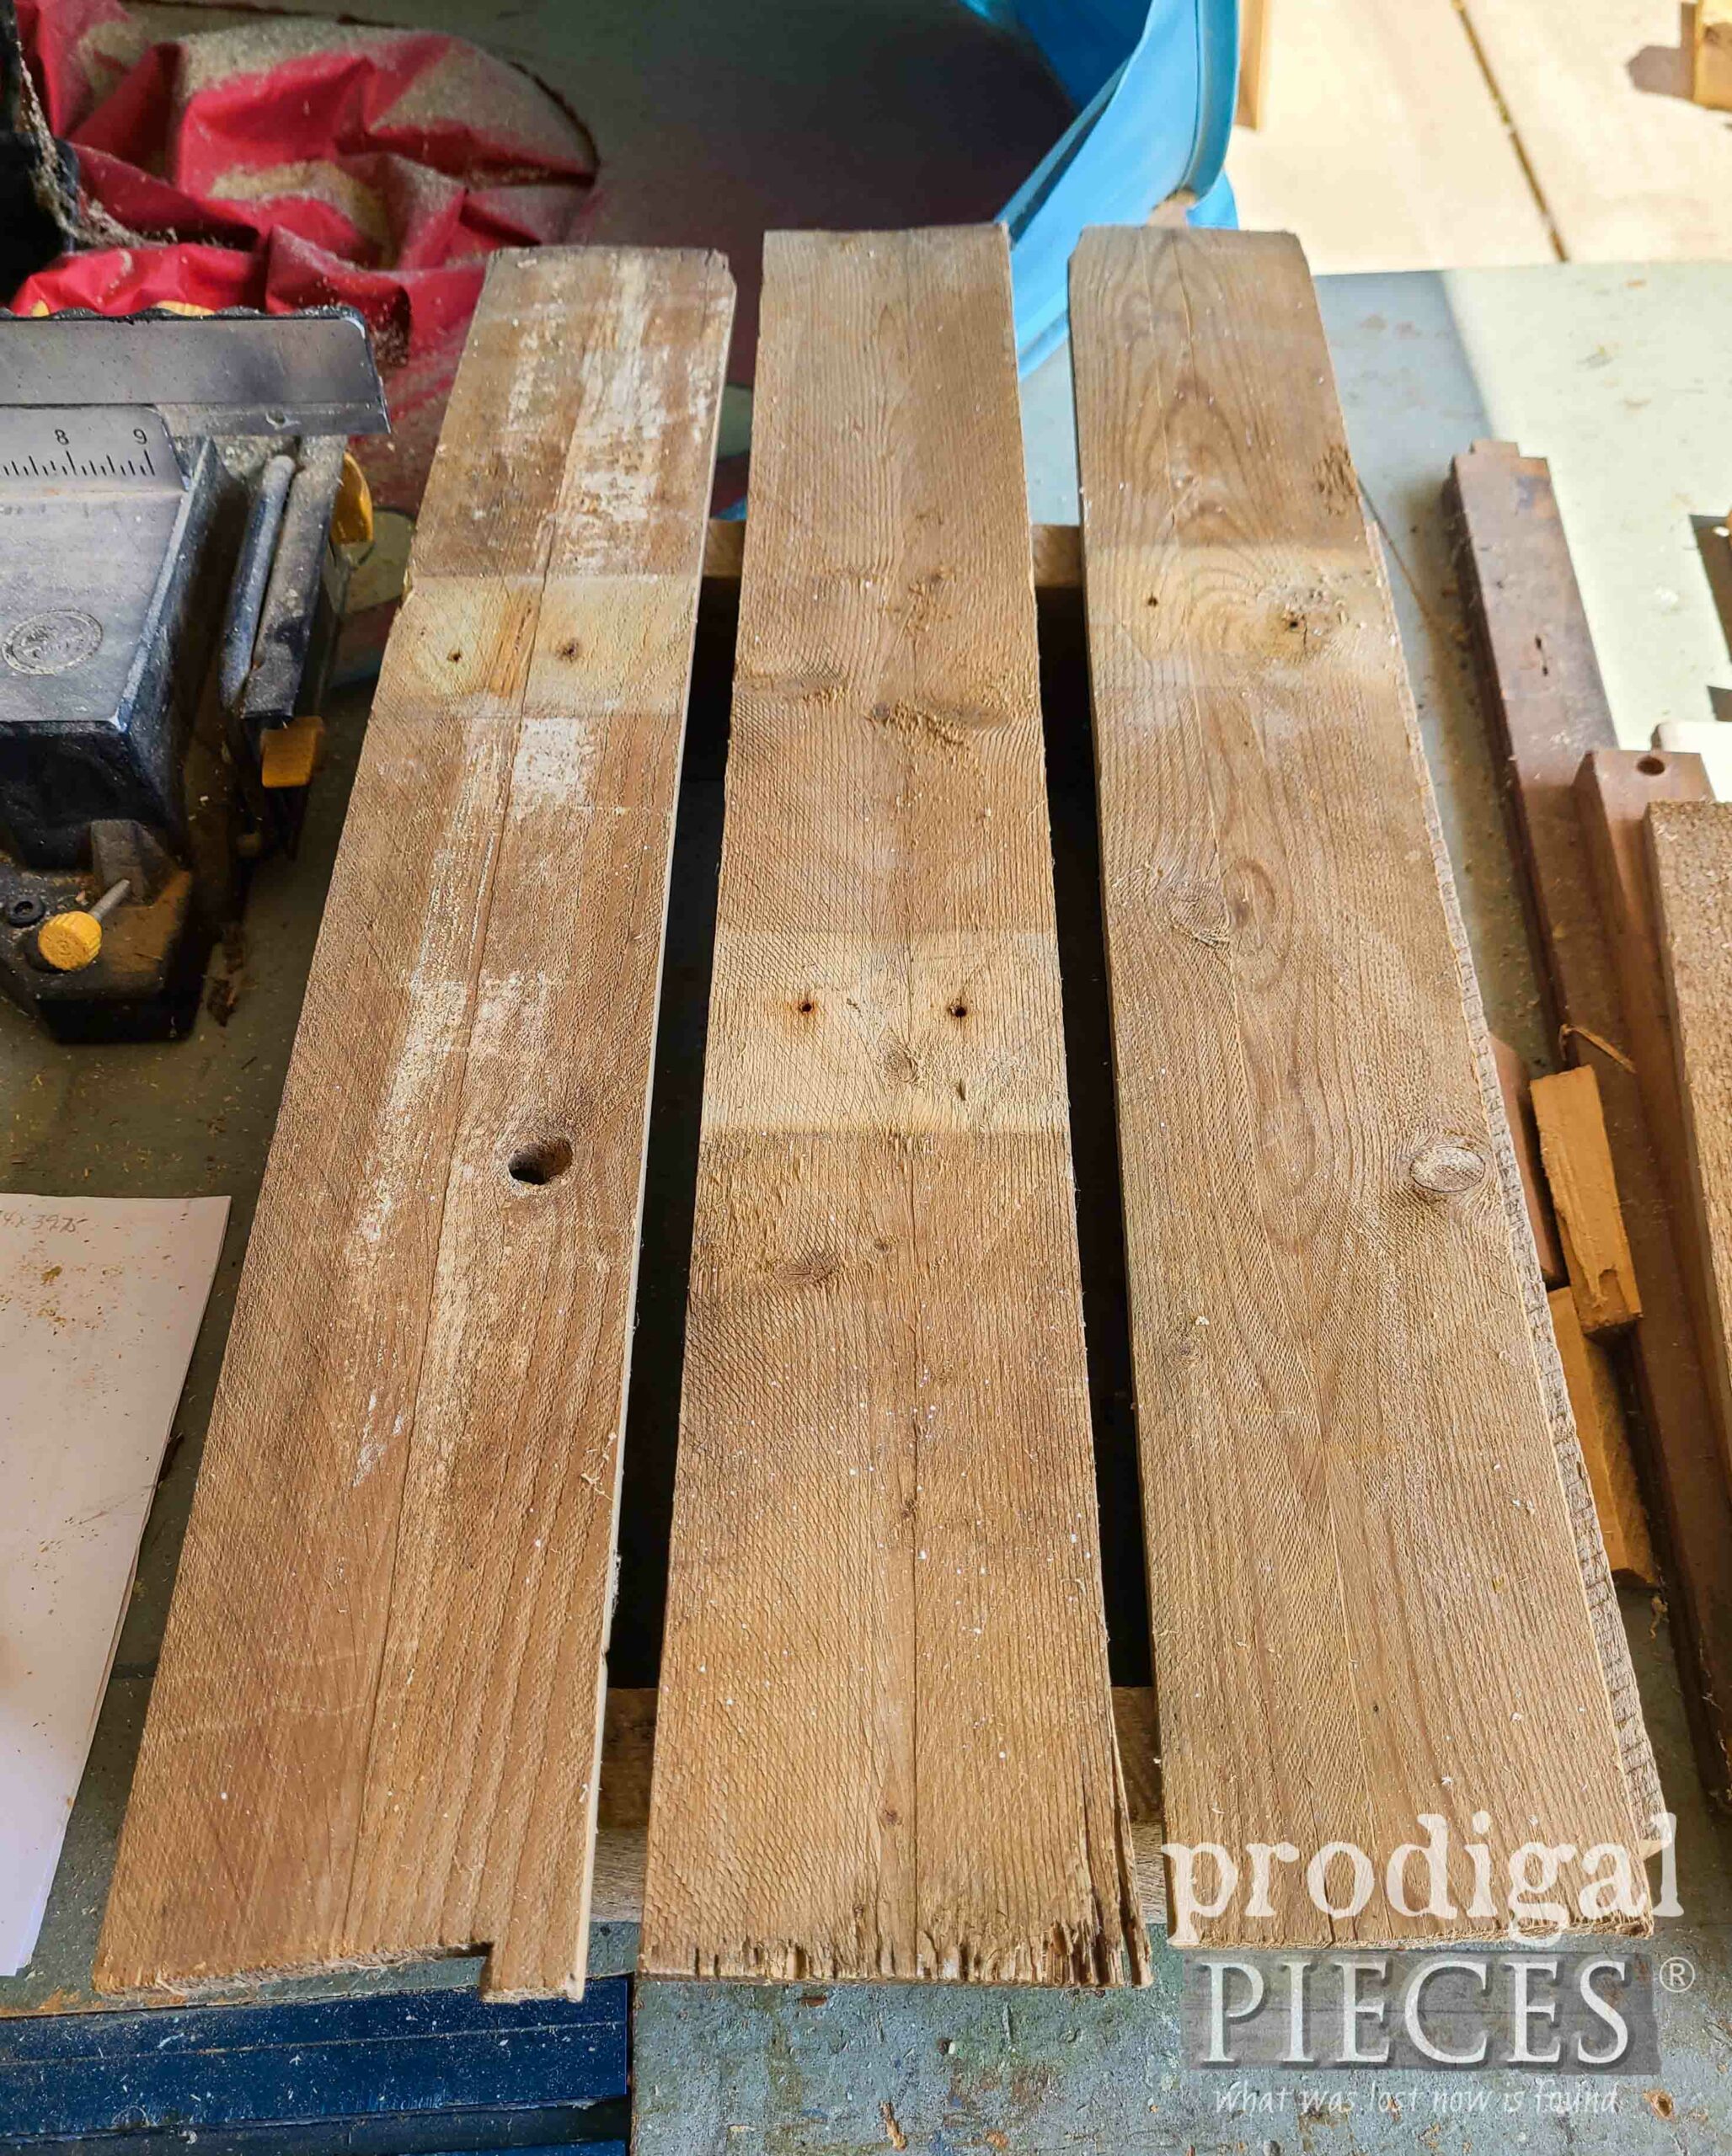
What you're looking at are weathered pine trellis posts we ripped from 2" x 4" boards from
my raised bed gardens that we no longer use because we now have our
arched cattle panel trellis'. Also, there's leftover boards from building my reclaimed wood peninsula in
my kitchen remodel.

As well, there are a few bits and pieces down below I'll be pulling from as well. A great DIY has a stash!
BEGINNING
First, I have
Mr. O help me pull down the garden posts. I could have done it, but he asked me if I needed help, and I don't deny help. tsk.
Then, once I have them down, I cut off the pointed ends we used to drive them in the ground, as well as any damage.

After that, I pull down those oak boards and give them a cleaning. I make oodles of DIY glitter in my workshop! (aka. sawdust)

In addition, while I'm doing this, I also pull down that deck board and repair
my garden shed deck and also repair and paint/stain our old fire pit set to sell, amongst other random chores.
While I have my reclaimed wood tote in mind, keep in mind, I've also shared
this tote tutorial,
this one, and
these ones. Plus, I have
my sewn totes too. So, consider me a tote fanatic! haha. When I was envisioning this project, I wanted to create a raised tote with an a-frame design to suit the collection of antique terra cotta pots I've had from this
upcycled ladder project.
NEXT STEPS
First, I set them out and measure length and width to find out my dimensions. It ends up being roughly 14" x 9". However, in order to accommodate for assembly, I need to add two inches to my long side to get 16", that way they overlap for a joint.

Using my miter saw with DIY dust hood collector, I cut two 16" pieces and two 9 ½" pieces. After clamping them together, I use my drill and make holes to assemble.

Instead of using my nailer or screws for this part, I want to take it up a notch and use my new-made-old rusty masonry nails for added texture. You can see
my rusting recipe HERE.


After I have this reclaimed wood tote frame assembled, I dig into my other stash and pull out remnants from
my fence panel turned barn star. Thankfully, I have exactly three pieces just perfect to fit the bottom.
At the same time, I pulled out these remnant drawer sides I salvaged off a damaged dresser.

Likewise, I use my salvaged upholstery tacks to add those to the bottom after I cut them to length.

NEXT LEVEL
Do you ever feel like you're being watched? As soon as I set down my first crate, the praying mantis that had been watching me from the corner of the garage comes over to my build. It's as if she's inspecting my handiwork.

This dandy gal is as big as my hand...she gives me an eyeful and then proceeds to enter.

I think I have Genivieve's approval. tee hee. After I get her nod, I continue on to add my a-frame supports using the garden posts. When deciding how to add my ends, I did a quick search and found a fellow blogger did something similar a few years back, so why reinvent the wheel, eh? You can see how Mindi, at My Love to Create
cut her stands HERE. I did make a few changes, but overall want to thank Mindi for sharing!

Then, once I attach my stands, I grab these rake handles a certain someone in my house has a habit of breaking. They're perfect for handles for my totes.

To attach the handles, I used my forstner bit and drilled at an angle because the dowel was going from one frame to the other in the same manner.

CARRY-ALL CUTENESS
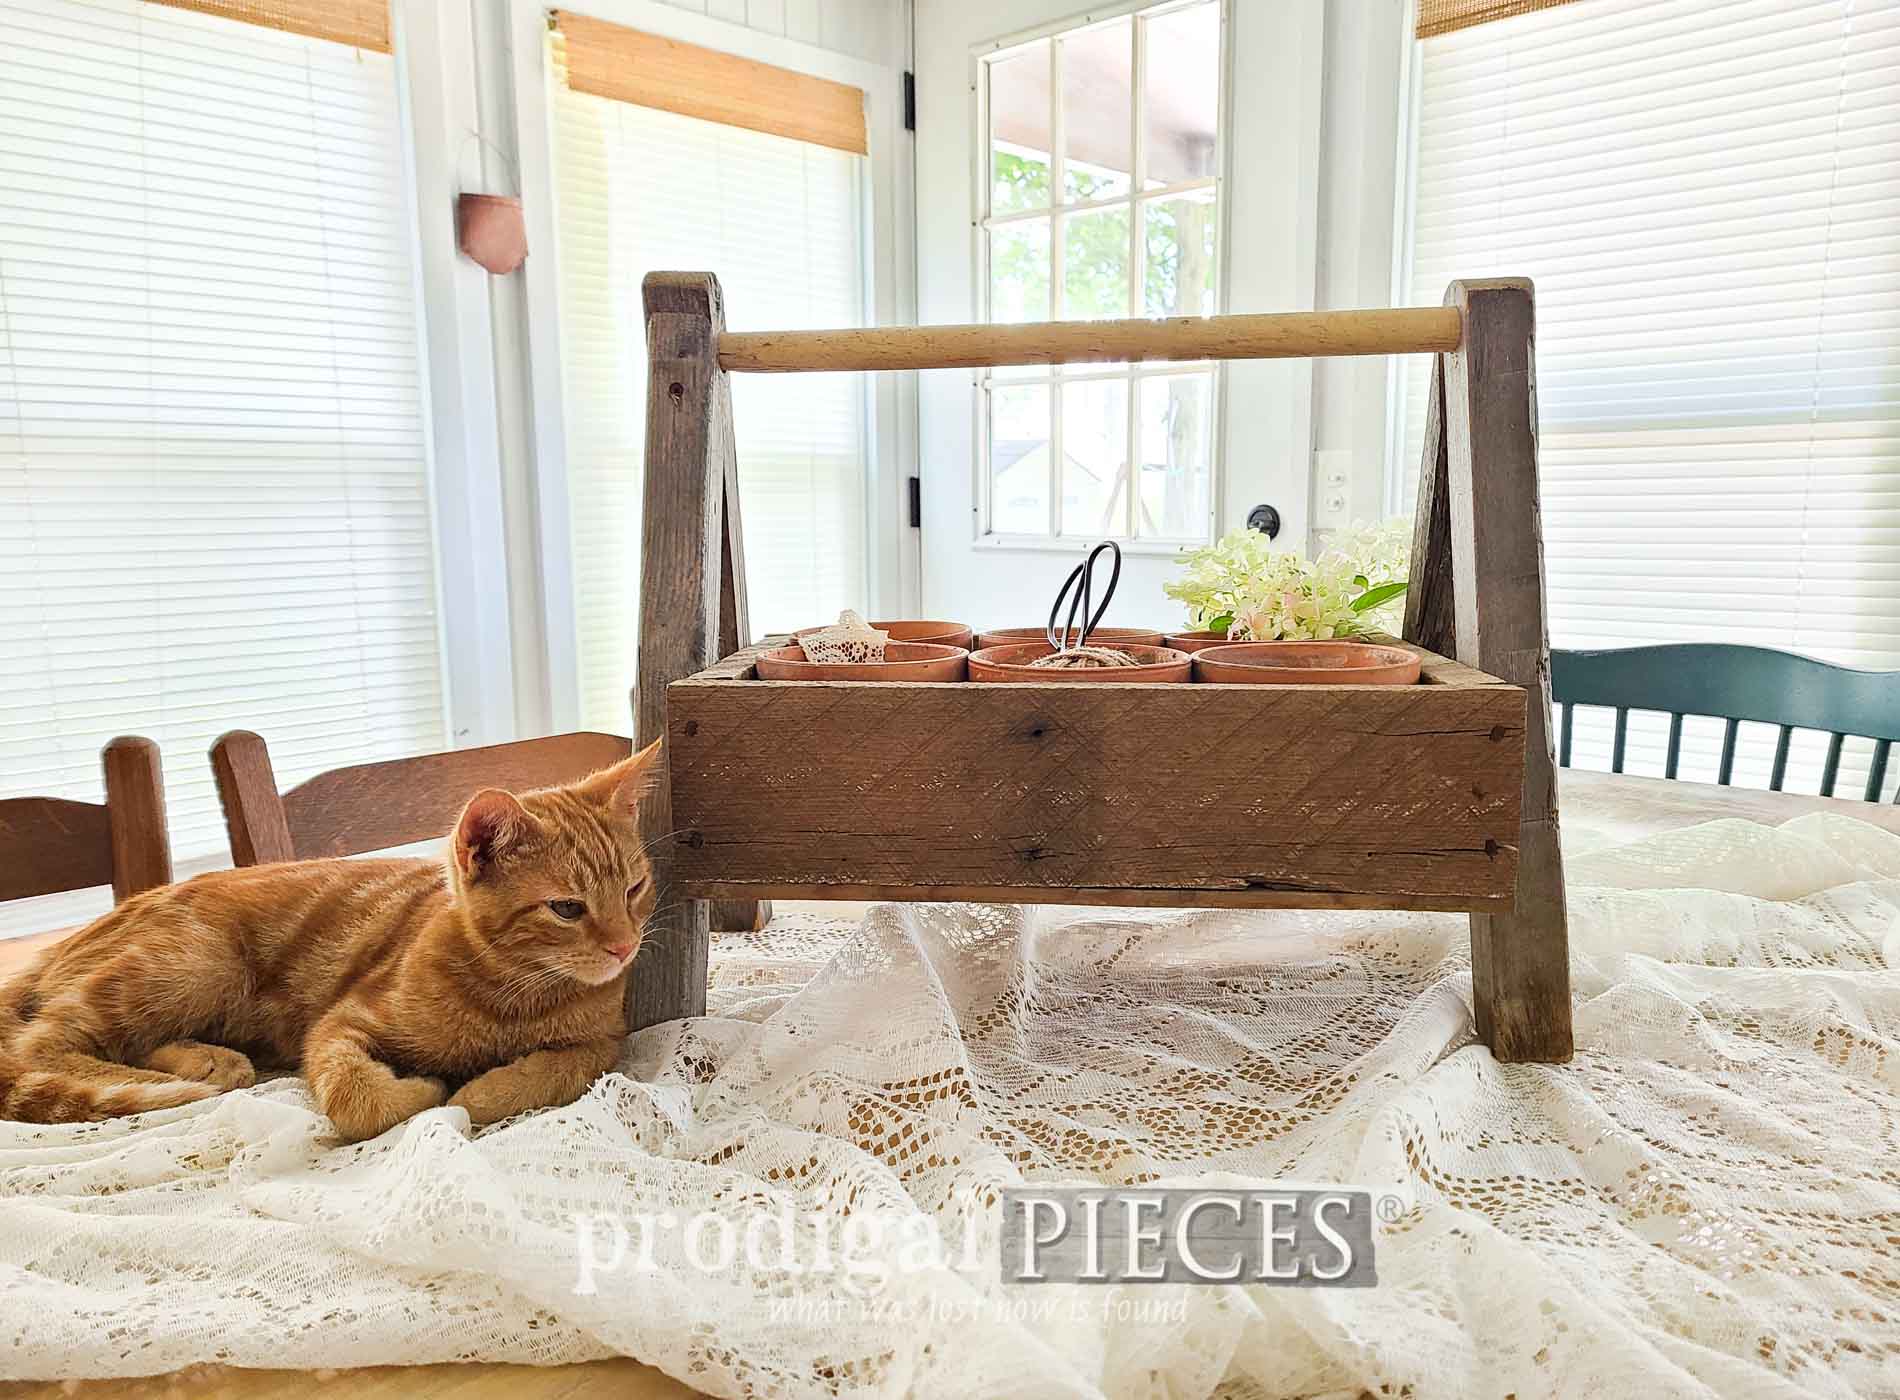
Finally, without adieu, here is my reclaimed wood tote times two ready for whatever my heart desires.


Apparently, 4-month-old Ivan thinks he is also supervisor of my work and needs to be center stage where he is not allowed (on the table)


My antique terra cotta pots fit in perfectly and can be used for garden goodies, as a utensil holder for an event, or even remove them and use the tote for toiletries, towels, TP, kitchen supplies...you get the idea. What would you use one for?


As with most of my projects, you can find these totes in
my online store alone with so much more.


SHARE
Not only is inspiring you my goal with each post I write, but also bring a smile to your face. After leaving some comment love below, also pin and share to inspire others as well.

Before you go, take a minute to
sign up for my FREE newsletter. That way you can see what I'm up to with my following project. Until next time!

 PINTEREST | EMAIL
While you're at it, check out these other free build tutorials like this reclaimed wood tote: