I can't believe it's that time again! The last Tuesday of every month, I share a brand new
Reduce, Reuse, REFASHION project with you. Maybe you've wondered why I do this? Well, to be honest, I feel like our society is very wasteful in many ways, but particularly in fashion and home decor. Today, take a look at what I found at a local ministry's thrift store. The color alone caught my eye, but then...the possibilities!! While I could go many ways with this, one reason I'm at said store is to find a pair of cargo pants, hopefully in green. When that didn't happen, that's when we enter DIY cargo pants tie. Yeah, baby!


These tabbed curtains offer plenty of fabric for this tall mama and the color is right up my alley. Funny thing is, I've used tabbed denim curtains and even another pair of tabbed green linen curtains, even velour and canvas curtains to make
so many things. Just picture me like Maria in The Sound of Music.

Nuff said, right? haha. I totally enjoy sewing my own clothes, clothing for my kids, and just about any accessory or gift you can think of (see
my project gallery HERE)
CALM BEFORE THE STORM
As a decently seasoned sewist, I head into this project with my chin up and raring to go. Honestly, my last month's project,
my bedsheet turned jumper for moi, went so well that I'm excited to do this again. Little did I know the storm that is brewing.
Okay, first, I wash and iron my thrifted curtains. Take a look at the length I have to work with...yay!!

What is more, an added bonus is the wood-look buttons.

While I won't be using the buttons this go-around, without a doubt I'm saving them for a future project. A girl's gotta have a stash, am I right? Also, I did get TWO of these panels, so that's plenty of length for me and my 36" inseam.
First, just like with my pantaloons I made for
my refashioned linen jacket outfit; I use these super comfy lounge pants as my pattern.

Not only are these super long on me, but also the waistband is stretched to extremes that I pin them. But...they're so stinking comfy so I continue to wear them. I'm sure you know what I mean. tsk. In order to make them work, I add plenty height to the waistband so I can make a channel for a tie for a gathered waist.

STOP THIS CRAZY TRAIN
This is where all went
so, so wrong. Folks, I thought I would have these done in an afternoon without fuss and proudly sporting my new duds. WRONG.
In my defense, I have had so much going on. Days before this, minor flooding in rain coming in my house, attacked by a horde of yellow jackets, and the next night a tornado warning. Then, while I was ready to start one morning, my bestie wanted to talk and it had been over a month since we chatted. Spending those two hours with her was the best decision but meant I needed to hop to it. Then, while I am actually feeling and good was distracted while texting a friend, I cut this pattern. I even told my daughter that knit fabric is different than woven, so I need to take that into account. I even needed to unpin the waistband. Did I do either of those things? nope.
However, it didn't all click until I began to assemble the front and back crotch.

Normally, for DIY cargo pants I add pockets and other extras and then start there. Followed by that, I would sew up the leg inseams and create the gathered waist. As soon as I went to try these on with just the crotch sewn, I couldn't even pull them up over my hips. Talk about making me want to scream! I made such a novice mistake and had all sorts of material but blew it.
MY NEWFOUND BEST FRIEND
Thankfully, I'm not a quitter. If I was, I would have been dead long ago. What am I to do now? Well, the drawstring waist is out of the picture for sure. Now, I need to add gussets at the hips and create a waistband with zipper fly and button closure. While I normally like to do things making my own patterns, this time I need a bit of help. I find this
free pattern HERE and make it work for my needs with pockets and waistband. (I will say the pattern pieces are great, but the tutorial is lacking some steps adding more stress).
Then, my new best friend comes out - miss seam ripper. Guys and gals, I've
never used this thing so much in my life. I did a dry-run with my hand-drawn gusset and had to up the size only once. Next, once I got the size right, I needed to tweak the placement of the seams one time. So, all-in-all, not bad for trying to salvage my hot mess. After that is complete, I turn towards making the pockets and zipper fly. Might I also add that my printer wasn't connecting with my wifi, so I had to hand-trace the patterns off my touch screen computer. Can you guess how easy that was not to "touch" the screen while tracing?

In case you're wondering, this is a cotton/poly blend that has a nice texture as well as a tight woven grain making it easy to work with. Here's one of my side leg pockets with a top flap yet to be added.

Additionally, I just have to add that I am even able to use a zipper from my stash and this vintage thread (blessings!!).

GOTTA LOVE DOGS
While working in the next steps of getting the zipper fly cut and then working on the waistband, another day rolls in (yes day two of a four-hour project - ahem). My wood guy texts and says he's ready to deliver my firewood for the winter. That means I need to get in contact with my neighbor so she can move her vehicles so we can have the truck back up to our yard. Also, that means I have more than a cord of wood coming I'll need to stack pronto! I also messed up creating a sponsor banner for my daughter's tennis team, so I have to jump on my computer and redesign it quick to it can be sent off to print.

Do you see that black, furry thing at the bottom of the woodpile? That's
Loula helping my kids and I carry and stack the wood. Little did I know at this point what was coming next. For about an hour or so, I help stack half of the pile and then need a nap after being up since 4 am this day. Before I can do that, Loula begins vomiting up wood shavings. This recently one-year-old pup has never given me issues with wood, but apparently while "helping" she chewed some soft wood off and it made her belly upset.

CONTINUING ON
Not only once, but eventually four times (two with substance) she vomits. Thankfully, she didn't have much in her and was recovering well. However, at this same time my daughter's car is dead and I need to help her, and my other daughter jump it. Am I having fun yet? Truthfully, this is a norm for me with my six kids and three pets. I tend not to mention it much because I don't want it to seem like complaining. It's just life as I know it and count my blessings.
Finally, I can get back to my pattern cutting for the zipper fly and waistband. After following the pattern instructions, my fabric and the fusing I cut is too short. I could just add on to the pieces, but decide I have enough fabric and fusing left I can cut new. Time to retrace those patterns on my screen and cut. While cutting my second set of waistband pieces, Loula ambles up with head down and tosses her cookies on my fabric. This was the last of her hurrahs with clear fluid only, but I screamed because I thought she was going to nail me in the face. All the while, this is Ivan right next to me on Loula's bed. Must be nice.

Because of her baptizing my work, this means I toss out my fabric pieces and start cutting again. Don't worry, Loula is getting plenty of loving from me and my family and we make sure she's fine. She's back to begging for food in an hour.
LIGHT AT THE END OF THE TUNNEL
As evidence that I can actually sew a zipper fly on the fly, here's where I can take a deep breath.

This part of my DIY cargo pants didn't take long and all I need to do is add the waistband, buttons with buttonholes, and cuff the pants with ties. whew! As a final tip, when using fusing on my waistband pieces, that can make it hard to feed through my feed dogs on my sewing machine. I use either tissue paper or office paper to allow the foot to pass smoothly over the fusing.

ANGELS SINGING
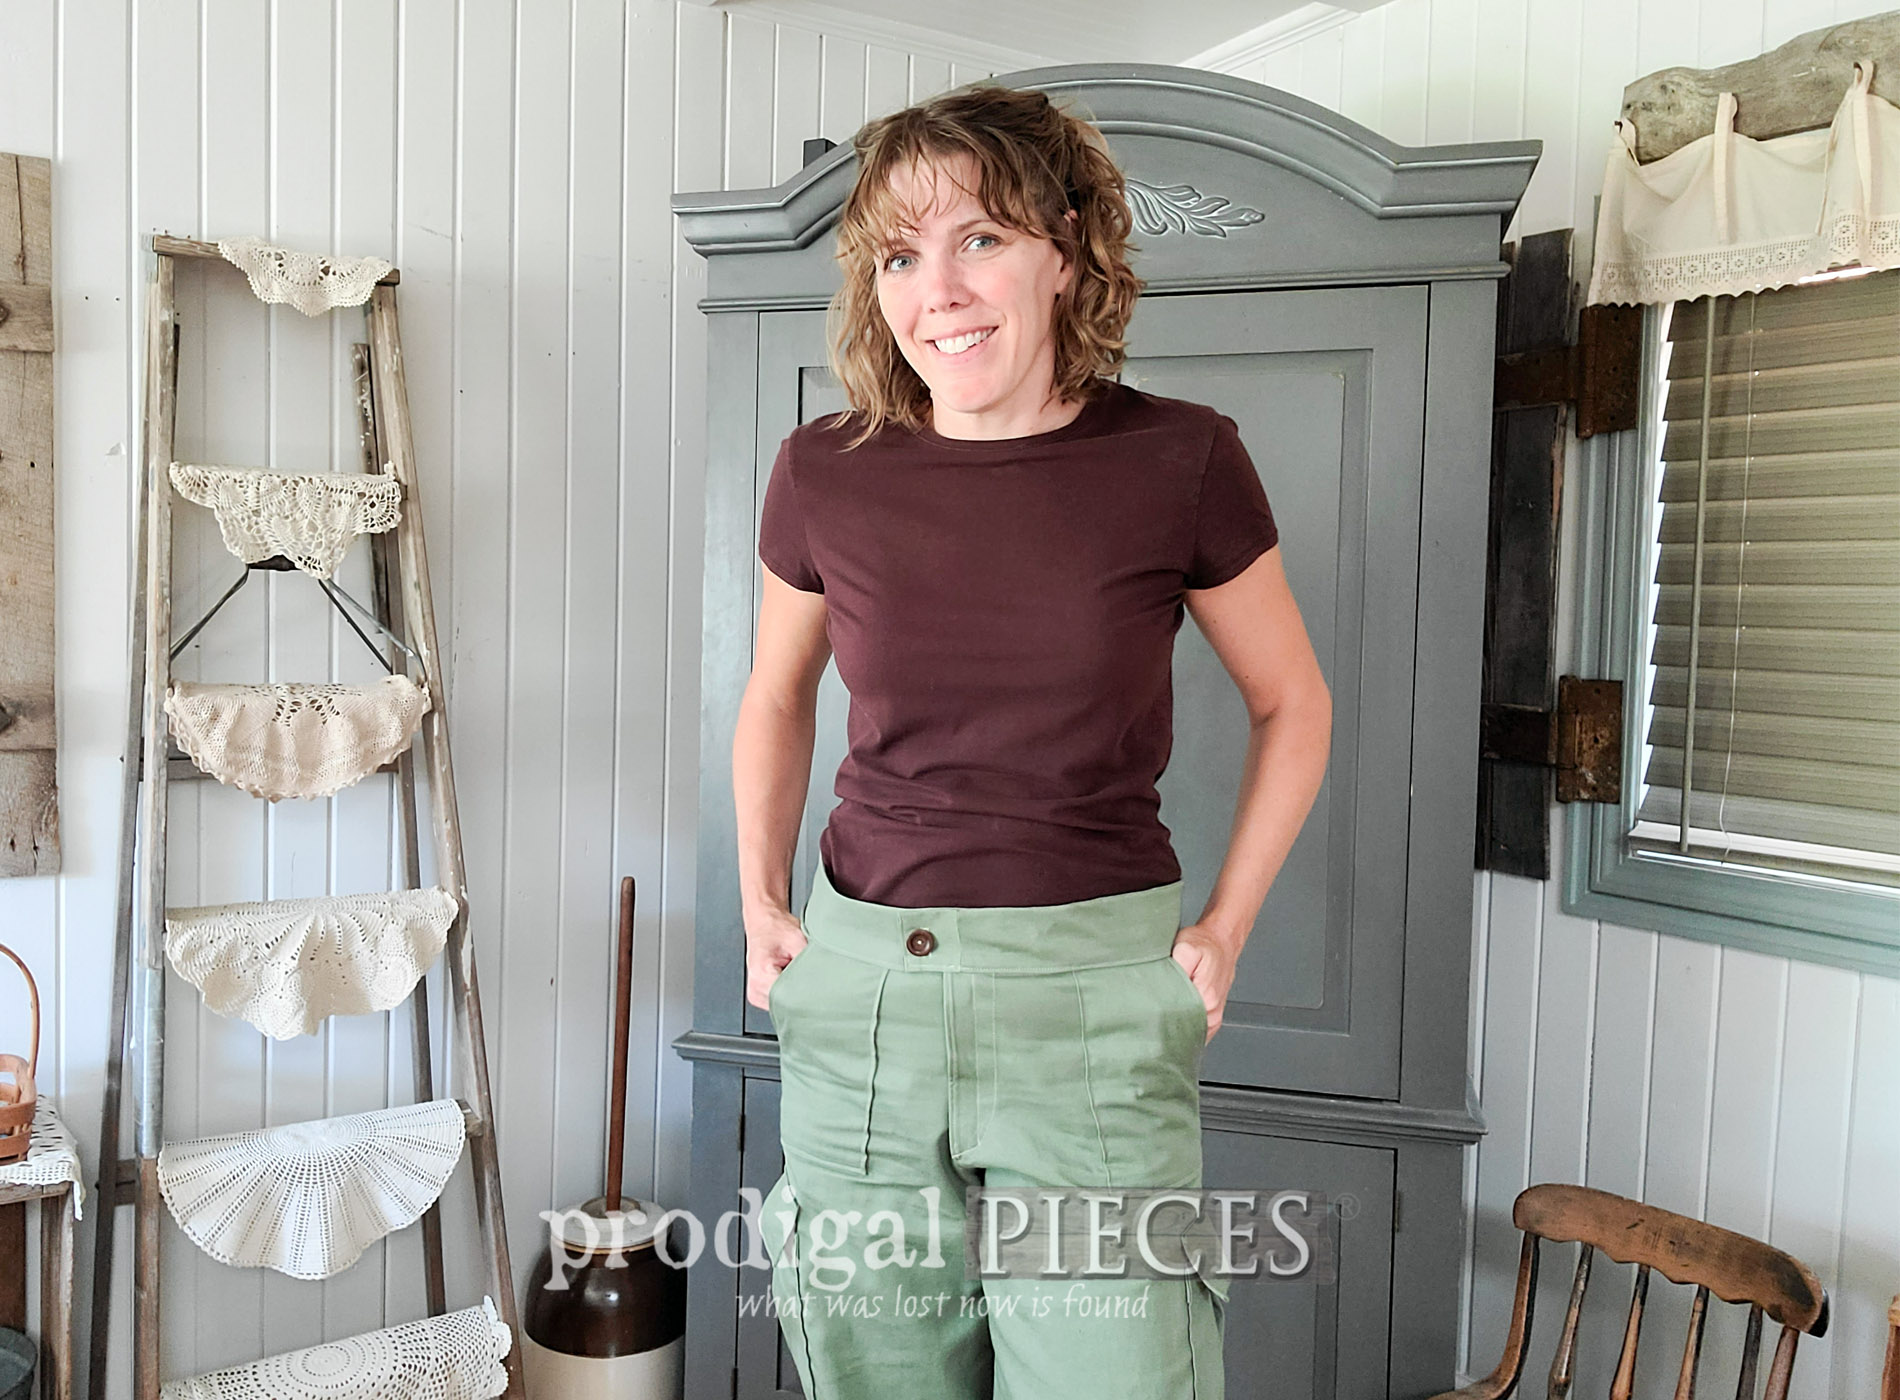
Y'all...I can FINALLY say my pants came out as best they could, and I'm feeling like I won the gold medal!!

They fit great, are a wonderful color, are loooong enough for tall me, and offer cute style with plenty of pockets.

I changed up the design to have two buttonholes (one on the outside and another facing the inside) for a twist in style. The button I used is
handmade from wood by an army veteran here in the USA that I used to use on the button pillows I used to make and sell in
my online store.


Now, for the gusset craziness...haha.


Not bad, eh? Just nod and say, "Yessss..."


Last, but not least, the drawstring cuffs make it so I can tighten them up or leave them loose over my
Wildling barefoot shoes.


They're called Dandelion...isn't that fun? Read more about
my barefoot journey HERE)
So...who wants to try this DIY cargo pants adventure? If you're debating on running away at this point, stop. Realistically, this is a 1 in 100 situation that I gave to myself. I cant say that these pants were easy to do and won't take more than a half of a day. You can do this with the free pattern or even just giving it a go like I did. Hopefully, you don't have quite the interruptions I did. My kids are even asking for their own pants in which a deep breath is taken as I process all that's happened.

SHARE
In light of my struggles, I would love it if you would take a minute to leave me some comment support below. Additionally, pin and share so others can be inspired (or triggered...haha) by my DIY cargo pants adventure.

Before you go, make sure to
sign up for my FREE newsletter as I have more to share with you. Until next time!

 PINTEREST | EMAIL
While you're at it, check out these other refashion fun projects like my DIY cargo pants: