What a blessing it is to have someone pray over you. I speak from experience as I am celebrating the life of my Aunt Jeannie. She is the only sister and youngest sibling to my father. Not only was she the sweetest spirit, but she also loved the Lord with all her heart. God saw fit for her to live her life being deaf, both her and my uncle, who also passed. My grandparents were deaf as well from different stories. However, my dad is the only hearing child they had. Today, Jeannie is hearing the voice of her Heavenly Father welcoming her home, she hears the applause of those gone before her, and I'm sure is in the best place ever. With that, I want to share with you this Queen Anne bench that was hers. You know I'm a sucker for dem legs! {{swoon!!}}

Not only is it a sweet in style, but also in function. I mean, who doesn't love extra storage? What is more, I have a thing for
reworking old upholstery projects.

Now, it's not anything spectacular, but it is cute and can use a new look.
FIRST STEPS
As you can imagine, the white upholstery has seen better days as far as normal wear and tear goes. The first thing I do is remove the top and take off the old upholstery. Then, I set aside the dust dover, foam and batting as it's not in bad shape to use again.

After that, I go dig in my upholstery stash and find this beautiful earth-tone tapestry fabric.

If you've ever wanted to try your hand at upholstery, benches like this are the best place to start. You can see
my tutorial for footstools HERE or also view the video below using
DIY felted wool.
 PAINT TIME
Then, as soon as the upholstery is on, I tackle this Queen Anne bench base. As I mentioned, the legs are absolutely wonderful, but could also use a bit more. Next, I use my mold and my paper clay to make decorative accents for the legs.


Next, once I have my molded pieces while they're still fresh, I spray on an adhesive to the leg and gently adhere the accent piece to each of the four legs and let cure.

Further, I've also use theis same mold with hot glue on various projects as seen in the video below or here:

As soon as the molded piece cures, I use a stain to match it to the finish the wood already has.

Last, but not least, I paint one coat of a base color (lighter and in a green to make the next color look good). Finally, on top of that, I use this same mustard yellow I use on this
French Provincial chest. Yes, it reminds me of newborn breastfed poo...just sayin'.

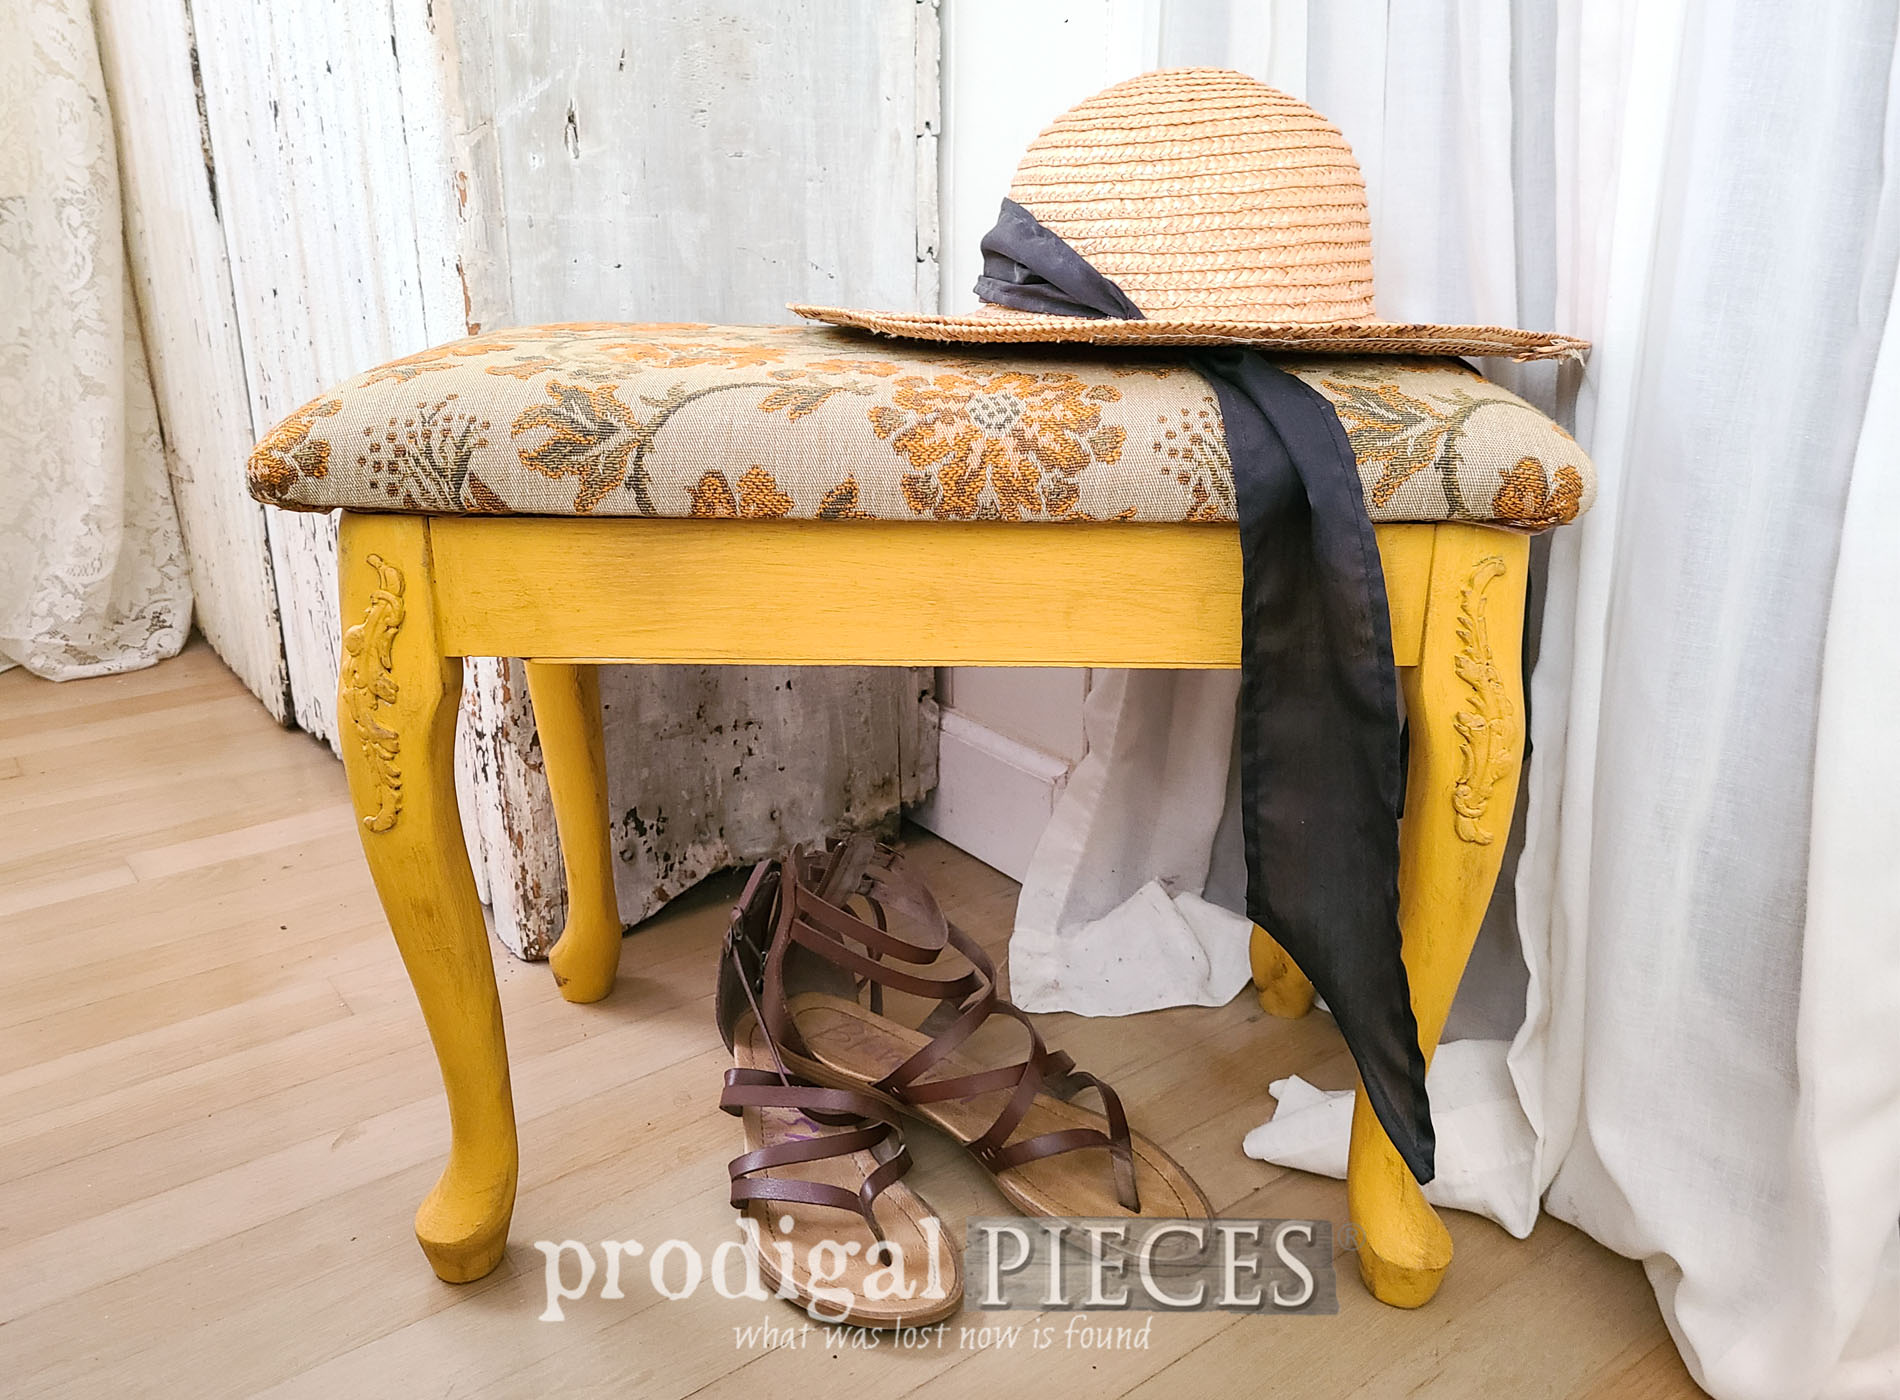
SITTIN' IN STYLE
At long last, I can put it all together to show you that this Queen Anee bench makeover is complete.


With new upholstery and a new color, plus the decorative accents I added, it now sports a whole new vibe. Can you see the accents of the dark wax I used to age and deepen the paint?


I think Jeannie would have loved this new look. She was sunshine and an easy person to like. I can't wait to see her again someday.


Also, you can make this bench a part of your home by finding it and more in
my online store. Above all,
sign up for my FREE newsletter to get a discount off your first purchase.

SHARE
As always, my goal is to bring a smile, to inspire, and to share with you a simple way to create your own home story. In addition, pin and share to inspire others too.

Even more, up next, it's
Reduce, Reuse, REFASHION TIME!

Until then...

While you're at it, here are more makeovers like this Queen Anne bench: