Do you ever have that one thing that's been occupying a corner of your workshop or basement that you just can't get rid of? This beauty has been staring at me since 2014. Yes, you read that right...nearly 10 years I've hung onto this thing. Why? Well, because I had hopes of moving to a new home to put it to use. Since
I've given that dream up, I'm creating a repurposed mirror harp project for you.

Not only is this mirror harp a beautiful antique specimen, but it has more of a purpose in it's very near future. Originally, it was part of a custom client's request of a dresser refinish. She decided she didn't want the mirror, so I hung it over my dresser bathroom vanity in
our remodel. Today, it's time for the harp to get its rightful place in a home.
DIY TIME
First, I need to remove the harp keys (the hardware that allow the mirror to tilt) as well as the mounting bolts. Yes, I'm saving those for later - you wouldn't believe how many times I have to buy them.

Then, as you can see, this thing is DIRTY. I gently clean the wood with a 2:1 vinegar mixture.

After that, I fill the hardware holes with dowel pieces and then fill with wood filler. When it cures, I sand it down and head to my wood stash.

Straight from the curb, I have this worm-hole wood board I've been saving for just the right project. That day is today! I originally pulled it off the curb about 11 years ago during city spring clean-up.

CUTTING TIME
In order to make this board work, I need to rip off the uneven edge. While it's simpler to cut it down on my table saw, I want to show you how to do the same using basic tools. First, I measure and clamp my steel ruler to give me a guide.

As soon as I'm ready, I use my circular saw to cut. However, the length is perfect, so I don't have to do any more cutting. Further, I want to get this board smooth, so I pull out my planer and take care of that quick. With that in mind, I need to make sure there isn't any nails in the board. Looky what I found - a hand-forged square nail. eep!


Next, while I have the board by itself, I mix up an epoxy to give a hardy topcoat.

Have you tried it before? Endless uses for this stuff. You can see it used for
our kitchen counters HERE or how I make
my own jewelry HERE.

While it's a wonderful finish, just keep in mind it needs 8 hours to set and approx. 22 hours to fully cure.
PAINTING TIME
In order to make this repurposed mirror harp project gel, I paint the harp a soft white to contrast that gorgeous wood top.

Last, while the paint cures, I go to the wall that I want to set this up on. Because I have baseboard that is ¾" thick, so that means I need to mount my board to the harp with a back edge hanging ¾" off the back.

Finally, I can assemble my pieces by pre-drilling screw holes with countersunk heads.

And, I add sawtooth hangers so I can mount it to my wall.

STORAGE & STYLE
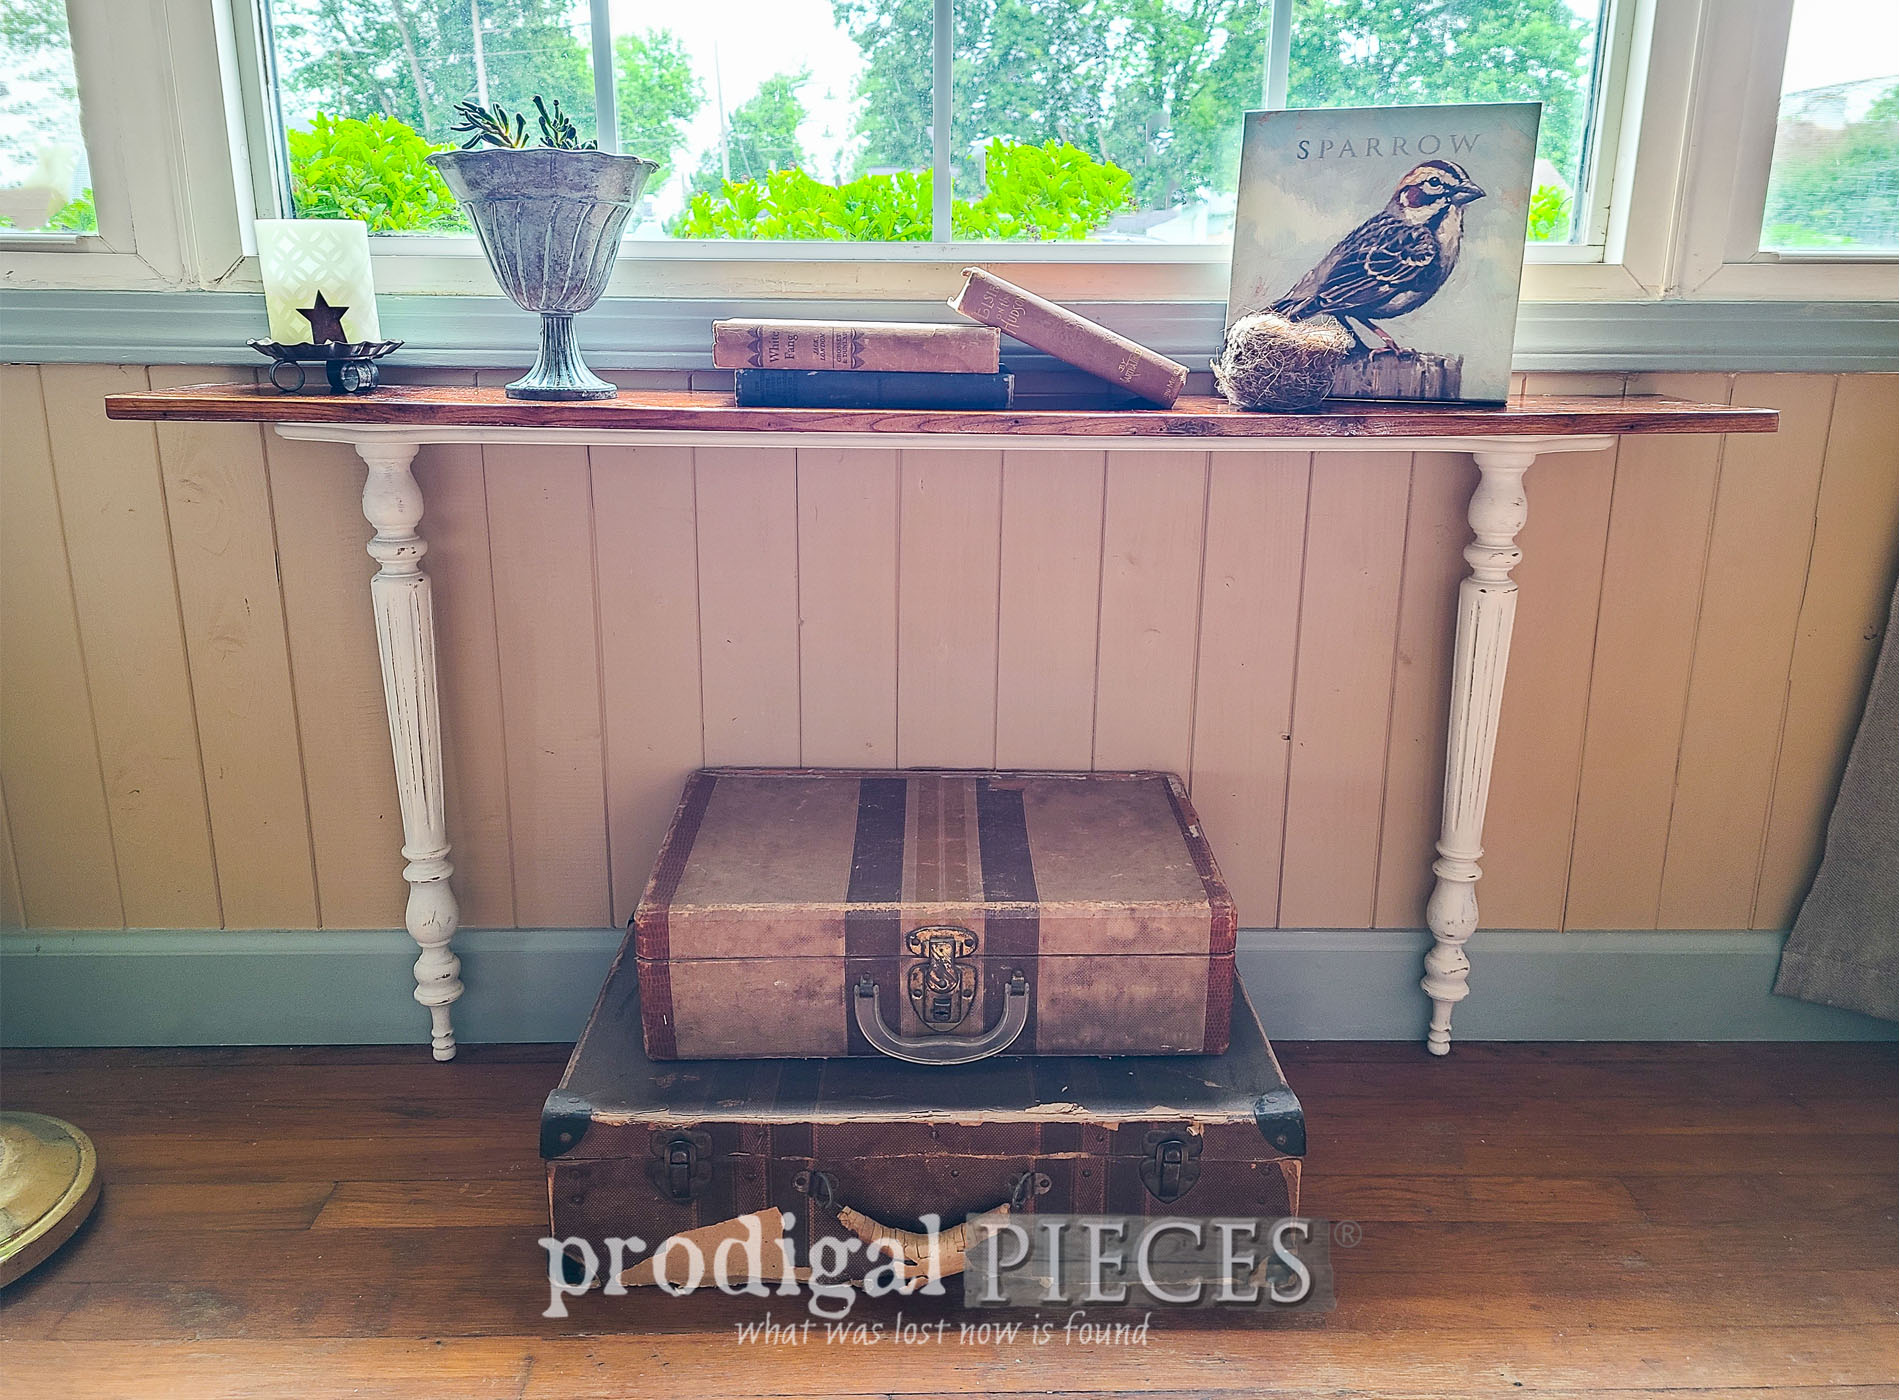
At last, we have our repurposed mirror harp turned table shelf. It's perfect as I've shown, but also can be mounted up on a wall as well.


Can you see the wet shine of the epoxy finish? Not only does it make a sweet statement, but also makes it perfect for watering those plants.


Besides, who doesn't love a great upcycle project, right? So, tell me, what would you have done with the harp? Let's have a fun discussion in comments below!


Also, you can find this table shelf and more available in
my online store.

SHARE
In addition to leaving comment love below, I invite you to pin and share to inspire others to get creative and make their own home story.

Before you go, be sure to
sign up for my FREE newsletter to see what becomes of
my Aunt Jeannie's bench HERE.

Until next time!

 PINTEREST | EMAIL
While you're at it, check out these other DIY projects like this repurposed mirror harp: