I am definitely a kid a heart and love creating for kids. So, of course, when I first spied this stainless-steel bread box at the thrift store, I had an instant vision. Do you ever do that? I couldn't get past that it needed to become a pretend play grill. Let's have some DIY fun!

In the picture below, this was what I saw at the thrift store. I first thought that it actually was a pretend play grill set based on the fact that it was sitting on that cart. Because of that I actually walked past it thinking we didn't need one of those. However, I came back around to grab that wire vanity stool and took a closer look at the bread box. It was a must to grab it, right?!? You can see how much I love making toys in
these past posts. (fun reads) In addition, you can see what I did with that wire vanity stool I nabbed too -
Head HERE.

TIME FOR WOODWORKING FUN
First, my goal in this entire project was to not spend a cent putting my vision together. I wanted to use up what I could from my stash and let the creative juices flow. Thankfully, I have plenty of wood and
trashure to keep me happy for a long time.
Then, I found a length of plywood that fit what I needed, except it needed shortened. Also, I already had some 2x4's that only needed ripped lengthwise on my table saw. No problem. Then, I used my drill and Kreg Jig to set it up to be ready for the bread box to be attached.

After that, it was pretty straightforward from there. My nailer helped me knock out a few more assembly parts and then it's time for more fun.

Another bonus was that I found a set of four knobs out of my scrap stash.

Not only did I find those, but also I had these fun blue casters that I had purchased to use on the
pretend play farmer's market I built HERE.

NEXT UP...PAINT
Now that everything's assembled it's time to bring on the paint. First, I wanted a dark base coat to work with, so I used this Rust-Oleum Flat Black paint. It took a couple of coats, but was done in a flash.

Then, to add even more fun and whimsy, I used my paint brush to add blue to the face plate. Last, I added red to the knobs and decorated the interior of the bread box.

PLAY TIME
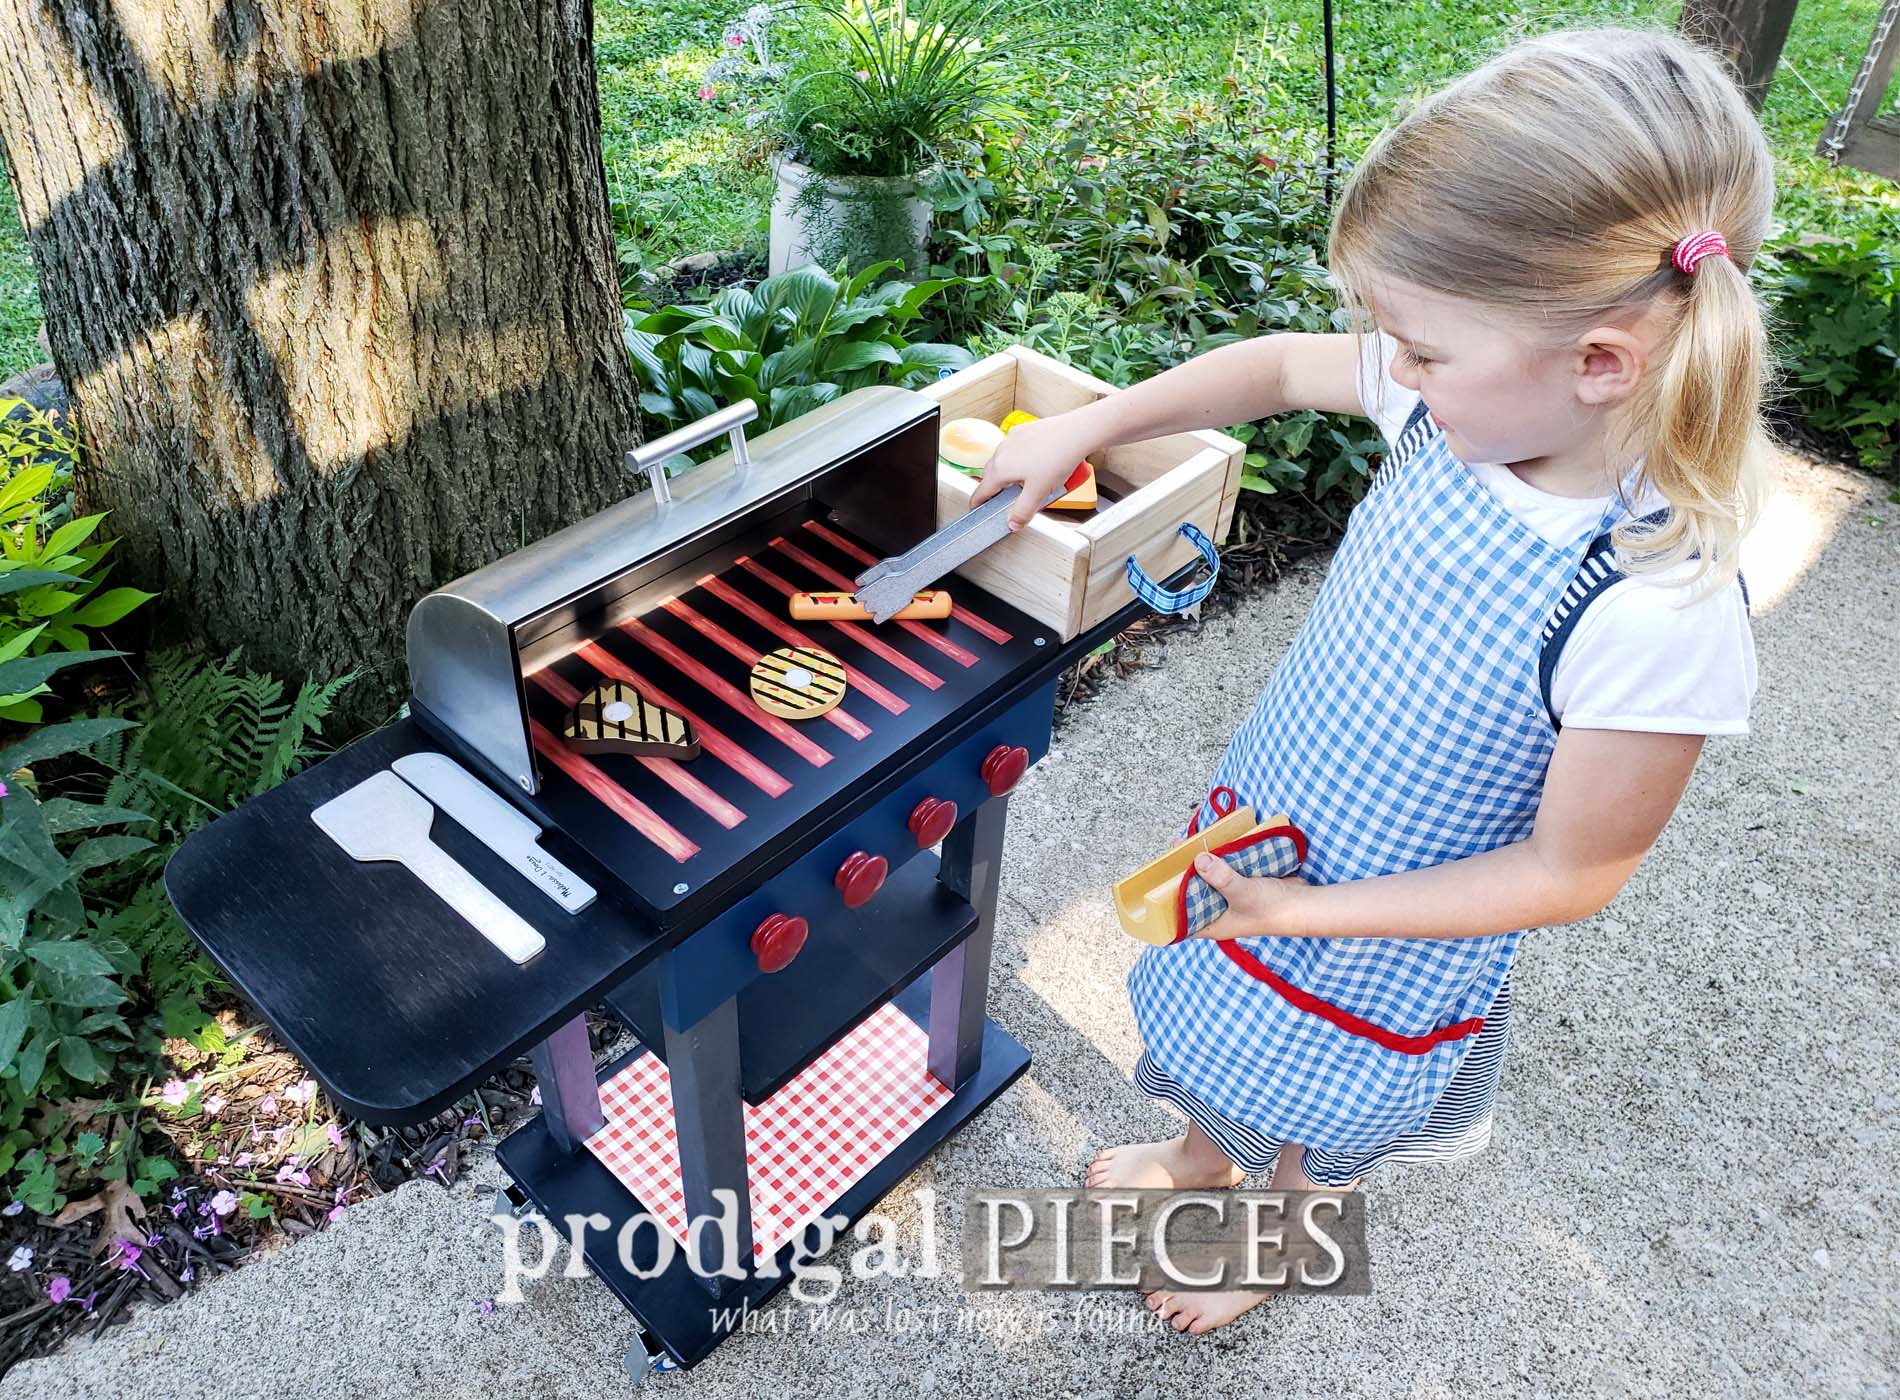
Let's take a peek at my completed pretend play grill, shall we?


Needless to say, I didn't have to coerce my littlest to help me out in giving it a test drive. tee hee. We all love how it came out and I'm smitten with the adorableness of it all. This set of wooden grill food was perfect to finish off my creation.


Since the food set came in a cardboard box, I built a cedar crate out of scraps to contain it all and make it portable. Every mom loves storage, right?


So... can you tell I had a blast not only creating this but playing with it too? haha. I'm just glad I can share my fun with you.


Likewise, if you are smitten with this set, you can find it available in
my online store along with all of my other handmade, vintage finds, and furniture collections. No worries as my kids already have plenty of toys like this already at home. Just wait until I have grand-kids....mwahahaha.


SHARE
Additionally, do pin and share my upcycled bread box turned pretend play grill. Creating kids fun is the best!

Up next, it's
Trash to Treasure Tuesday, and I'll be reviving this vintage lingerie chest for my daughters.
Come see its new life HERE.

Before you go, be sure to
sign up for my newsletter. Until next time!

 PINTEREST | EMAIL
Also, more kid fun projects like my pretend play grill: