Today's the day! It's
Trash to Treasure Tuesday, one of my favorite days of the month because I get to share alongside my blogger friends our latest projects. You'll see their inspiring work in a bit. However, take a peek at this vintage French provincial lingerie chest that has waited far too long for a restoration.

My daughters have been using this chest as a place to store hair accessories, legging, tights, etc. It did, however, look this shabby when I got it. I have been patiently waiting until we got our girls' room remodeled to work on it. Not only will that remodel not be happening too soon, but also the chippy paint is getting to me. blucky.

TIME FOR NEW LIFE
I don't know about you, but that gorgeous white oak peeking out begged me to remove that yellowish paint and primer. This beauty needed to shine! This is where I ask myself...why would they paint such gorgeous wood...and with gold??

Even better is the hardware is present, intact, and brass. SCORE! With that, my first order of business is to break out my sander and remove what is left of the original finish.

While the finish came of fairly easy, it still took me hours of sanding with this sander, my Corner Cat, hand-sanding, and using my Dremel for those tough spots.

Even my daughters chipped in to get it done. These are the moments I live for. What a blessing!

THE NEXT STEP
Finally, the French Provincial lingerie chest is relieved of its awful finish. It's now time to put the finishing touches on it. First, I used my
limewash technique (click for details), the same finish I used on our dining table. I apply a thinned paint and quickly wipe it off.

My goal is to fill the grain with the white color but remove the majority of it from the surface.

Then, I let the limewash cure for about an hour or so. Now that my surfaces are ready, I just need to add a topcoat. Since I have four girls that put this lingerie chest to work, I wanted a fairly sturdy finish. I chose this matte poly to finish it off.

Afterward, I apply one coat, and let cure. Finally, I use steel wool to knock it down, wipe off debris with a tack cloth, and then apply a second coat.
FINISHING UP
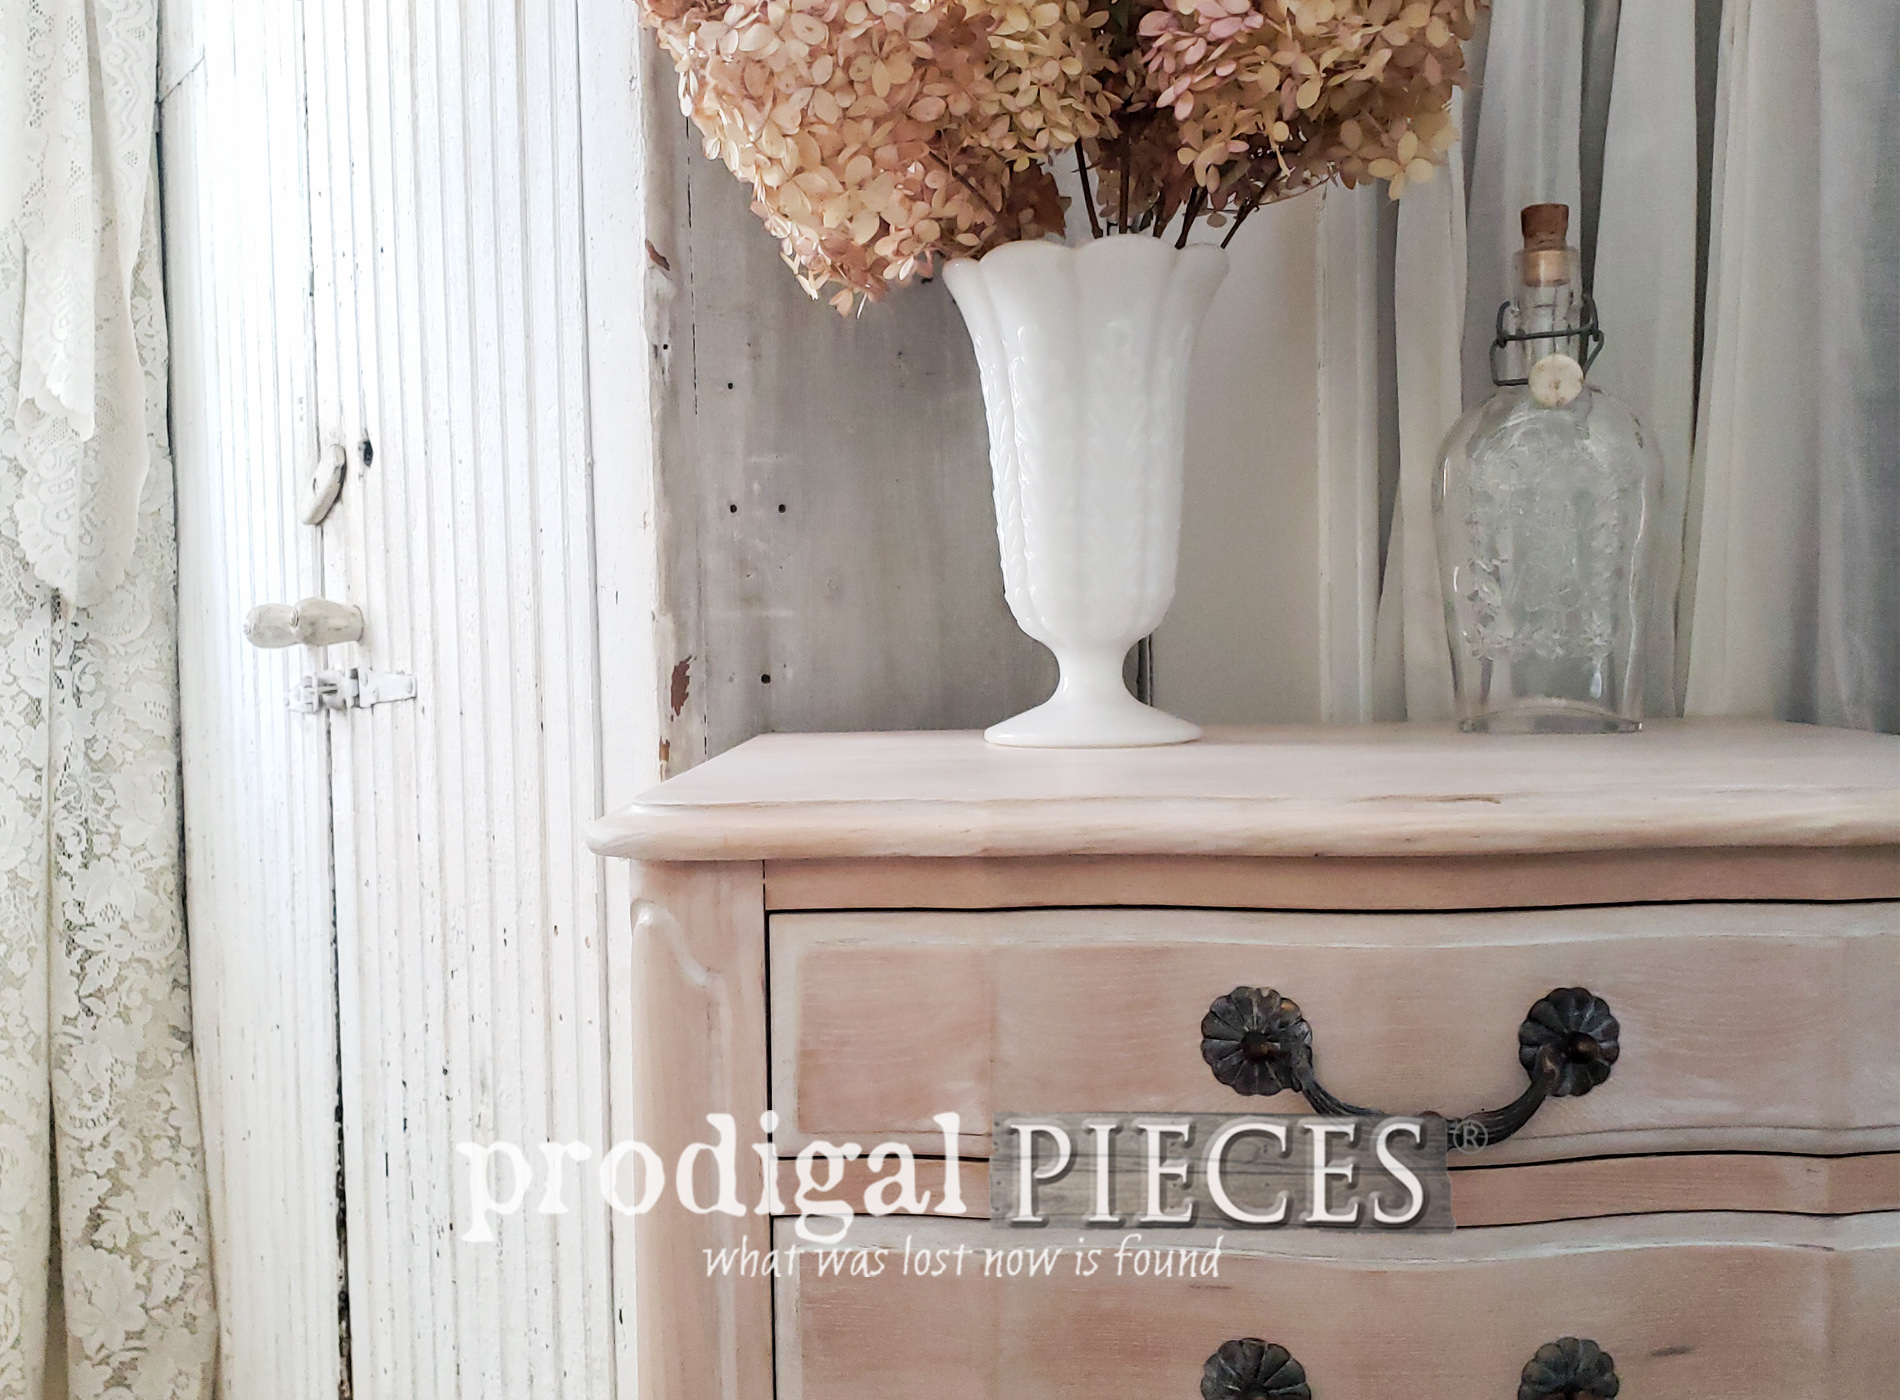
While their bedroom isn't complete, I thought it fun to see this lingerie chest set up in my bedroom. Maybe I should keep it, eh?


My daughters and I adore the outcome. They are more than happy to have rid themselves of the chippy mess they have dealt with. I only wish I had made the time to do it sooner. In any event, I am anxiously waiting on the time to remodel their space.

Additionally, the pulls were brass, so I didn't have the heart to paint them. Last, to match them up with the limewash, I simply used a bit of white wax to soften them up.

Above all, my goal is to have inspired you to tackle that worn out piece of furniture in your own home and give it new life. Likewise, getting the look we love doesn't have to be about a big budget.

SHARE
In addition, pin and share this French Provincial lingerie chest makeover. Inspire others to see the potential in these dated pieces.

Up next I'll be giving this 1992 paper plate holder a new lease on life. Any guesses?
Take a peek HERE.

To get these DIY tips & tricks in your inbox, be sure to
sign up for my newsletter. Now it's time to see what my Trash to Treasure ladies have for you!

Likewise, check out these four other Trash to Treasure makeovers from my blogger friends.


- Artsy Chicks Rule
- Confessions of a Serial DIYer
- Girl in the Garage
- Bless'er House
Additionally, more furniture makeovers like this French Provincial lingerie chest:


 Likewise, check out these four other Trash to Treasure makeovers from my blogger friends.