Well...let's just say part of this thrift store find got my heart pumping while others...not so much. Can you see why? You know I love me a fun makeover challenge and I couldn't pass this one up. Since leopard print and lions aren't my thang, I'm going to show you how I create shabby chic wall art from this mirror.

If you can get your eyeballs to look past that awful print on the mirror, you'll cast your eyes on that gorgeous frame. {{commence swooning}} Never-mind the lion. tsk.

That is a resin frame made in the good ol' U.S. of A. and totally is begging for a new look. I've created a video tutorial for you below. Oh and nevermind that I refer to the lion as a tiger and a leopard...whatever.
BRING ON THE PAINT
First order of business is to prep this frame. After a good cleaning, I break out my flat gray primer that I've used in these past posts. Why there is no regular dark gray flat spray paint is beyond me. They need to make one! Just sayin'...

I use two coats letting cure in between. Then, I use my round brush to add another layer of a pretty aqua color (you know I love my blues).

Next, for the last layer I use this DecoArt Paint called Vintage (as seen in these posts) for a dry brush layer. The video shows this best.

WHILE WE WAIT
During the cure times, it's the perfect opportunity to work on other parts of your project. It will save time, keep you organized, and be fun at the same. time. For my shabby chic wall art project, I decided to add even more plastic to the game. Yup. I normally abhor plastic, but since the frame is already resin, I thought...why not?
You see, I recently installed this faux wood blind in my family room remodel BTW...we're almost done!! See the beginning
HERE. Likewise, we took a break for the summer to tackle more pertinent outdoor stuff.

Most folks have to shorten their blinds to fit and typically toss out the extra slats. However, I am not normal. ahem. We already knew that, right? I saw no need to chuck the extras, but rather saw them as potential art. They are faux wood and would be perfect for the interior of my frame and my end vision.

I cut them to length with my tin snips and then glued the strips onto the backing with my hot glue gun and glue sticks. In case you're wondering...I DIDN'T throw out the mirror. Actually, I donated it to a ministry. It was promptly claimed by a lady who fell in love with it and wouldn't let it out of her sight. I knew there would be somebody who it was meant for!
ONE MORE STEP
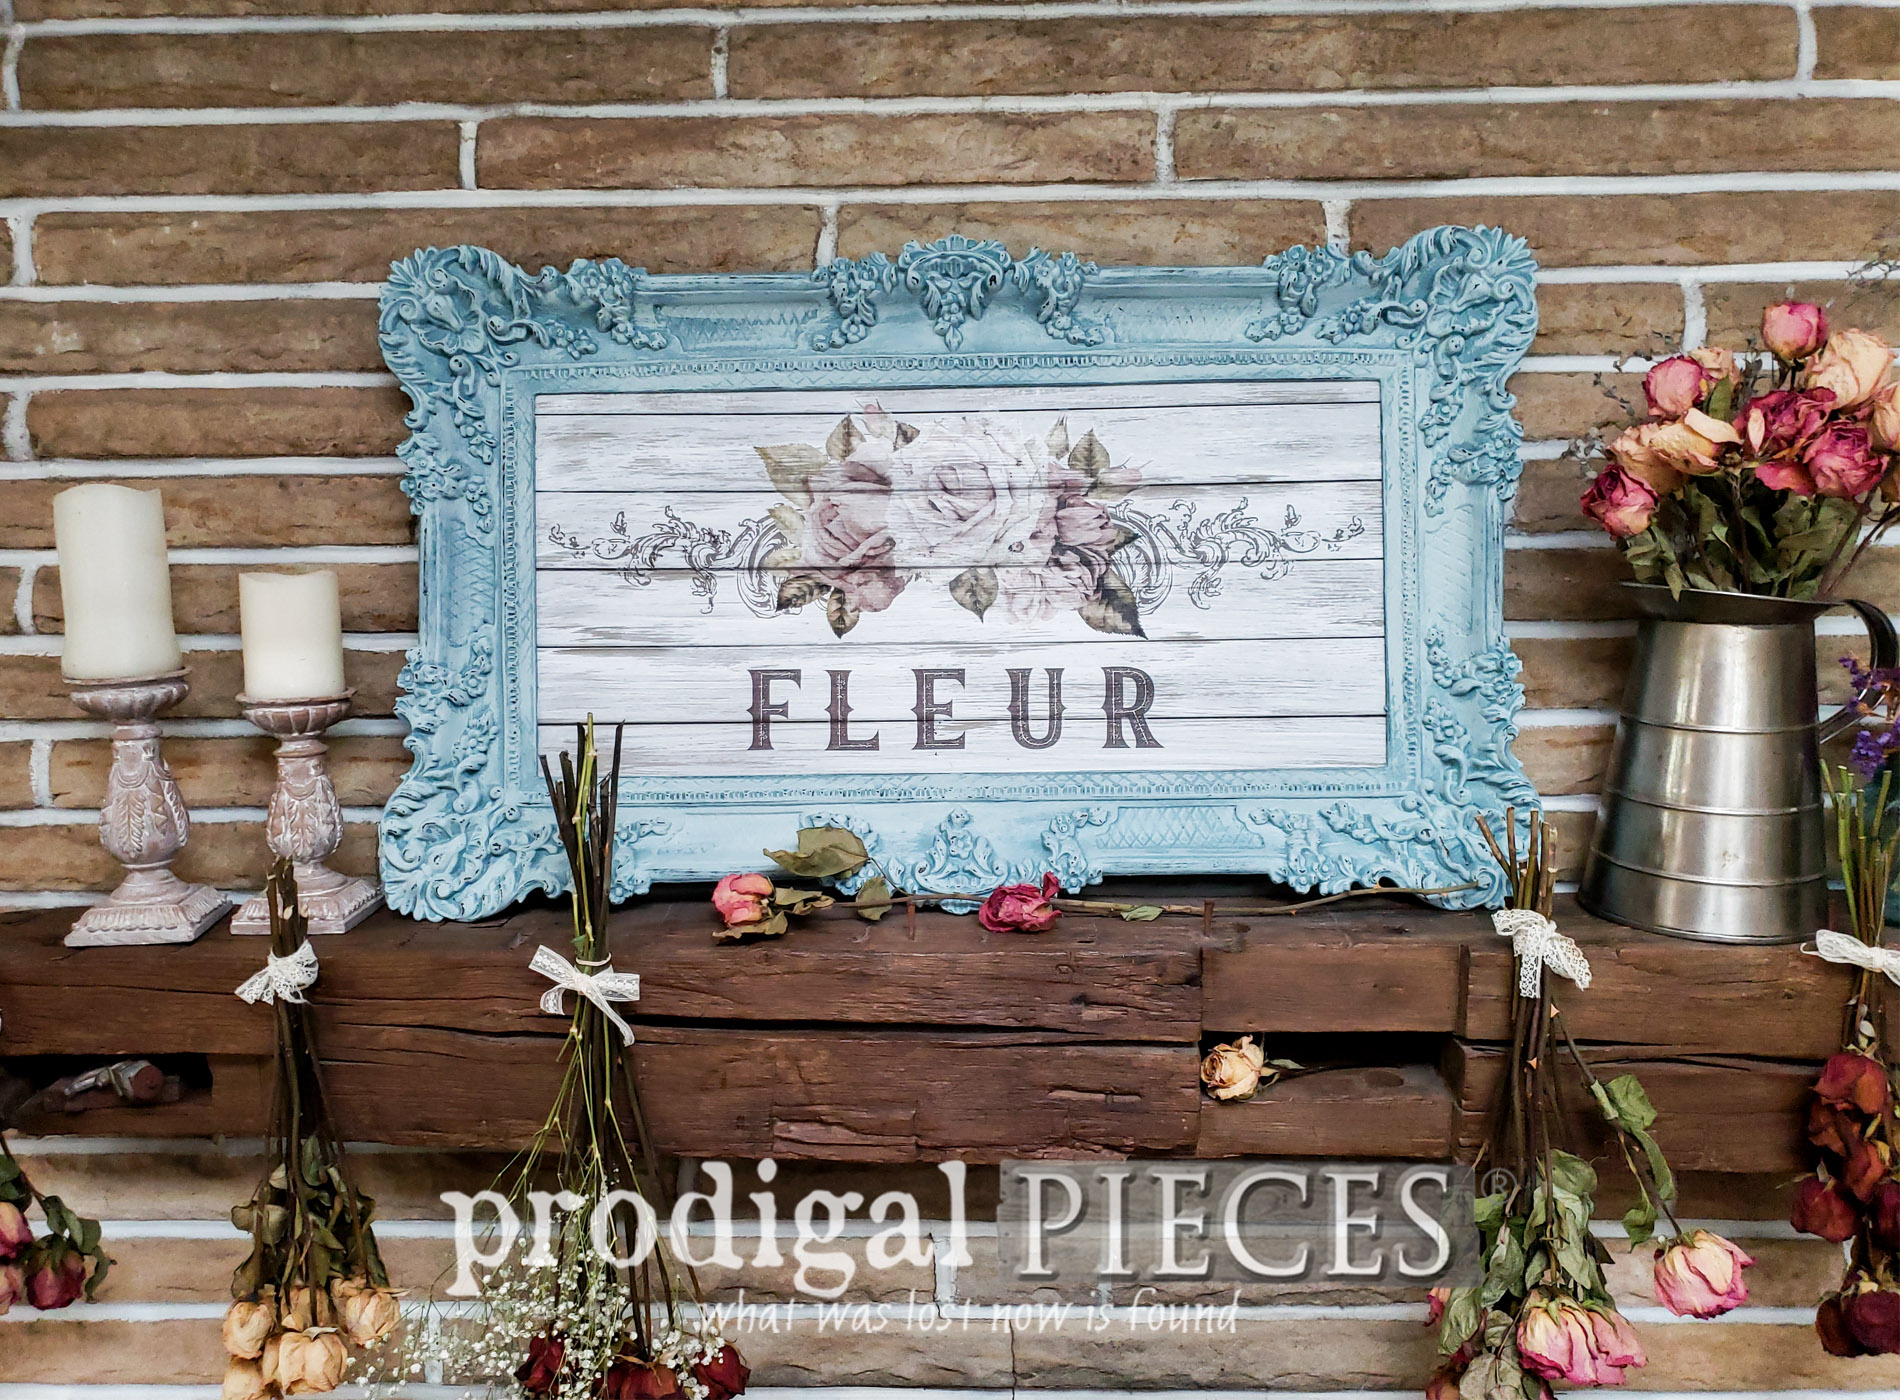
For added time-worn effect, I whitewashed the slats and then wet distressed. As soon as that cured, I used this beautiful transfer with French text and, of course, roses. If you haven't used these transfers before, I gotta tell you I'm smitten with the ease of them. You can see how I've used them
OVER HERE.

I do, however, prefer to make my own and not be a cookie-cutter creator. You can see how to make your own in
this past tutorial. Since the transfer I am using is too big for my project, I cut it up for my own layout. It comes with a burnishing tool, and you just rub it on. (see video for example)

Once I'm done it's time to assemble and give it a little more time-worn distressing.

OOH, LA, LA
Here she is! Yes, "she" because the lady with the lion...ya know.


I'm delighted with the outcome. Especially because I hung onto those slats that work perfectly. woot!


If you'd like to make this art your own, you can find it available in
my online store along with other antique, vintage, and handmade goods. I gotta tell ya, I'm really loving this one.


Additionally, pin and share my upcycled shabby chic wall art. I'm sure there are others who may come across a tiger lady mirror too! haha.

In addition, up next, I'll be sharing what I do with this little bread box. (I'm excited!) Come see my latest creation
HERE.

Before you go, be sure to
sign up for my newsletter. Until next time!

 PINTEREST | EMAIL
Also, more DIY projects like this shabby chic wall art: