While I'm always raving about the wood section of the thrift store, there certainly are other haunts that are a must-see too. For instance, these two plaques were in the home decor section and jumped right in my cart...really. tsk. How about I show you my vision for them by demonstrating my paint layering technique? Game on.

So...would you grabbed them? To be honest, the color reminded me of a moss covered garden art, which isn't all that bad...for a garden. However, I had a better idea. I felt they would be awesome showcased on a couple of cupboard doors from my stash to end all stashes. See how I've used others
in these posts.

Also, to make this easier, I've created a video tutorial for you below. The steps are pretty simple, and I'll briefly outline them for you.
Paint Layering Steps:
- First, prep your surface by wiping clean with a vinegar wash or other preferred method. Plus, make any necessary repairs. I needed a bit of wood filler< for my two doors. I also used a heavy-duty adhesive to attach the art to the door.
- Then, apply one (or two) coats of paint, letting cure in between. I used two coats for my projects with my paint brush. For the blue, I used the color, Vintage.

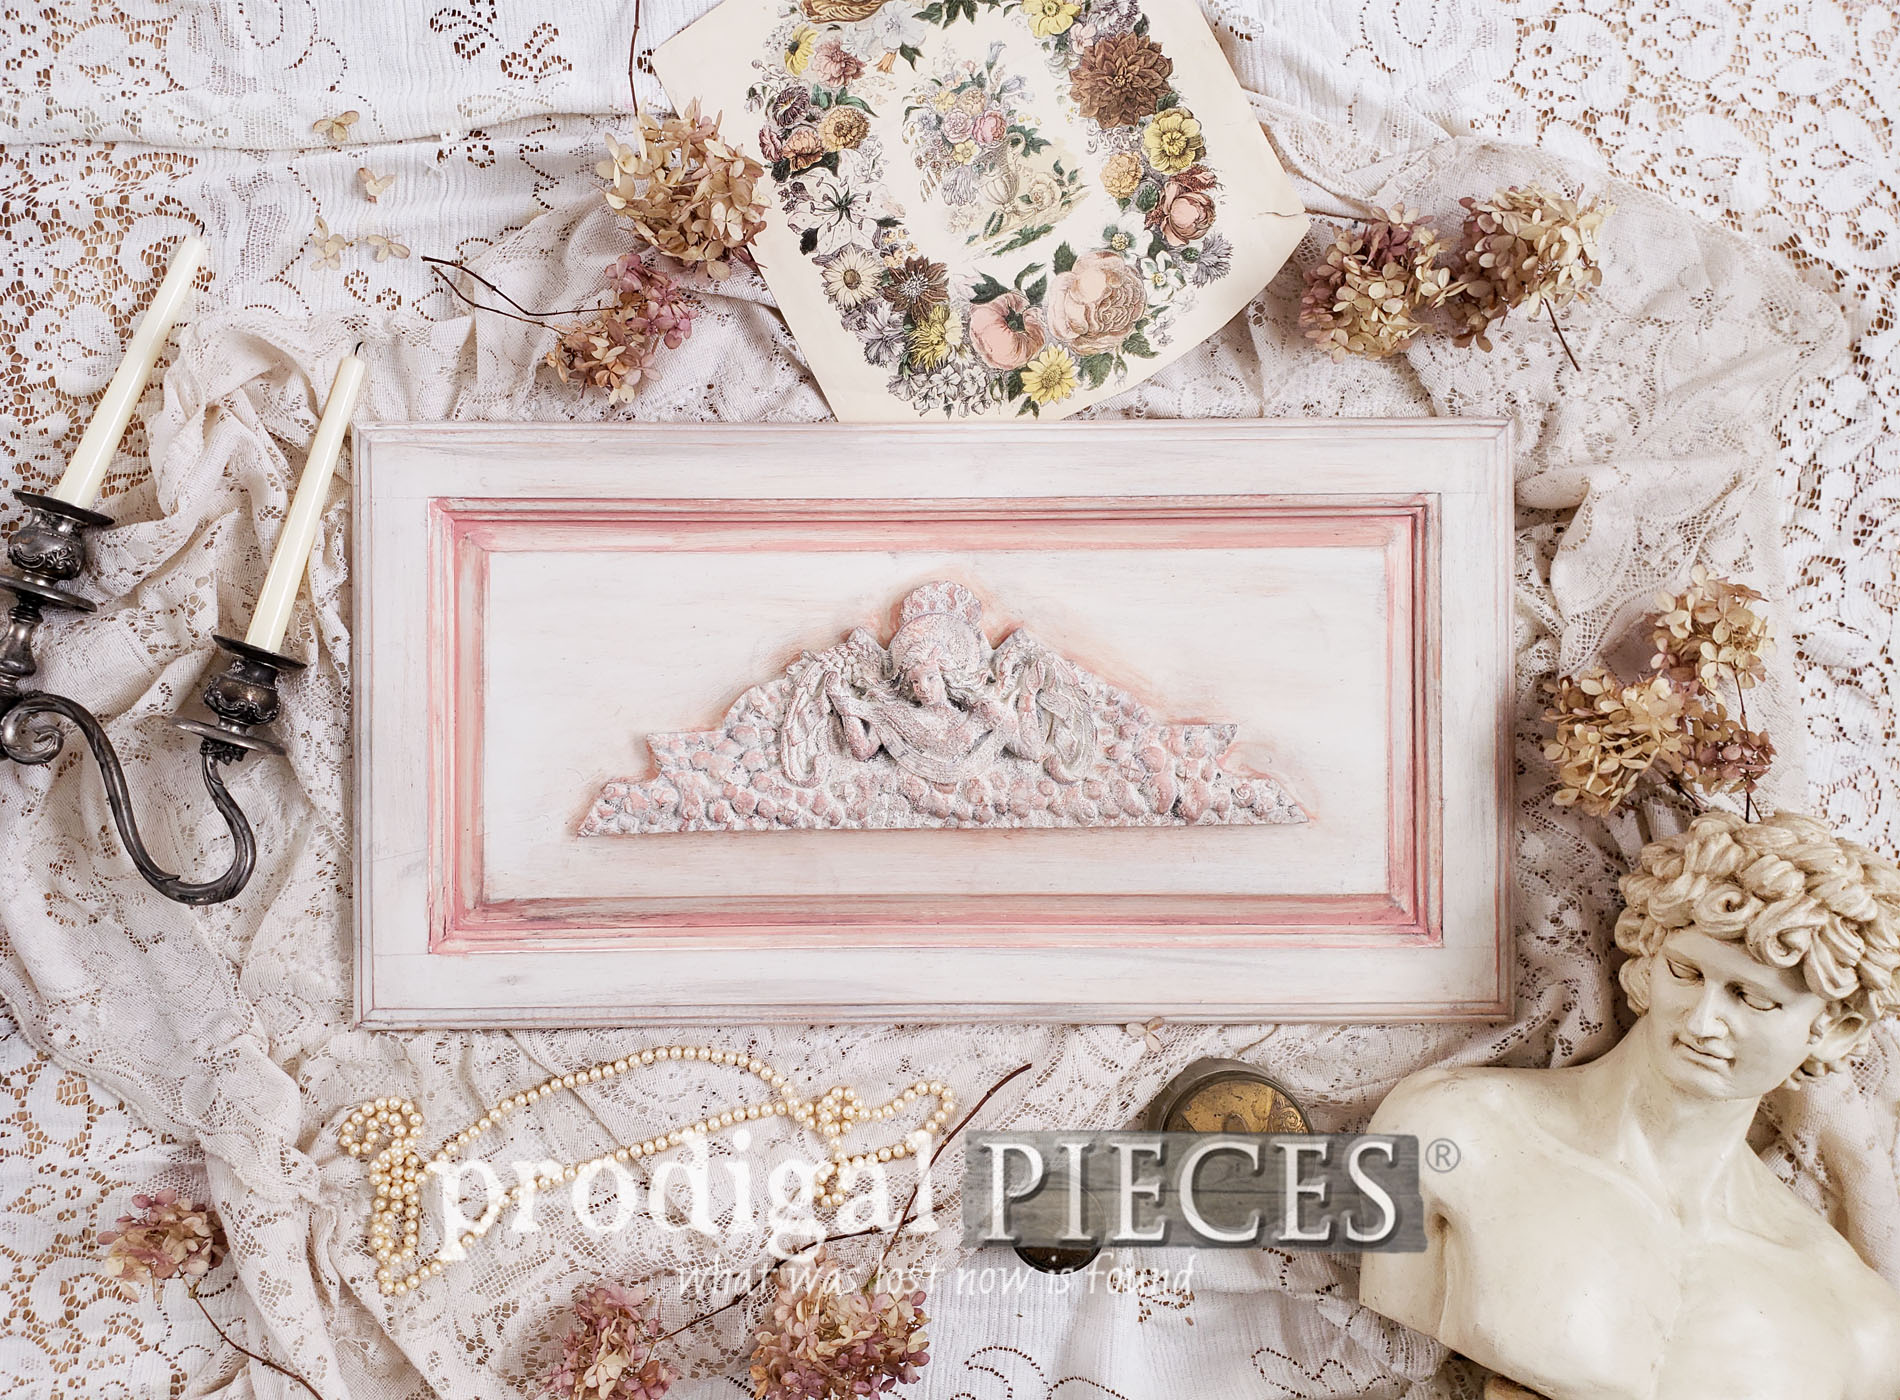
- After that, apply any highlights you would like. I used a soft white on the blue. Also, this is the time to add any gilding using metallic paint or gilding waxes.
- Next, apply a glaze in any color you prefer. I used this custom coral color with my paint brush. In addition, I have many glazing tutorials found HERE. My glaze is made of basic latex paint and a bit of water. A good ratio is 1 cup paint to ¼ teaspoon water. As a result, you are aiming for consistency similar to milk. Brush on making sure to hit all areas and wipe off with a damp cloth. Let cure.

- Last, to add another layer of dimension, add waxes in various depths to draw out the fine details. Buff with a soft cloth to your desired finish. Also, you can add distressing using a wet distressing method or basic sandpaper.
ALL DONE
Finally, add some hardware to the back, like these keyhole hangers. You're done! The sky's the limit when it comes to the variations you can use in your paint layering technique. I've only skimmed the surface of the options.


With that in mind, I had such fun with this video. In addition, I hope it helps you all to visualize and end result as you come upon finds in your home and while out
trashure hunting.


Also, don't forget the blue one. Even more, this one I create using a Vintage color chalky finish paint I've used on
these past projects.


So...I have to ask...which one is your favorite?

Not only are both of these wall art pieces available in
my online shop, but there is also redeemed furniture, vintage finds, and handmade goods. Also, if you sign up for my newsletter, you'll receive a discount off your first purchase.


SHARE
I'm all about inspiring YOU. Likewise, pin and share this paint layering technique to inspire other to give DIY a try!

Up next, this chest that has been in my sons' closet is about to be redeemed.
See the new look HERE.

Until next time!

In addition, more tutorials like my paint layering technique: