 Okay, so I'll admit that the food carving on the front wasn't that bad, but it had that "Made in .... " look to it. The faux dental molding was kinda meh, and I saw the potential for added function. I was kinda like...let's change it up!
 First, I dug into my stash to find a piece of beadboard that would allow me to cover up the food. I've created a video tutorial for those of you who like to have a live visual (see below). I know it helps me at times too.

DIY TIME
I cut it to size using my jigsaw. The key was to set my jigsaw blade at an angle when I made the bottom cut so that the bottom edge wouldn't stick out bluntly. Once it was cut, I sanded it down with my sander. I love these battery-operated tools!
 Next, I used my panel adhesive to add a bead on the back and attached the panel to the front with my nailer. I demonstrate it in the video below.
Once that was done, I wanted to make my upcycled farmhouse coat rack look cohesive. Of course, paint works wonders, so I used my paint brush to give a few coats of paint.
Next, I used my panel adhesive to add a bead on the back and attached the panel to the front with my nailer. I demonstrate it in the video below.
Once that was done, I wanted to make my upcycled farmhouse coat rack look cohesive. Of course, paint works wonders, so I used my paint brush to give a few coats of paint.
 And, what is a coat rack without hooks, right? I've had many tell me they have a hard time getting hooks spaced right, so I'm sharing how to do it.
First, figure out where you want your outer hooks to be placed. I chose to bring mine 2" in from each end.
And, what is a coat rack without hooks, right? I've had many tell me they have a hard time getting hooks spaced right, so I'm sharing how to do it.
First, figure out where you want your outer hooks to be placed. I chose to bring mine 2" in from each end.

NEXT STEPS
Then, using my pencil, I mark the holes and pre-drill pilot holes using my drill. It's best to use a drill bit slightly smaller than your shank of your screws. With that in mind, we pre-drill to prevent the wood from splitting as well as making our hook placement much easier. Next, measure between your two outer hooks.
 Last, take that measurement and divide it by the number of spaces you will have to fill. For instance, I wanted to add two more hooks, so that would create 3 spaces between the outer two hooks.
 One other thing I needed to add were some keyhole hangers. You could also route them in with a keyhole router bit, but I chose to use my hardware instead. Unfortunately, the keyholes that were already on the back were chewed up and no longer functional.

REVEAL TIME
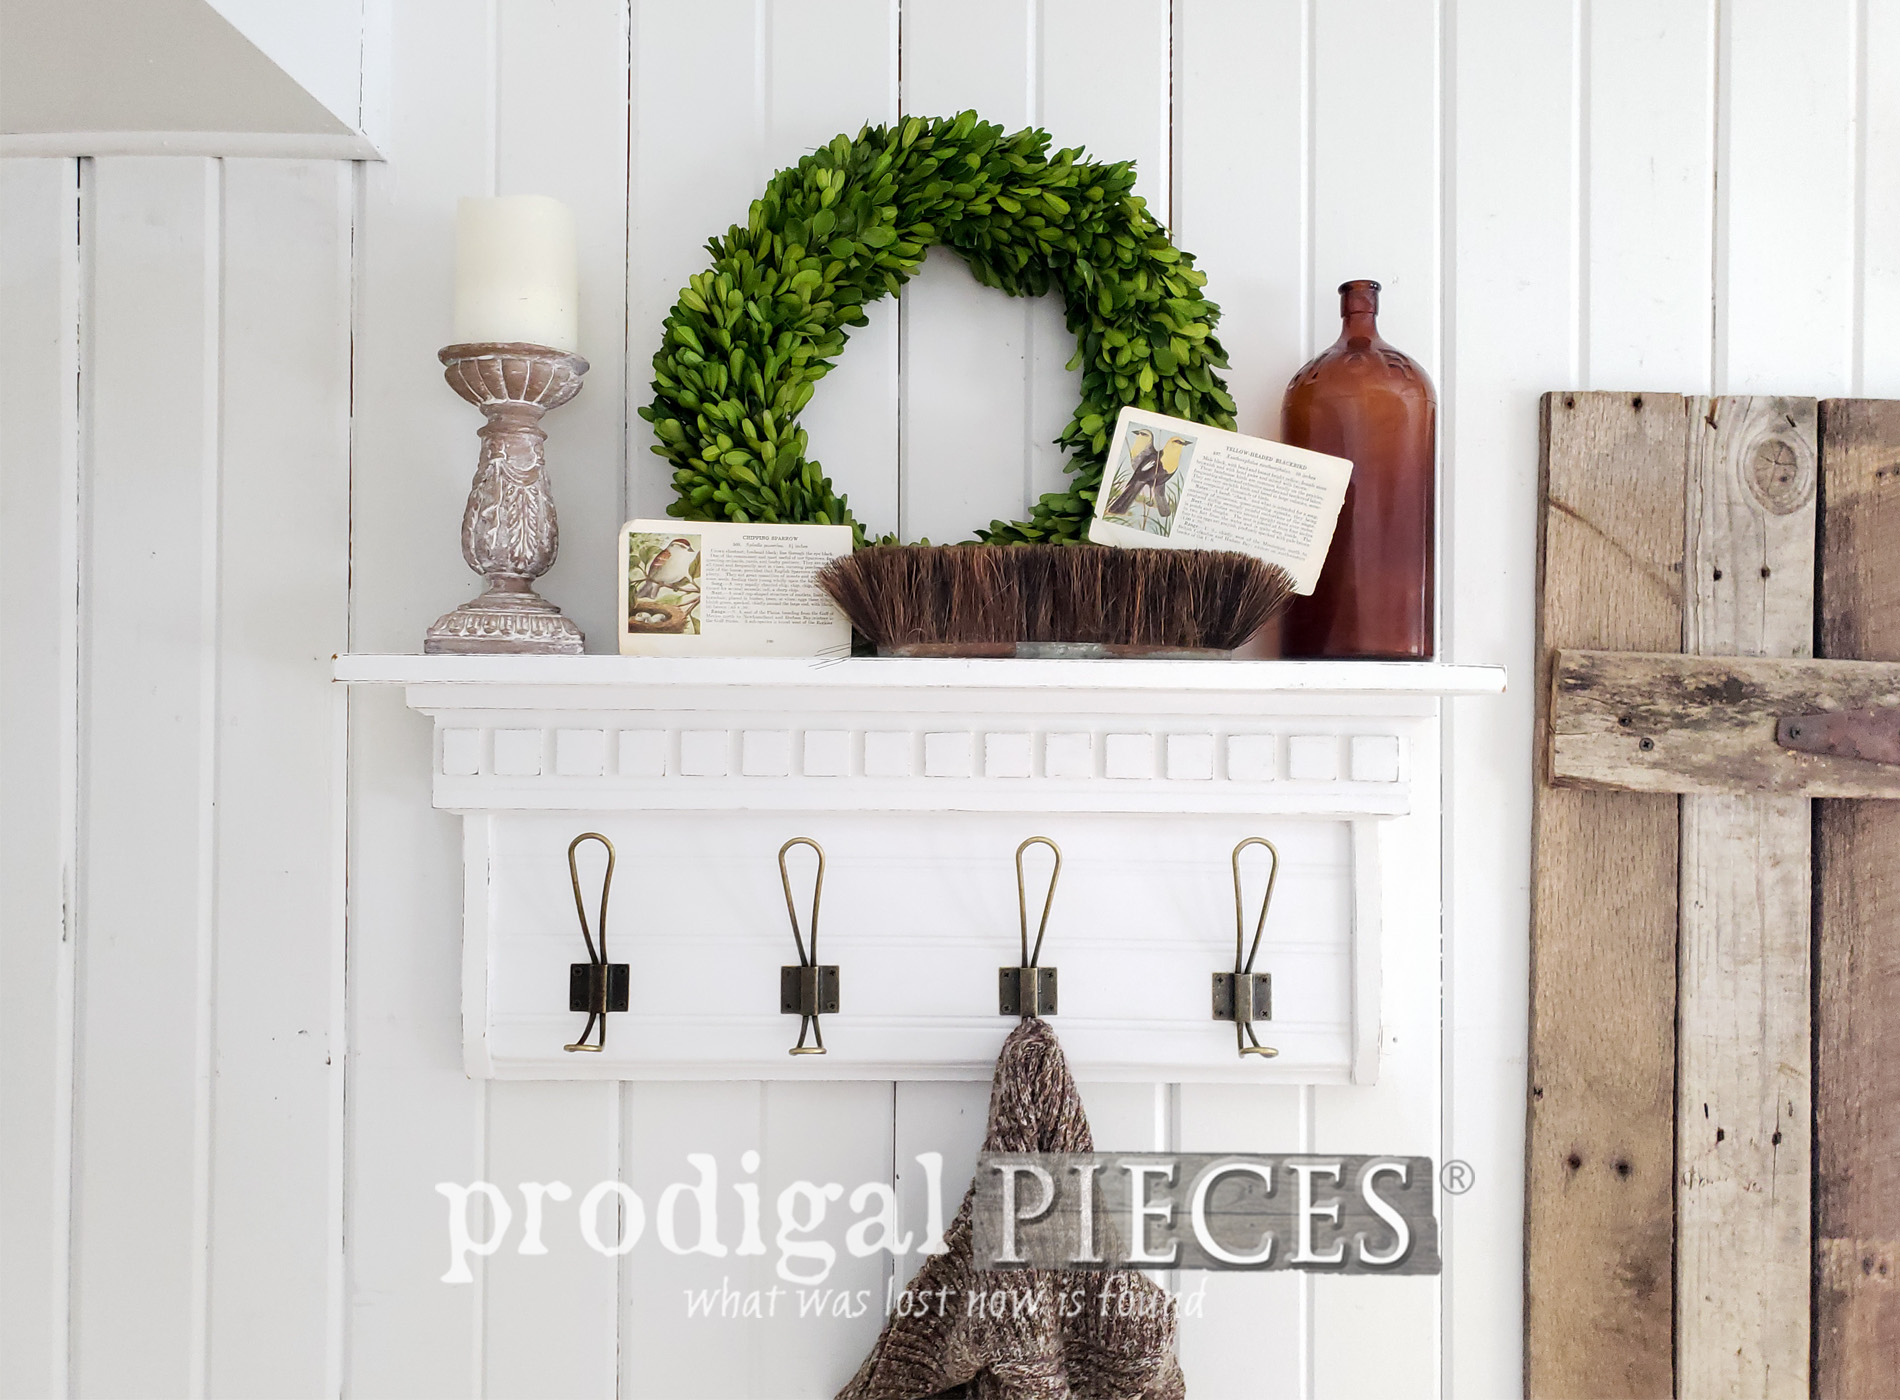
Now our upcycled farmhouse coat rack (or towel rack) is done and ready for a new function with style.
 Not only is the shelf viable for vignettes, but also as a daily grind drop off. Meanwhile, the hooks sure do add more function that that food did. haha!!


 As usual, my goal is to inspire you to maybe shop your home for items that could use a new look and use. Or maybe even head out for a thrift shopping spree to create your home story.

 Now, just for fun, I took two oddly long cupboard doors from my cupboard-door-stash-to-end-all-stashes and also made them into coat racks. It was as simple as adding hooks and hanging hardware.
MORE FUN
One is in the rustic raw wood finish...
 ...while the other is a weathered gray. I'd say they look like they were meant to be, wouldn't you?

 I had fun recreating these unwanted wooden goodies and hope you had fun too. All these coat/towel racks are available in my online shop for purchase.
[metaslider id=30251]
GIVEAWAY
Finally, it's time for some giveaway fun! I've been so eager to inspire you to give DIY a try and get the right tools in your hands. My motto since a kid has been toolsoverjewels. Why? Well, why buy when you can create? Also, in order to help you on your own project journey, I'm giving away one of my favorite tools, the Palm Sander with. PLUS, you will also be getting a handmade canvas sack full of goodies including one of my trashure mugs, and a paint brush. Easy entry - just complete the widget below for as many entries as you like (daily even for more entries). Open to U.S. residents 18 years of age or older. Winner will be notified via email and will have 24 hours to respond to claim their prize. Be sure to check your spam!
SHARE
Additionally, pin and share this upcycled farmhouse coat rack. For me, it's all about inspiring you and others out there. DIY is where it's at! Likewise, up next, this pair of plaques are definitely in need of a makeover, don't you think? See their new look HERE.
 To get these DIY tips & tricks in your inbox, be sure to sign up for my newsletter. In addition, you will get your FREE Furniture Buying Checklist and special discount to my shop. Until next time!
 Also, more projects like my upcycled farmhouse coat rack:


