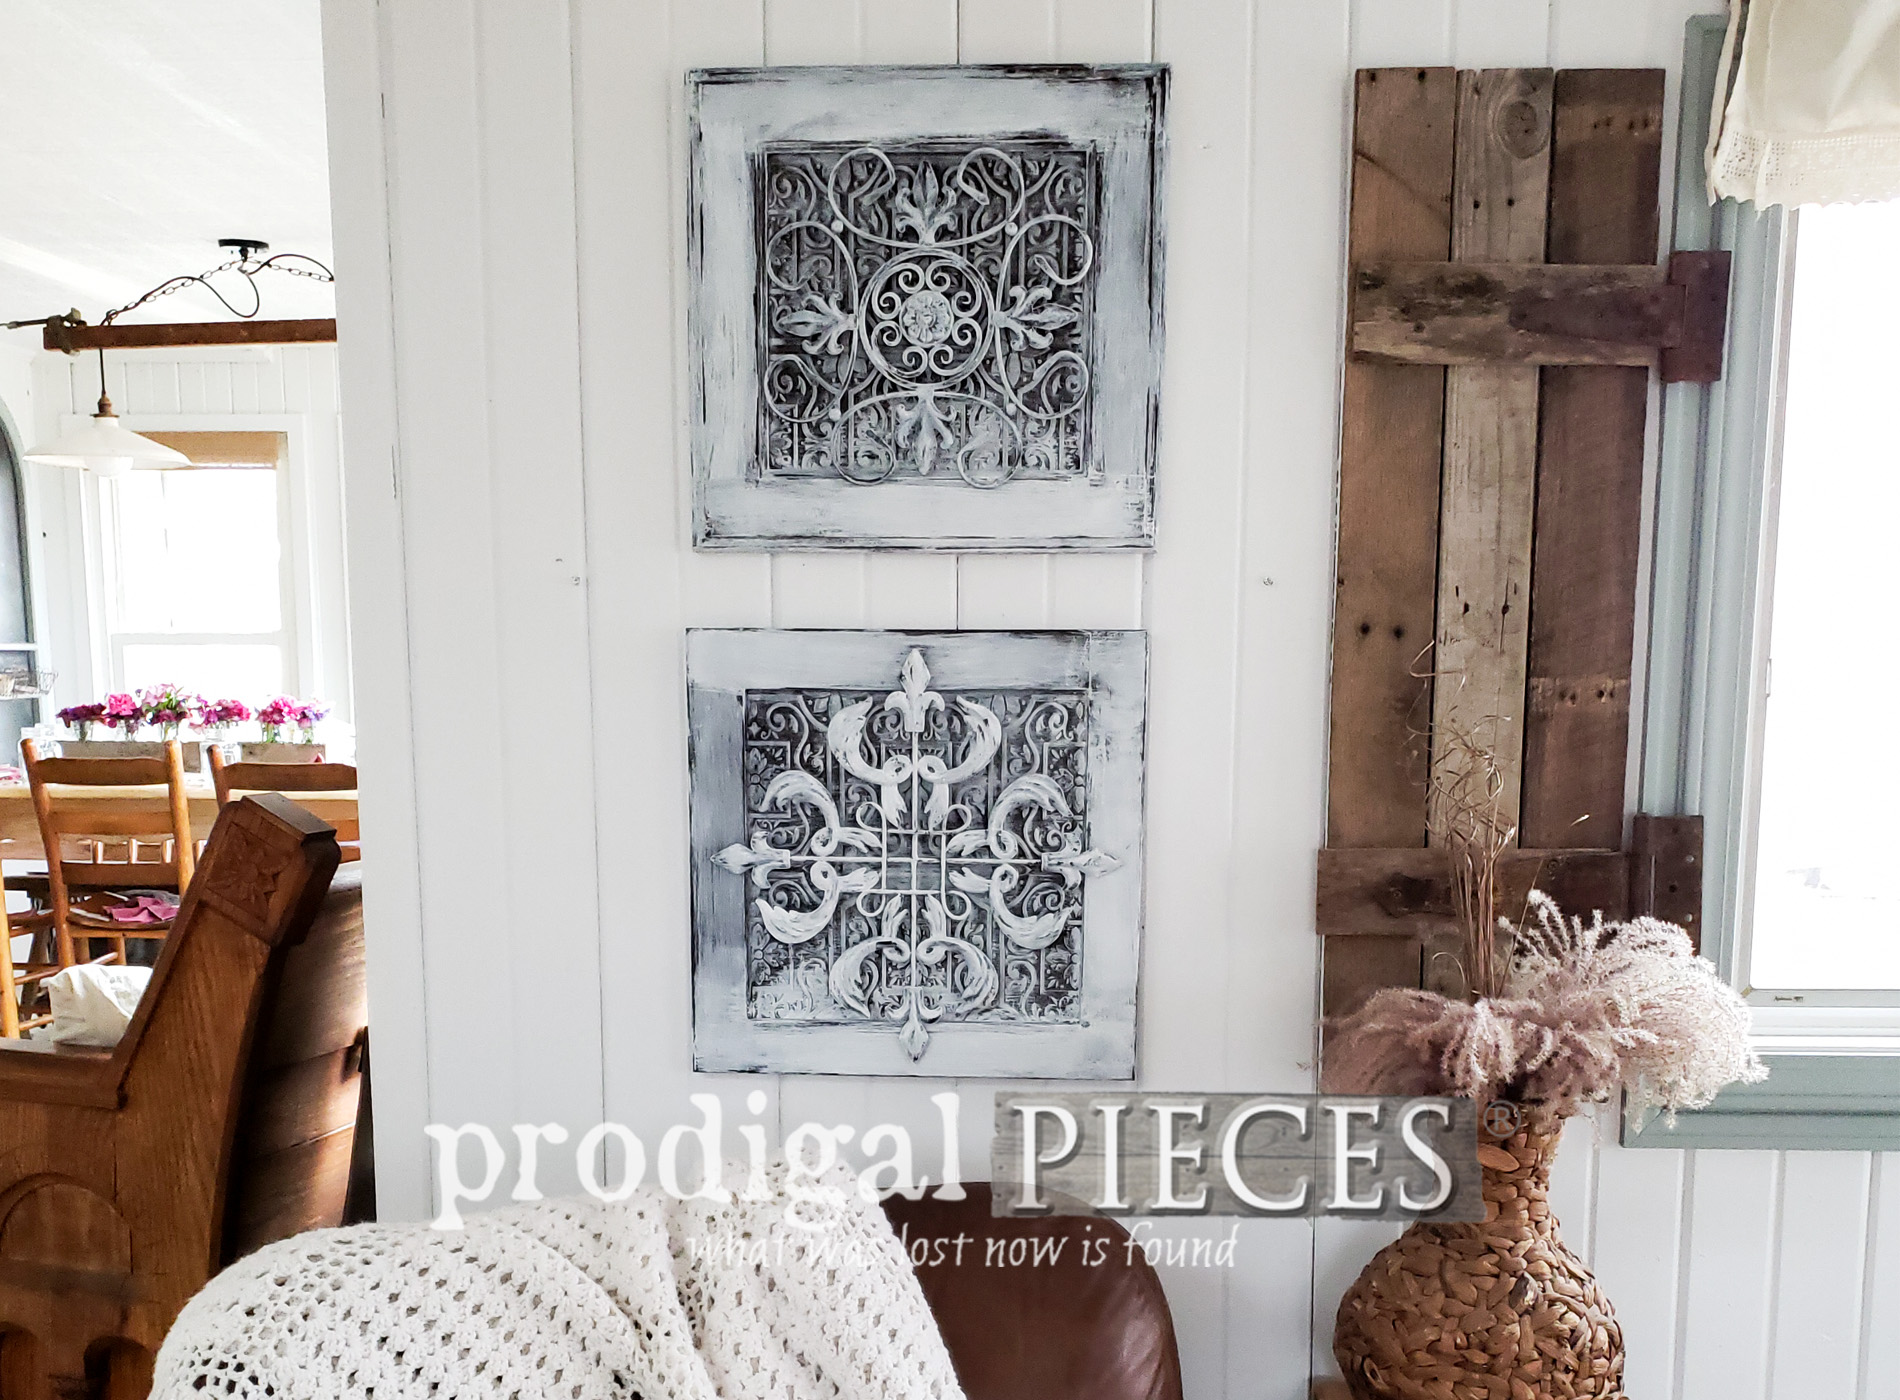
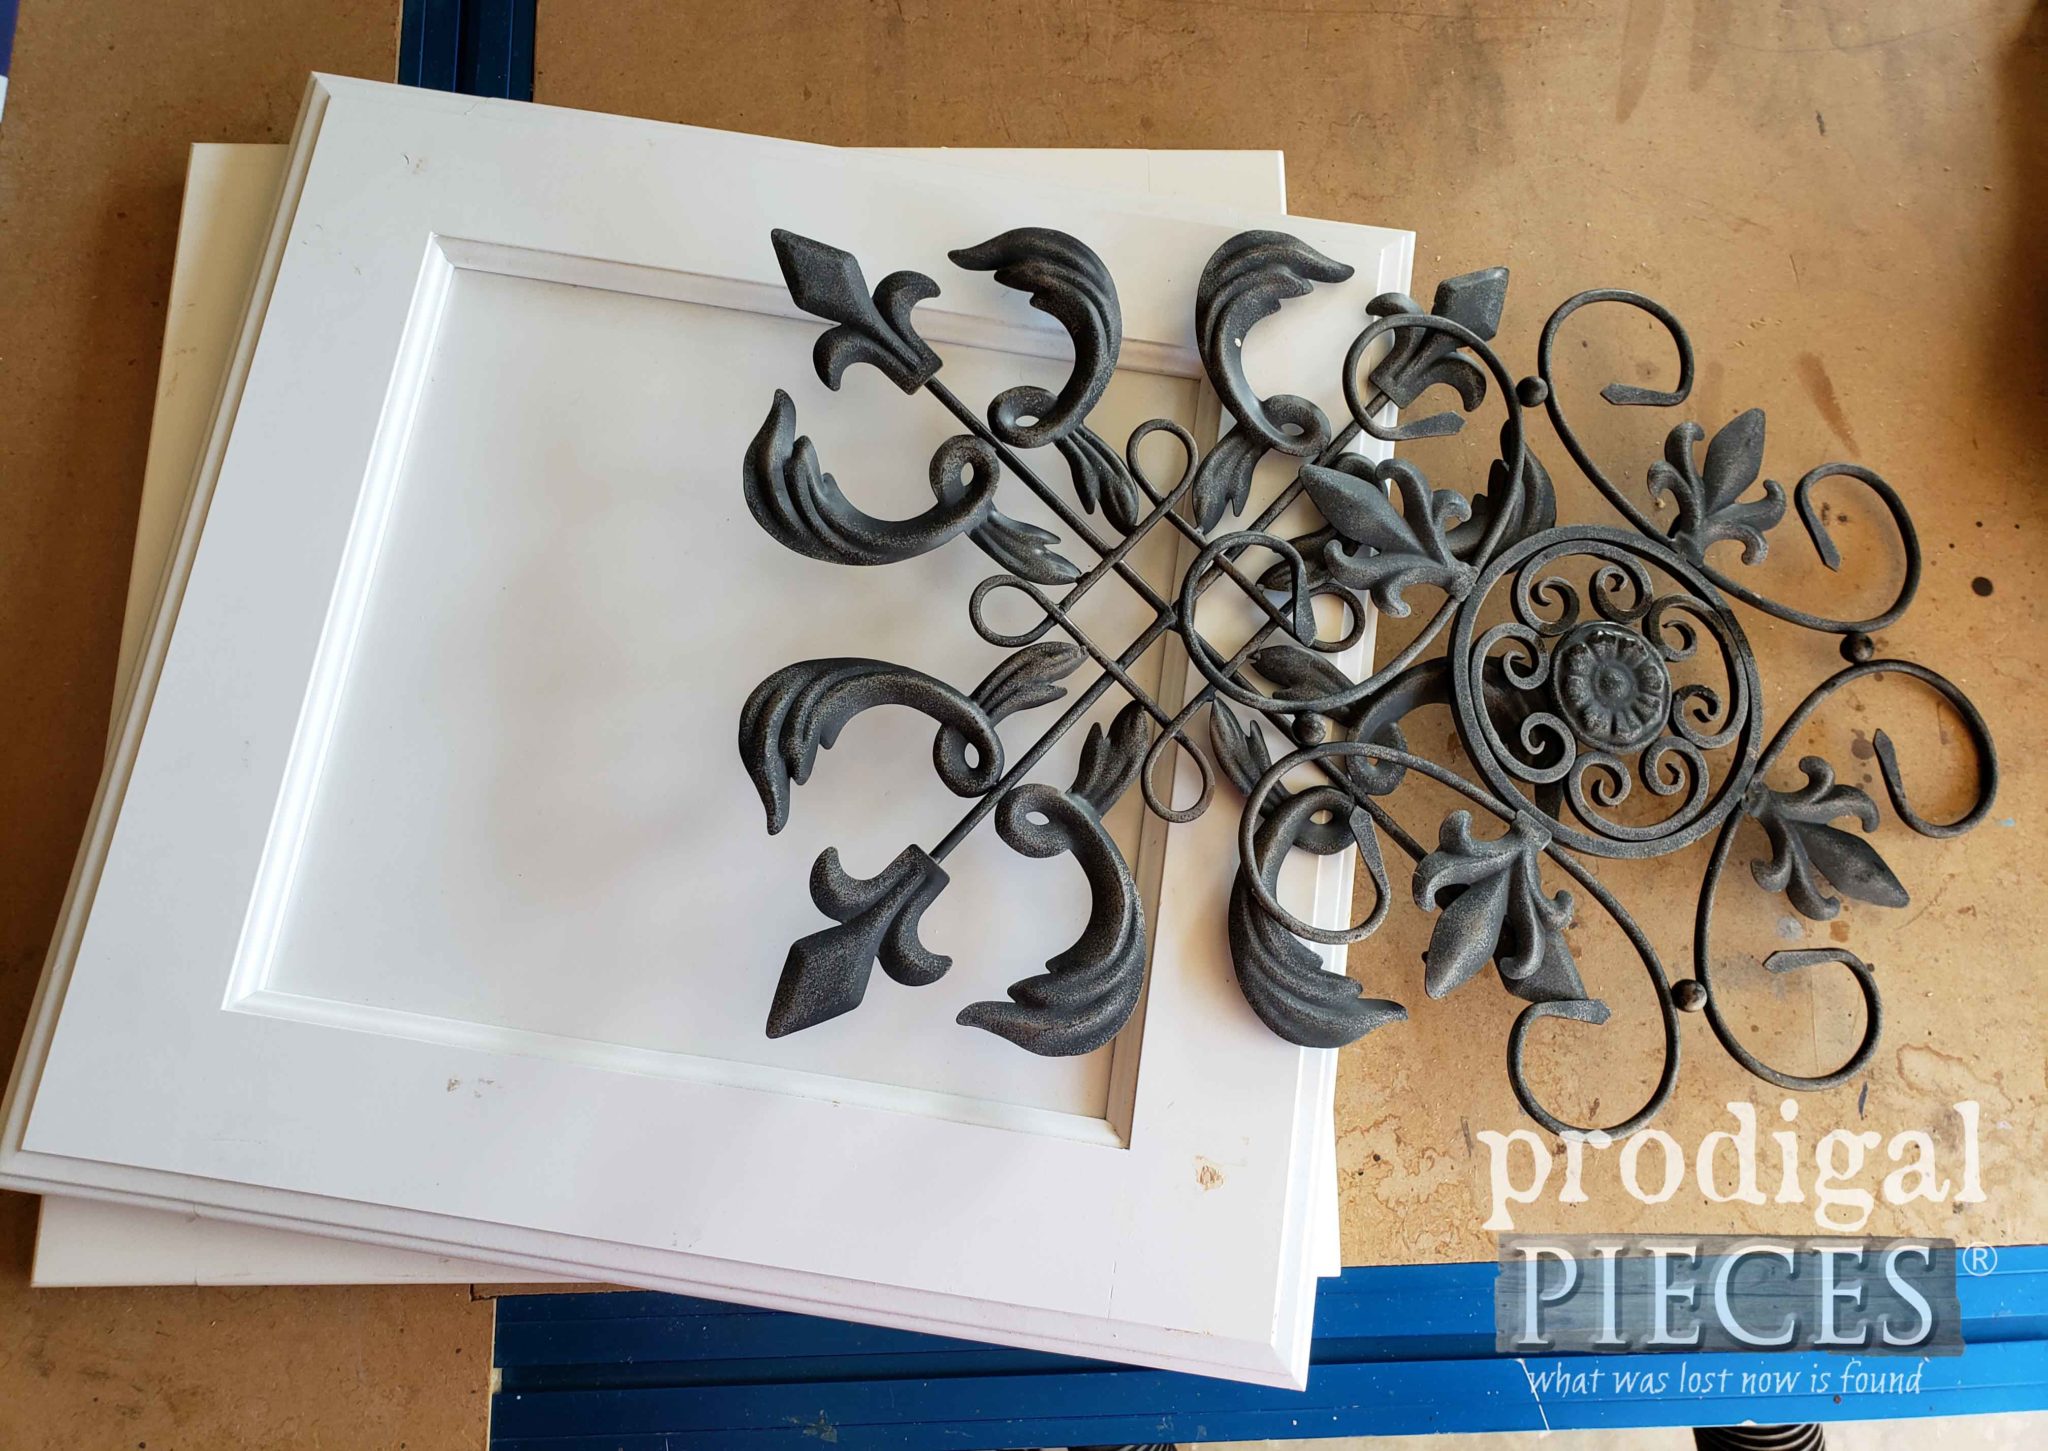
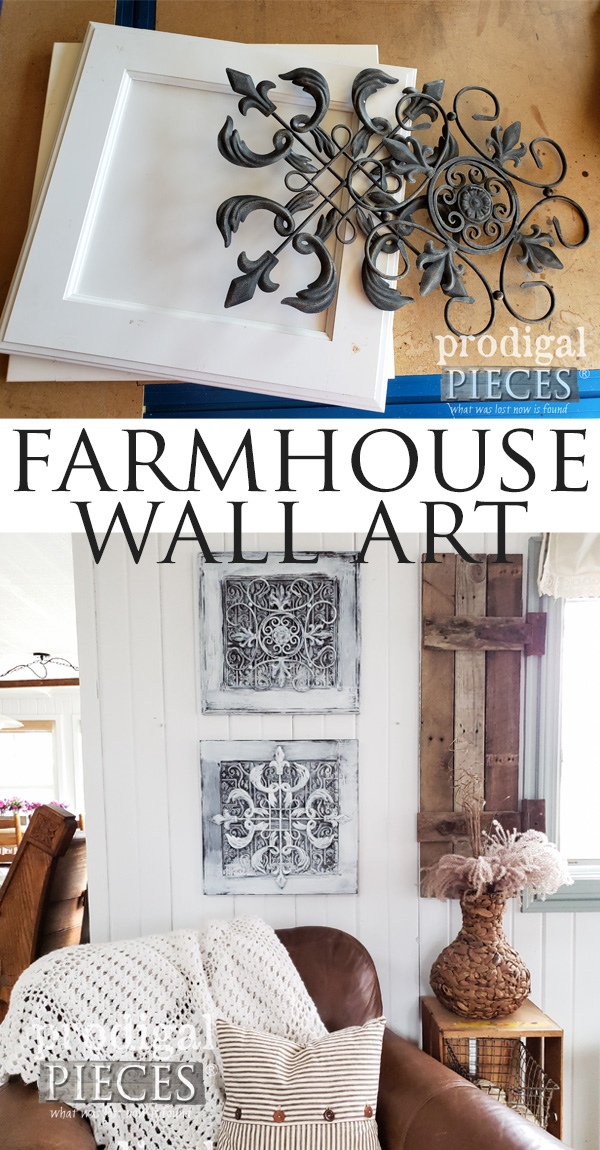
 The light-bulb moment I mentioned was that I realized I had two square cupboard doors in my stash that would work perfectly. My vision was to layer the metal art on top and create a textured look. In addition, I've created a video of the steps below for those of you that like to see the process in action.
DIY FUN
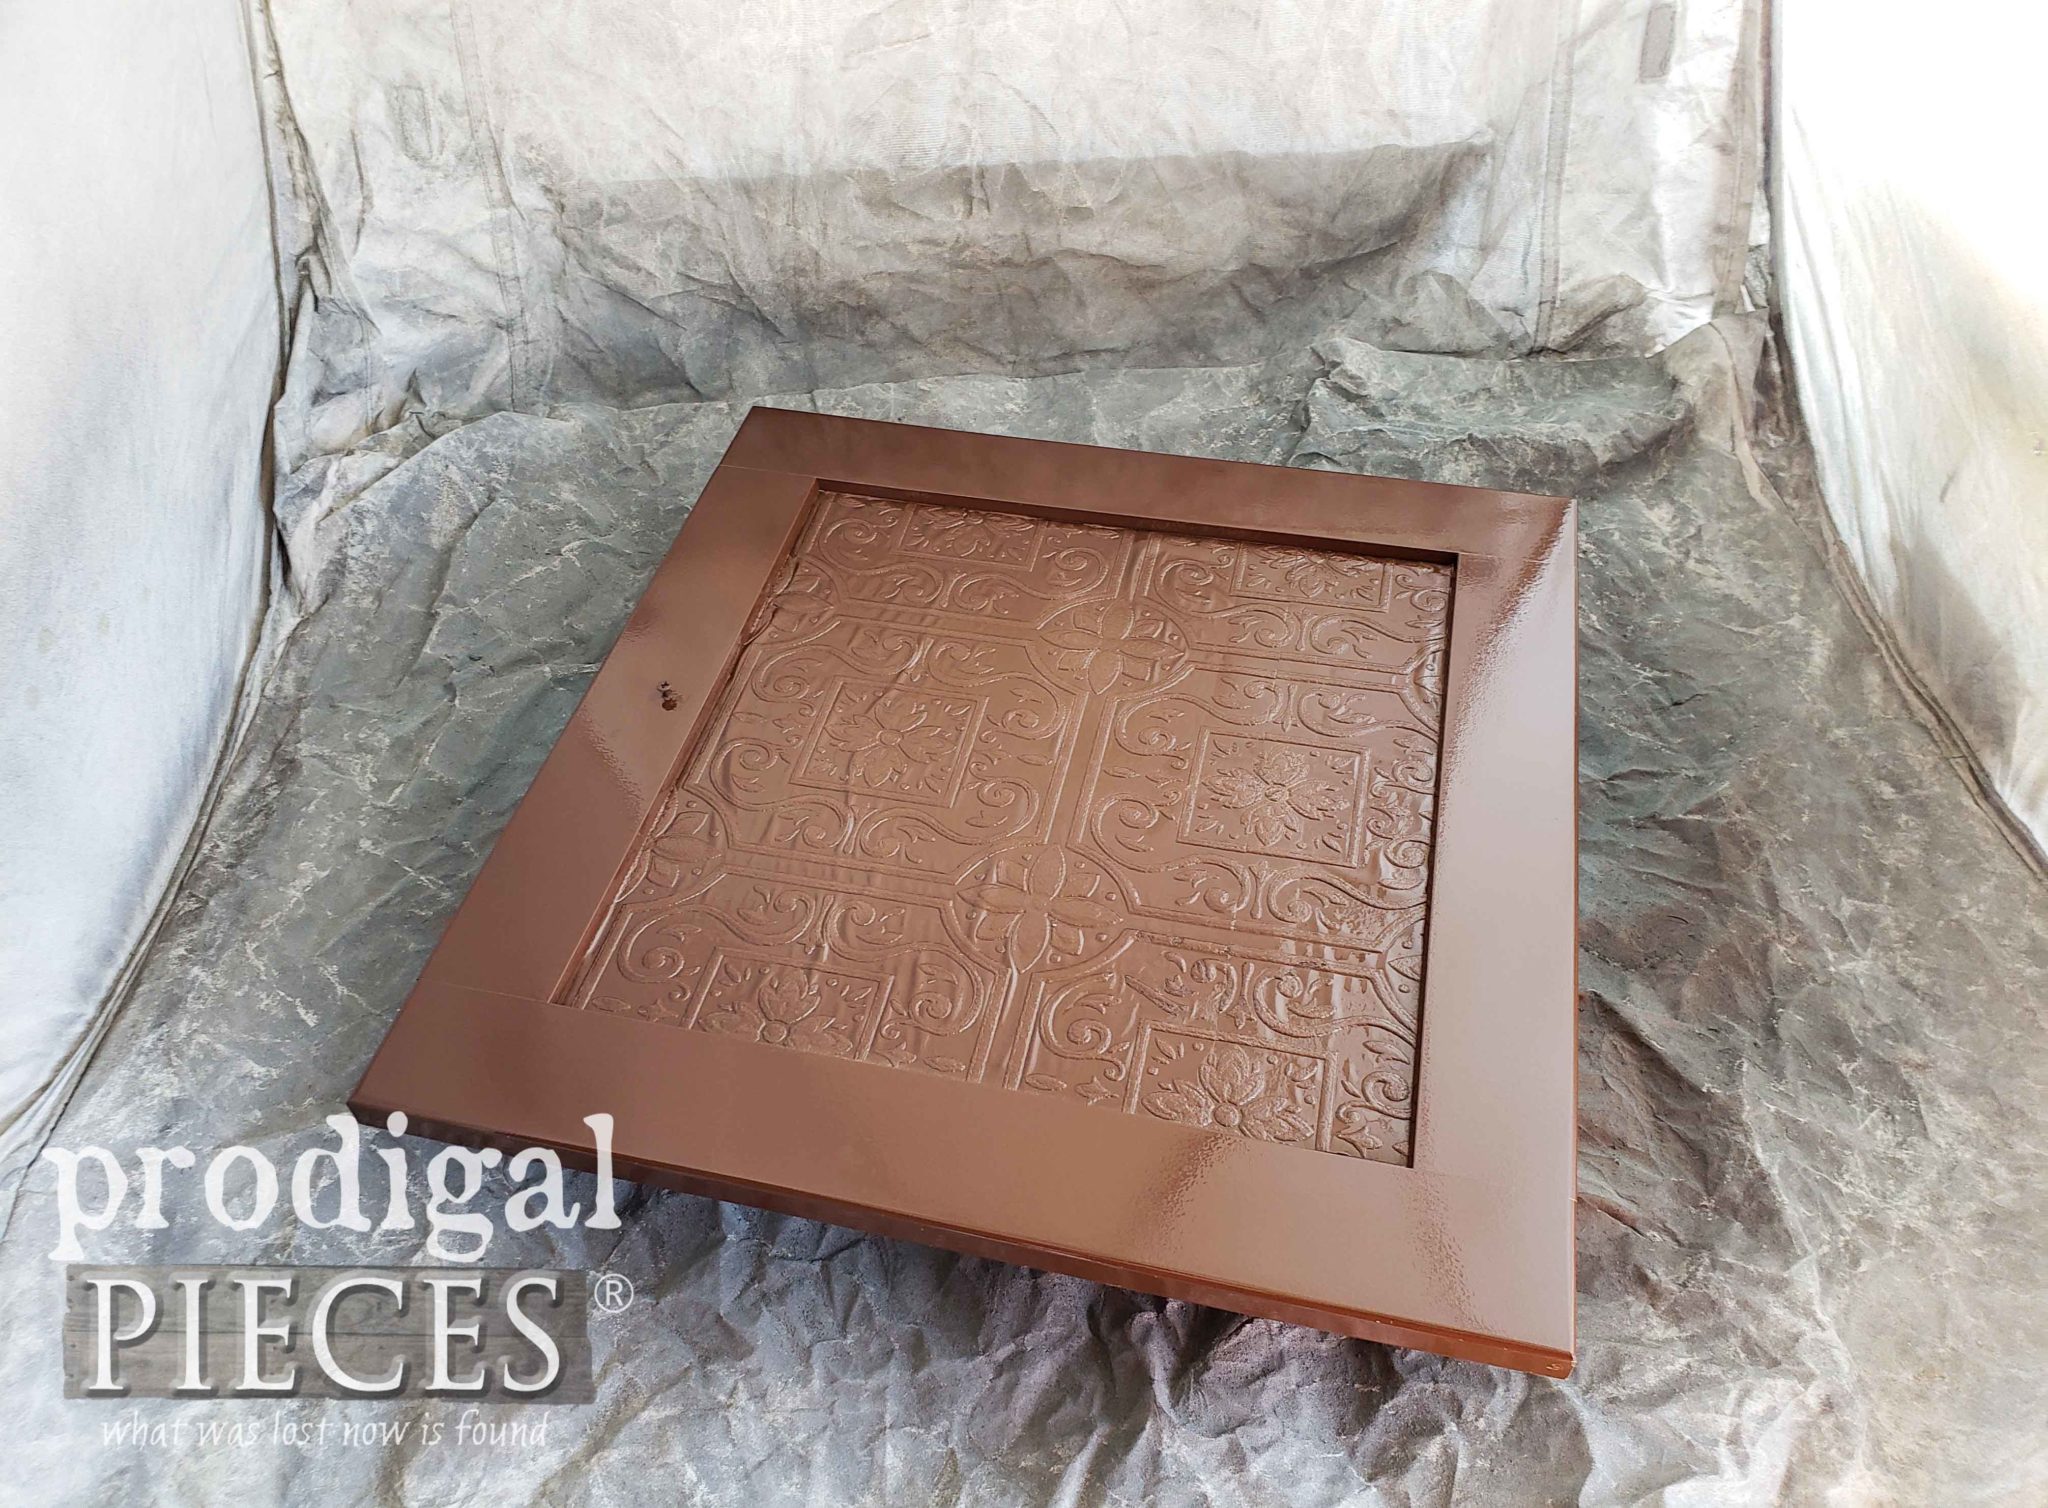
First, I pulled out my remnant or paintable pressed tin wallpaper and cut pieces to fit in the center panel. A simple wallpaper adhesive makes for easy affixing. This stuff is awesome! Not only have I used it before on furniture, our family room and dining room ceiling, but also for endless crafts.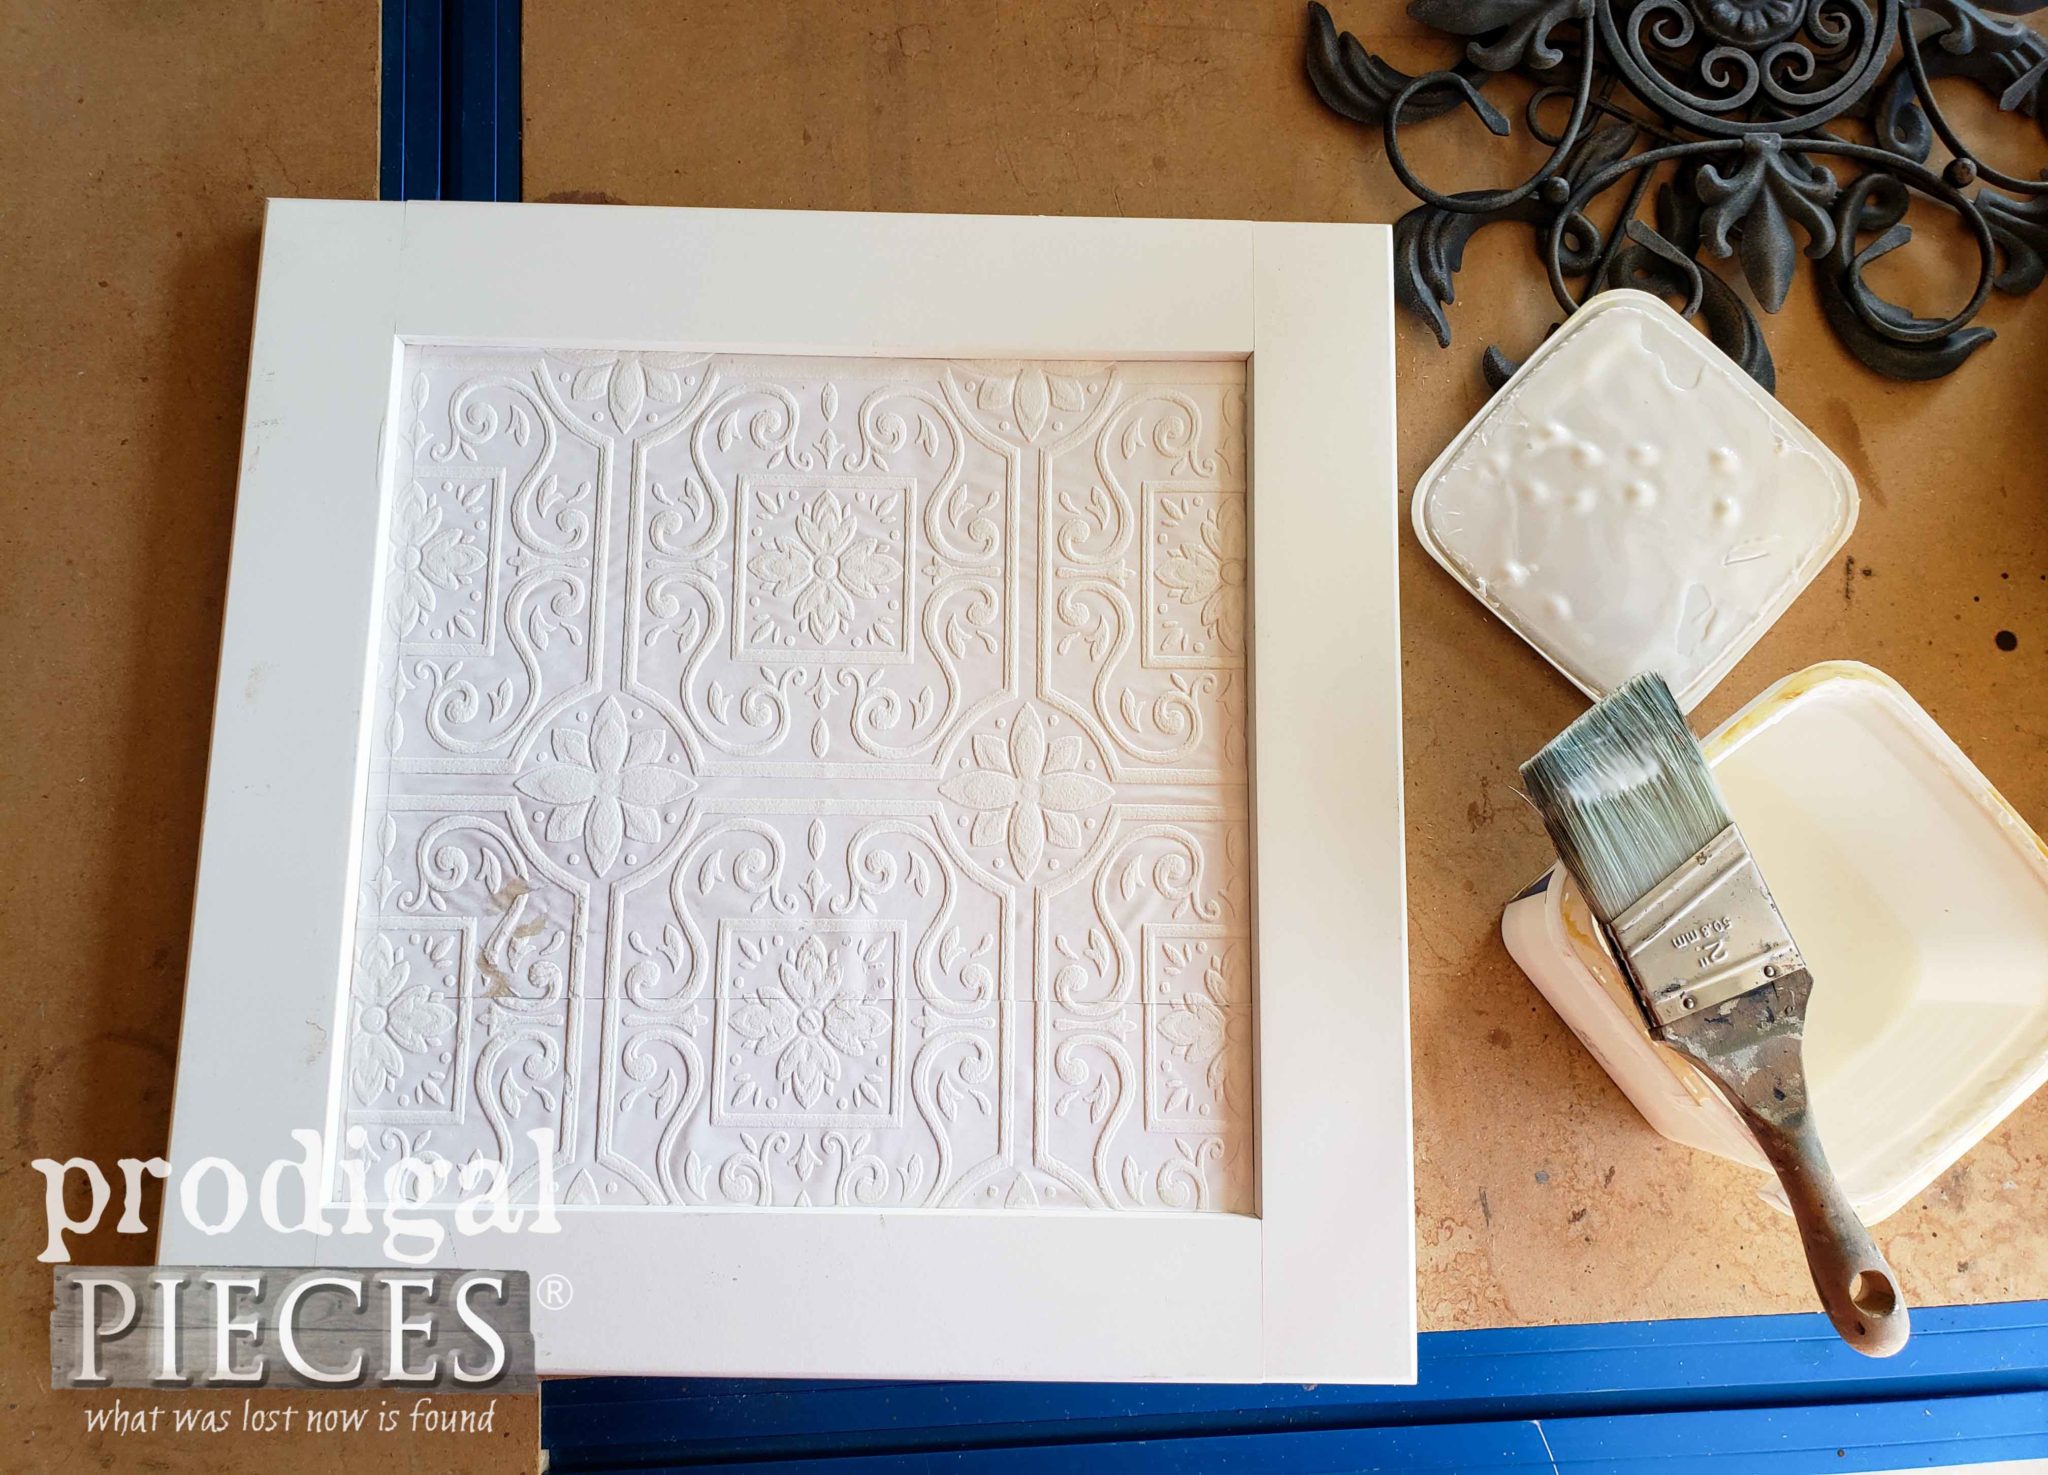 Also, I needed to add a small mounting screw to the cupboard door front so the metal art could be attached.
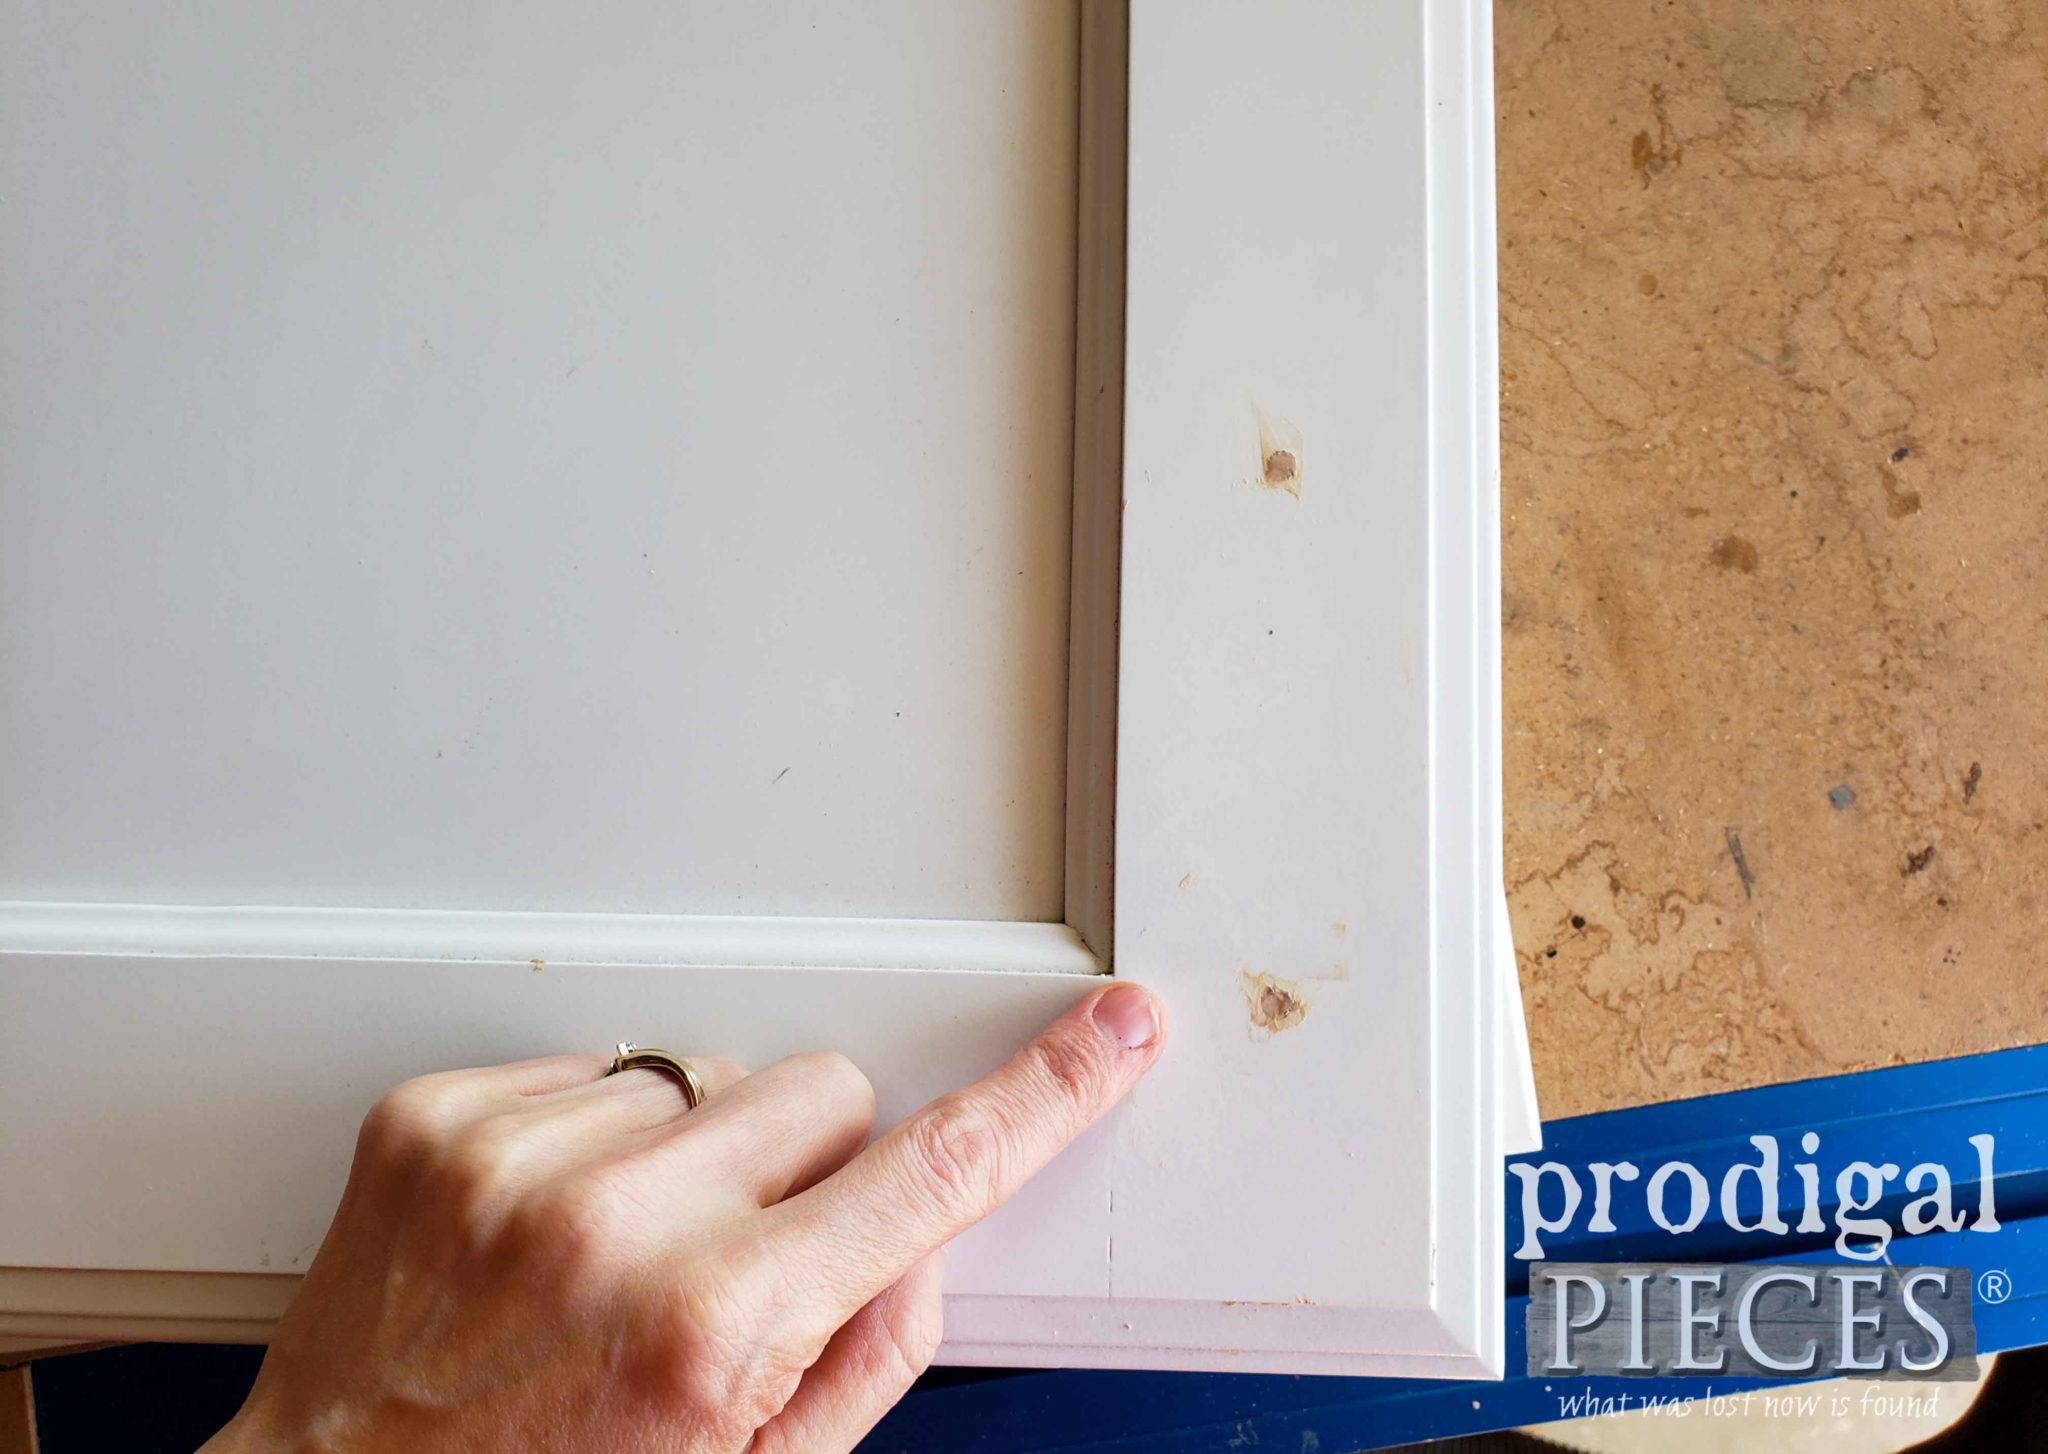
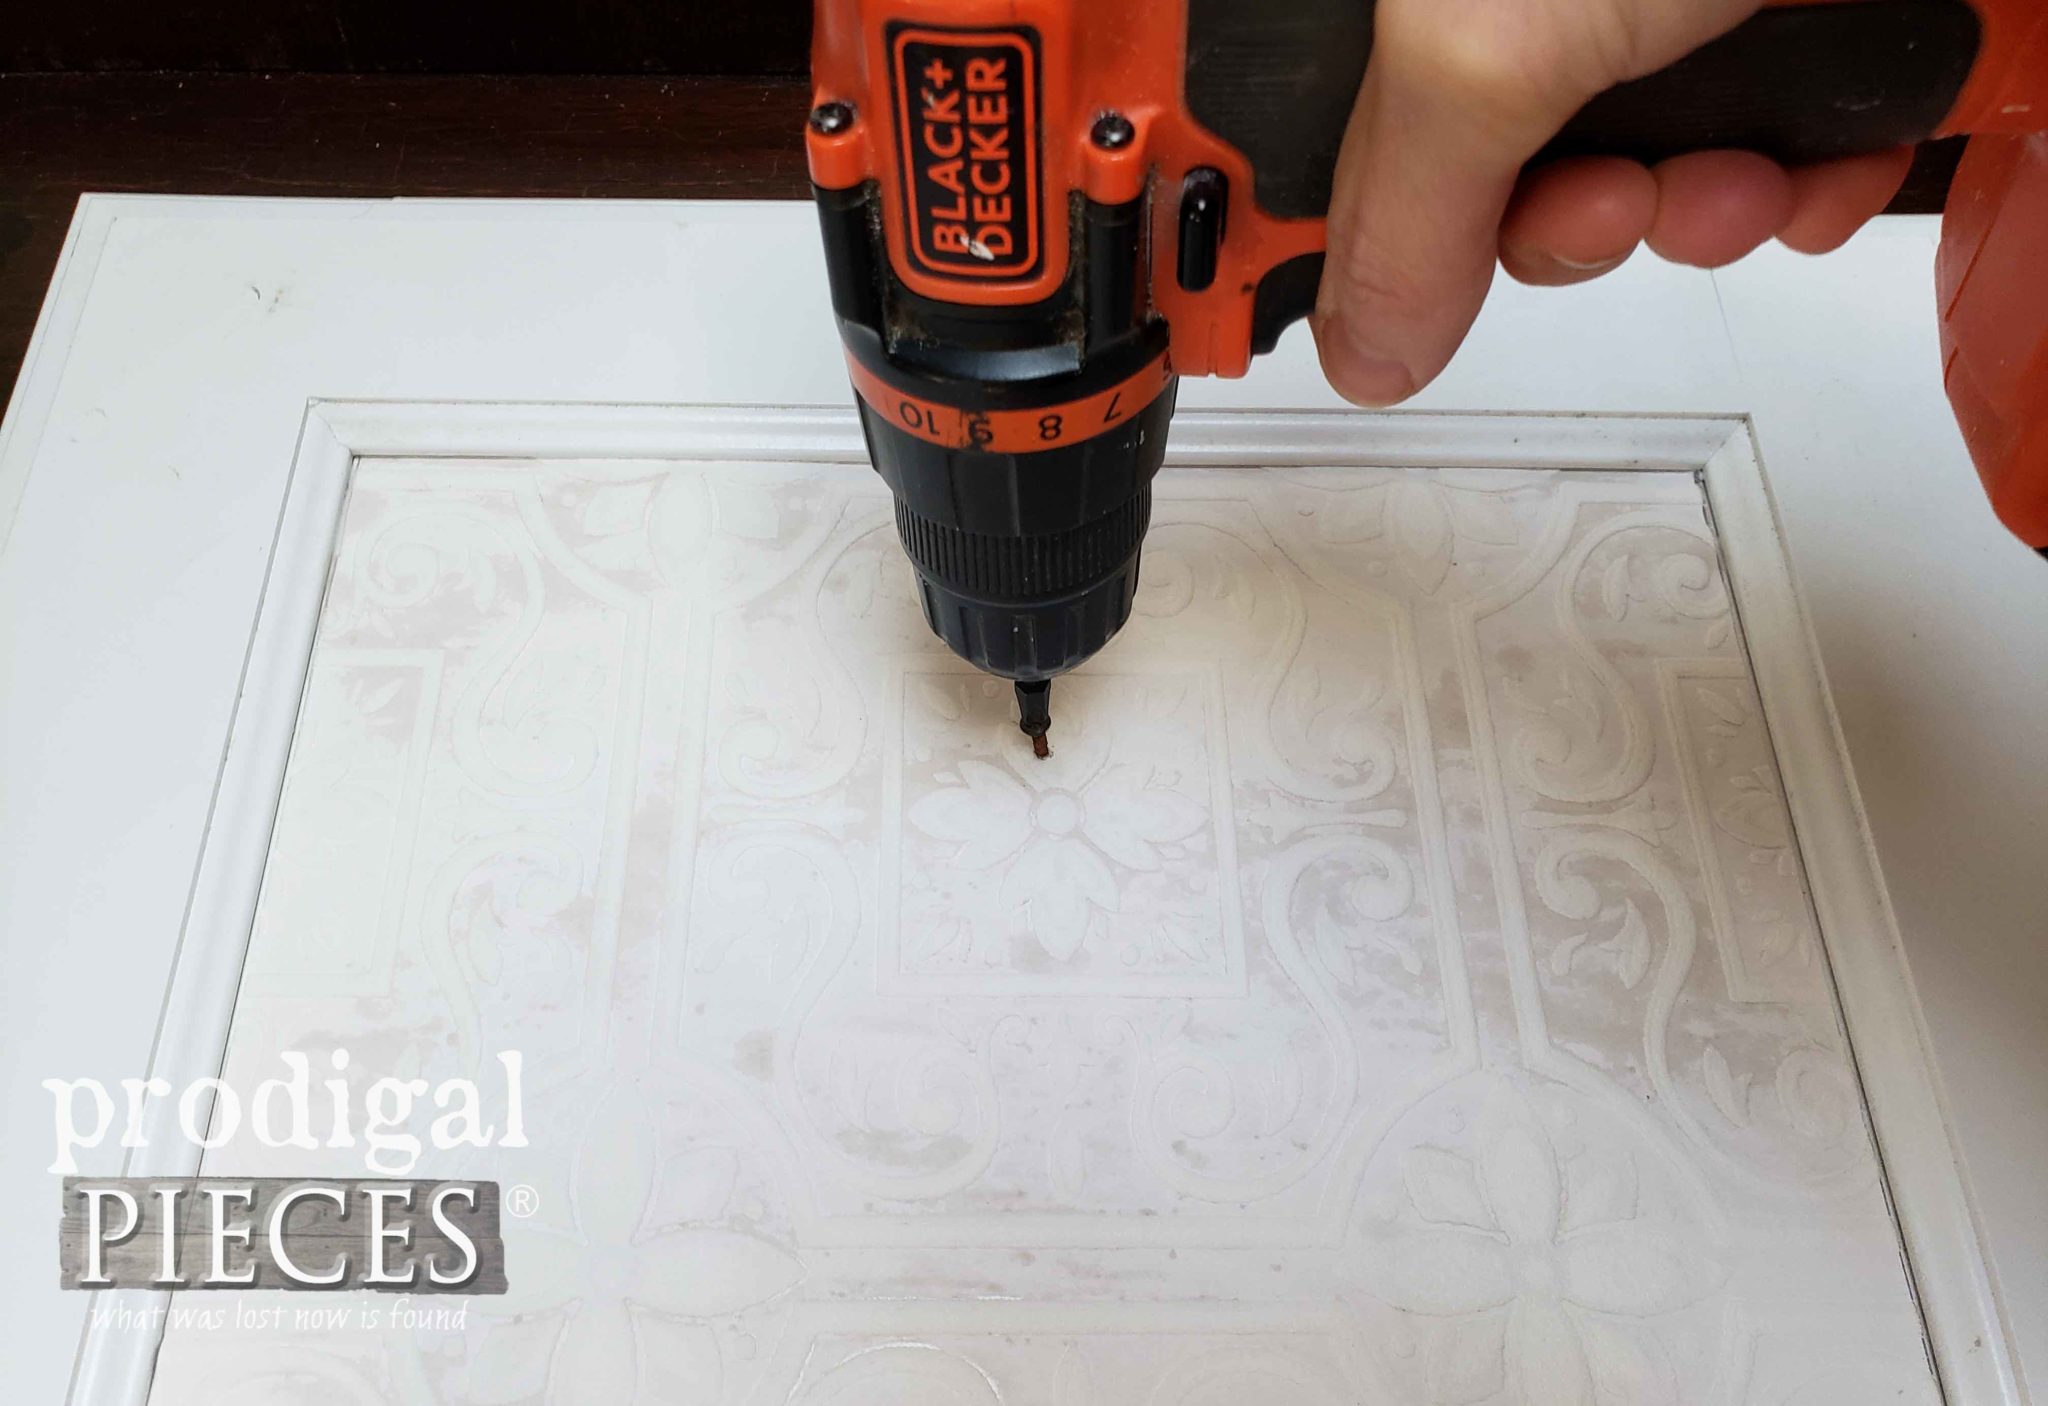 Likewise, I fill in the holes for cabinet hardware with wood filler and sand smooth.
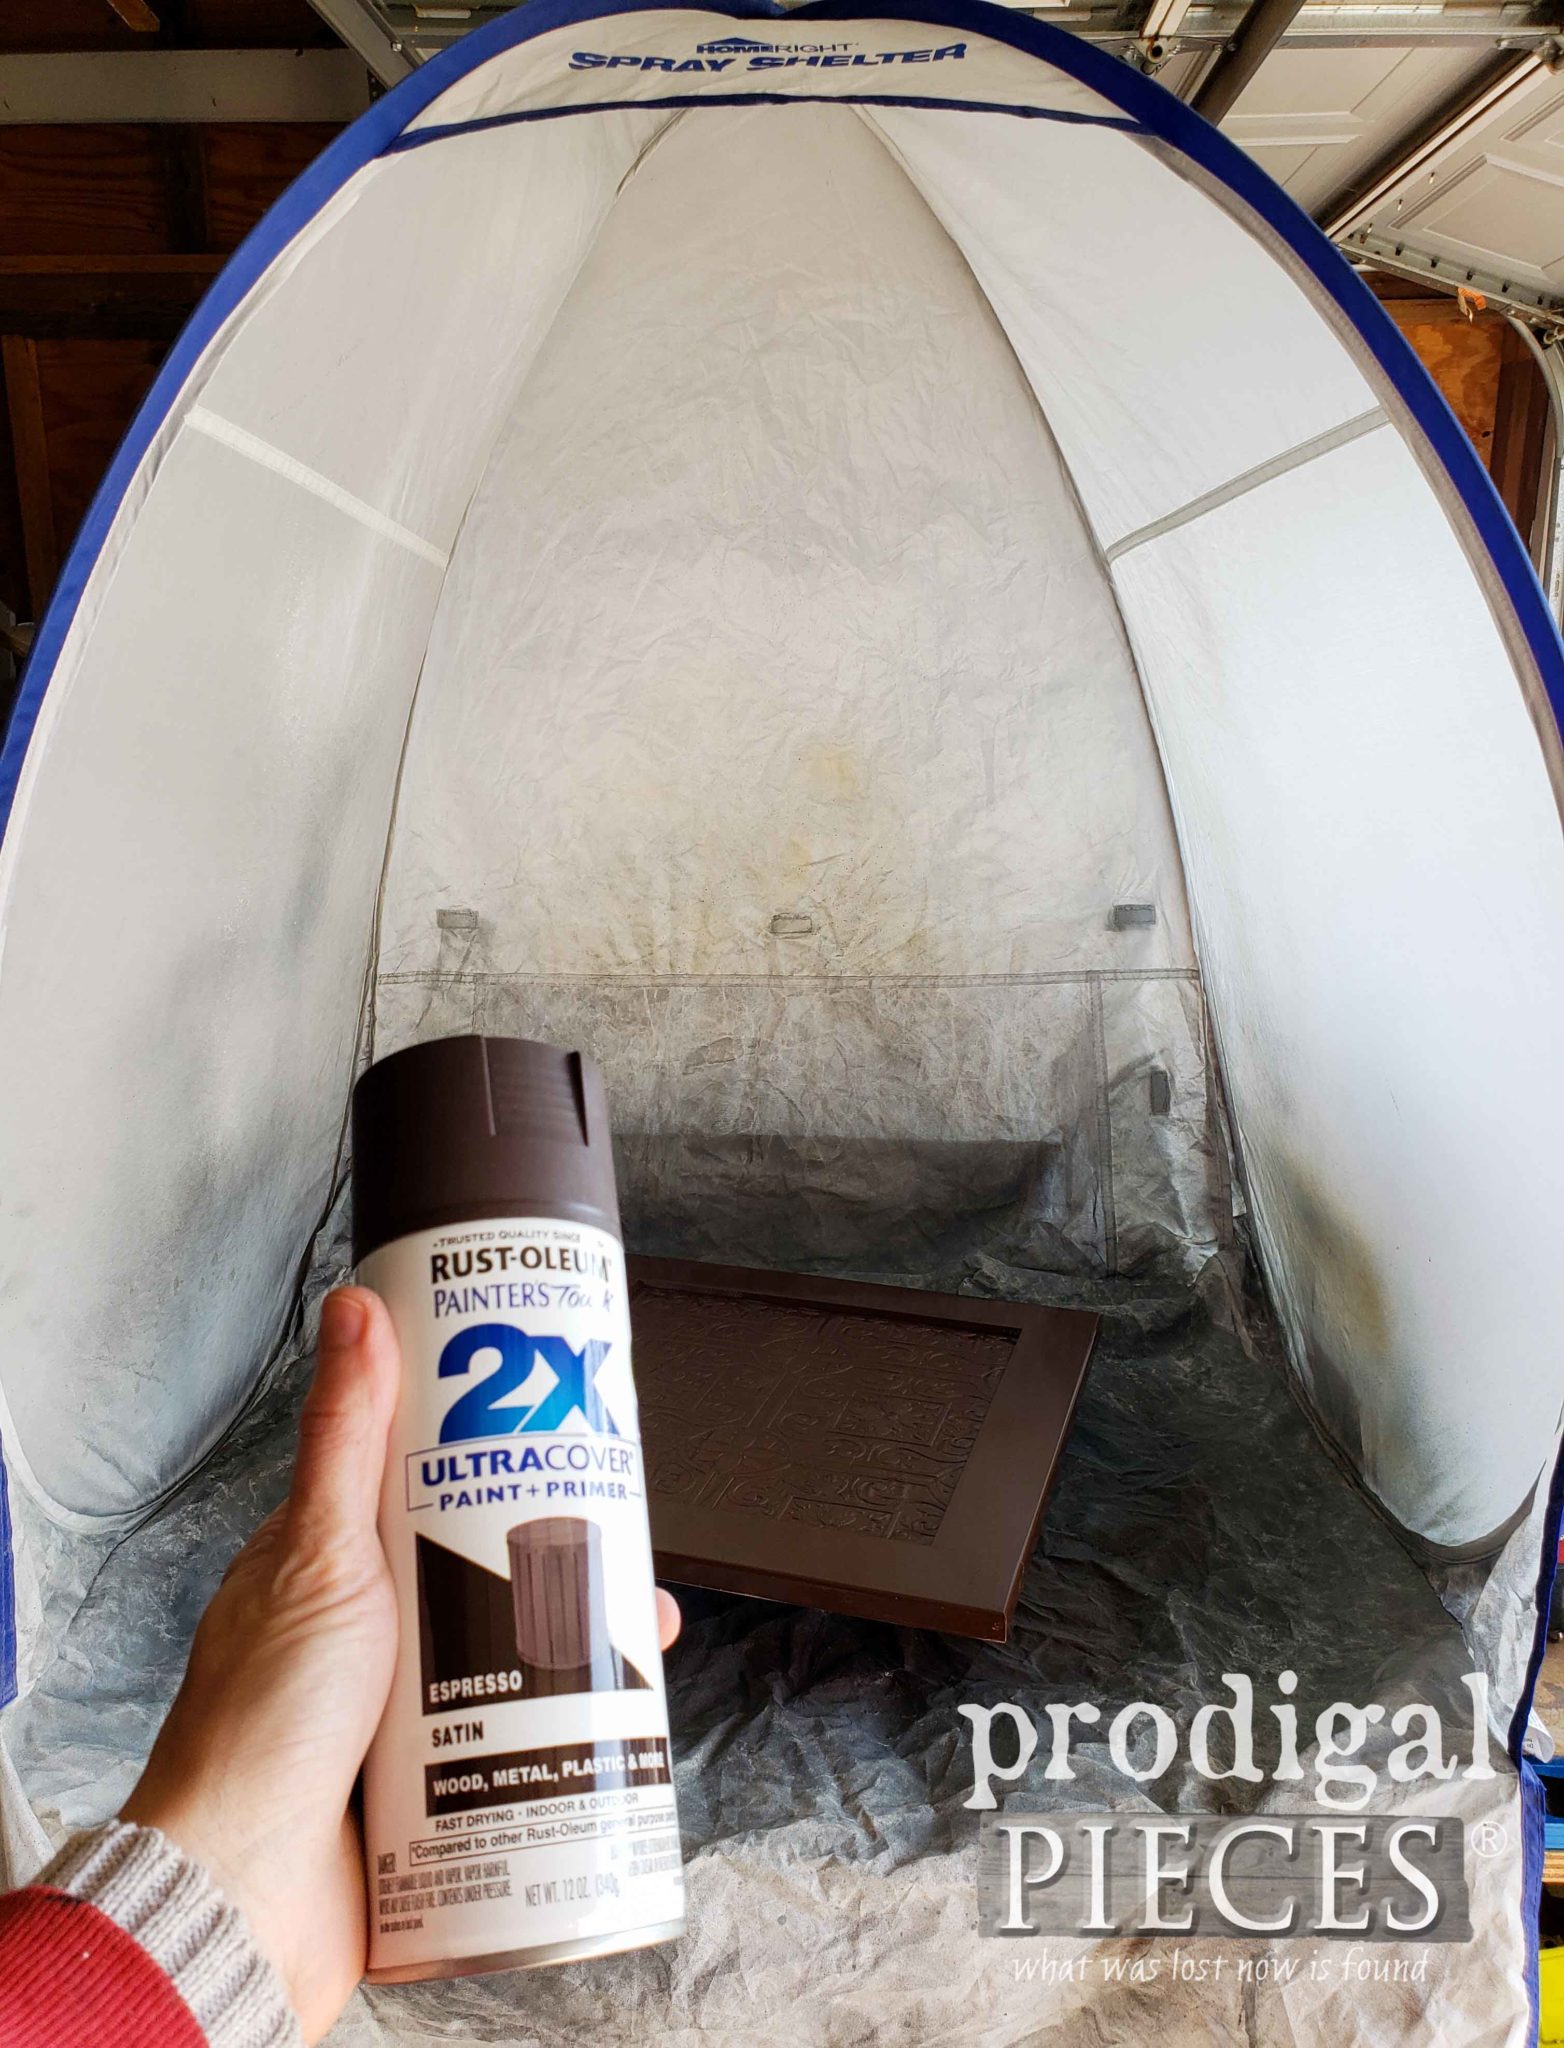
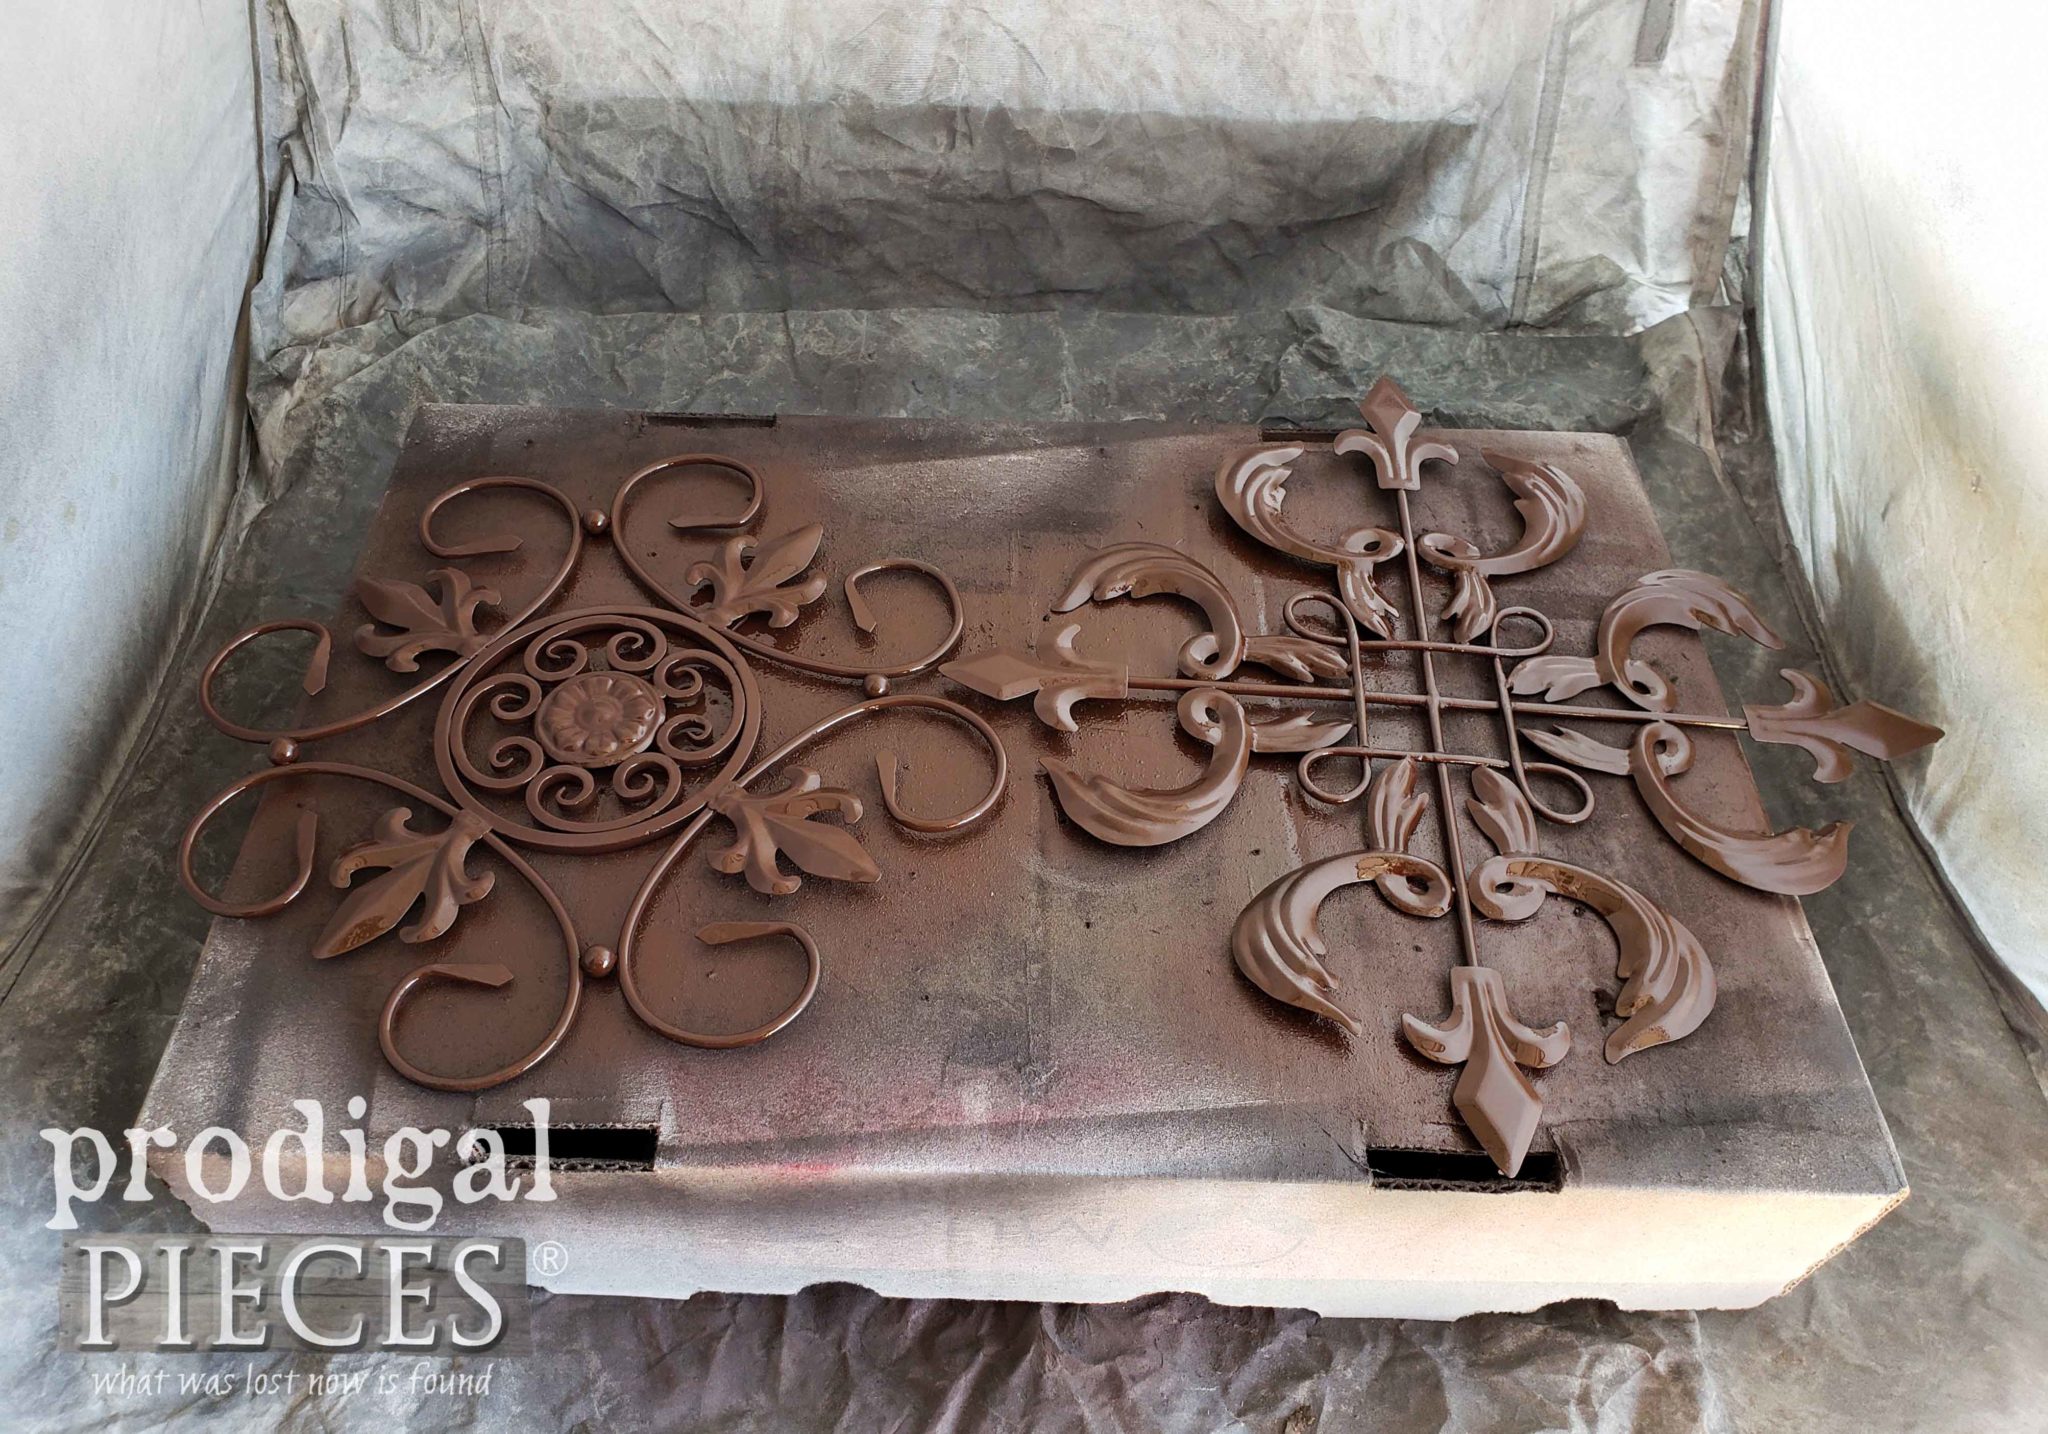
 Next, once the wallpaper has had a chance to cure, I pull out my small spray shelter and turn table. Since I wanted to create a layered effect, I begin by painting a espresso satin coat of paint to the doors and the metal art.
MORE PAINT
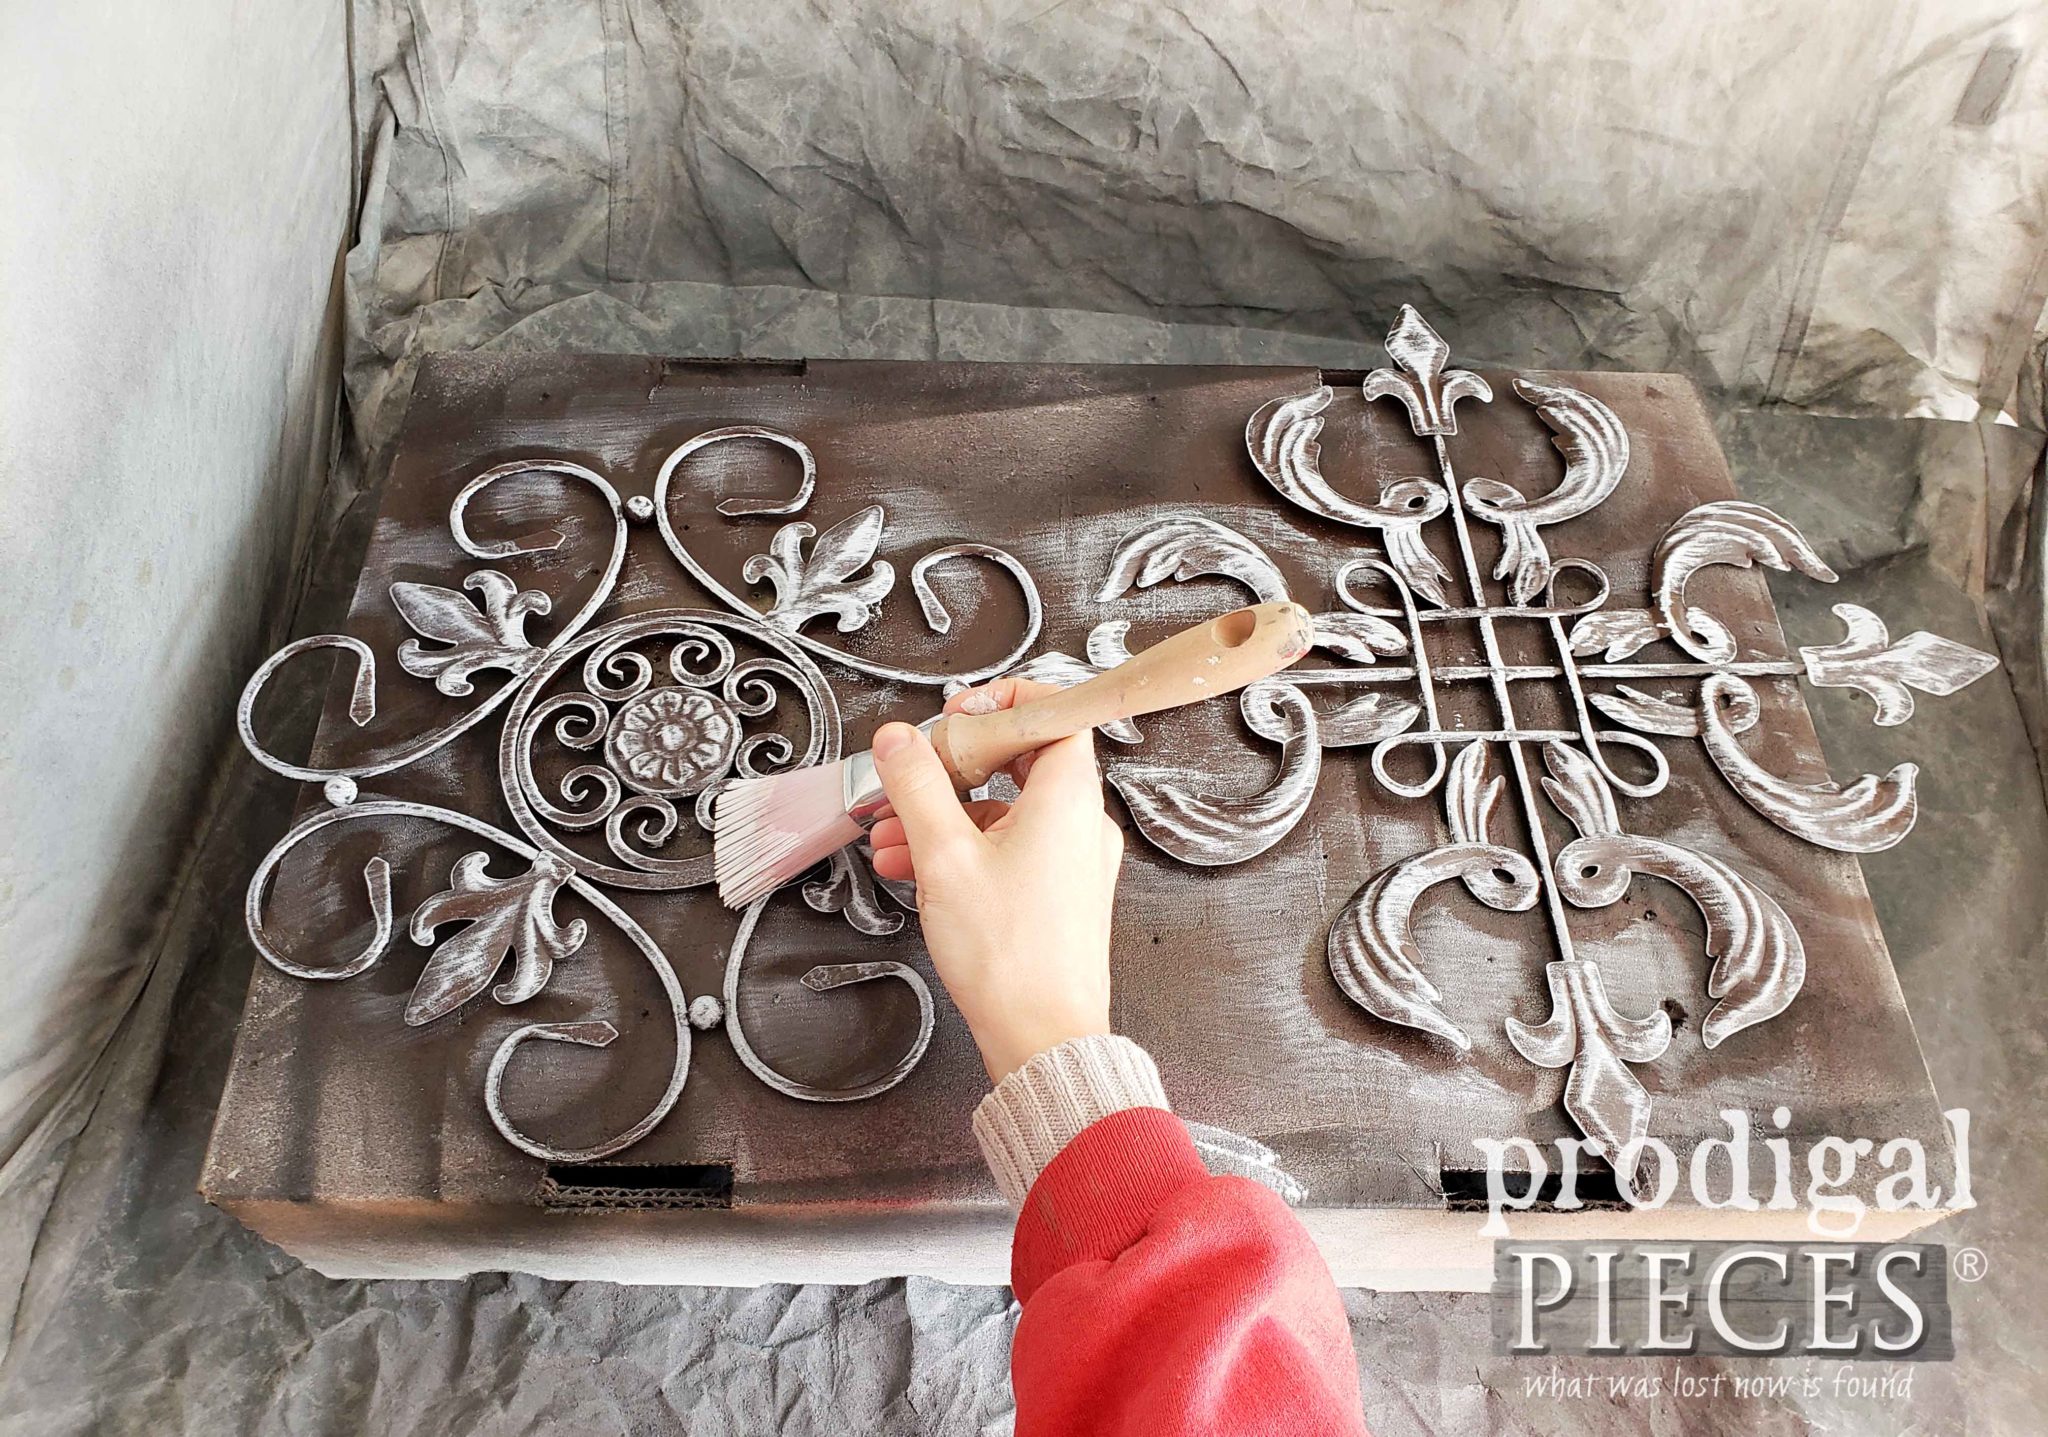
Finally, only one coat is all that is needed. Then, it's time for a fun layering adventure. After that, using my paint brush, I apply a whitewash using a dry brush technique to both the doors and metal art. Simply dip a bit on your brush, dab off excess, and work in the same brush pattern. With that in mind, the video demonstrates this best.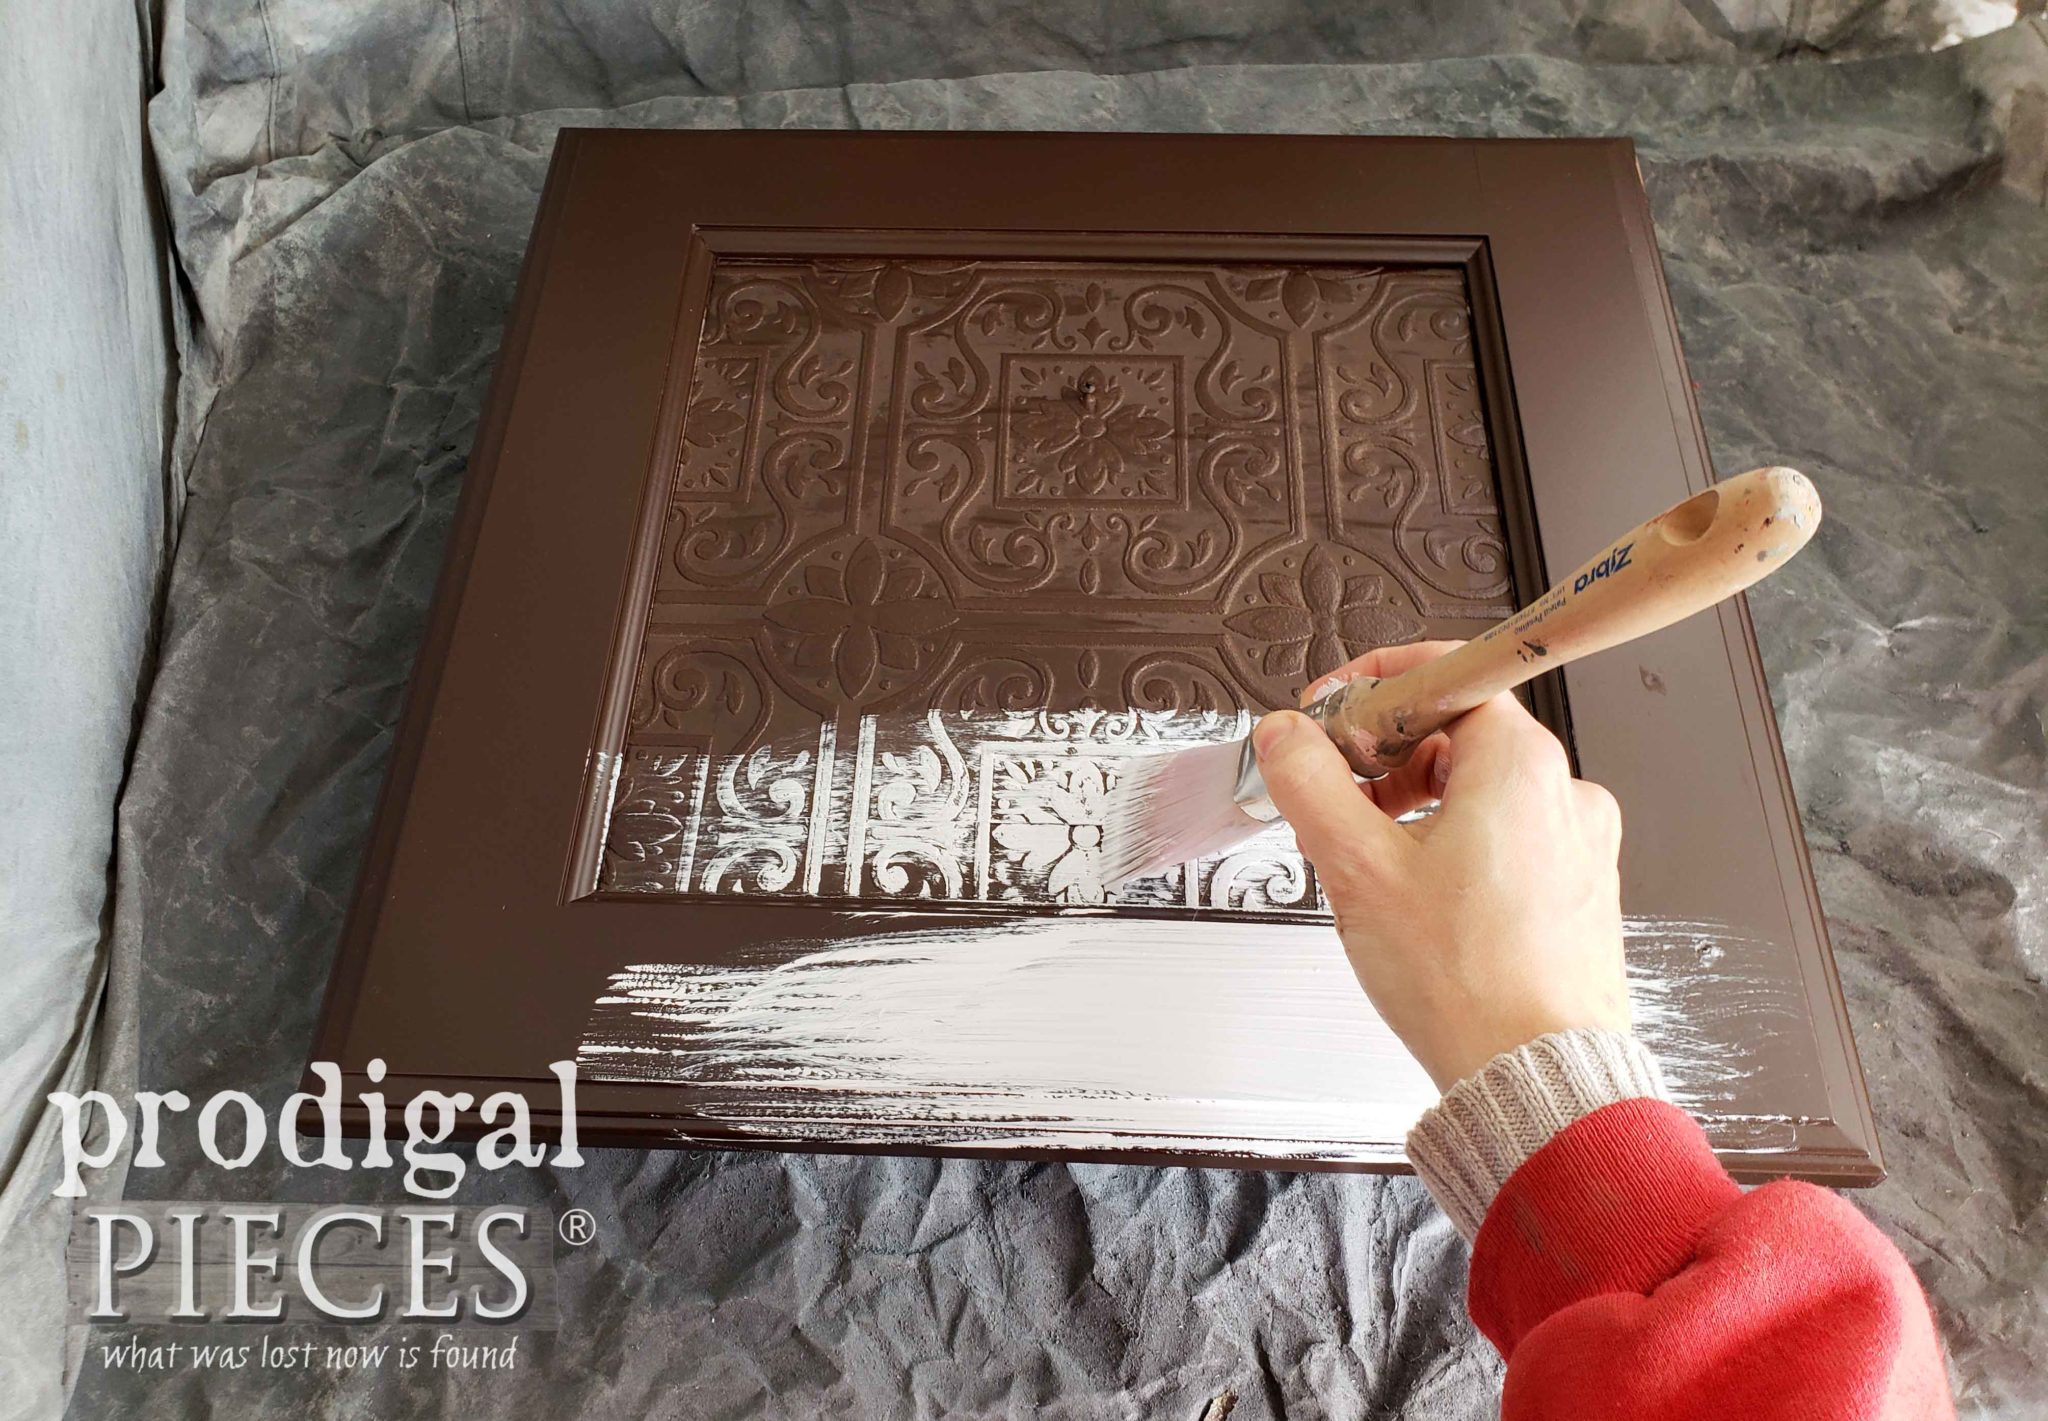
THE REVEAL
Last, I used a bit of sandpaper to distress, then added saw-tooth hardware to the back for wall mounting.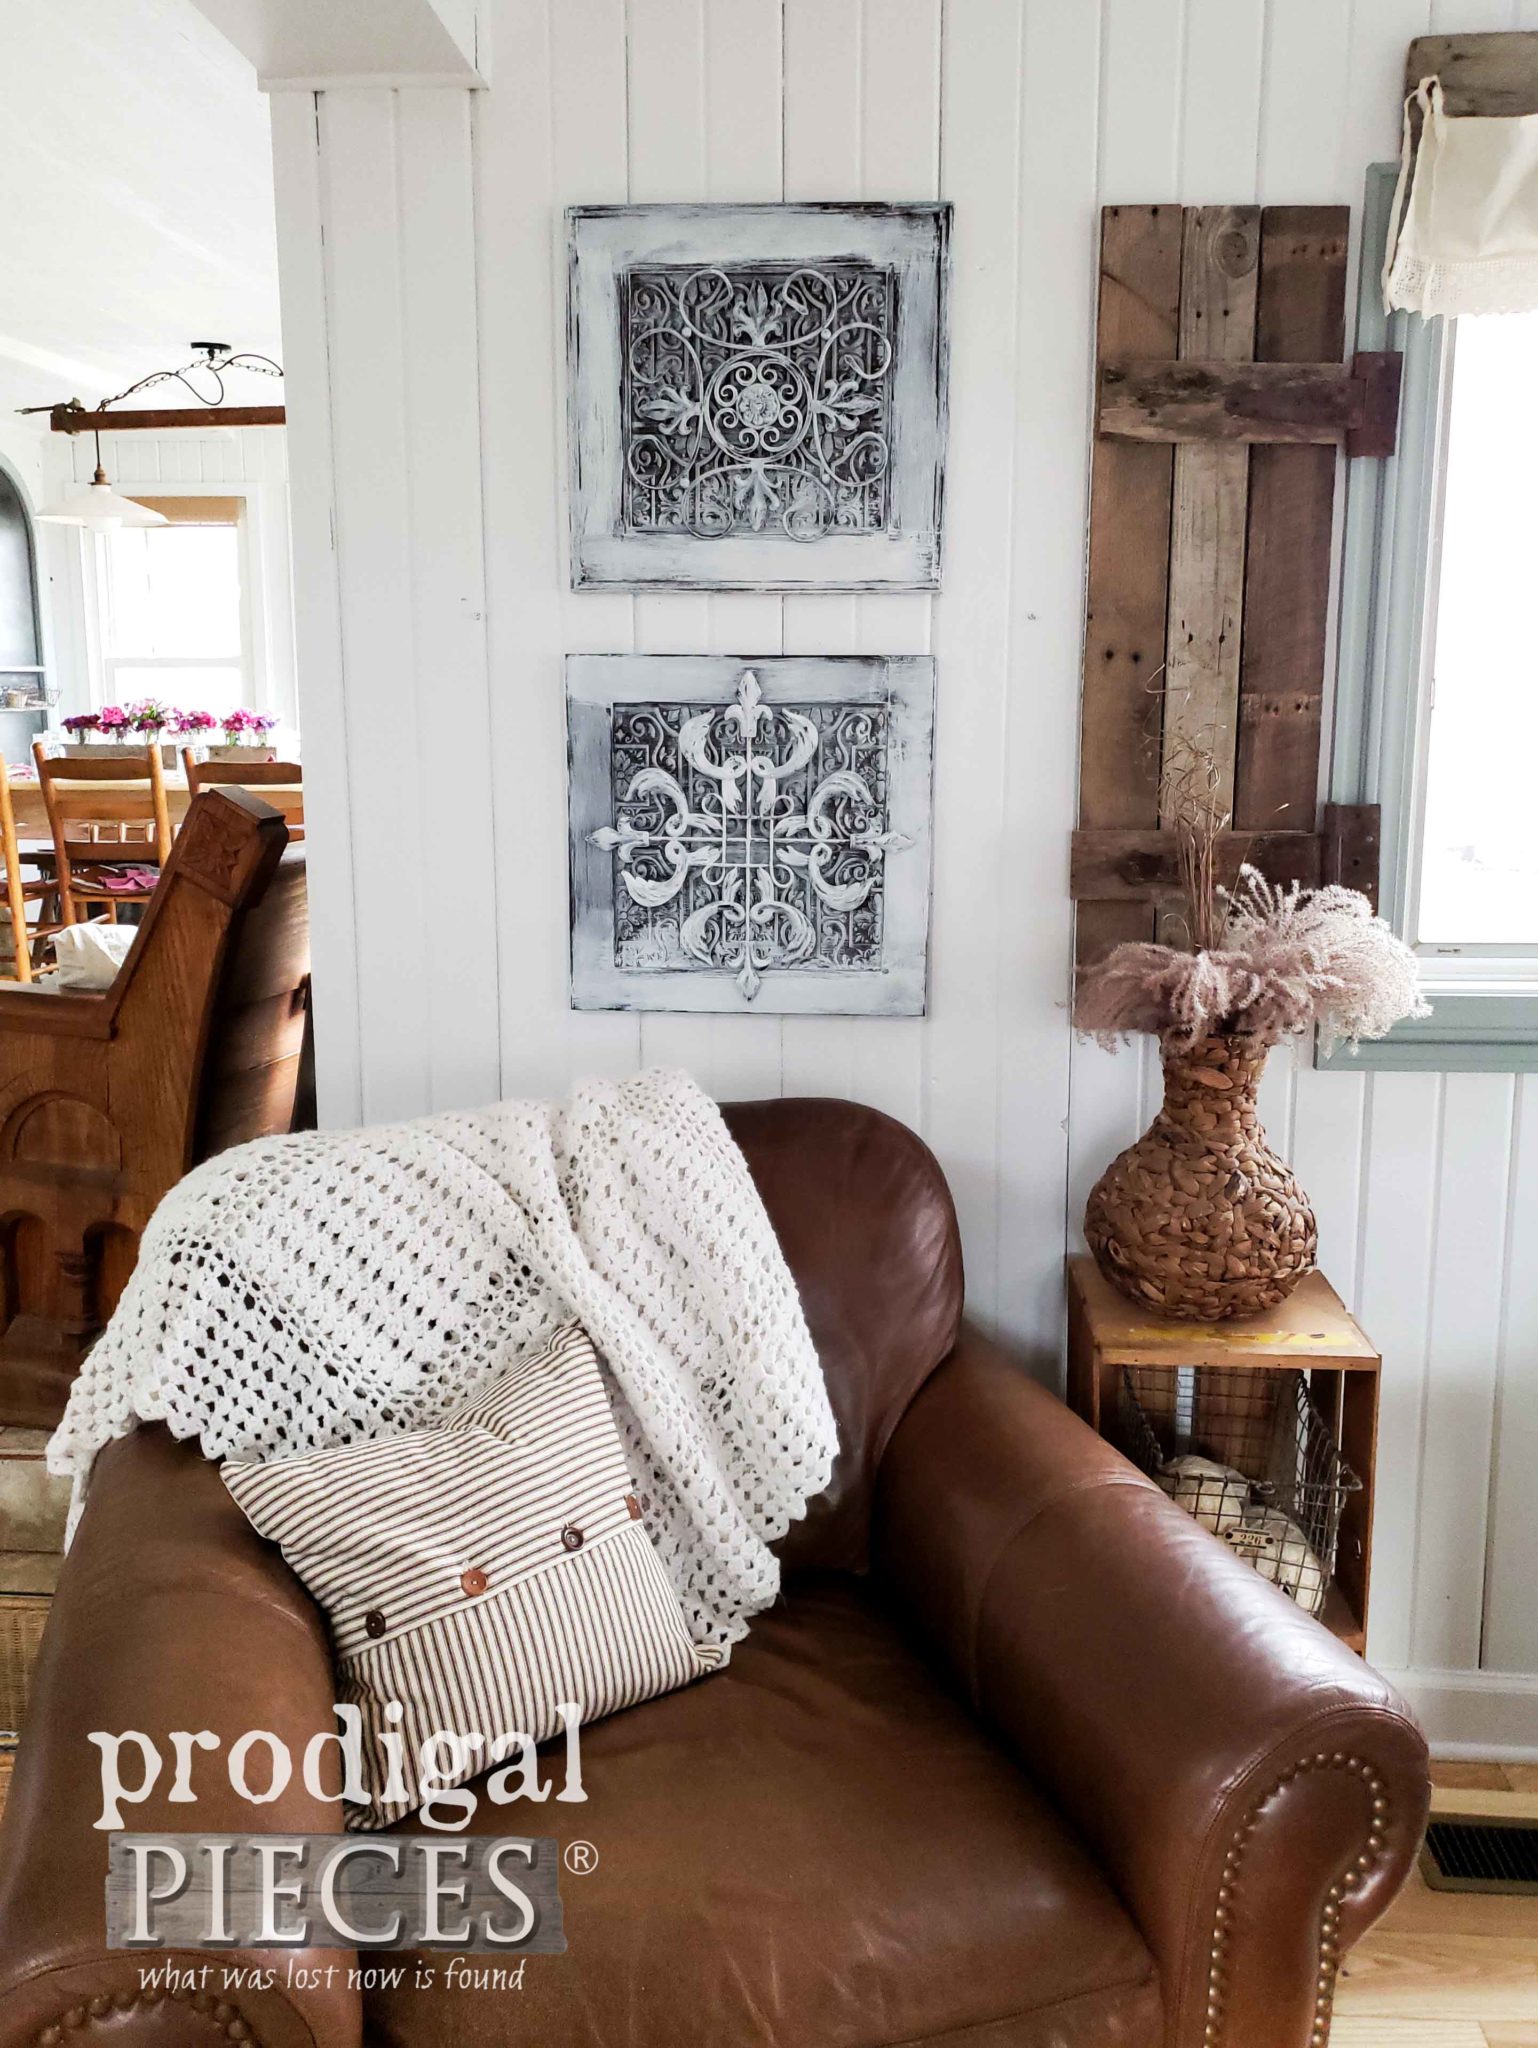
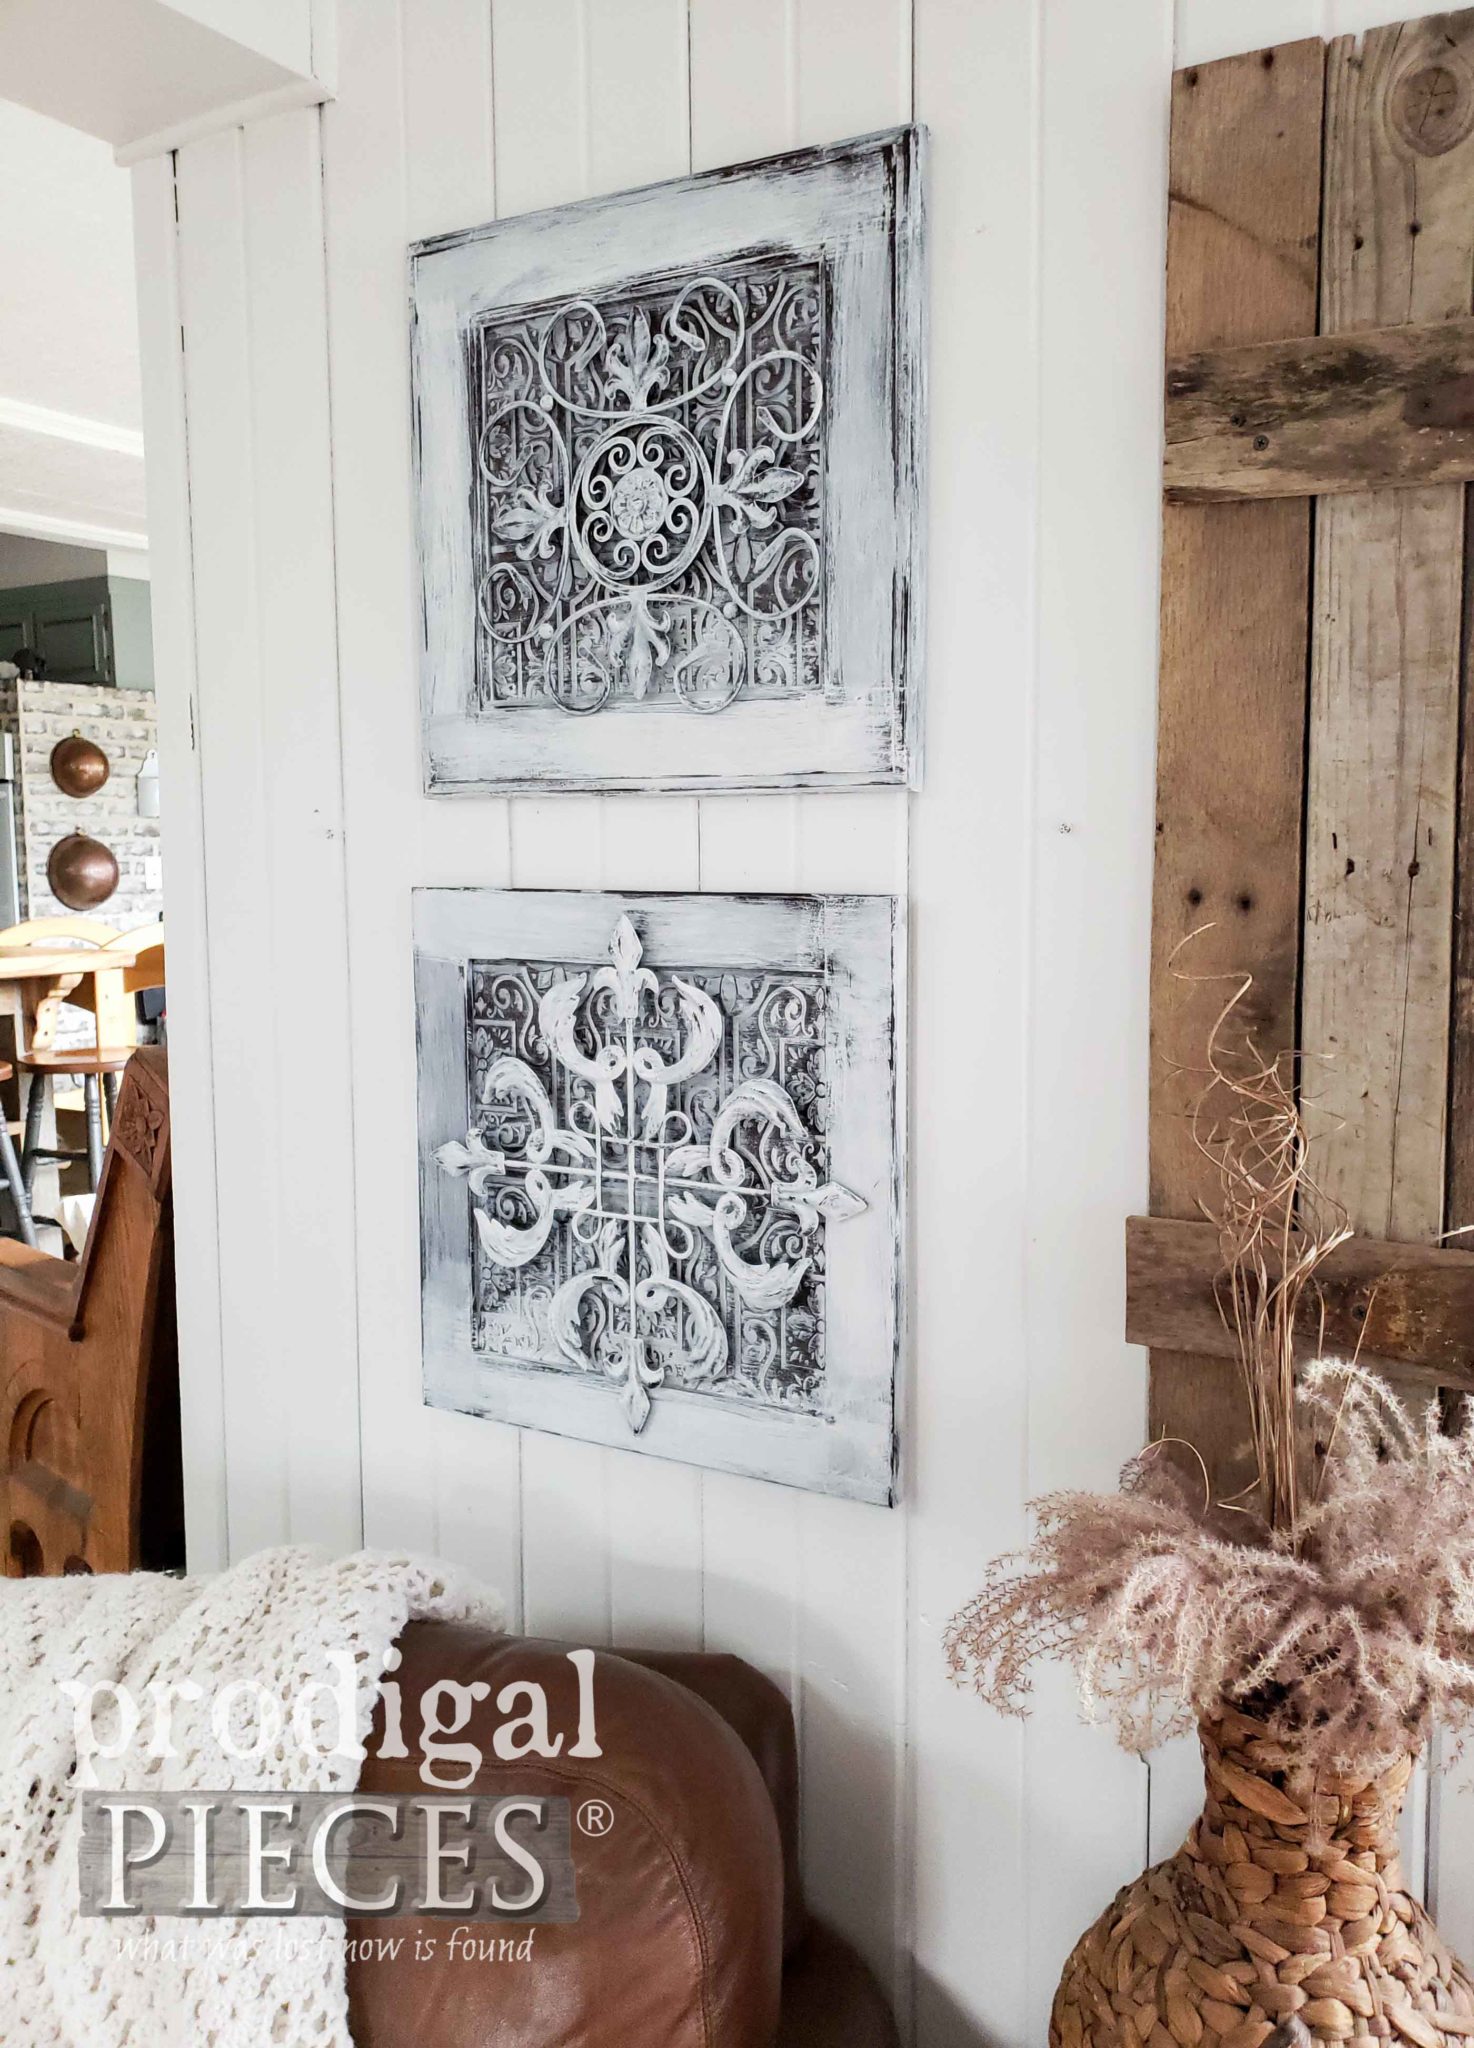
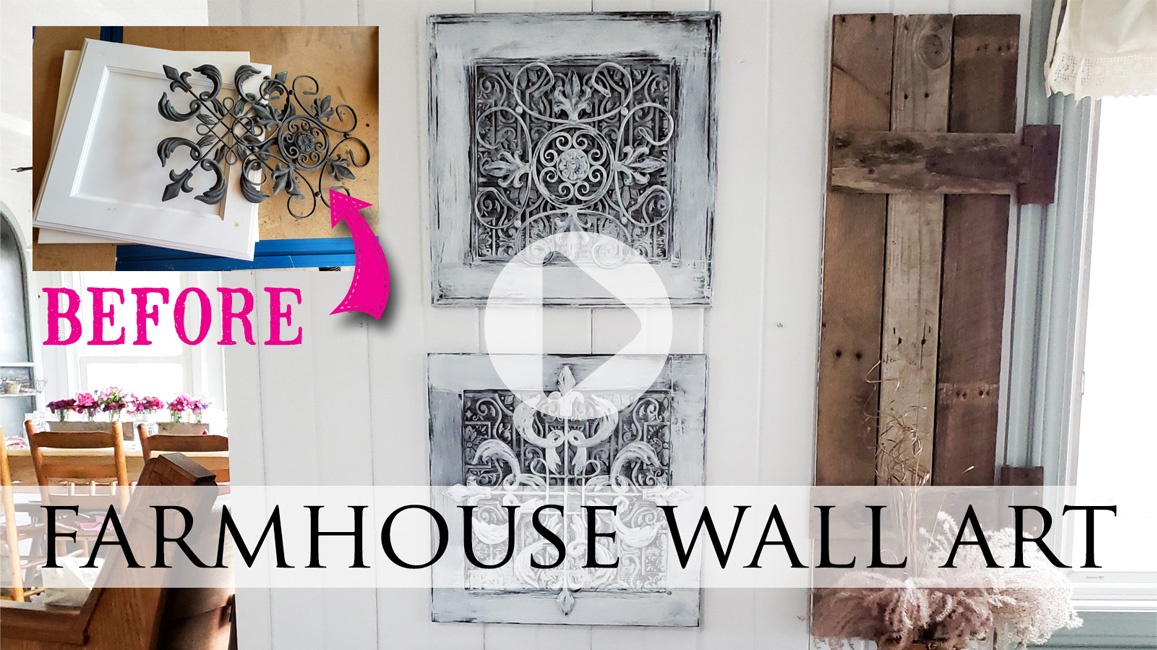 Aren't they fun? Funny, they even totally remind me of the antique ceiling tiles you can find in old buildings. You can see how I used embossed barn roof shingles to create a tin ceiling in our family room. (head HERE)
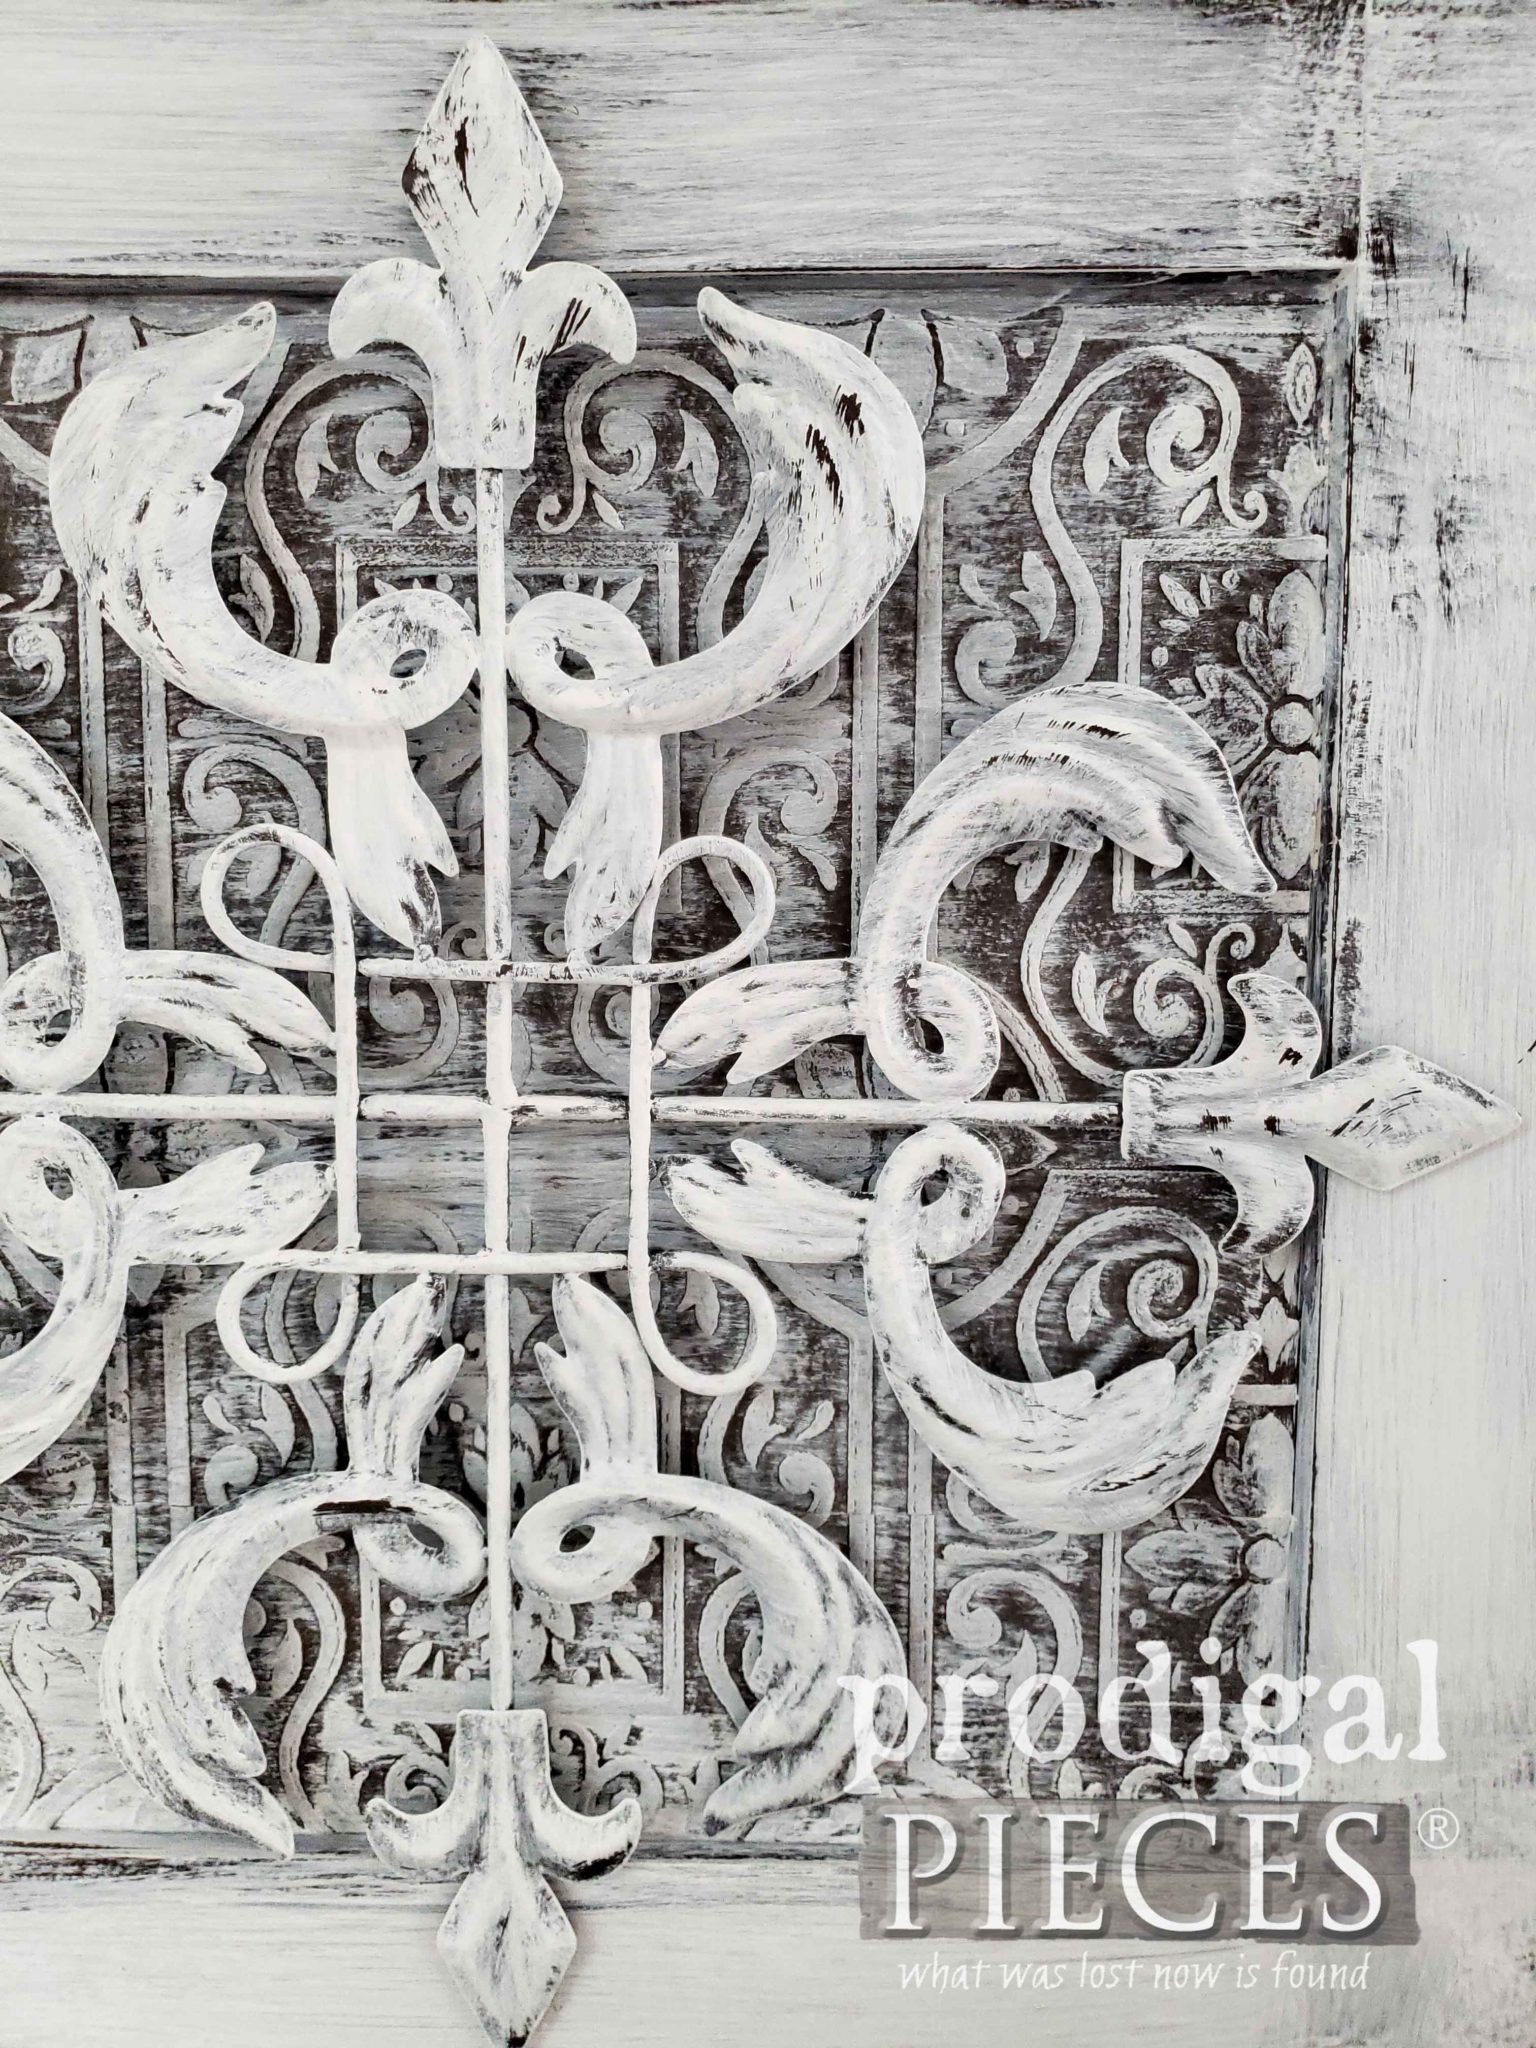
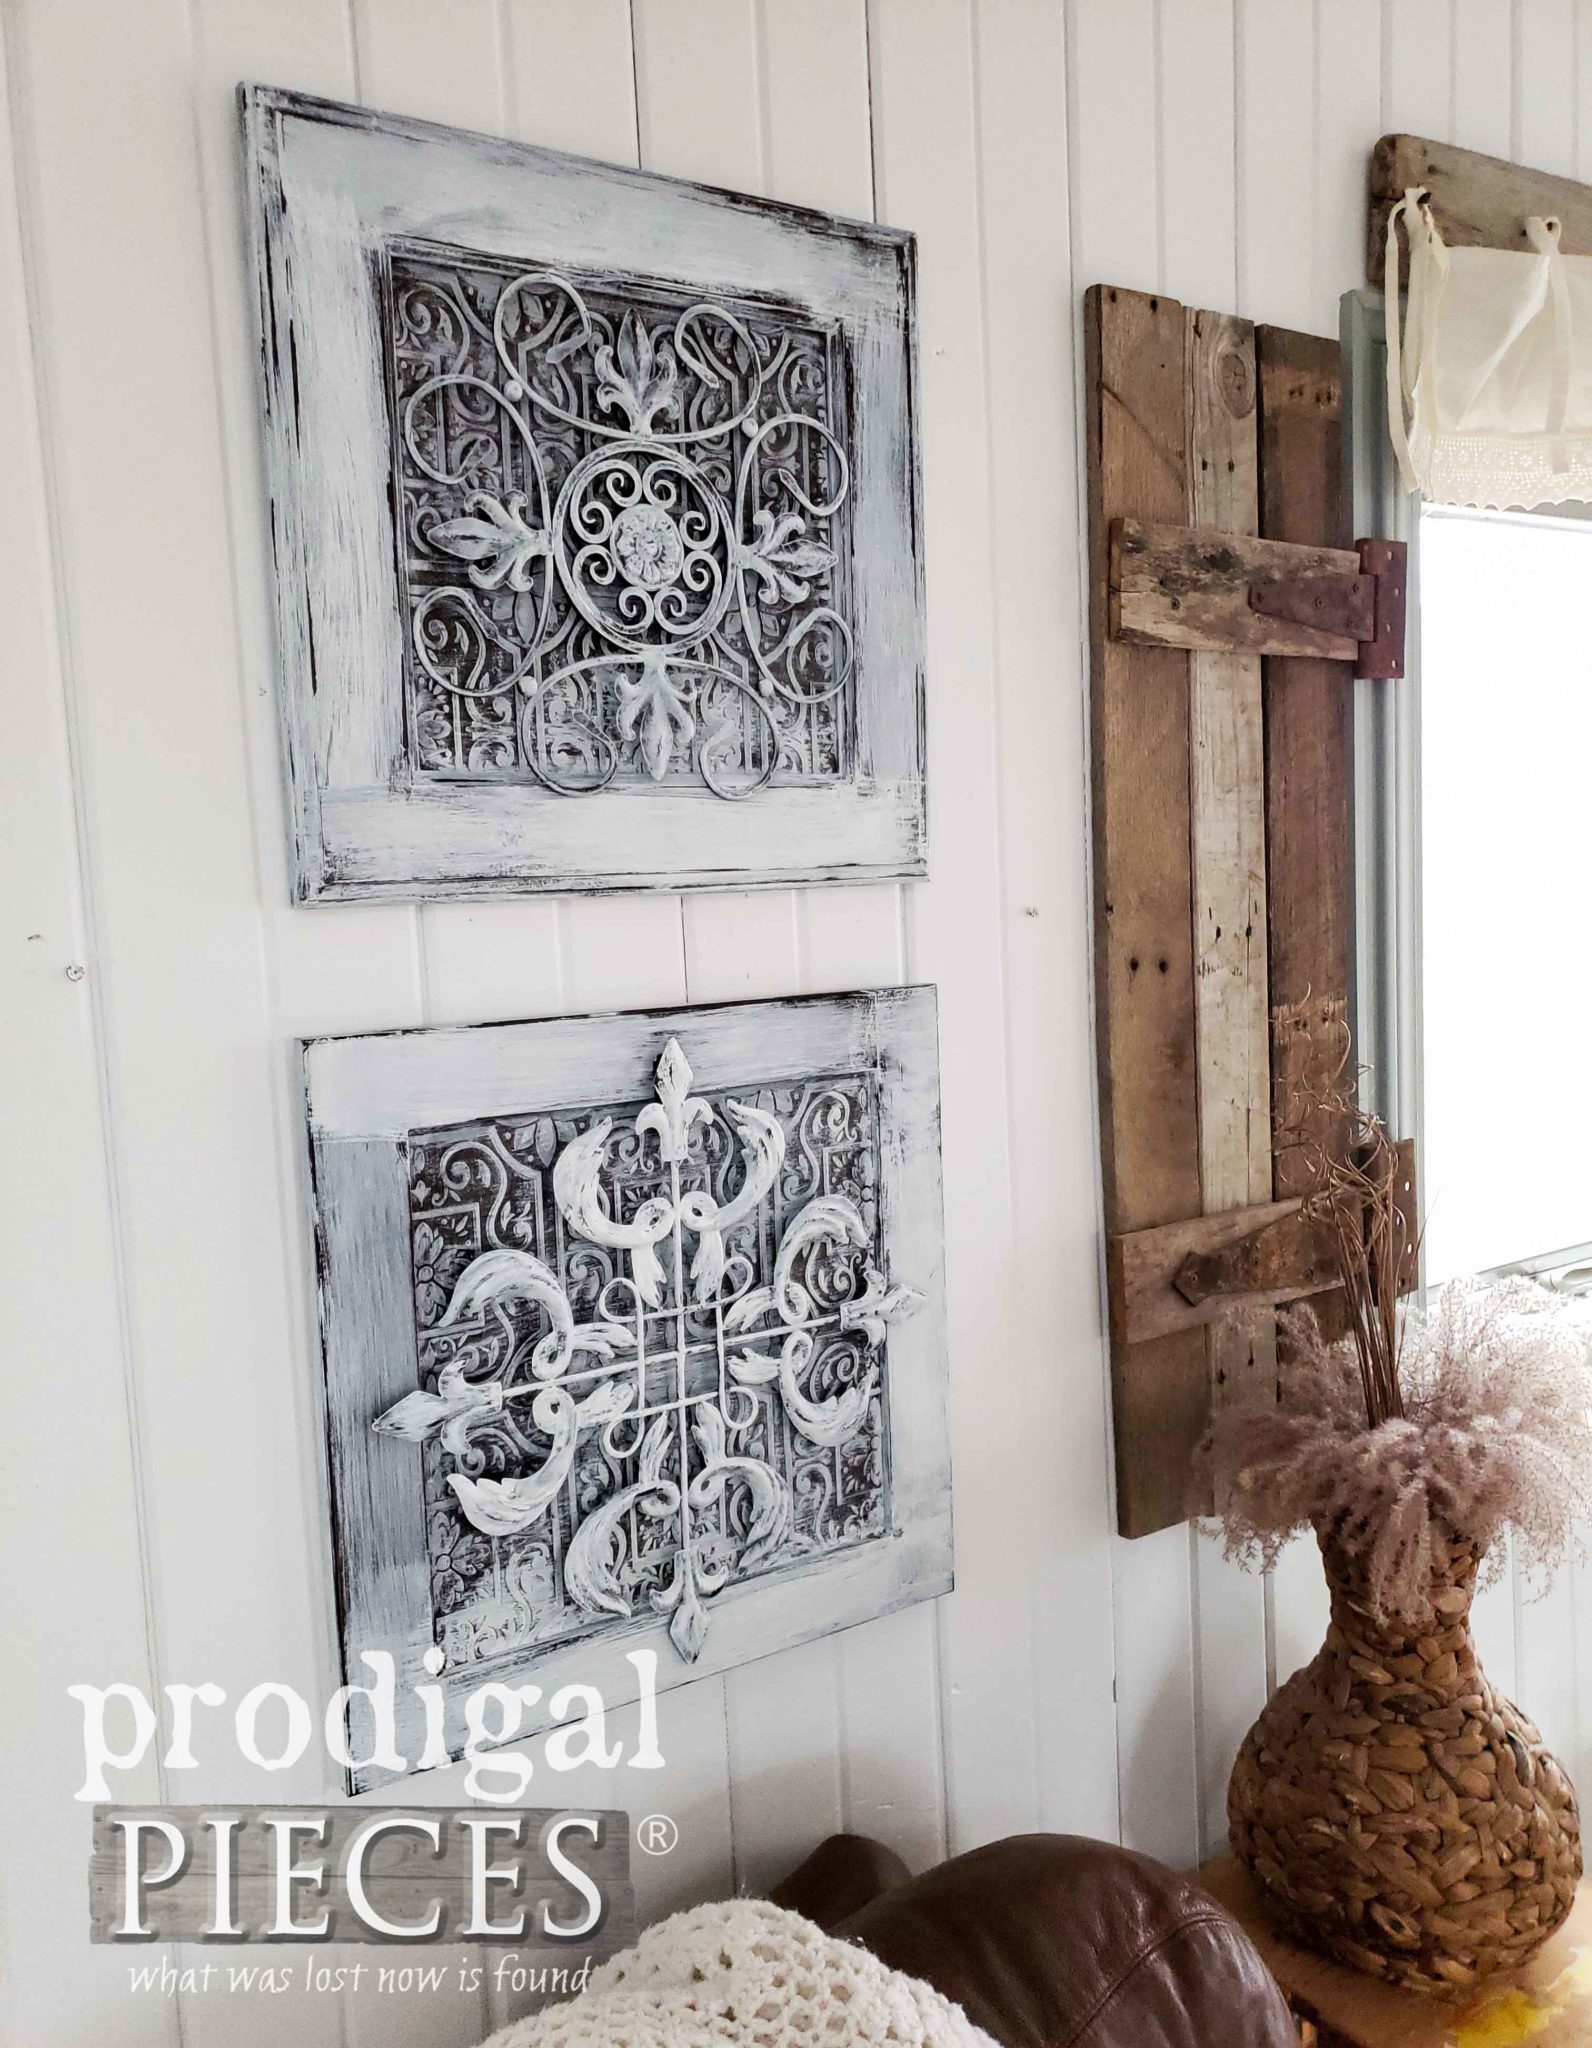 So, whatcha think? I hope you've enjoyed my farmhouse wall decor tutorial. I certainly had fun creating it for you. Not only is my goal to inspire you, but to also to see past the obvious and create something new.
SHOP MY STORE
Additionally, if you'd like to own this set of wall art, you can find them and much more available in my online shop. Also, sign up for my newsletter below for some freebies and a discount.[metaslider id=30251]
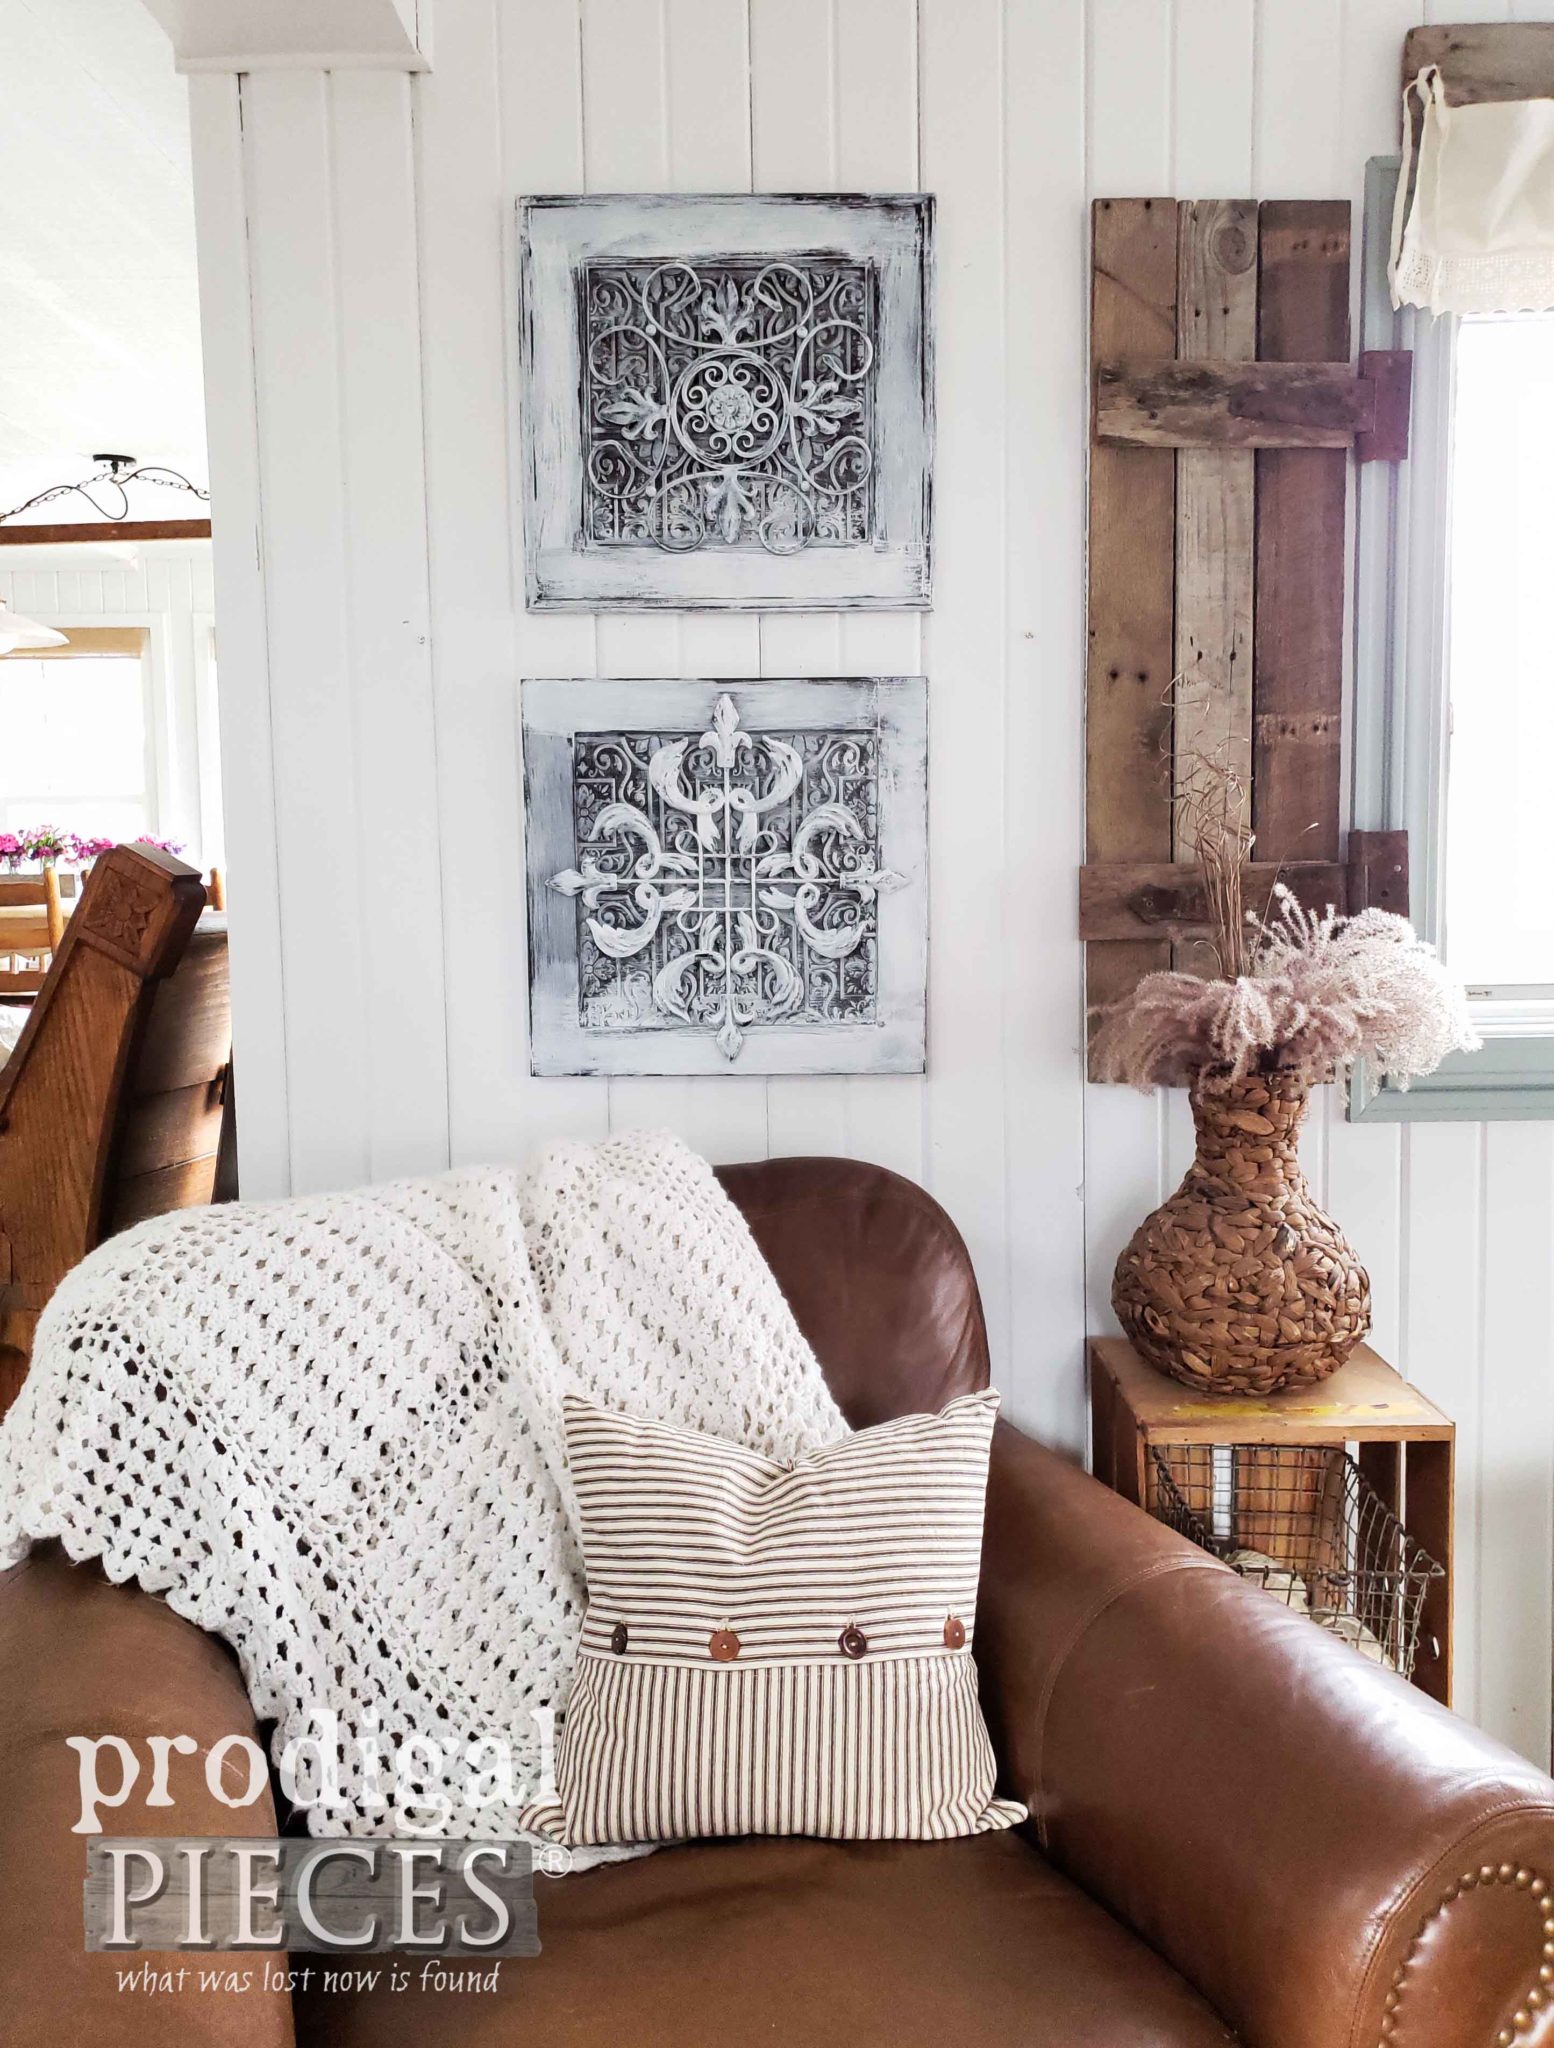 Likewise, please pin and share to inspire other too! Thank you.
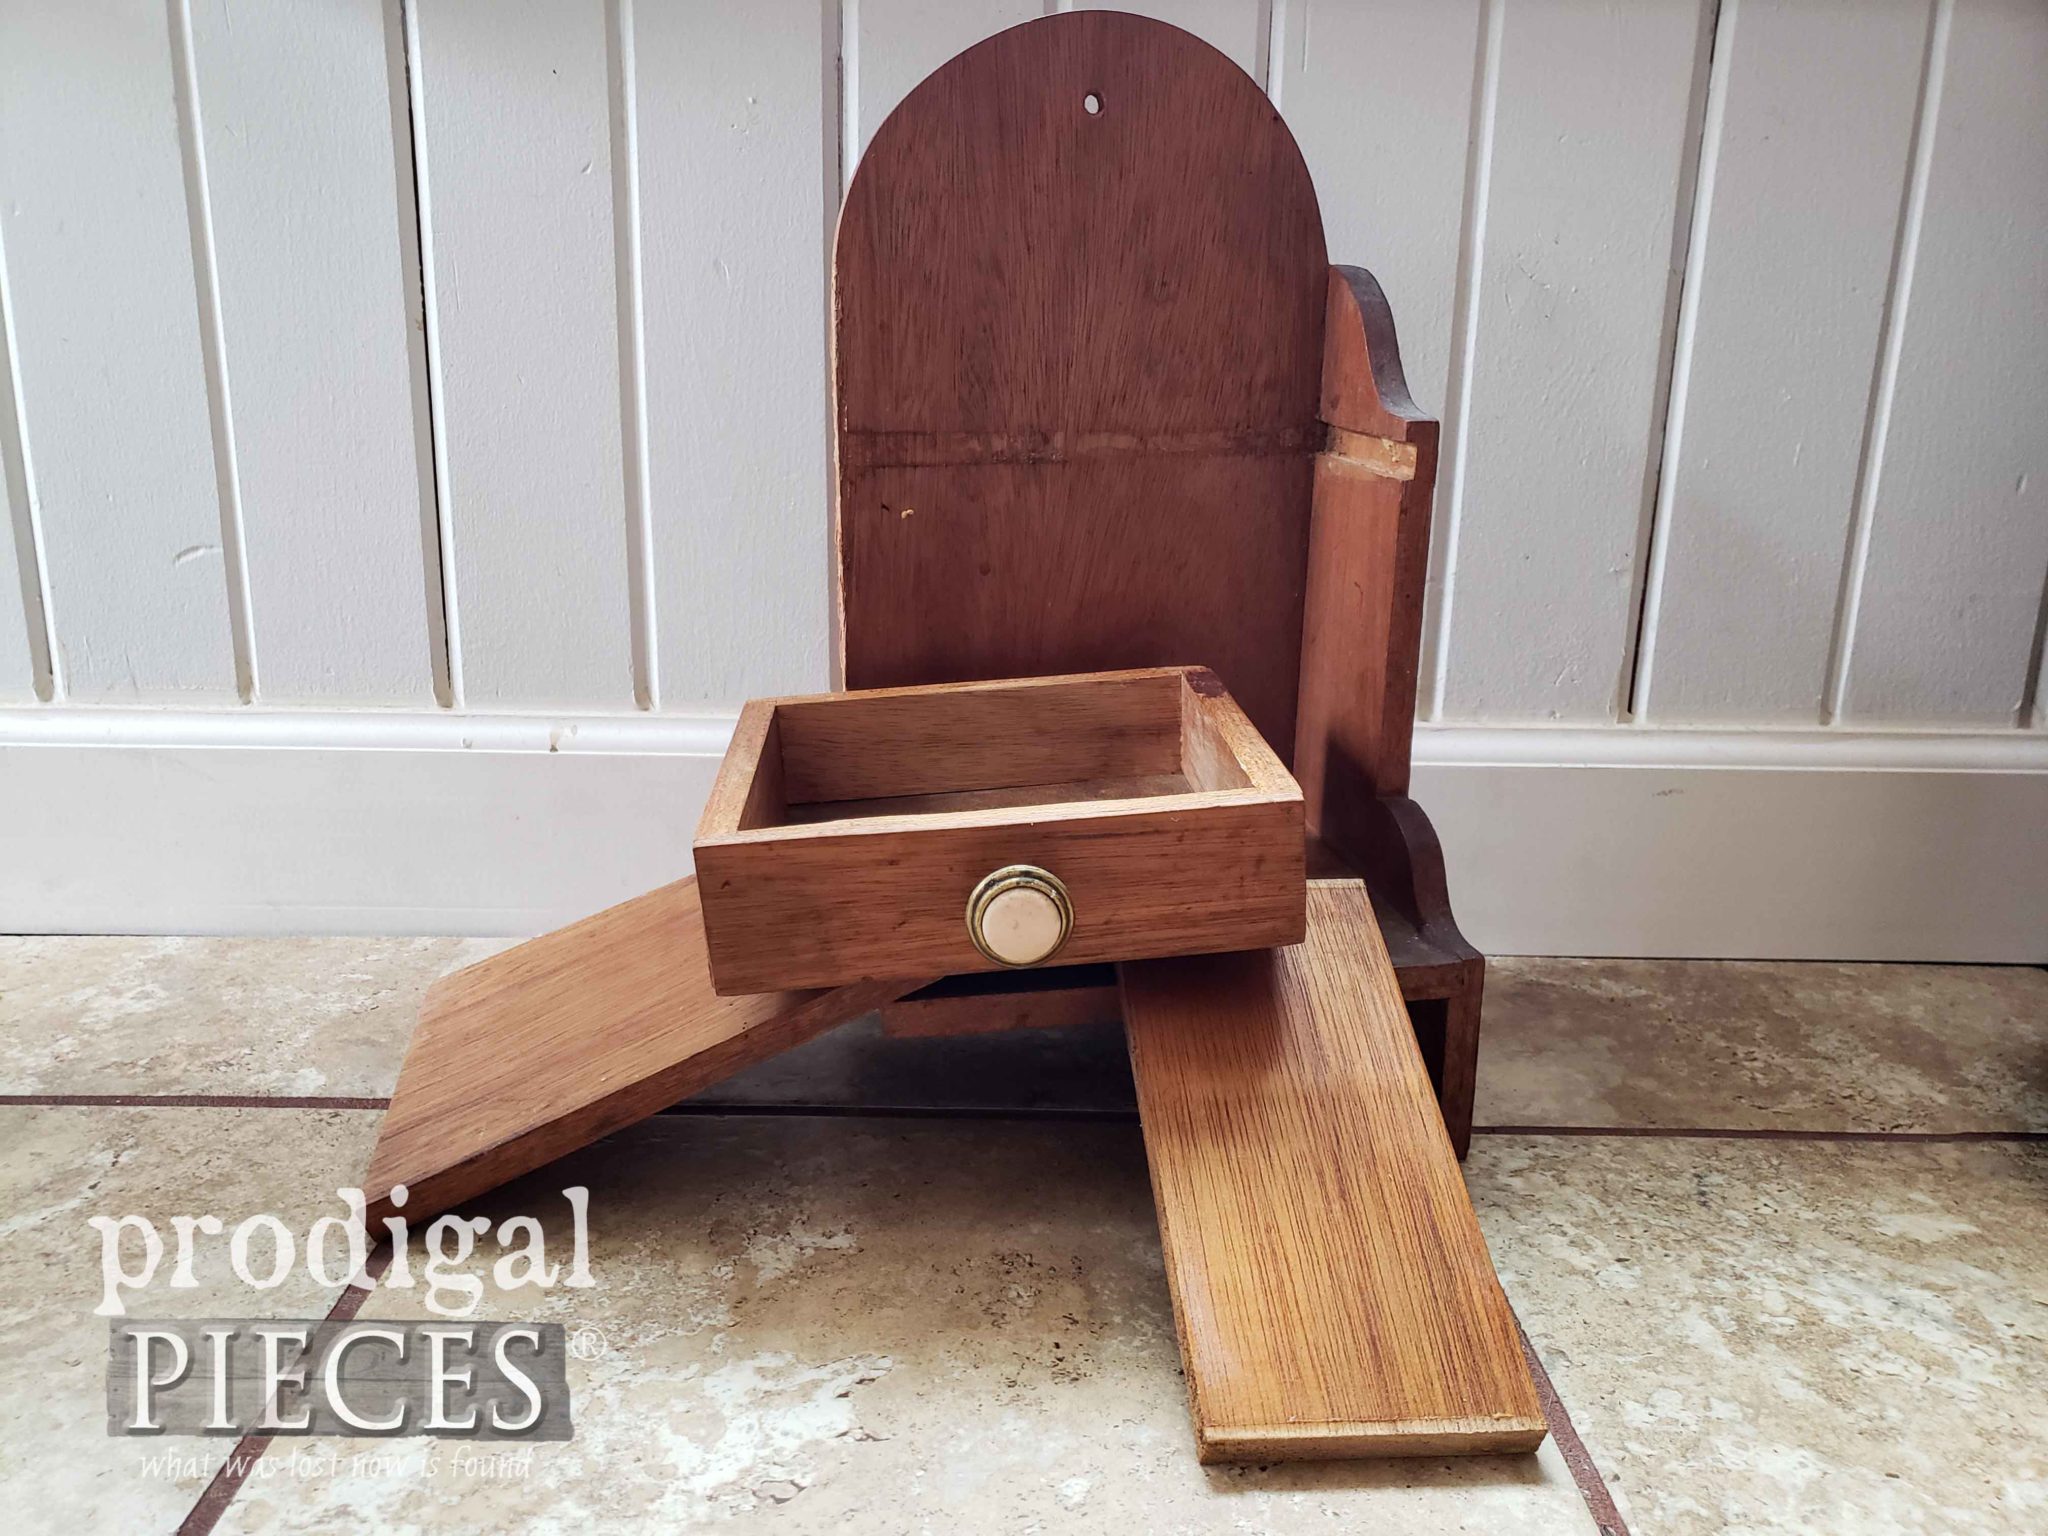
 Up next, this dilapidated shelf thingy is the next to get some much-needed love from my wooden stash of goodies. See the transformation HERE.
 Before you go, be sure to sign up for my newsletter. Until next time!

In addition, more DIY farmhouse wall decor ideas:
