
 At this point, you are probably scratching your head wondering, "What in the world is a dryer ball?" Well, lemme tell you that you will be so glad to learn something new today. Why?
Dryer Balls:
- eliminate the need for fabric softener or dryer sheets
- are eco-friendly
- reduce drying time by 20% (electric usage down 20% too!)
- remove static cling
- are easy-to-use
- are chemical-free (yassssss)
- and can add natural scent if you apply essential oils


What you'll need:
- a sweater that is at least 70% wool (100% is preferred, but the higher the wool percentage, the better) You can also just use wool yarn.
- pantyhose
- scissors
- crochet hook or yarn needles
- boiling pot of water
- washing machine & dryer
- essential oils (optional)
Step 1
I do believe, we all have a gnarly sweater tucked away somewhere, and most likely it has some wool in it. If not, head to the thrift store and start checking labels for one of my favorite textiles. Wool is amazingly versatile, forgiving, and a natural source of fiber. Sweaters made with wool are naturally cozy, but sometimes they need a new life. You can see all my past wool projects HERE. First, we are going to turn our sweater inside out to find the braided seams. If you crochet or knit, you know that your work needs a finished edge. This braid is just hat. However, then the works are united by a thread that forms these seams. You want to snip that joining thread between those seams in order to separate the sweater into parts. Work slowly to make sure you're not cutting into the work. If you do, no problem. I showed you what to do if that happens in my video tutorial below because...ahem...I did a newbie mistake. Yes, it happens to the best of us! tsk.
Step 2
Now we have our sweater separated into sections. Just look at all that glorious yarn. woot! Perfect for our project, or crochet or knit fun too. What you want to do is begin at the top of a panel. You'll find that binding yarn at the top edge. Wiggle that out and then you should be able to see a strand that you can begin to pull and unravel.
 This is, by far, the most time-consuming part. However, it doesn't take long, so be patient. If you happen to come up with yarnlets (pieces of yarn instead of a long strand), you can tie them together as the video shows. Or, you can make cores to your wool balls and wrap around them with the longer ones.
Step 3
Time to get our roll on. Begin by wrapping the yarn around two fingers. Then, pull that off your fingers and begin to wrap around your core to form a ball.

Step 4
Keep making your ball until you achieve the size you desire. I like to aim for tennis balls size. Whenever I wash my comforters and large blankets, I have always tossed in tennis balls to fluff them. These woolen ones do the same and more. Next, when you get to the end, tuck in the ends. You can either (1) use a yarn needle to thread the end in or (2) use a crochet hook to tuck it in. My video below demonstrates both.

Step 5
Bring on the pantyhose! You know this is the BEST use for those awful things. Just sayin'. First, cut off and open one of the legs down to the toe and tuck in a wool ball. Then, knot it off tightly. Next, tuck in another ball in line and knot again. Keep going until the pantyhose is full.

Step 6
Time to turn up the heat. Bring a large pot of water to boil. Also, at the same time, also begin a hot water wash of towels or similar in your washing machine. You can add detergent, but do not use fabric softener. Once the pot is boiling, submerge the ball chains and cook for 10 minutes. As the video shows, you can use another pot to hold the balls under the water. After the 10 minute cook time, add the water and the wool balls to your already started hot water wash in the washing machine. Run through a regular cycle, and then add to the dryer. Dry the towels and wool balls on high setting. Then, repeat the wash/dry process one more time.
After that second wash/dry, the wool balls are done. Remove from the pantyhose. Also, be sure to check if you can separate thread from the ball. If so, wash/dry one more time. I've never had to do that, but I know all machines aren't the same.
After the 10 minute cook time, add the water and the wool balls to your already started hot water wash in the washing machine. Run through a regular cycle, and then add to the dryer. Dry the towels and wool balls on high setting. Then, repeat the wash/dry process one more time.
After that second wash/dry, the wool balls are done. Remove from the pantyhose. Also, be sure to check if you can separate thread from the ball. If so, wash/dry one more time. I've never had to do that, but I know all machines aren't the same.
ALL DONE

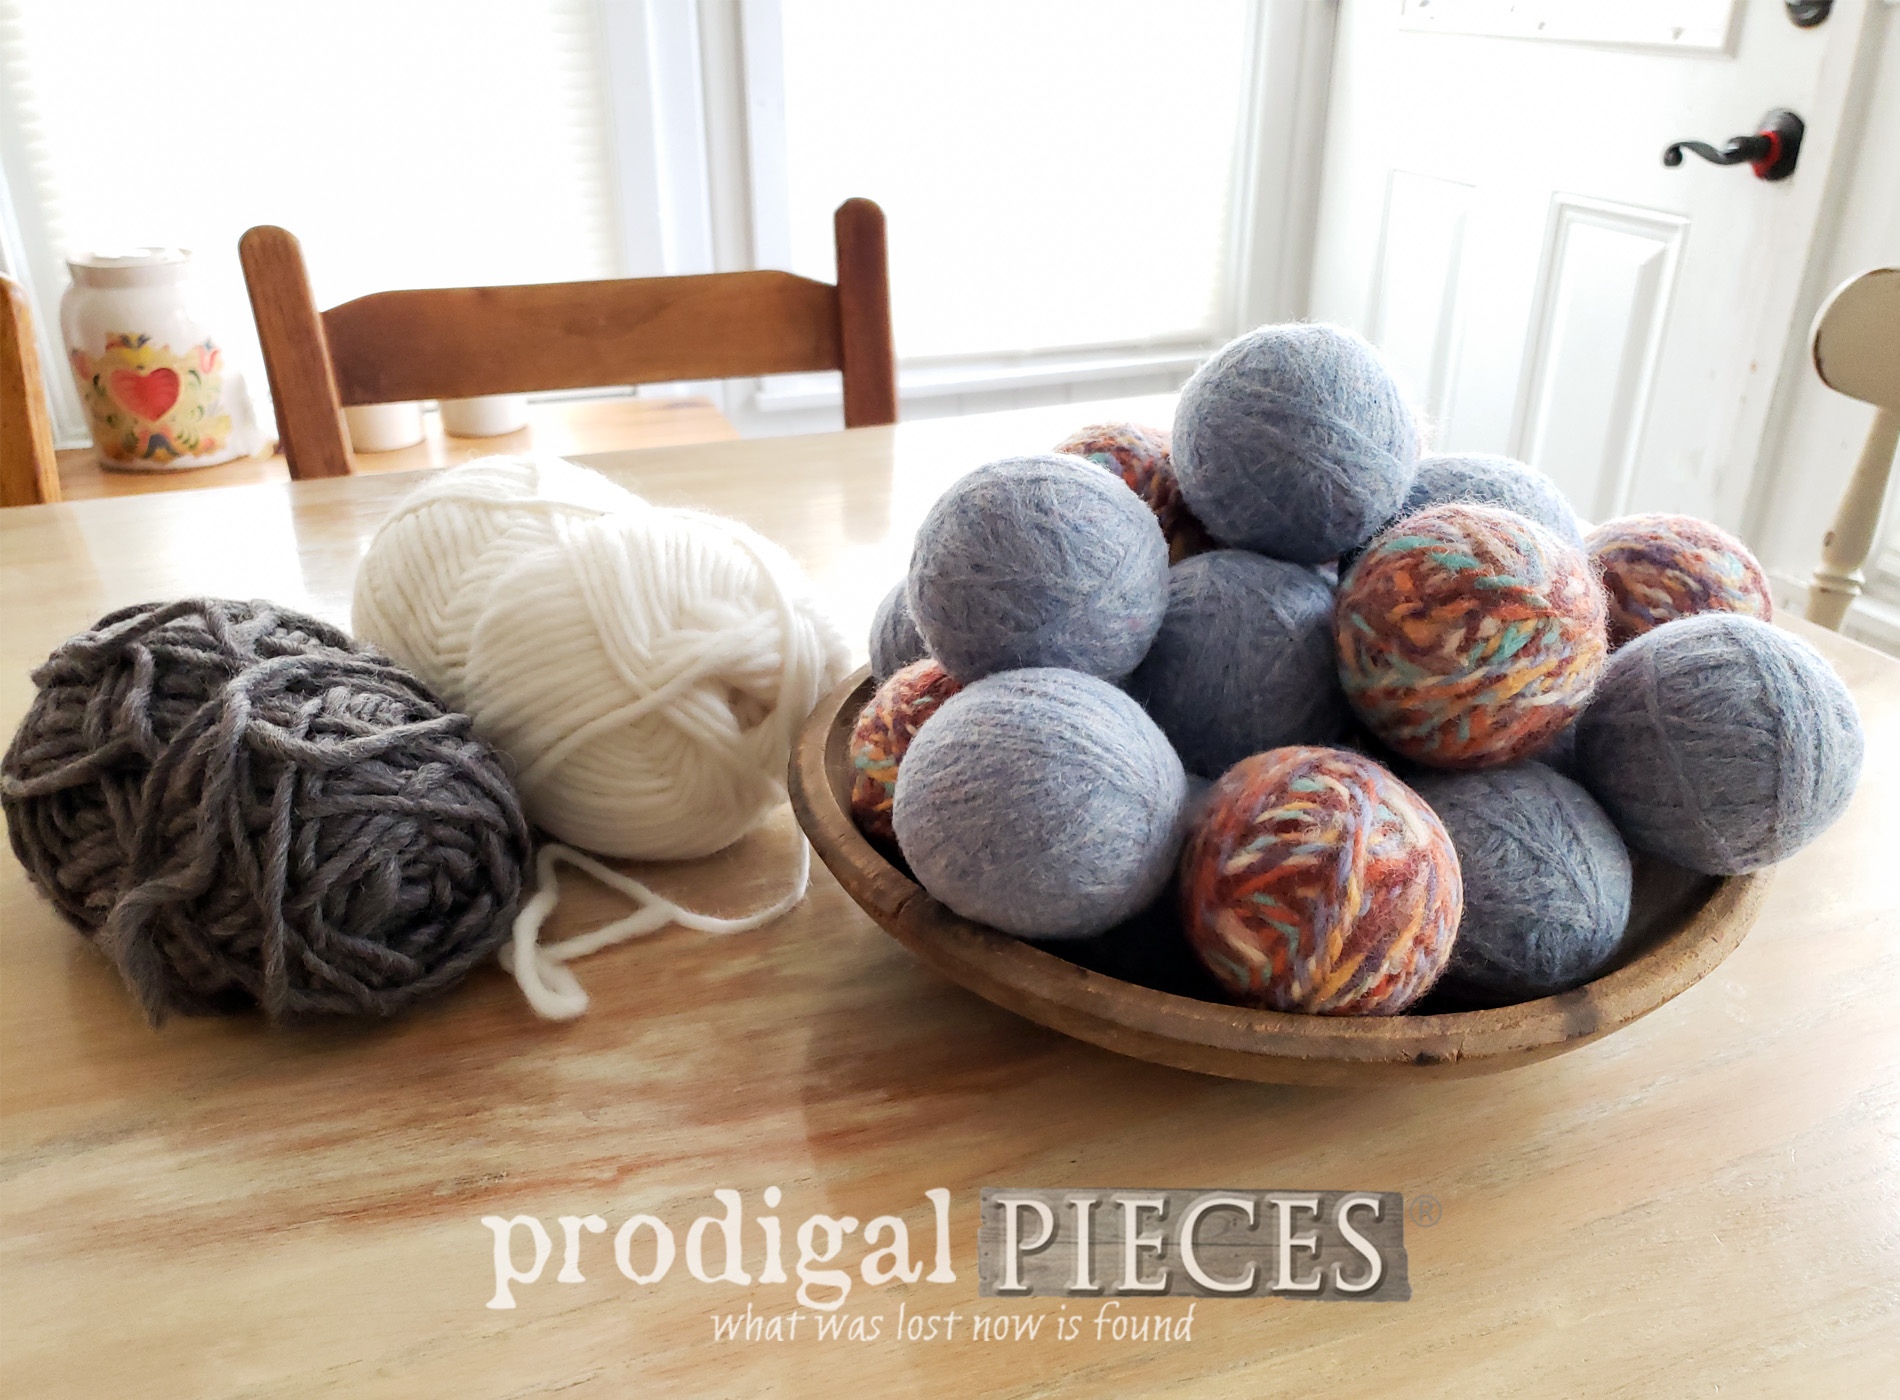
 Aren't they fun?! Perfect woolly goodness right there. You can even use these for babies as a soft toy. I'm tellin' ya...wool is awesome.


 I even have scraps I felted to use for future projects. Plus, I needed a new chalkboard eraser. See it in action in my video.
 Because I'm a true believer in these, I'm giving away a set to one of you. {{applause}}

GIVEAWAY TIME
Easy entry - complete as many steps in the widget below to gain as many entries as possible (daily even). Giveaway open to U.S. and Canada residents 18 years of age and older. Winners will be notified via email and will have 24 hours to claim their prize. Also, be sure to check spam! Likewise, you can also find these available in my online store. Yay!
Also, pin and share my DIY wool dryer balls to help others find fun, easy, and economical ways to make their house their home.
 Up next, I'll be taking these two cast-off home decor pieces and giving them new life. See their transformation HERE.
 Before you go, be sure to sign up for my newsletter. Until next time!

While you're at it, here are more fun projects like my DIY wool dryer balls:

 | Head to prodigalpieces.com prodigalpieces diy handmade toys home homedecor farmhouse")