You know the saying, "birds of a feather flock together", right? Well, one of the reasons I have fun with what I do is because I have a fantastic group of people who also have that same passion for DIY. Today is
Furniture Fixer Uppers time where my blogger friends and I each take on a project with the intent of inspiring you. My project piece is this tired old gal who's going to help me add a deconstructed ottoman to my home - something I've always wanted.

When I spied this at the thrift store, in an instant I knew I wanted it for my home. If you look close, the velvet upholstery was well worn through the the threads on the top. However, I couldn't deny the beauty of those carved wooden feet. Aren't they wonderful?

Just so you know, I've had this thing hanging around my house for over a year waiting for its new home. sigh... It's new place in the home isn't ready yet, but one day it will be and will shine. Here's to remodeling DIY style!
You may be wondering what I mean by deconstructed ottoman, and honestly it's much like it sounds. A few years ago I feel in love with the look and even redid my channel back chair in the same fashion. You can see it here
in this post. (check it out, it's a good read!) The style is one of a simple, rustic look with muted colors and a very casual feel.
DIY TIME
To get this party started, I flipped the ottoman upside down and began to remove the underside lining.

I kid you not that the right tools make all the difference in the world (hence, my motto: toolsoverjewels) This staple puller only costs a couple of dollars and saves me sooo much work.

When I start to use it on projects, my littlest always runs up and asks to help. Who can deny a cute helper? She has a blast yanking out the staples for me.

Once we got the bottom lining off, we pulled off the damaged velvet and here is what we saw. A whole lotta batting and it looks in good shape.

The batting had compressed over time, but not too badly. I had actually bought upholstery foam to replace it, but instead I chose to add a few layers of new batting to boost it up. Before I did that though, I cut off the excess batting and moved those fabric strips up the sides a bit to reveal that gorgeous oak base.
As for adding the extra batting, that chore was easily accomplished by using my stapler to tack it on. If you've ever wanted to tackle upholstery, it truly is a simple process and I share how easy it can be in
my footstool tutorial HERE.

NEXT STEPS
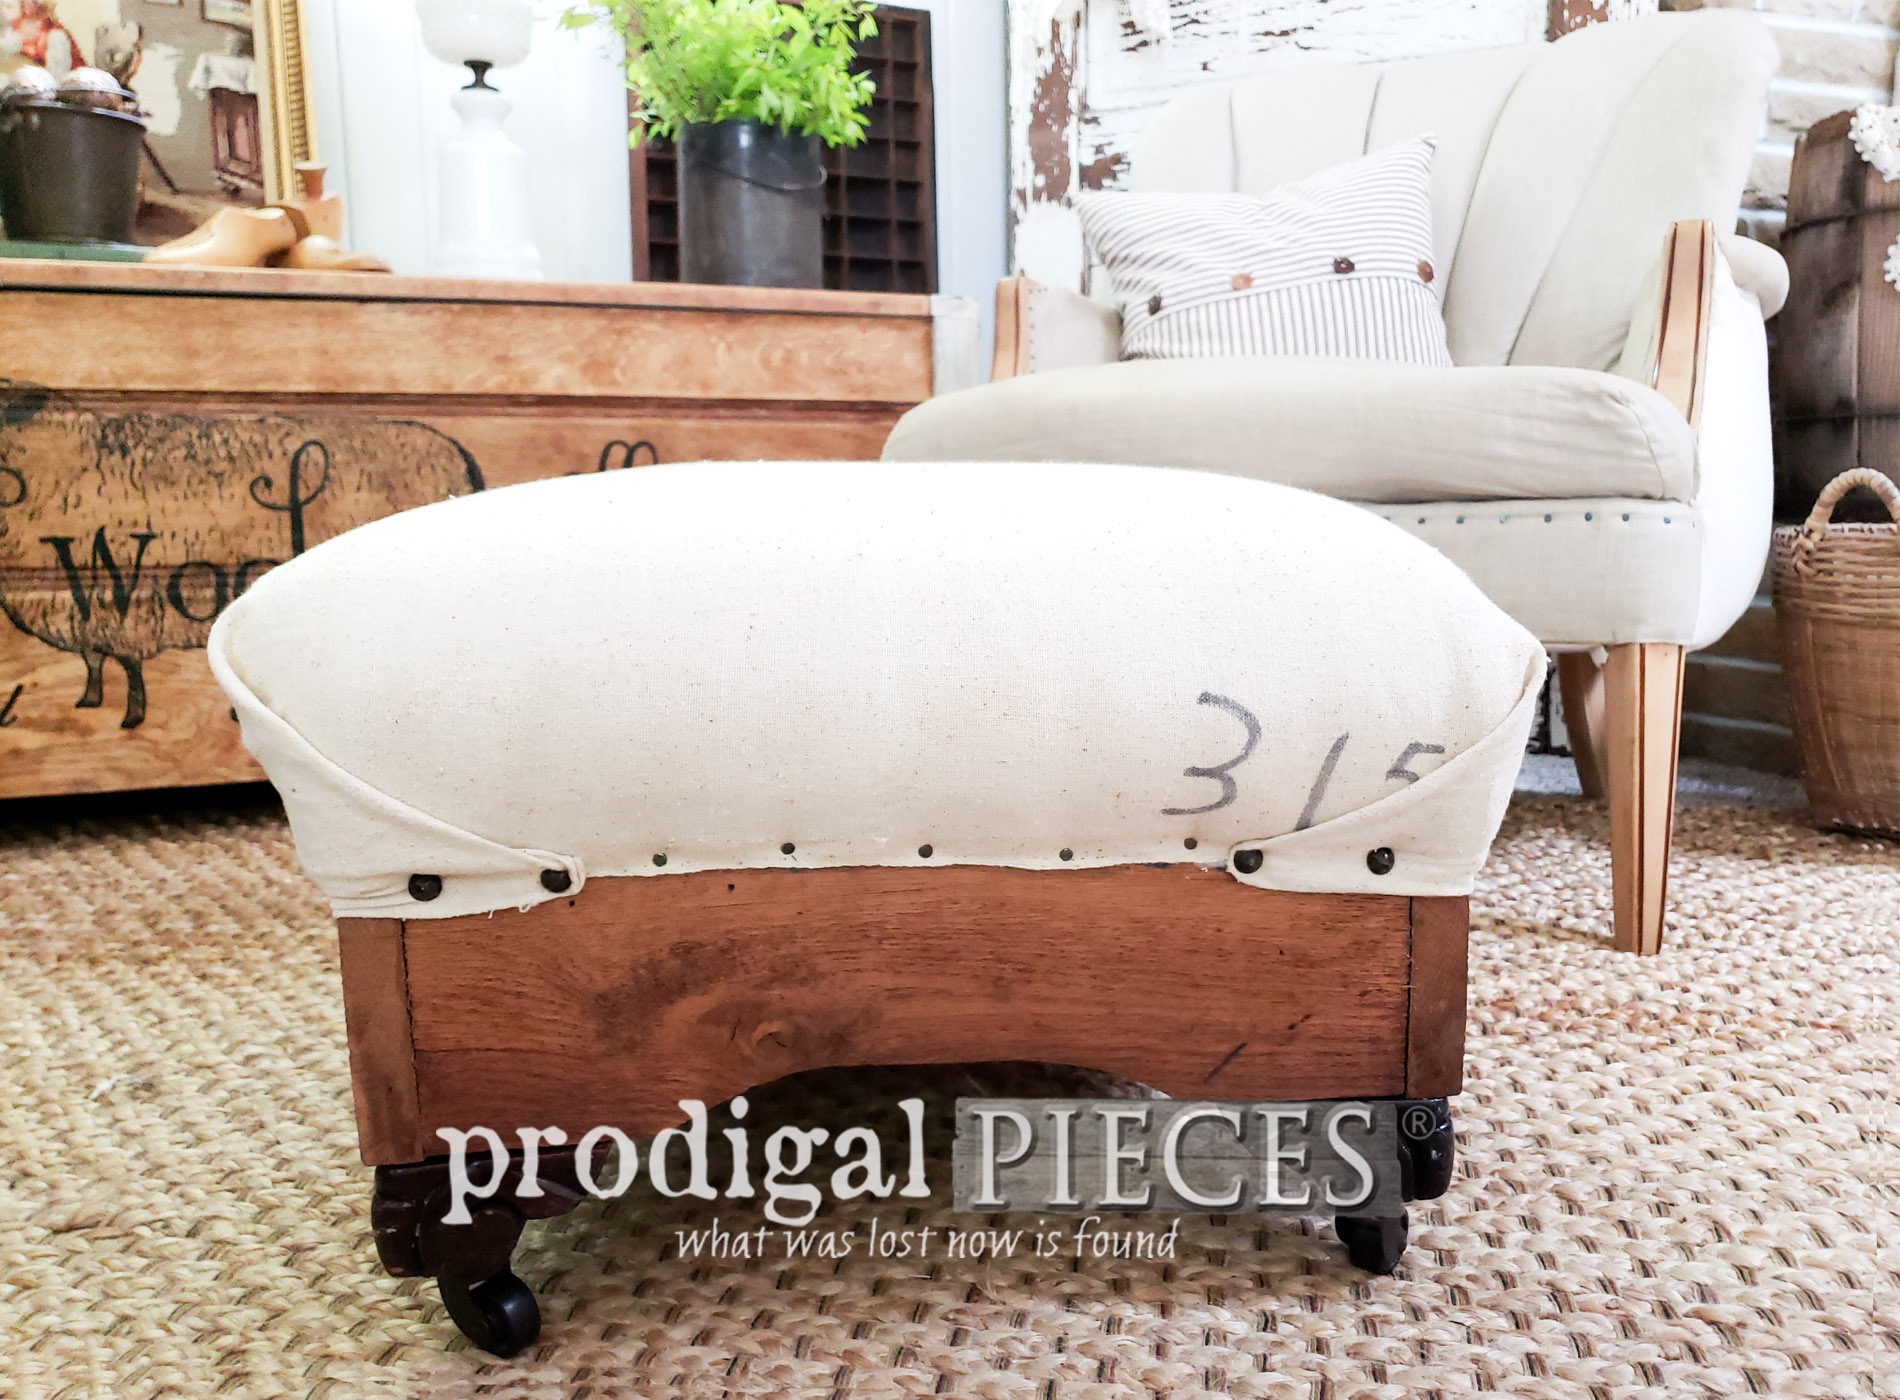
For the next step in my deconstructed ottoman makeover, I had to choose an upholstery. There was no question in my mind that I was going to raid my feed sack stash that I've been hoarding for such an occasion. This particular feed sack had just enough whimsy to suit my taste.

I simply took my seam ripper and took apart the feed sack at one of the seams. It was the perfect size for my project, so no cutting needed. Woot! I then tacked the sack on with my upholstery hammer reusing the tacks and nails I saved from pulling off the original upholstery.
THE REVEAL
Finally, let me introduce you to my sweet deconstructed ottoman. I love it!


While this isn't the room where I intend it to stay, it sure looks sweet with my family room decor, my channel back chair, and
blanket chest I redid ages ago, don't you think?
I just love the stenciled text as well as the hand-written markings. Makes it whimsical and has a story all its own. Not to mention that the gorgeous oak was begging to be showcased with those feet peeking out.


That feed sack sure does beat the old velour that was on there. Plus, if I ever want that feed sack back, all I have to do is pop it off. Fun!

So there you have it, or rather I should say, there I have it. I finally have the deconstructed ottoman I've always wanted and my home is taking shape more and more each day.

I hope I'm inspiring you to give DIY a try. It truly is rewarding to create your own home story. In addition, pin and share this project to inspire others too!

Up next, I have a double the fun makeover with these two thrifted finds.
SEE THEIR NEW LOOK HERE.

To get these DIY tips & tricks in your inbox, be sure to
sign up for my newsletter.
Time to see what my Furniture Fixer Upper friends have for you below!

Now time for more inspiration. Check out what these ladies have created for you too! (numbered links below)

- Confessions of a Serial DIYer
- Interior Frugalista
- Just the Woods
- Petticoat Junktion
- Girl in the Garage
Also, more projects like my deconstructed ottoman:


 Now time for more inspiration. Check out what these ladies have created for you too! (numbered links below)