Have you ever used the phrase, "Good things come to those who wait?" I may have reminded my kids of that every now and then, but I do use it for myself assuredly. It's only been about 5 years since I first laid eyes on one of my biggest curbside finds ever - a front door with inserts. Today that arched window insert is the last of my hurrah. You can bet I'm doing a happy dance!
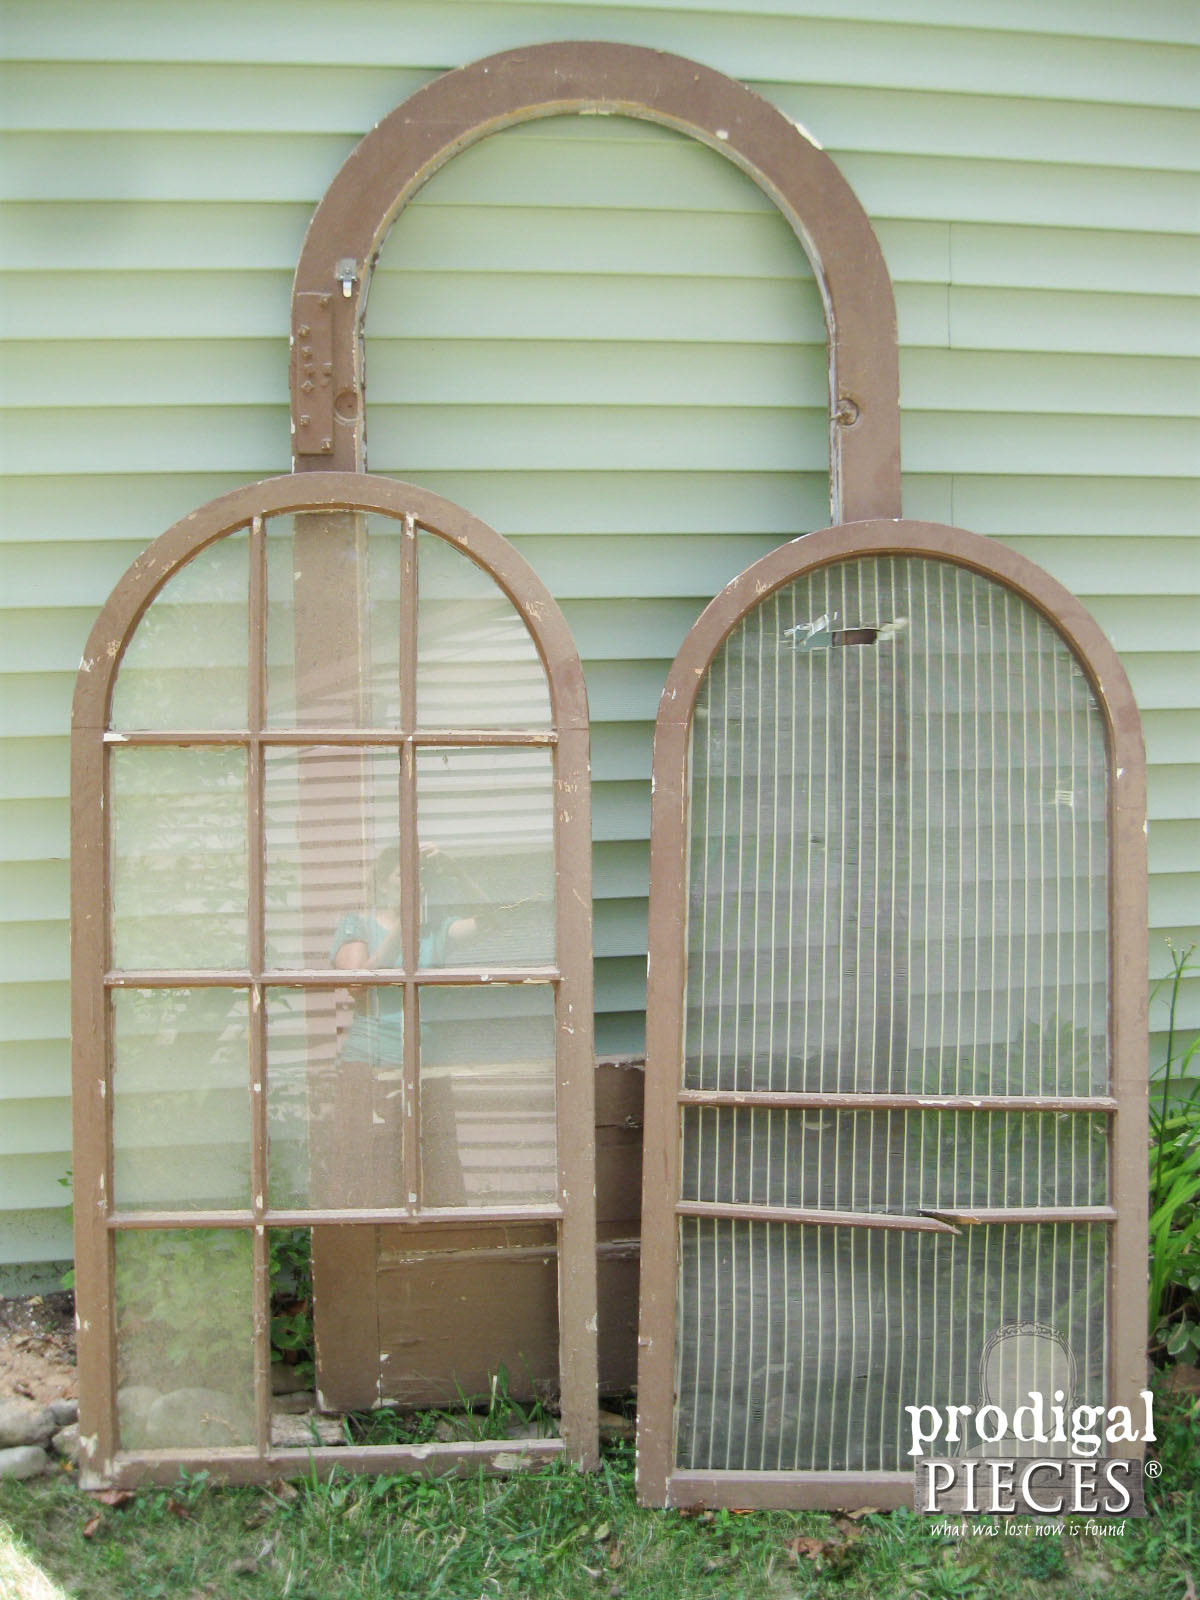
The story all begins just over five years ago when my oldest son and I took off on our first major city spring cleanup adventure. We had no idea how much awesome goodness we would come home with, but this door set was easily one of my favorites. It wasn't until two years later I was able to work on the first of the three because of our home remodel. The first project was repurposing that broken screen insert. You can see what it became
HERE in this post.
The next project didn't come until a year after that when I took the main door frame and gave it new life. It's easily one of my favorite projects for myself and will be showcased better once we get our living room done. In the meantime, it was redone and set in my bedroom
HERE.
NEW PROJECT
Today, the star of the show is, last but not least, the arched window insert. Isn't it beautiful?
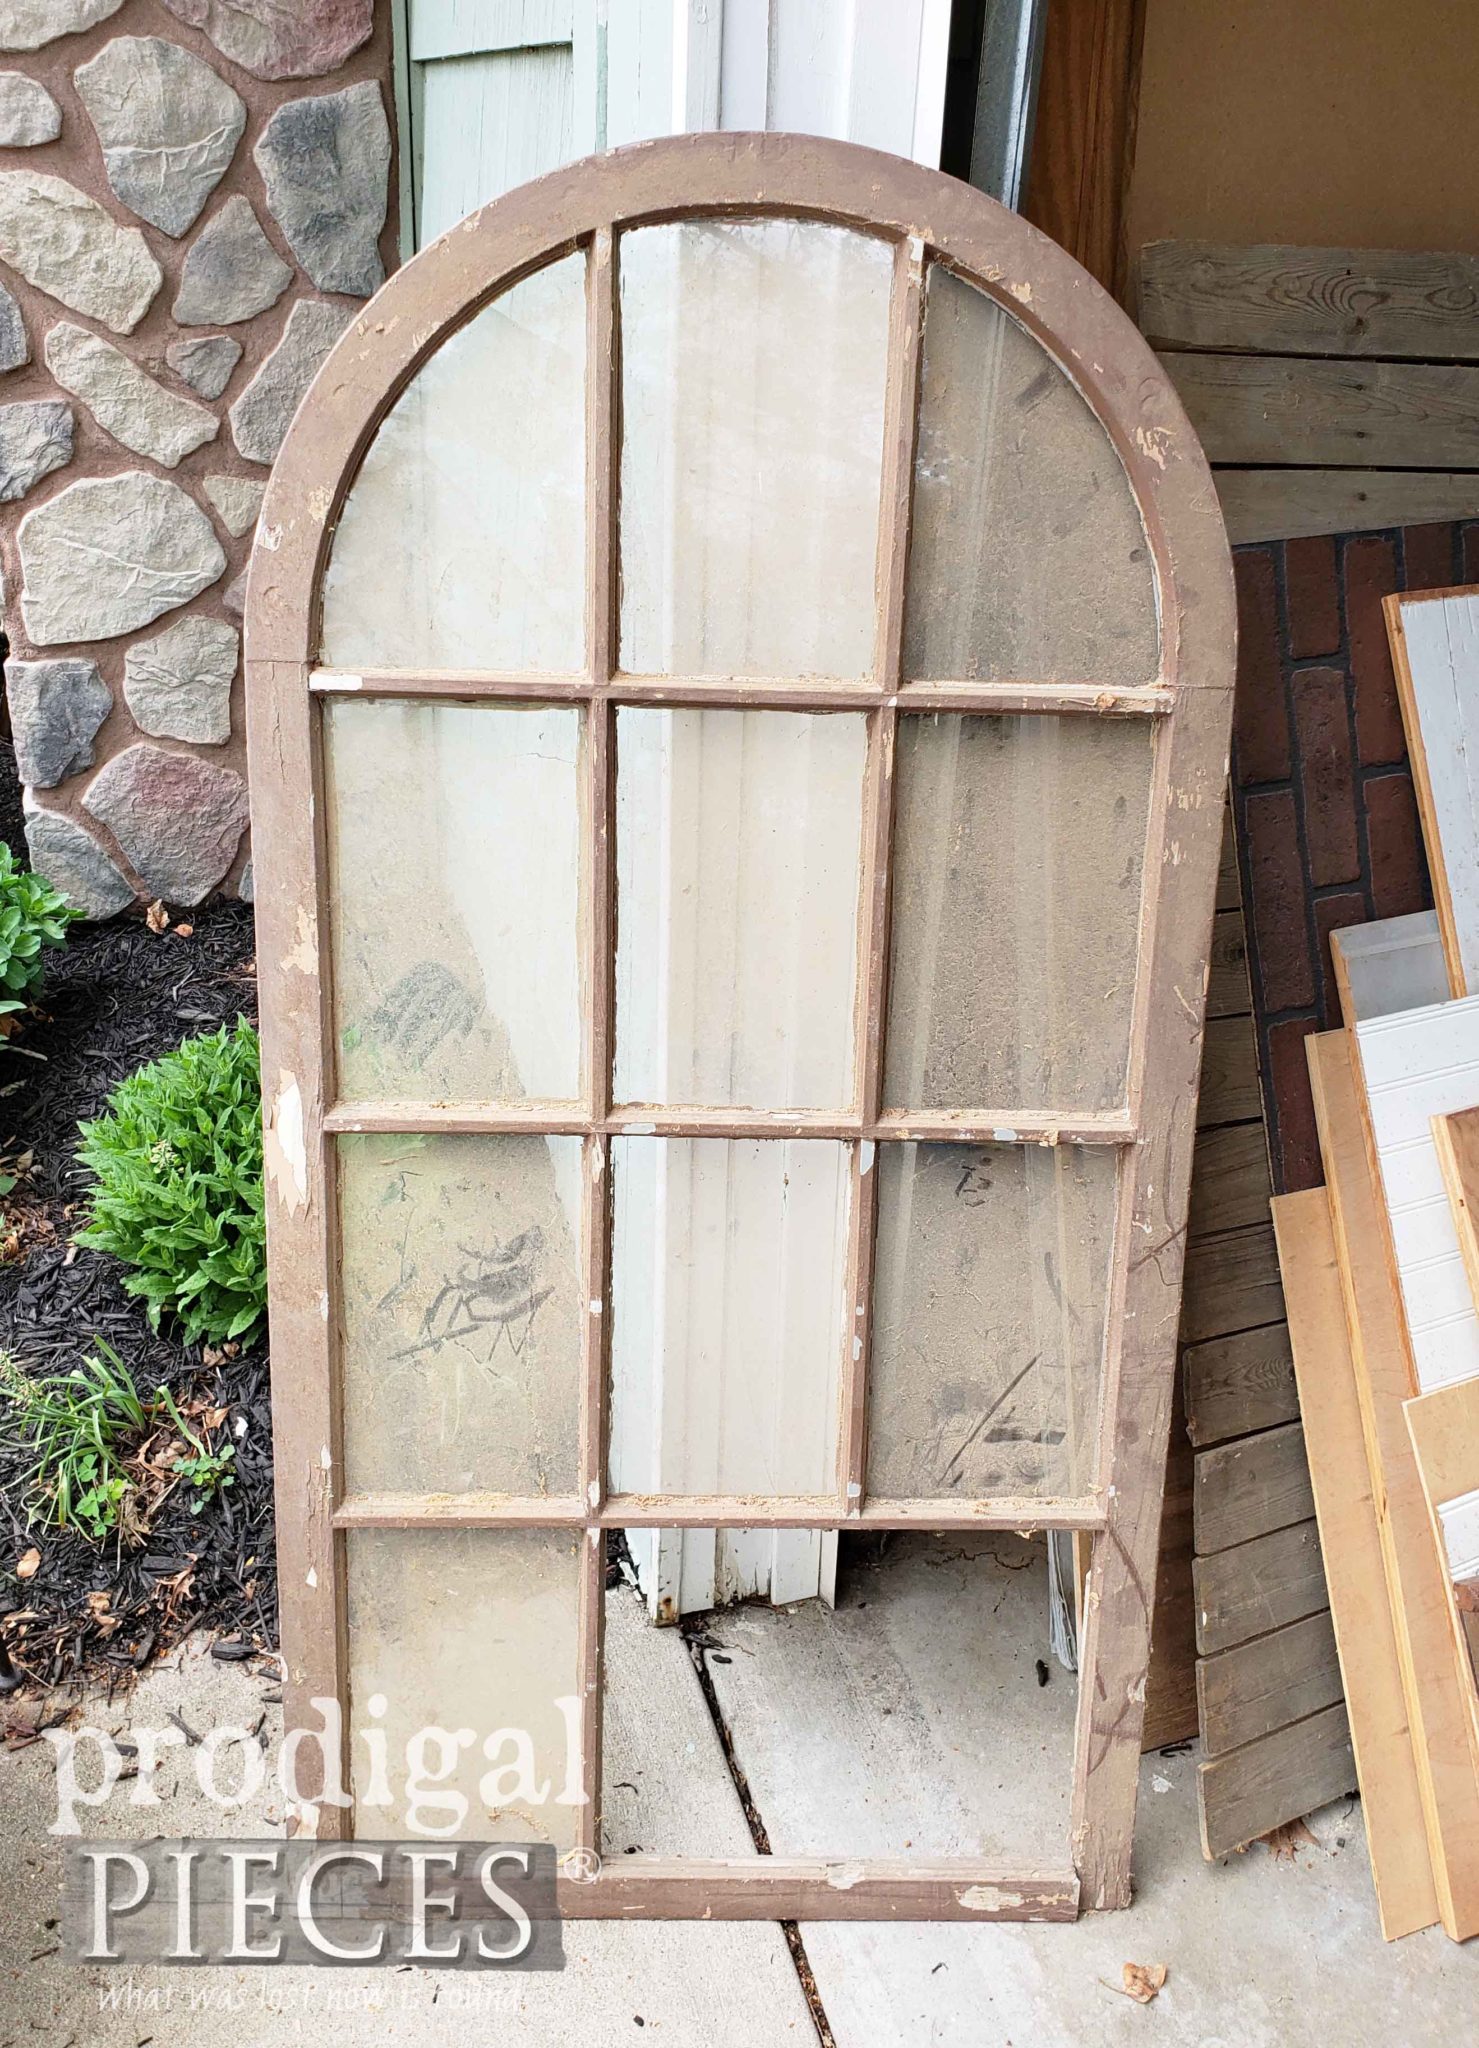
I mean, yes, it's a hot mess, but I see potential too. It's been tucked away in that scrap pile for way too long. Now is the time for it to shine. I felt sorry for it, so I pulled it out to assess. Quickly I decided that although I am not ready to put it in its forever spot, I would do it some justice.
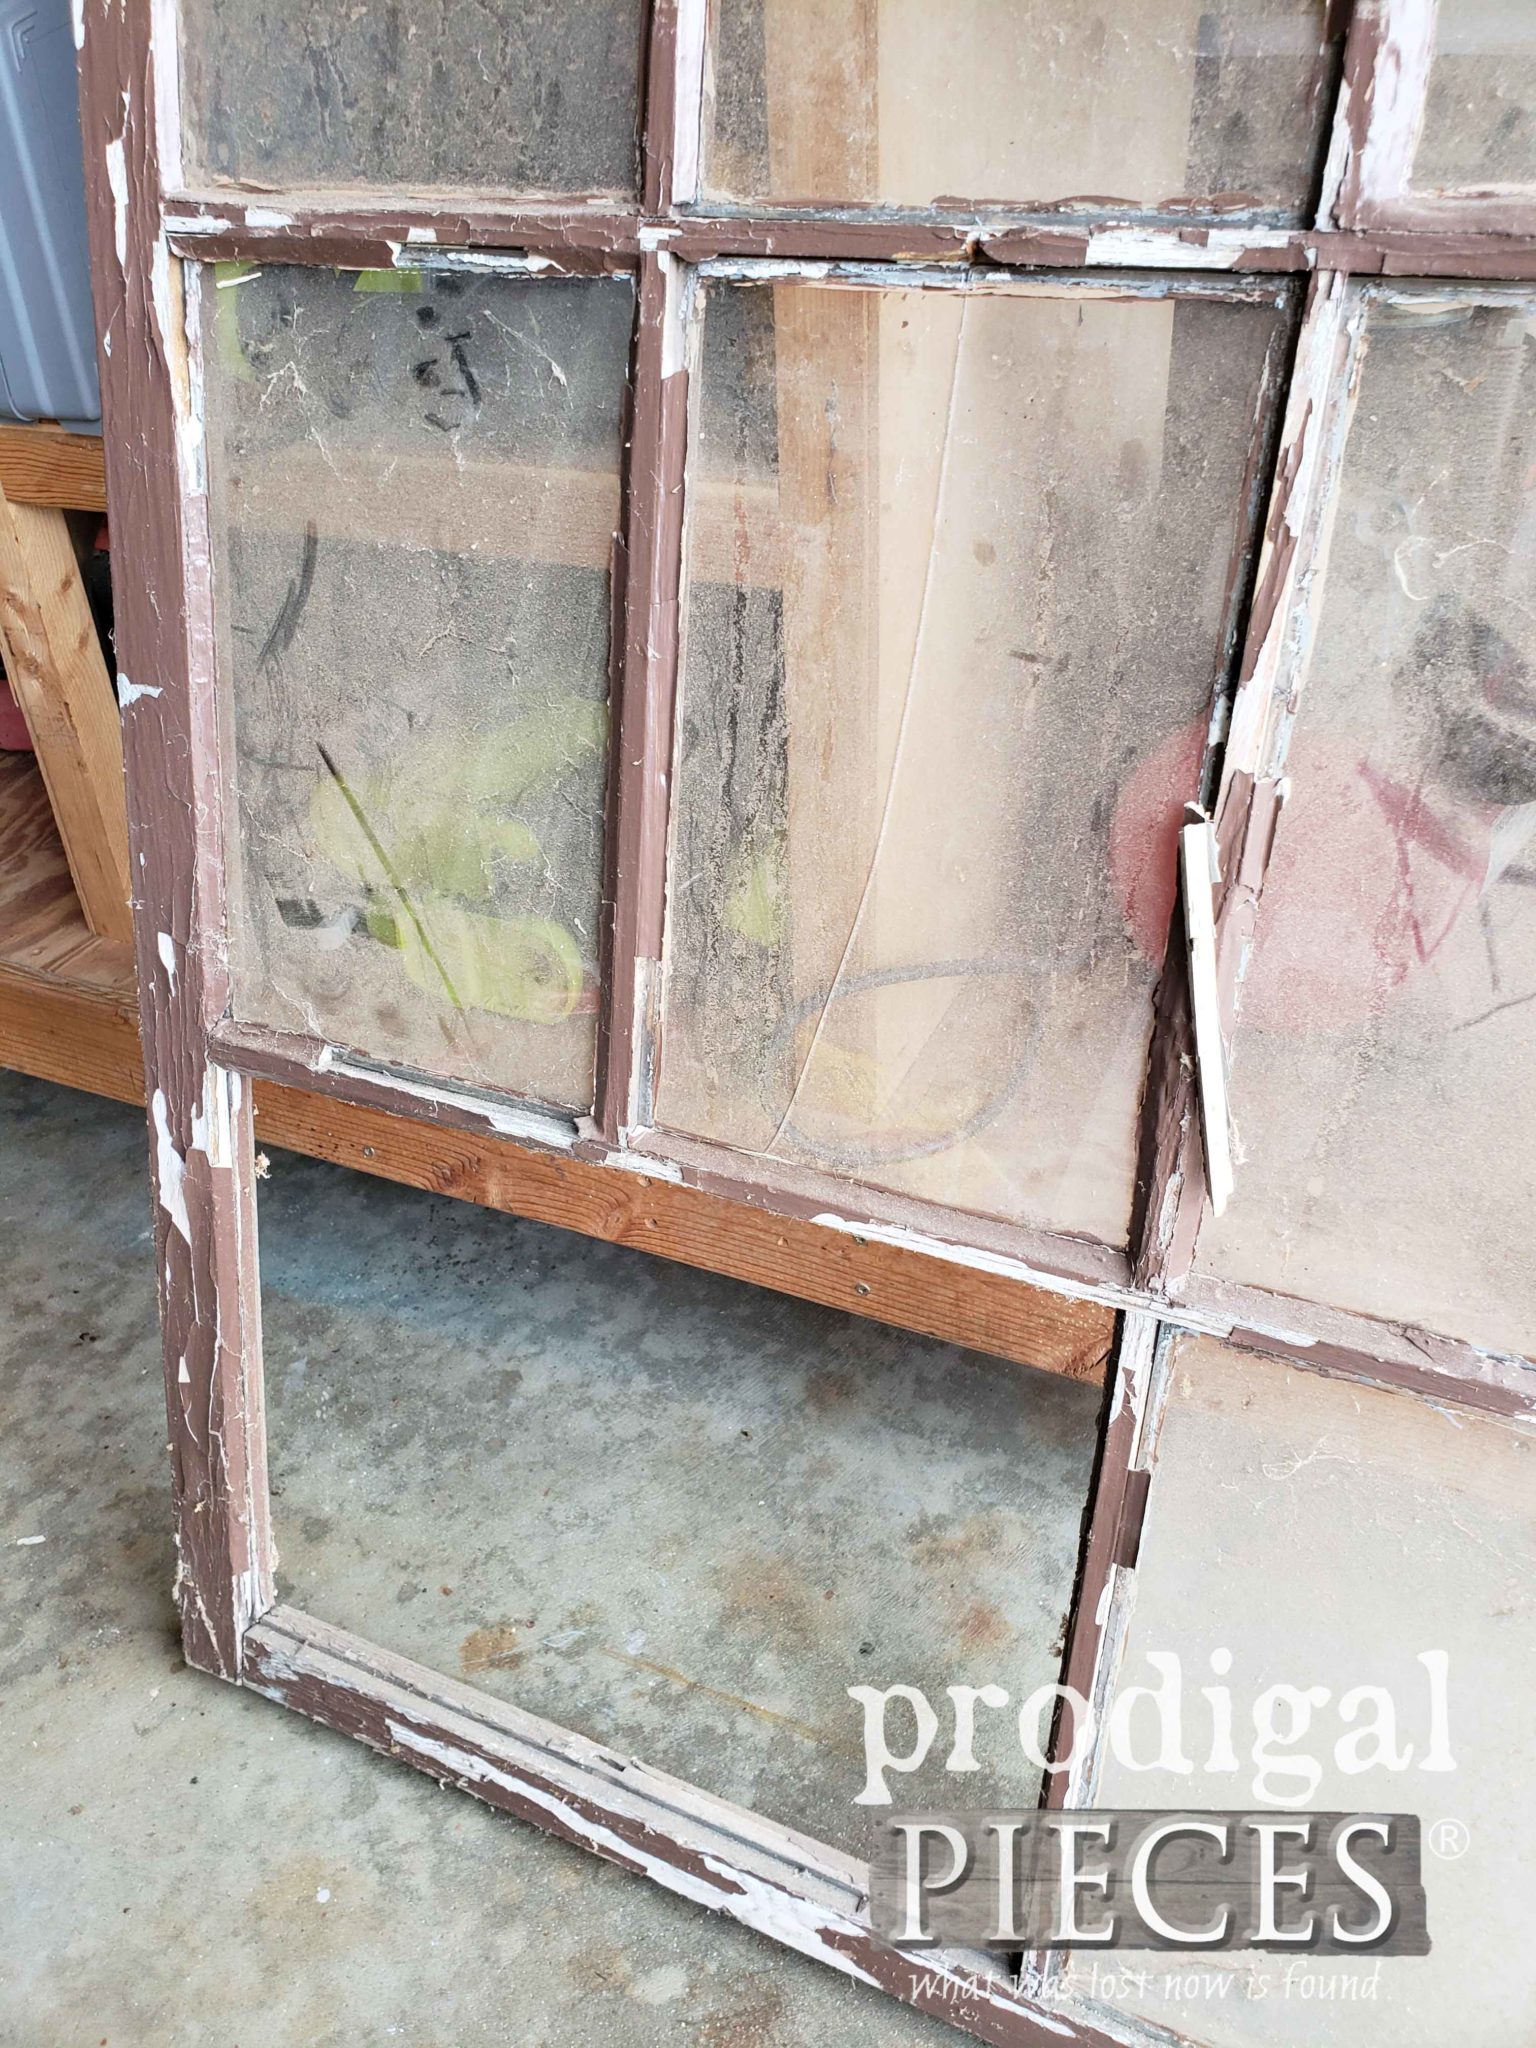
First order of business was to reconnect the broken corner. The wood was brittle and had nothing to hold it together on the bottom right corner. Here's a look at it from behind.
MORE REPAIR
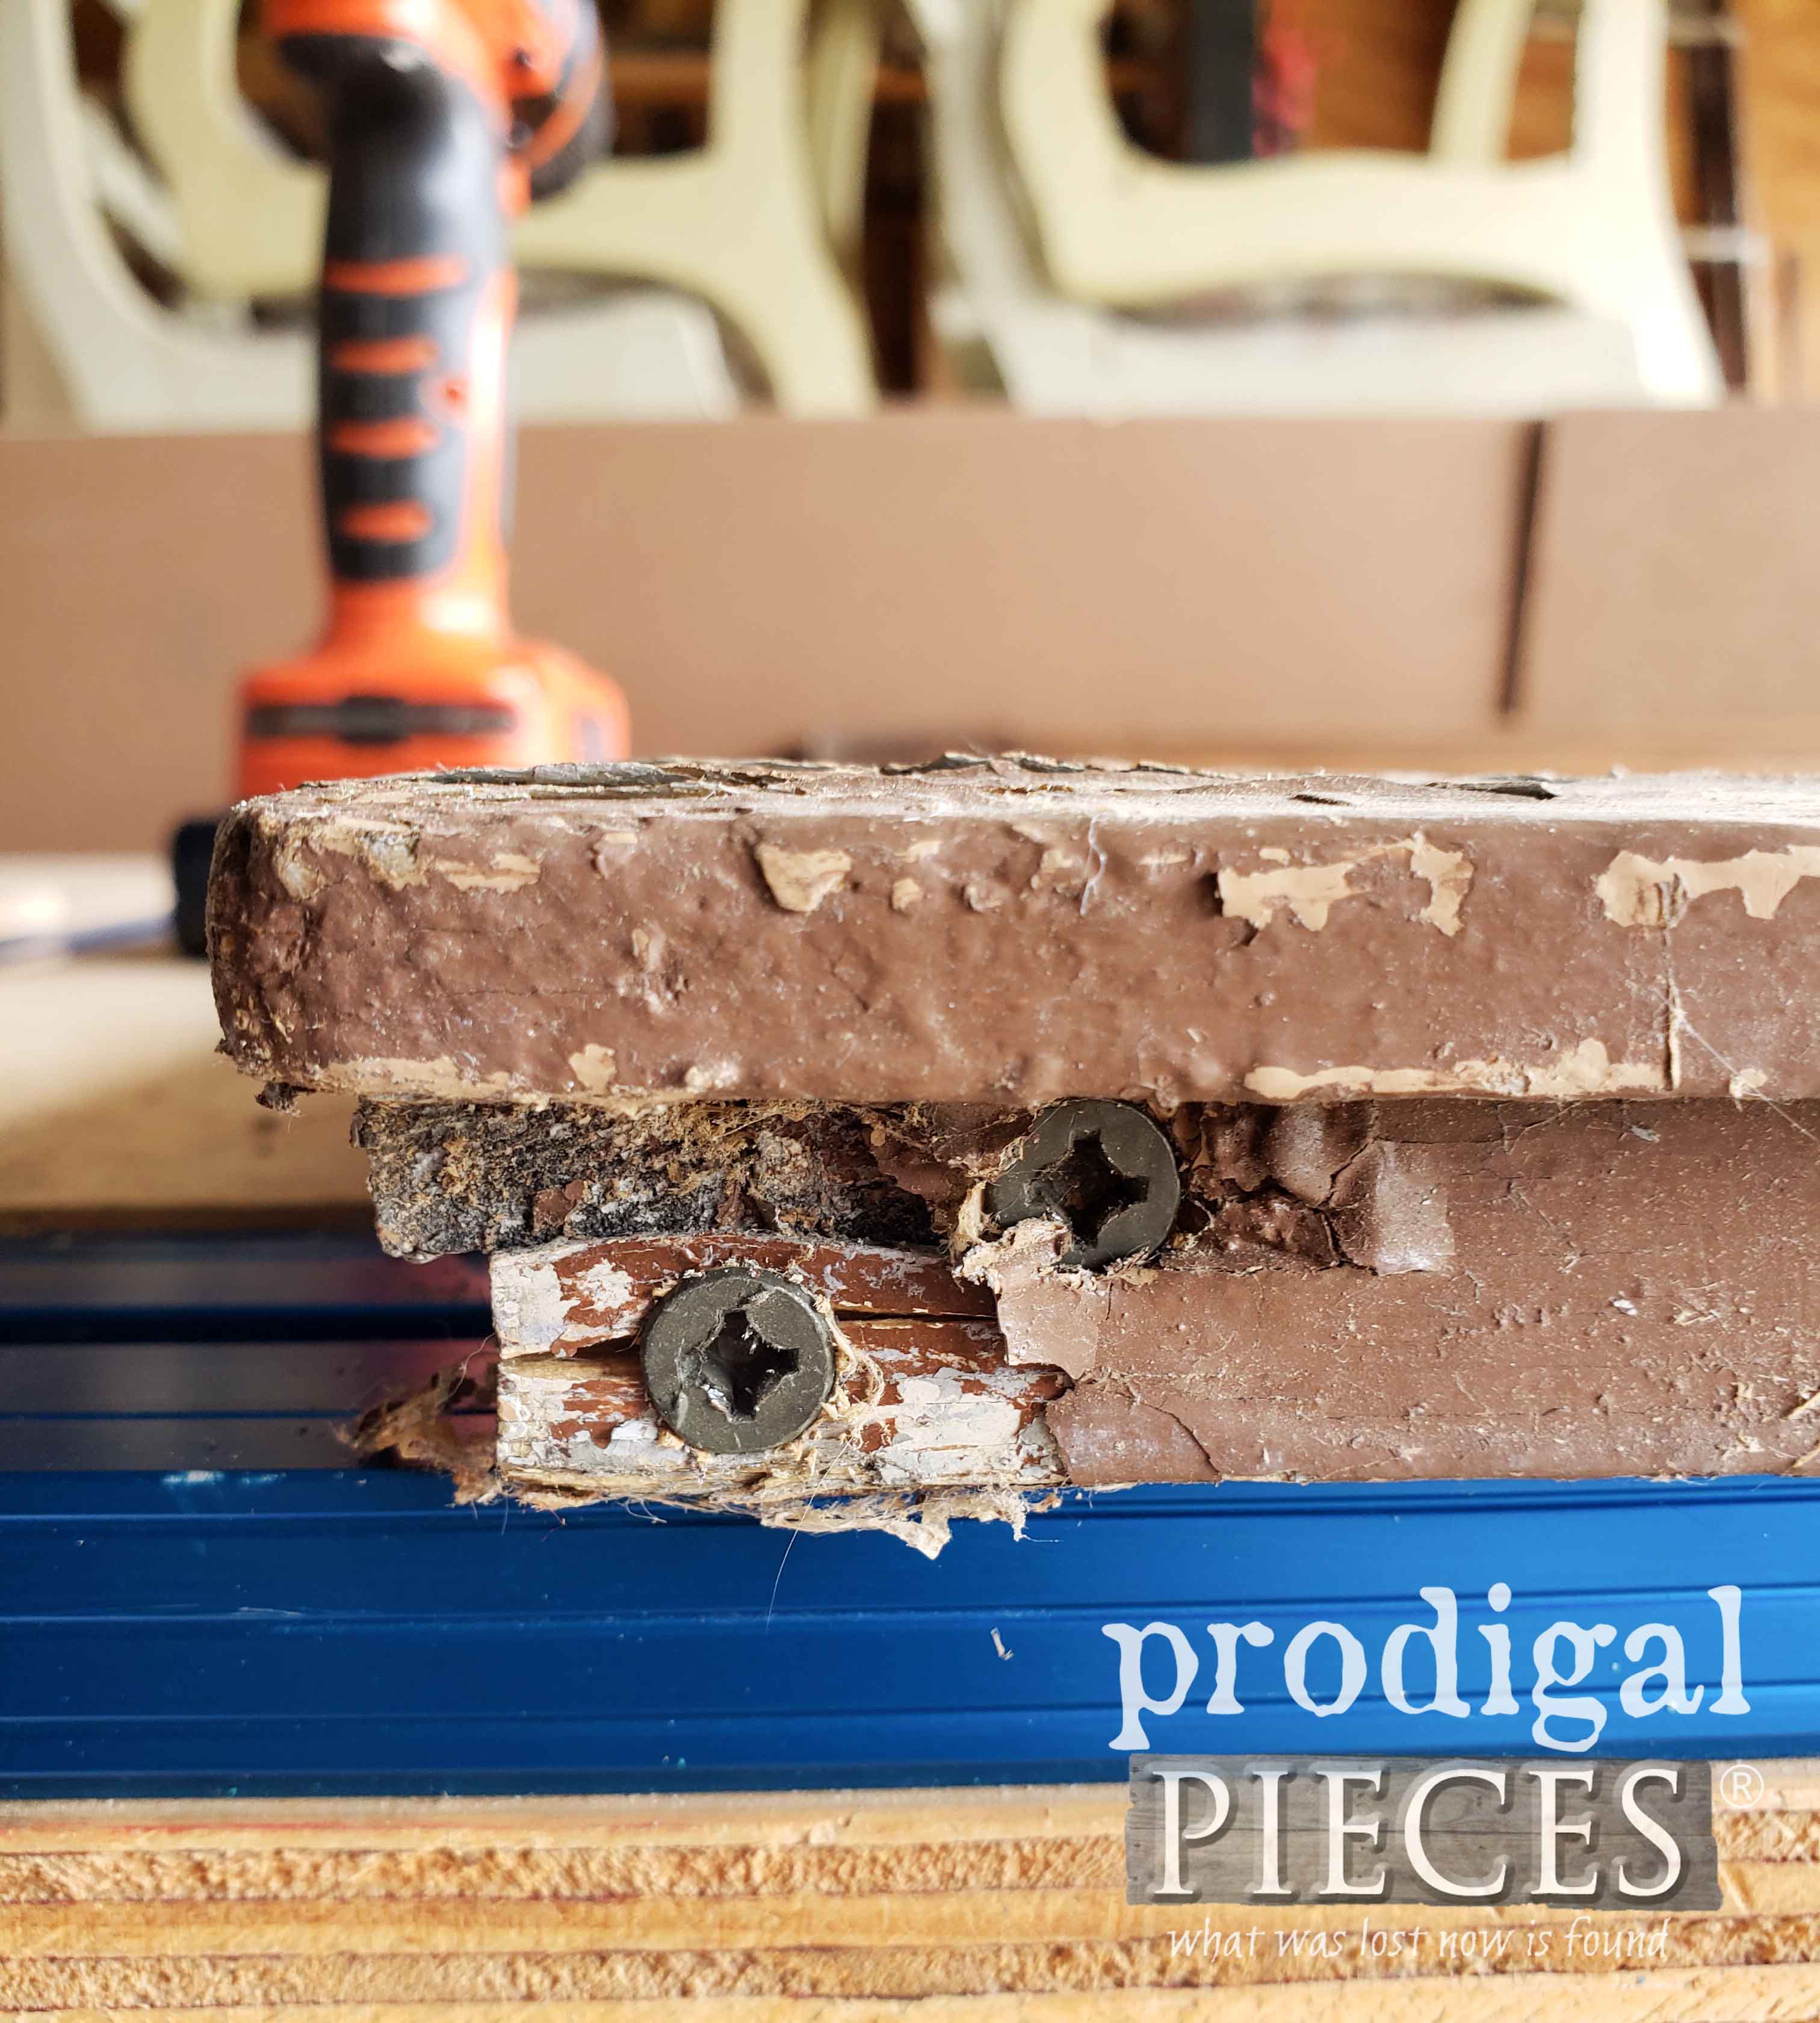
It sits together when resting, but if I picked it up it hung down and sagged. Obviously, I needed to fix that first. Using my drill and a couple of 3" screws, I fixed that up quickly.
Now for the next part. And arched window with mullions is gorgeous but repairing them ain't so easy. Before beginning this project, I called the local glass place that did my cuts for the door he worked on before and asked a few questions. First, I asked if he would cut me some glass: Yes. Second, I asked if he would repair the mullion: NO. When he responded he acted as if I was crazy for even asking. In my head I was like...but you repair broken windows...okaaaay...??
Of course, I replied, "I'll do it myself. It won't be hard with some trim." Take that window guy. mwahahahaha!!
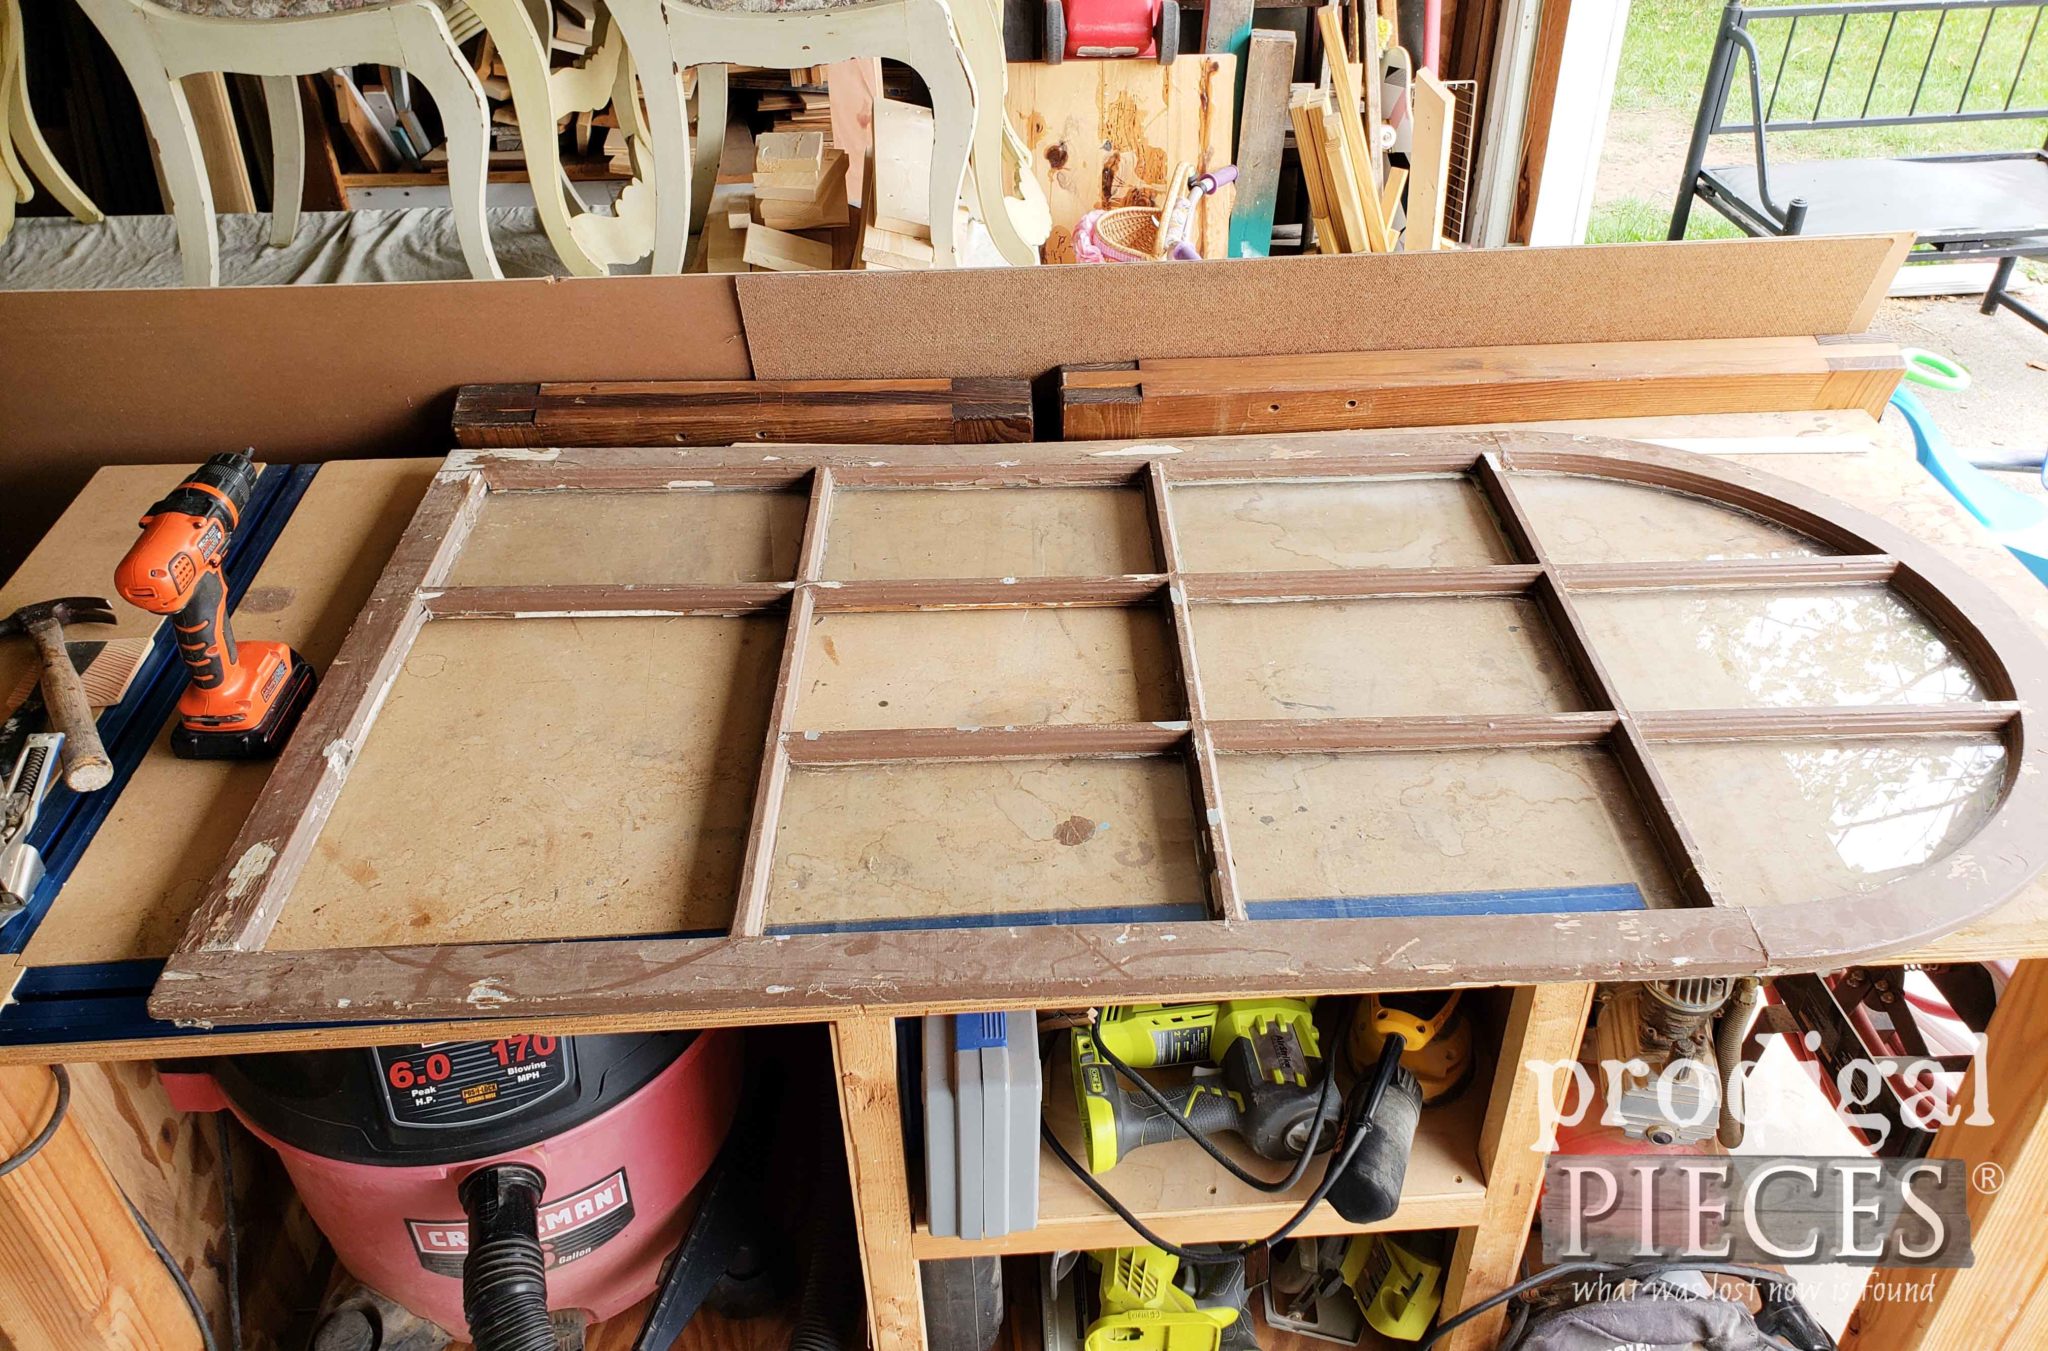
So here lies my challenge to recreate a mullion using my scraps and some tools. Remember my motto, toolsoverjewels!
DIY FUN
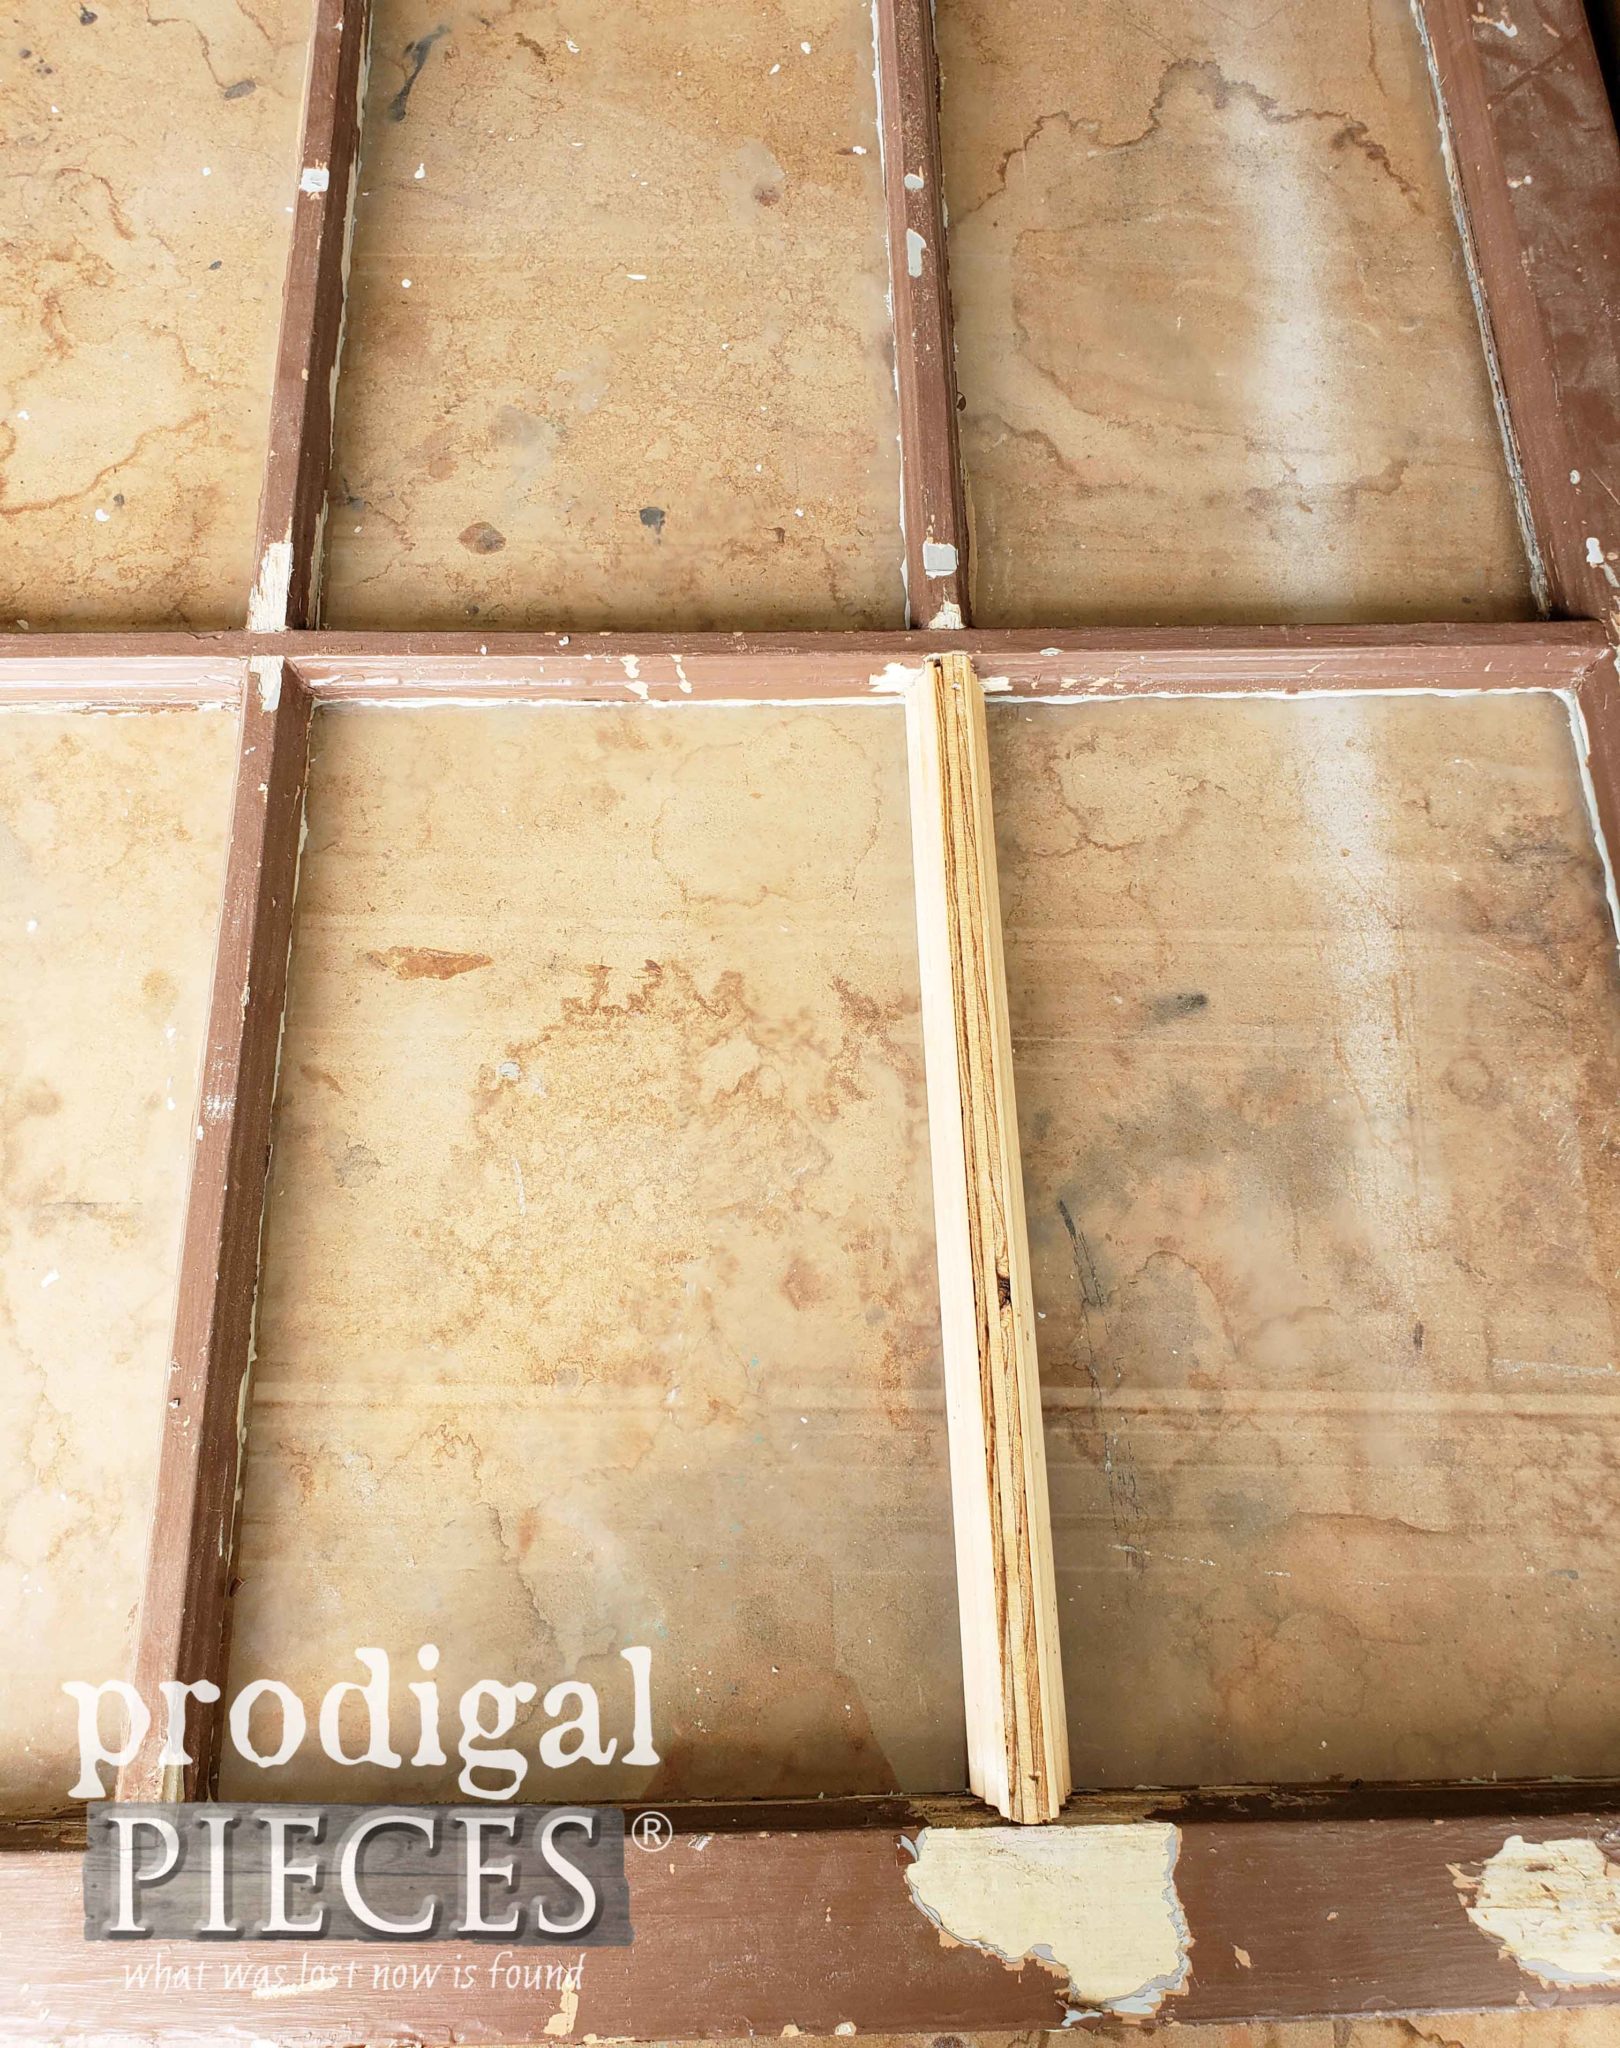
I happened to have some narrow trim left over from our remodeling and it worked perfectly to match the other window mullions. All I had to do was cut the ends at the right angle with my miter box and they're ready to go. The trim wasn't wide enough to just use those alone.
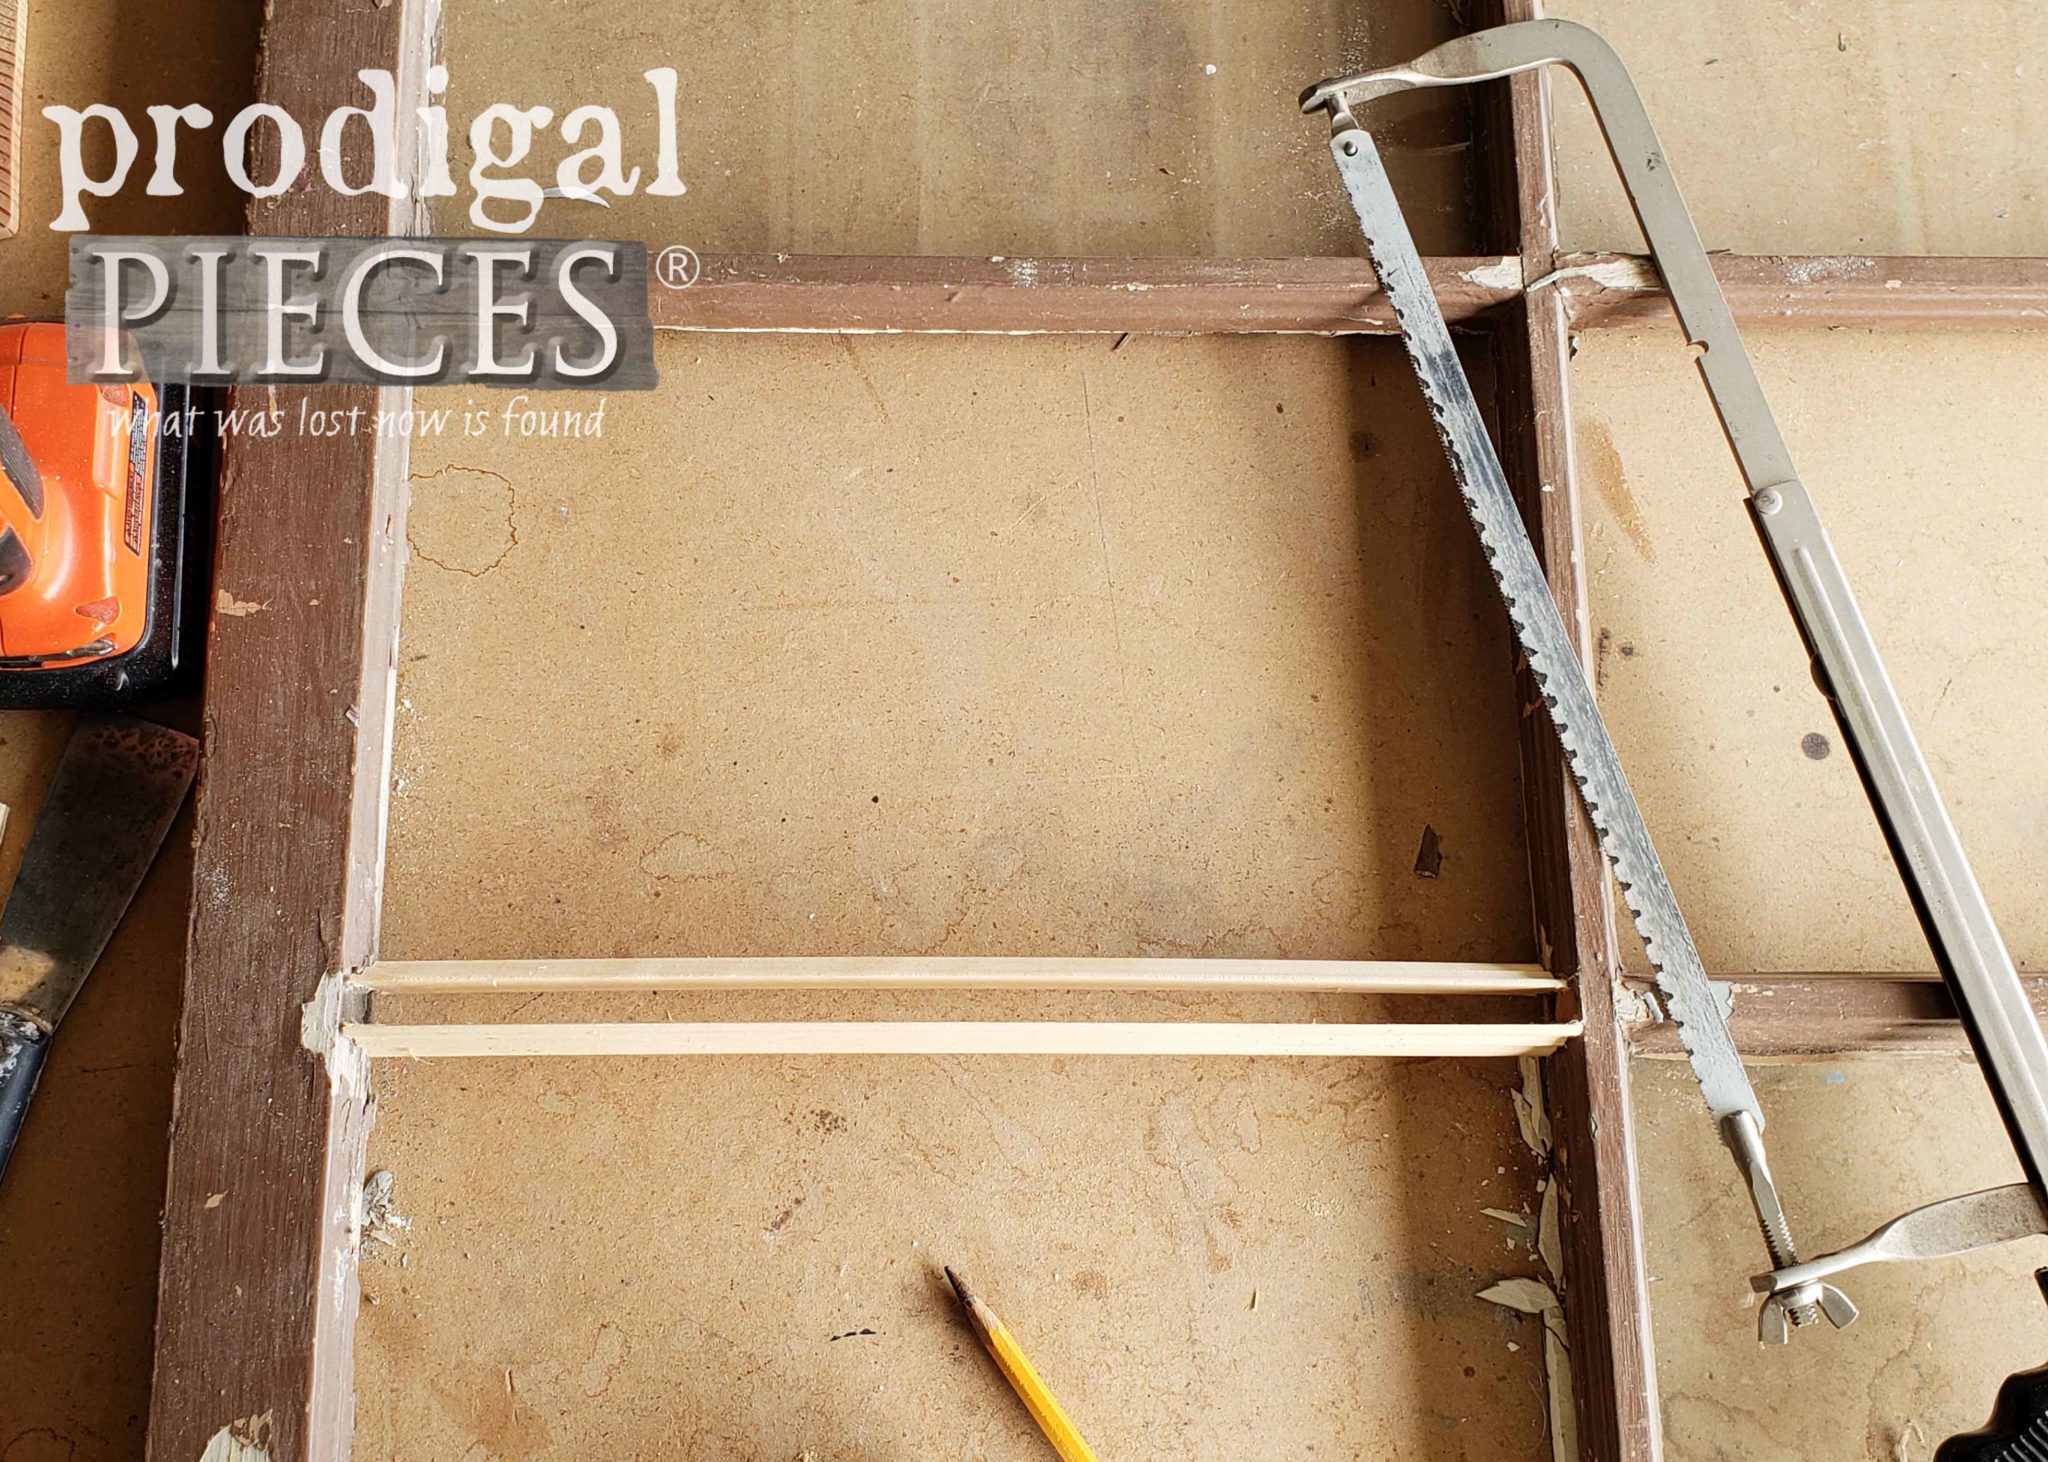
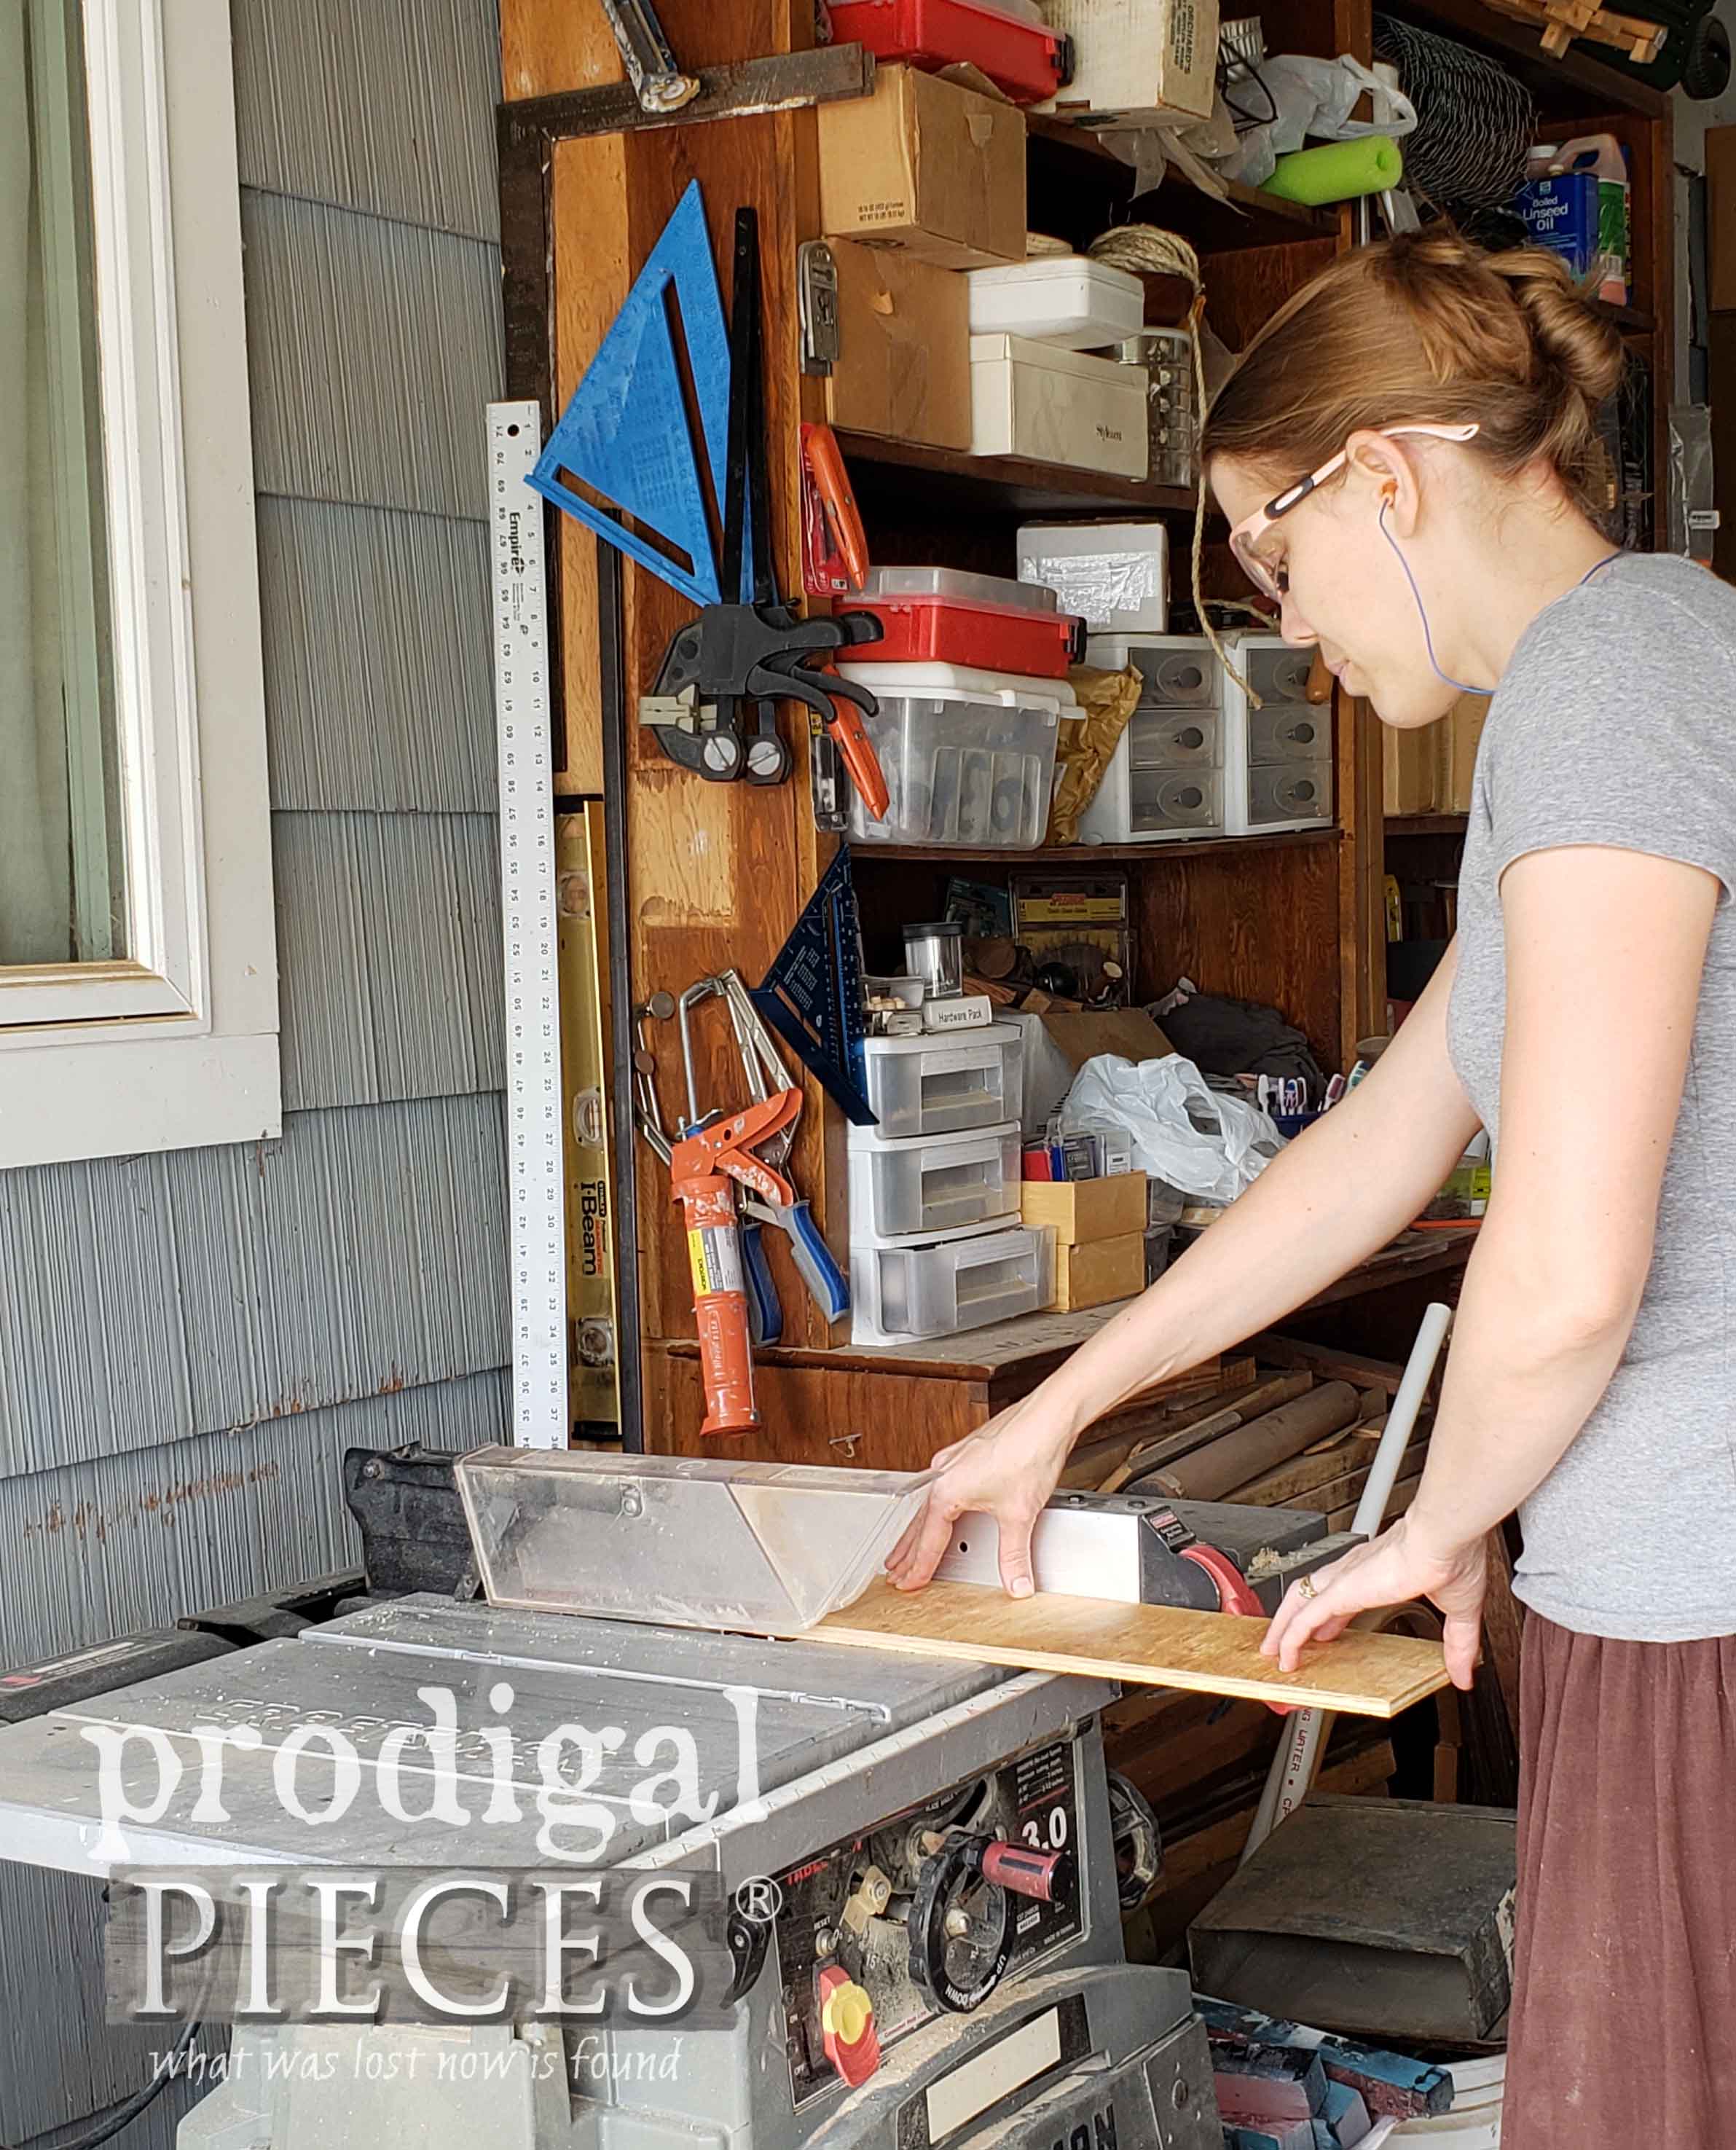
To remedy that I took a piece of ply and ripped a piece on my table saw.
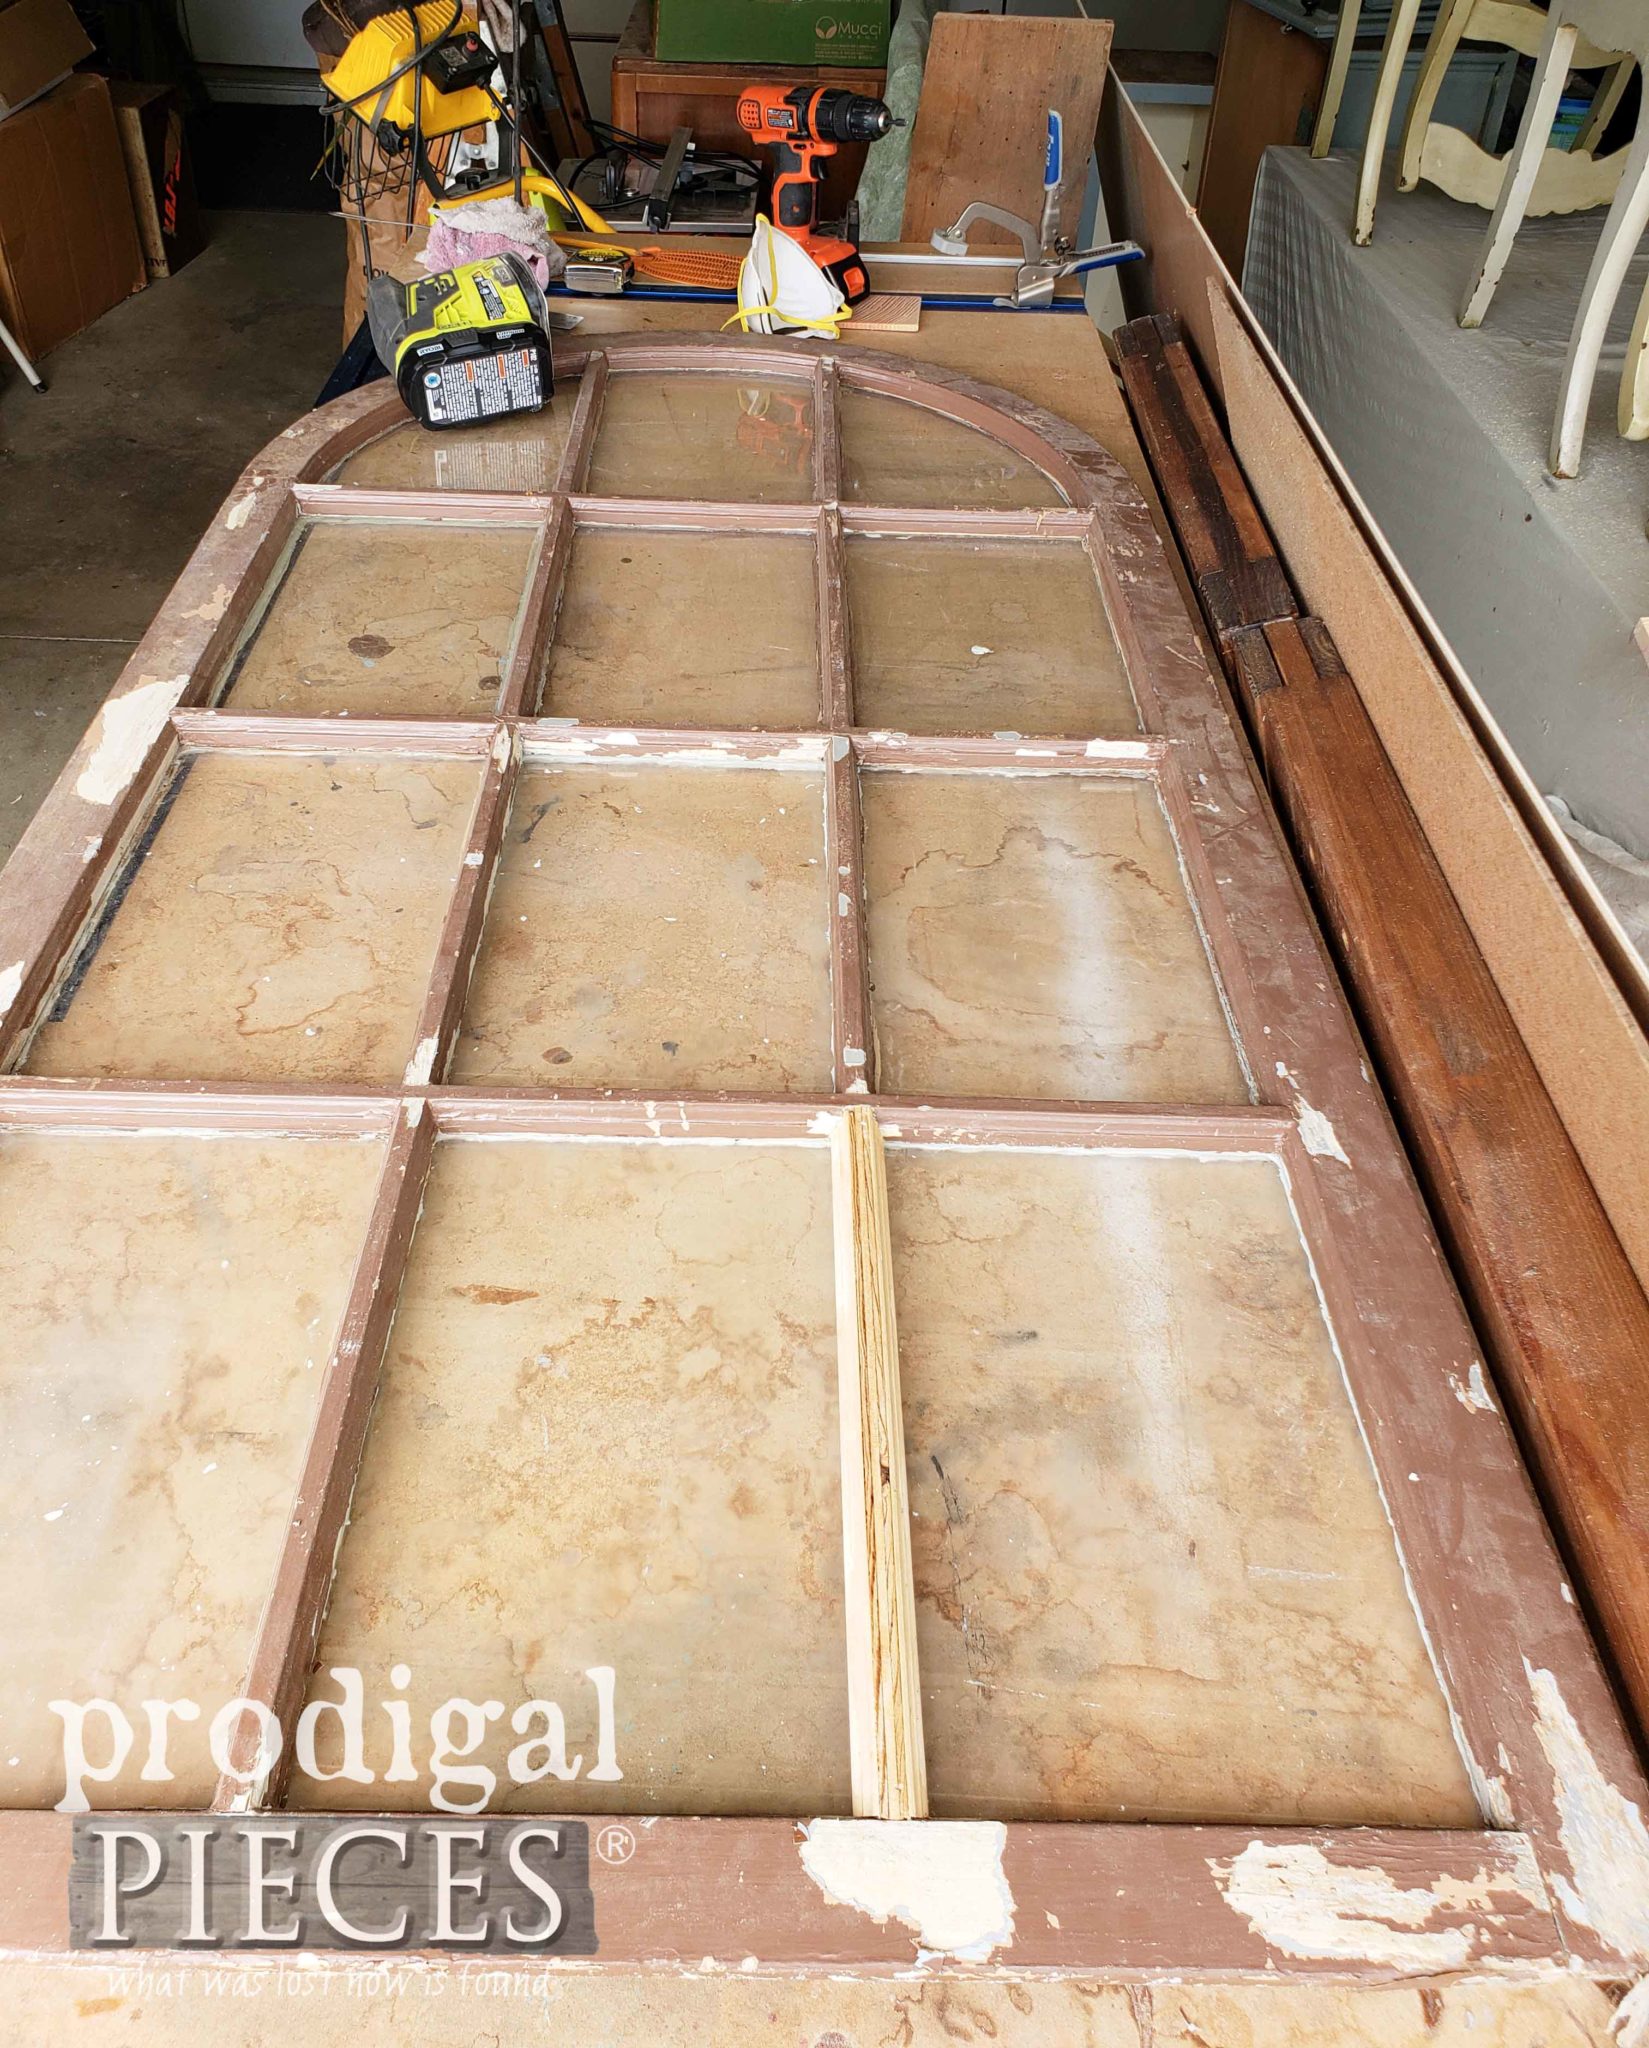
Once cut to length and depth, I then had to use my hacksaw again to make some pretty precise cuts on the end to match the profile it needed to fit. I had plenty of practice over the years creating toys and what-nots for my family and home.
INSTALLATION
Here it is after I used my nailer and wood glue to join them together and also nailed in place.
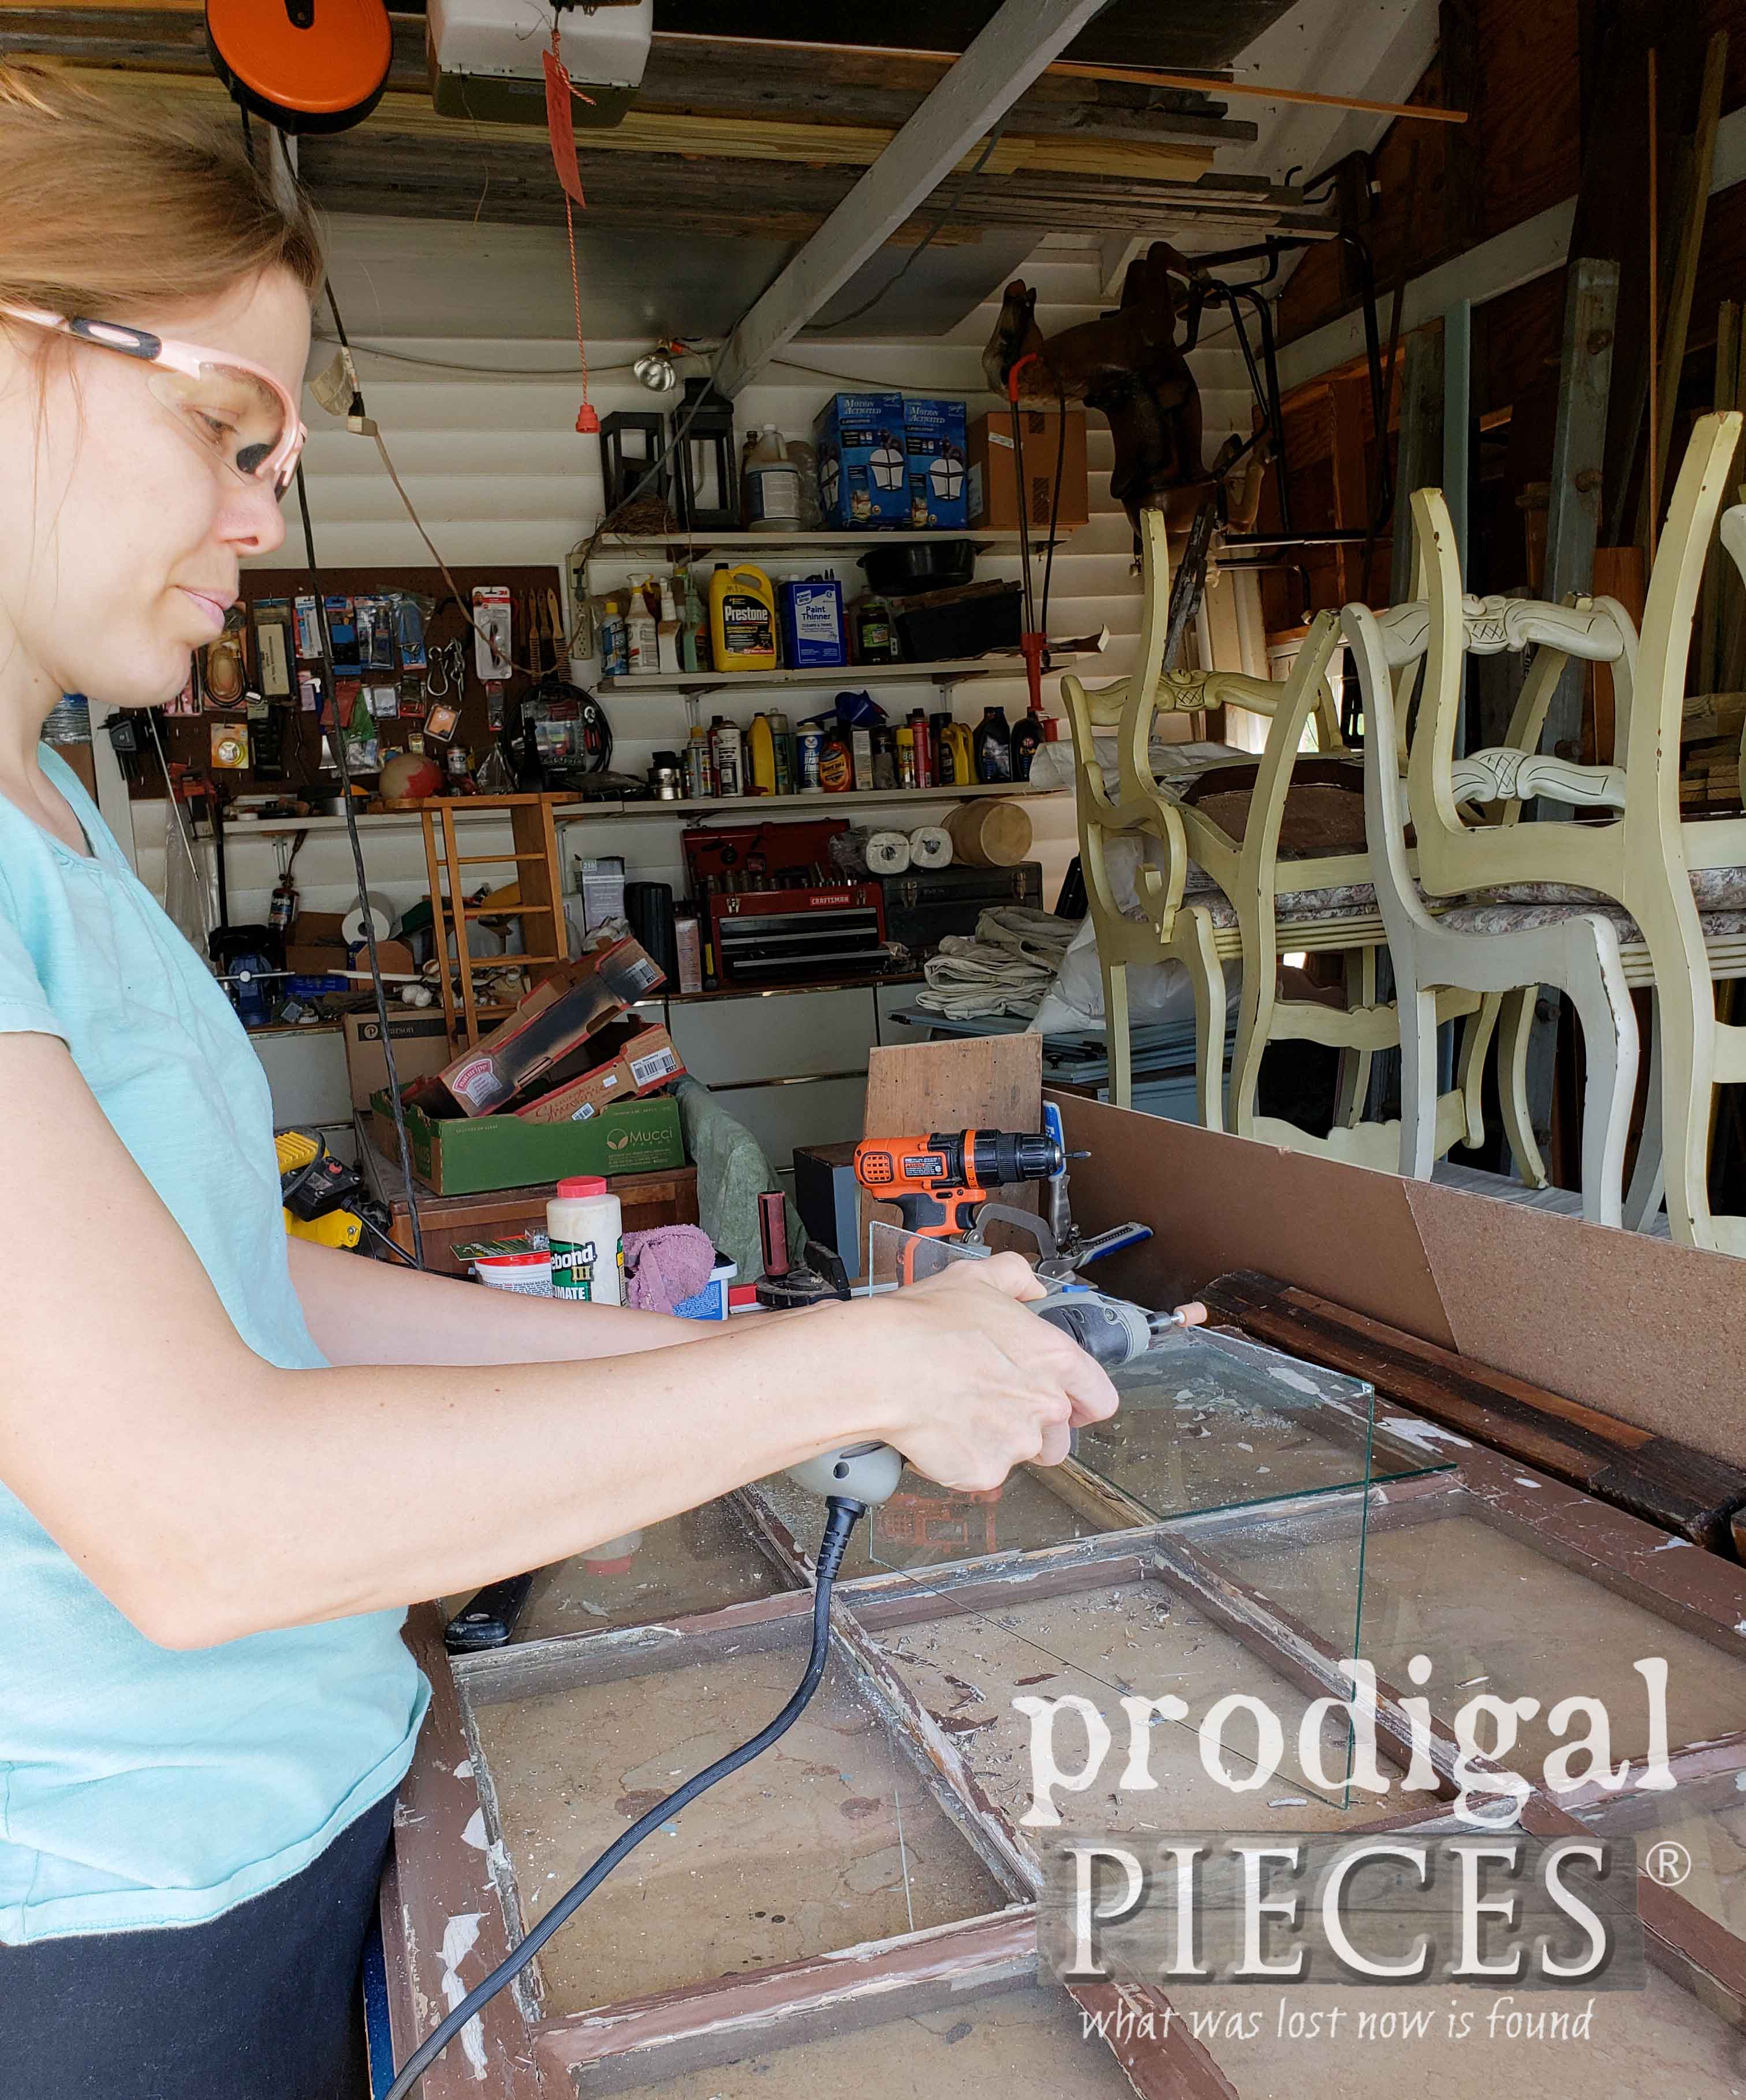
The next step was glass. Instead of going to the glass guy, I went to the local hardware store and requested 3 pieces be made to replace my empty spots and one broken pane. I took the 3 pieces home and found they weren't cut right. Mind you, I asked the guy to cut them slightly smaller because of warping in my frame, but he did his own thing. To remedy the situation, I first tried grinding them down with my Dremel, but it would have taken me forever. Back to the store I head with two of the pieces. sigh...
UGH...MORE GLASS
As soon as I walked in the store the gentleman that helped me knew why I came back. He quickly called in another helper to hopefully get it right this time. Funny thing was the two gentlemen were all abuzz trying to get new ones cut and I kept trying to tell them to cut them a little smaller. I was not heard. le sigh...again.
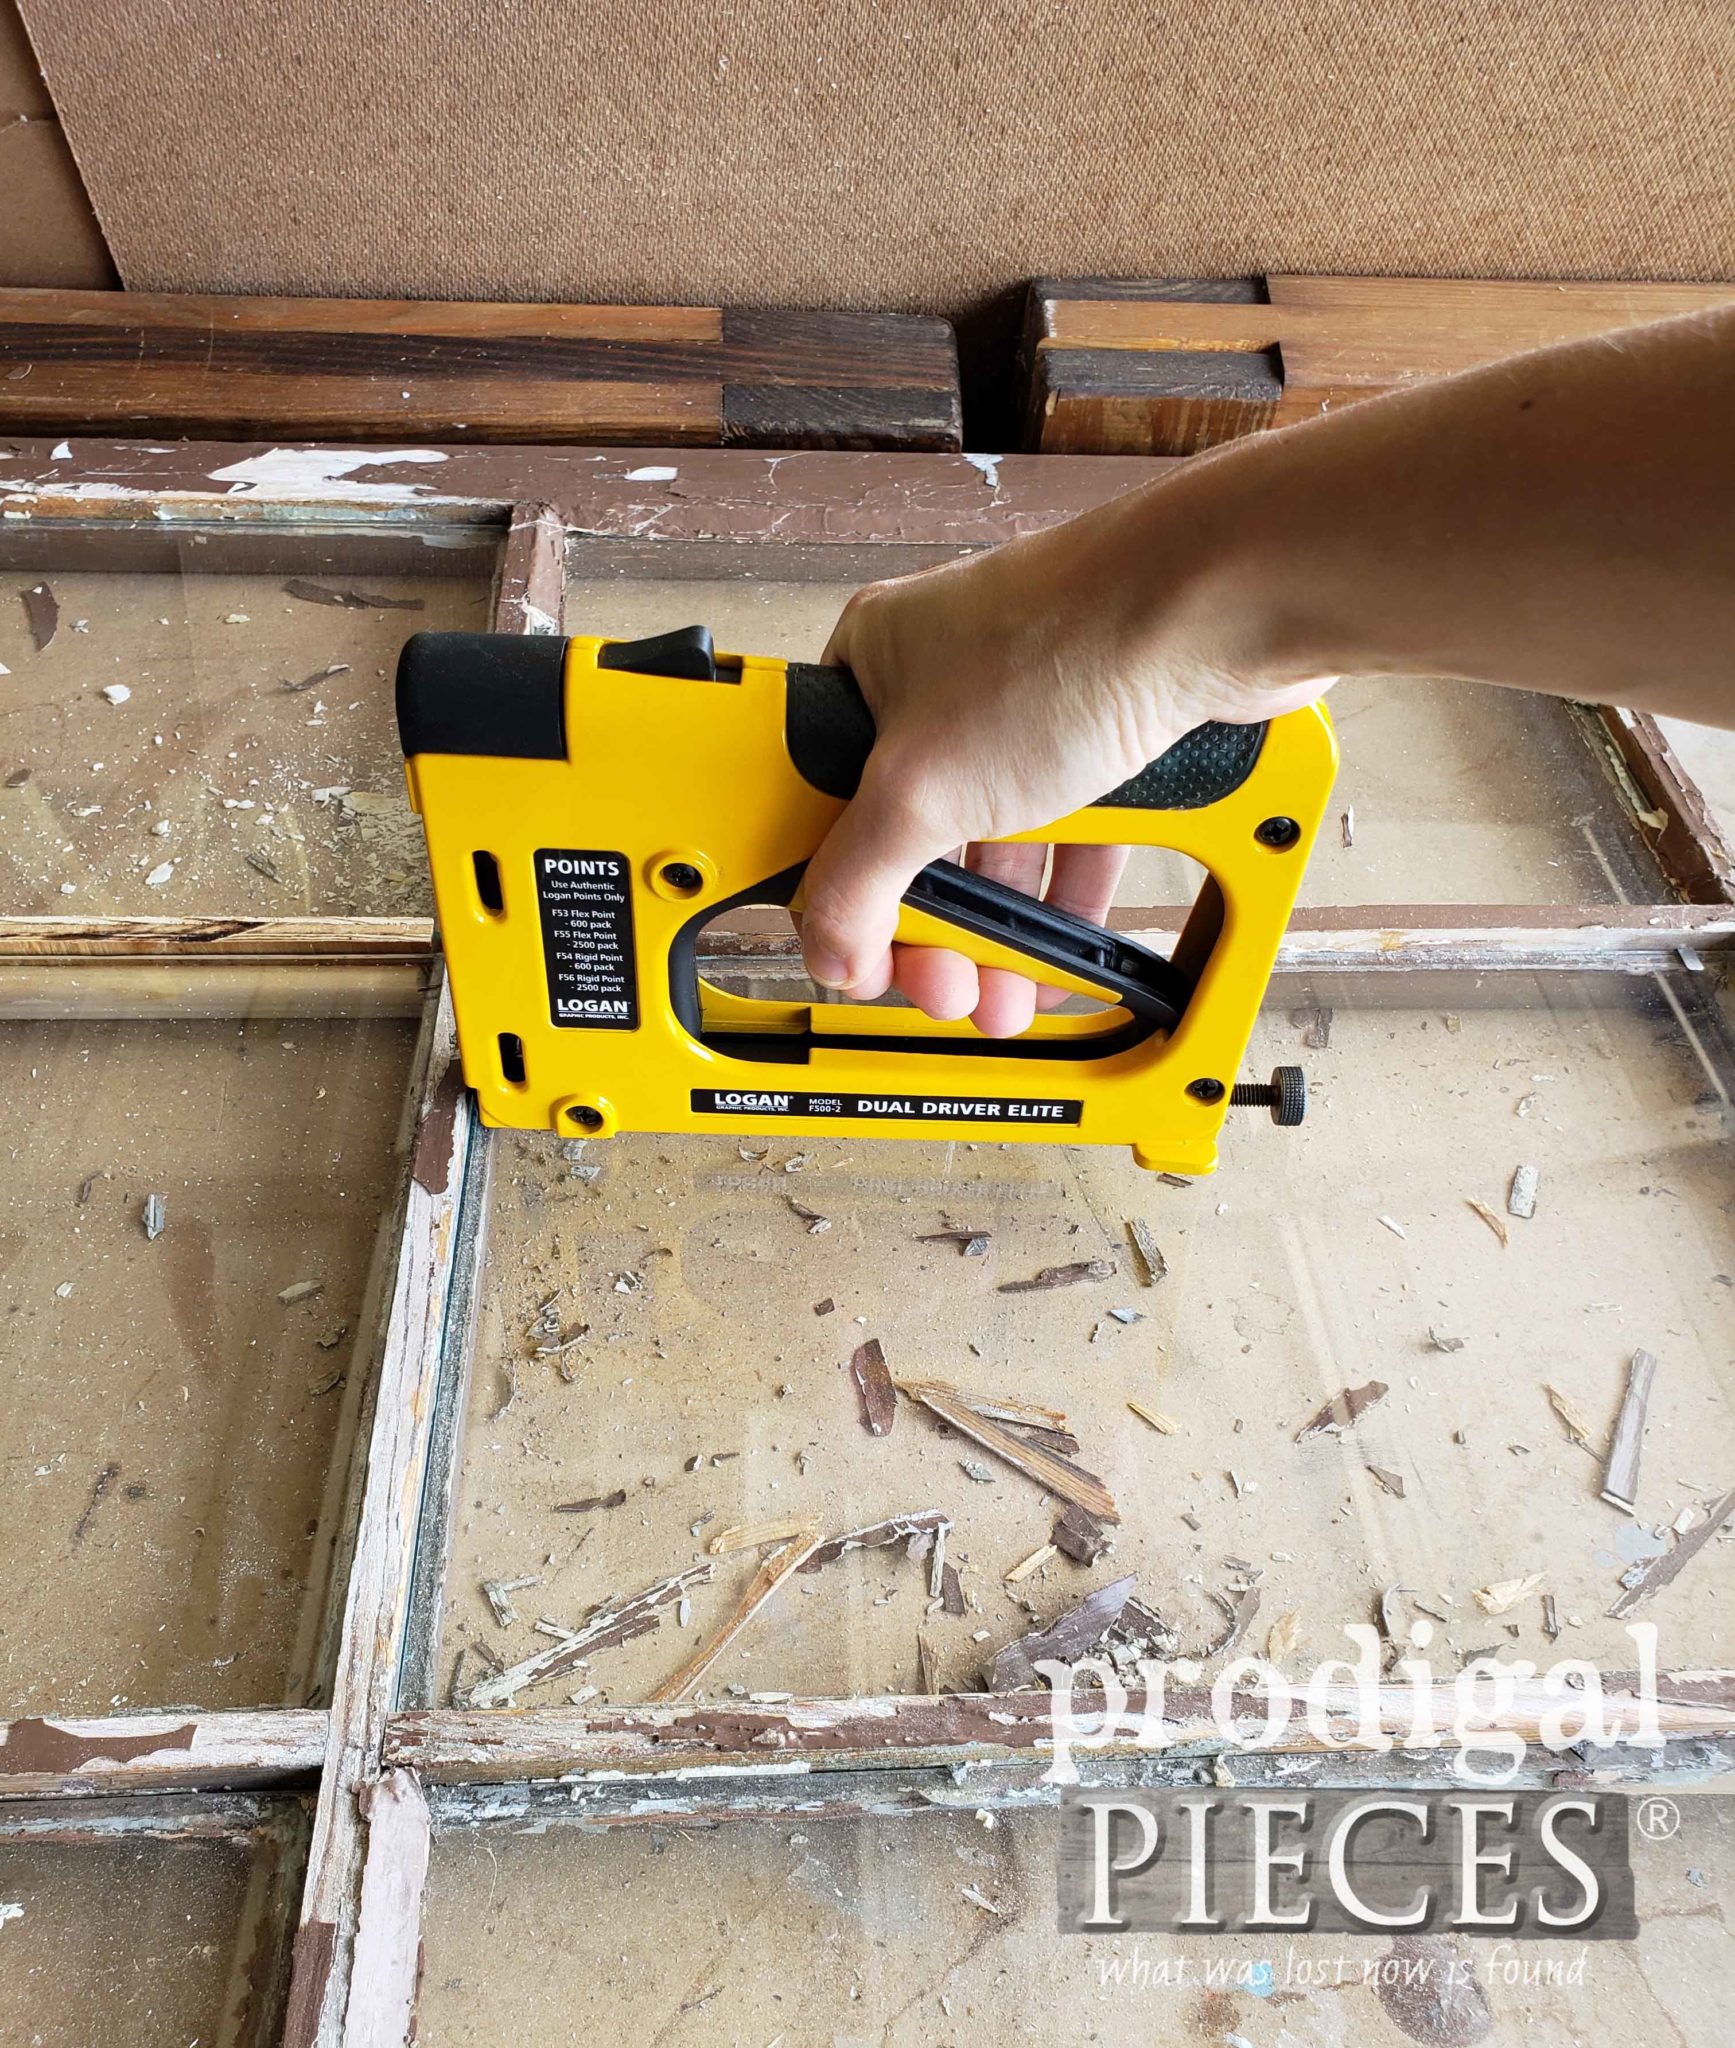
I went home with my second set of new panes and they still didn't quite fit, but this time I was able to grind them down a bit. To get them in securely, I used my dual point driver. This thing is awesome! No more tapping in glazier's points and the tedious work that is. I've used it many times to create chalkboards and wall art. You can see
it in action in these posts.
GLAZING
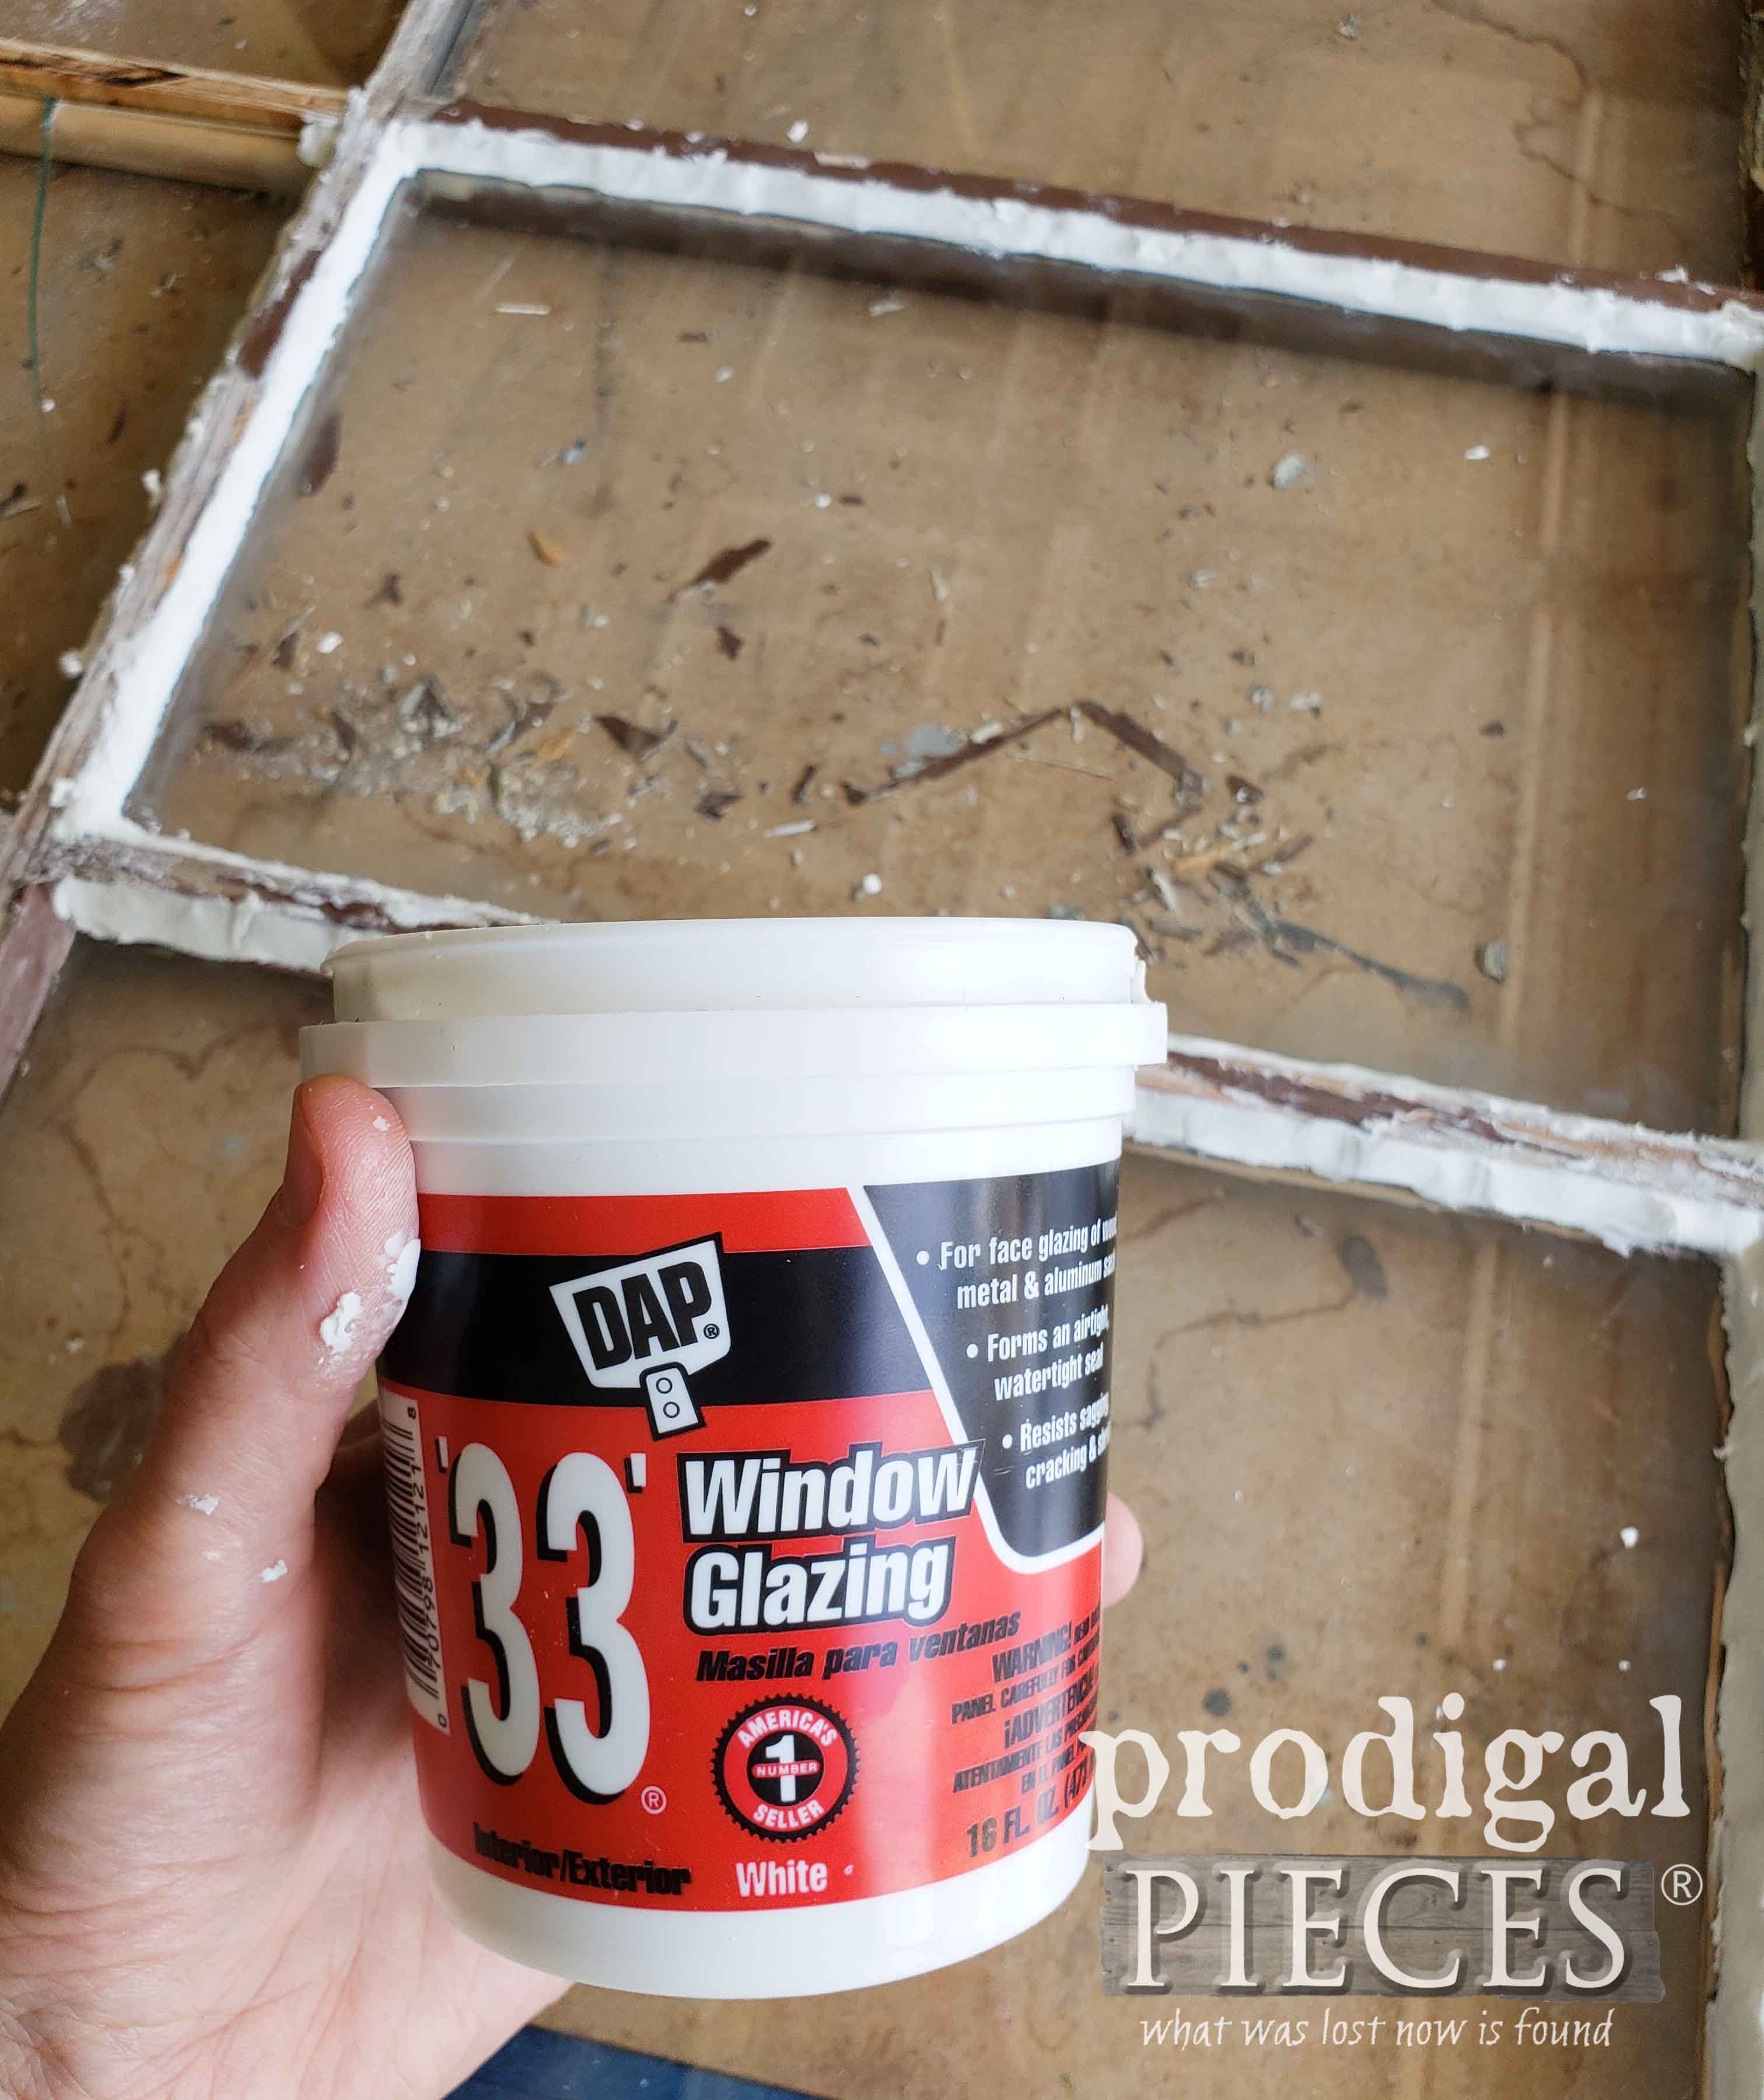
To complete the task, I just had to apply glazing compound to seal it all and make it match the old.
Some of my kids wanted to give glazing a try. Absolutely! I want them to learn how to do these things too and they were so eager. And...it's fun!
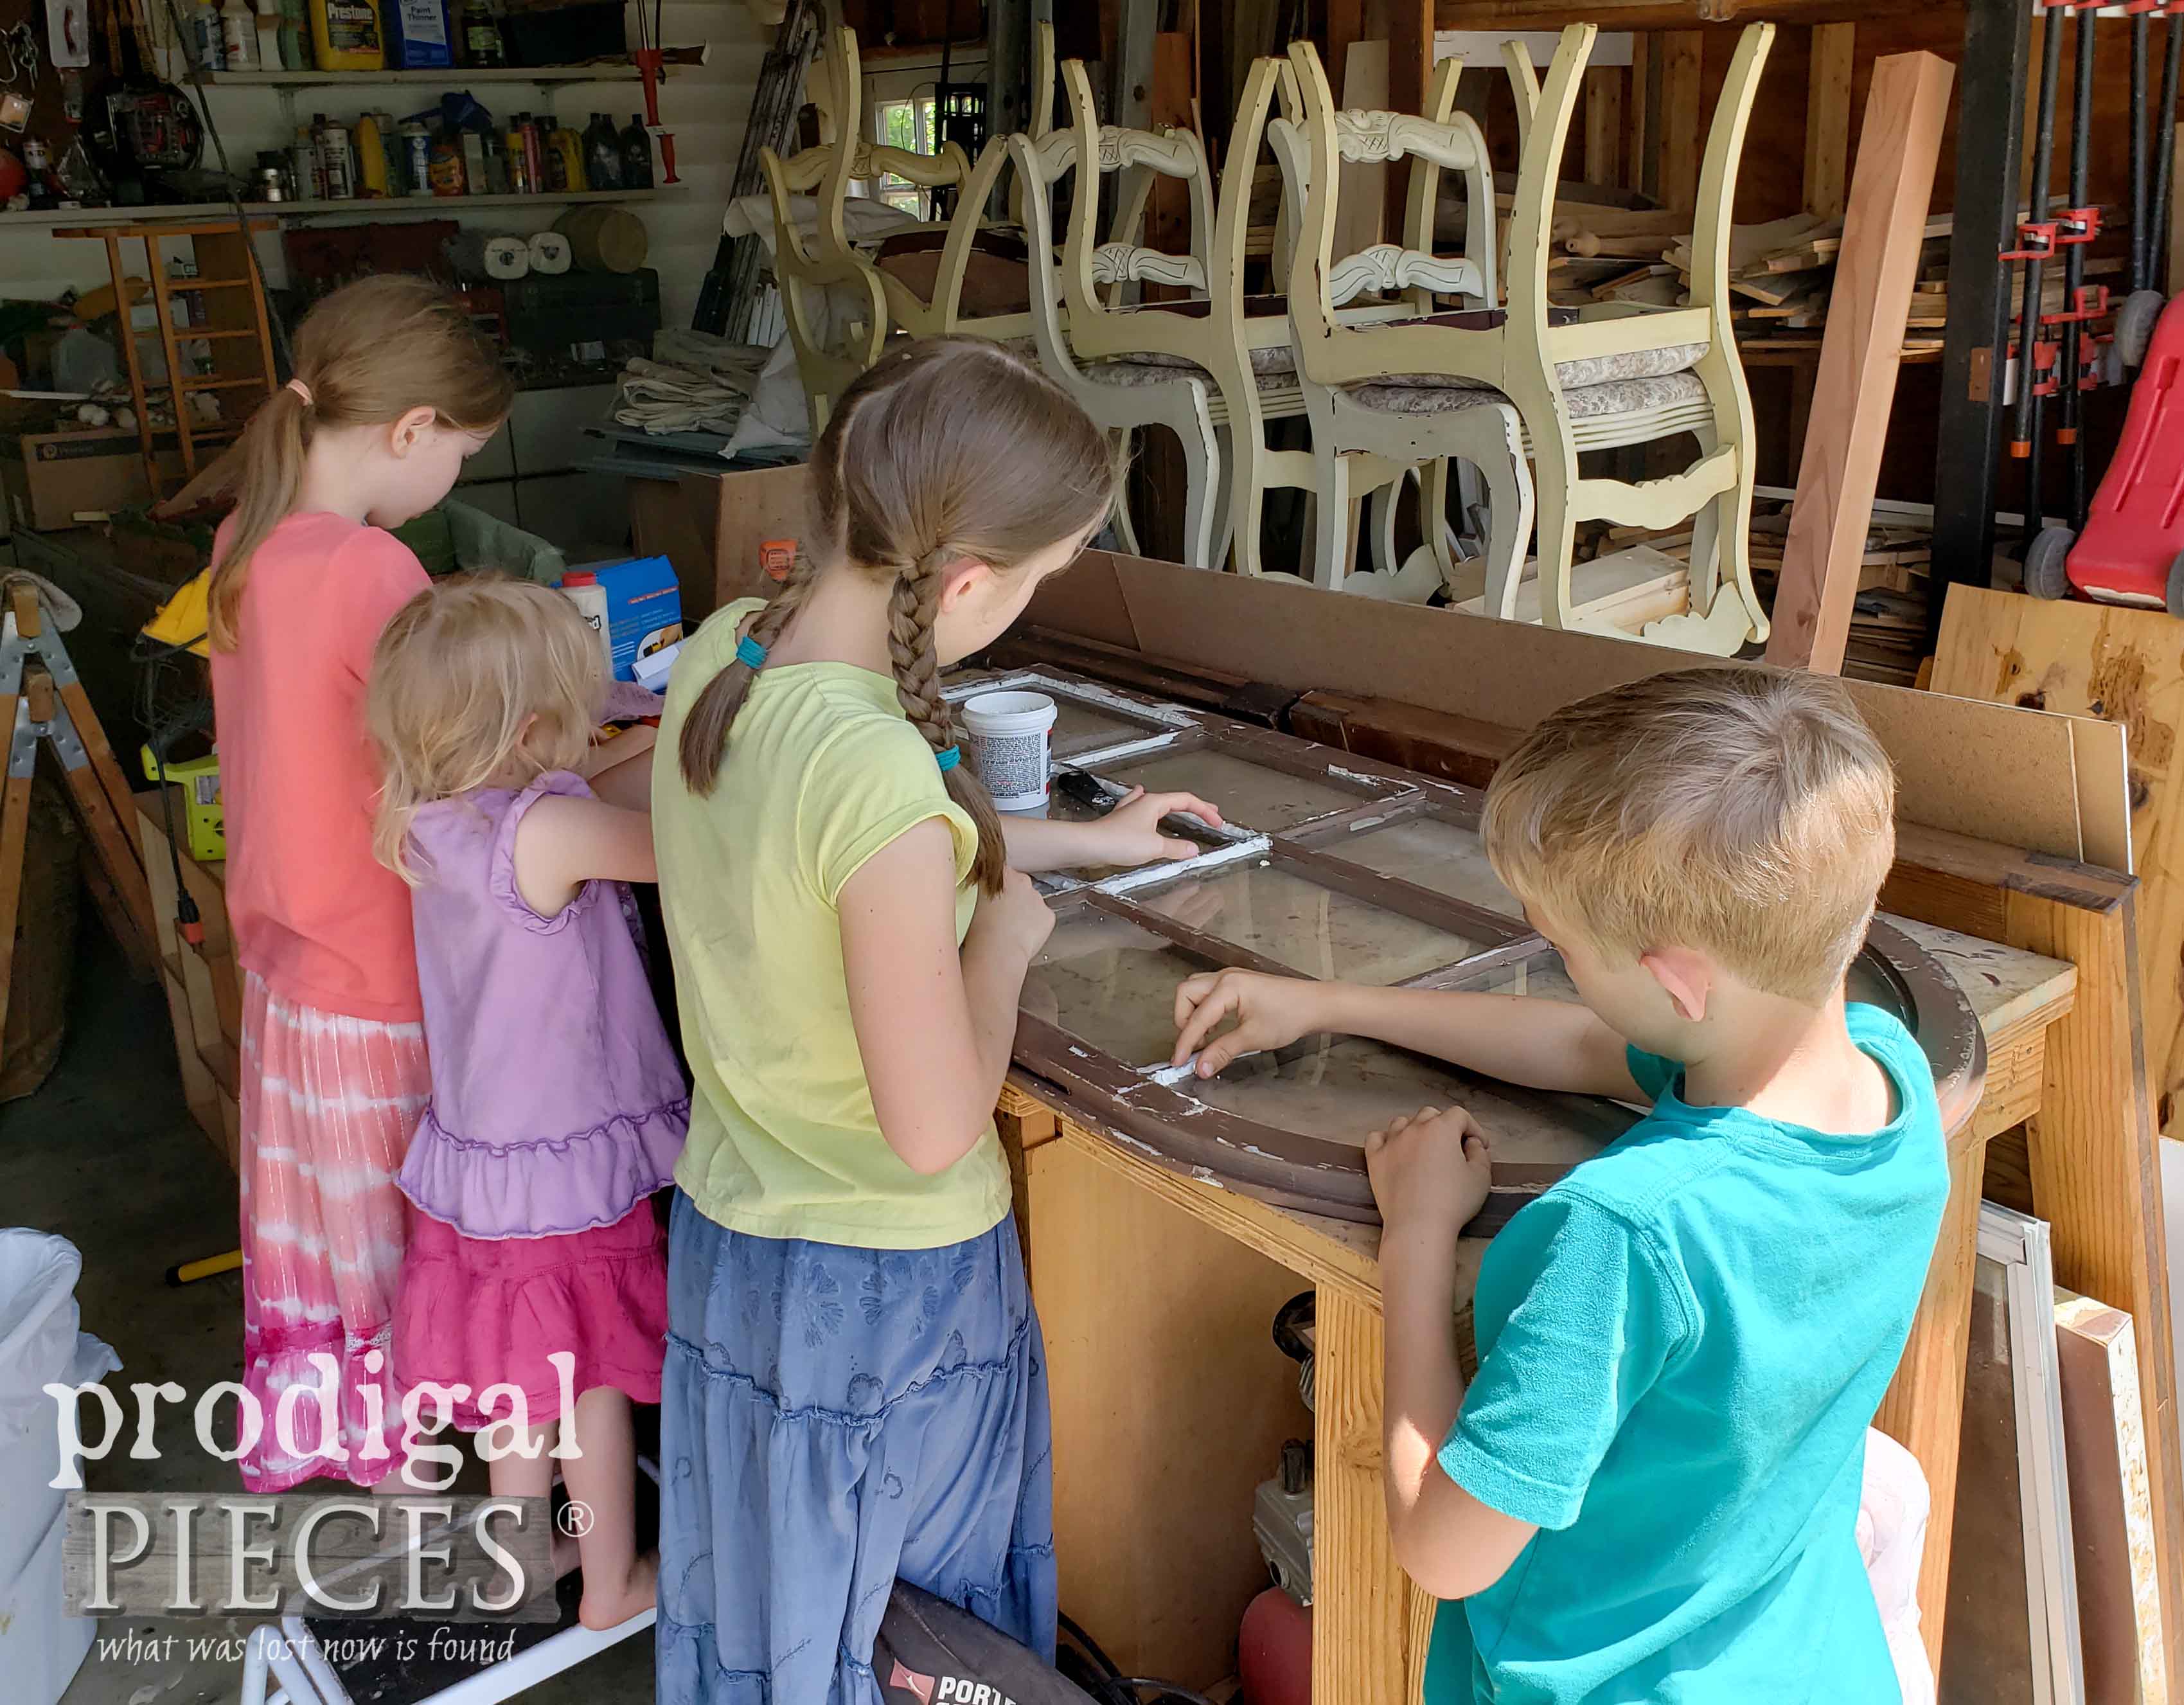
However, the next part is not so funny. ahem. I just finished the glazing and noticed a point was loose. I tried to reset it and snap...there went one of the panes I just had cut. Sick to my stomach, I decided to walk away for a bit. I needed to decide whether to leave it or go get another and suck up my pride. Well, it made me even more sick to see the broken pane, so I yanked out the glazing, the points, and the glass, and went back to the store.
You can bet I heard it when they saw me again for the 3rd time in two days. In my head I kept saying..."I wouldn't be here if you had cut them like I asked the first time!" haha. Finally, it went back in just fine.
FINISH WORK
Now time for the fun part (or is it?). If you're like me, the idea of painting all those mullions is not my idea of fun. But...if you have the right tool it's a breeze! In my earlier days it would have taken me FOREVER to cut in all those window panels and it would have been a dreaded event. Let me show you what I did that gave this old arched window new life.
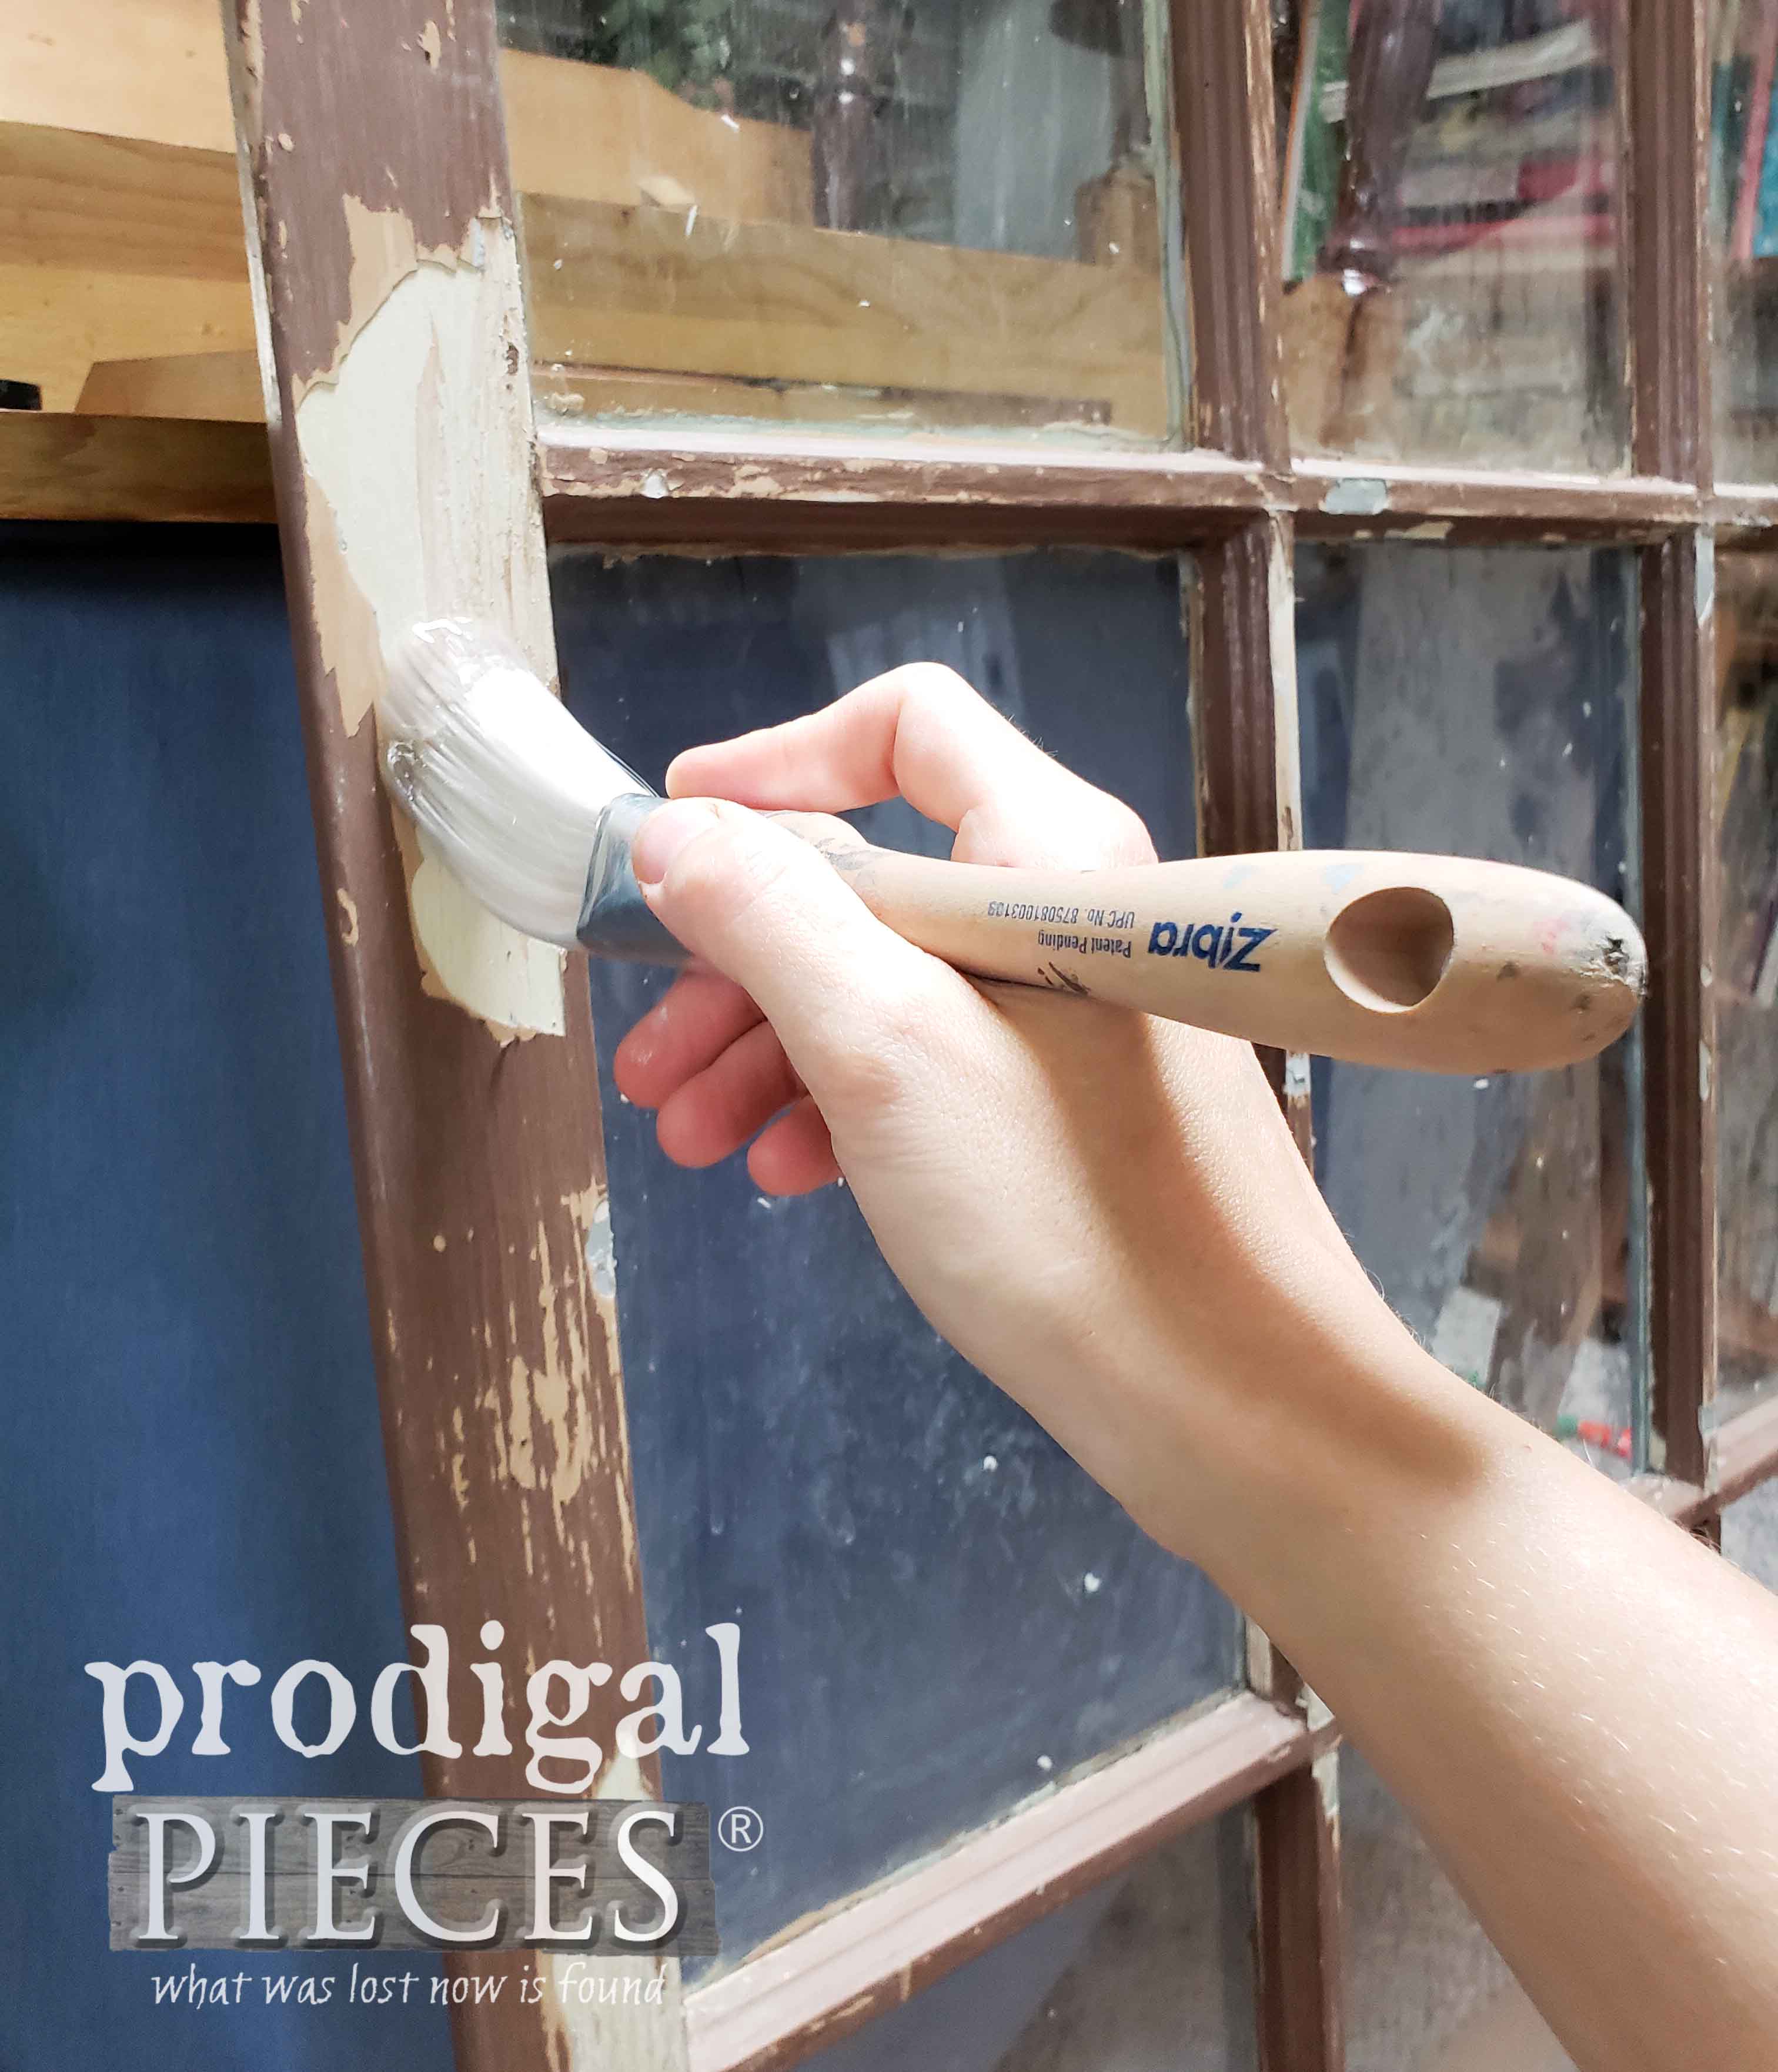
My first step was to try to retain as much of the window character as possible. I added a bit of brown paint to the new mullion to match the existing finish. Next, I grab my Crackle Medium.
What I'm after is a rustic appearance that will blend my new mullion in with the old. I simply brush on the Crackle in spots I want the paint to have cracks and look chippy. You have to apply it thick to get deep cracks, but not so thick it drips. I've use the crackle on
these pasts projects and I love it!
PAINTING TIME
I let the crackle cure and then it's time for my next step...paint! My color of choice is a classic flat black.
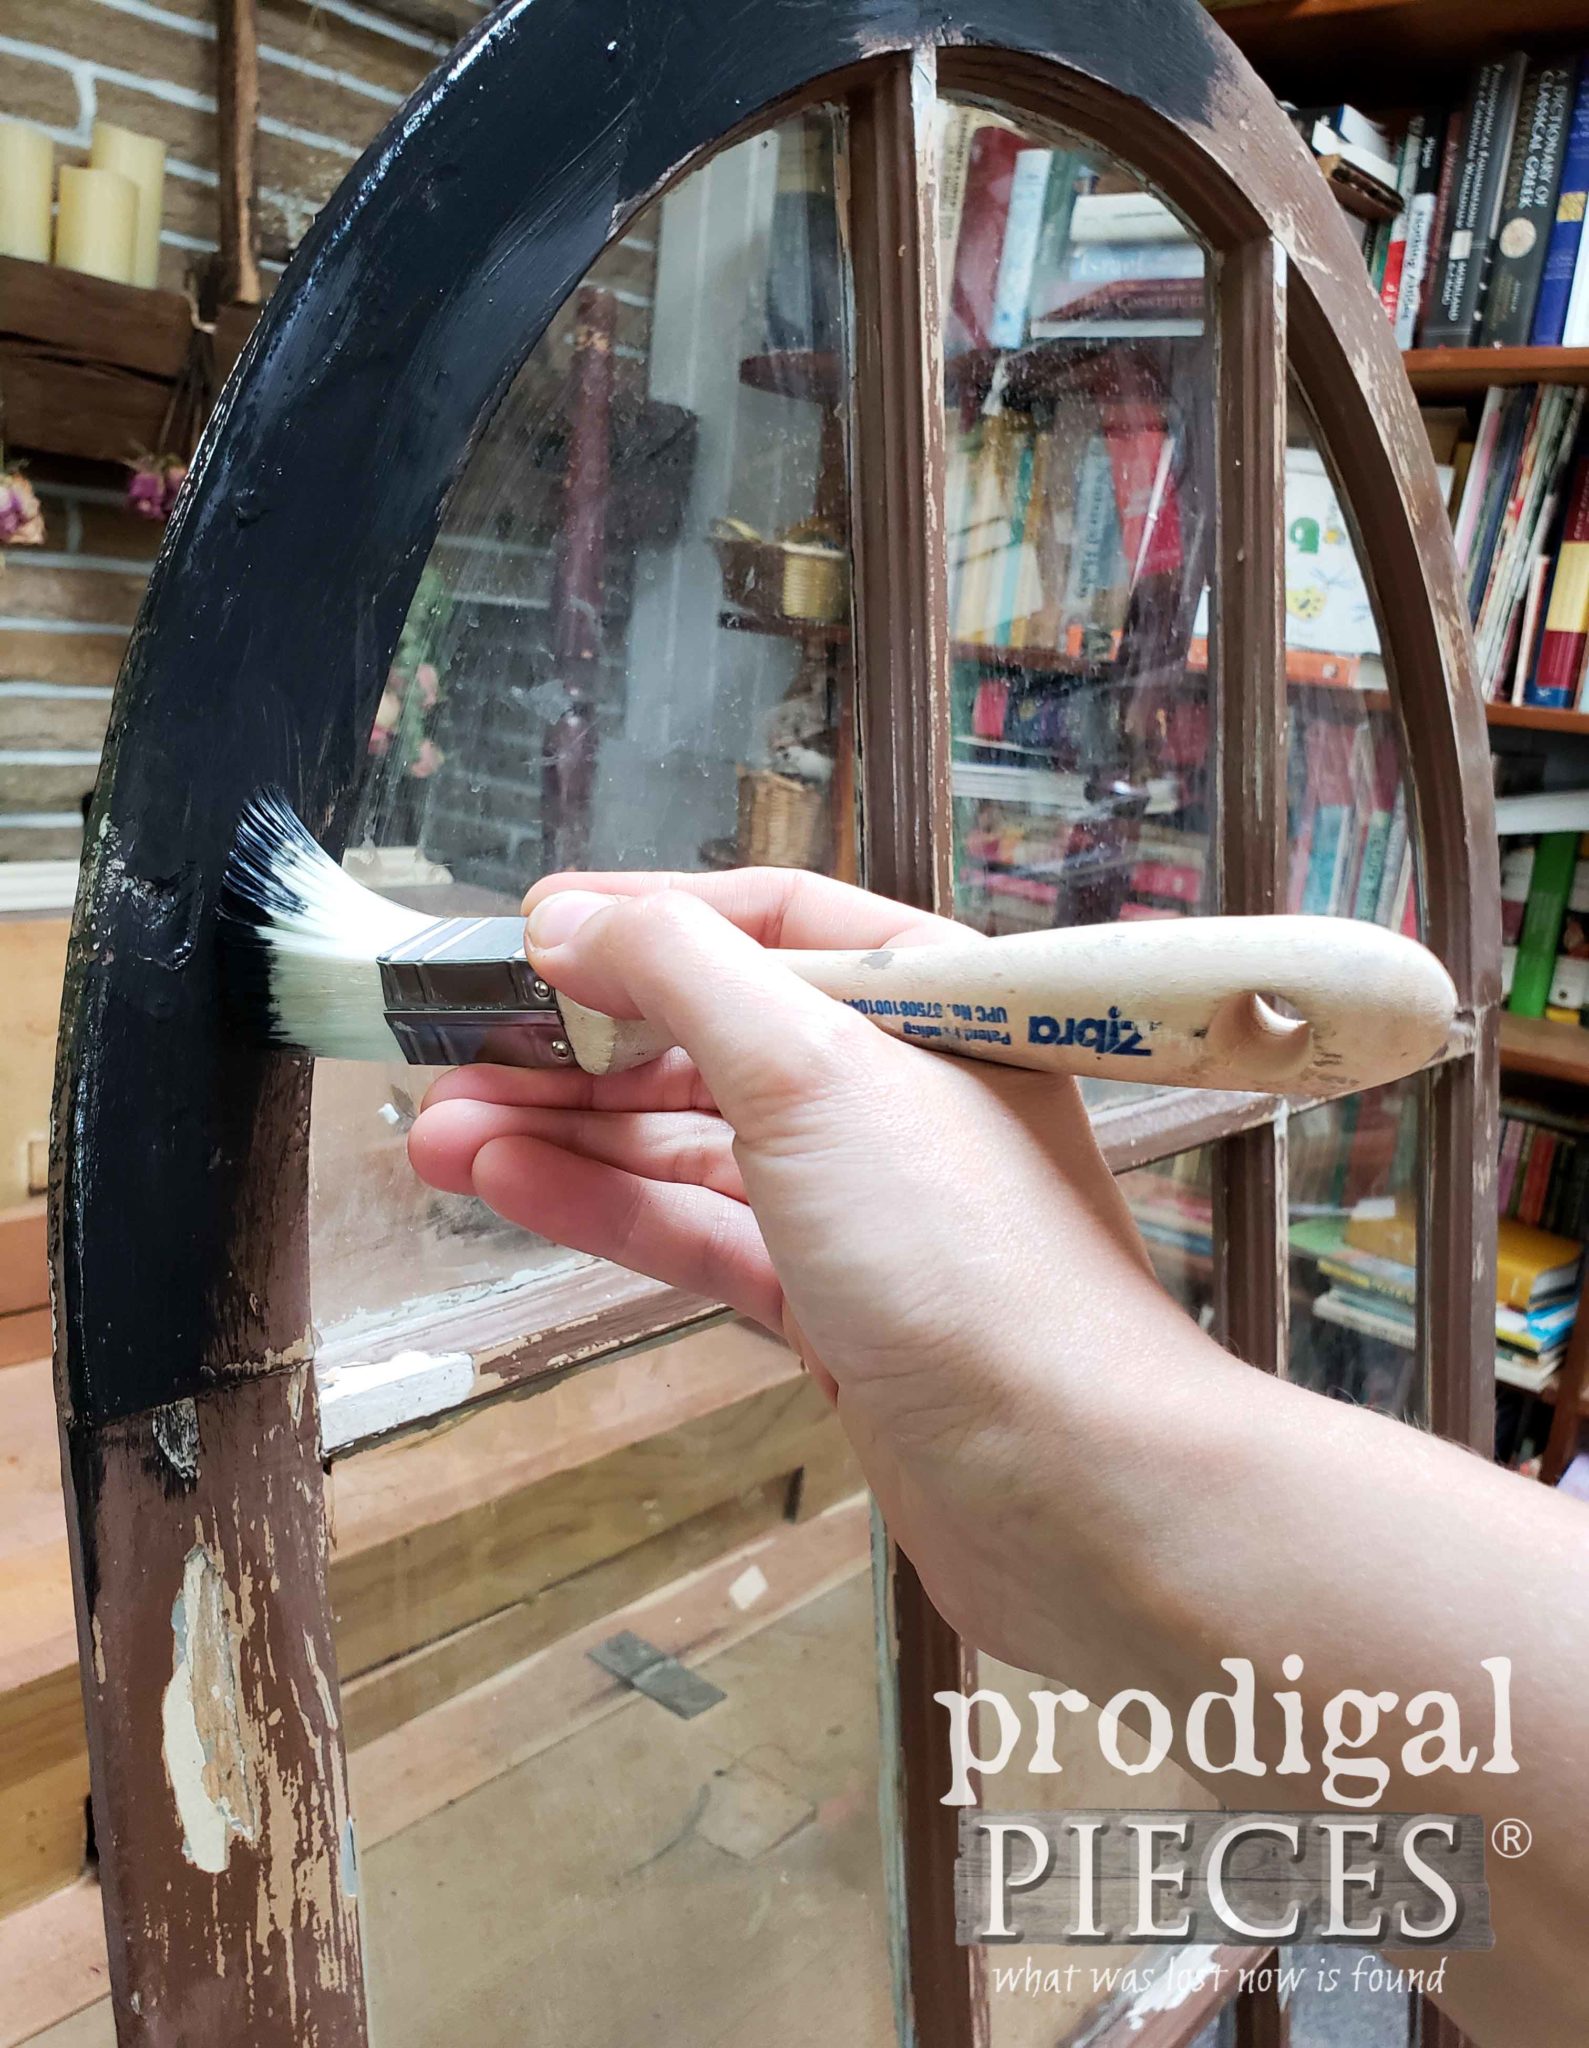
The coolest thing is to see the crackle happening as the paint dries. It doesn't take much to make this mama happy! haha!
THE REVEAL
It only takes one coat of paint for the look I'm after and then it's all done. BIG sigh of relief there were no other hurdles in my way.
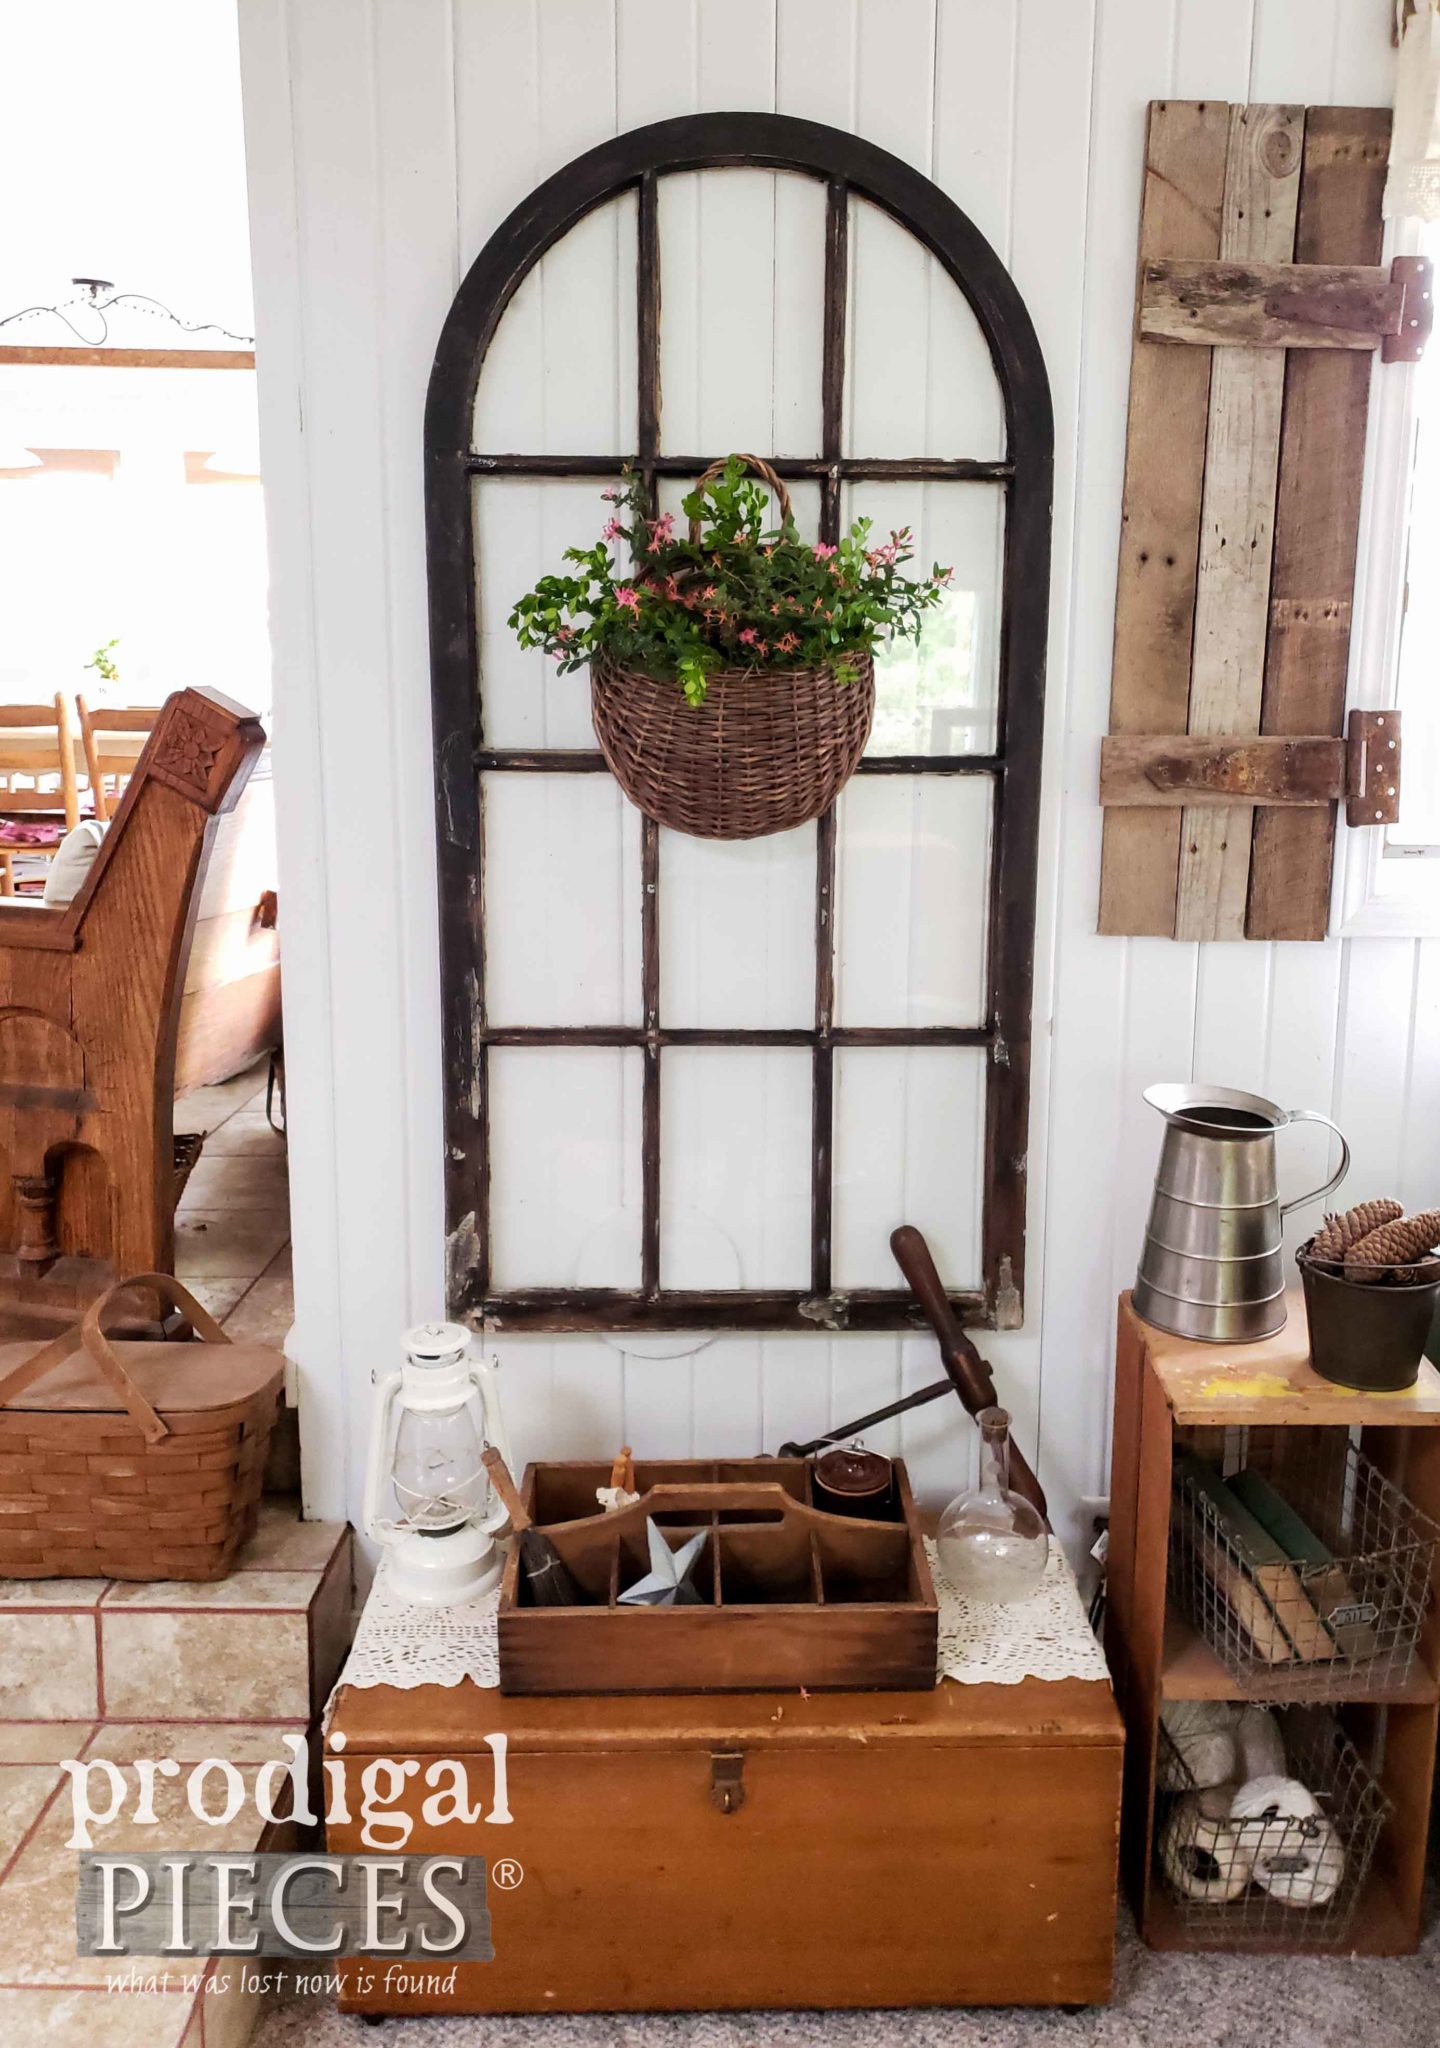
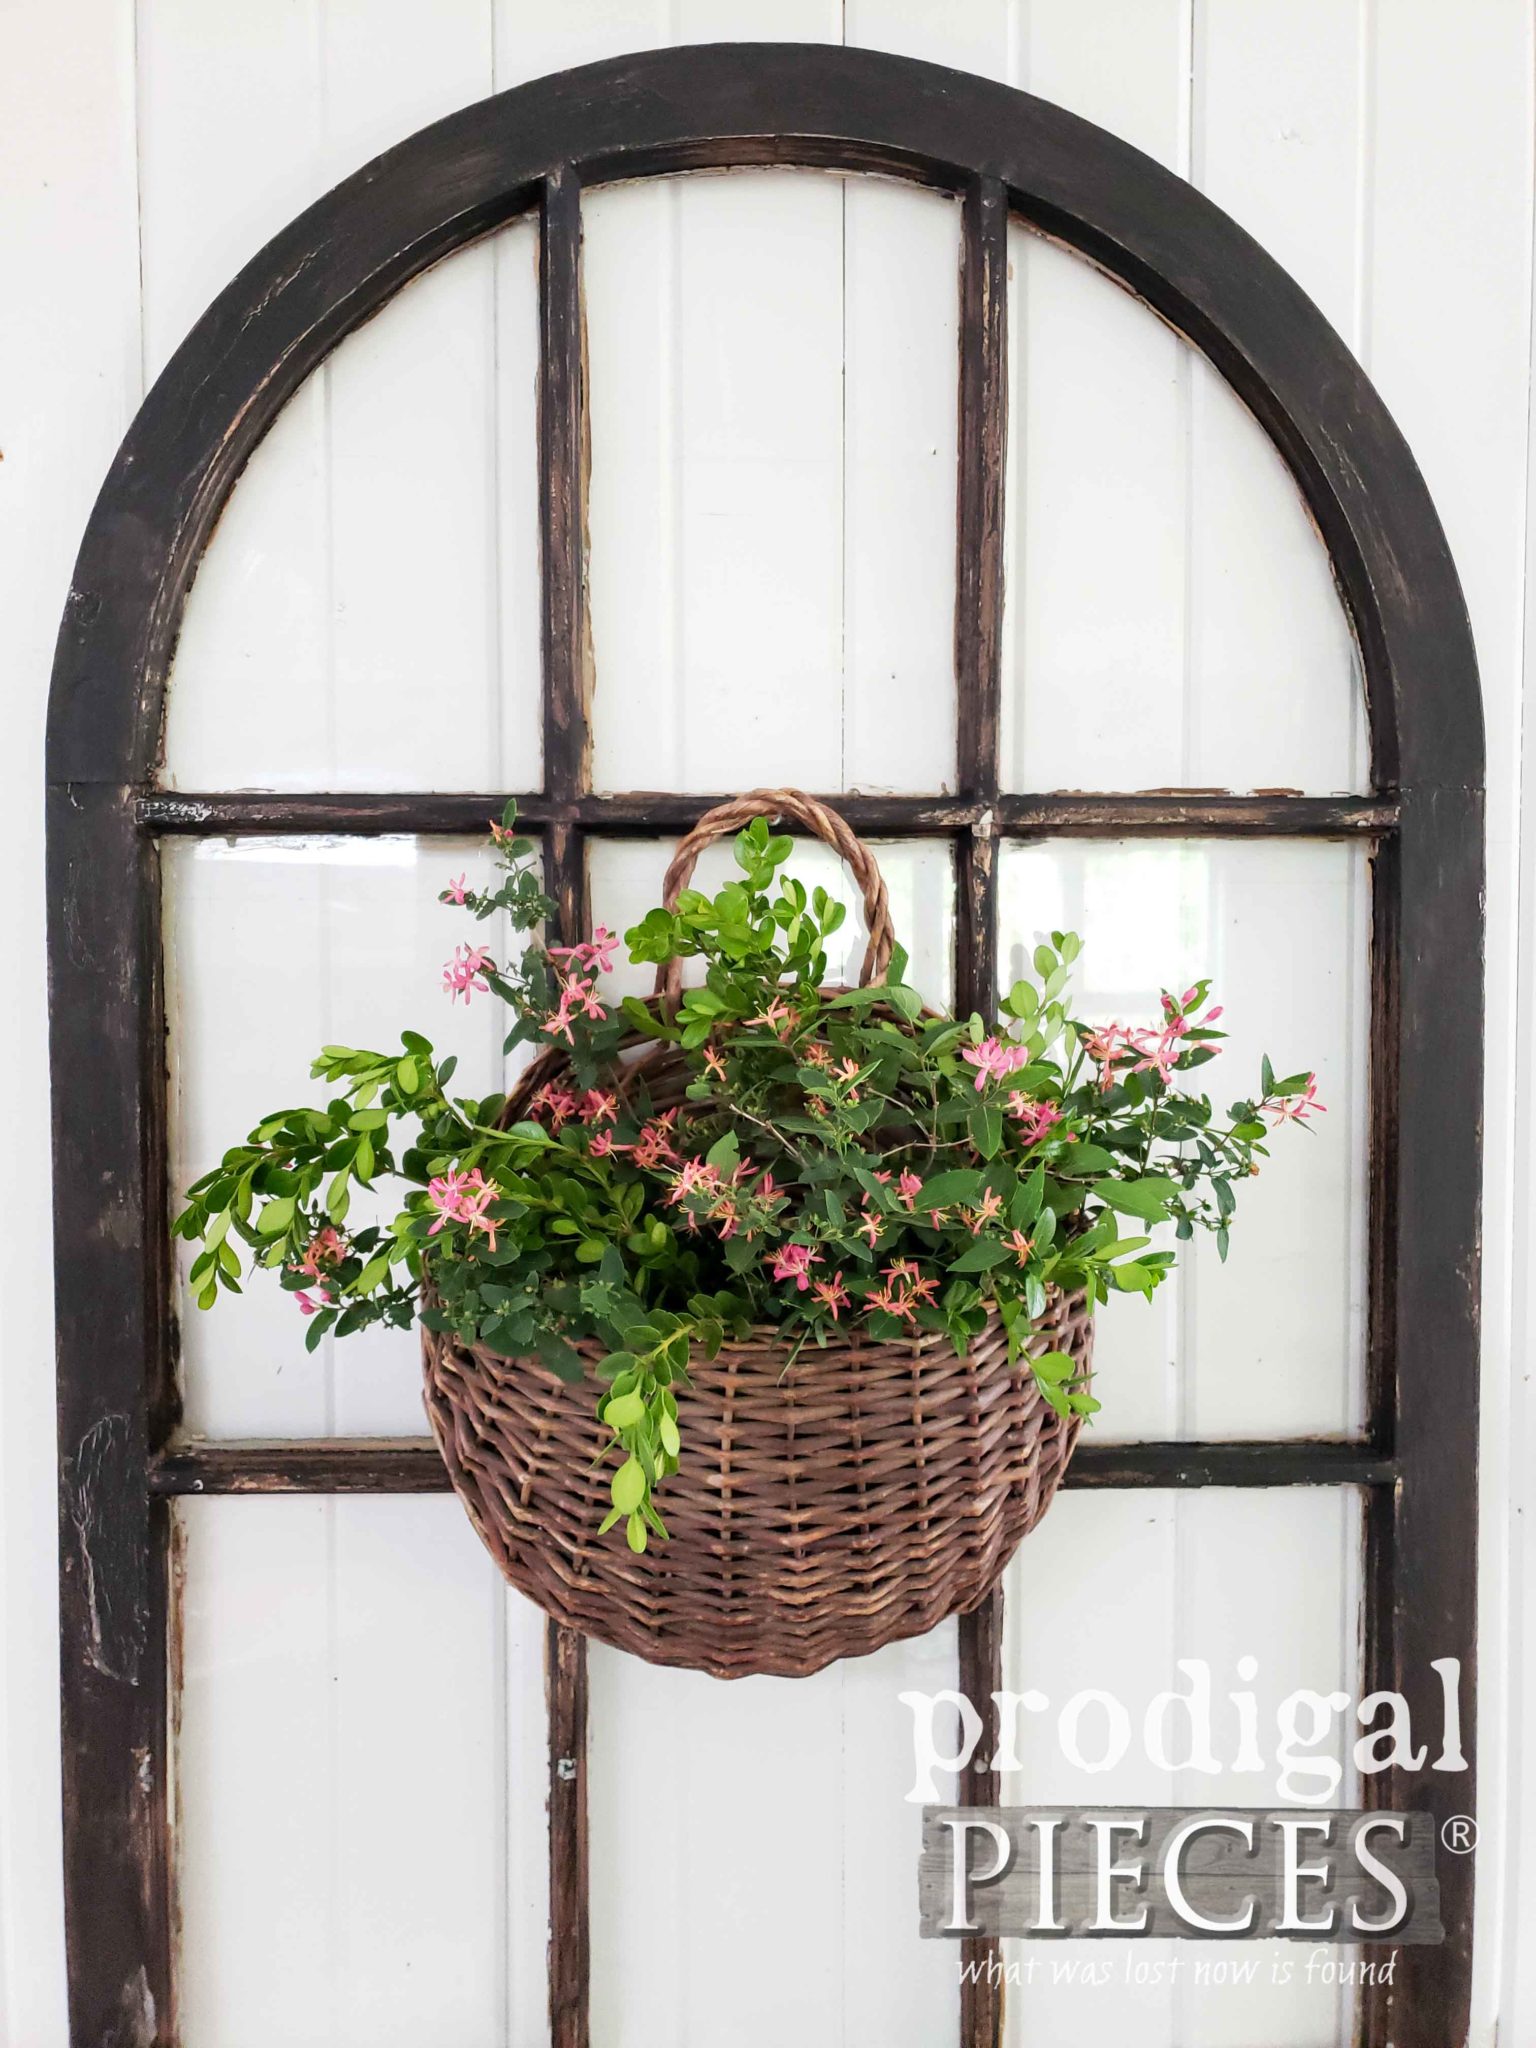
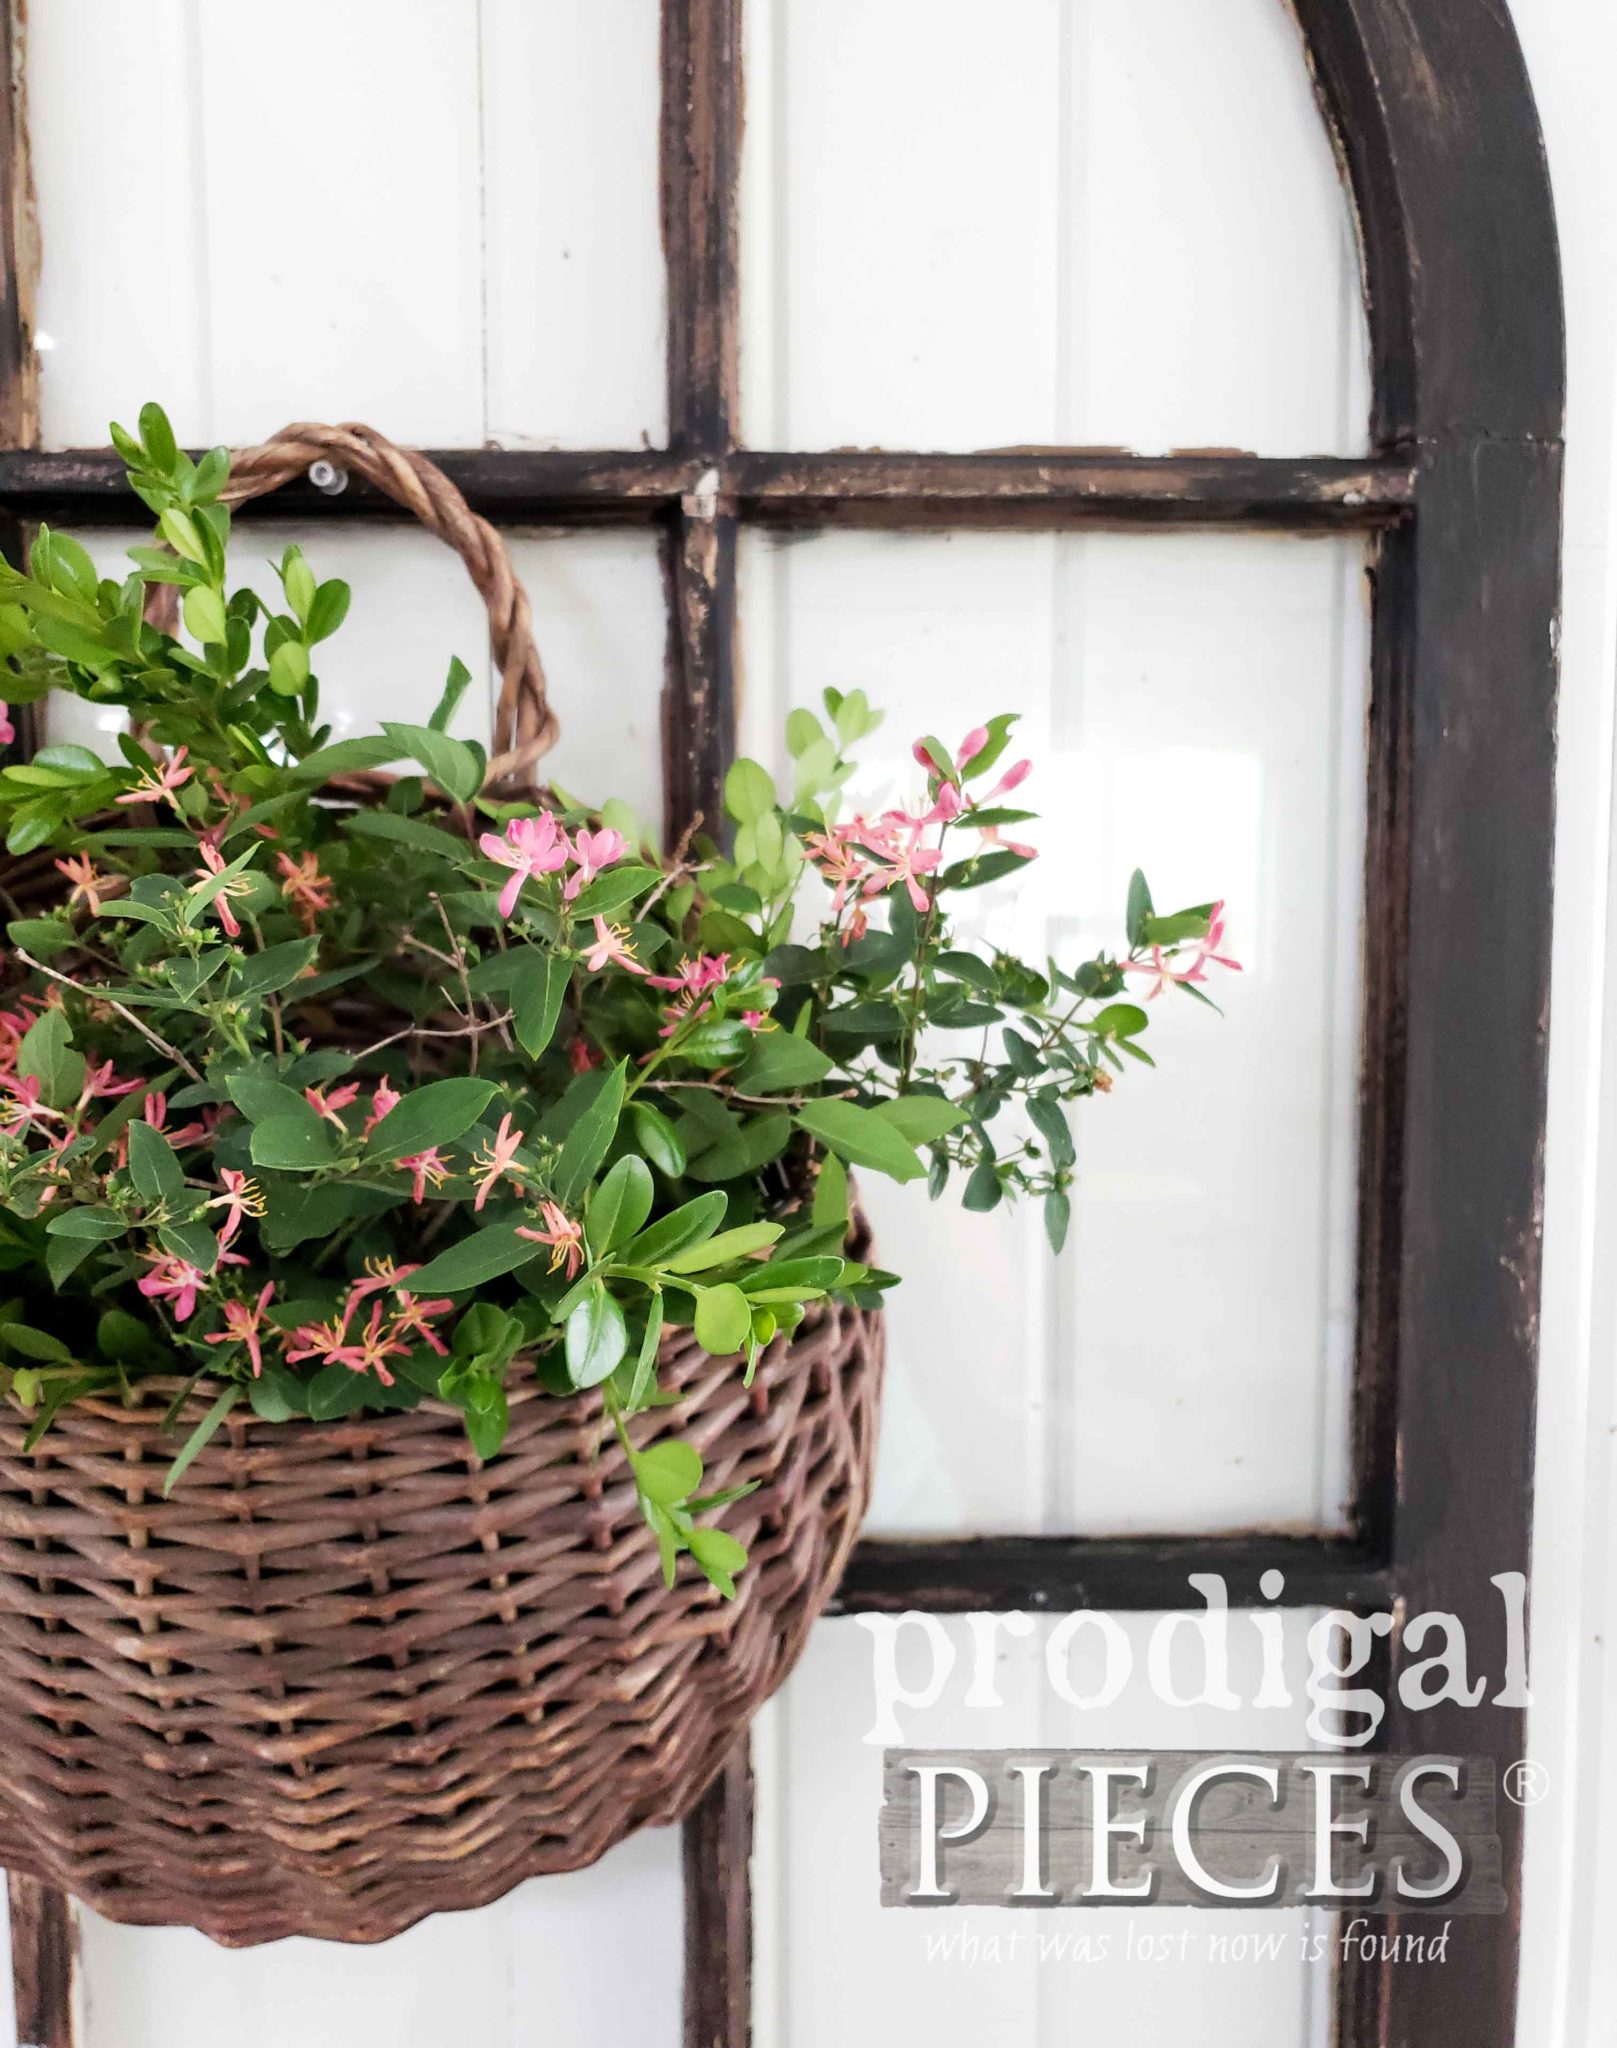
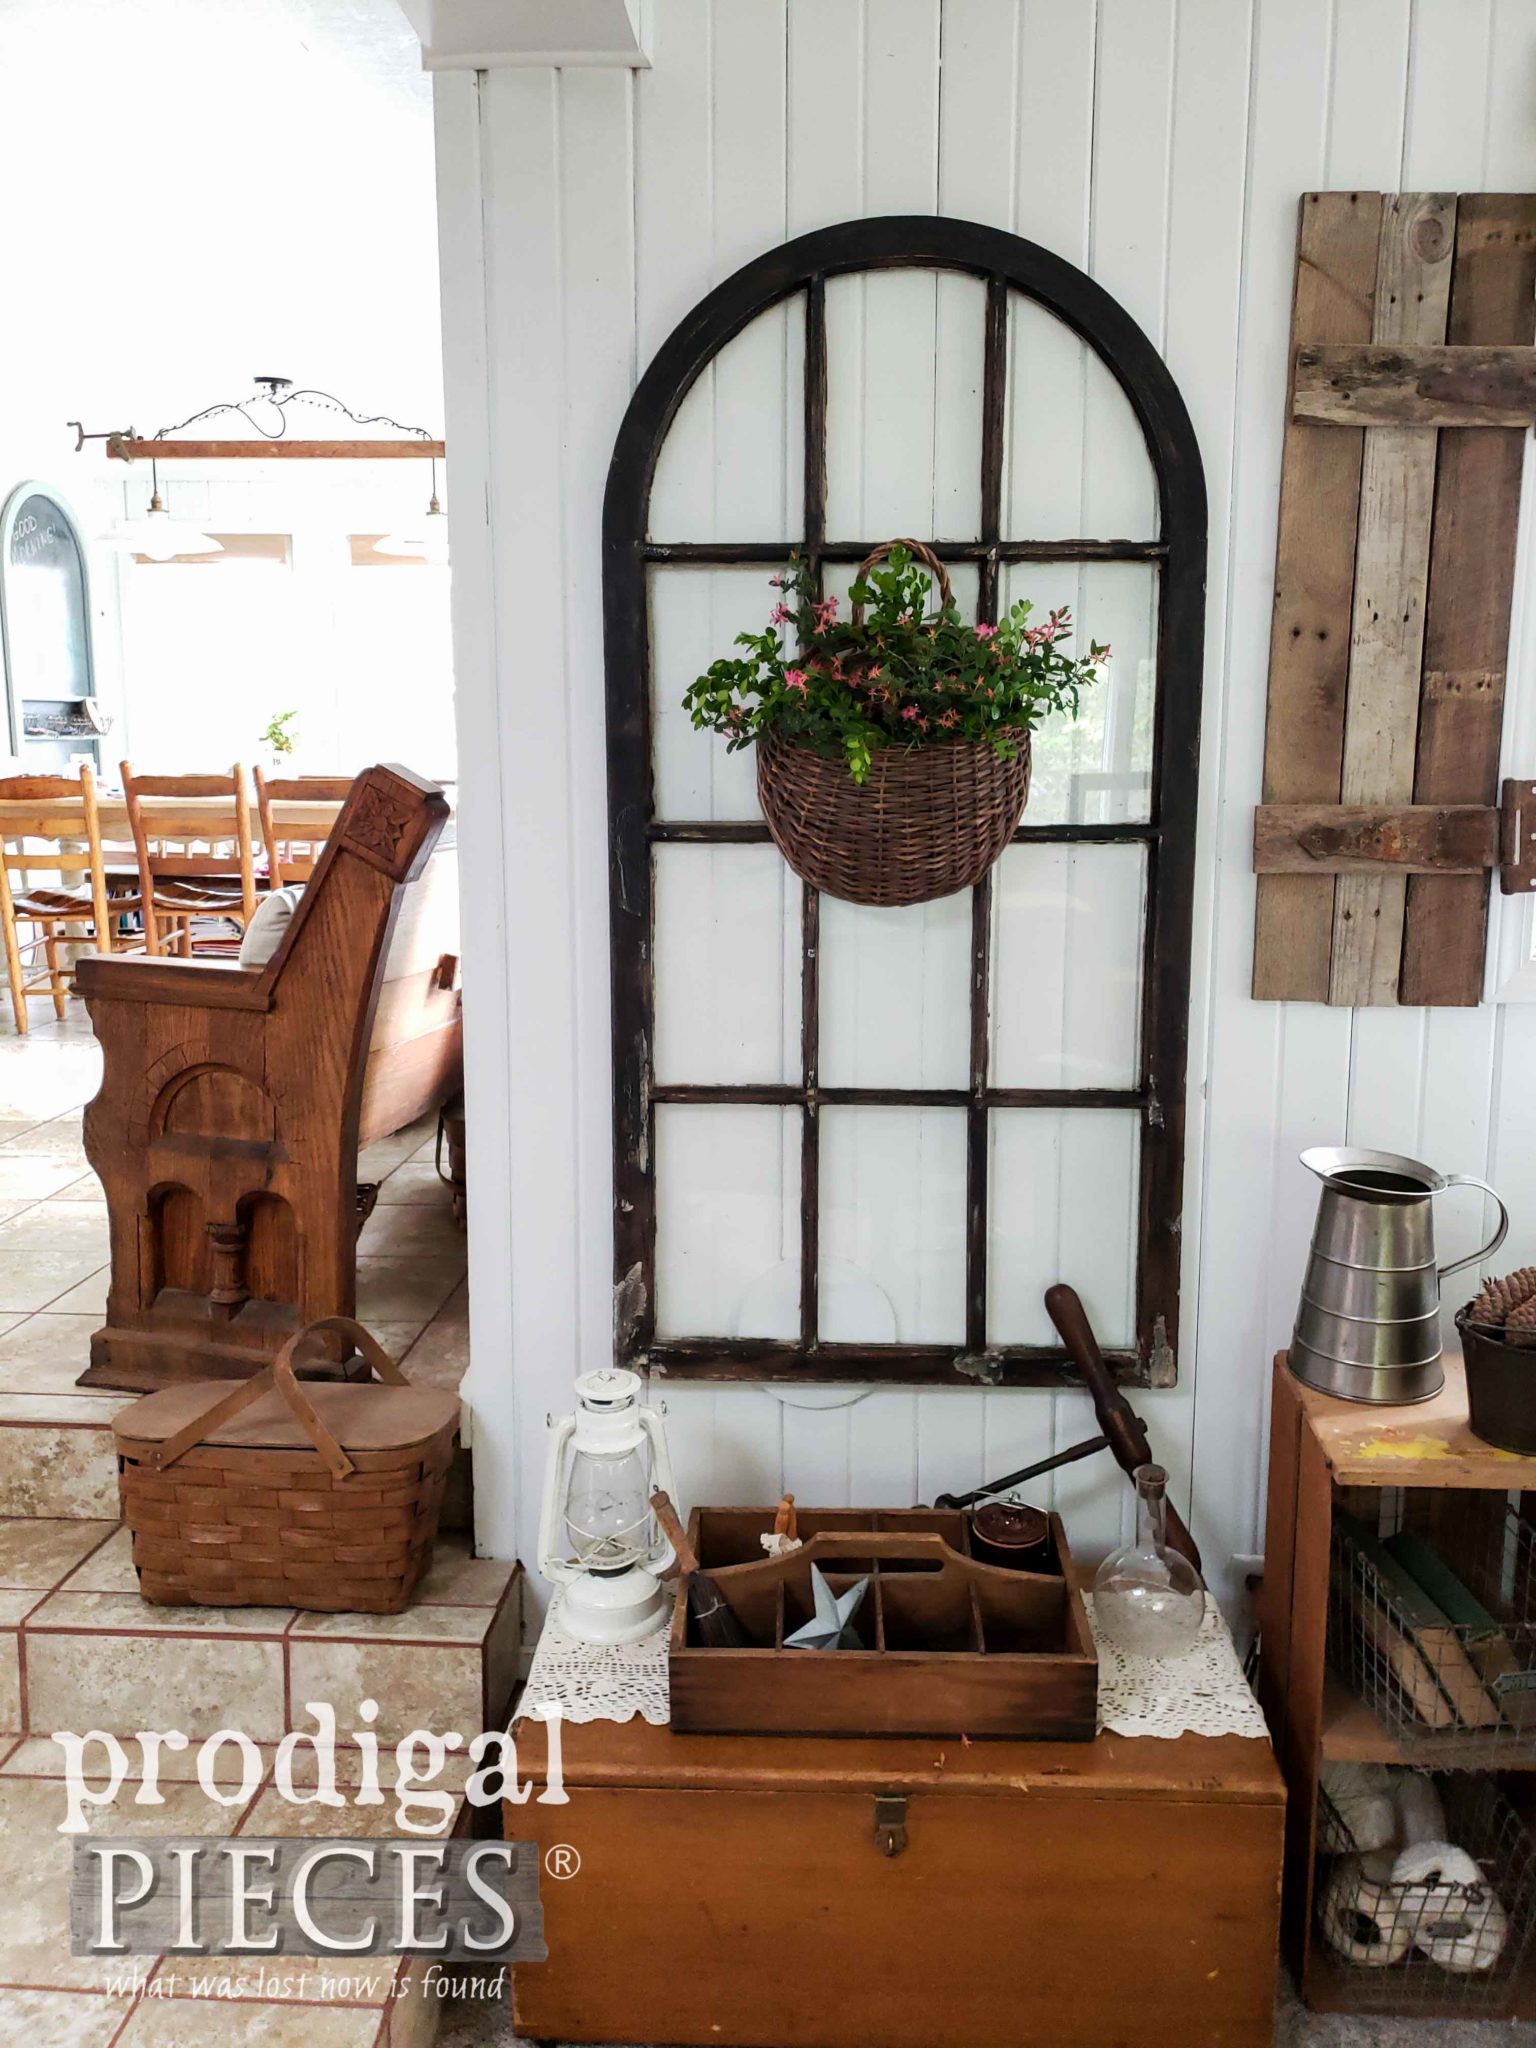
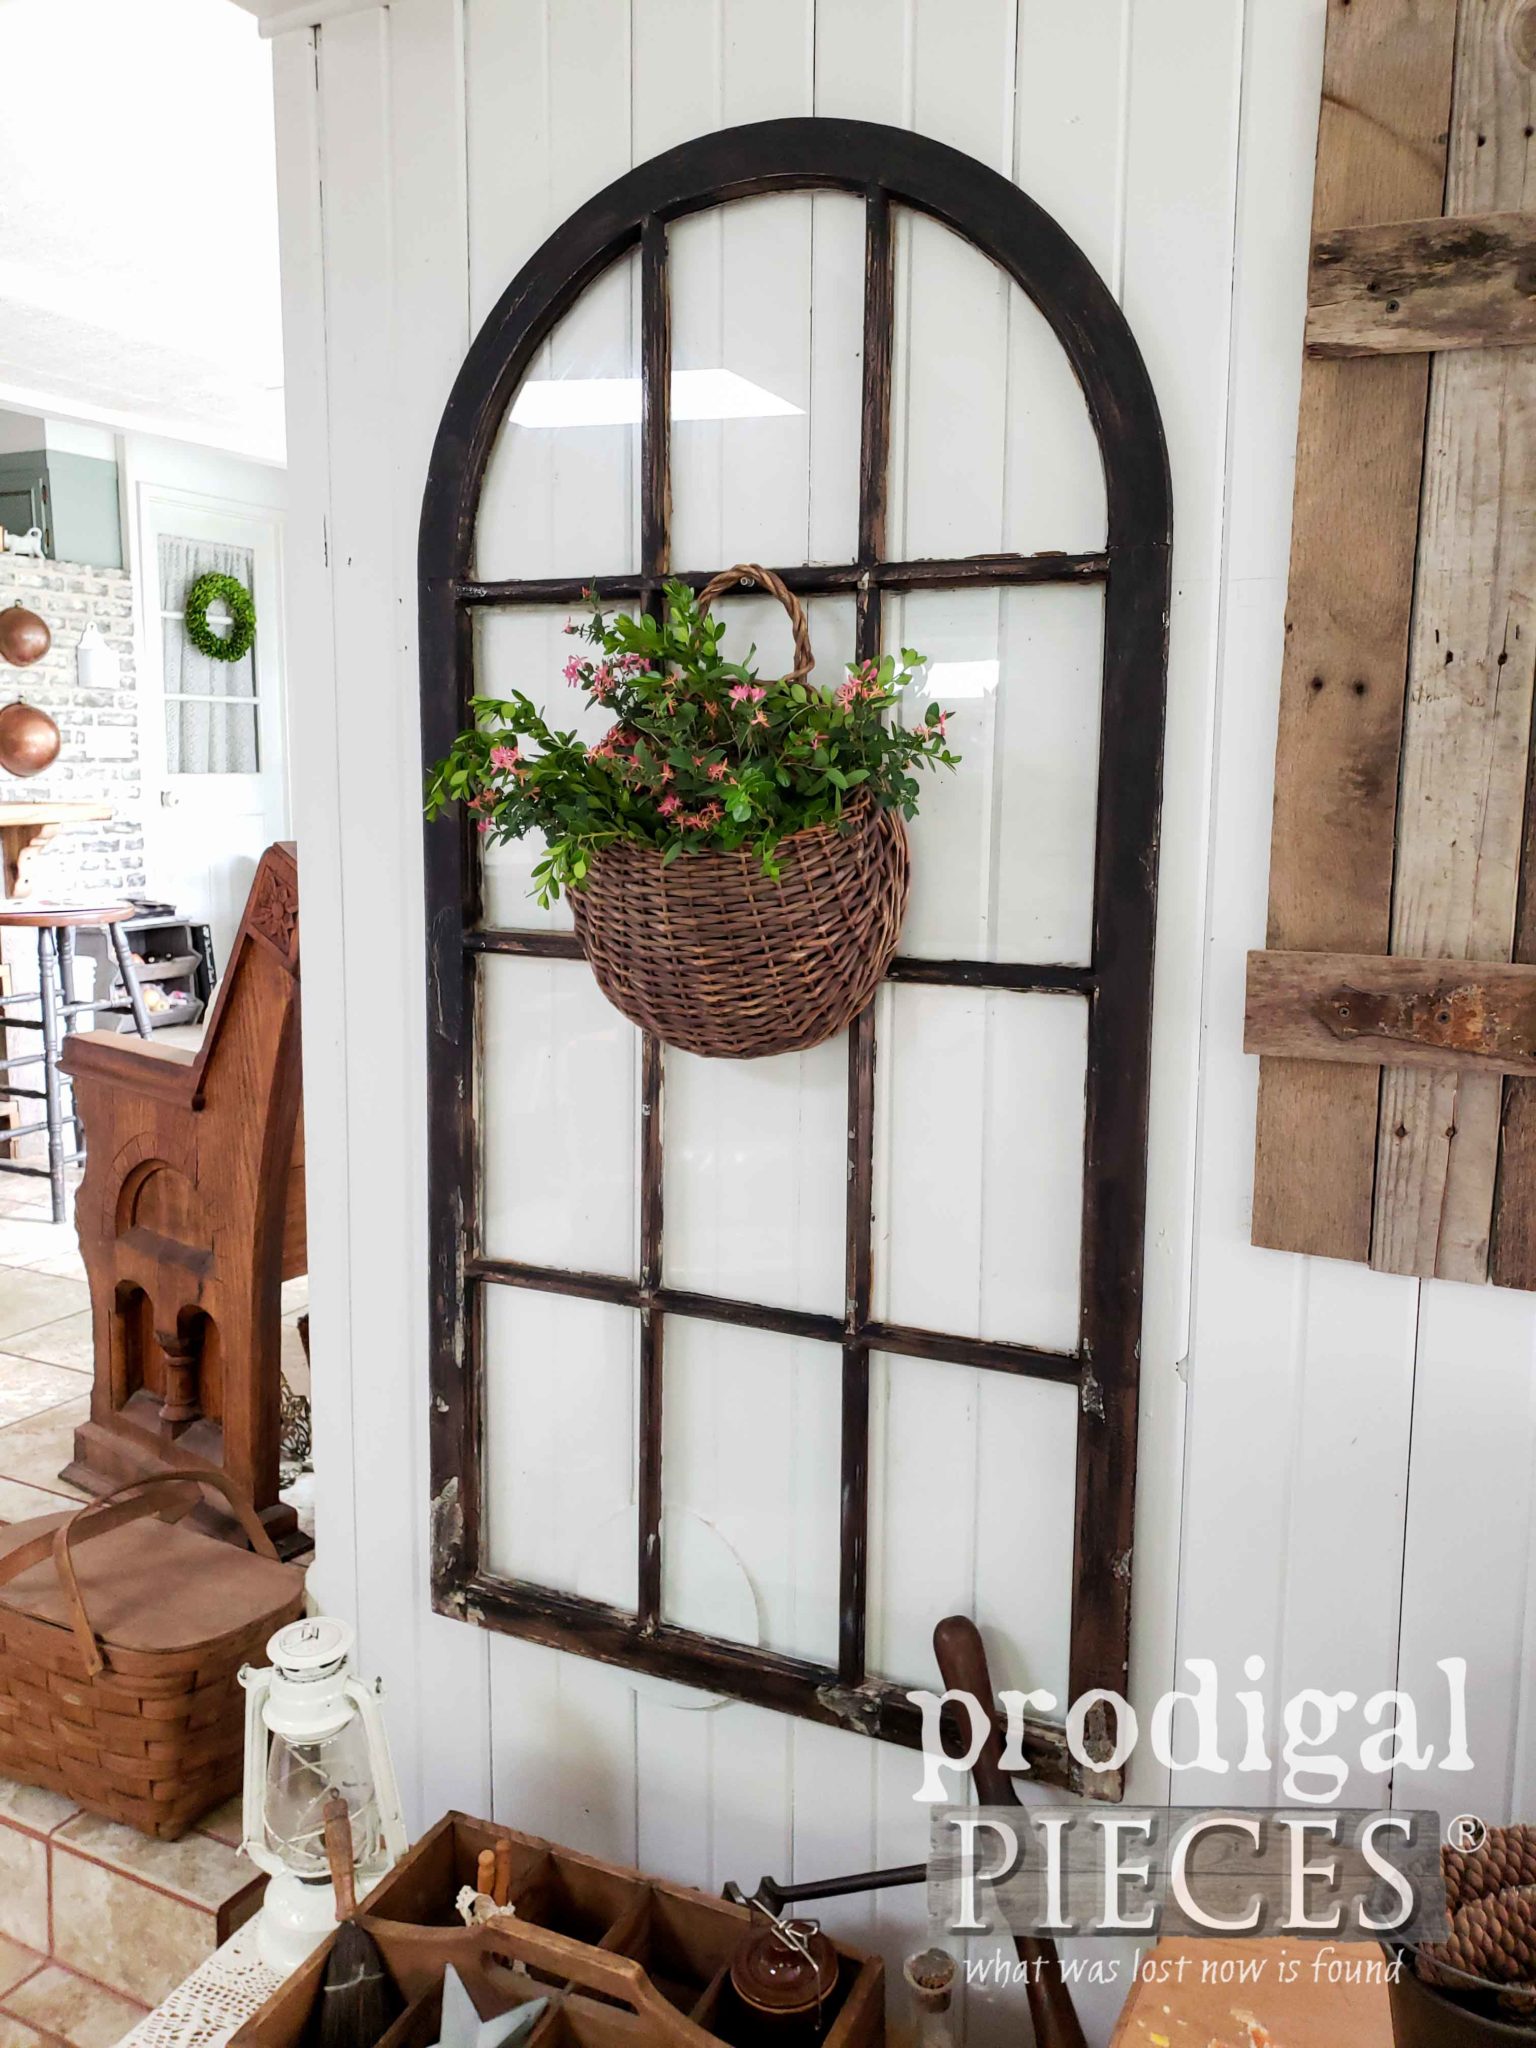
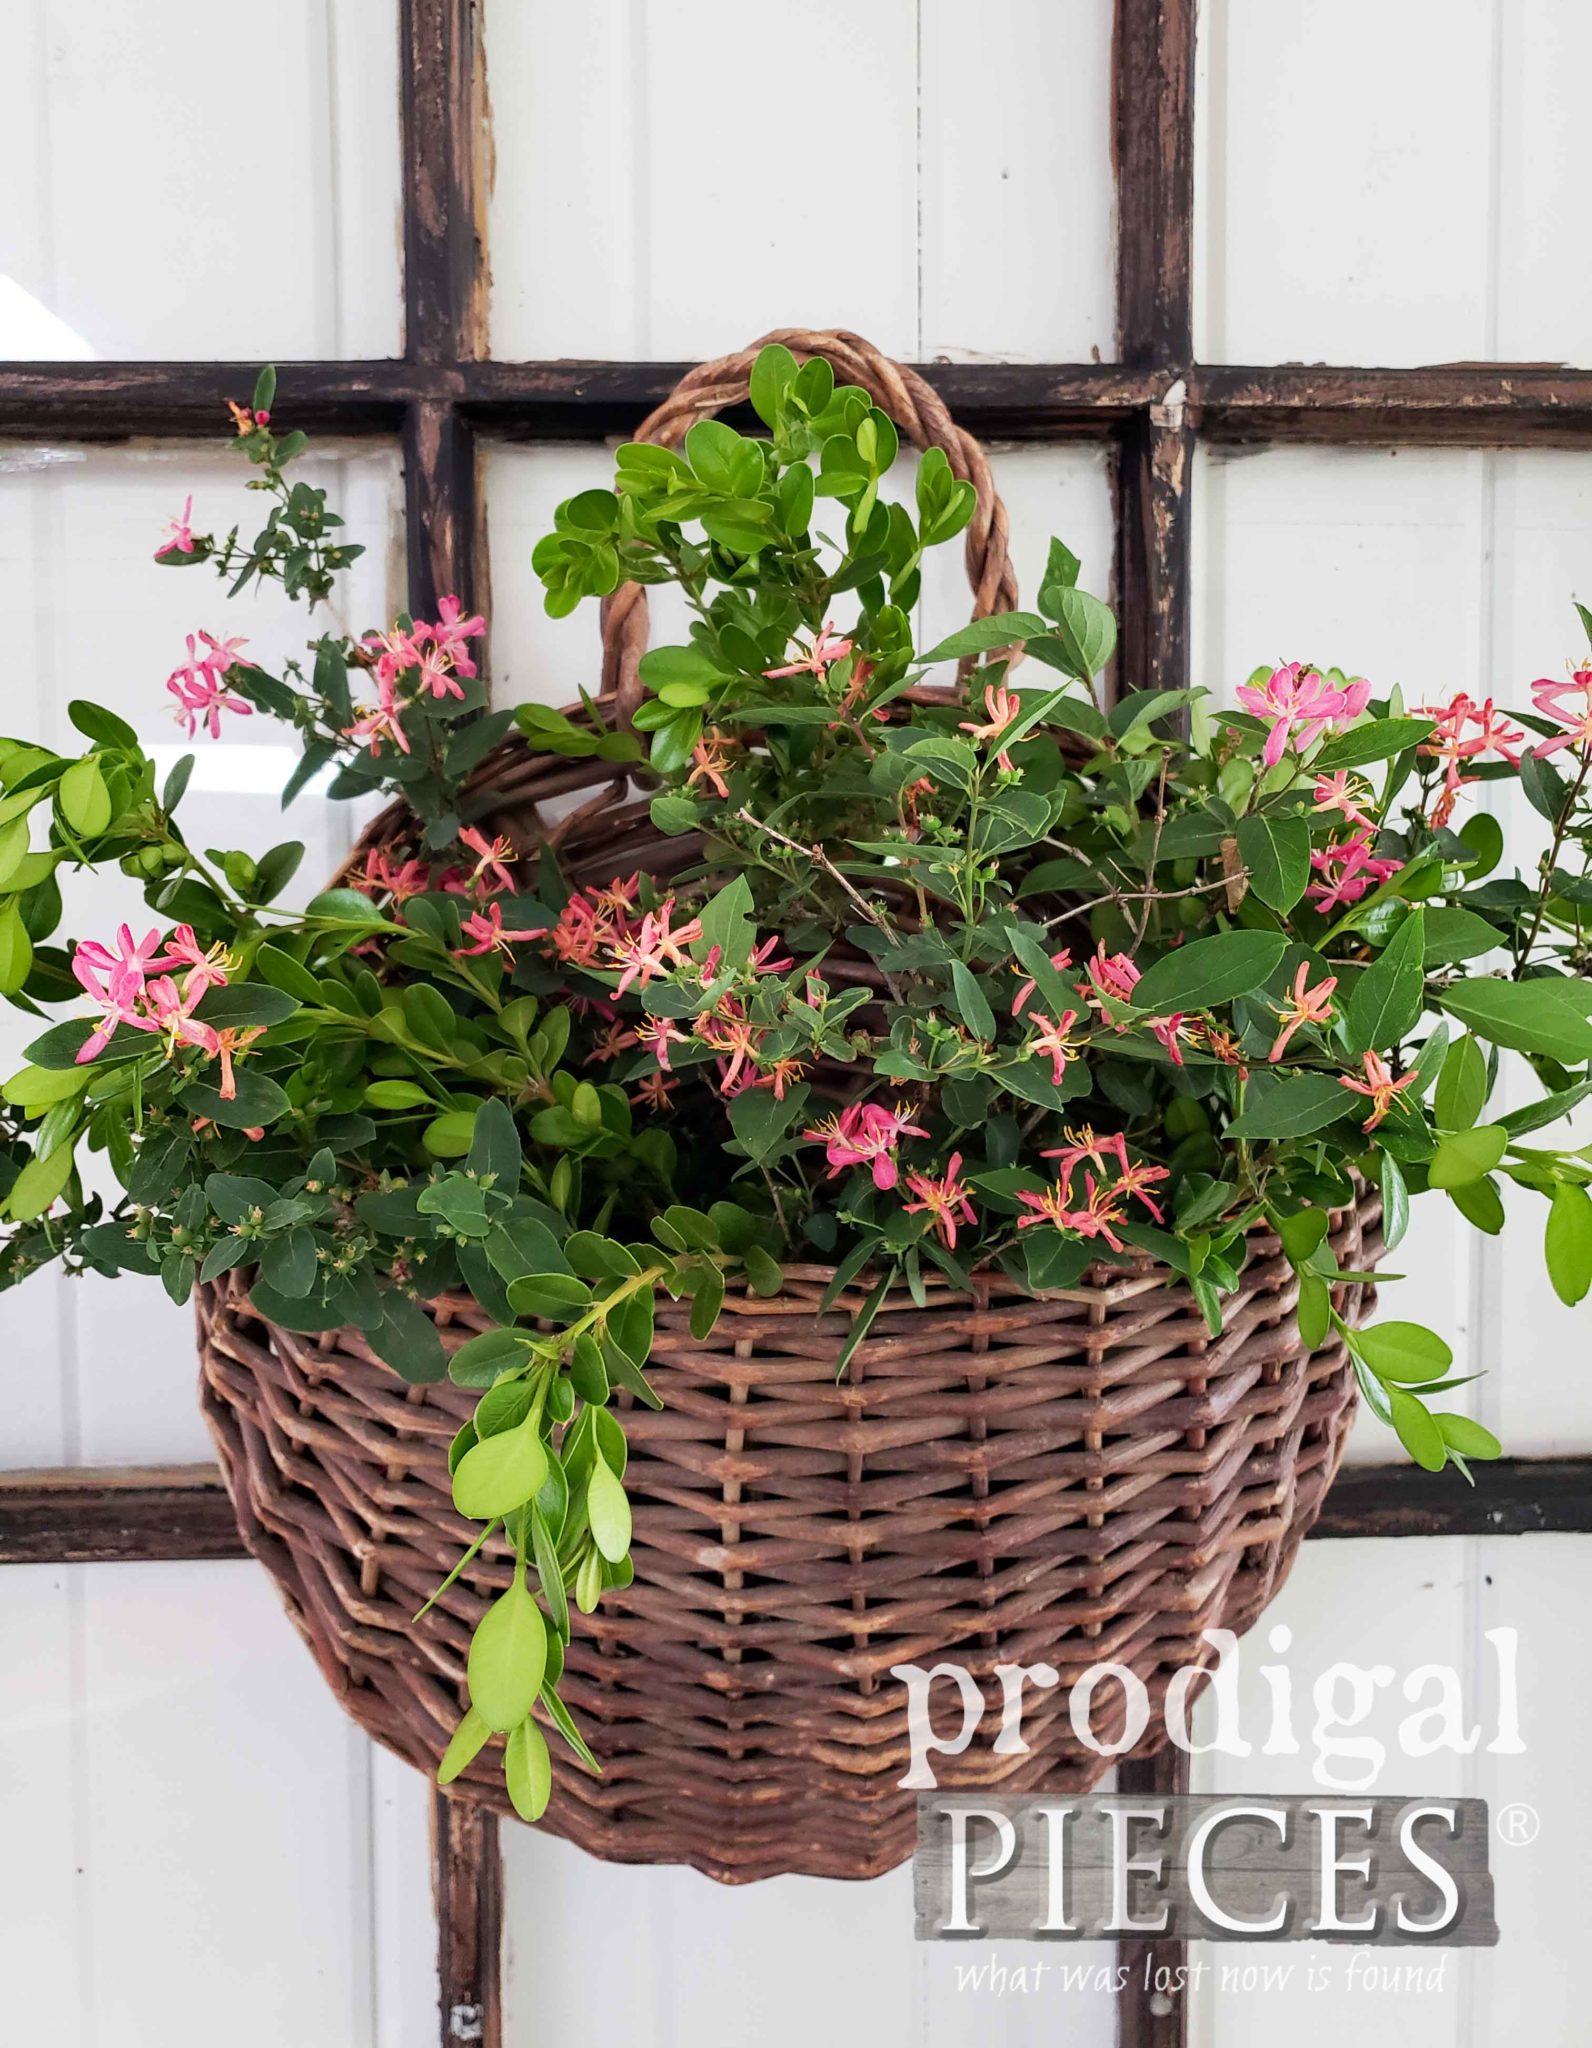
I've hung my arched window here for now because it fills the space nicely, adds dimension to this room that needs redone,
and is fun to look at too. See the crackle doing it's thing? And, if you look just beyond it, you can see its sister hanging in our dining area as our favorite chalkboard.
So...I have to ask... can you tell the I repaired the mullion?
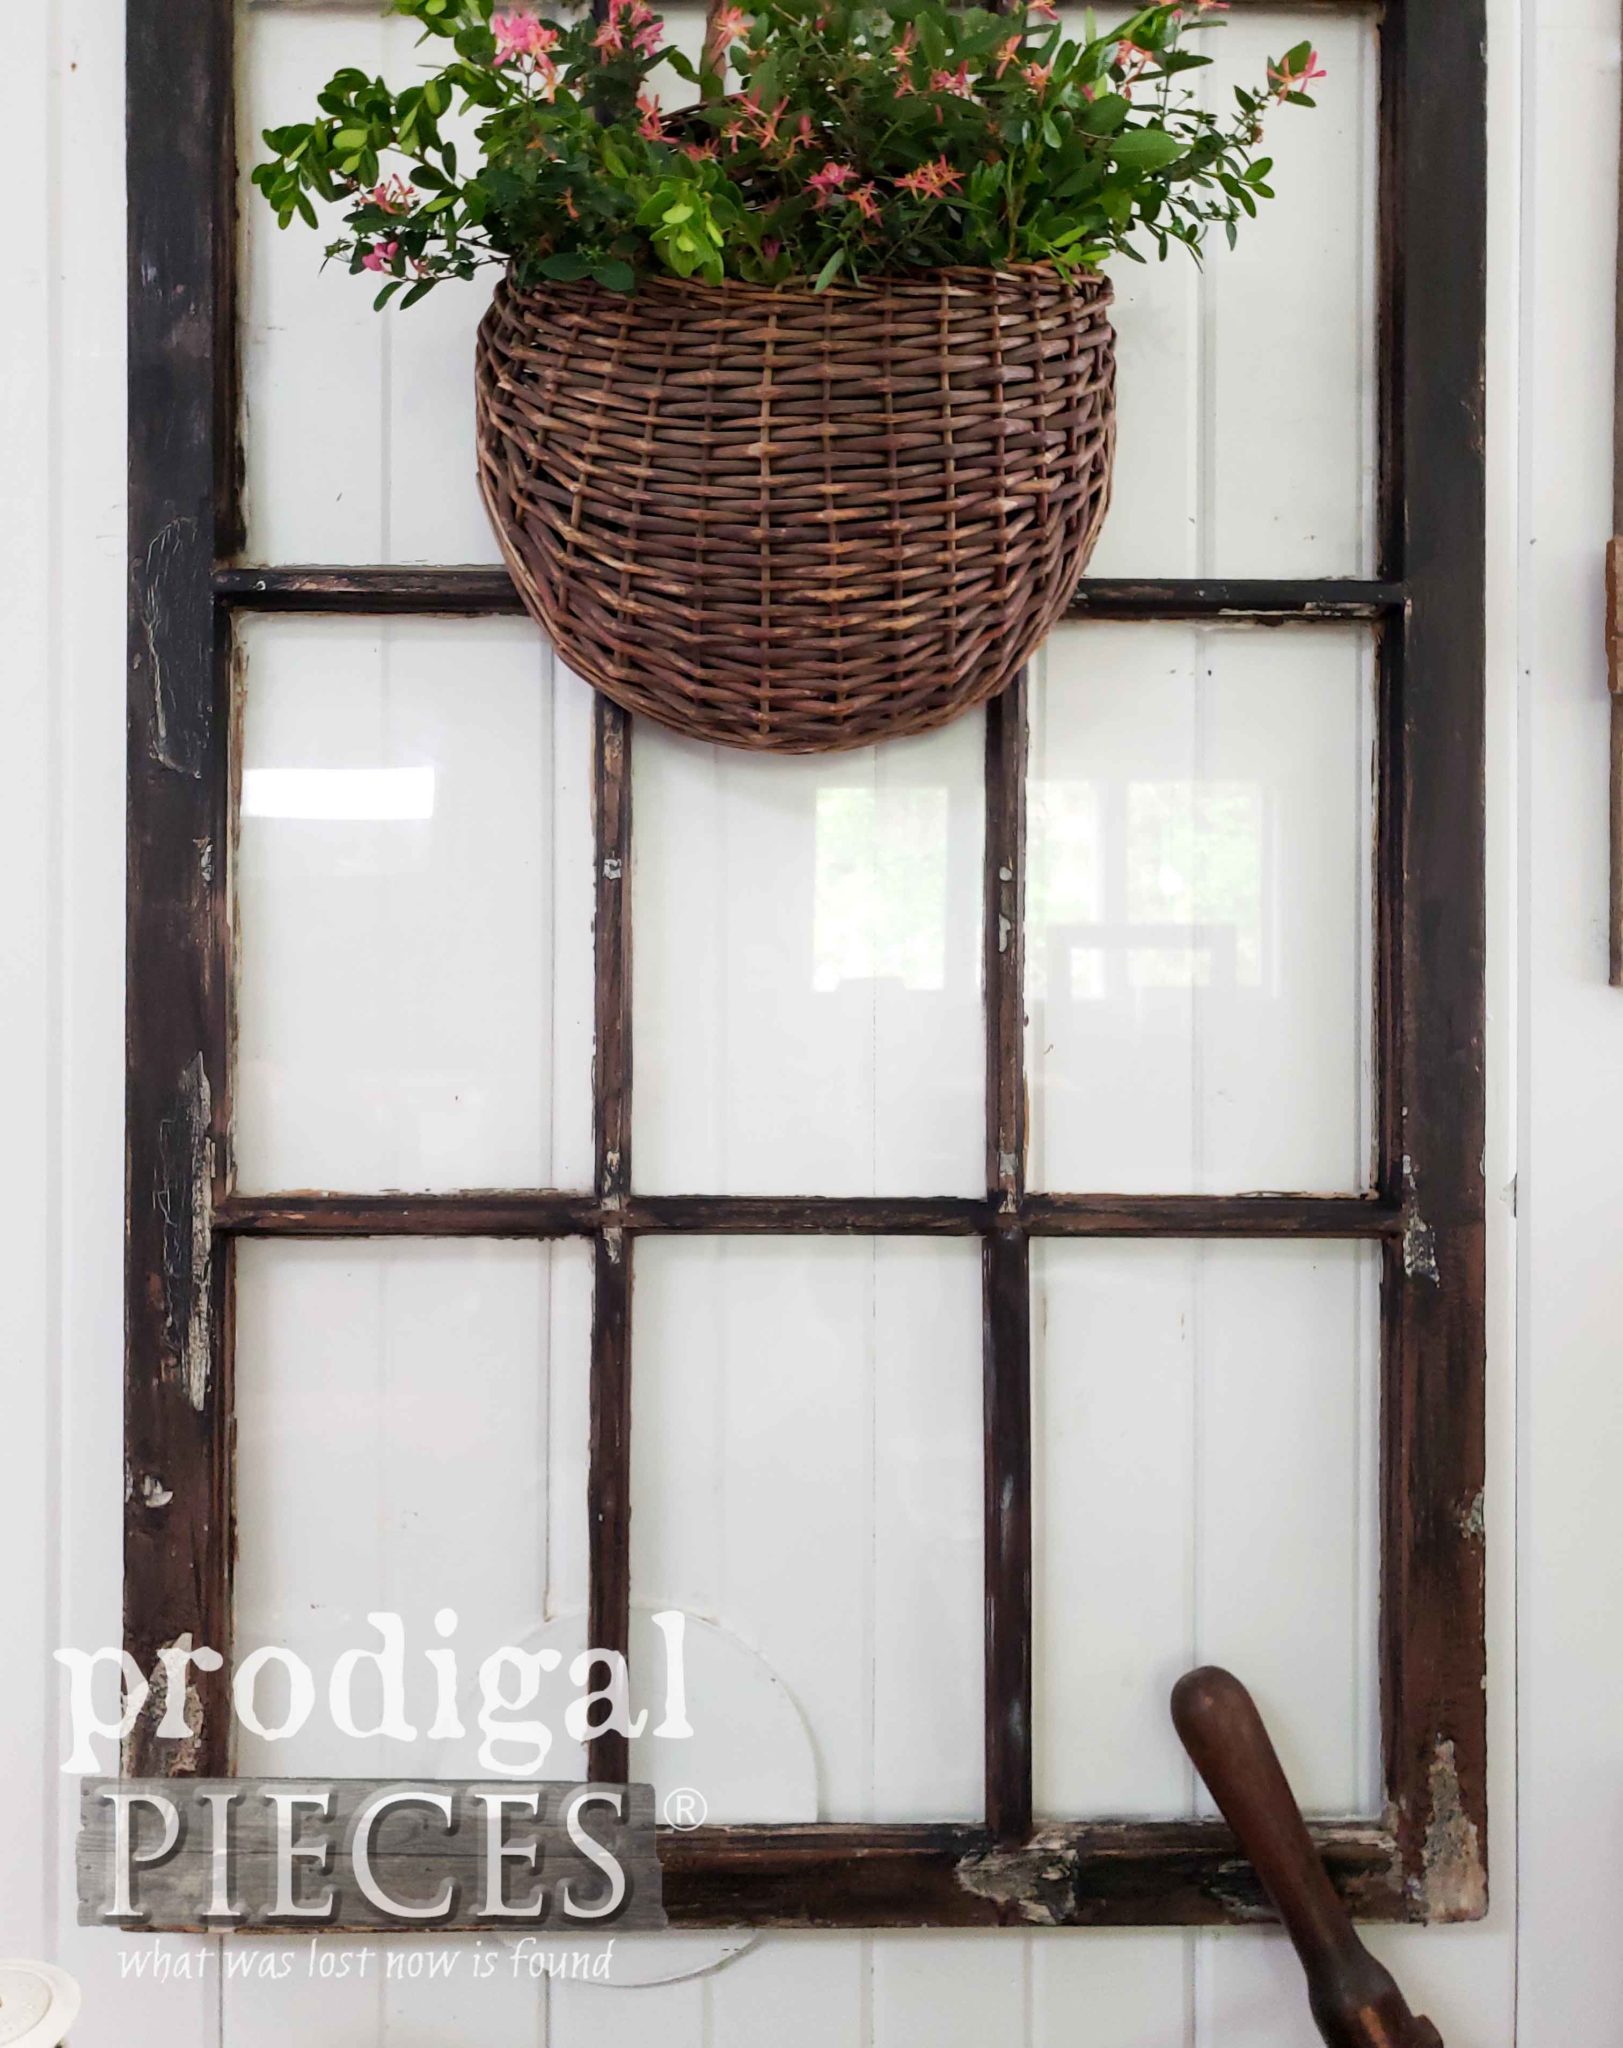
It was a blast giving this old beauty a new lease on life AND see it finally in my home as it should be.
I love creating my own home story with things that make me happy.
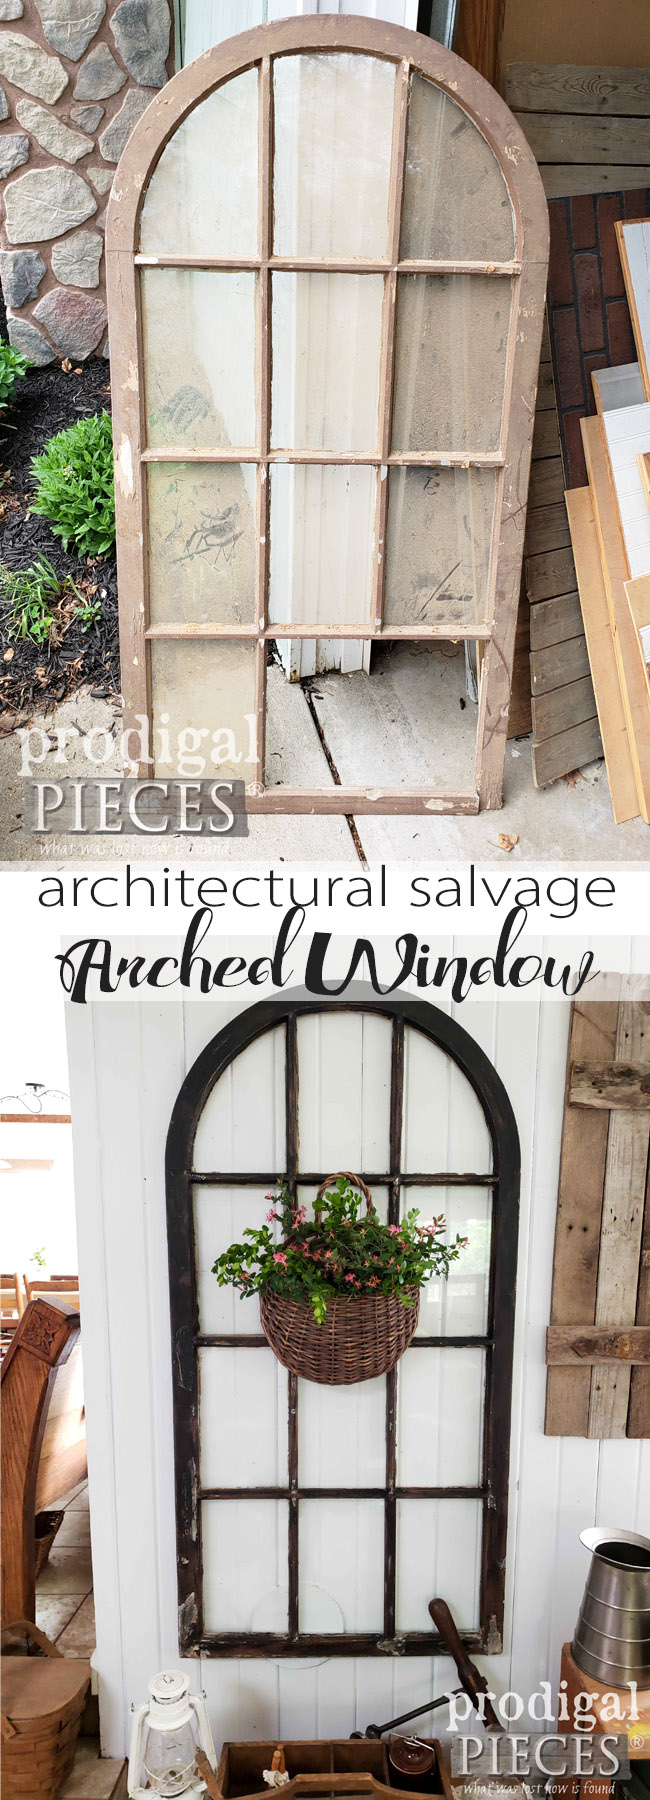
Do pin and share this arched window salvage project to save it for later and to inspire others too.
Up next, it's
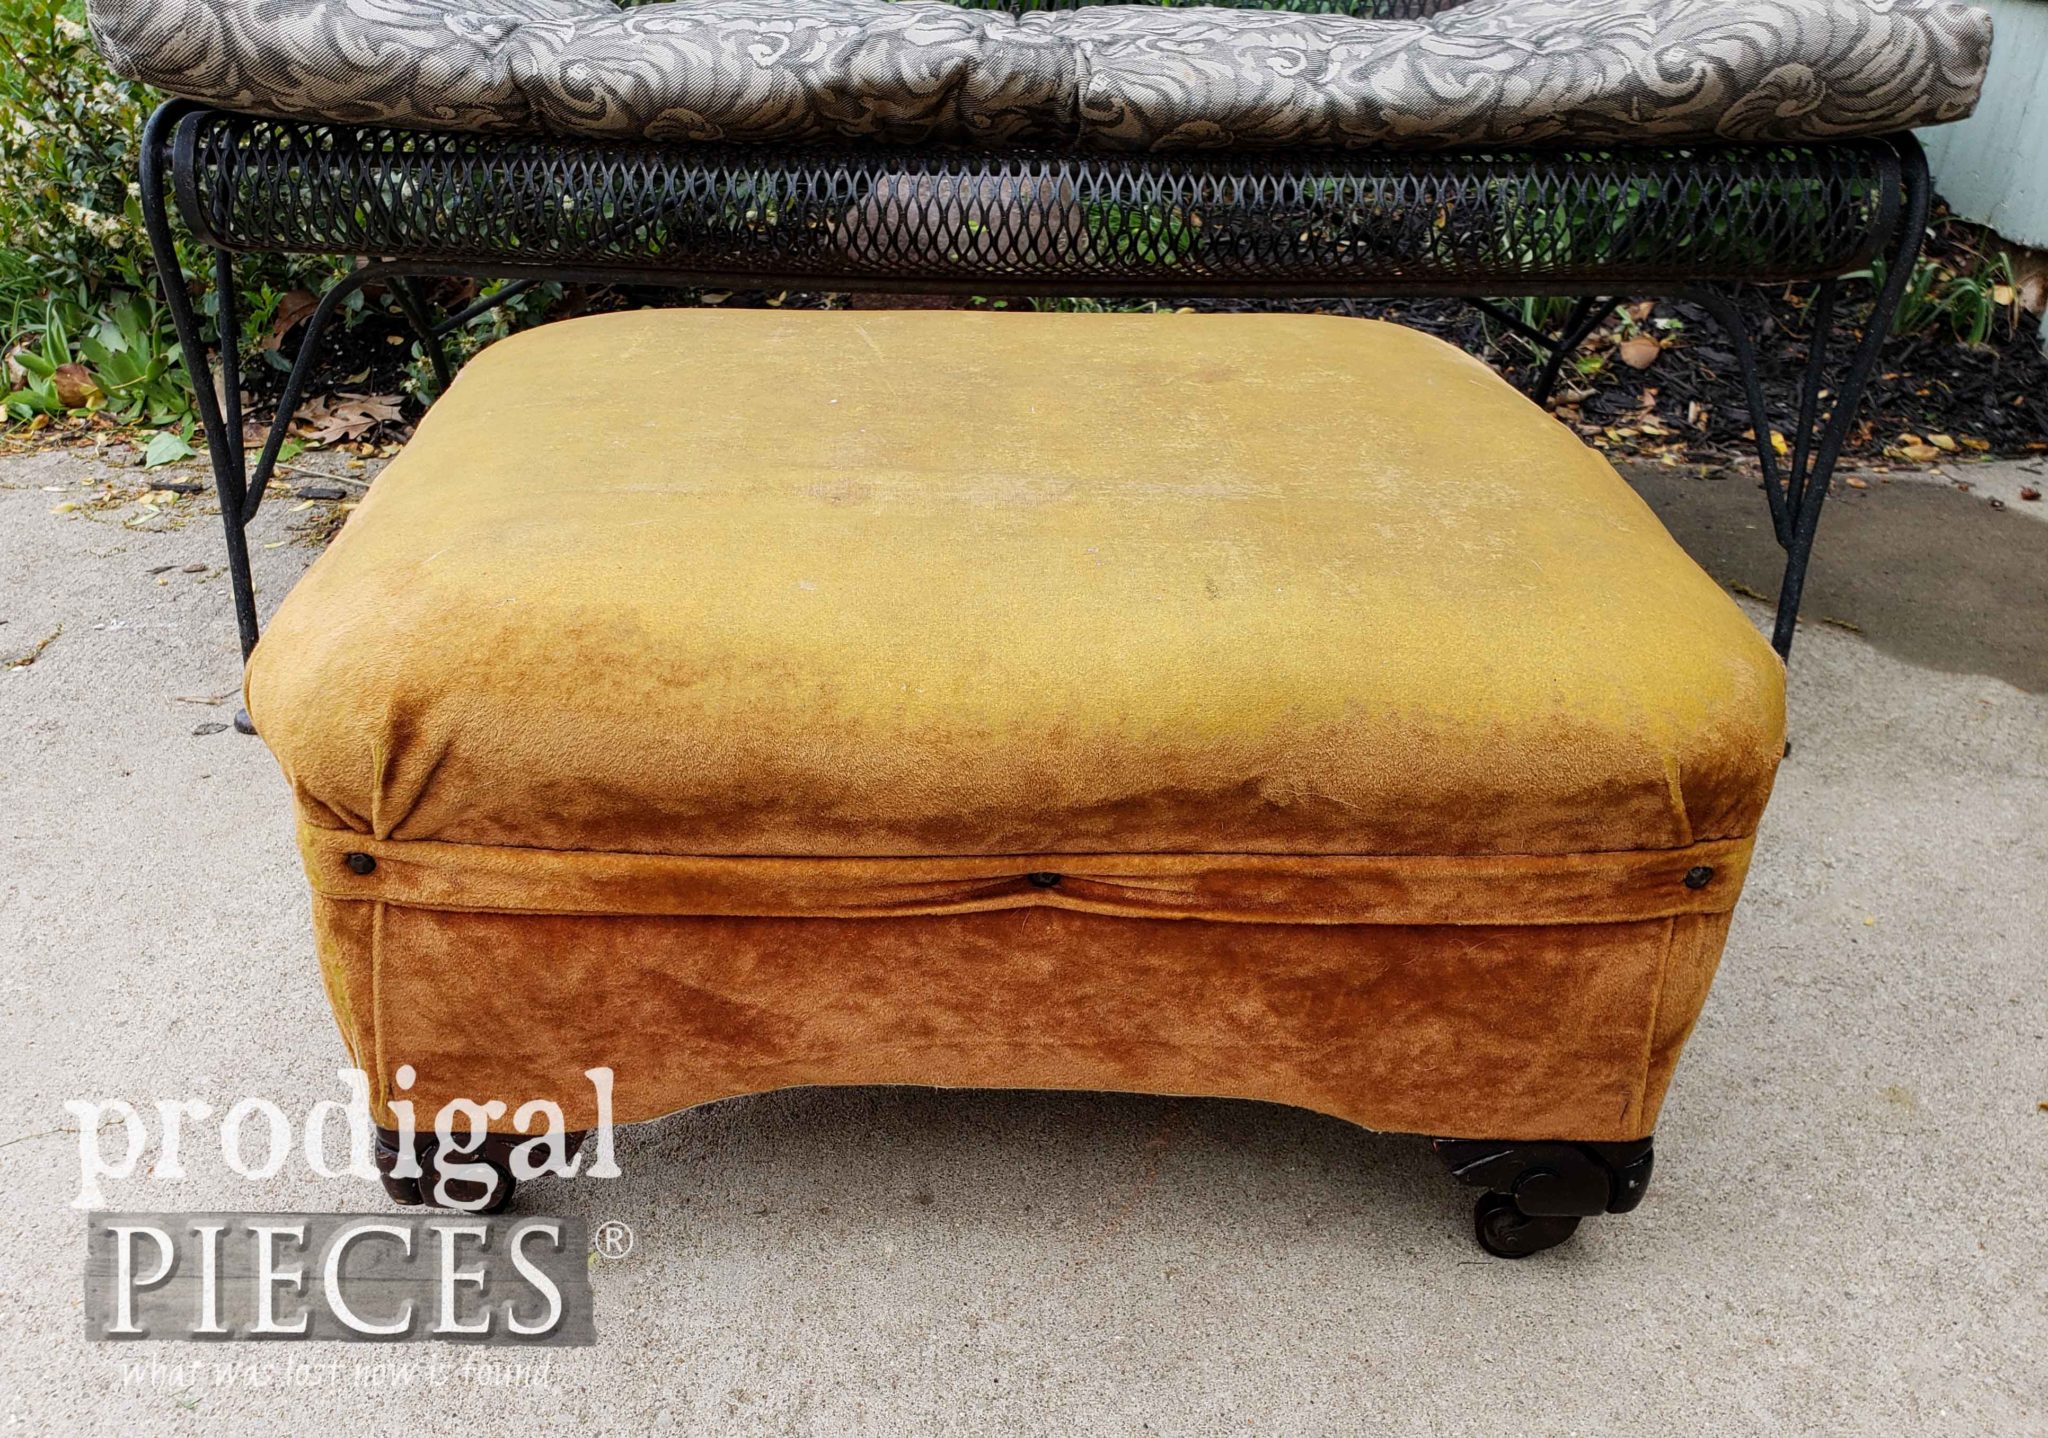
this footstool's makeover time and I'll be sharing what I do with this ol' gal.
See the after HERE.
Before you go, be sure to
sign up for my newsletter. Until next time!

 PINTEREST | EMAIL
More projects like my arched window salvaged decor:
 The story all begins just over five years ago when my oldest son and I took off on our first major city spring cleanup adventure. We had no idea how much awesome goodness we would come home with, but this door set was easily one of my favorites. It wasn't until two years later I was able to work on the first of the three because of our home remodel. The first project was repurposing that broken screen insert. You can see what it became HERE in this post.
The next project didn't come until a year after that when I took the main door frame and gave it new life. It's easily one of my favorite projects for myself and will be showcased better once we get our living room done. In the meantime, it was redone and set in my bedroom HERE.
 I mean, yes, it's a hot mess, but I see potential too. It's been tucked away in that scrap pile for way too long. Now is the time for it to shine. I felt sorry for it, so I pulled it out to assess. Quickly I decided that although I am not ready to put it in its forever spot, I would do it some justice.
First order of business was to reconnect the broken corner. The wood was brittle and had nothing to hold it together on the bottom right corner. Here's a look at it from behind.

 Now for the next part. And arched window with mullions is gorgeous but repairing them ain't so easy. Before beginning this project, I called the local glass place that did my cuts for the door he worked on before and asked a few questions. First, I asked if he would cut me some glass: Yes. Second, I asked if he would repair the mullion: NO. When he responded he acted as if I was crazy for even asking. In my head I was like...but you repair broken windows...okaaaay...??
Of course, I replied, "I'll do it myself. It won't be hard with some trim." Take that window guy. mwahahahaha!!
 So here lies my challenge to recreate a mullion using my scraps and some tools. Remember my motto, toolsoverjewels!
 To remedy that I took a piece of ply and ripped a piece on my table saw.
 Once cut to length and depth, I then had to use my hacksaw again to make some pretty precise cuts on the end to match the profile it needed to fit. I had plenty of practice over the years creating toys and what-nots for my family and home.

 The next step was glass. Instead of going to the glass guy, I went to the local hardware store and requested 3 pieces be made to replace my empty spots and one broken pane. I took the 3 pieces home and found they weren't cut right. Mind you, I asked the guy to cut them slightly smaller because of warping in my frame, but he did his own thing. To remedy the situation, I first tried grinding them down with my Dremel, but it would have taken me forever. Back to the store I head with two of the pieces. sigh...


 Some of my kids wanted to give glazing a try. Absolutely! I want them to learn how to do these things too and they were so eager. And...it's fun!
 However, the next part is not so funny. ahem. I just finished the glazing and noticed a point was loose. I tried to reset it and snap...there went one of the panes I just had cut. Sick to my stomach, I decided to walk away for a bit. I needed to decide whether to leave it or go get another and suck up my pride. Well, it made me even more sick to see the broken pane, so I yanked out the glazing, the points, and the glass, and went back to the store.
You can bet I heard it when they saw me again for the 3rd time in two days. In my head I kept saying..."I wouldn't be here if you had cut them like I asked the first time!" haha. Finally, it went back in just fine.

 The coolest thing is to see the crackle happening as the paint dries. It doesn't take much to make this mama happy! haha!


 I've hung my arched window here for now because it fills the space nicely, adds dimension to this room that needs redone, and is fun to look at too. See the crackle doing it's thing? And, if you look just beyond it, you can see its sister hanging in our dining area as our favorite chalkboard.
 So...I have to ask... can you tell the I repaired the mullion?
 It was a blast giving this old beauty a new lease on life AND see it finally in my home as it should be.
 I love creating my own home story with things that make me happy.
 Do pin and share this arched window salvage project to save it for later and to inspire others too.
 Up next, it's this footstool's makeover time and I'll be sharing what I do with this ol' gal. See the after HERE.
 Before you go, be sure to sign up for my newsletter. Until next time!


