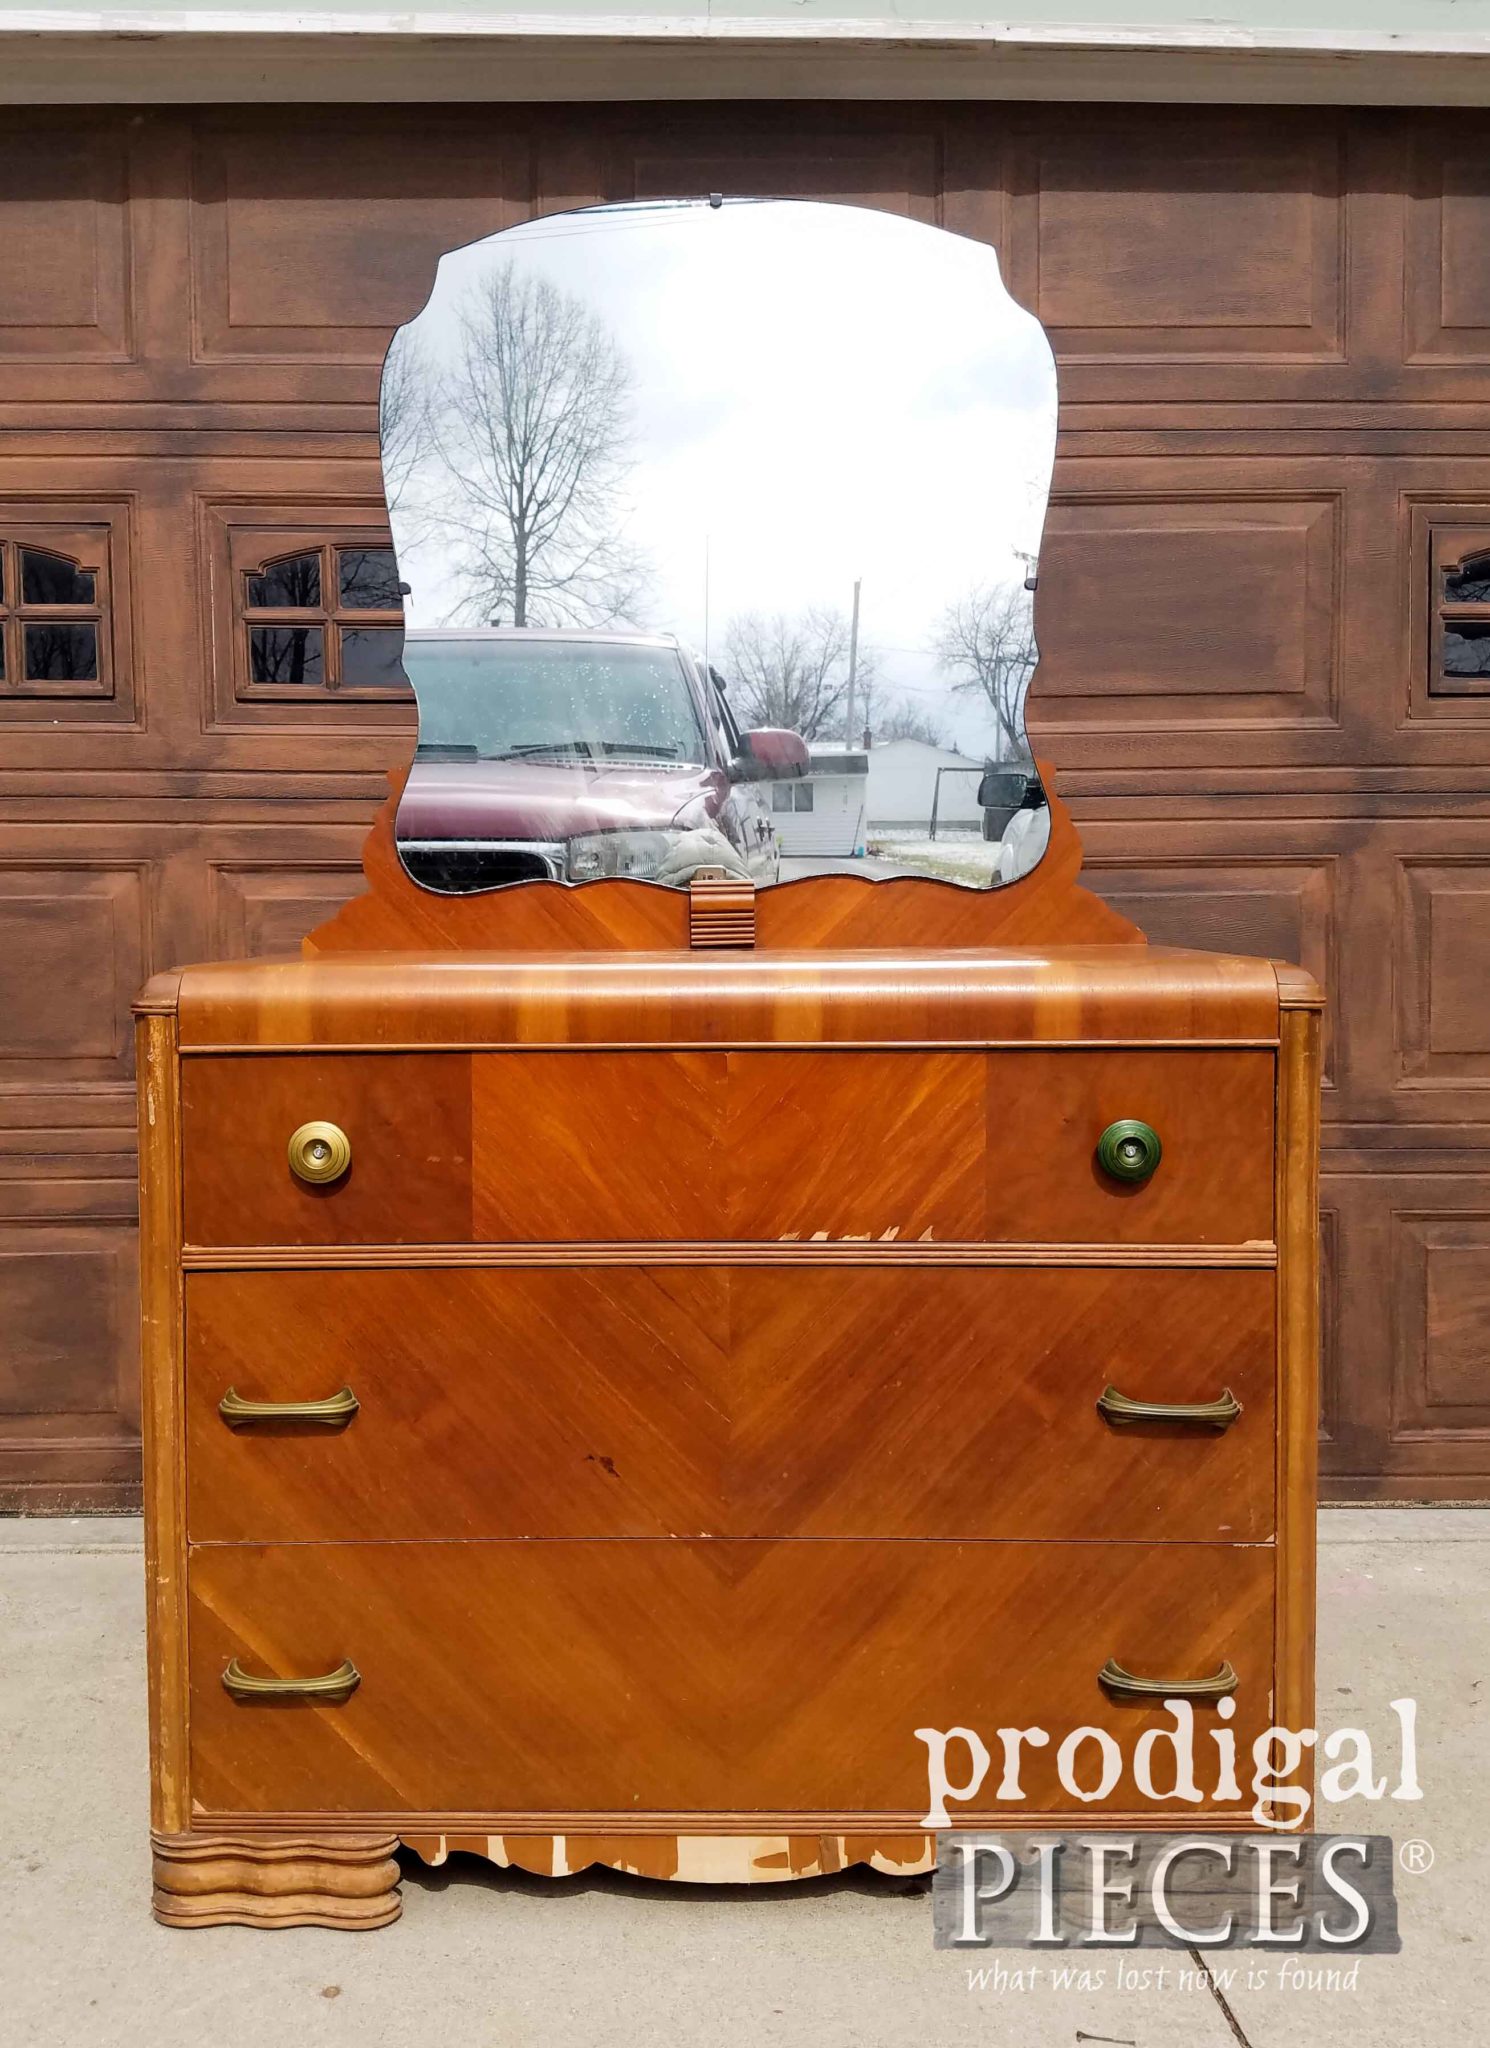
 As you can see, there is much that needs done with this piece, but nothing I knew she could't handle. Miss S. has seen me work, helped me finish projects, and has done her own projects as seen in these posts. However, it's just been awhile since she's done something of this size, so I couldn't wait to see what she would do with it.
The dresser has some missing veneer with bubbling on top, the wood is very parched, and really ready for a fresh new look.
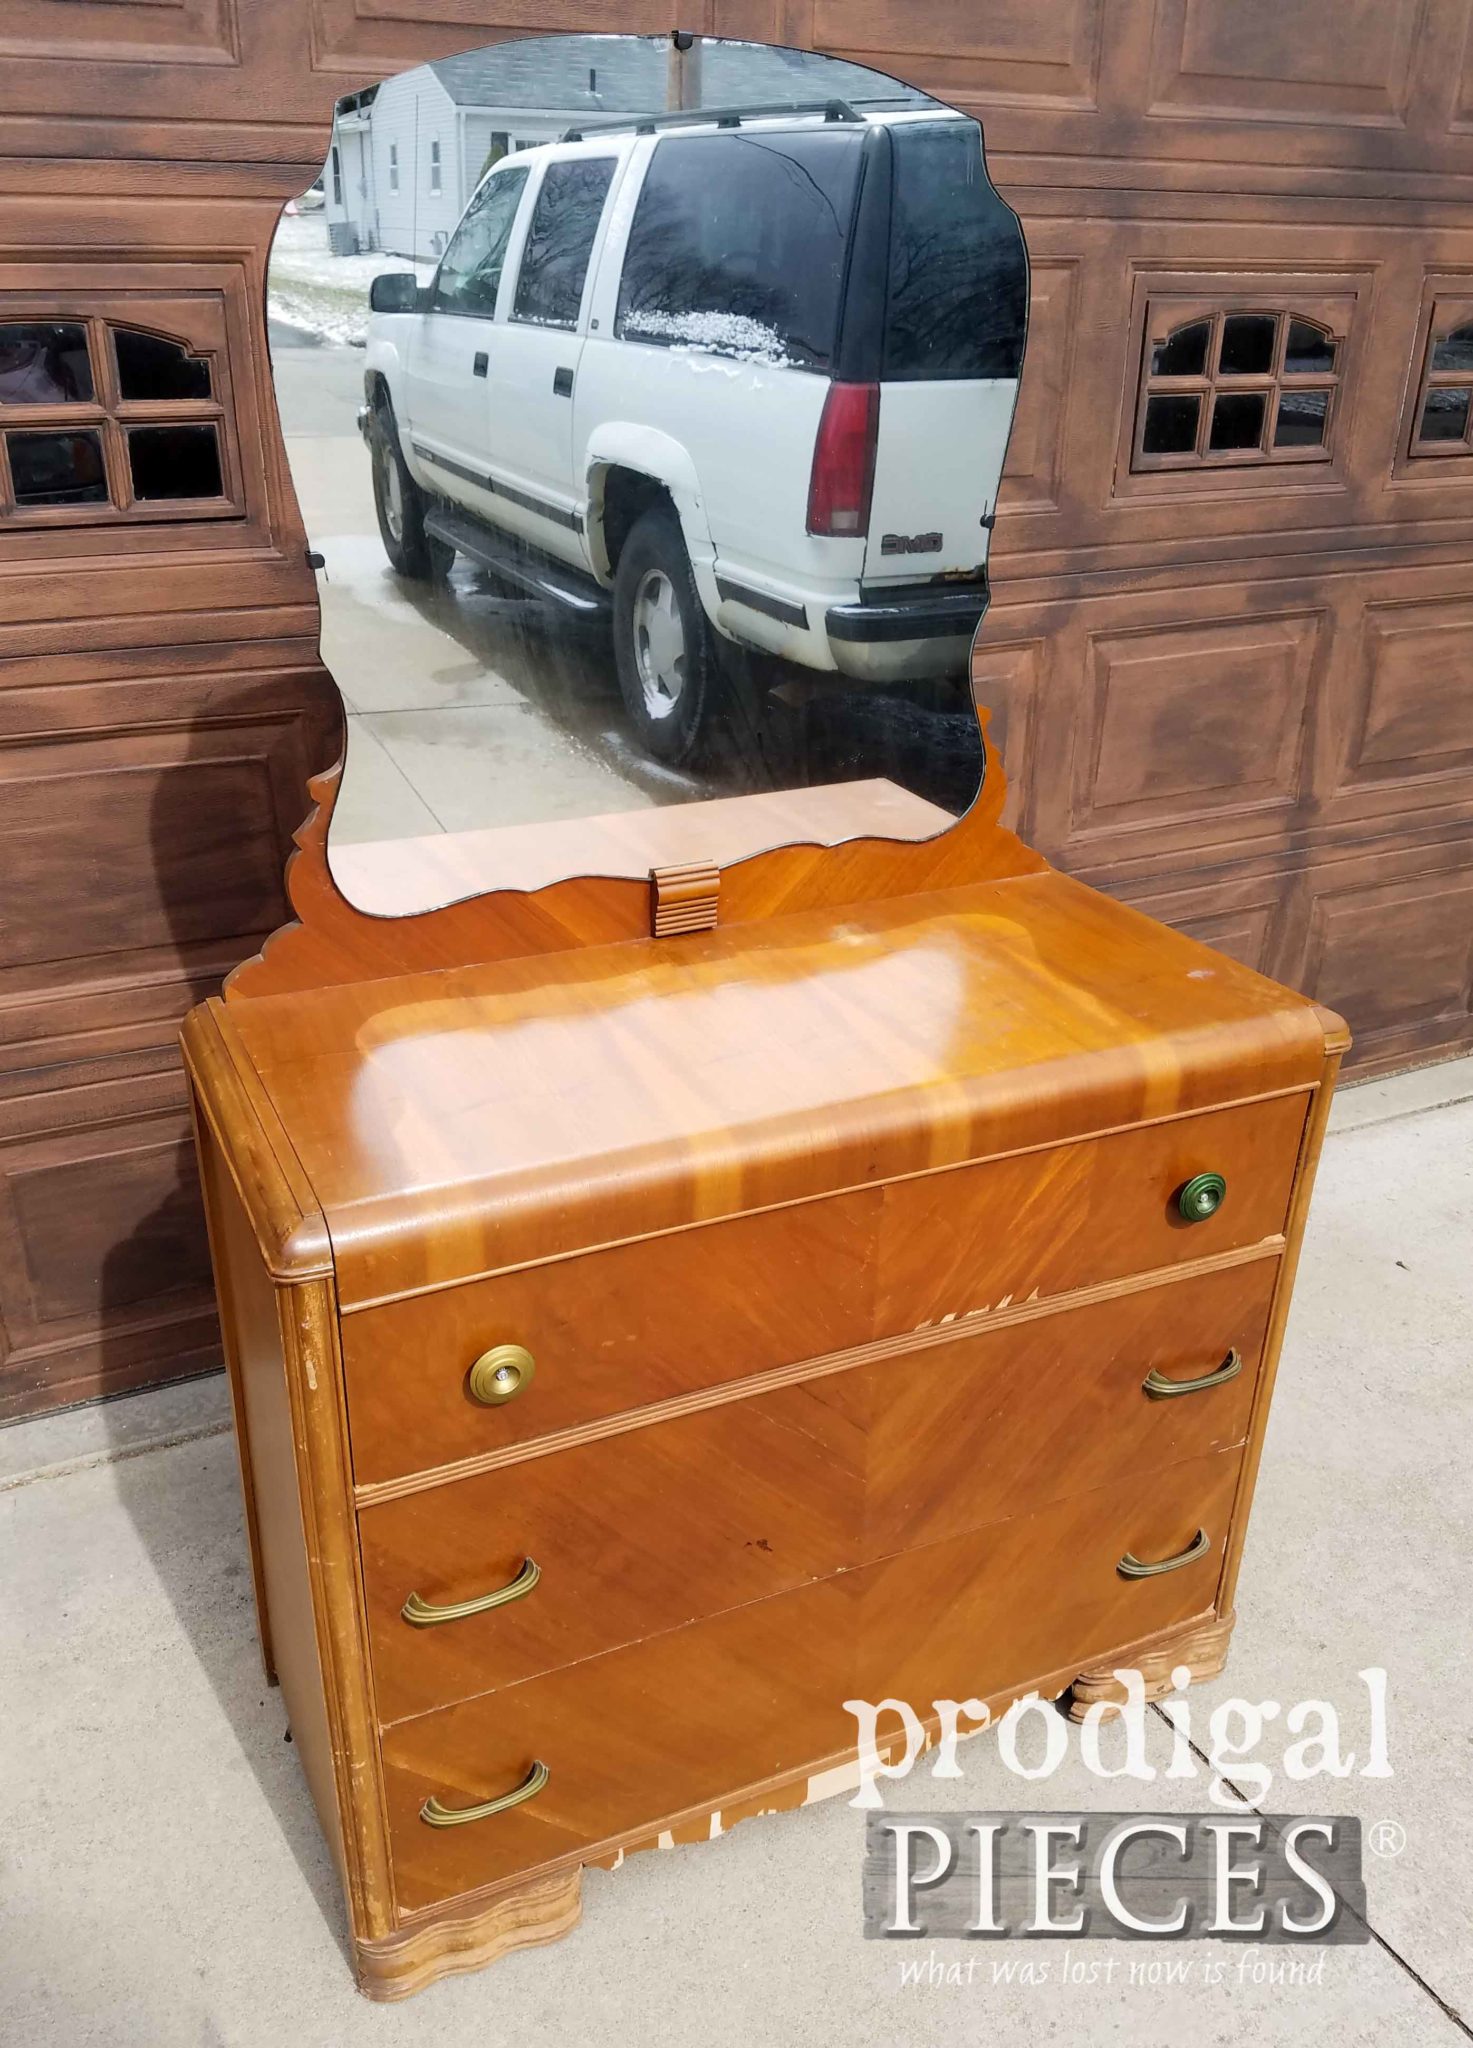
TIME TO START
She couldn't wait to get started, so I gave her some tips and let her have at it. Miss S. started by removing the flaking veneer off the bottom scalloped piece. It all literally fell off except one piece that had apparently been glued back on...sideways. haha.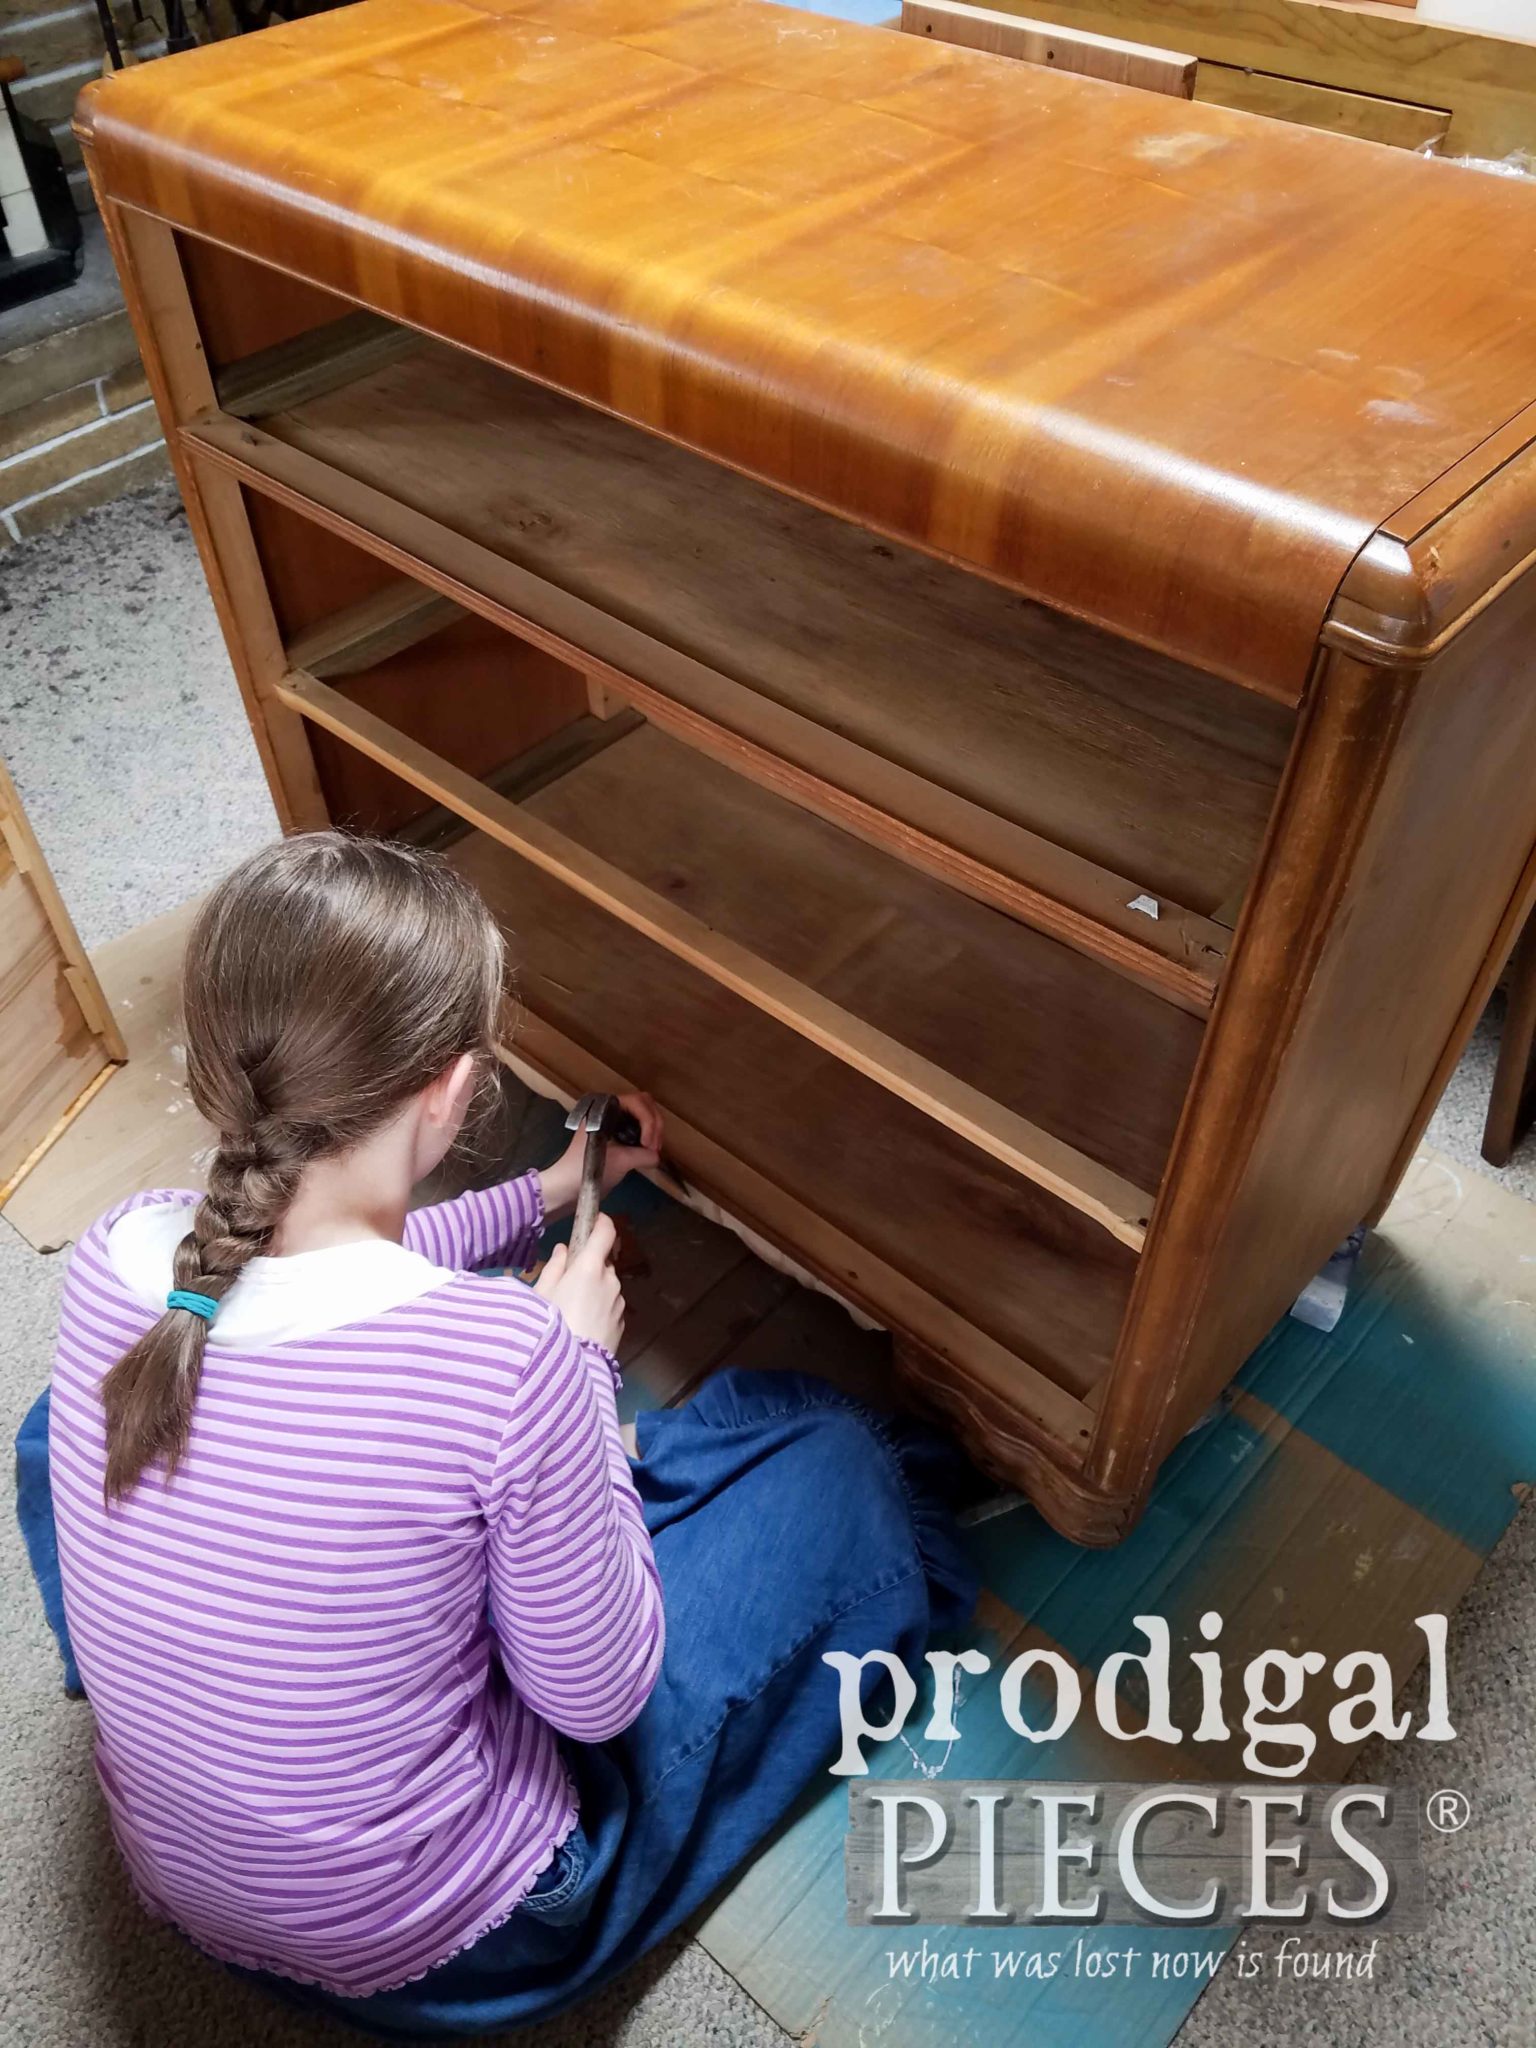 I helped her glue down the bubbled/split parts on the top, the lifting veneer on the sides, and patch the missing veneer on the drawers with wood filler and wood glue. Basically we were doing all the prep work so she can be ready to start. You know this is the longest part of any makeover, but soooo worth the effort to do it right.
If you look at dresser, you would assume that those pulls and knobs were metal. BUT...they were plastic. Yes, plastic!! I was surprised as this was only the second time I had ever encountered plastic pulls on a nice piece like this. Crazy, I tell ya. Obviously, Miss S. was going to swap them out for new. In order to do so, she needed to use my Kreg Hardware Jig to makes new holes on the top drawer. This tools made it so easy for me to show her how to set it up and have at it with my drill.

NEXT STEPS
Once all the prep work was done, we took this Art Deco waterfall dresser back outside so Miss S. could give it some love using my sander. She's not new to this tool and knew exactly what to do.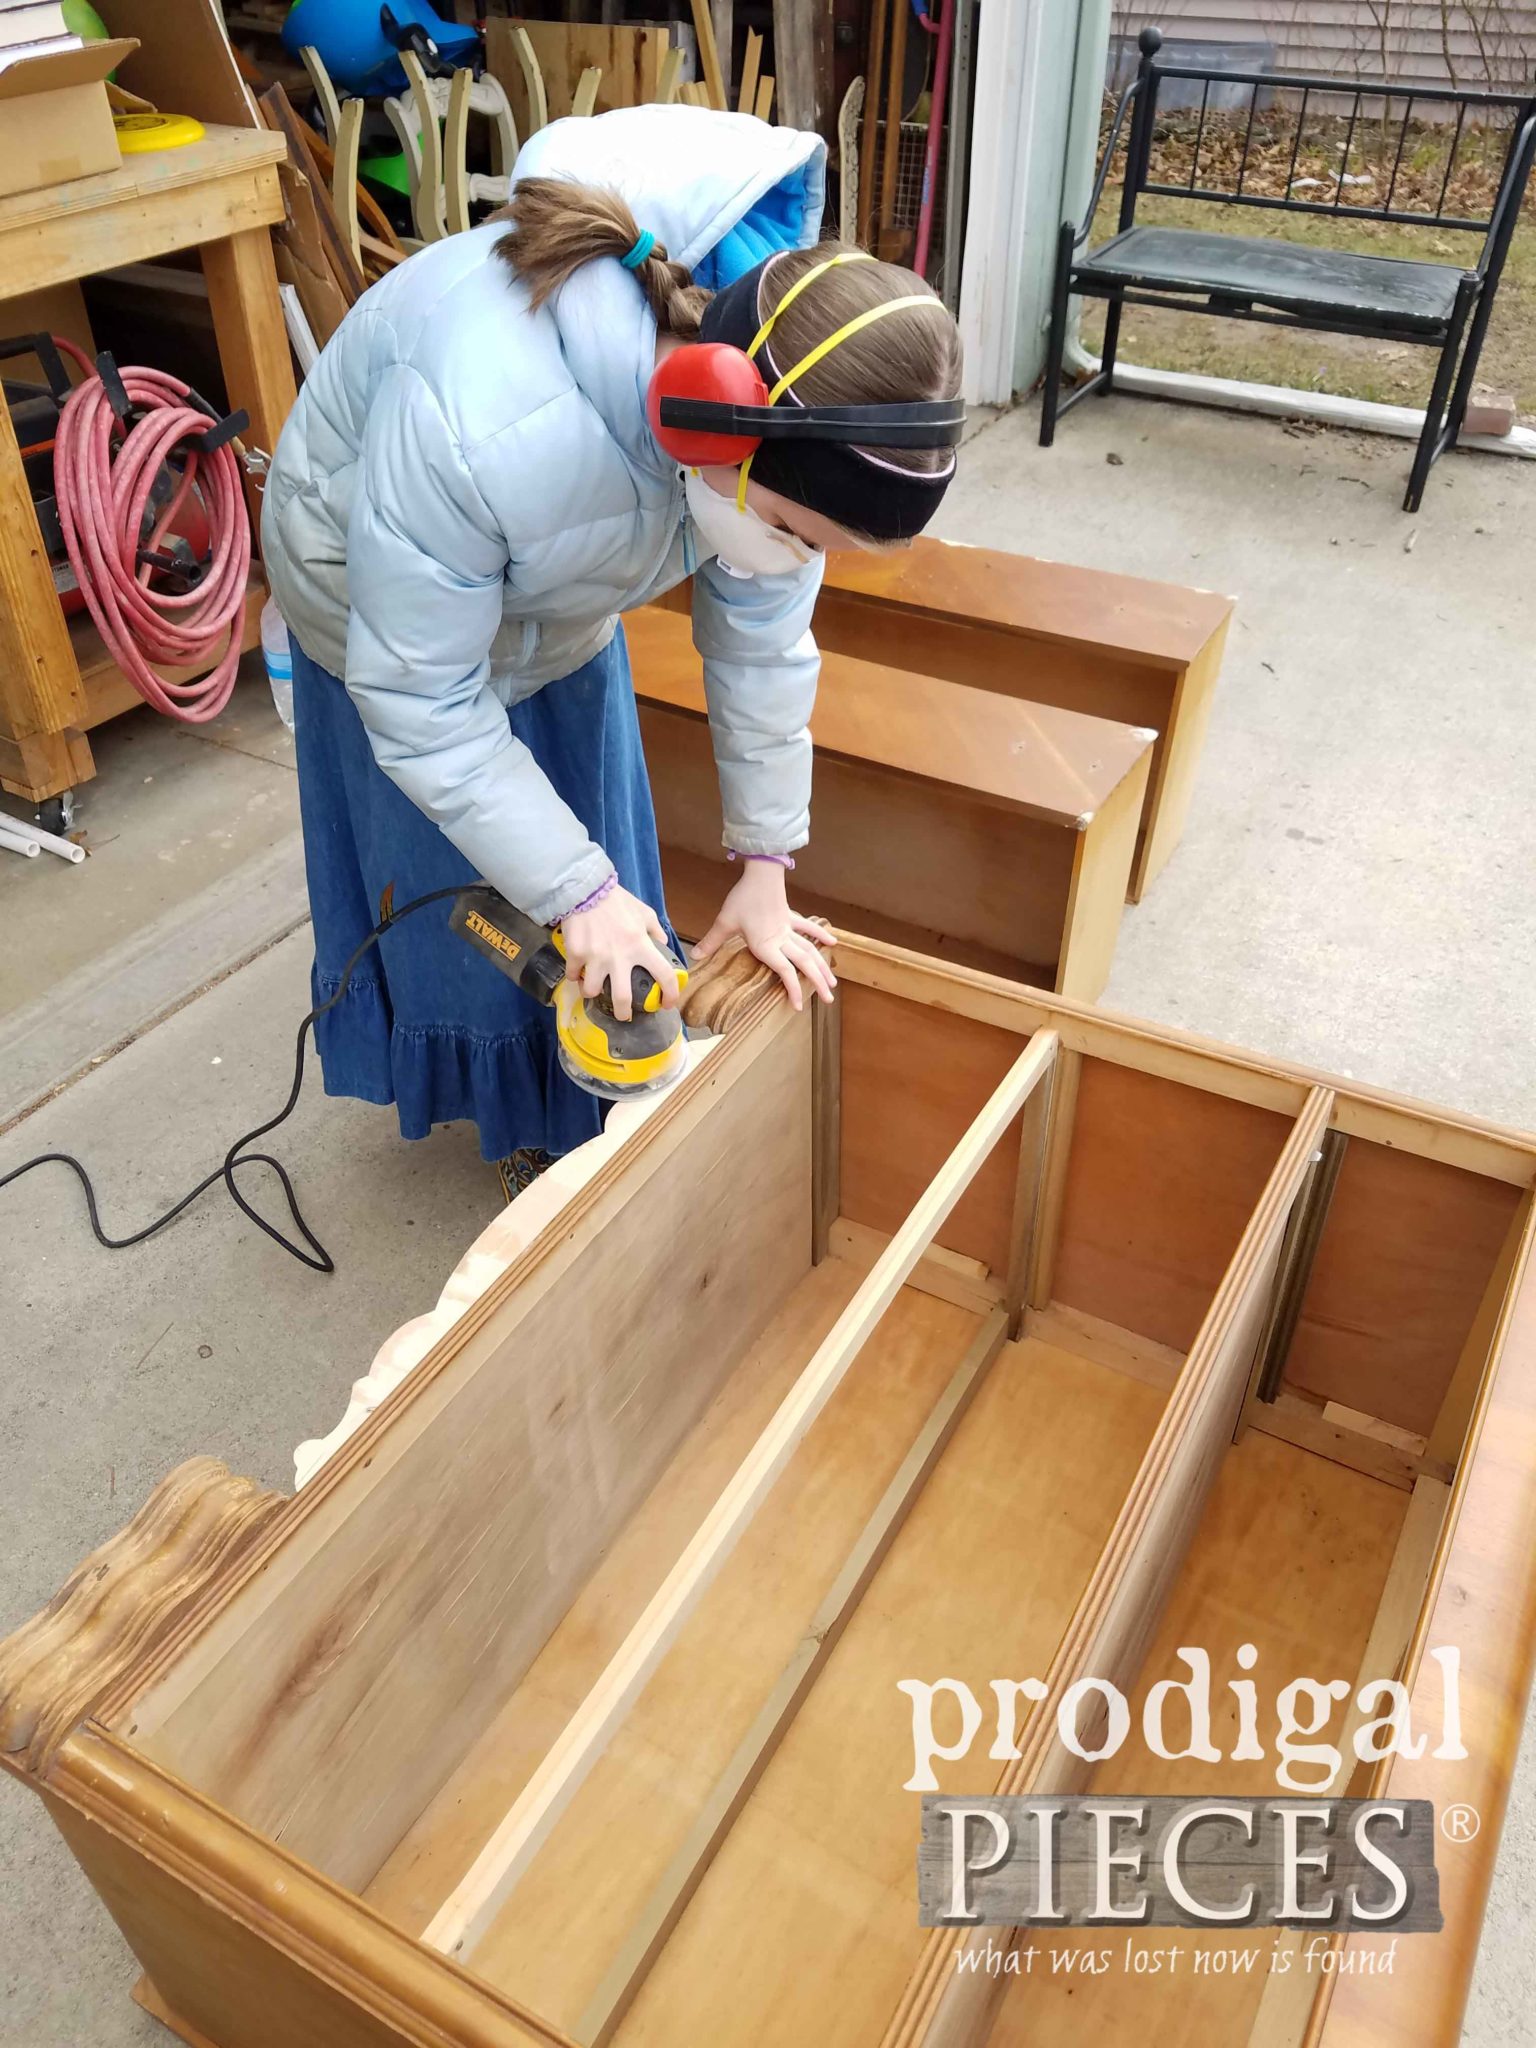 After the sanding, she blew it off with our compressor, and then wiped it down with a lightly dampened cloth. Time for the fun part!!
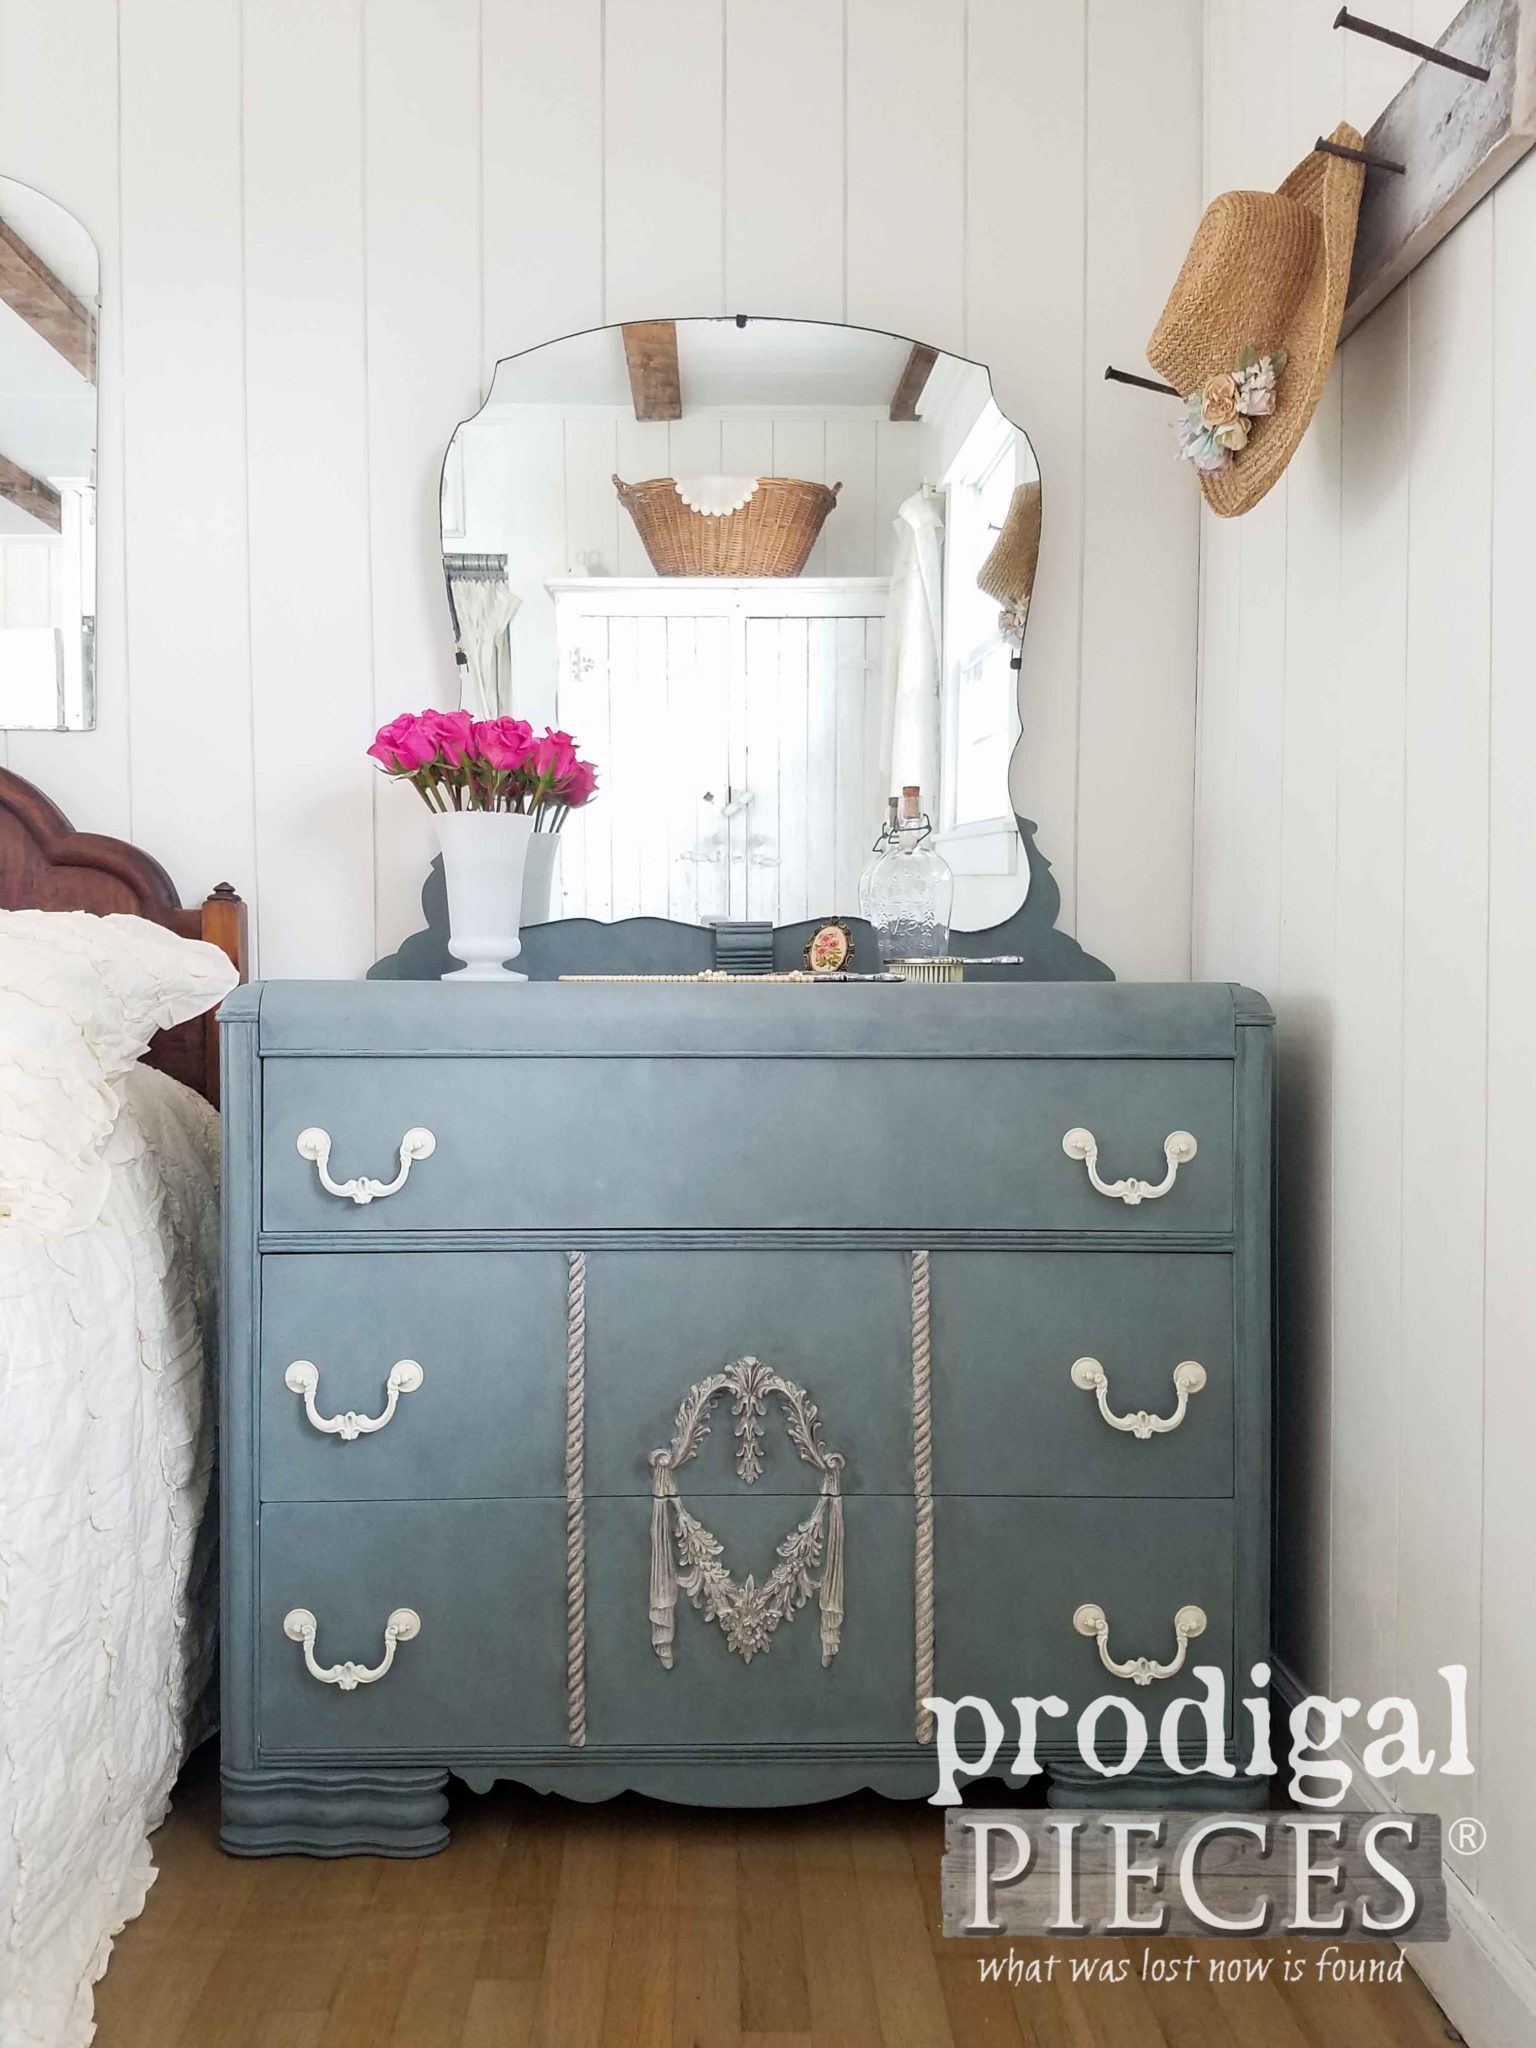
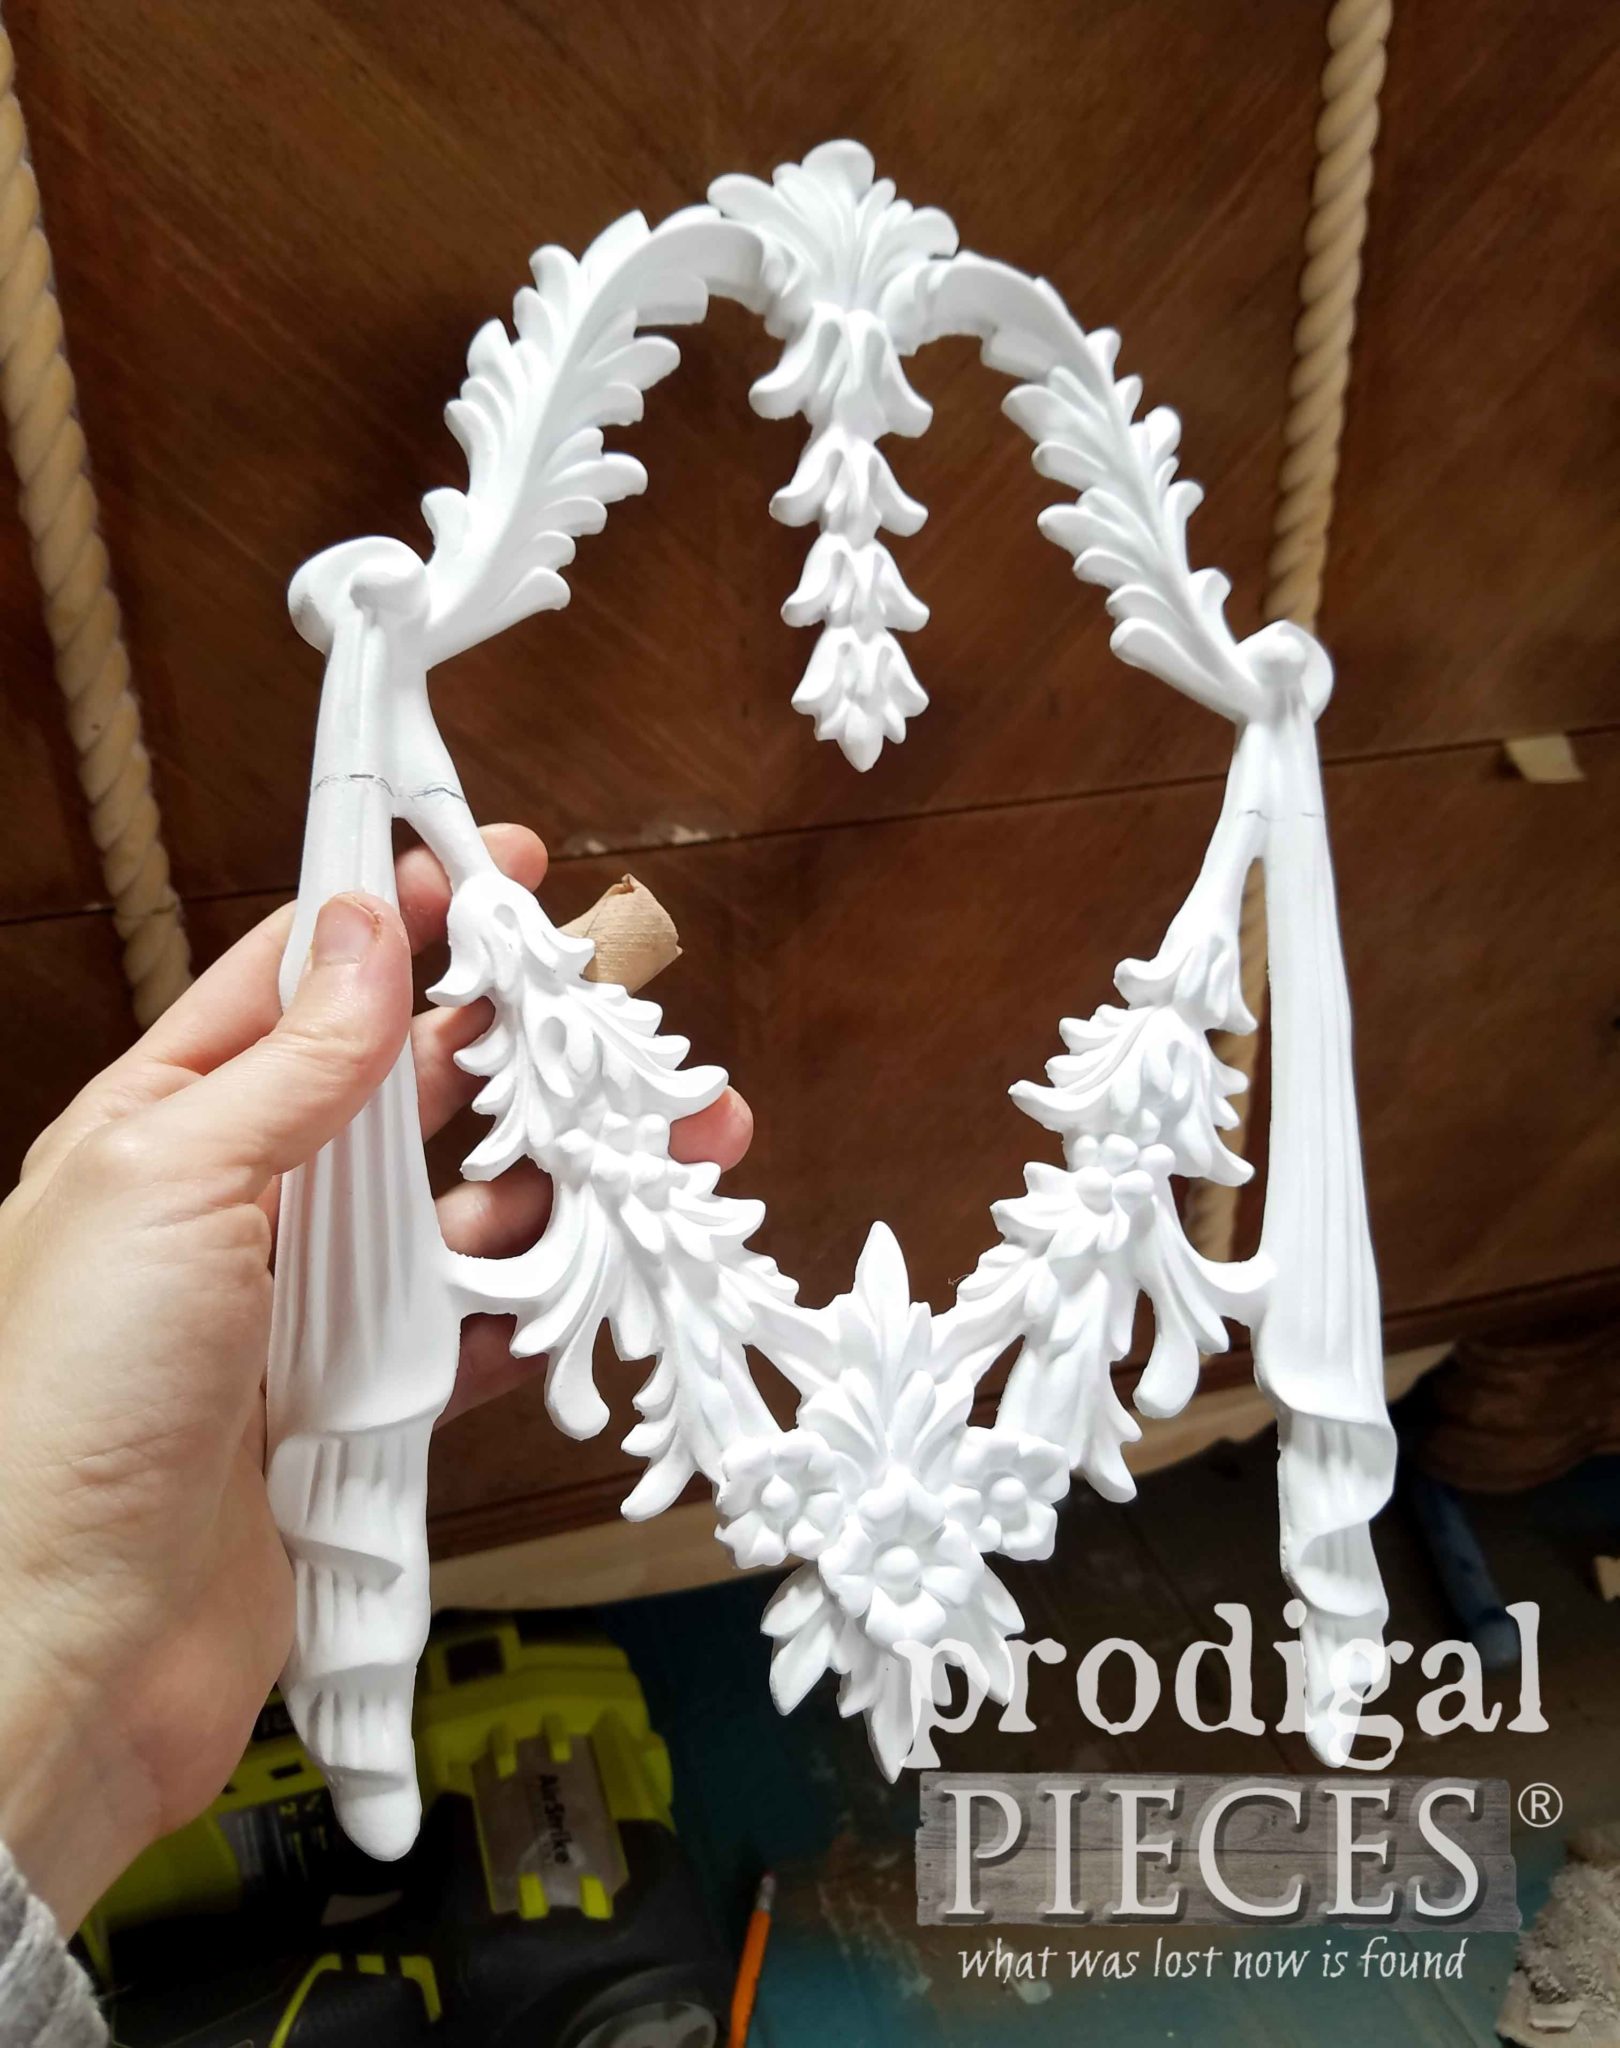
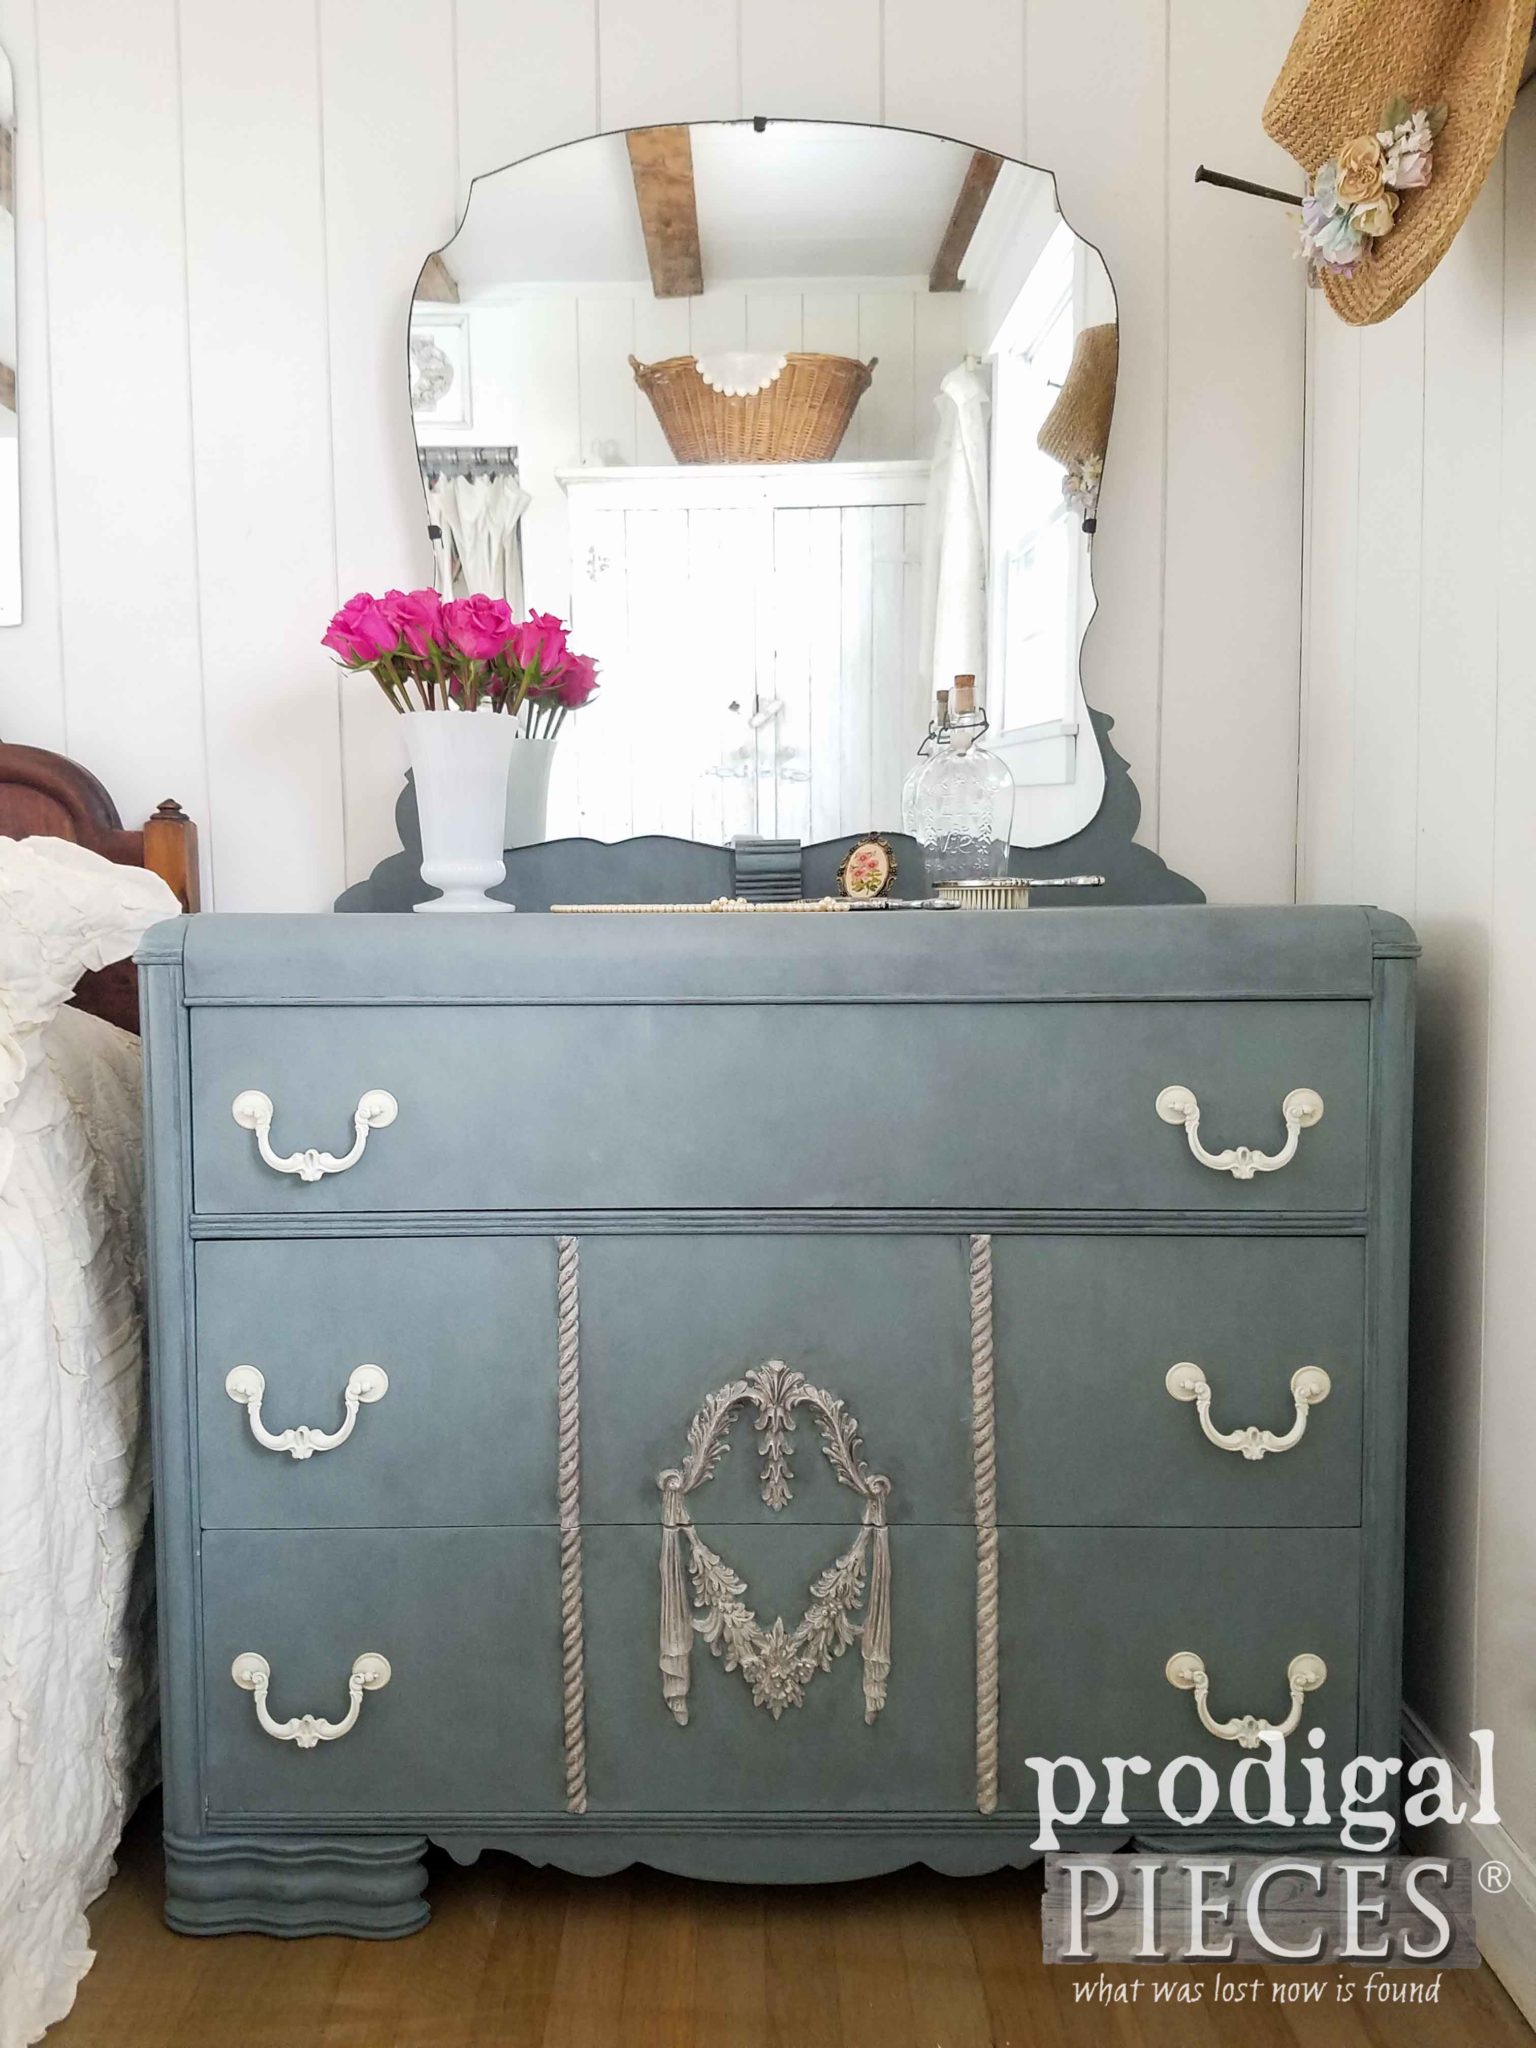
Since the dresser already had wear, Miss S. and I agreed it would be fun to dress it up a bit with some details. First, we use my nailer to attach the braided upright wood trim. Next, we added this beautiful millwork applique in the center, but cut it in half first so the drawers could open.
TIME TO PAINT
Then the even more fun part...paint! haha. When choosing what color of paint to use, my guys always ask me, "What will make it sell?". I guide them a bit, but truly leave it up to them. In this instance, Miss S. chose to go with one of my favorite colors.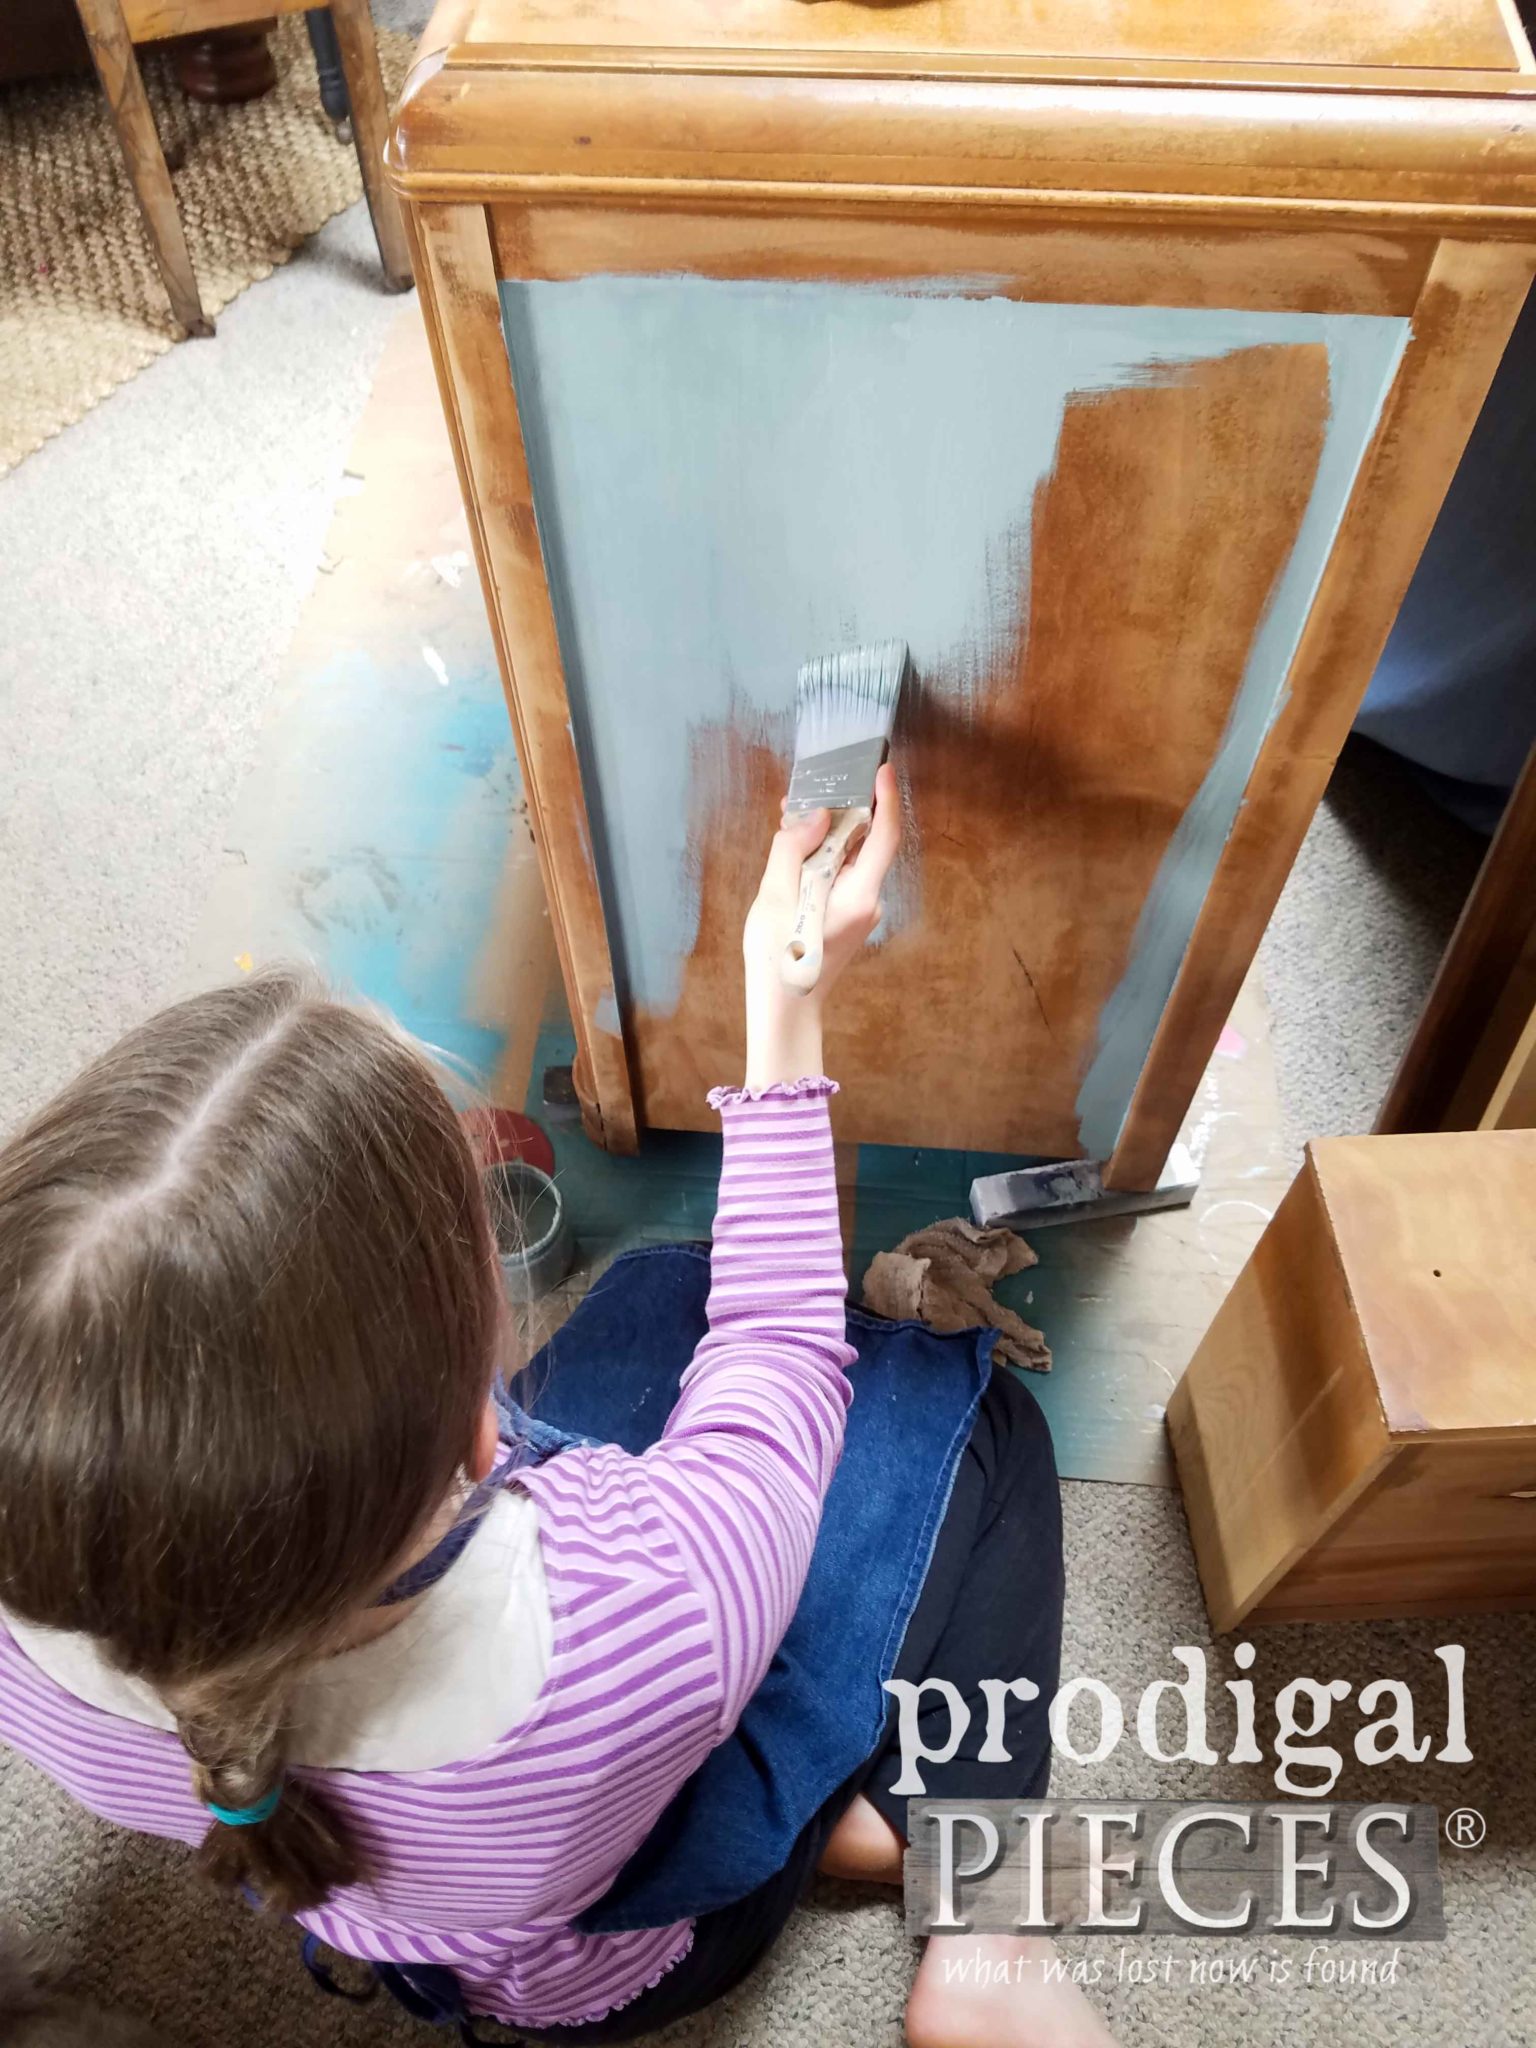 Miss S. gave it two coats of paint allowing cure time of approximately 2 hours in between. She also used a antique white color to paint the added trim and applique for a soft contrast.
When all was painted and ready, she lightly distressed and then gave everything a light coating of gray wax.

THE BIG REVEAL
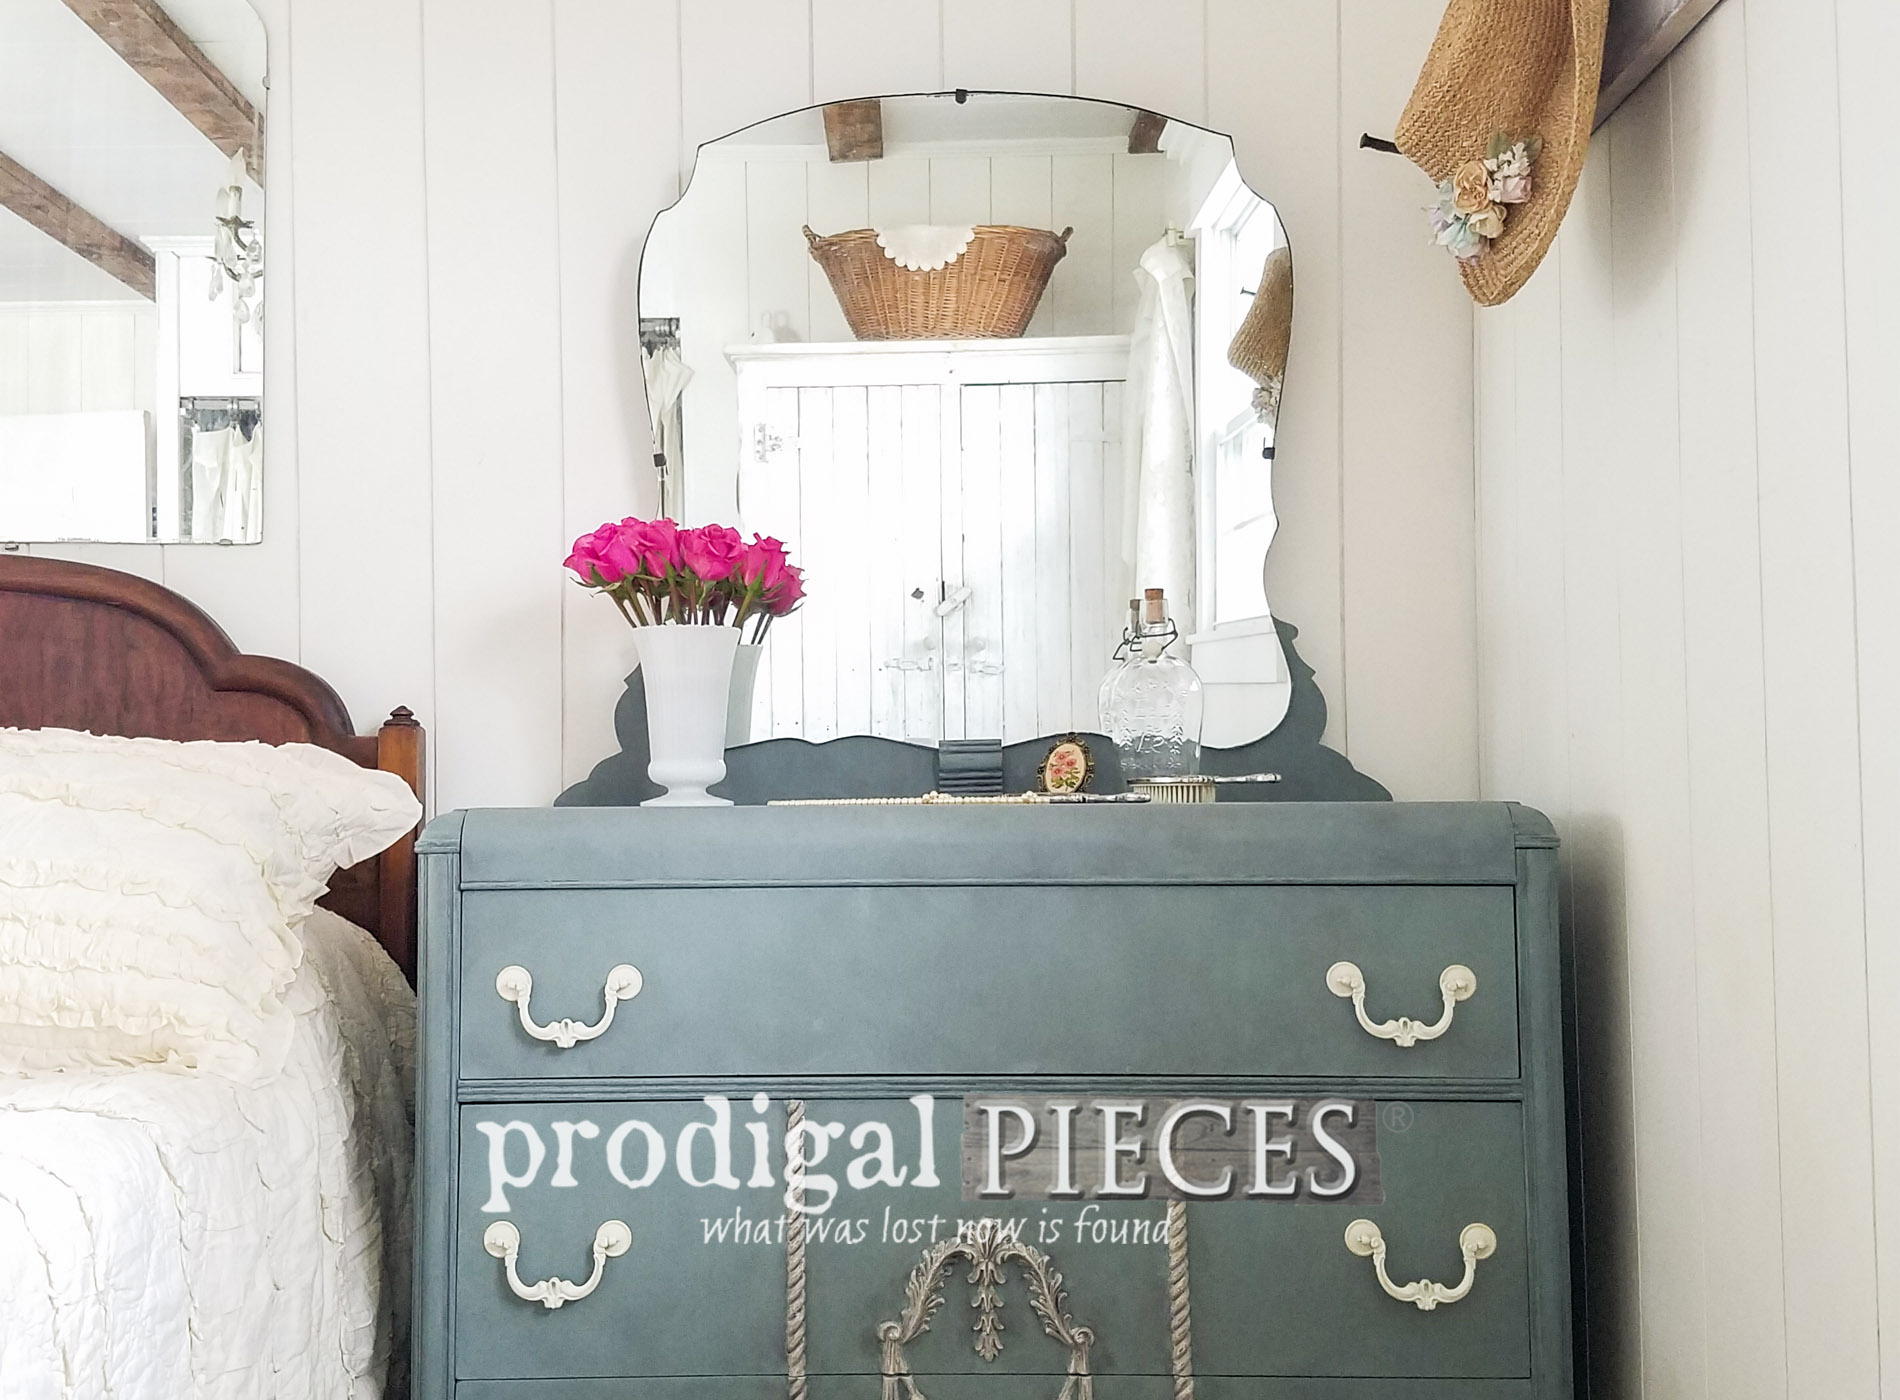
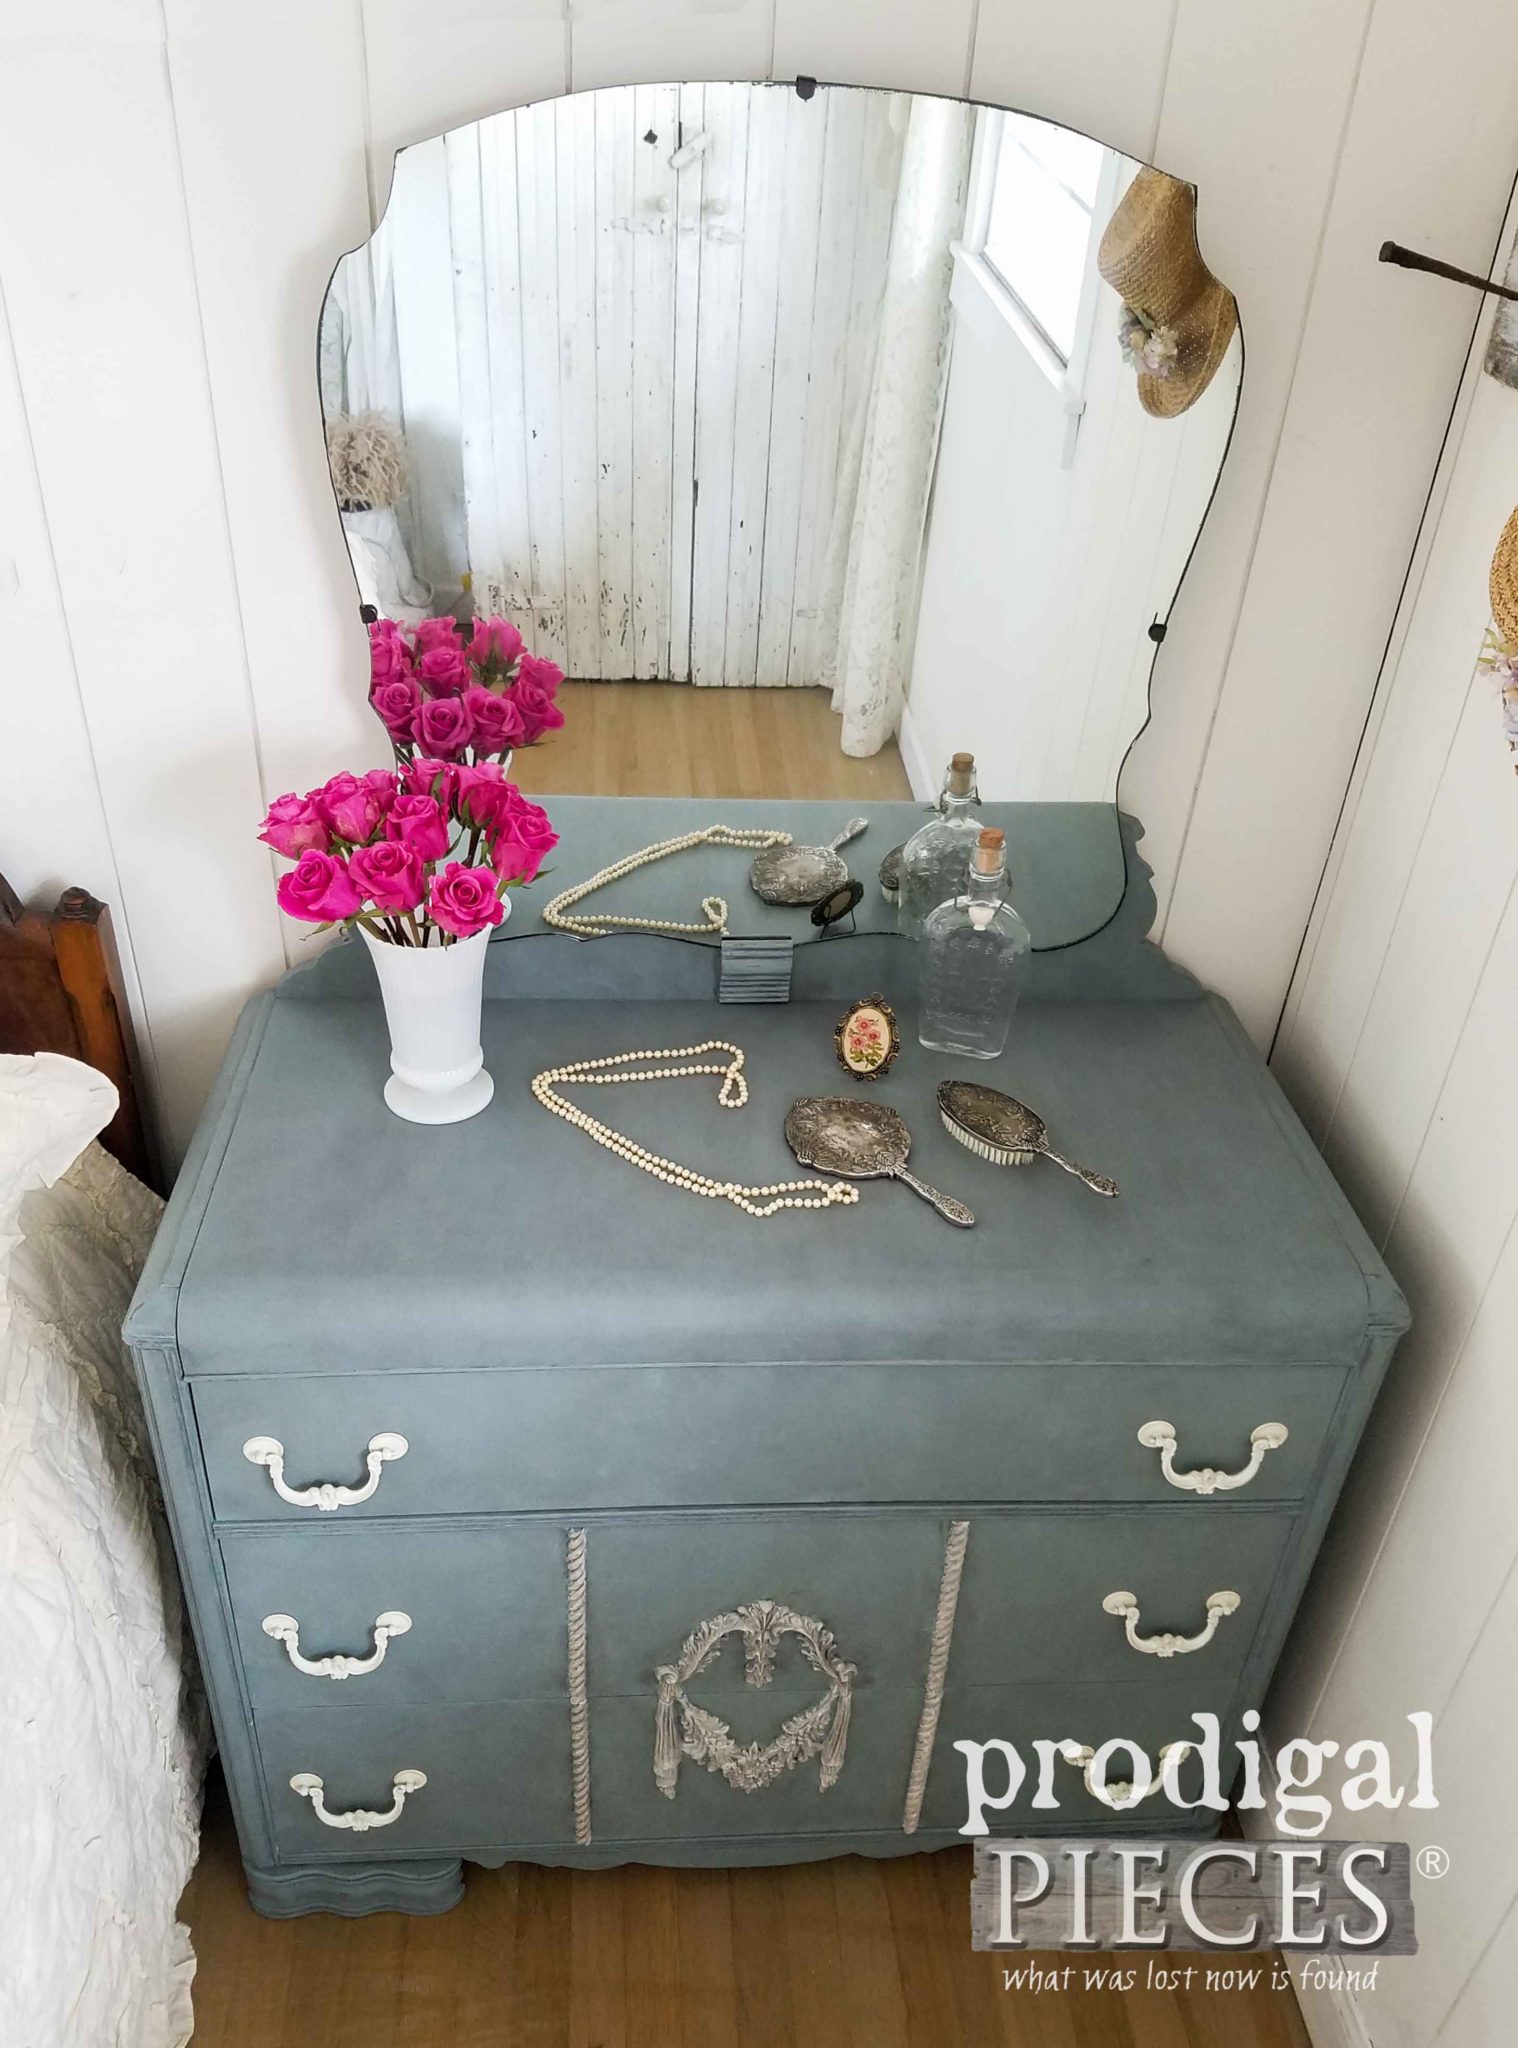
Are you ready for the big reveal of this Art Deco waterfall dresser? We are!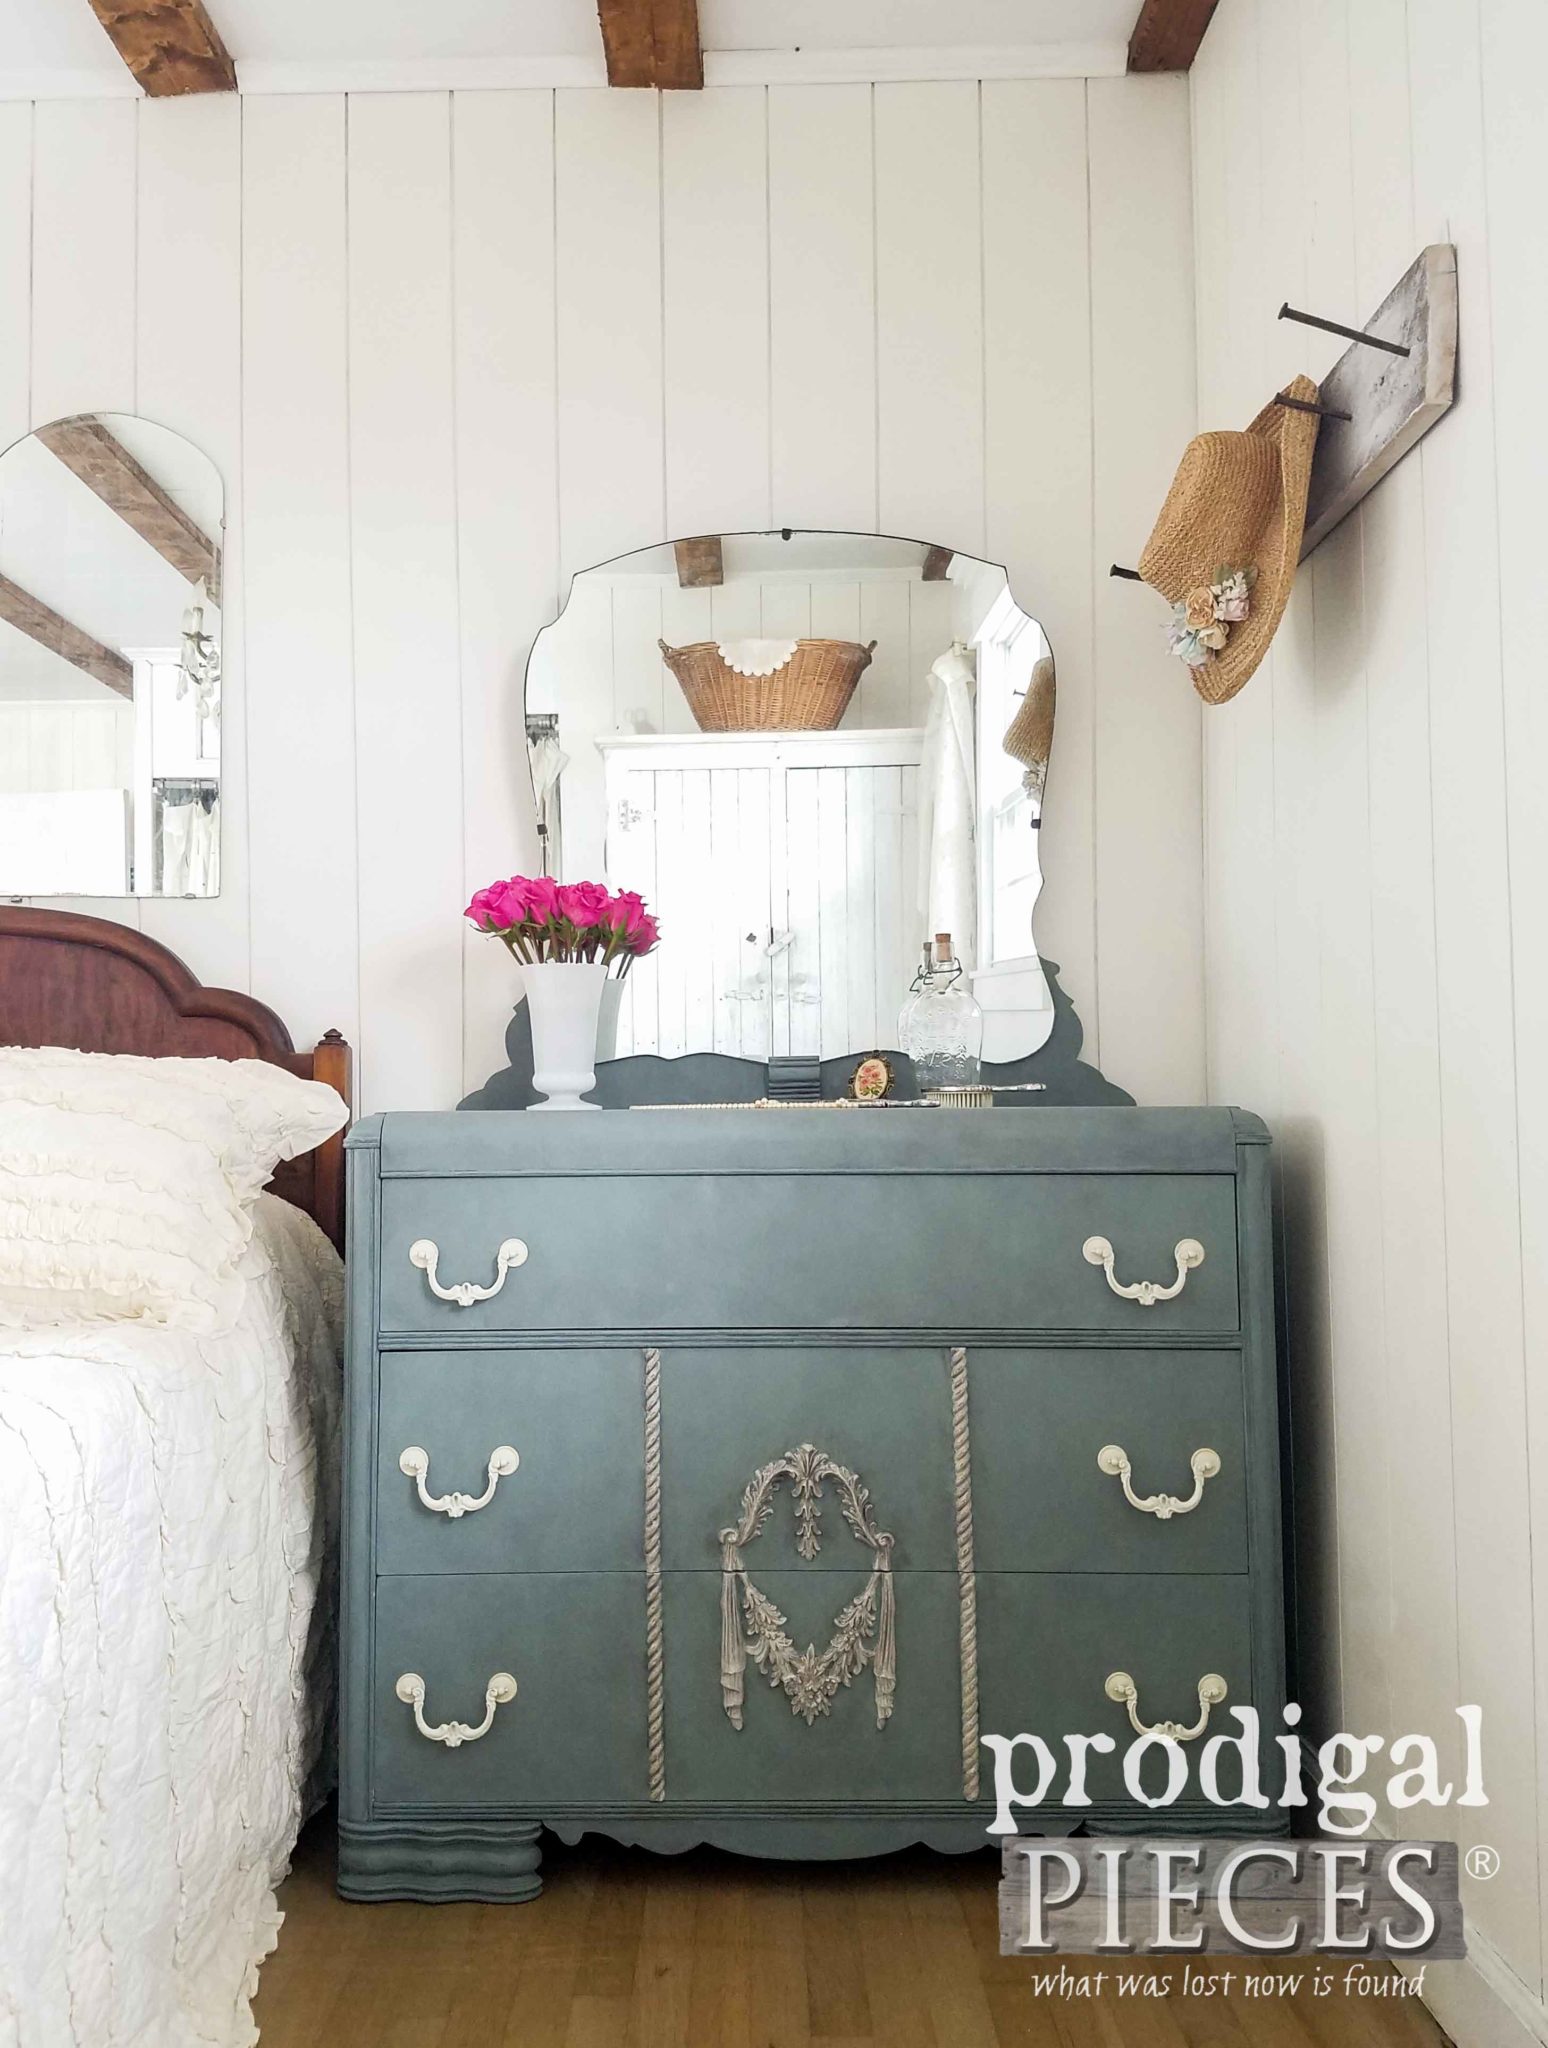
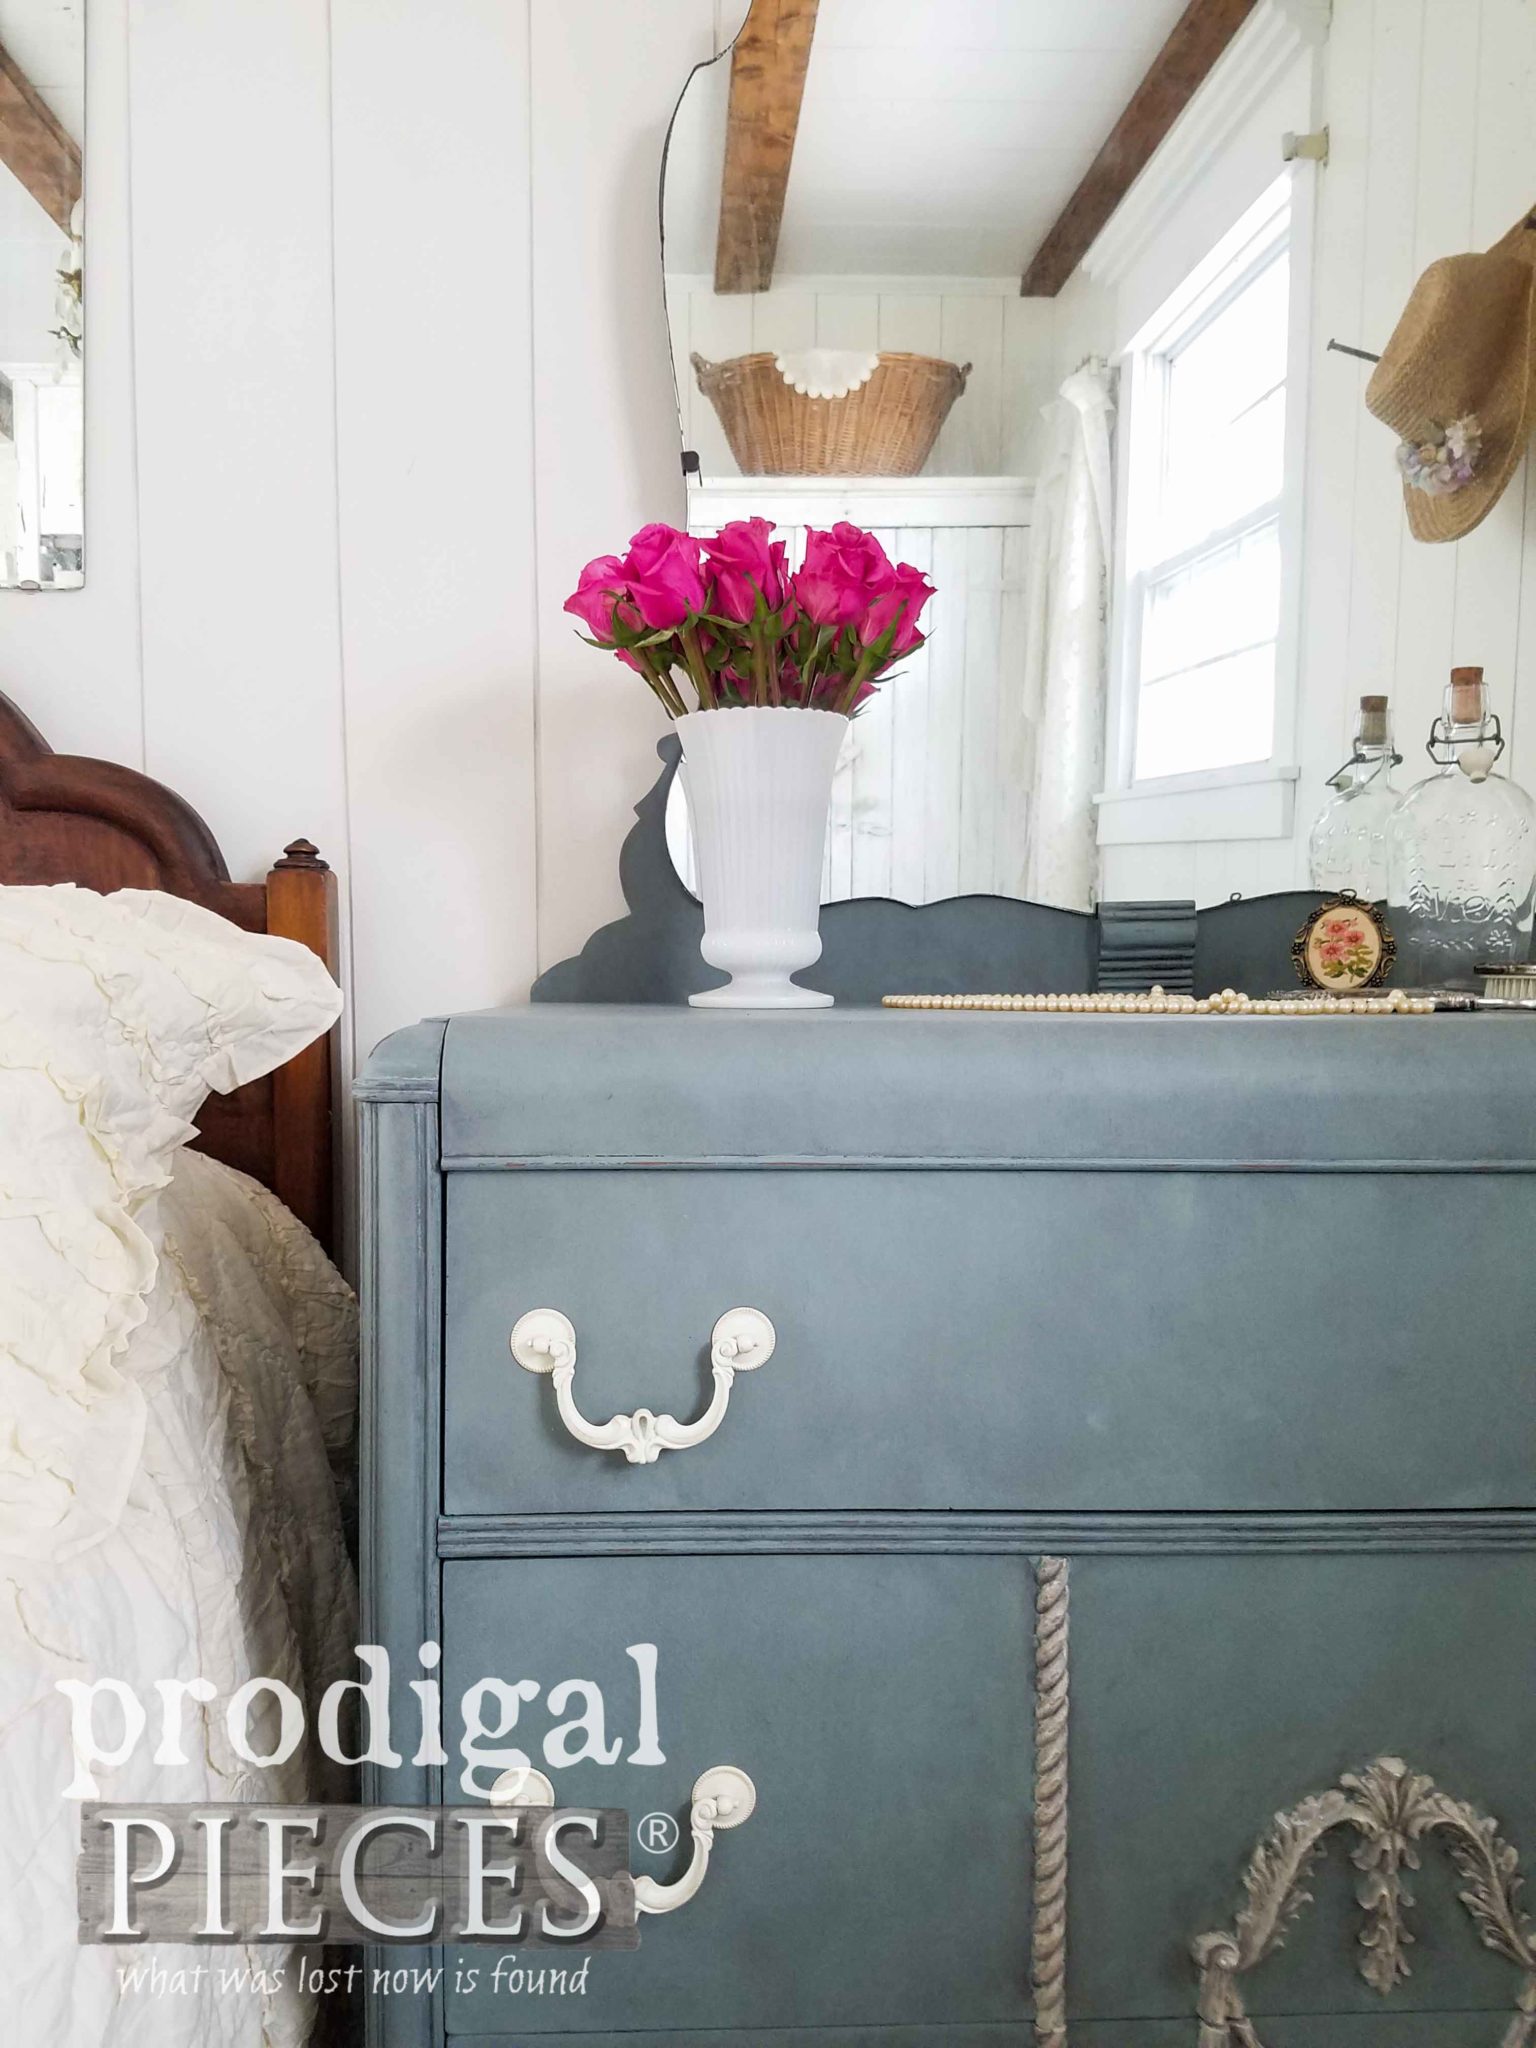 The dresser looks so good with that gray wax to give it the aged appeal Miss S. was hoping for.
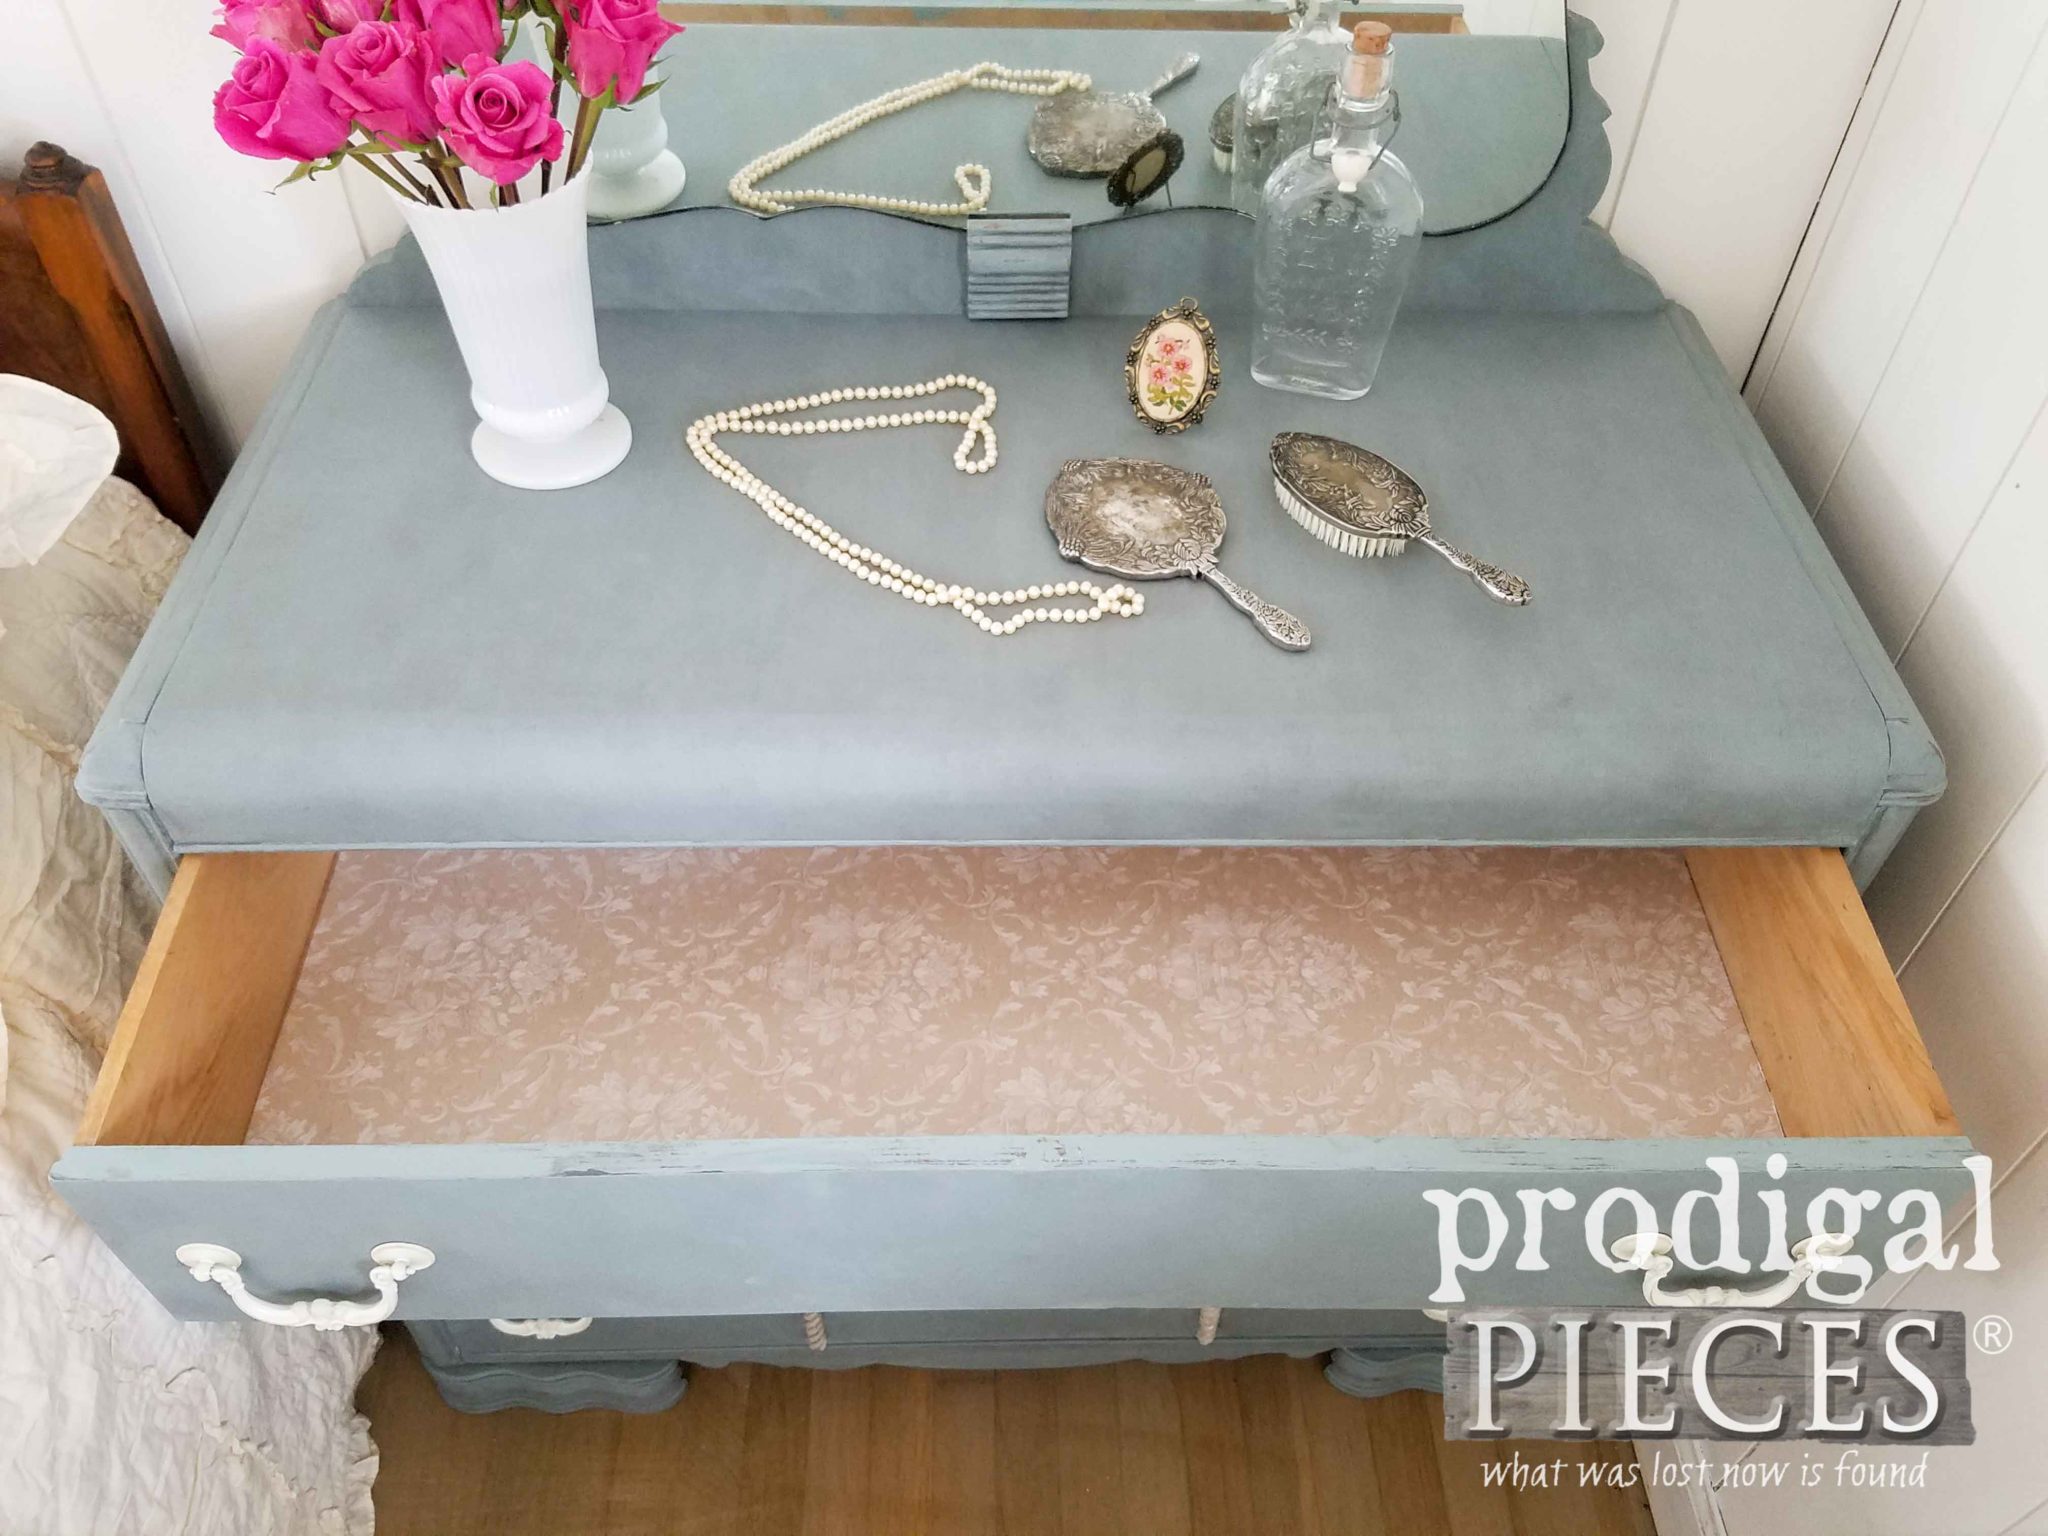
 To add even more fun, we added a pretty embossed wallpaper lining to coordinate with the details we added to the front. It's those kind of peeks inside that make it fun to put your things inside.
 Swapping out the ugly plastic pulls for those beautiful bail pulls was smart move. They really dress up this classic piece. We both agree the mirror is our favorite part. Neither one of us has seen one like it. Have you?
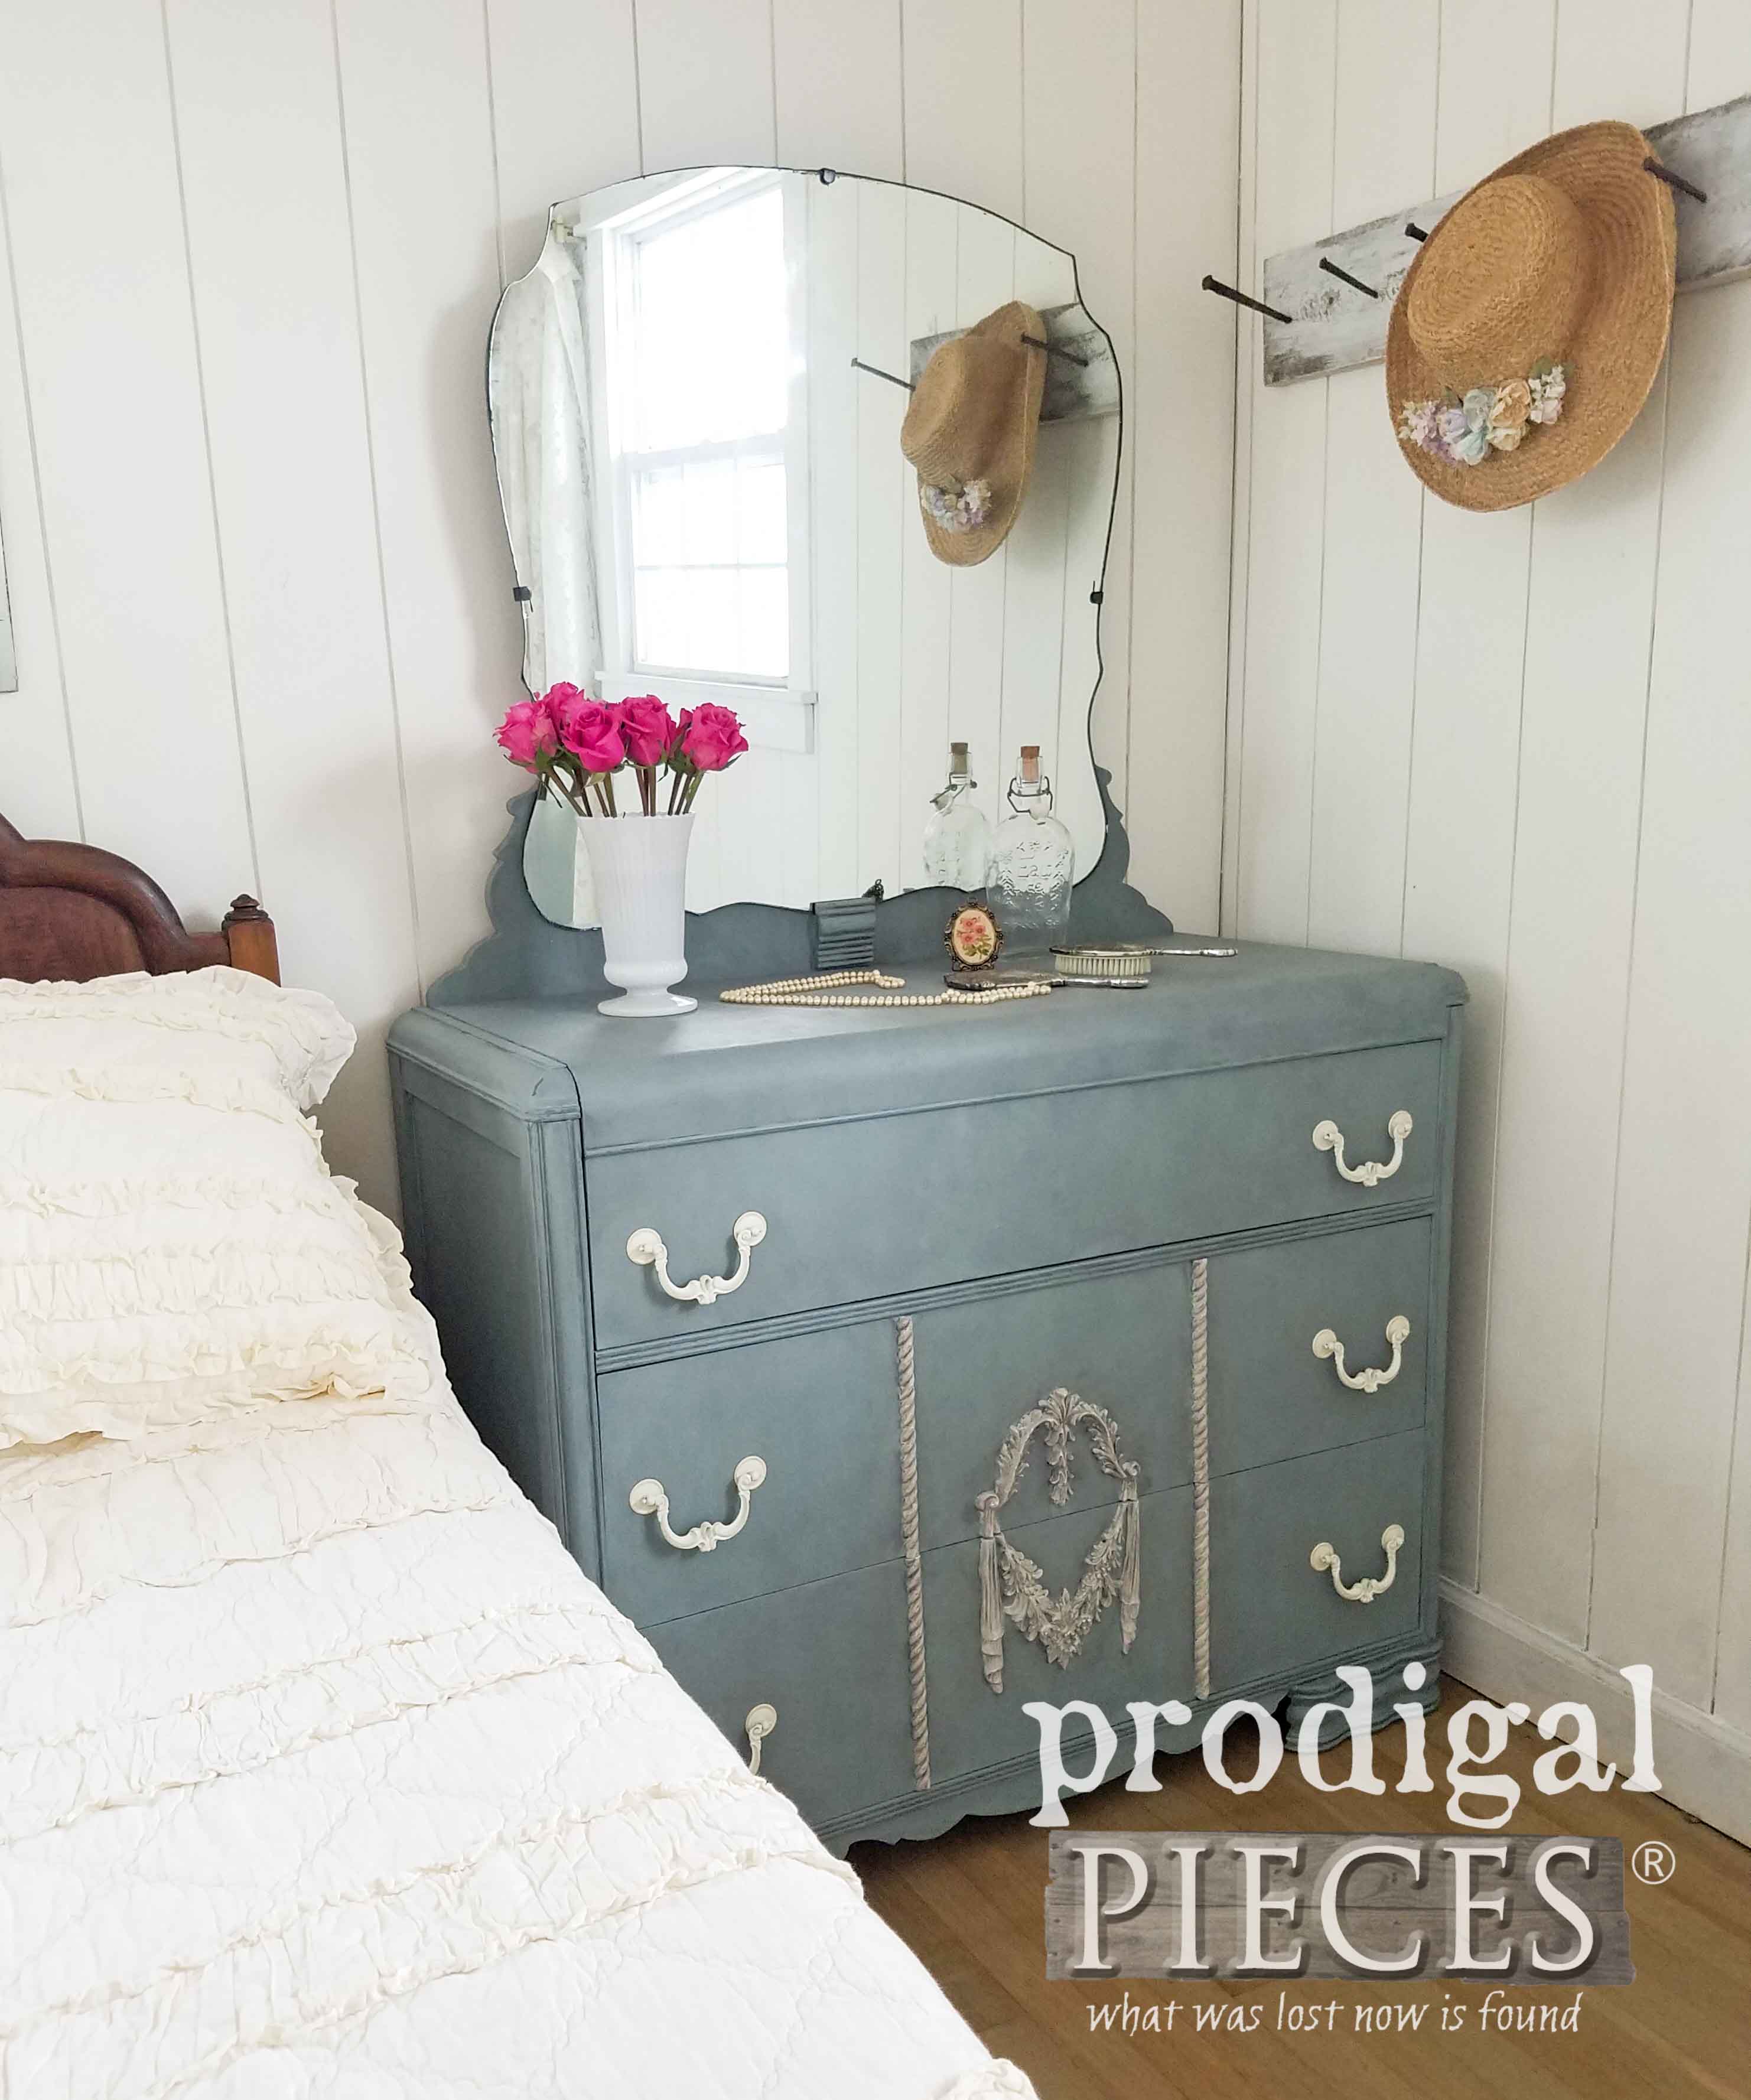 With much pride, I can say that my daughter originally had the intent of selling this piece, but instead decided to donate to our Finding Home program. I am so proud! You can read the recipient story HERE.
[metaslider id=30251]
SHARE
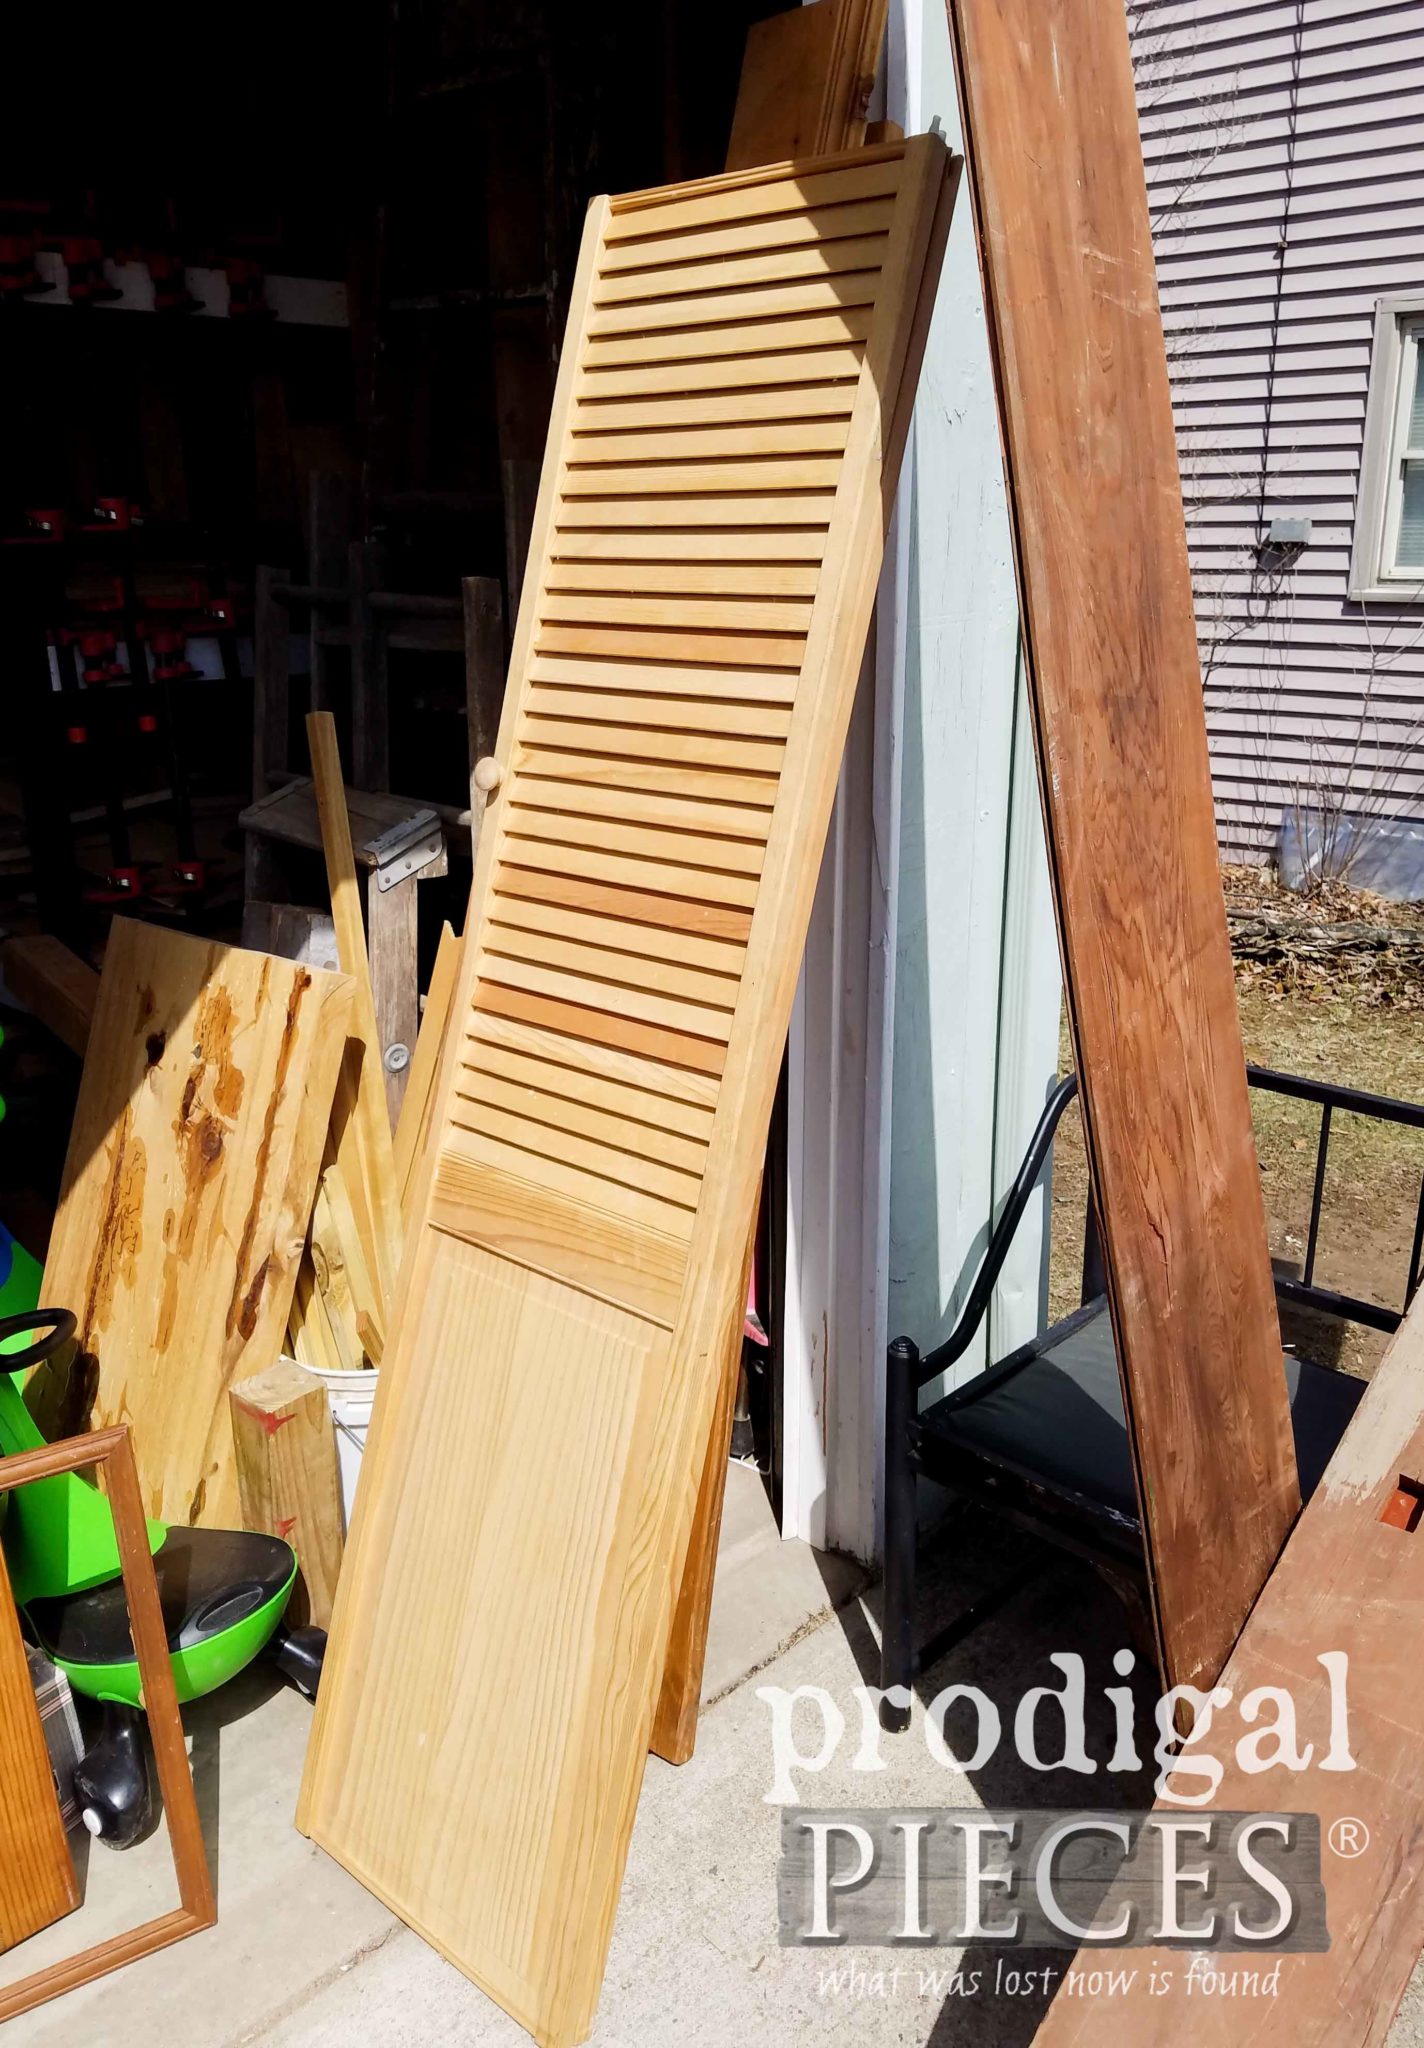
Do pin and share Miss S's. remake of this Art Deco waterfall dresser. She hopes to inspire other parents and kids to give DIY a try. It's so fun!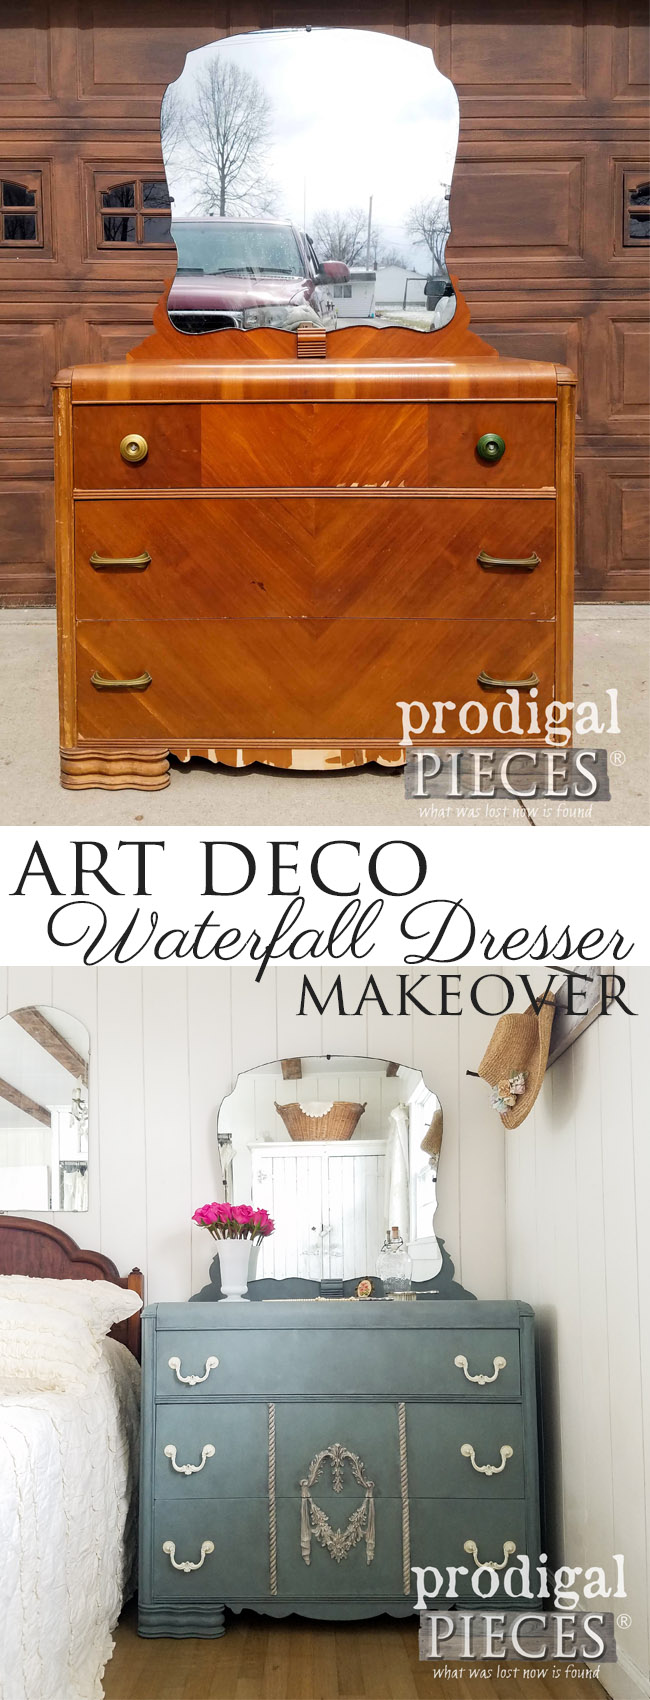 Up next, I'm working on with this pair of louver doors I found during my recent spring city cleanup. Any guesses? See what they became HERE.
 To get these DIY tips & tricks in your inbox, be sure to sign up for my newsletter. PLUS, you will get your FREE Furniture Buying Checklist and special discount to my shop. Until next time!

More projects like this Art Deco waterfall dresser:
