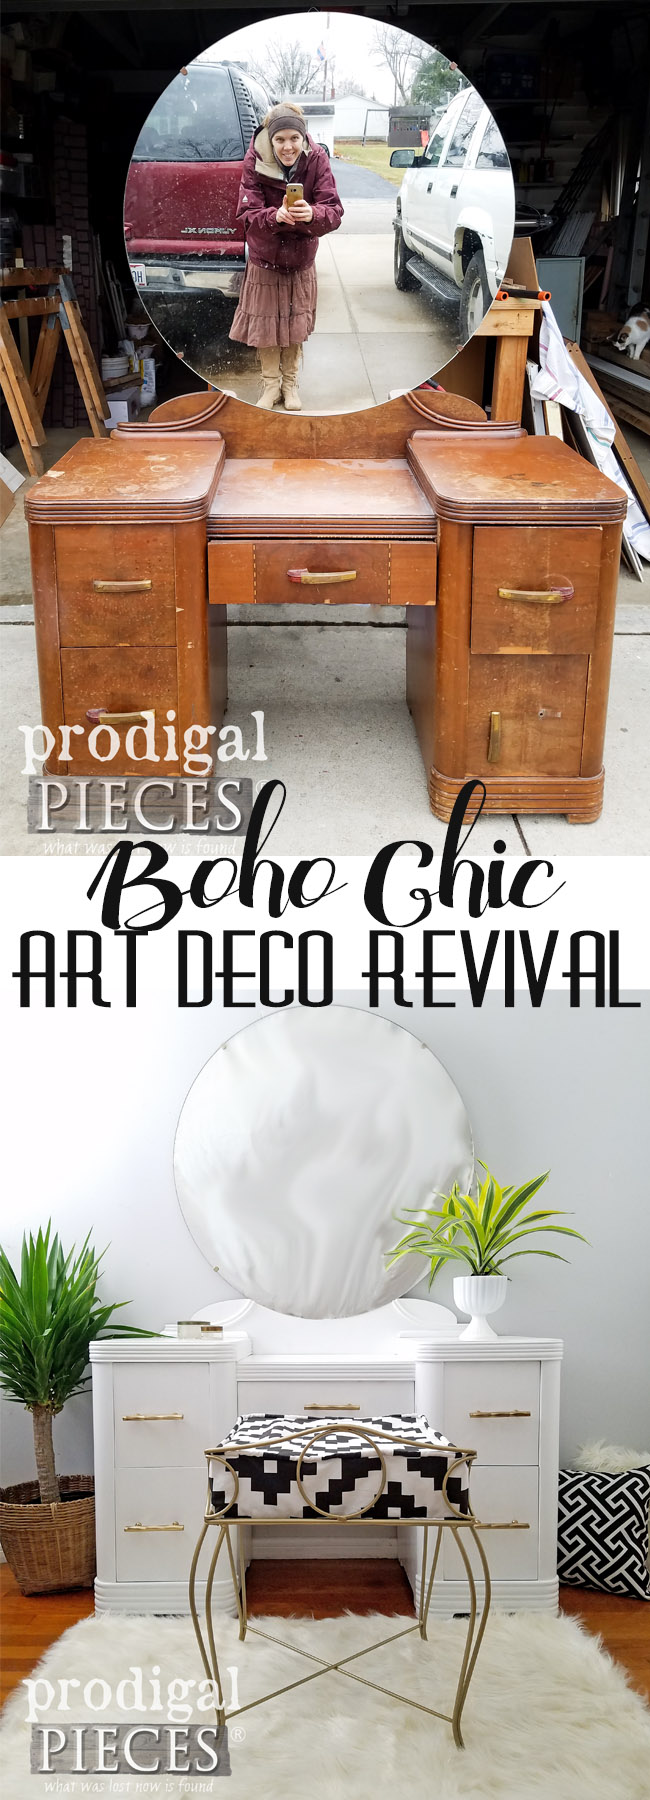
I don't wonder if I should rename myself the hot mess mama. Not because I myself am a hot mess (though I can be at times - aren't we all?), but because of these crazy pieces I bring home then ask myself...why did you do this?! hahaha!! Being a sucker for the worn down, dilapidated pieces is my calling, and this Art Deco vanity is one that gave me a run for my money.
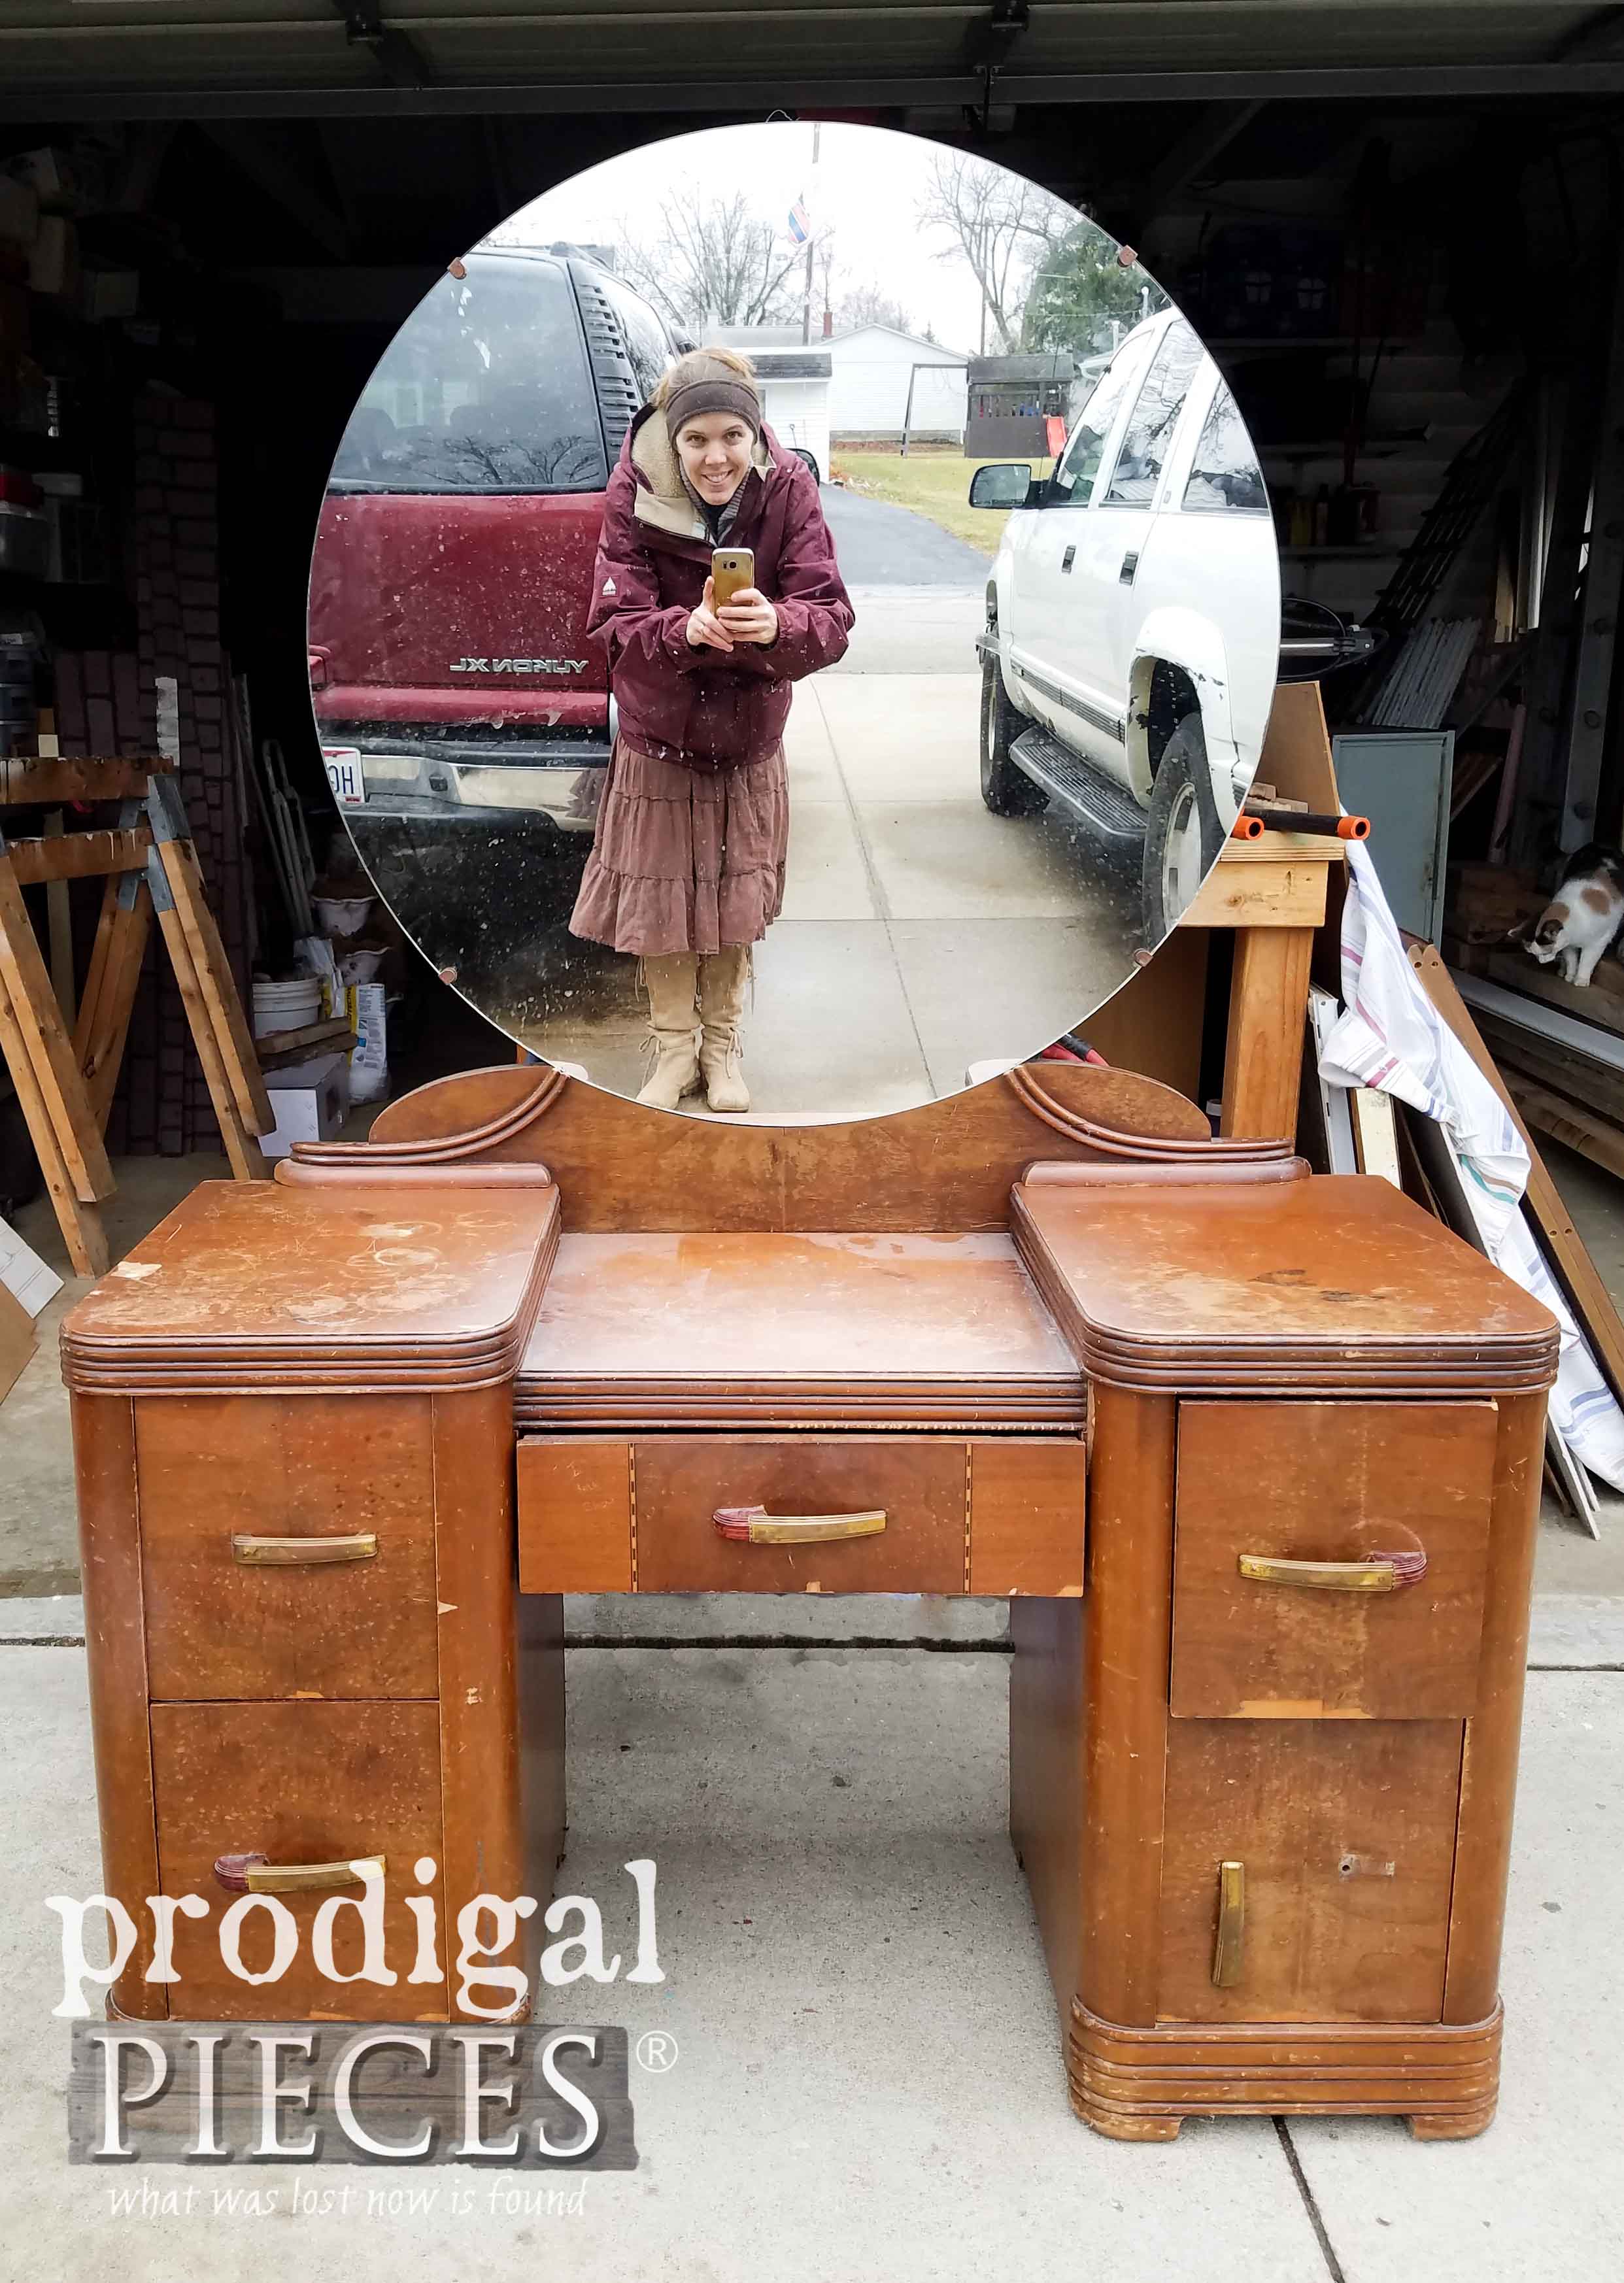
You see in the before picture here I'm smiling like a kid in a candy store. However, during the middle of working on it I don't know if I was smiling quite so big...still smiling, but the fun wore off a bit. Why, you ask? Well, it was a whole lotta work that was totally doable, but I was running out of gas and getting frustrated. Let's look at it in more detail.
I'll run through what is needing done so, hopefully, you can learn a few tricks too.
THE GOOD, THE BAD
The obvious wear is not much of a concern. We have oodles of scratches and dents, water marks, chemical stains, hammer dents (where someone actually beat it with a hammer), and overall wear.
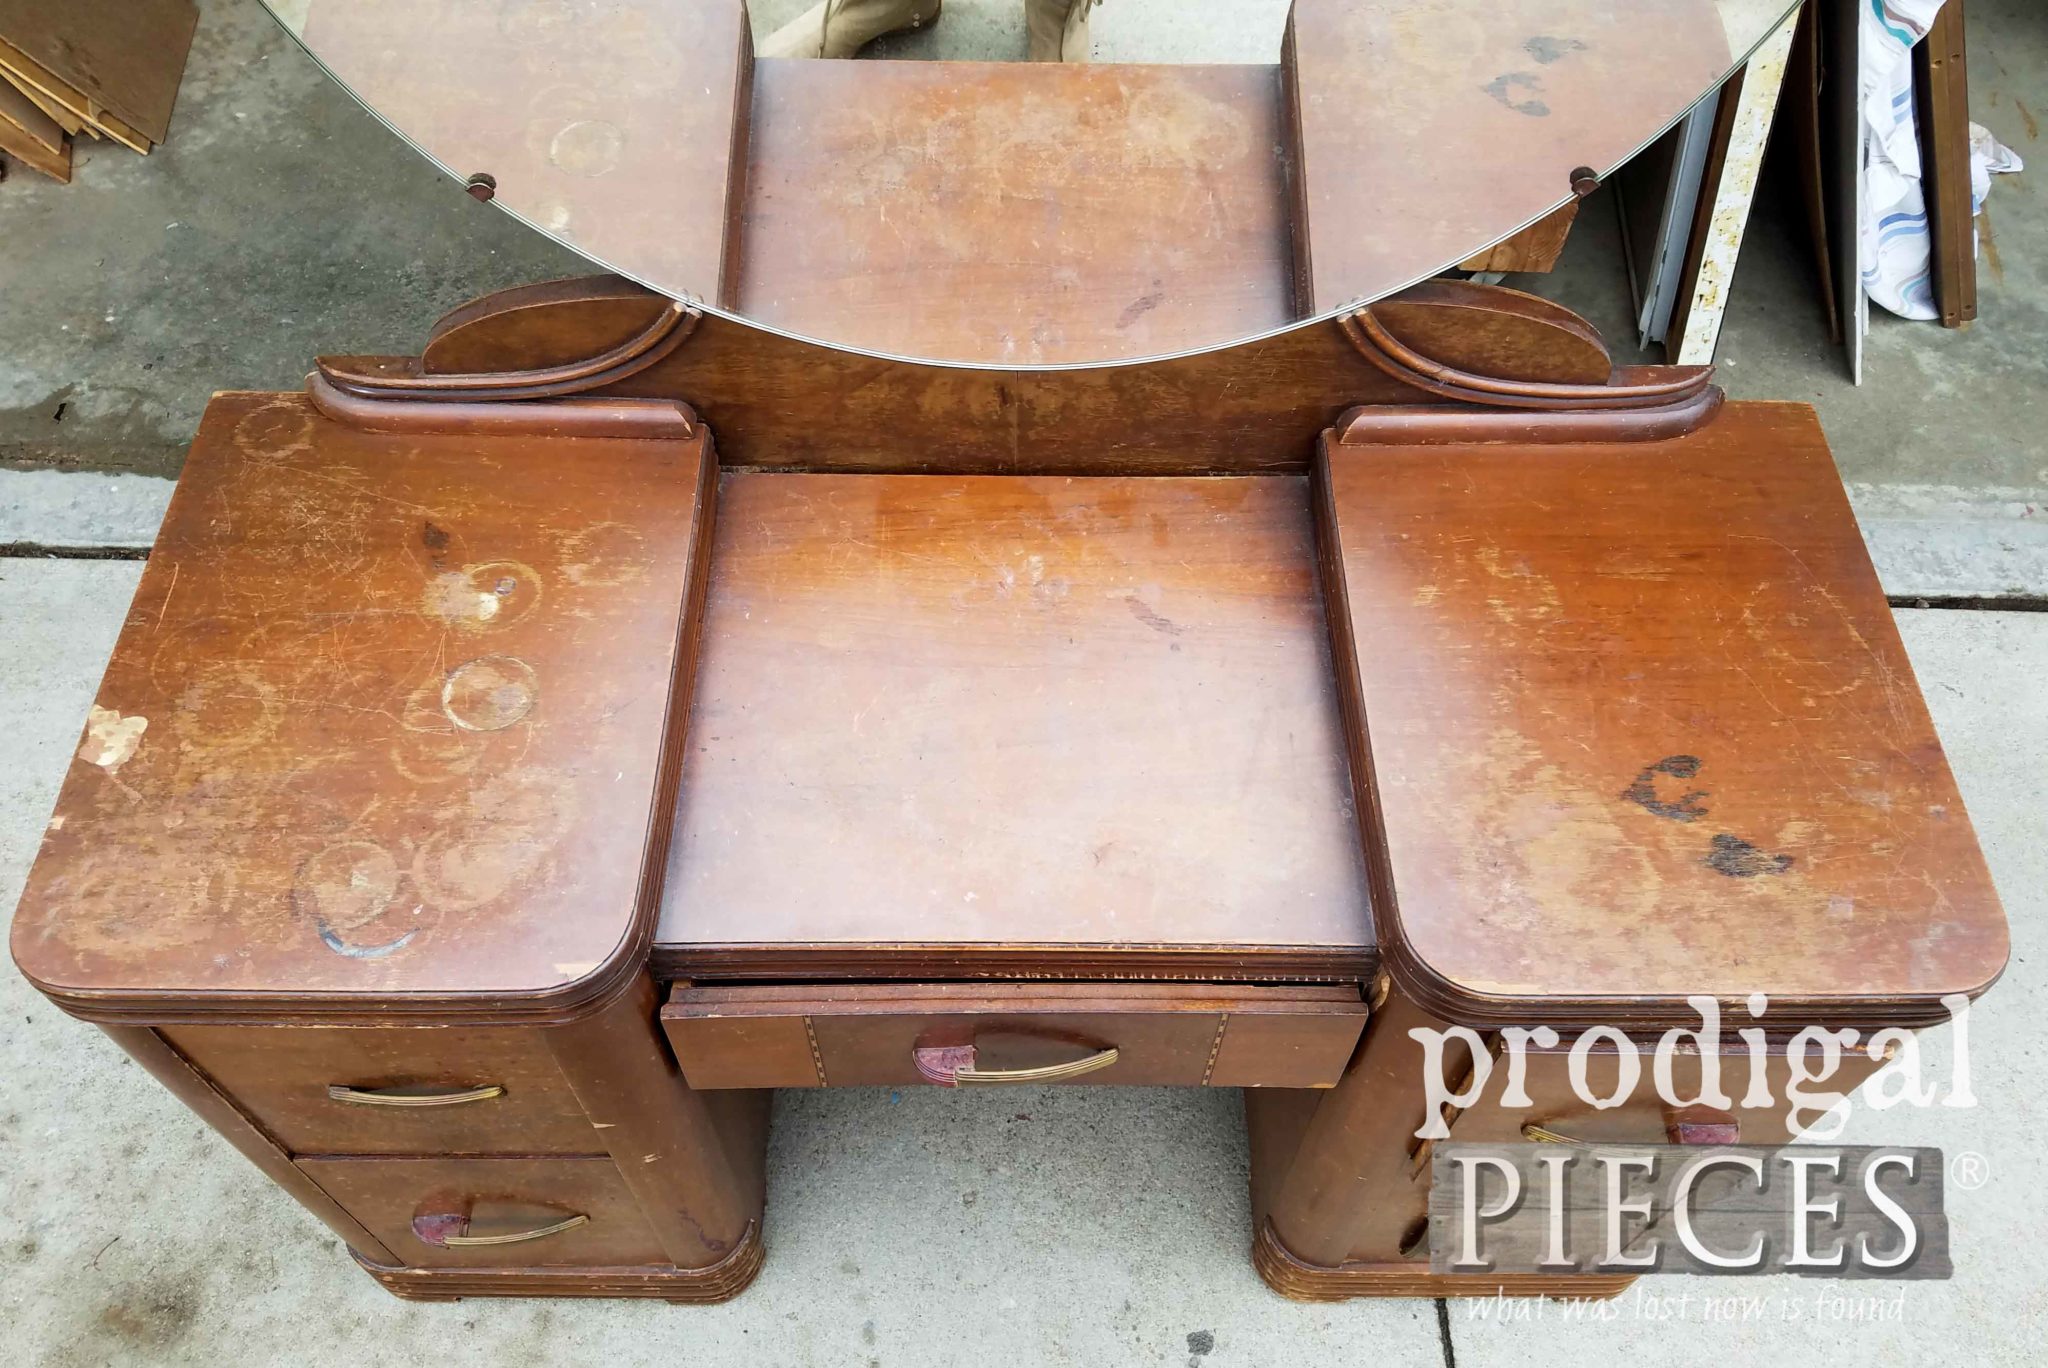
It's one of those things that as you look closer you're like...oh my. Then there is missing veneer on all side surfaces and on each drawer. The pulls are broken and need replaced, and then I saw this. Someone had taken it upon themselves to carve notches in the drawer opening edge, which I began to fill with wood filler, AND...see that huge chunk missing?? Oy!
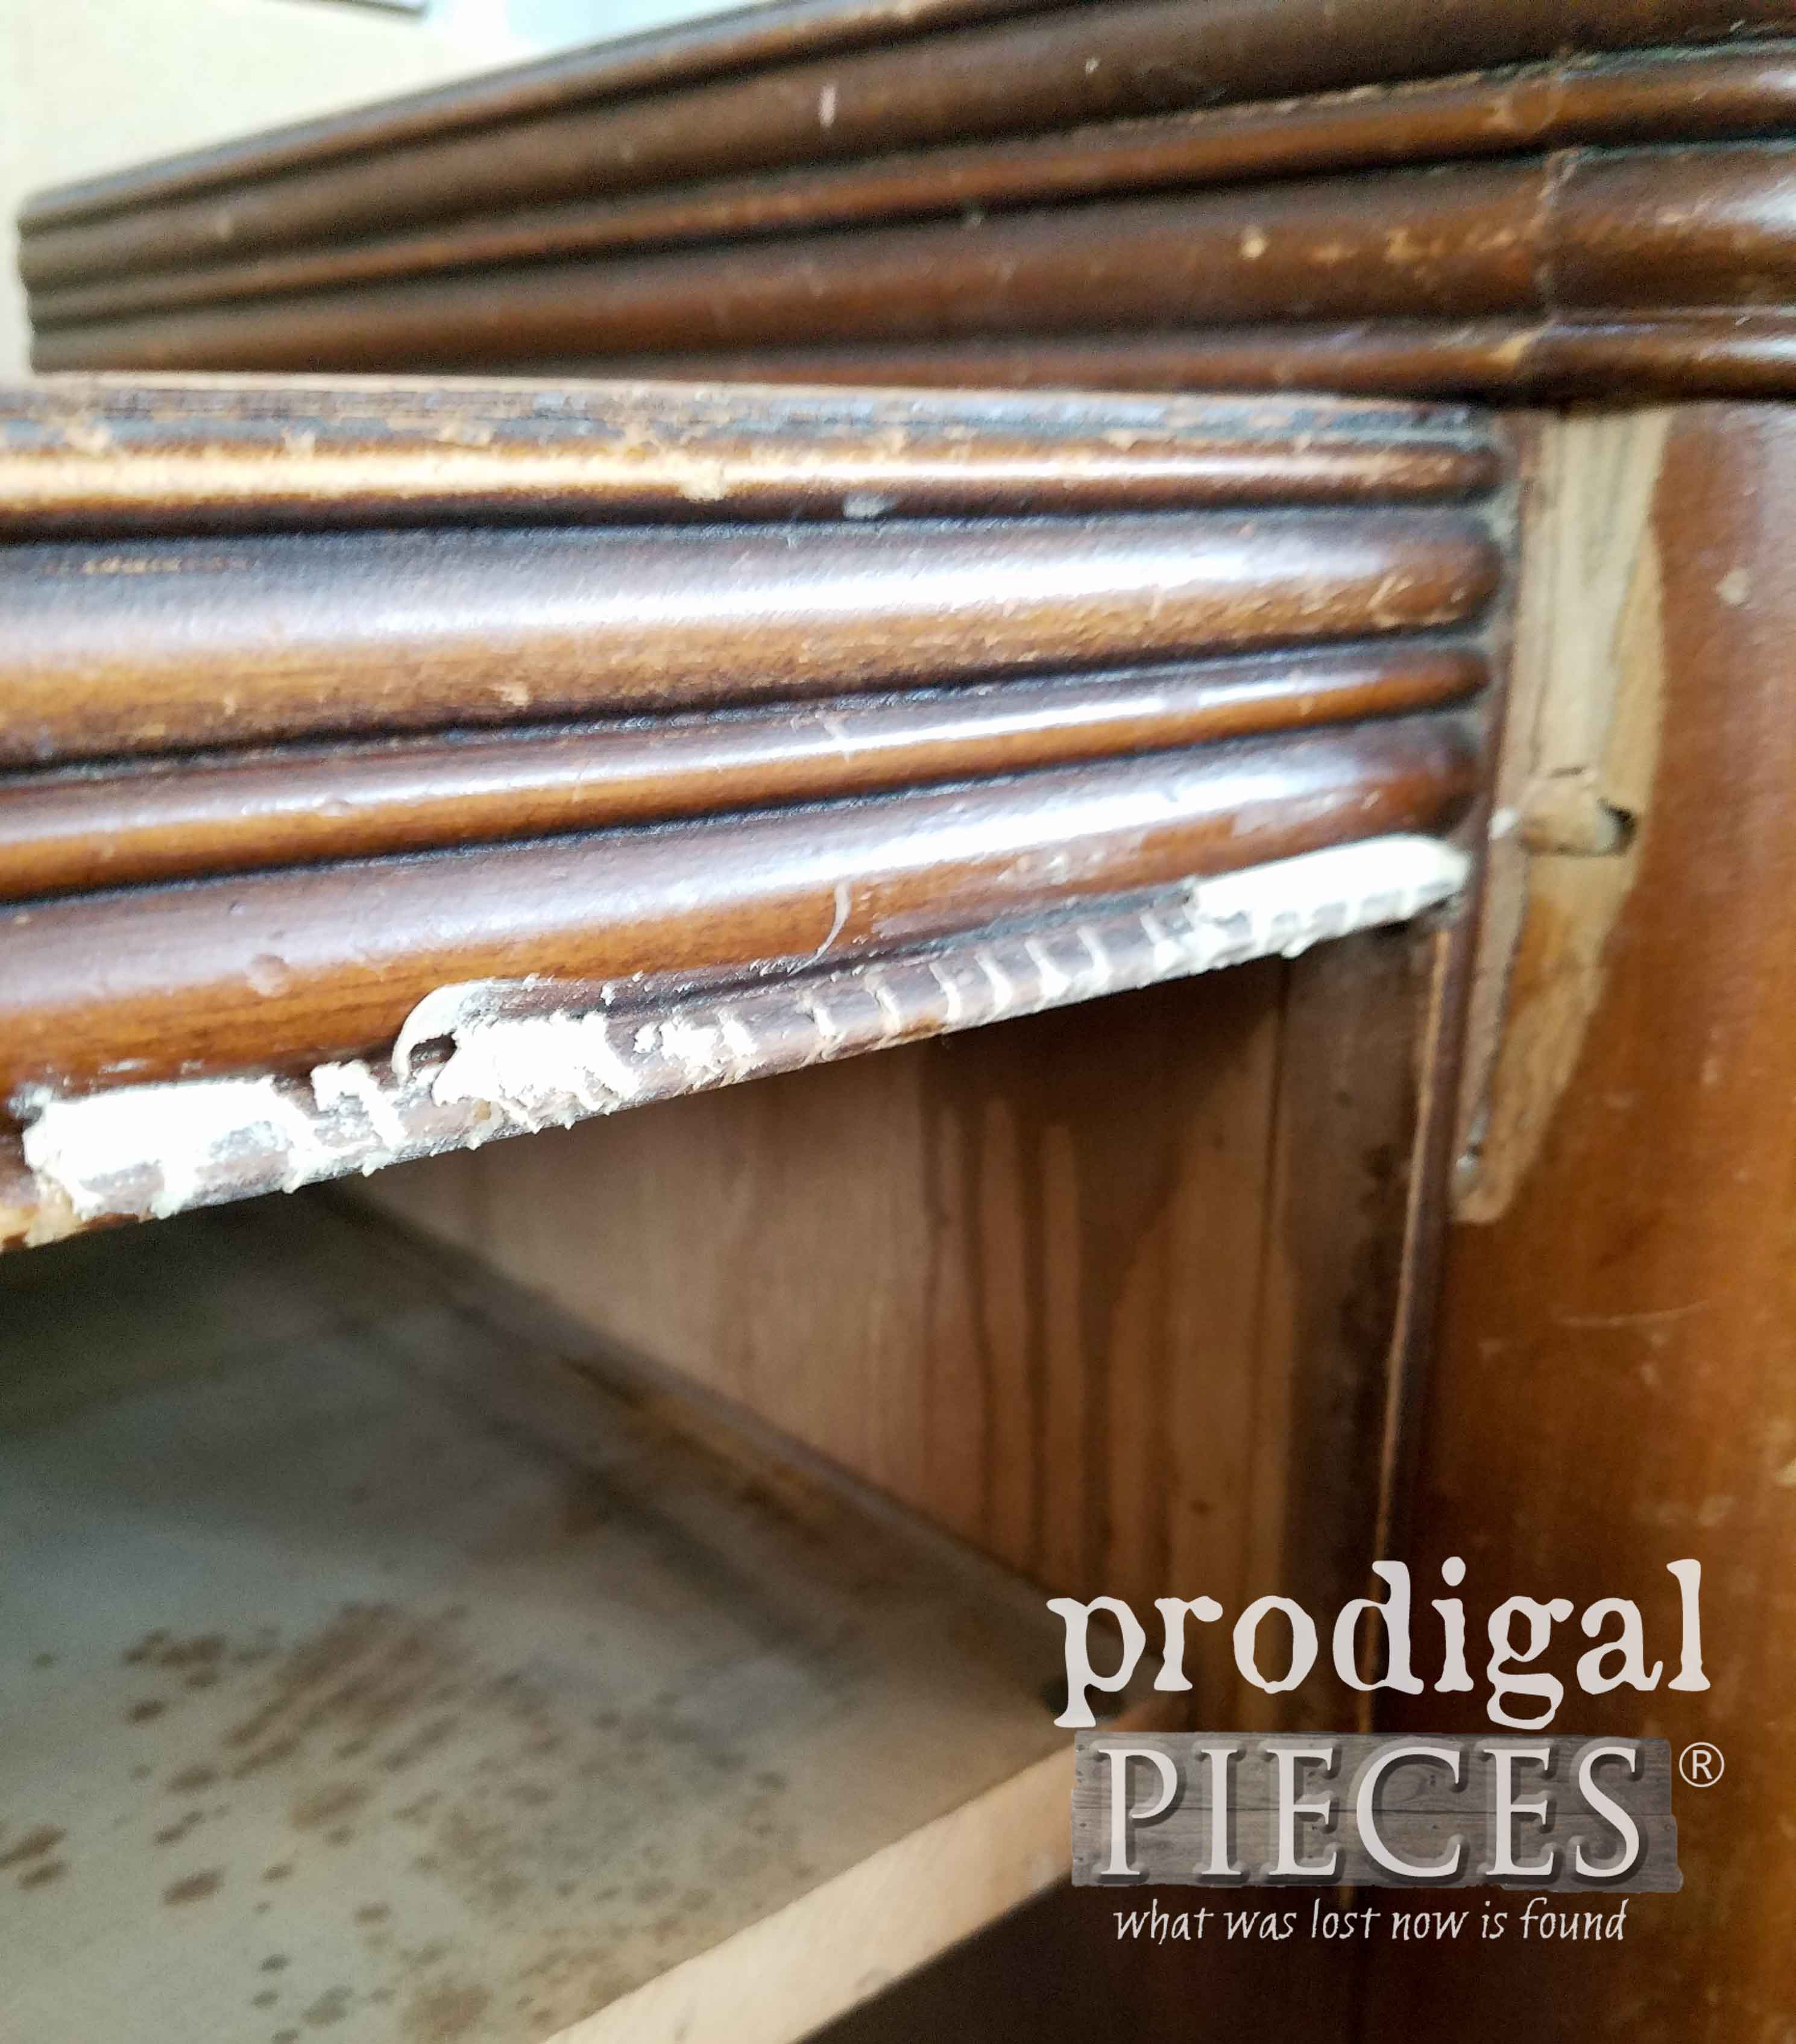
Needless to say I kept feeling like the waves of oh-no-ness were hitting me, but I've honestly had worse to deal with. Time to pull up my big girl panties instead of getting them in a wad and deal with it. Woot!
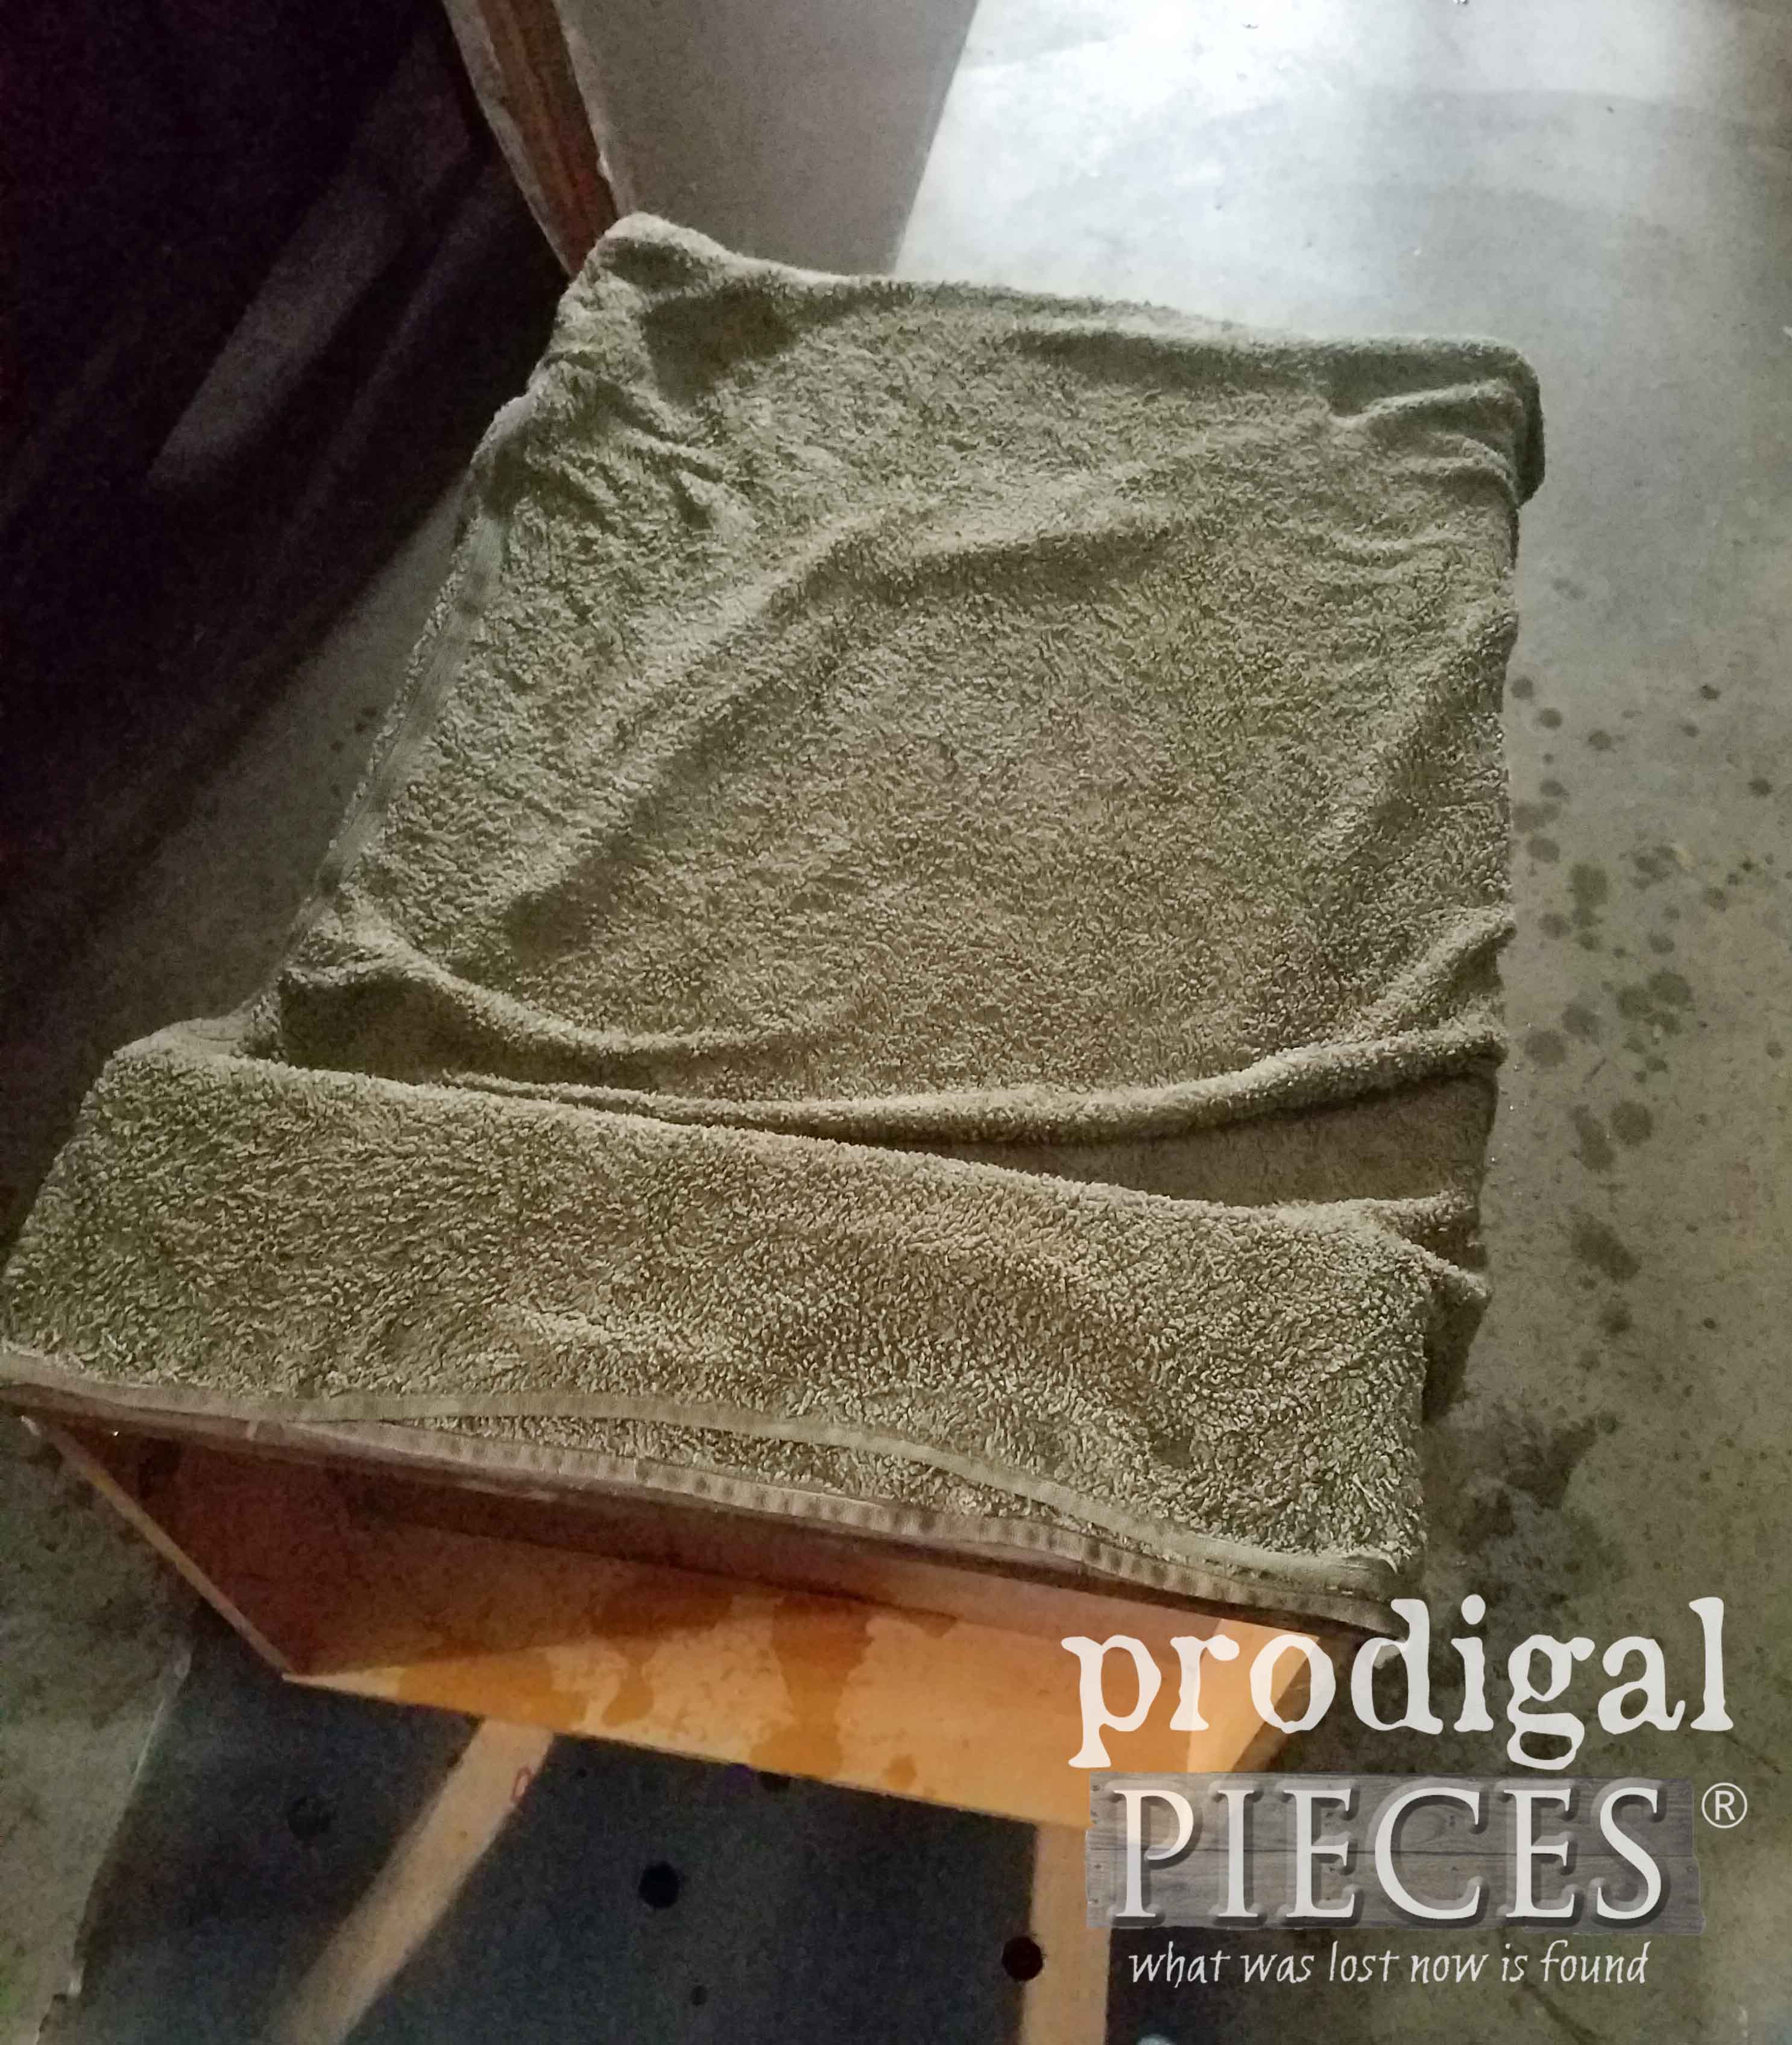
First, I placed all the drawers in a stack with faces pointing up and used
my towel soak method to remove the veneer. It's my go-to for pieces like this and does wonders. I've only had one fail in dozens of times using it, so I continue. I literally soak bath towels, lay them on overnight, and even pour more water on top. SOAKING it.
The next day I use my putty knife and gently slide it off. Sometimes it's more like driving it off if it didn't soak enough, but it still comes off easier than any other way I've tried in the past.
FIX 'ER UP
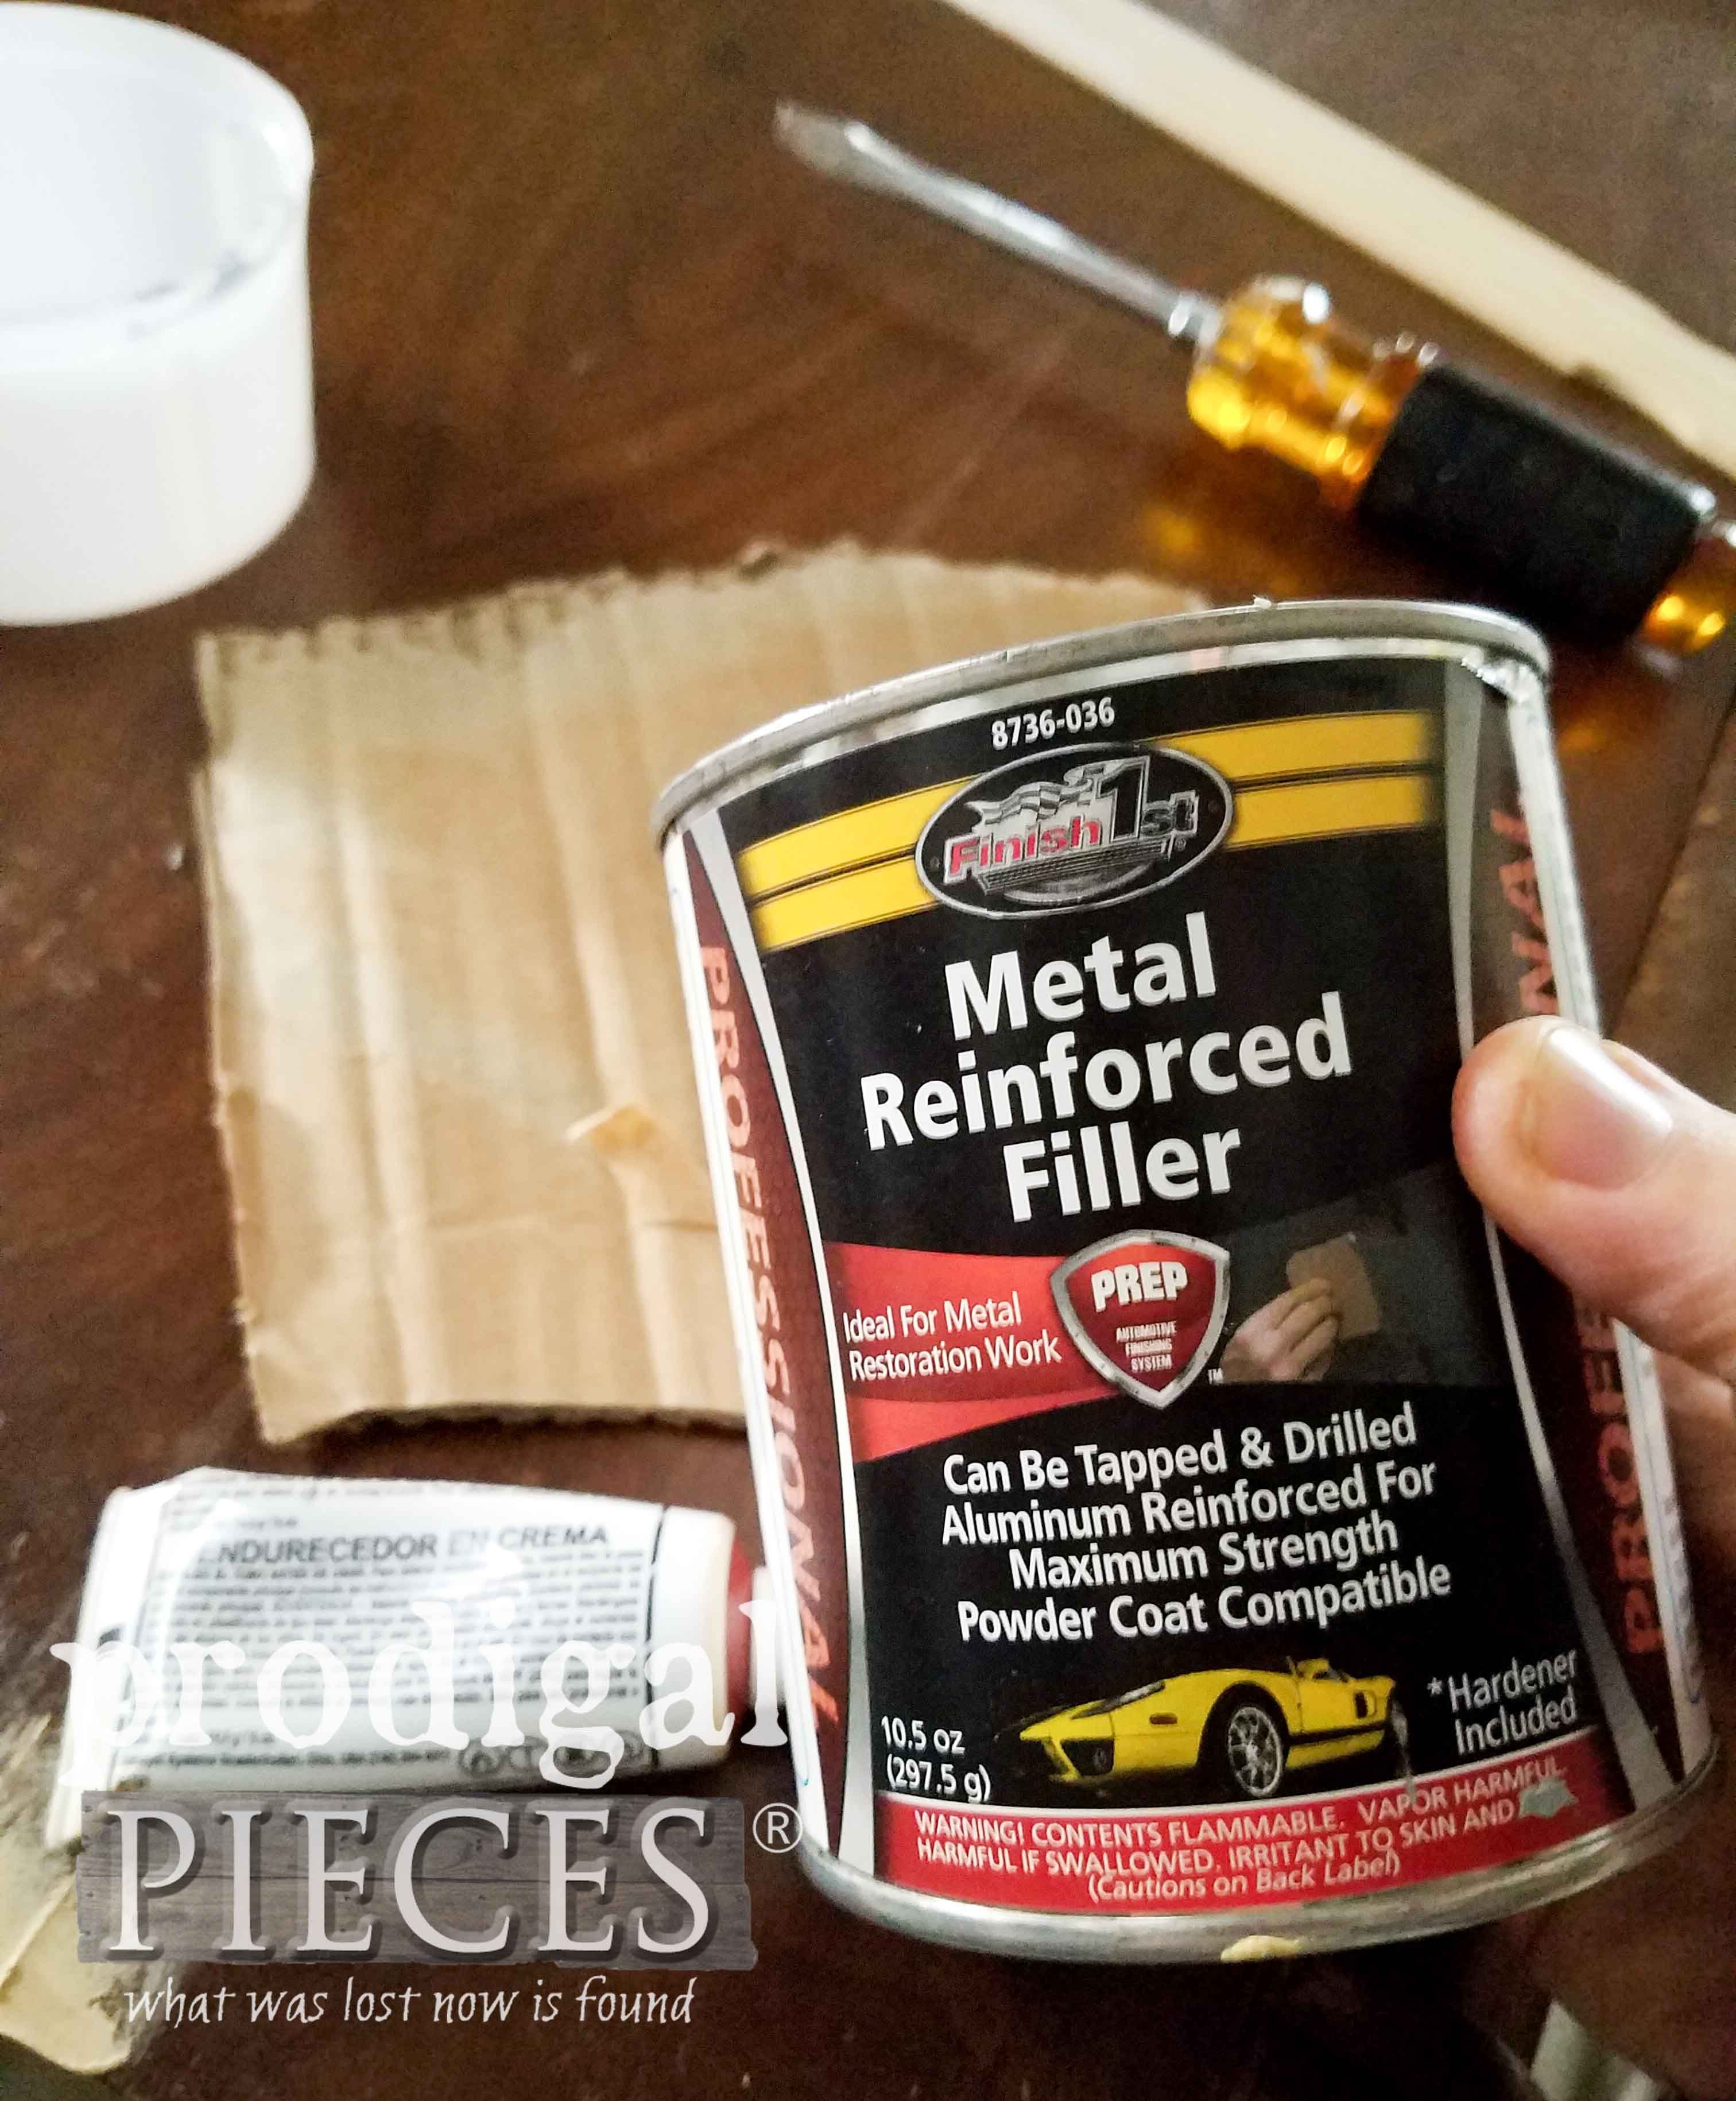
Next, I use wood filler and wood glue to fill and repair all that damaged veneer. I needed all my clamps to get it done! whew. For even more fun I have to pull out the BIG GUNS to to tackle that deep gouge in the vanity side. I've used this Bondo before on
this dresser and it works
awesome. I chose this over wood filler, because unlike wood filler that sits in a hole, this actually bonds and reinforces the damaged area. They do make a wood and all-purpose version, but I had this and have only used this, and it works.
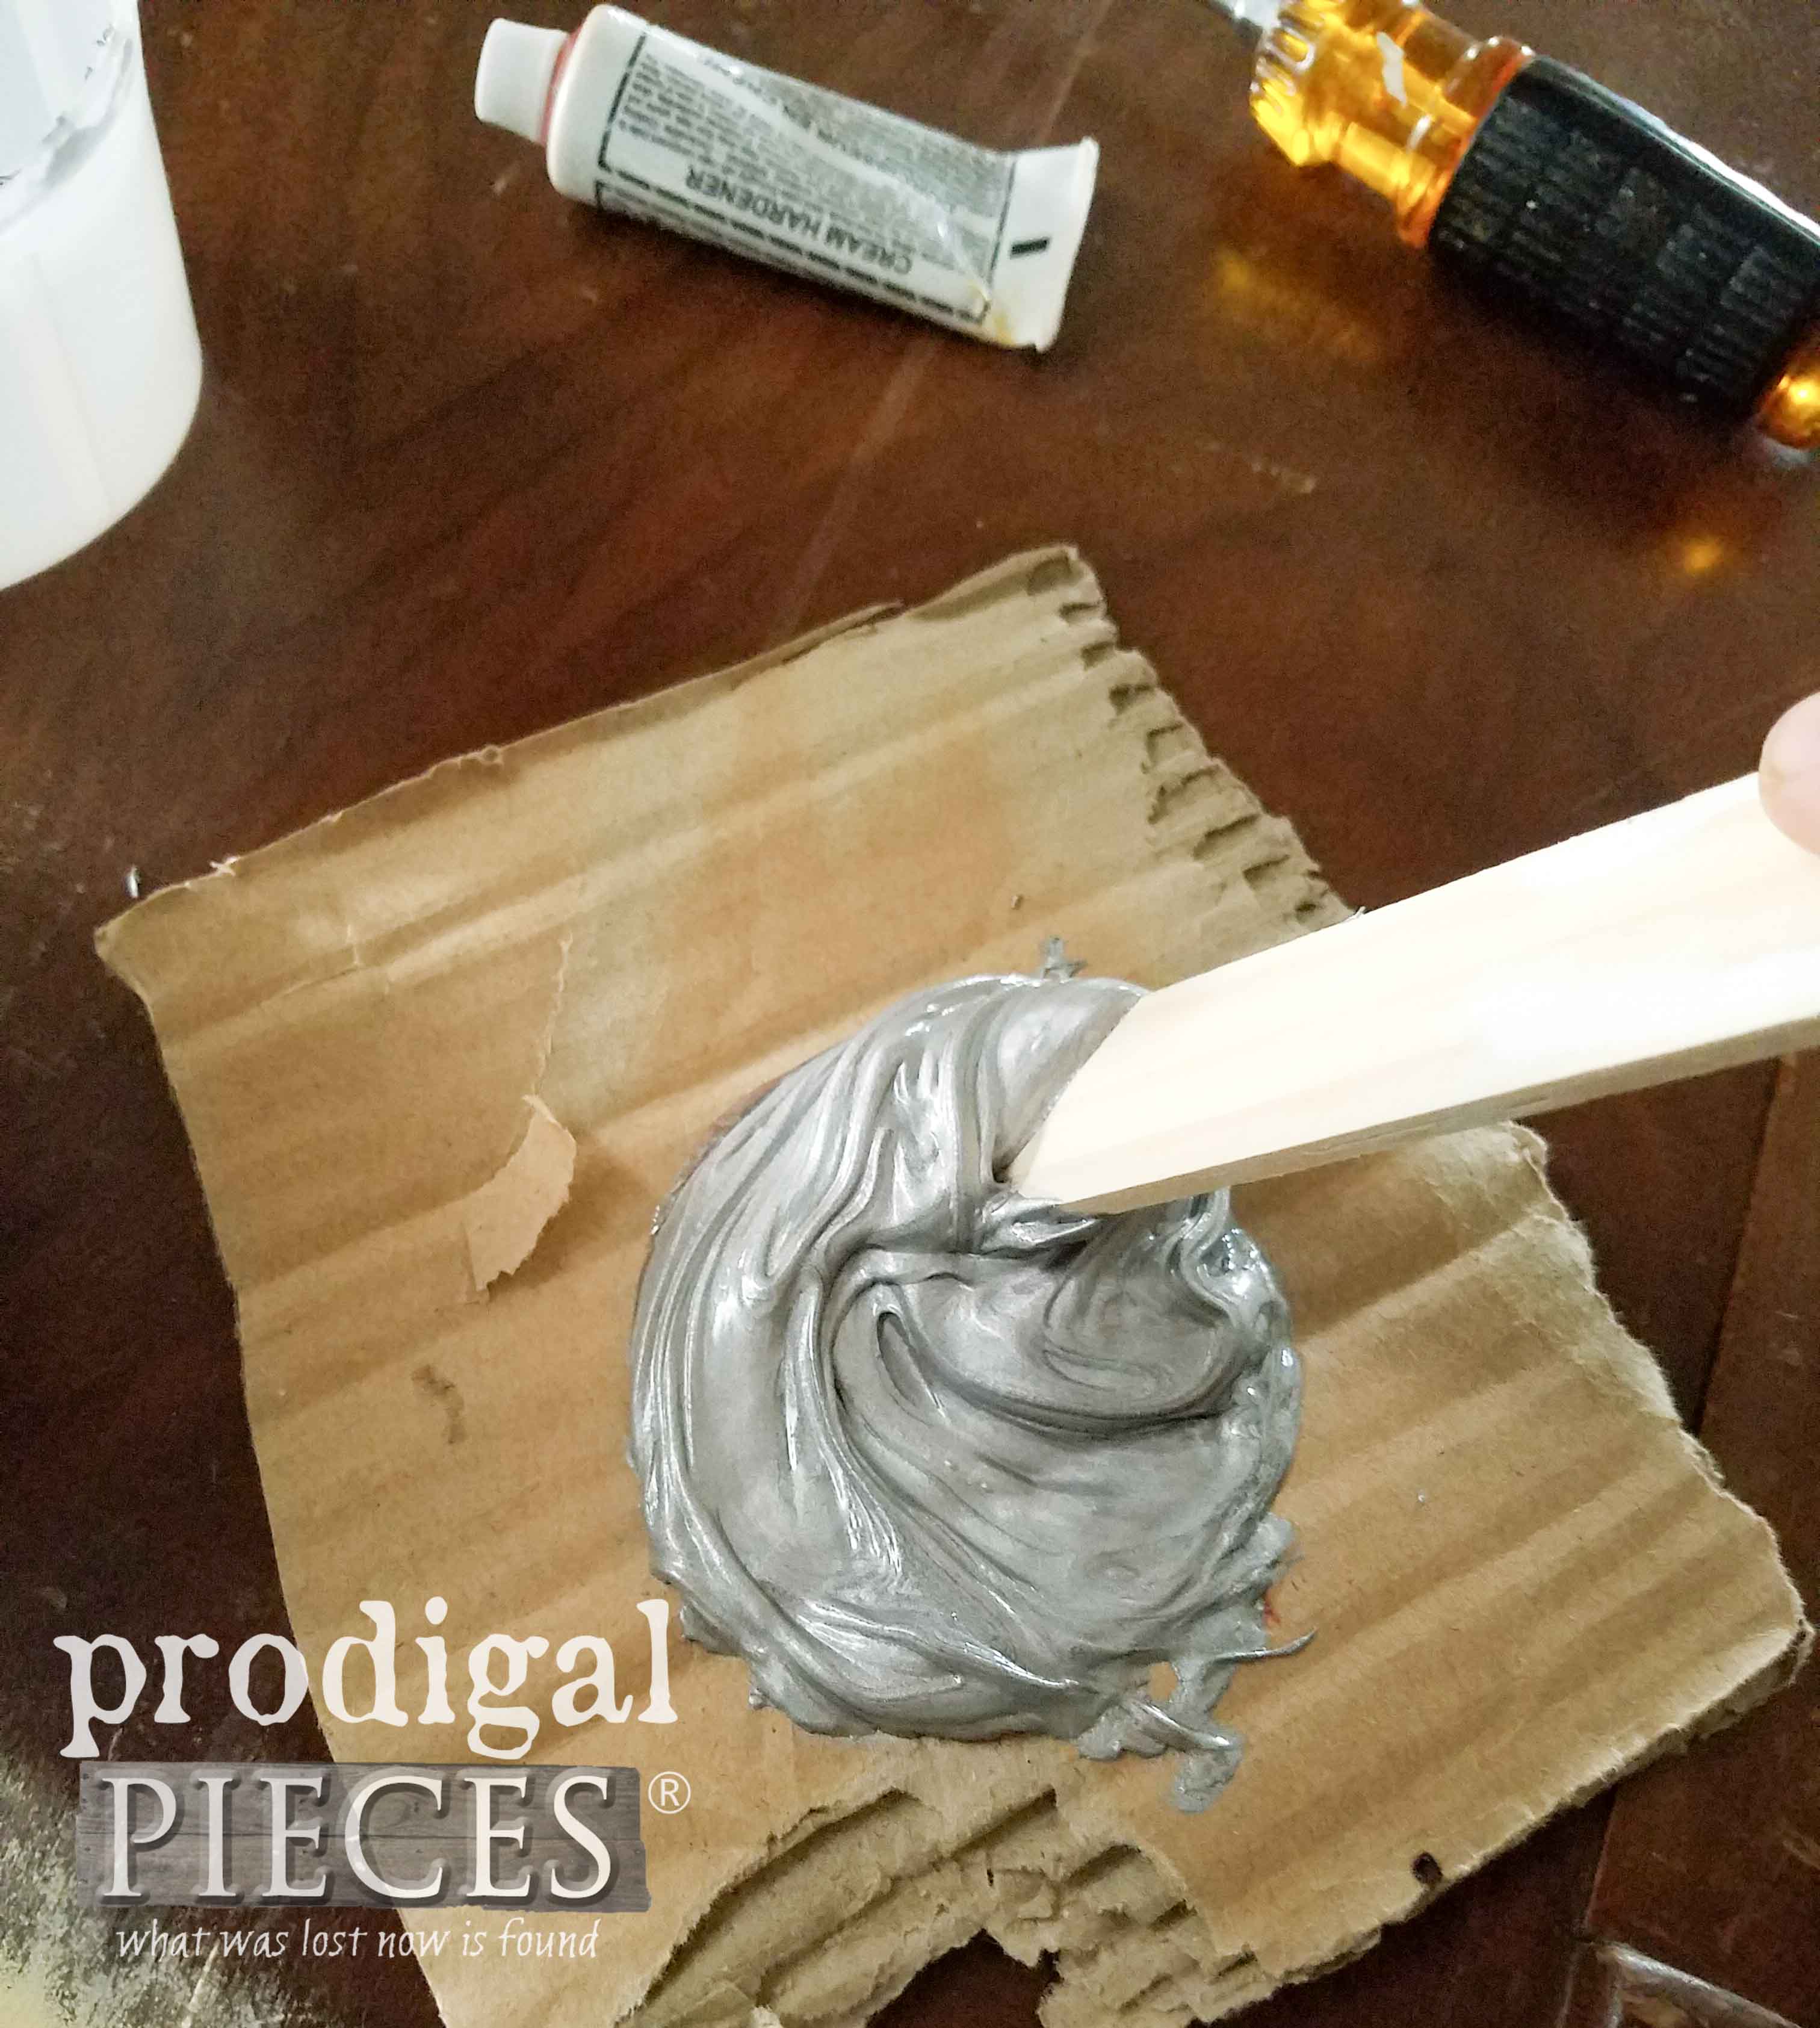
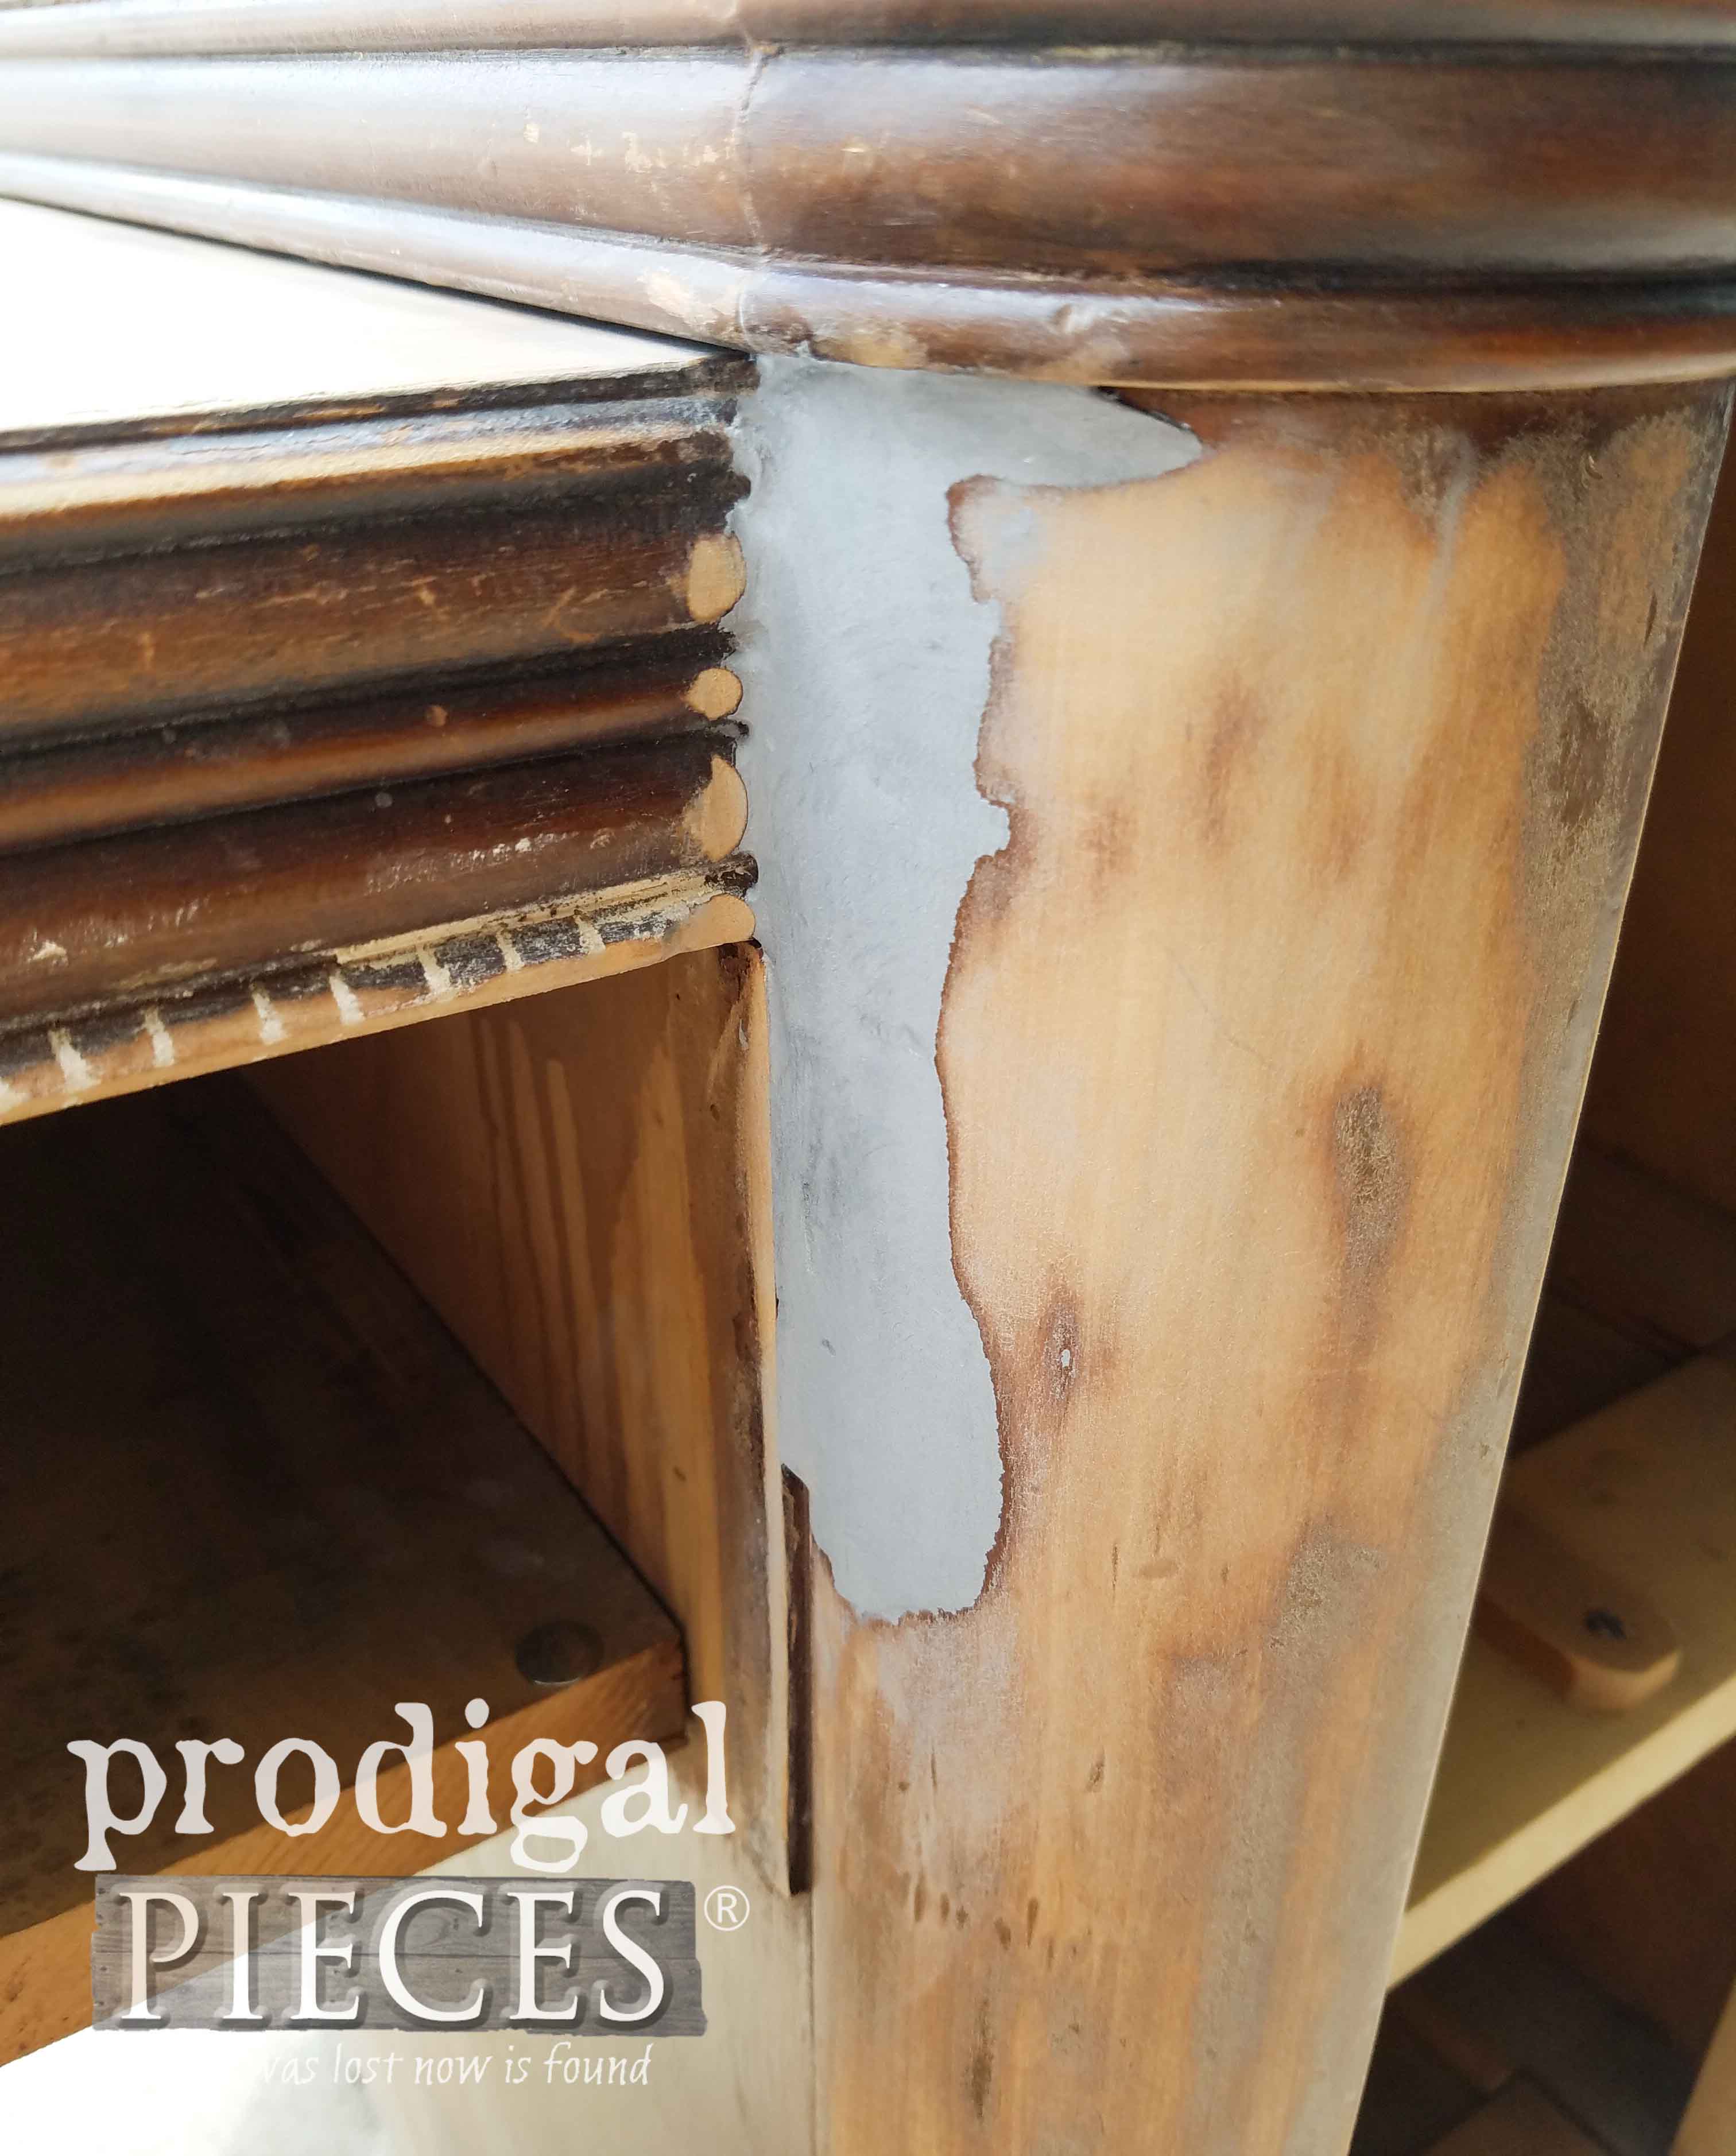
I simply mix it up following the instructions and slather it in the hole in layers.
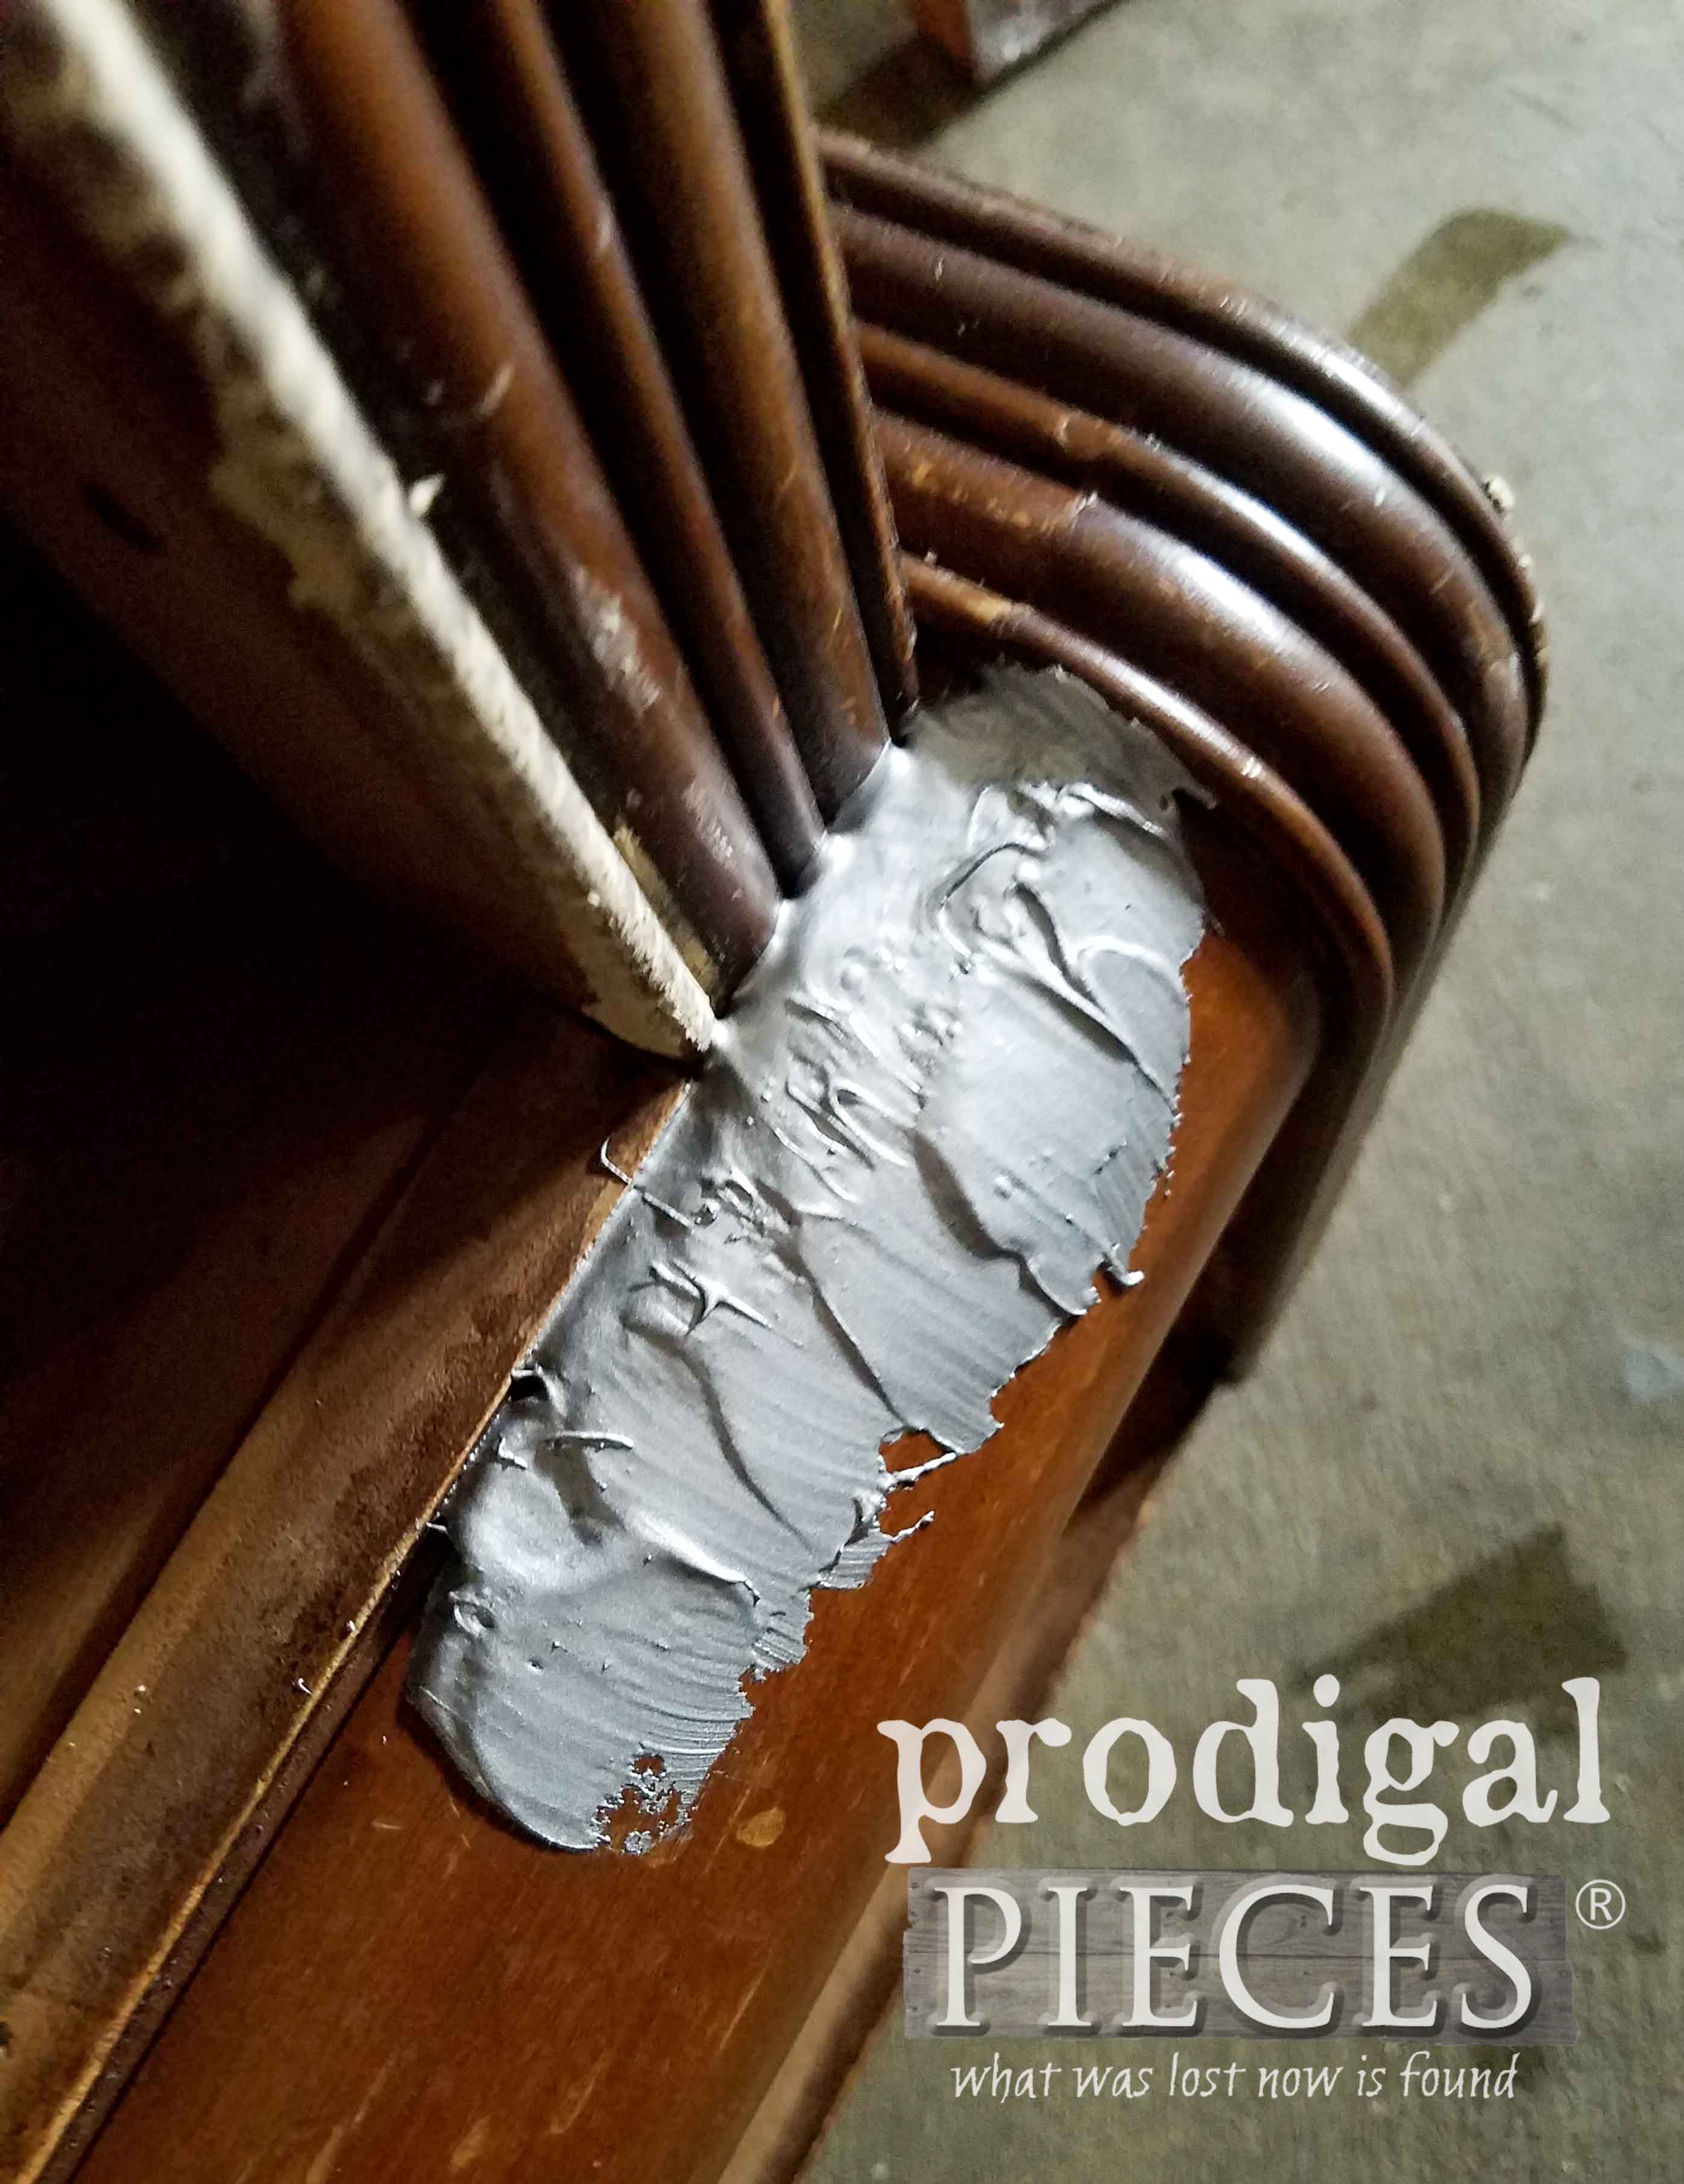
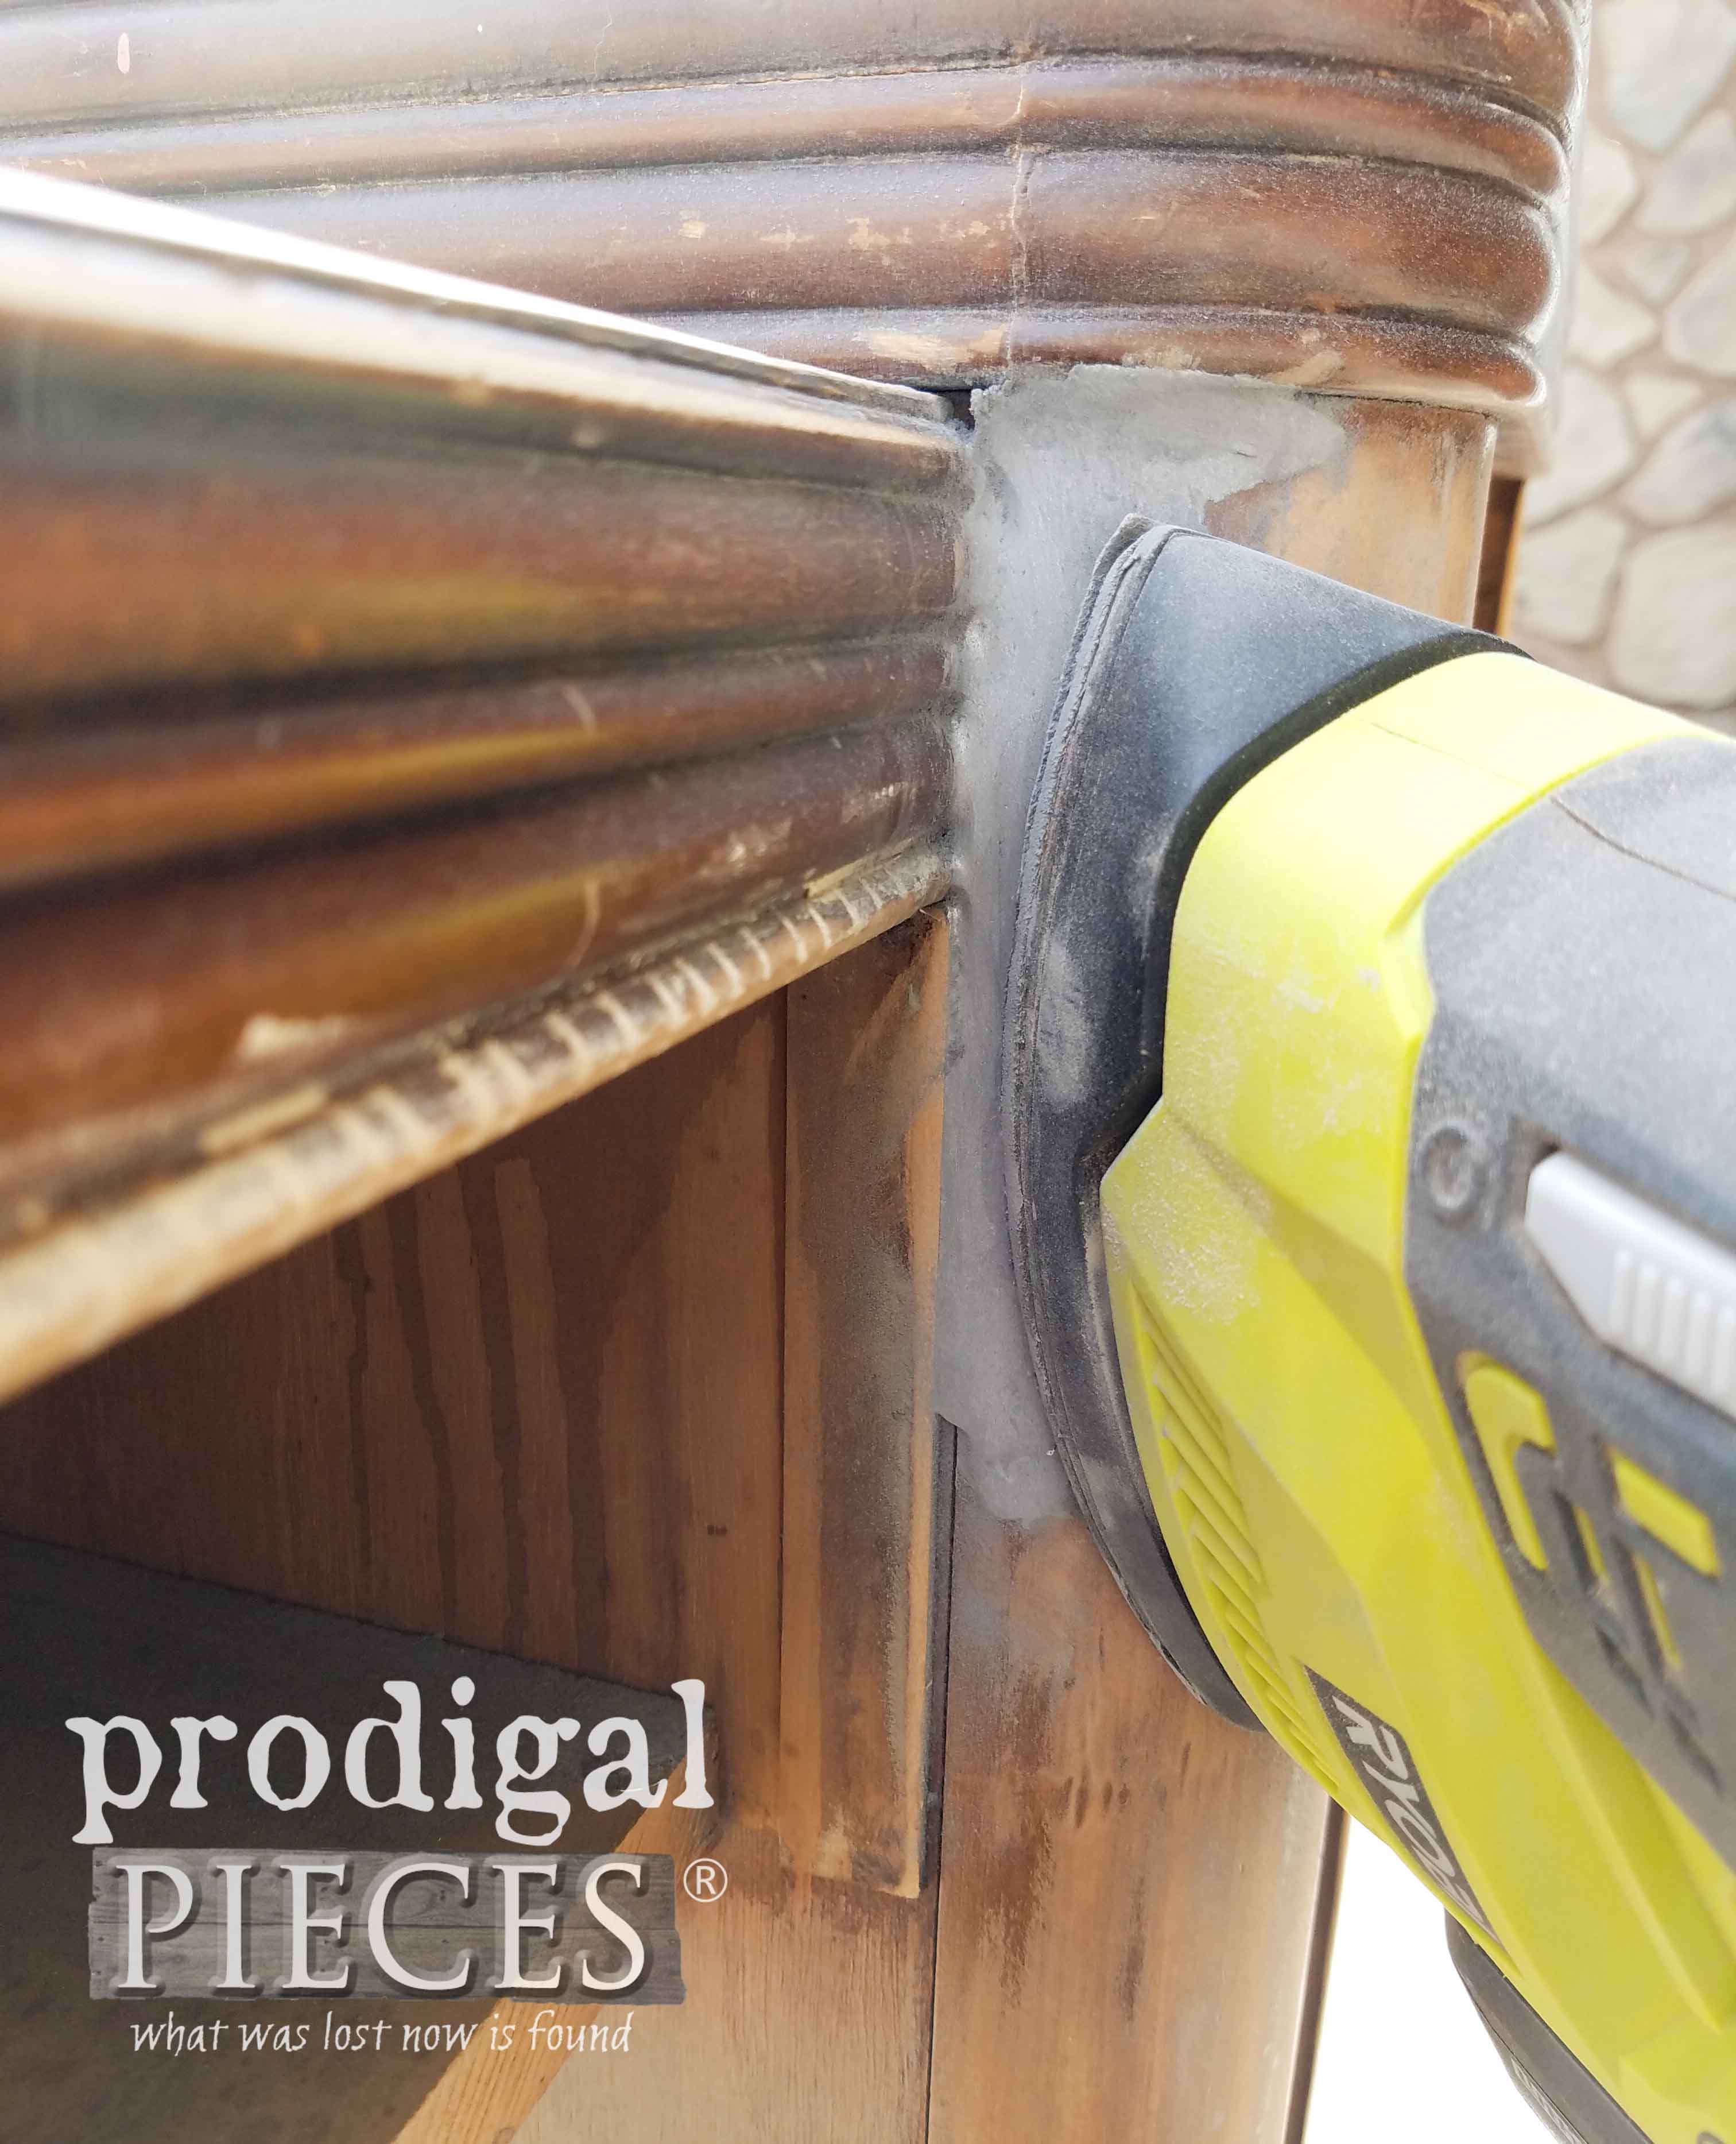
It's okay if it's not smooth on the onset, because after it cures for about 20 minutes, I'm able to sand it smooth. This is a tricky spot to get into, but it's a breeze with my Corner Cat sander. I love this little battery-operated thing!
And it's as good as new. Amazing, isn't it? {{happy dance!!}}
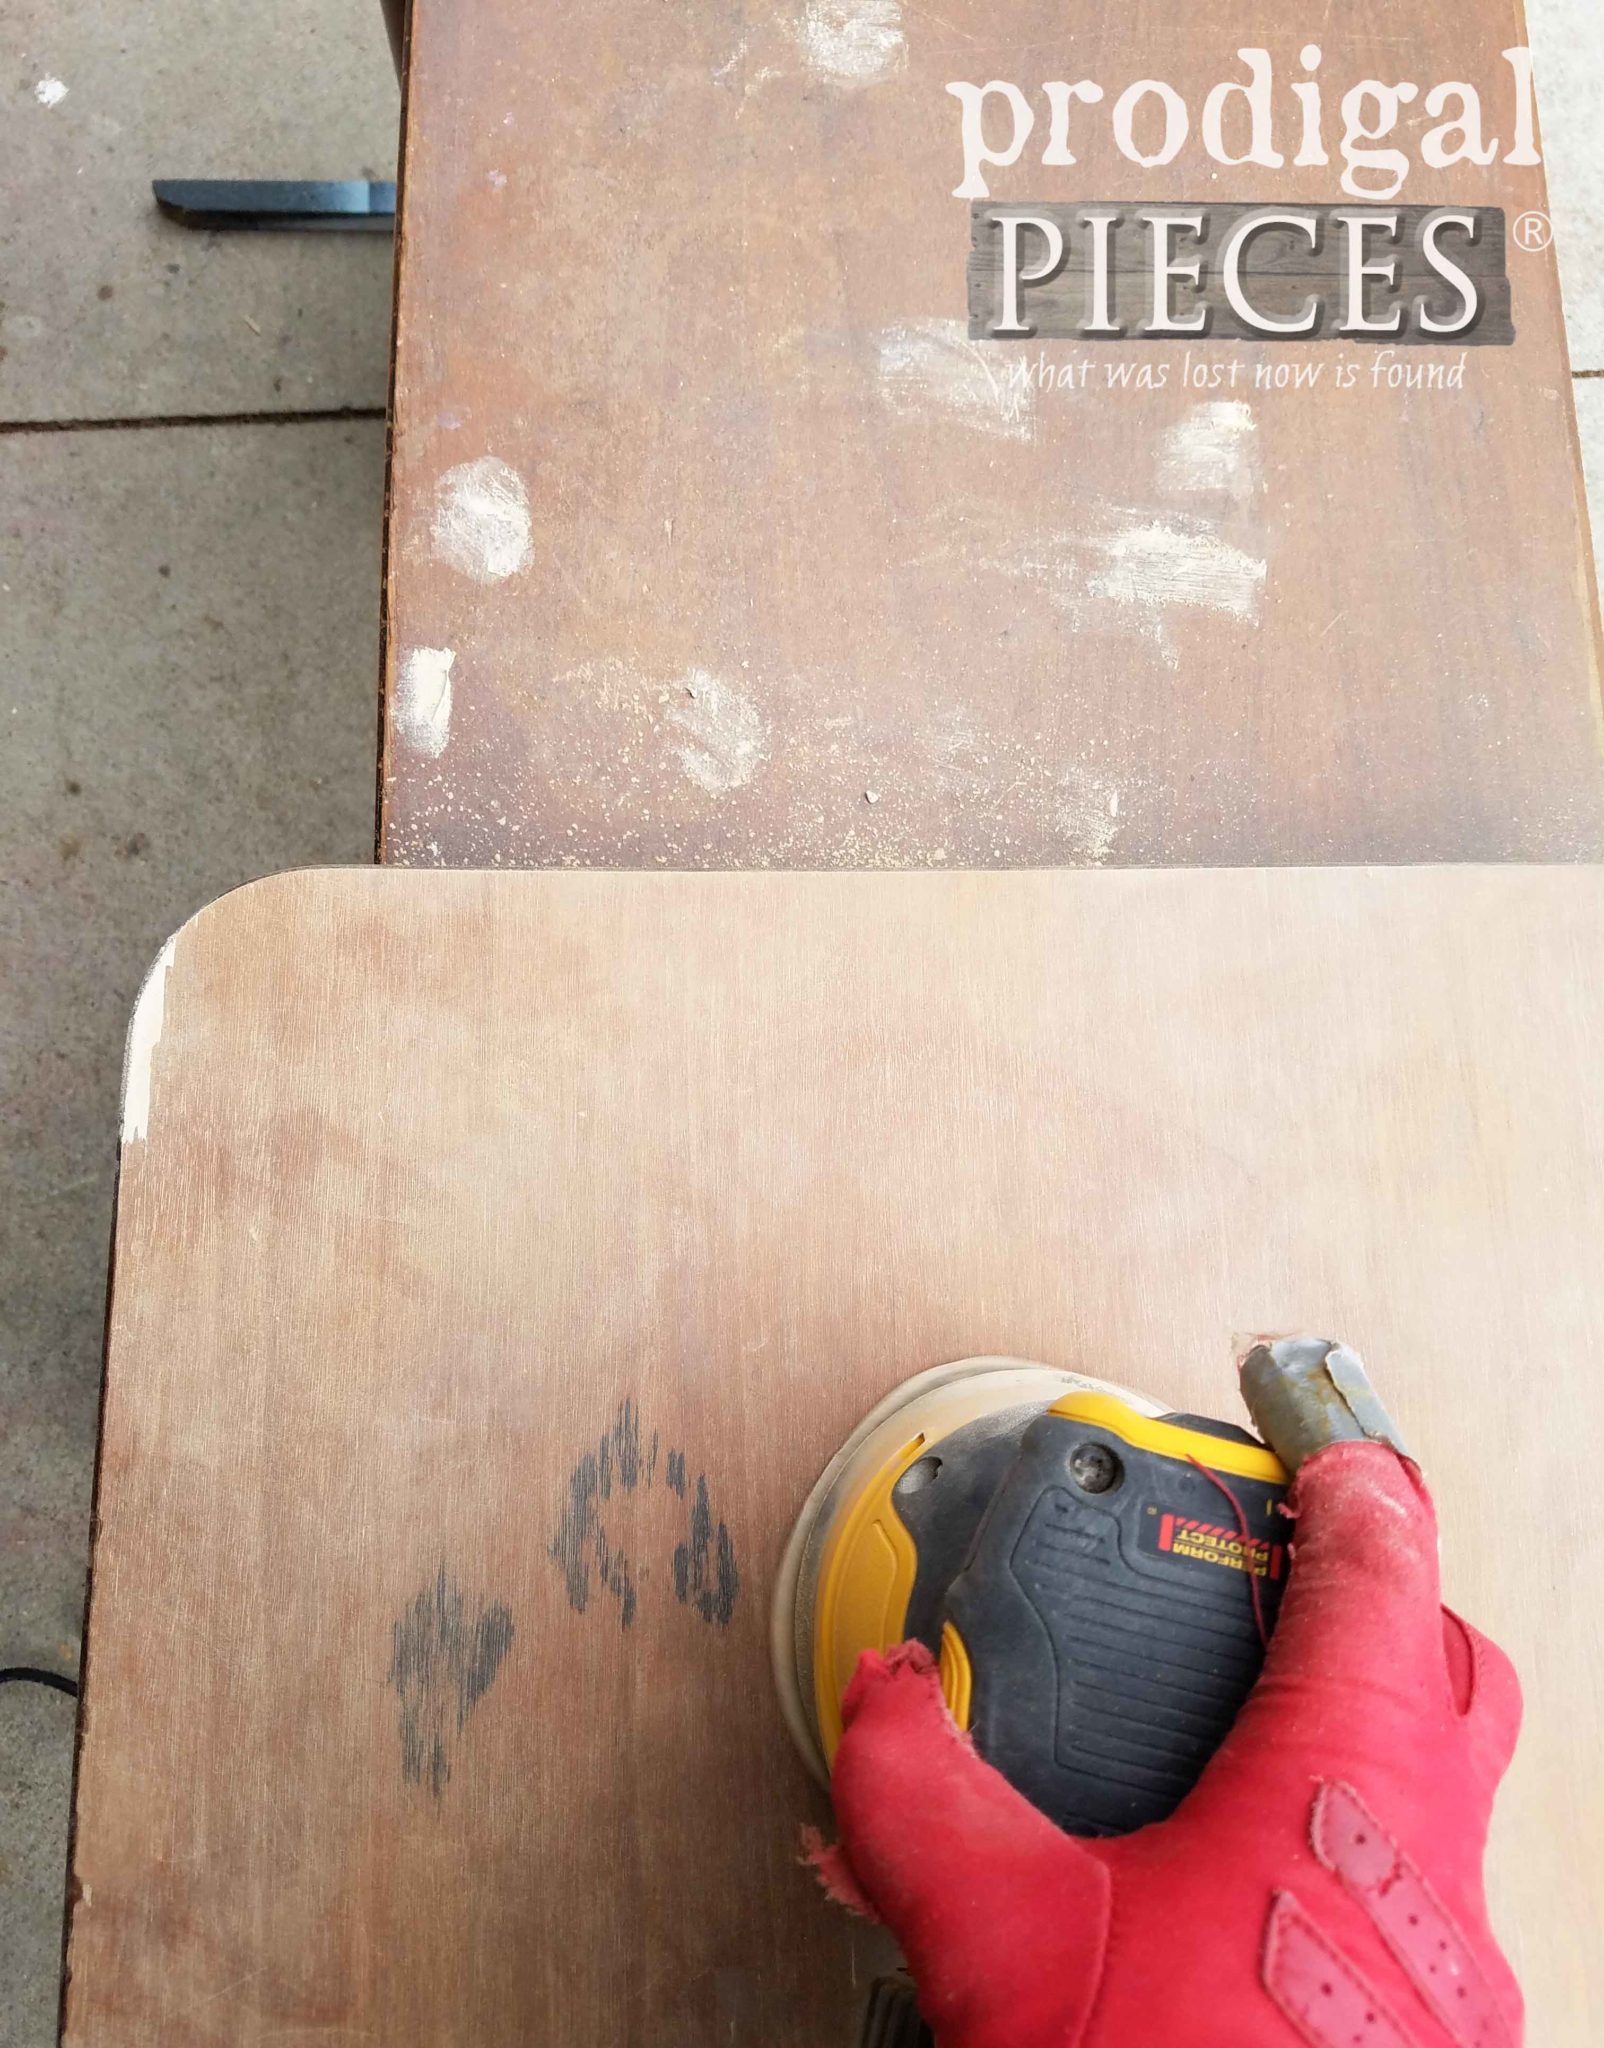
The rest of the vanity got a good sanding as well with my orbital sander - notice the stains preside. Now we're ready for the next steps.
TIME FOR PAINT
With all the stains and damage this piece had, the only option was paint. To hide those stubborn stains and block them from bleed-through, I use my brush and primer.
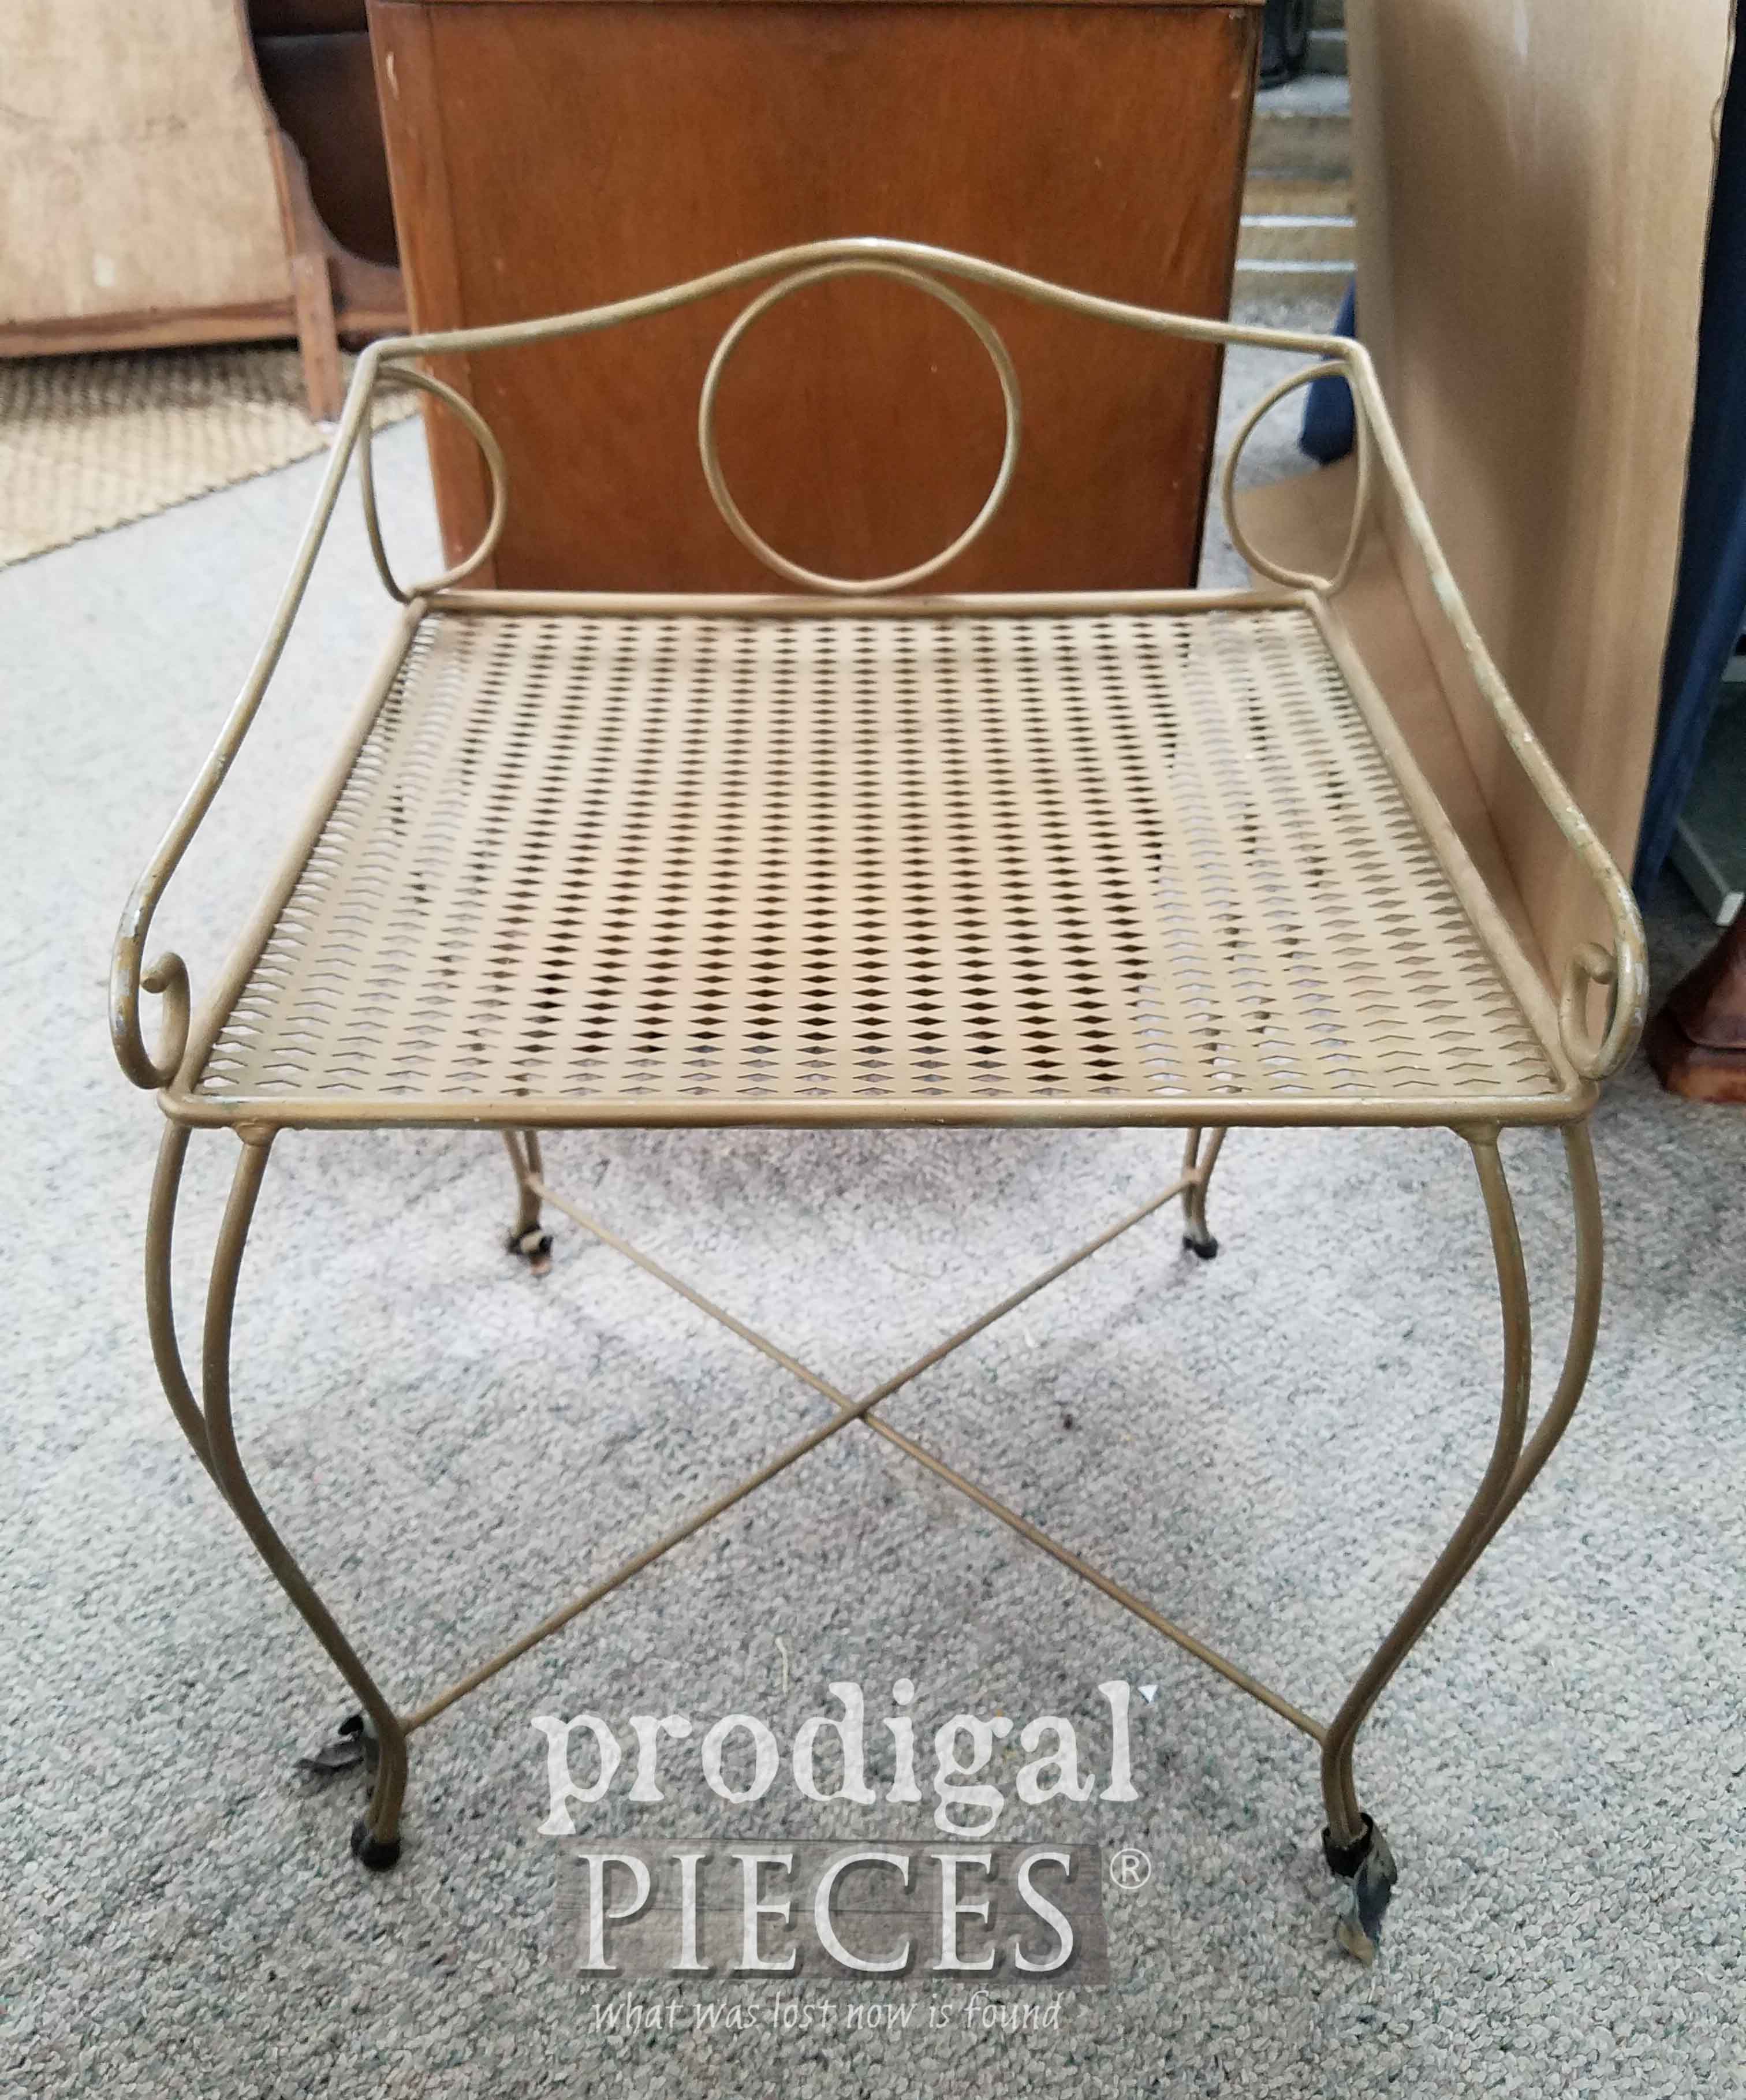
While the primer is curing for about an hour, it's time to meet my next patient. This Art Deco vanity chair was at a garage sale last summer for a couple bucks. I can't tell you how many times I get a vanity without a bench or chair, so when I see them, I buy them. This one is PERFECT for my vanity!
MORE PAINT
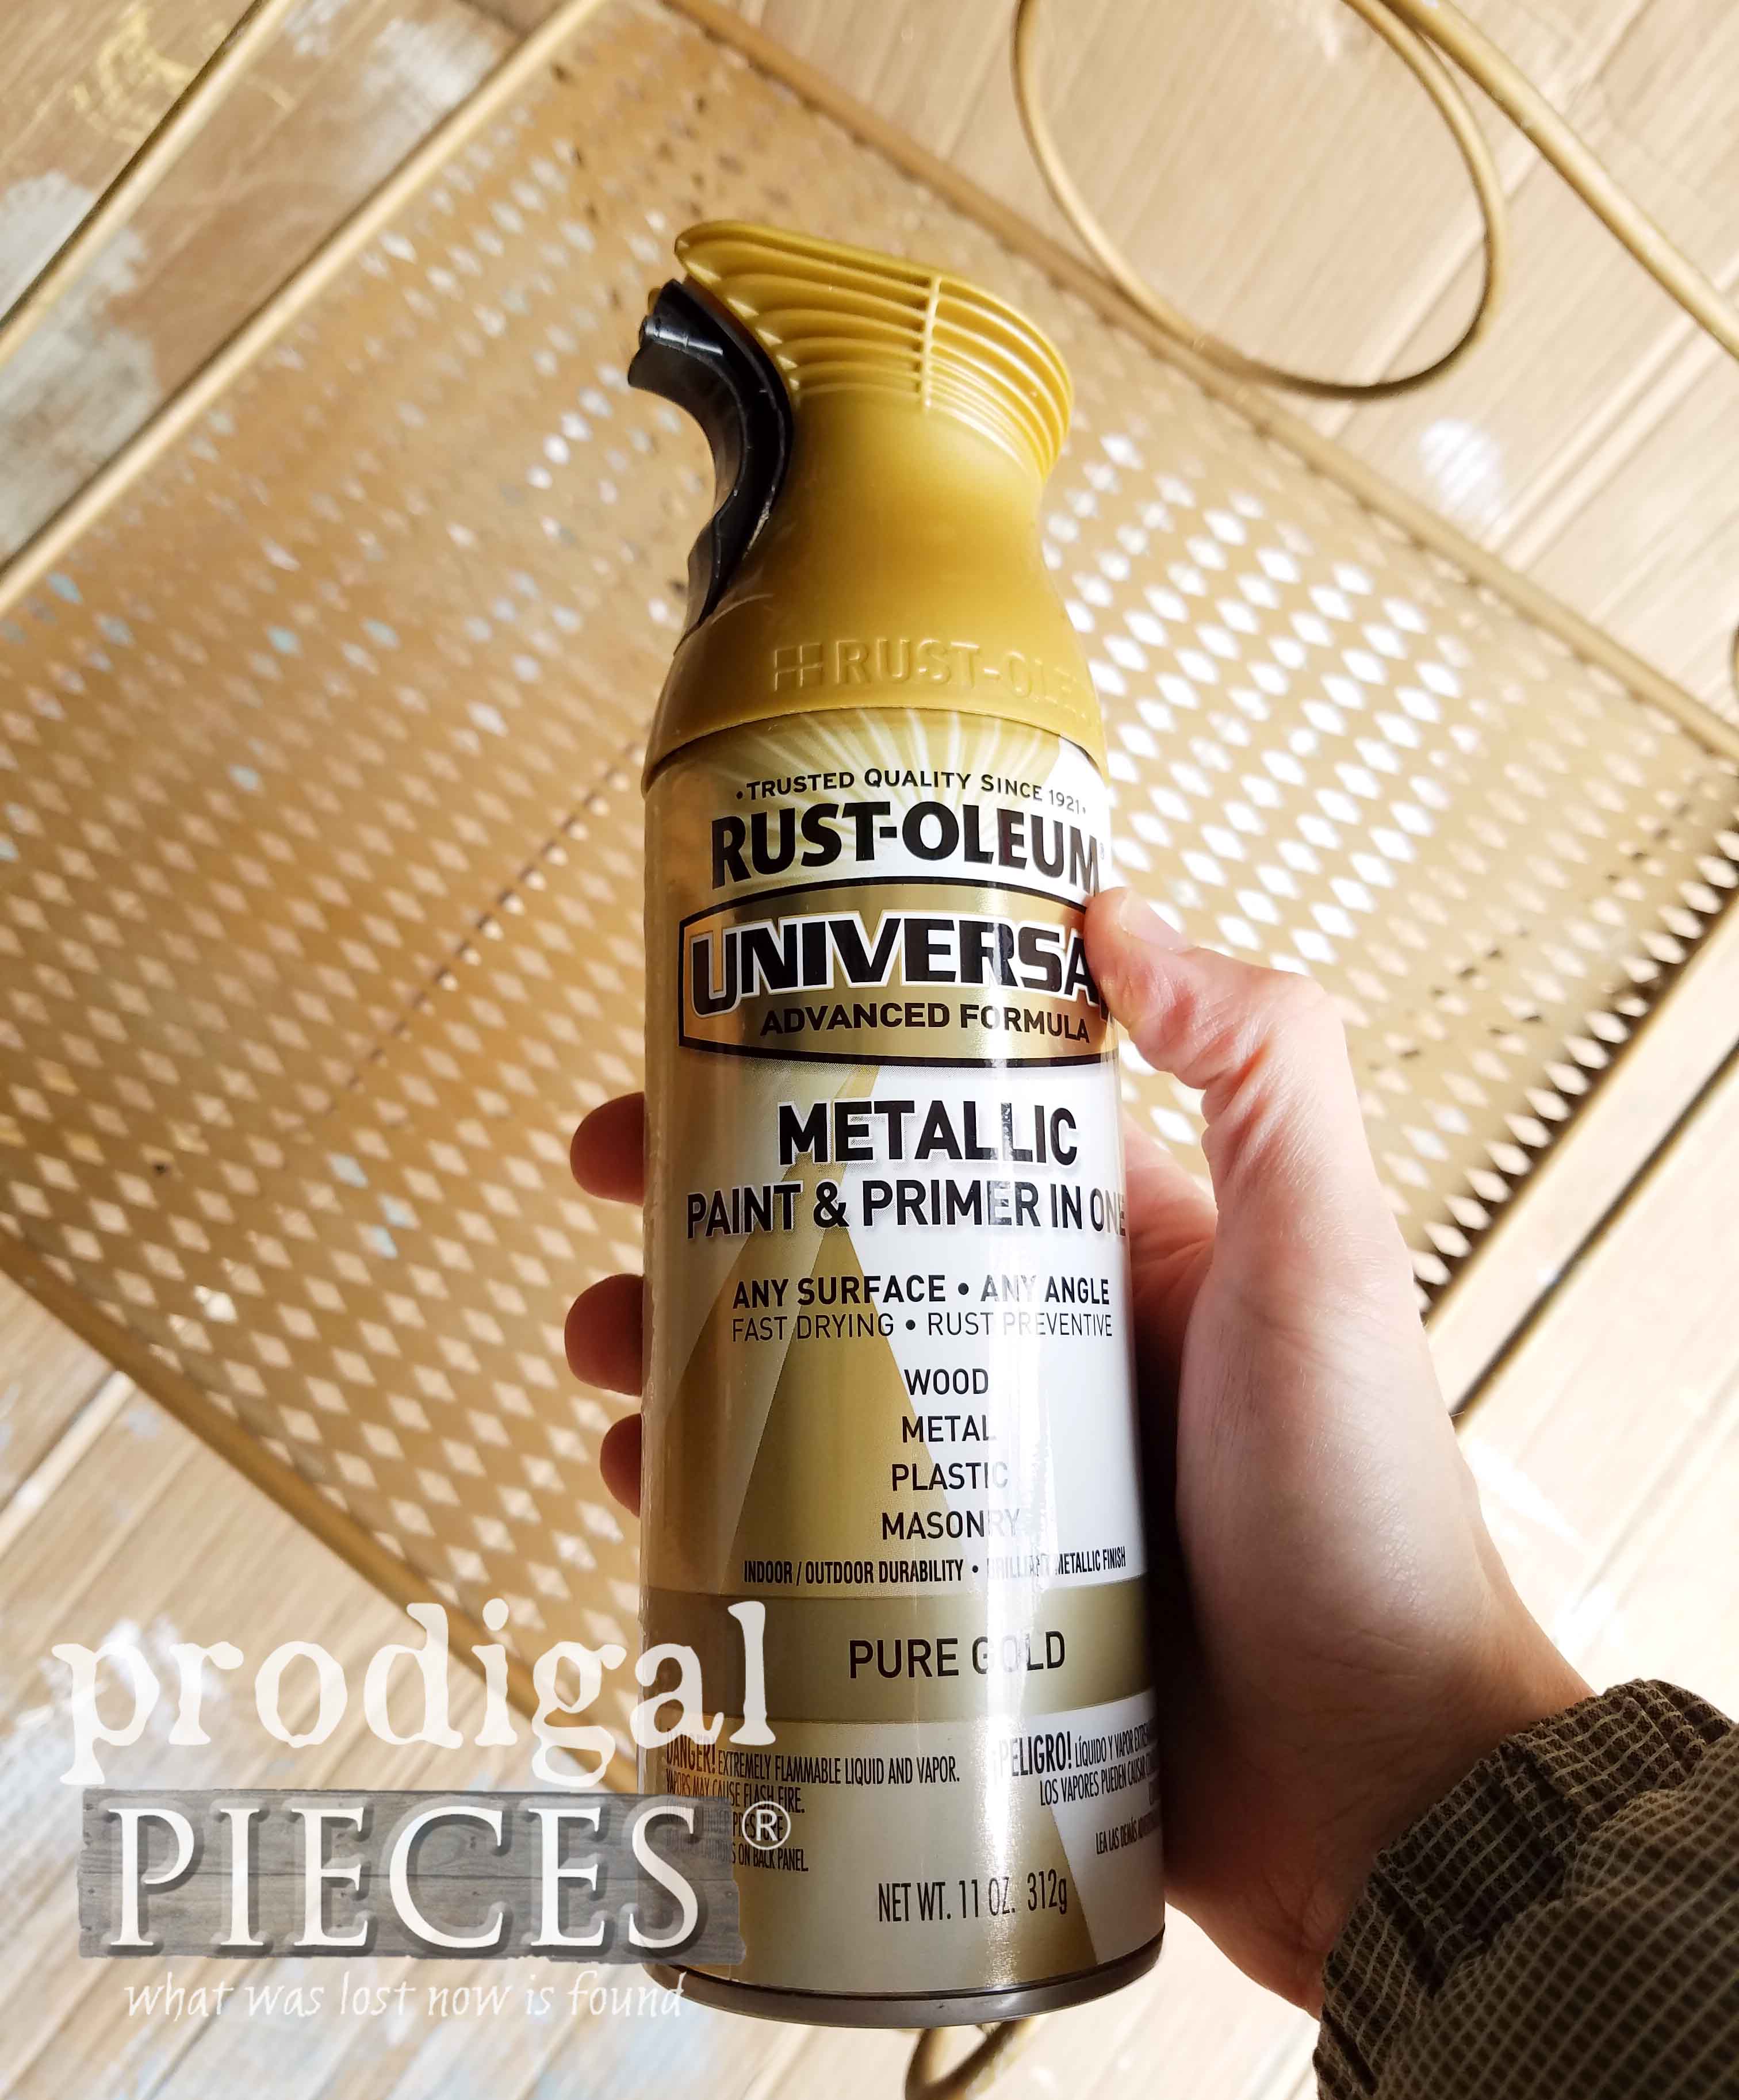
However, it needs some lovin' too. The finish is chipped and worn in not-so-pretty ways, and the feet are needing repair, plus it has no cushion. No problem. I grab on of my favorite metallic spray paints, Pure Gold, and have at it giving it a few coats.
While that is curing, I get my sewing skills on and start working on a cushion with welting and all. Let me just say it's been a few years, like a decade, since I've done that and I was a little.bit.rusty. ahem.
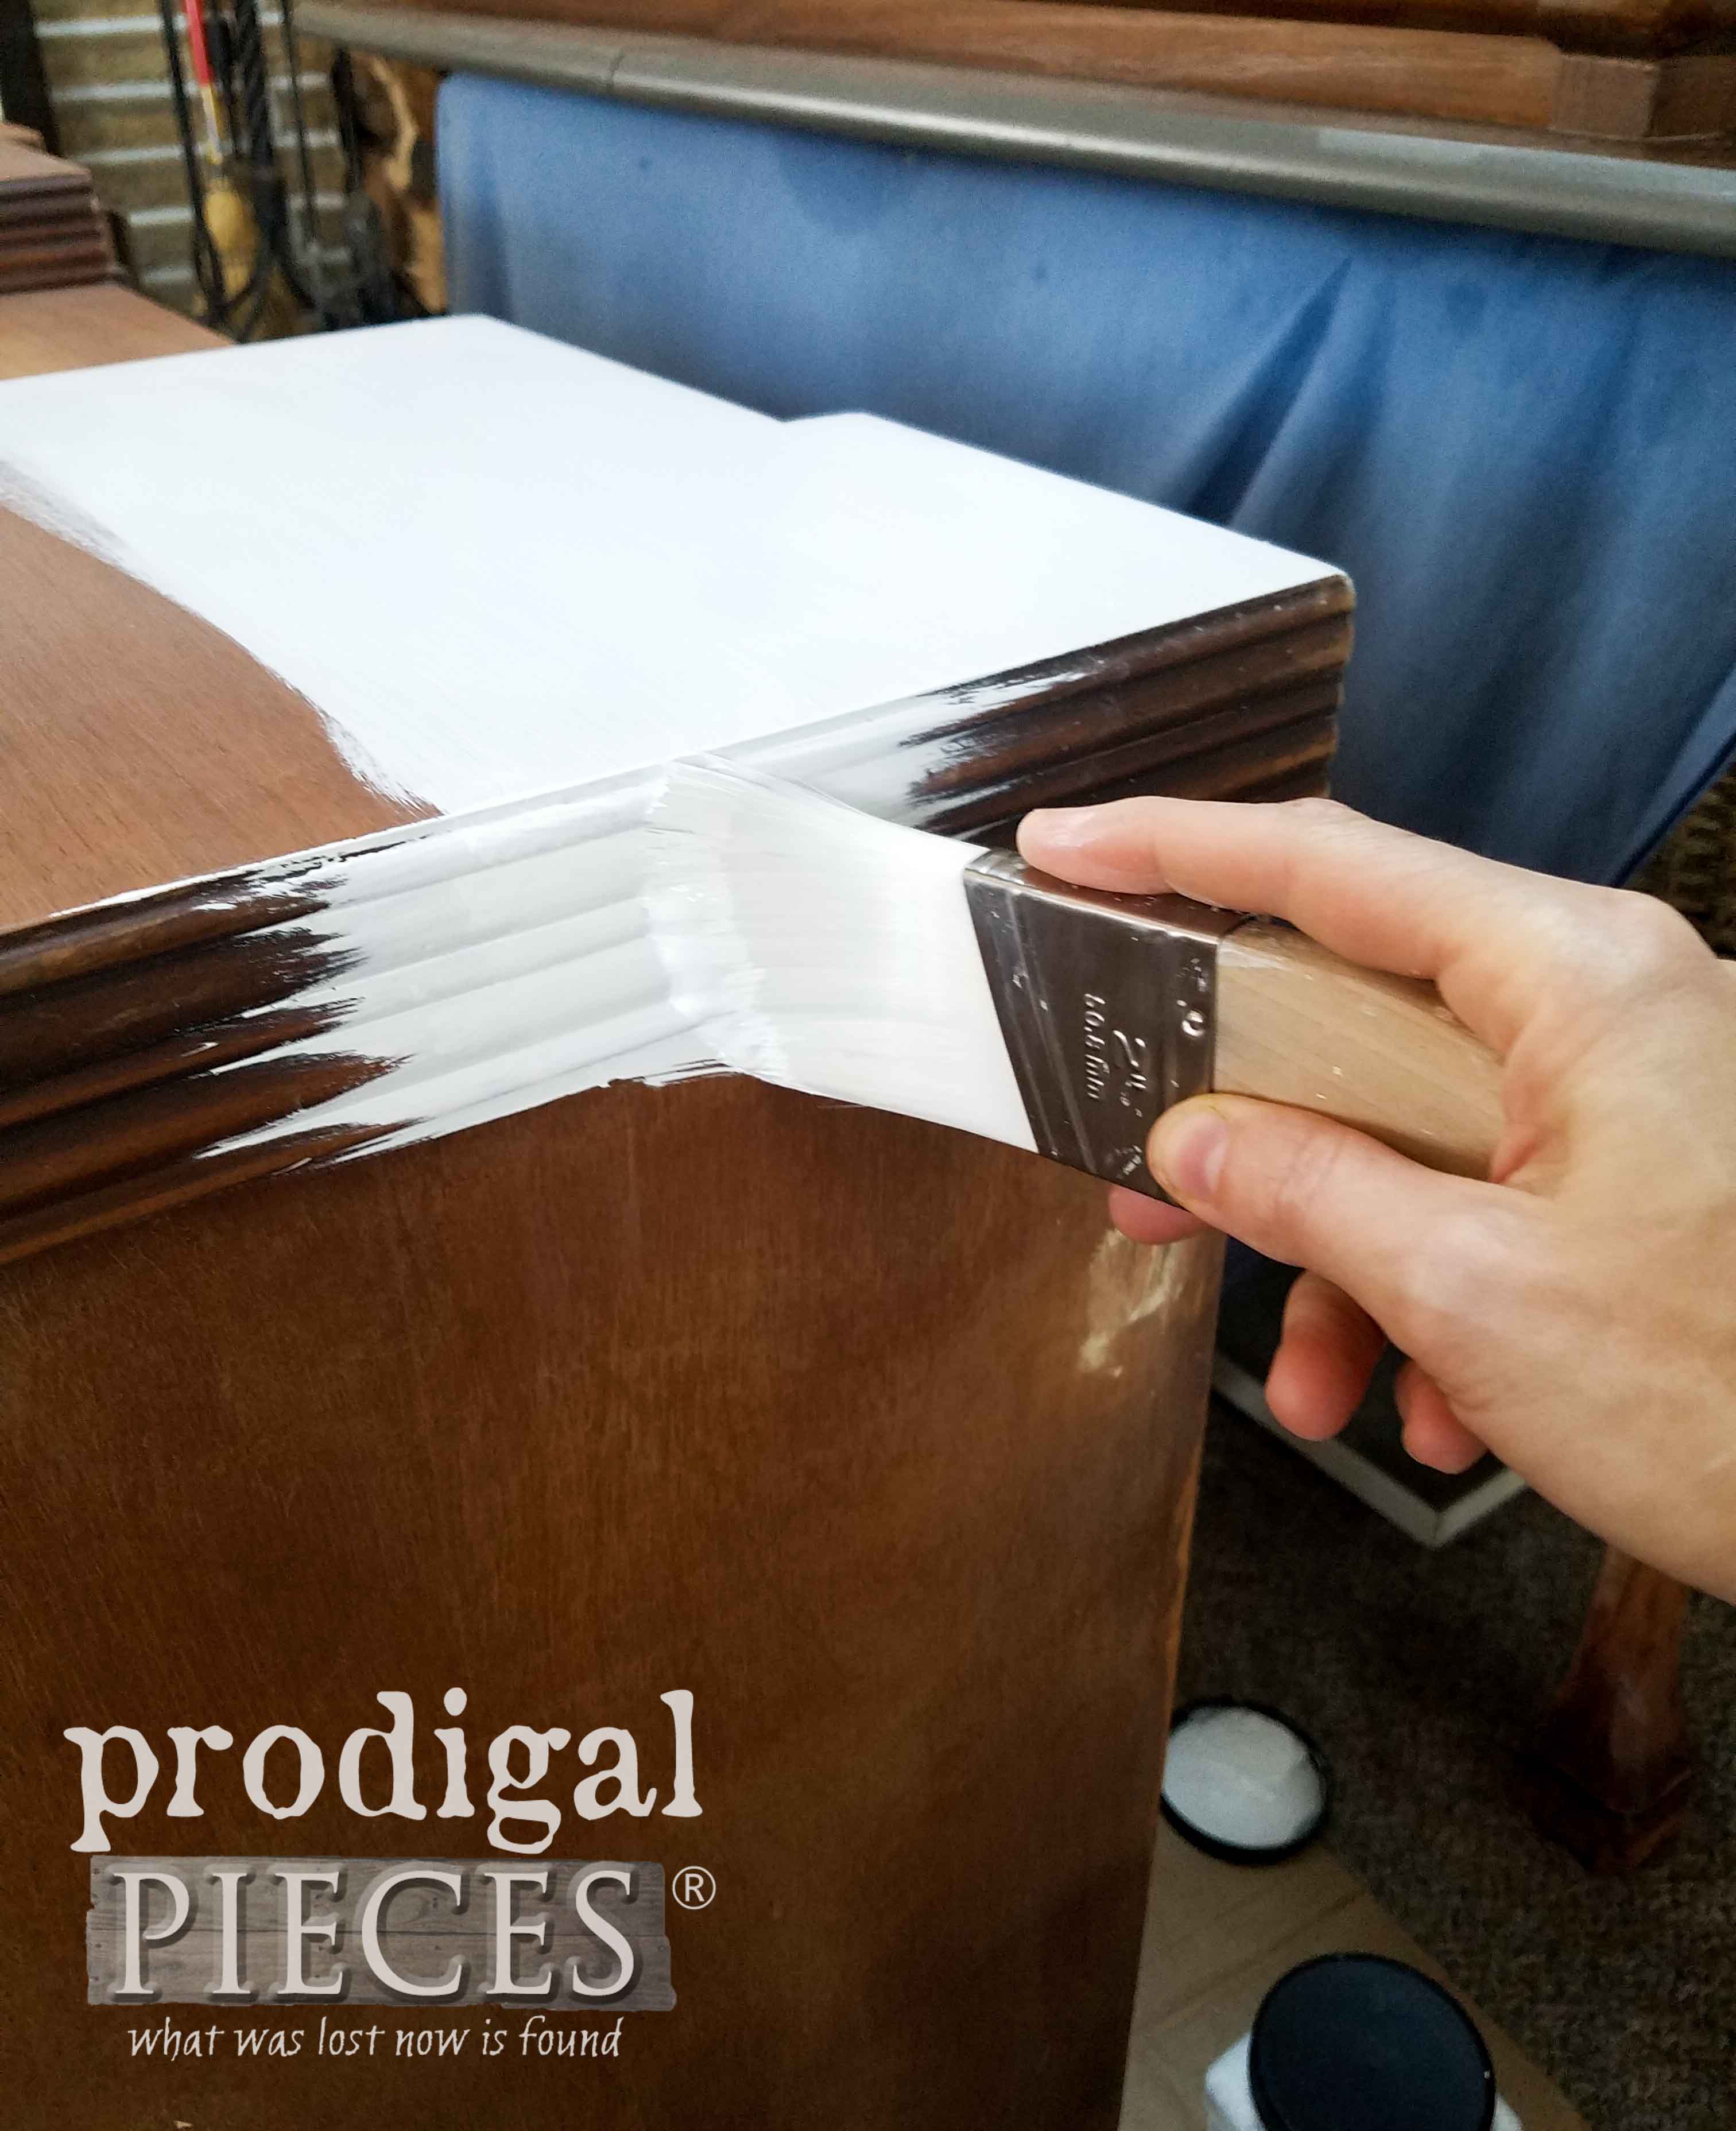
Back to this Art Deco Vanity itself. I chose to go with a beautiful white for a nice fresh look. Also, this stays true to these dynamic pieces. Again, painting two coats, allowing 2 hours cure time between.
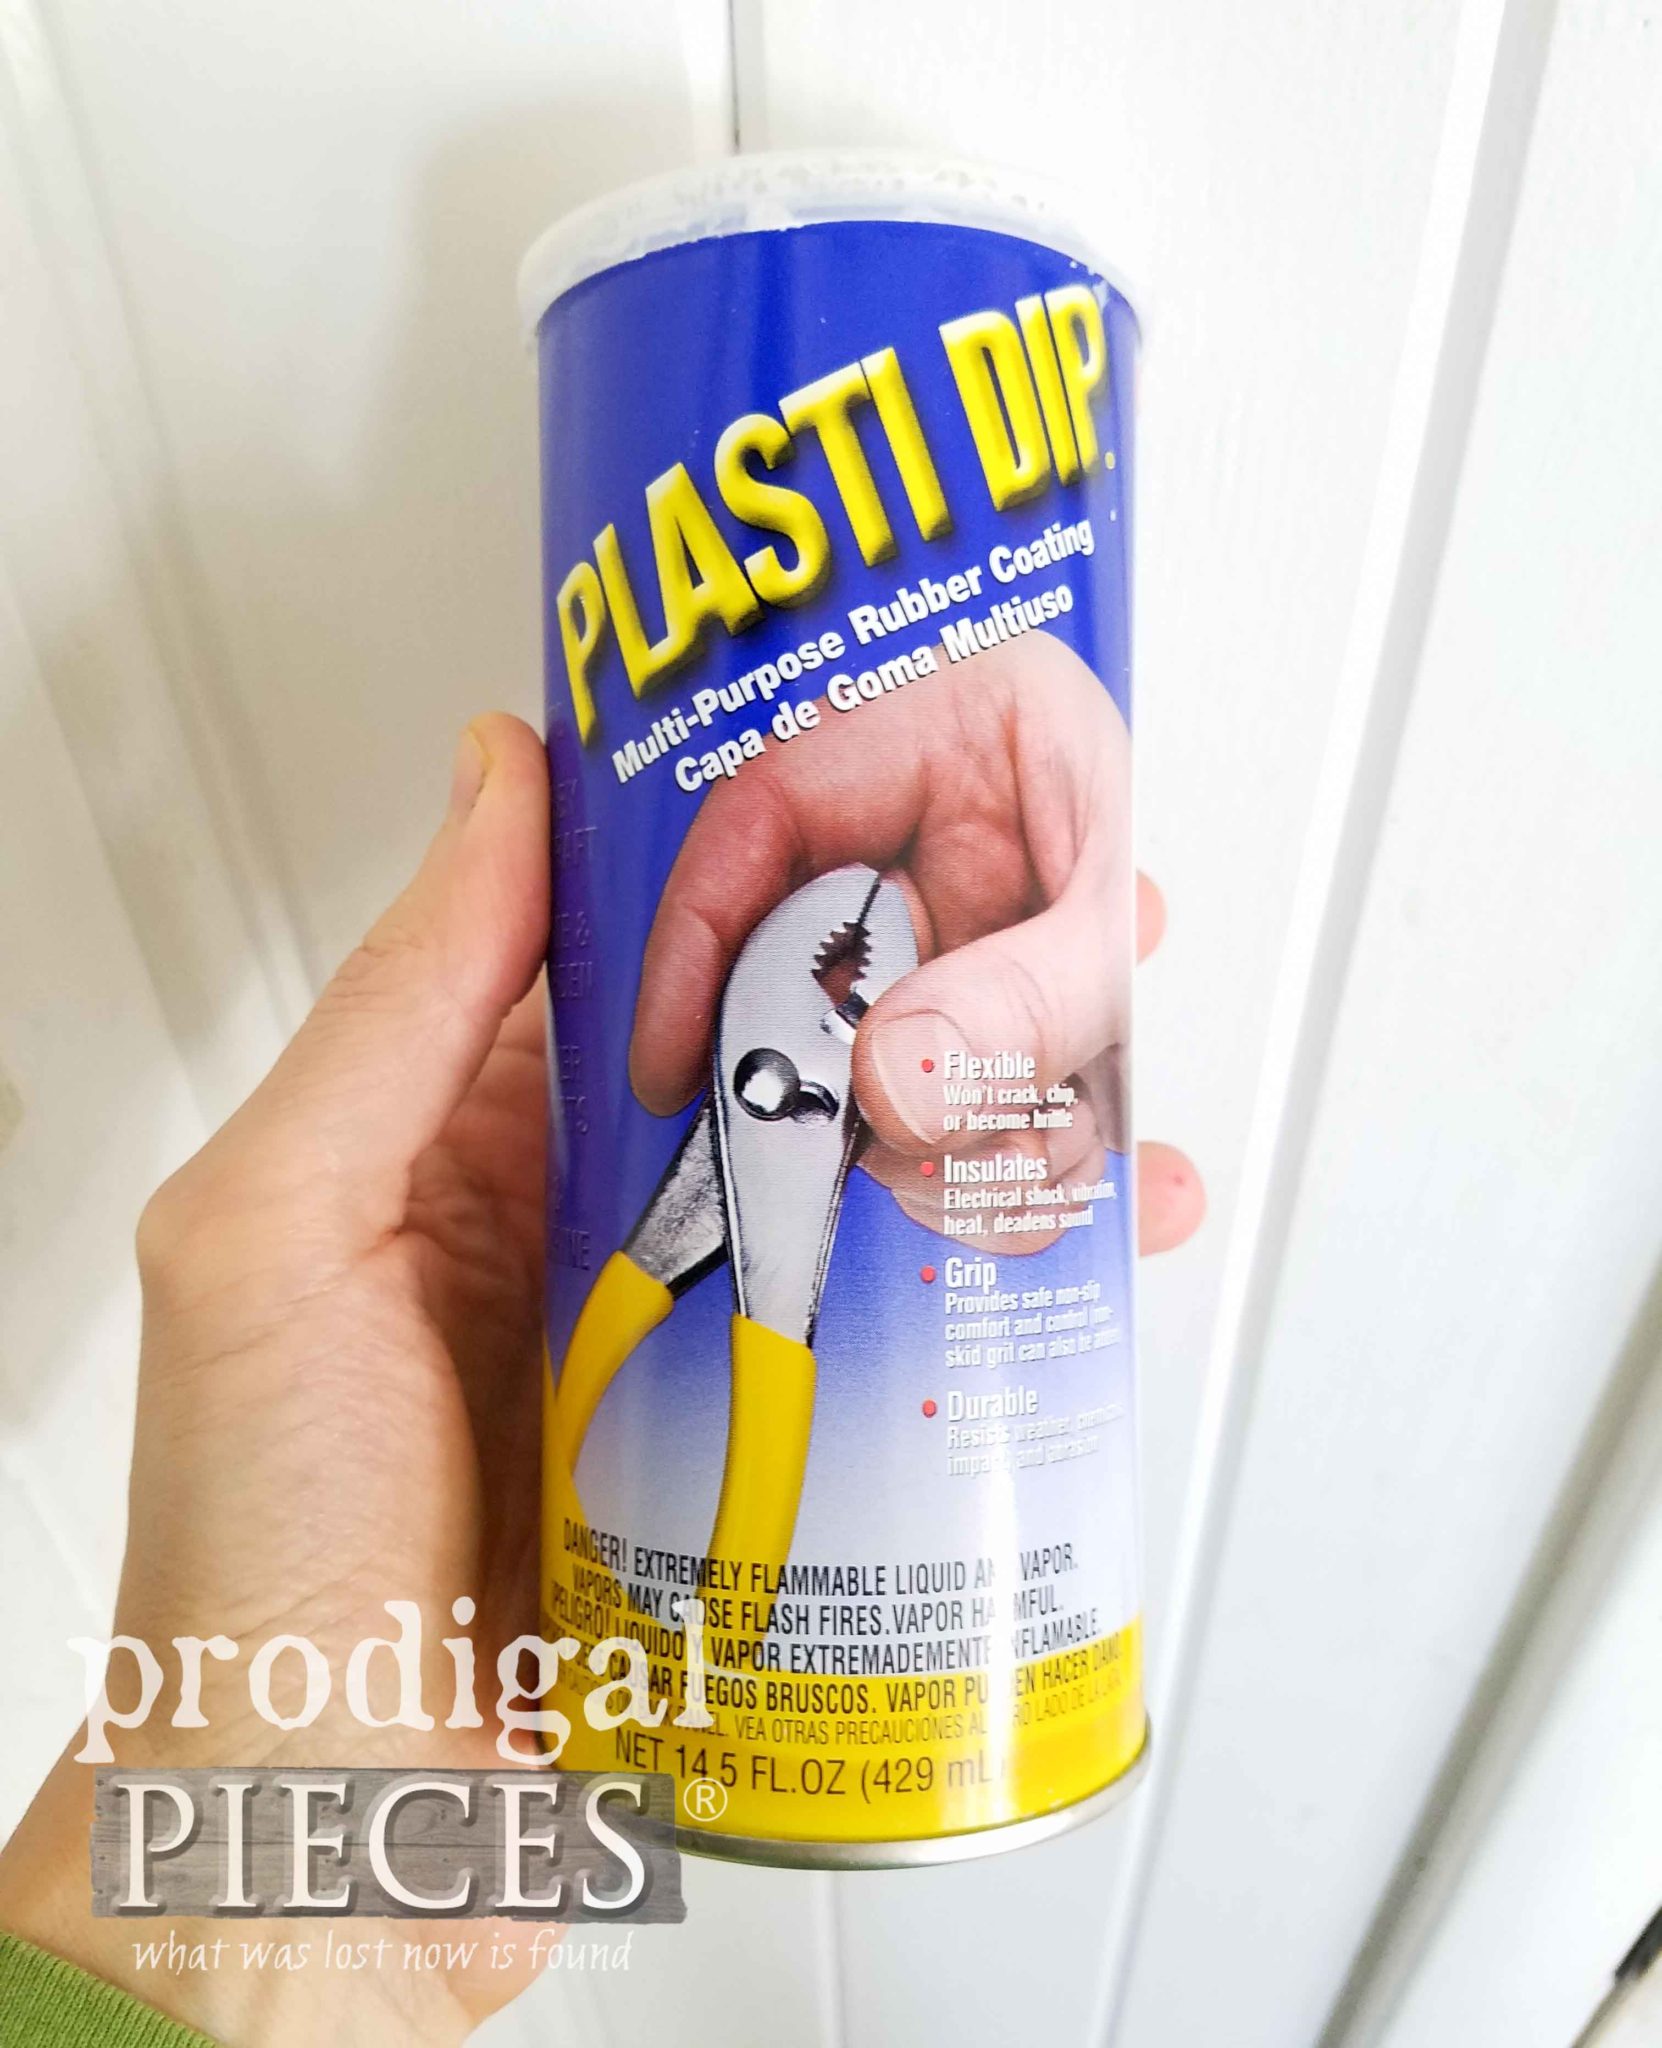
While the first coat of paint is drying, I head outside to revisit my vanity chair. The painting was done, but those feet had damage. No problem with this stuff, called Plasti Dip. Ever heard of it? It is SO COOL. It comes in oodles of fun colors and will have you coating everything you can get your hands on with an awesome rubber coating.
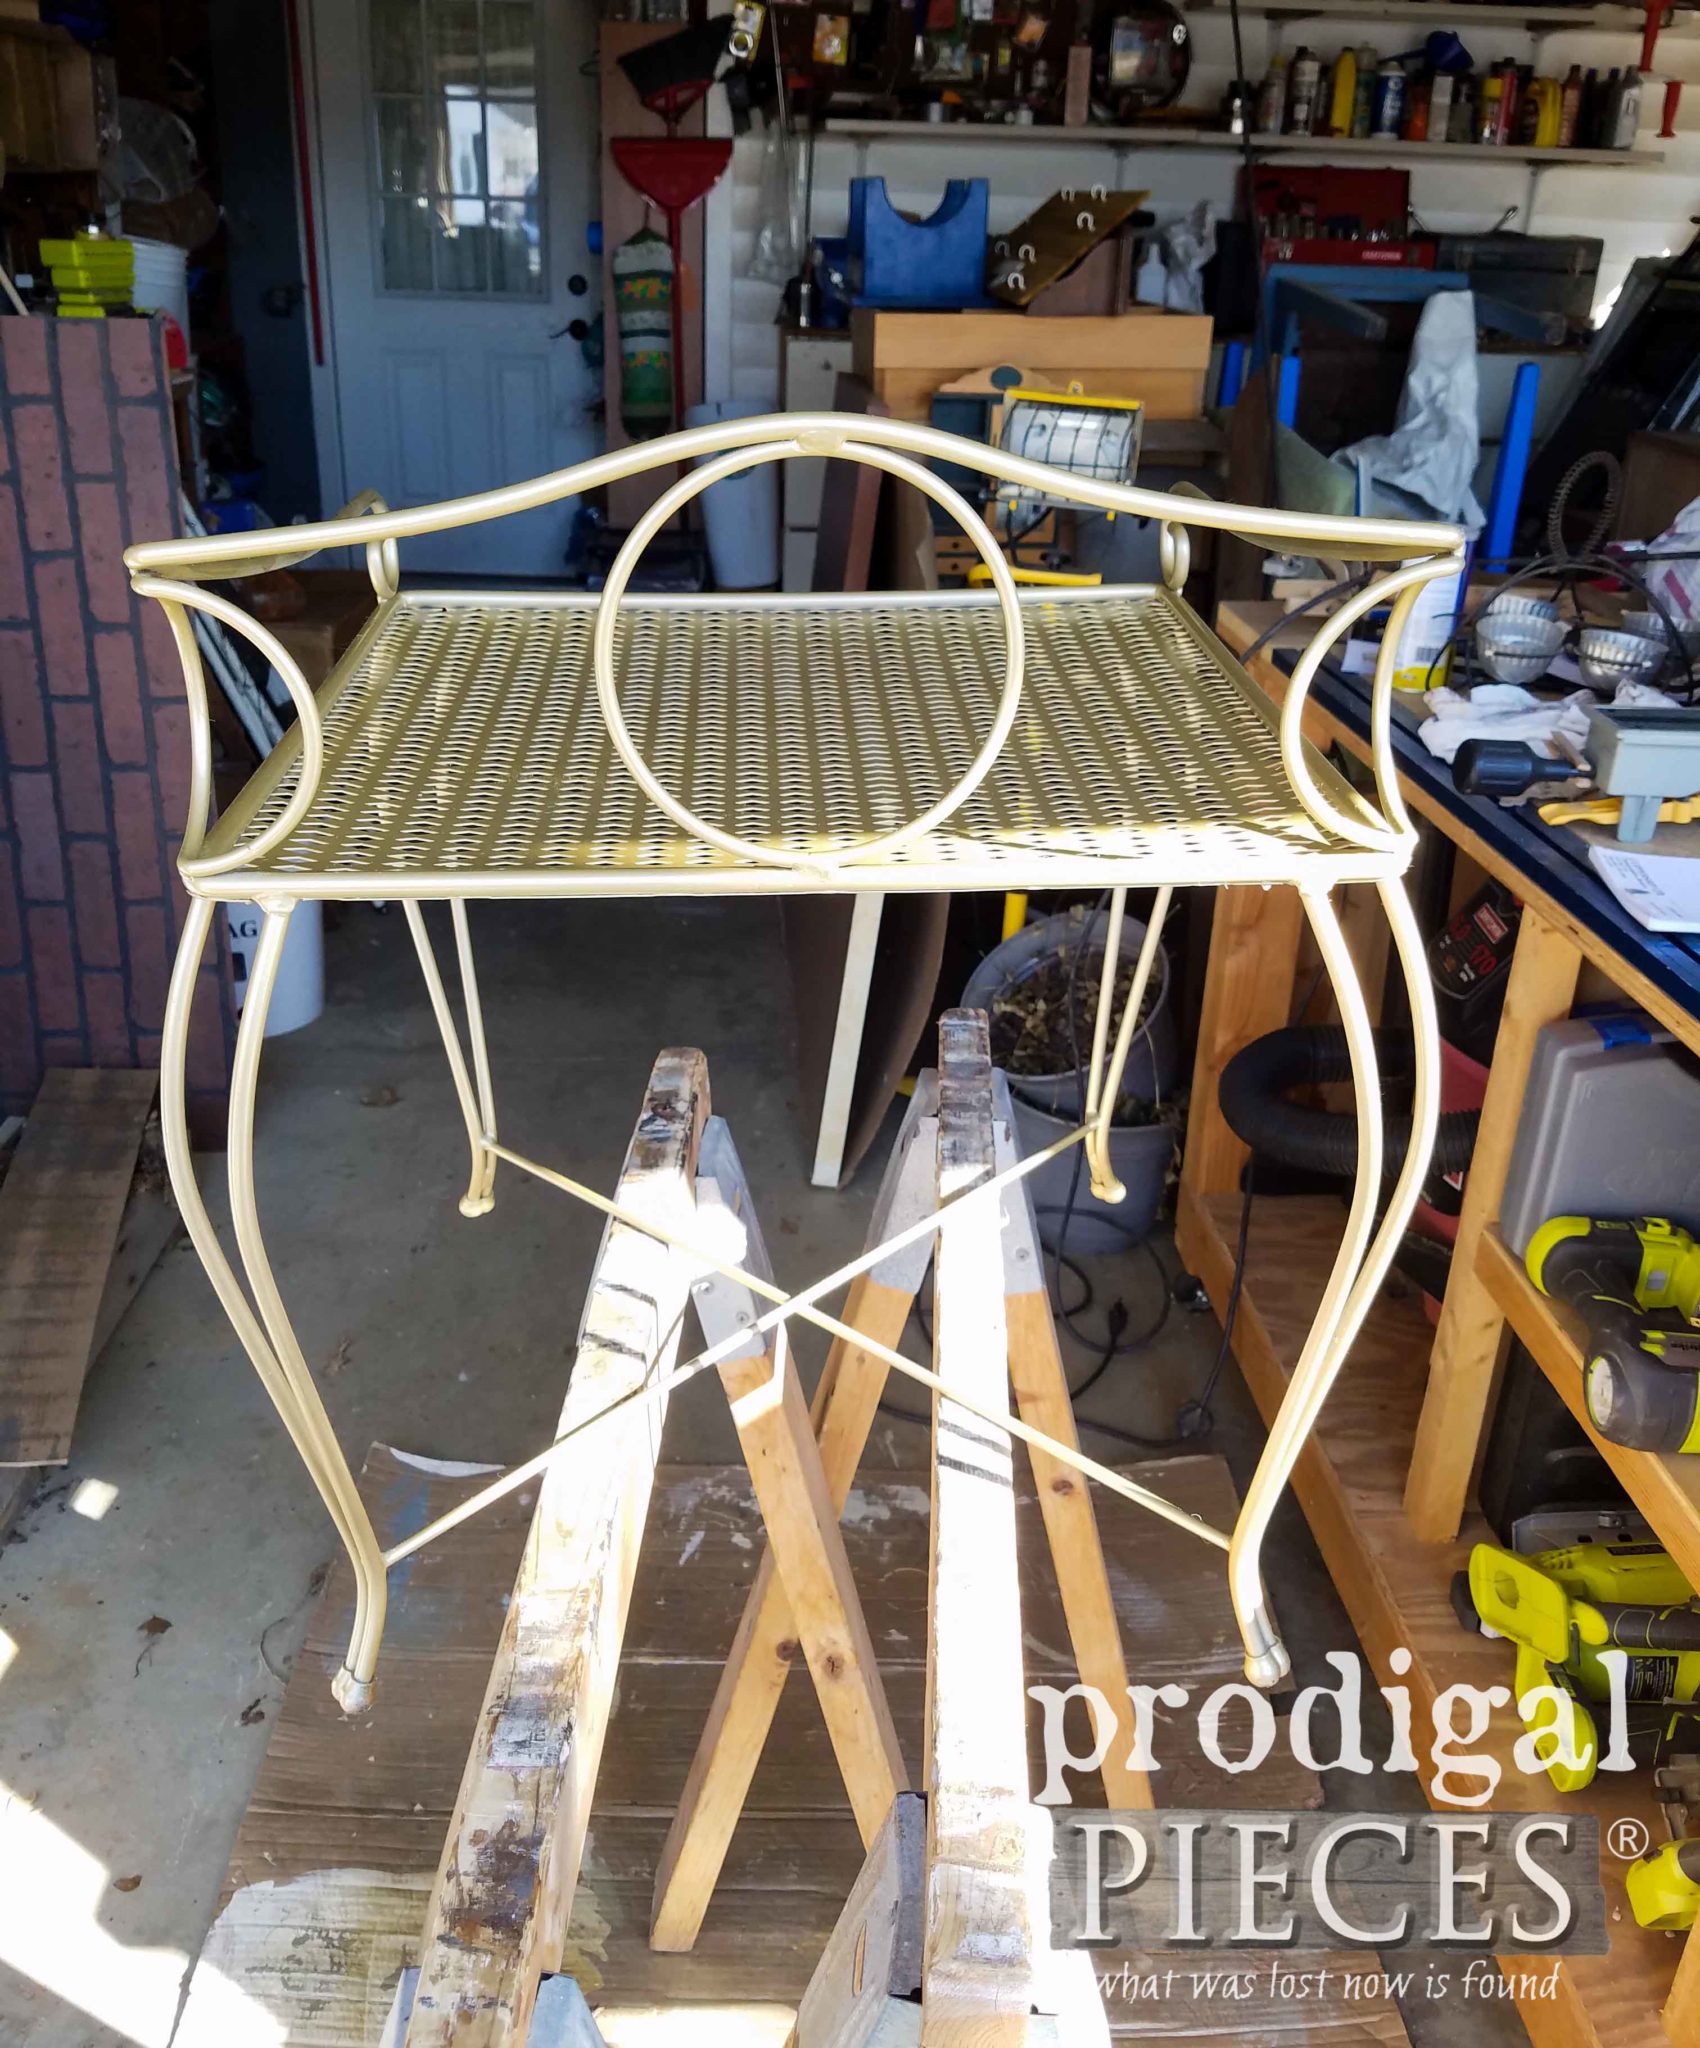
It's some serious chemicals you don't want to mess around with, but it will have you giggling with how easy it is to use. Check it out. I propped up my vanity chair onto saw horses with a piece of cardboard to catch drips beneath.
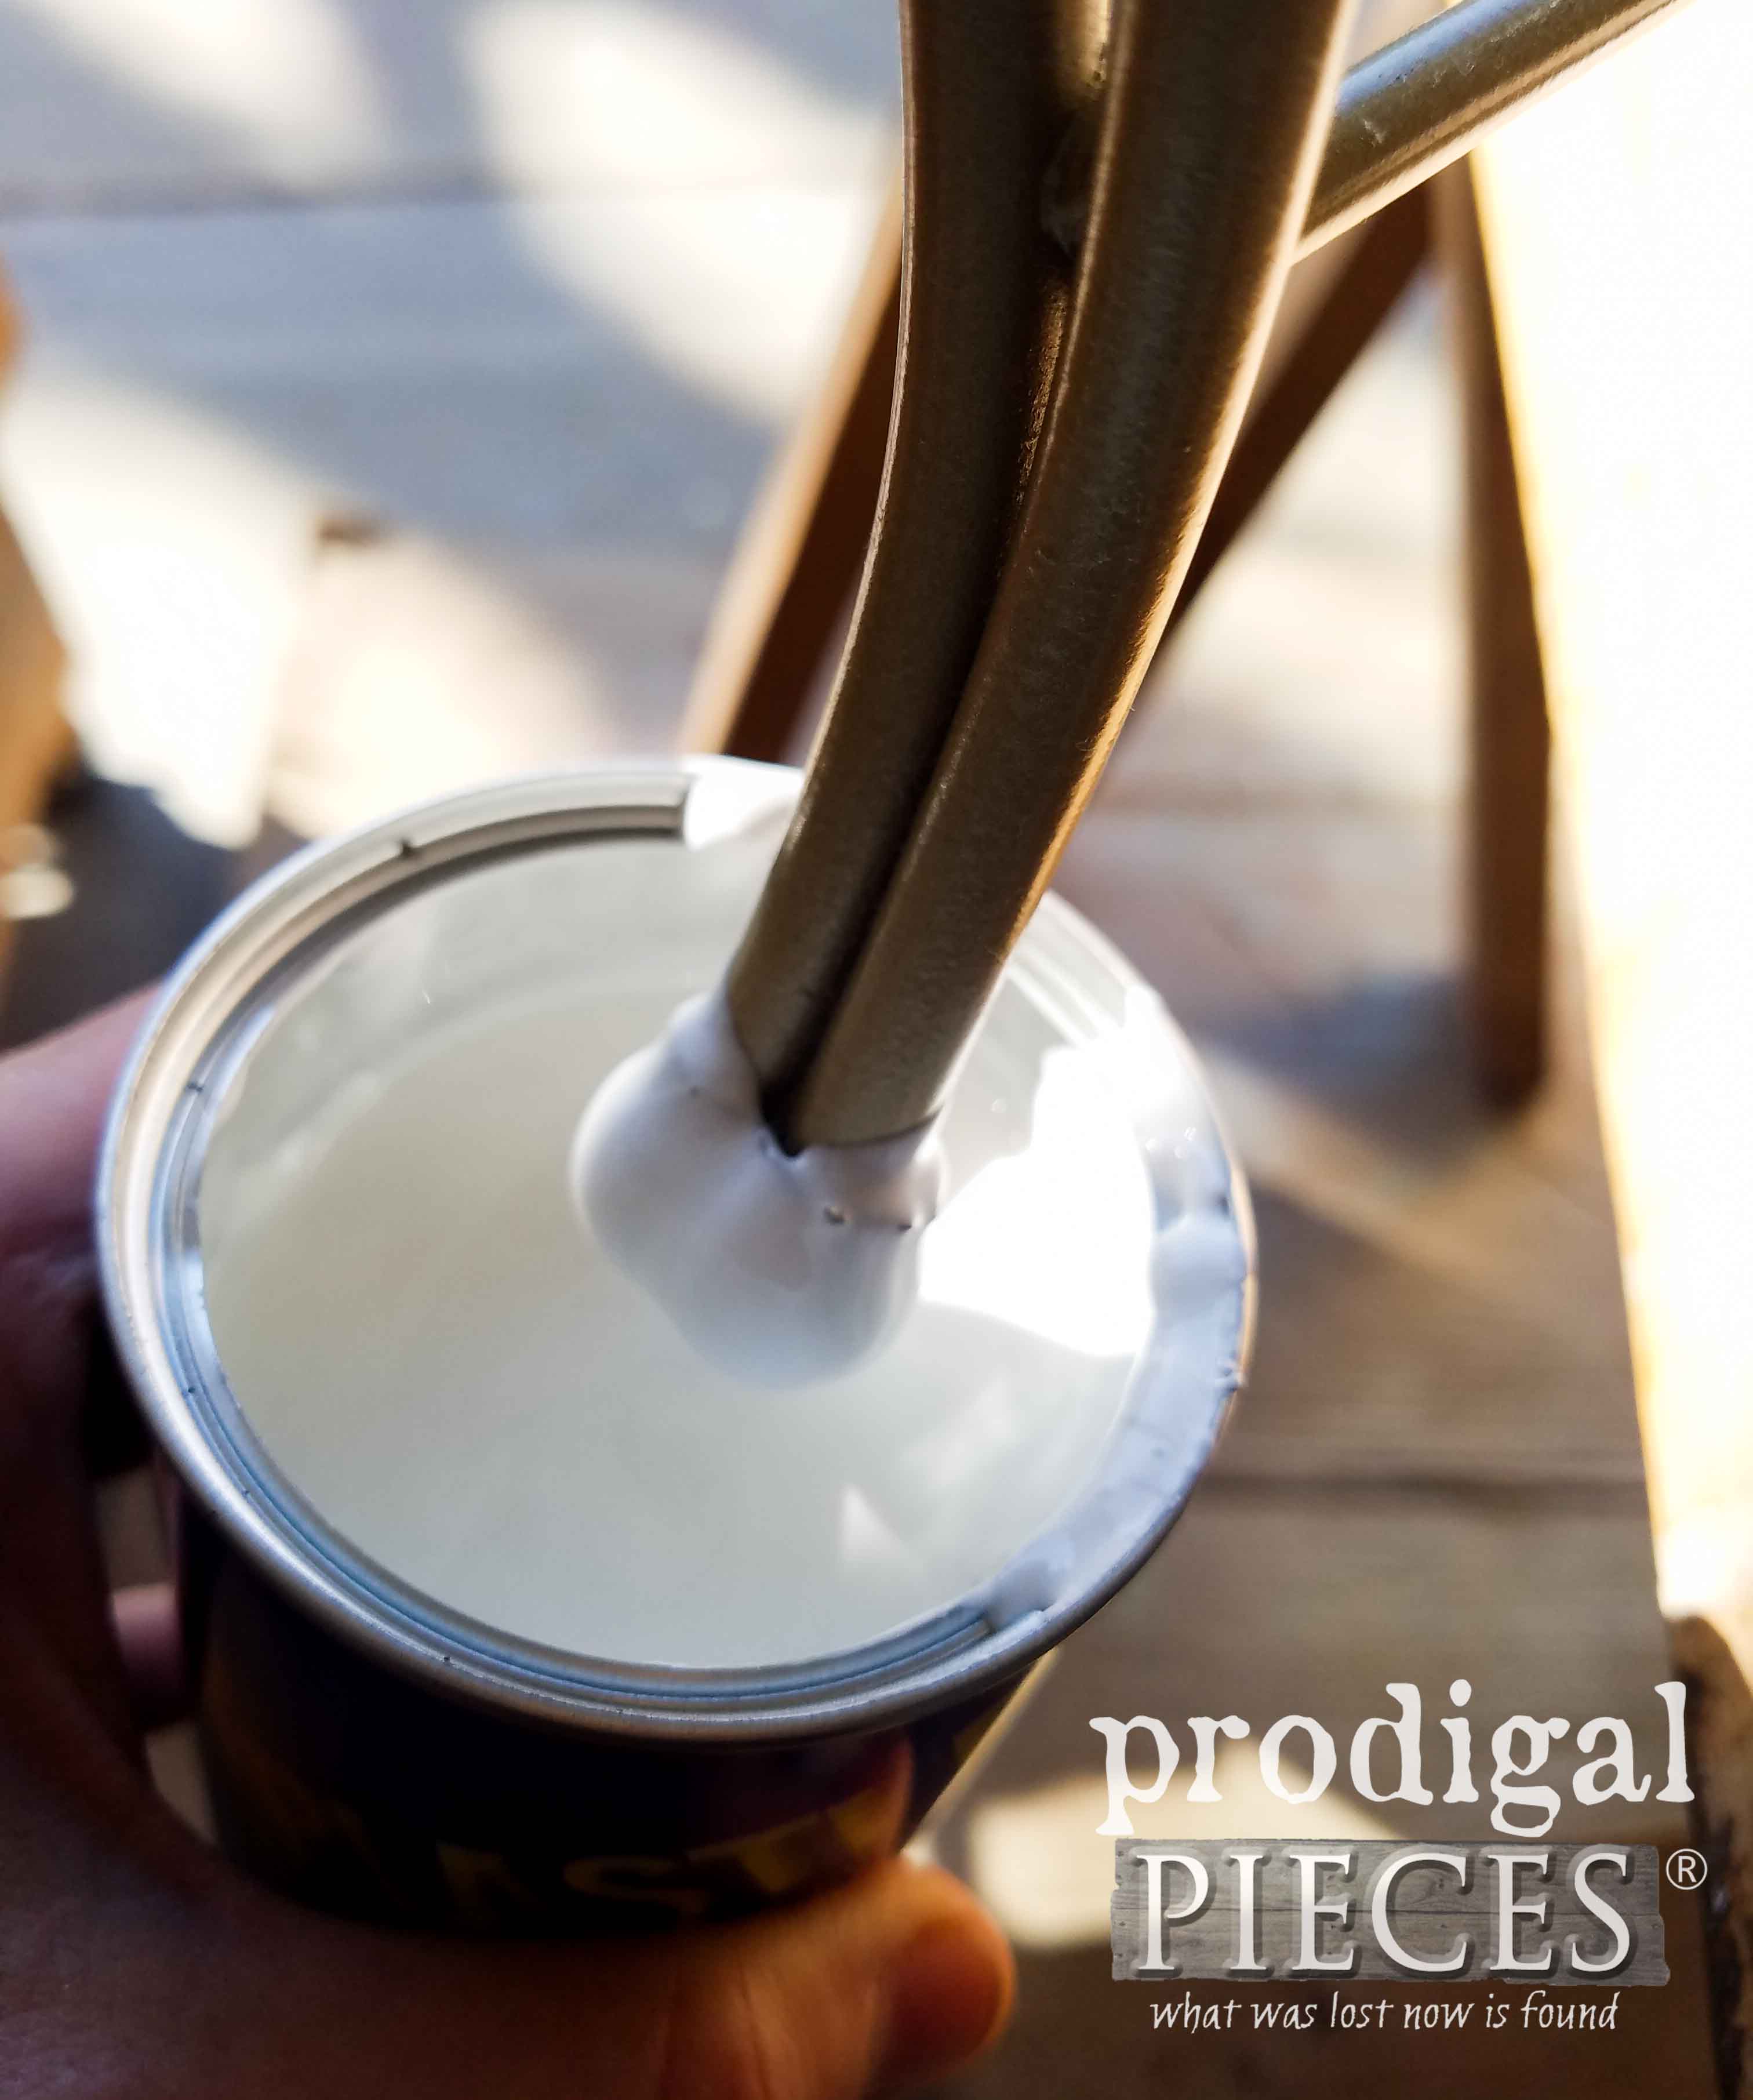
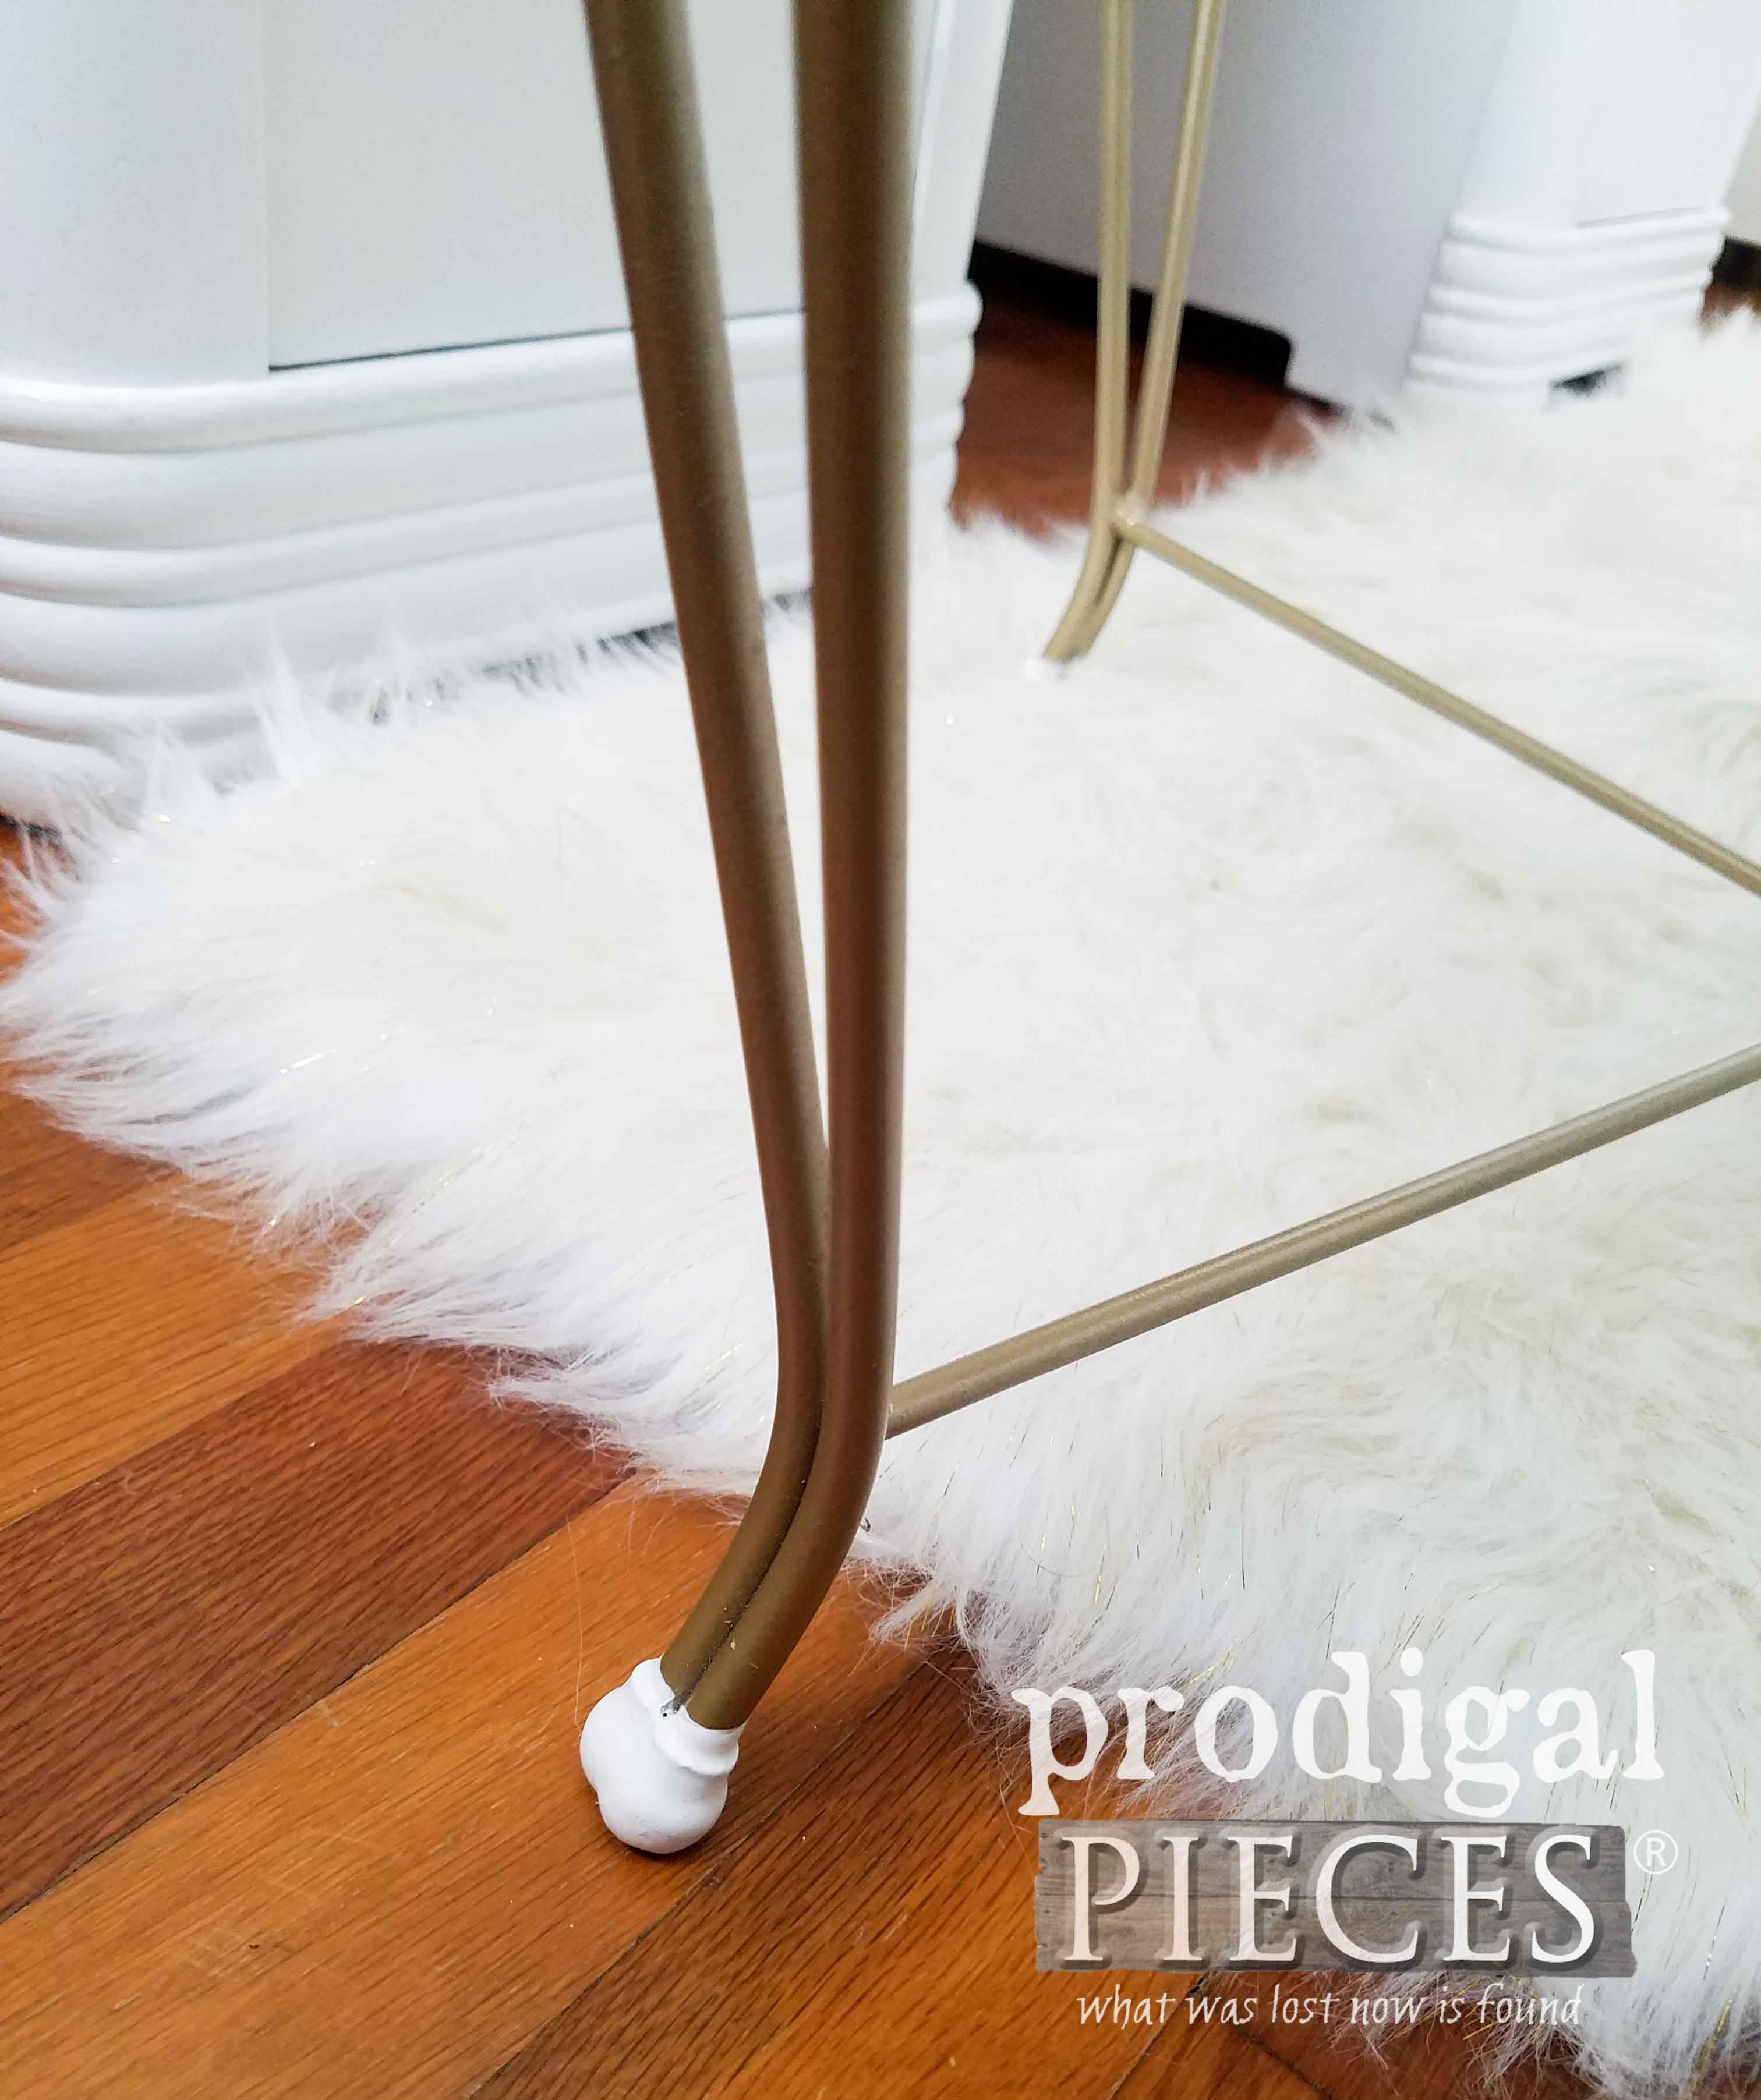
You see, the little black rubber feet were worn and even cracked, but this stuff will cure all. I simply dip each foot in working slowly in and out at the same pace and voila!
ONE LAST THING
I let them cure for 30 minutes between coats - I only needed two coats to get the coverage I desired. I just love this stuff! You should have seen my face when JC saw the can sitting on my desk and he says, ooh, we can use it on this and this and this... I just looked at him like, no, it's mine. haha!!
Okay, so between coats of the Plasti Dip, I went back to painting the second coat of paint, and while that was curing, back to sewing the cushion. See...I told you I was a hard workin' mama.
Are you ready to see this set complete? You can bet I am. Here is my Art Deco vanity meets Boho chic style.


Now, isn't that much better? We have a fresh new look with new pulls, and a whole lotta style. Plus, it's even got a couple coats of poly to protect it all. I can't say enough that this was a fun project to see come together.

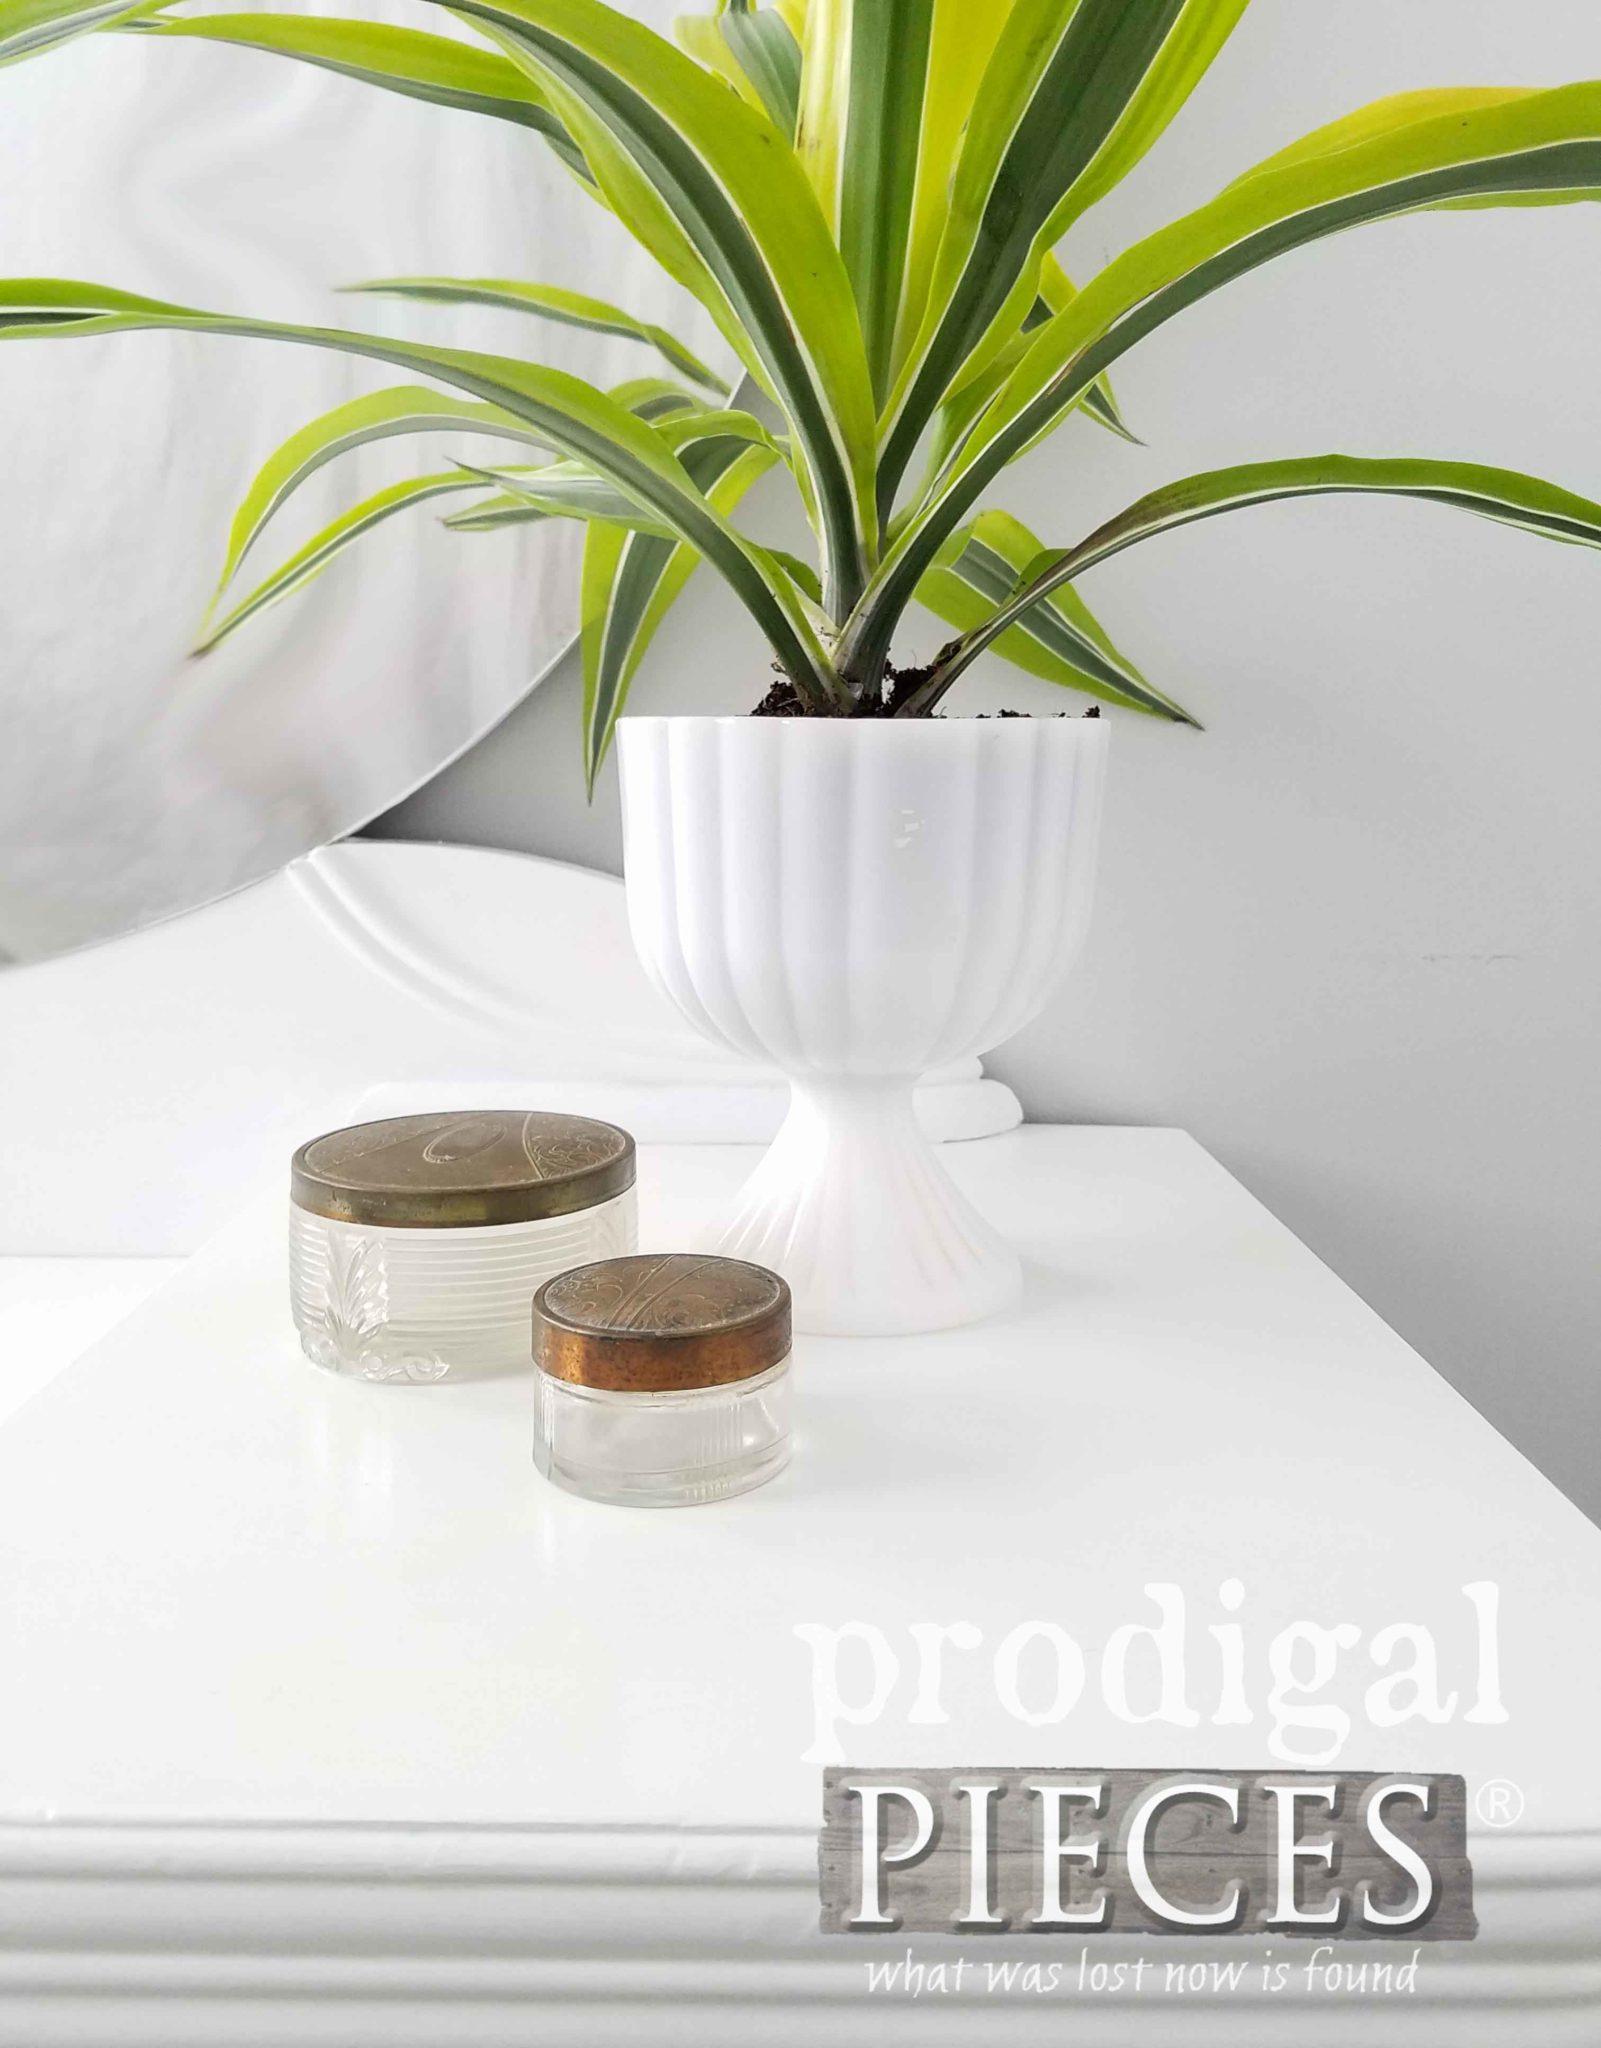
The funky style these Art Deco vanity sets have just make me smile. You can't help but want to sit down and just feel the immensity of it all.

ALL THAT GLAM
I had to stage this in my boys' bedroom, so I hung up a sheet to hide their hot mess and blurred the reflection a bit. Kinda looks like a giant marble sitting on there, doesn't it? The mirror is in excellent condition with no chips, only a tiny bit of wear. It's a whopping 33 ½" diameter! I love it.

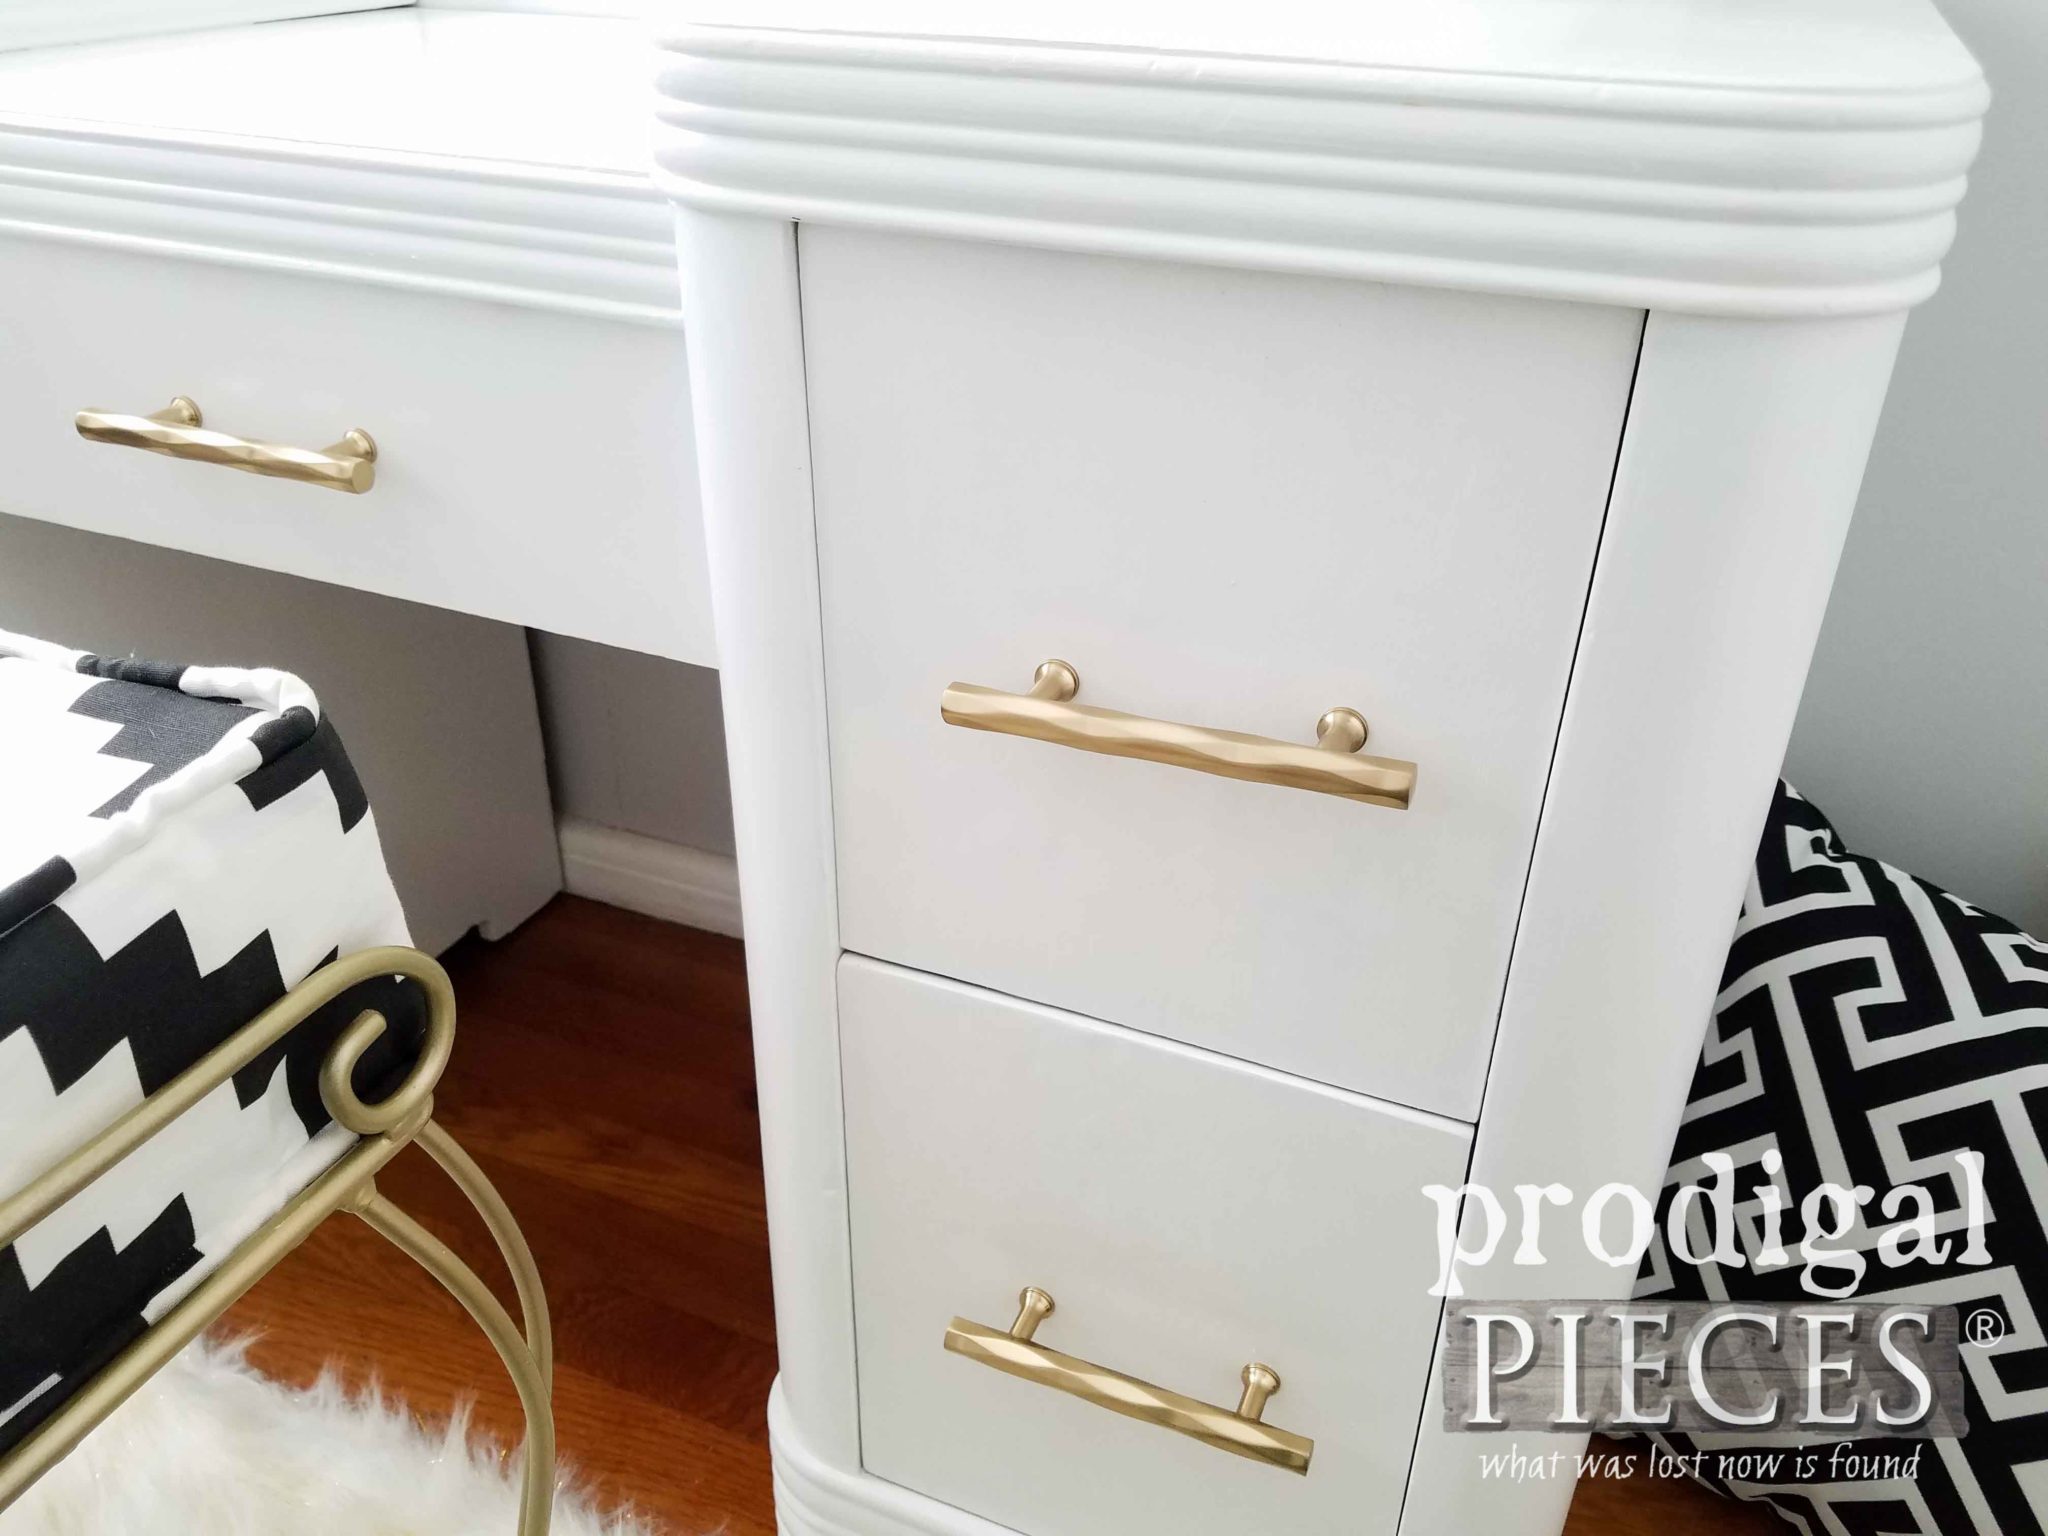
I went with a bold Aztec Print in Eco Canvas for the cushion because...why not. It's a striking statement to be made with this set, so I think it contrasts nicely, don't you?

NEW FEET
Oh, and I can't forget those feet. See how nice that new rubber protects the floor and looks fresh too?
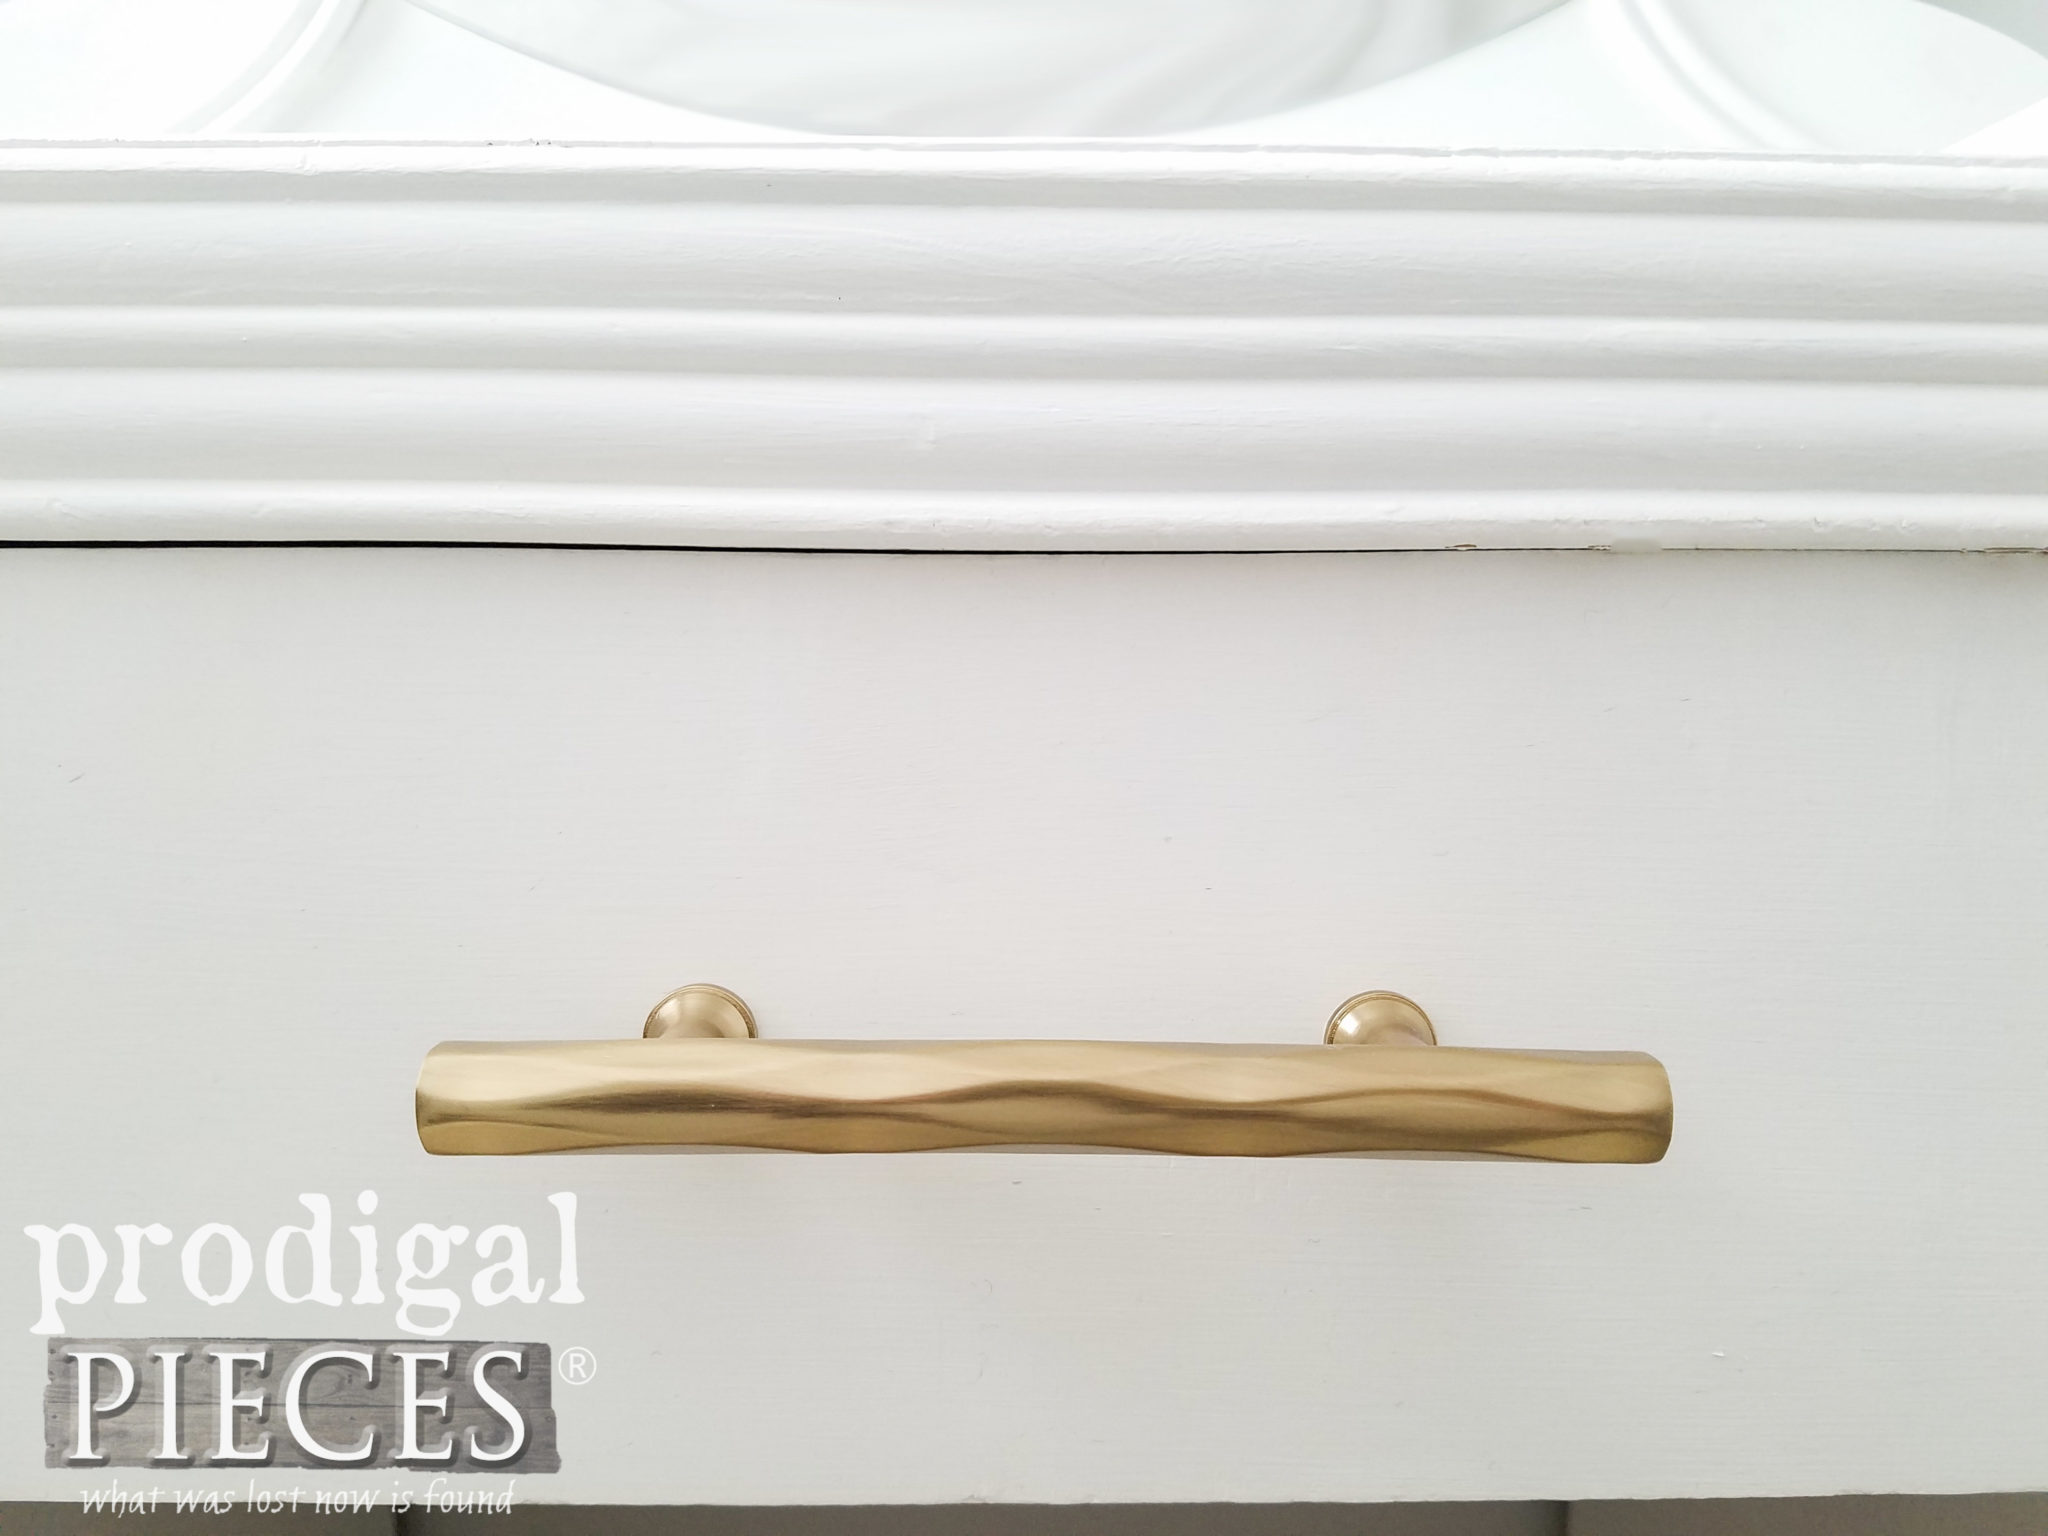
The pulls are brass and have faceted faces, called the
Tribeca, that add a little bling and tie in the vanity chair. Even the faux fur rug has strips of gold peeking out here and there.
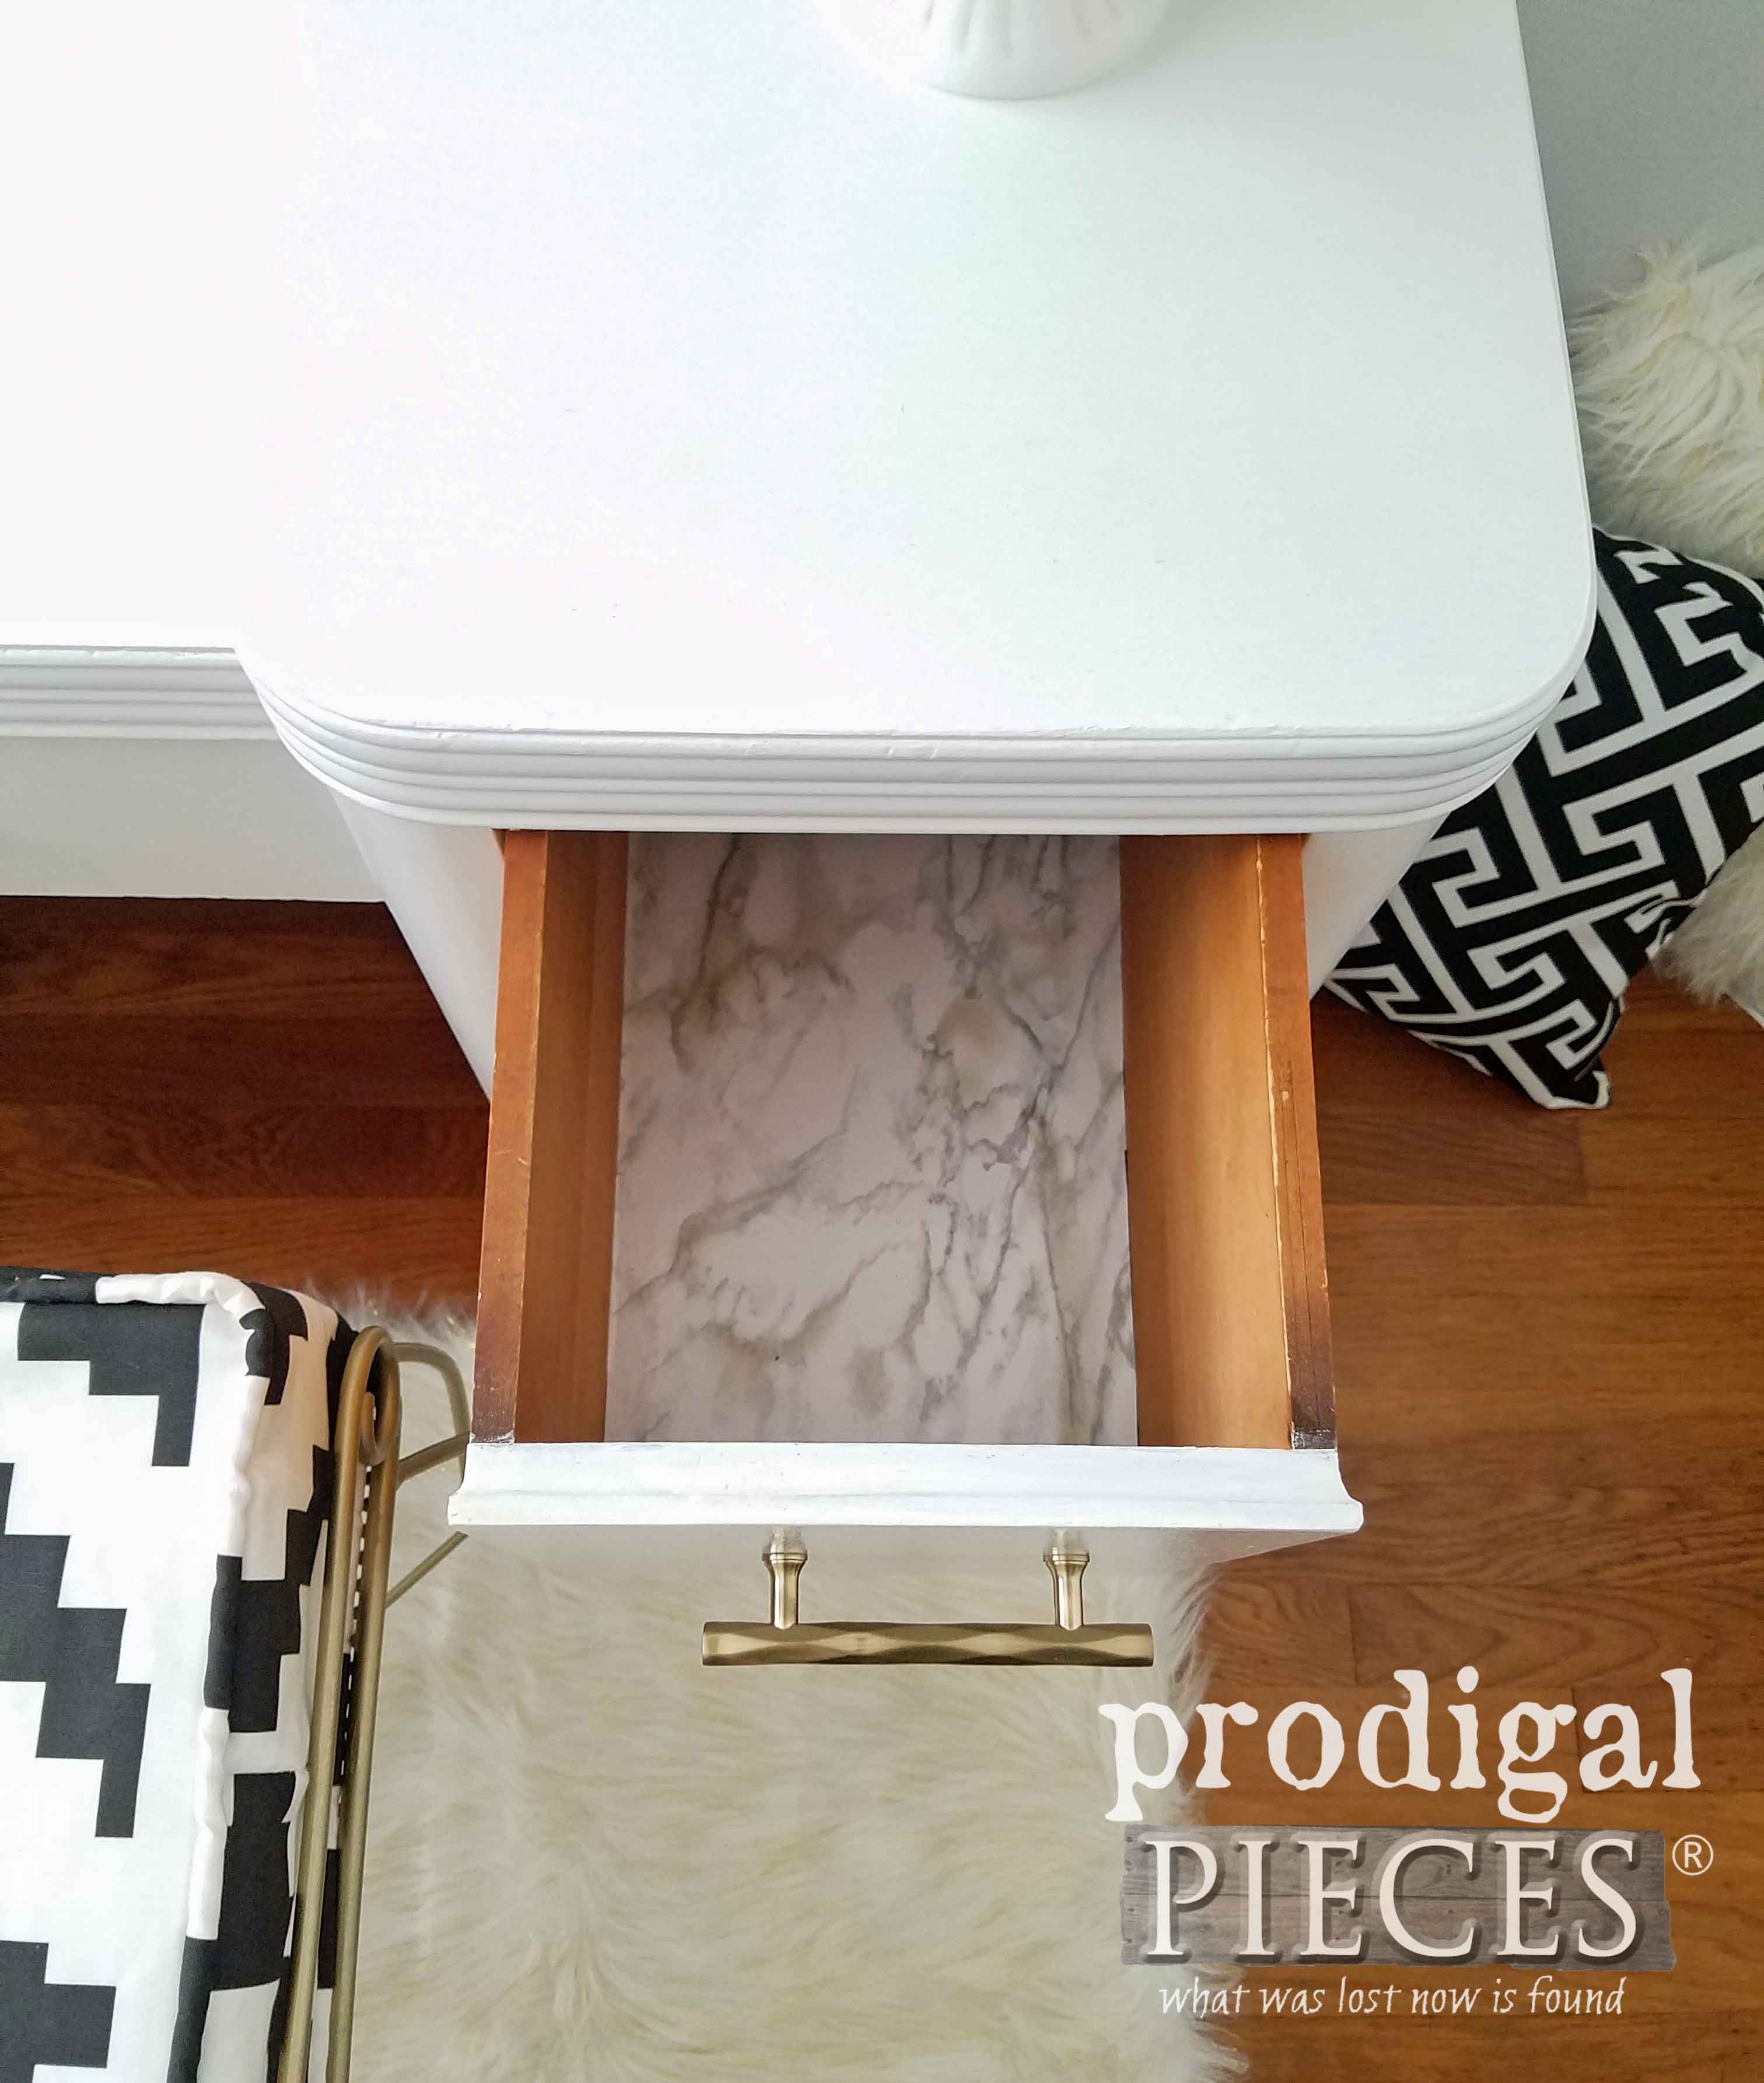
The interior of the drawers even got some lovin' with a marbled paper. Those kinds of things make it fun to peek inside.
So, did you enjoy this labor of love story like I did? It truly makes you appreciate when people work on old pieces giving them new life. It's more than just slapping paint on and calling it done. Restoring them to a new glory is what it's all about.
This set is available for purchase in
my online store.


SHARE
Do pin this Art Deco vanity refresh so that others can be inspired to update those cast-off pieces too and make their house their home.
To get these DIY tips & tricks in your inbox, be sure to
sign up for my newsletter. Until next time!

 PINTEREST | EMAIL
Also, more vanity makeovers like this Art Deco vanity:

 You see in the before picture here I'm smiling like a kid in a candy store. However, during the middle of working on it I don't know if I was smiling quite so big...still smiling, but the fun wore off a bit. Why, you ask? Well, it was a whole lotta work that was totally doable, but I was running out of gas and getting frustrated. Let's look at it in more detail.
I'll run through what is needing done so, hopefully, you can learn a few tricks too.
 It's one of those things that as you look closer you're like...oh my. Then there is missing veneer on all side surfaces and on each drawer. The pulls are broken and need replaced, and then I saw this. Someone had taken it upon themselves to carve notches in the drawer opening edge, which I began to fill with wood filler, AND...see that huge chunk missing?? Oy!
 Needless to say I kept feeling like the waves of oh-no-ness were hitting me, but I've honestly had worse to deal with. Time to pull up my big girl panties instead of getting them in a wad and deal with it. Woot!
First, I placed all the drawers in a stack with faces pointing up and used my towel soak method to remove the veneer. It's my go-to for pieces like this and does wonders. I've only had one fail in dozens of times using it, so I continue. I literally soak bath towels, lay them on overnight, and even pour more water on top. SOAKING it.
 The next day I use my putty knife and gently slide it off. Sometimes it's more like driving it off if it didn't soak enough, but it still comes off easier than any other way I've tried in the past.
 I simply mix it up following the instructions and slather it in the hole in layers.

 It's okay if it's not smooth on the onset, because after it cures for about 20 minutes, I'm able to sand it smooth. This is a tricky spot to get into, but it's a breeze with my Corner Cat sander. I love this little battery-operated thing!
 And it's as good as new. Amazing, isn't it? {{happy dance!!}}
 The rest of the vanity got a good sanding as well with my orbital sander - notice the stains preside. Now we're ready for the next steps.


 While that is curing, I get my sewing skills on and start working on a cushion with welting and all. Let me just say it's been a few years, like a decade, since I've done that and I was a little.bit.rusty. ahem.
Back to this Art Deco Vanity itself. I chose to go with a beautiful white for a nice fresh look. Also, this stays true to these dynamic pieces. Again, painting two coats, allowing 2 hours cure time between.
 While the first coat of paint is drying, I head outside to revisit my vanity chair. The painting was done, but those feet had damage. No problem with this stuff, called Plasti Dip. Ever heard of it? It is SO COOL. It comes in oodles of fun colors and will have you coating everything you can get your hands on with an awesome rubber coating.
 It's some serious chemicals you don't want to mess around with, but it will have you giggling with how easy it is to use. Check it out. I propped up my vanity chair onto saw horses with a piece of cardboard to catch drips beneath.
 You see, the little black rubber feet were worn and even cracked, but this stuff will cure all. I simply dip each foot in working slowly in and out at the same pace and voila!


 Now, isn't that much better? We have a fresh new look with new pulls, and a whole lotta style. Plus, it's even got a couple coats of poly to protect it all. I can't say enough that this was a fun project to see come together.

 The funky style these Art Deco vanity sets have just make me smile. You can't help but want to sit down and just feel the immensity of it all.

 I went with a bold Aztec Print in Eco Canvas for the cushion because...why not. It's a striking statement to be made with this set, so I think it contrasts nicely, don't you?

 The pulls are brass and have faceted faces, called the Tribeca, that add a little bling and tie in the vanity chair. Even the faux fur rug has strips of gold peeking out here and there.

 The interior of the drawers even got some lovin' with a marbled paper. Those kinds of things make it fun to peek inside.
 So, did you enjoy this labor of love story like I did? It truly makes you appreciate when people work on old pieces giving them new life. It's more than just slapping paint on and calling it done. Restoring them to a new glory is what it's all about.
This set is available for purchase in my online store.

 To get these DIY tips & tricks in your inbox, be sure to sign up for my newsletter. Until next time!


