There is no doubt in my mind that when I see side tables in need of some lovin', that I have a soft spot. Any and all sizes, shapes, and degree of dilapidated states are my weakness. Can you blame me when I spied this antique side table that I got weak in the knees? I know I'm not alone, c'mon now. tsk.

You may not remember, but a couple of years ago I found an almost identical table and gave it a new look too. It has been one of my popular posts you can see
HERE where I showcased one of my favorite furniture colors. As you can imagine, it was tempting to use that same color again, but this time around I thought I'd change it up.
This antique side table was in great shape with a few cosmetic flaws. It had some decent gouges to the top, water rings, and nicks to the legs and skirt. All minor and certainly worth repairing. Isn't that inlay fabulous?

DIY TIME
I couldn't wait to get started to see this beauty shine again. To start, I use my sander to gently take the finish off and reveal that gorgeous grain. It came off so easily since it was well worn.

aaahhh...now that's better. I have a serious affinity for wood. Most of the pieces in my home are in their original state in dark finishes with damage and all, but seeing pieces refreshed makes my heart happy too.

PAINT
Now that the sanding is done it's time to start the new look for the legs. Looks like someone isn't too enthralled with my work...haha.

I used one of my favorite soft white paints, called Antique White. While the first coat of paint was curing, I went back to the top to add a coating of wax. The white wax is a soothing way to finish. It allows the grain to pick up the white and make the wood oh so soft to see and touch.

FINAL TOUCHES
Once I apply the wax, I buff it to desired finish with a soft cotton cloth. For an added touch, I also applied a coat of a dark wax. It deepened the color giving it an aged appeal.
After a second coat of paint and letting it cure, it's time to create some dimension. Using more of the dark and a round artists brush, I hit the details to draw out all those fantastic details. After that, I lightly distress for even more time-worn appeal.

THE REVEAL
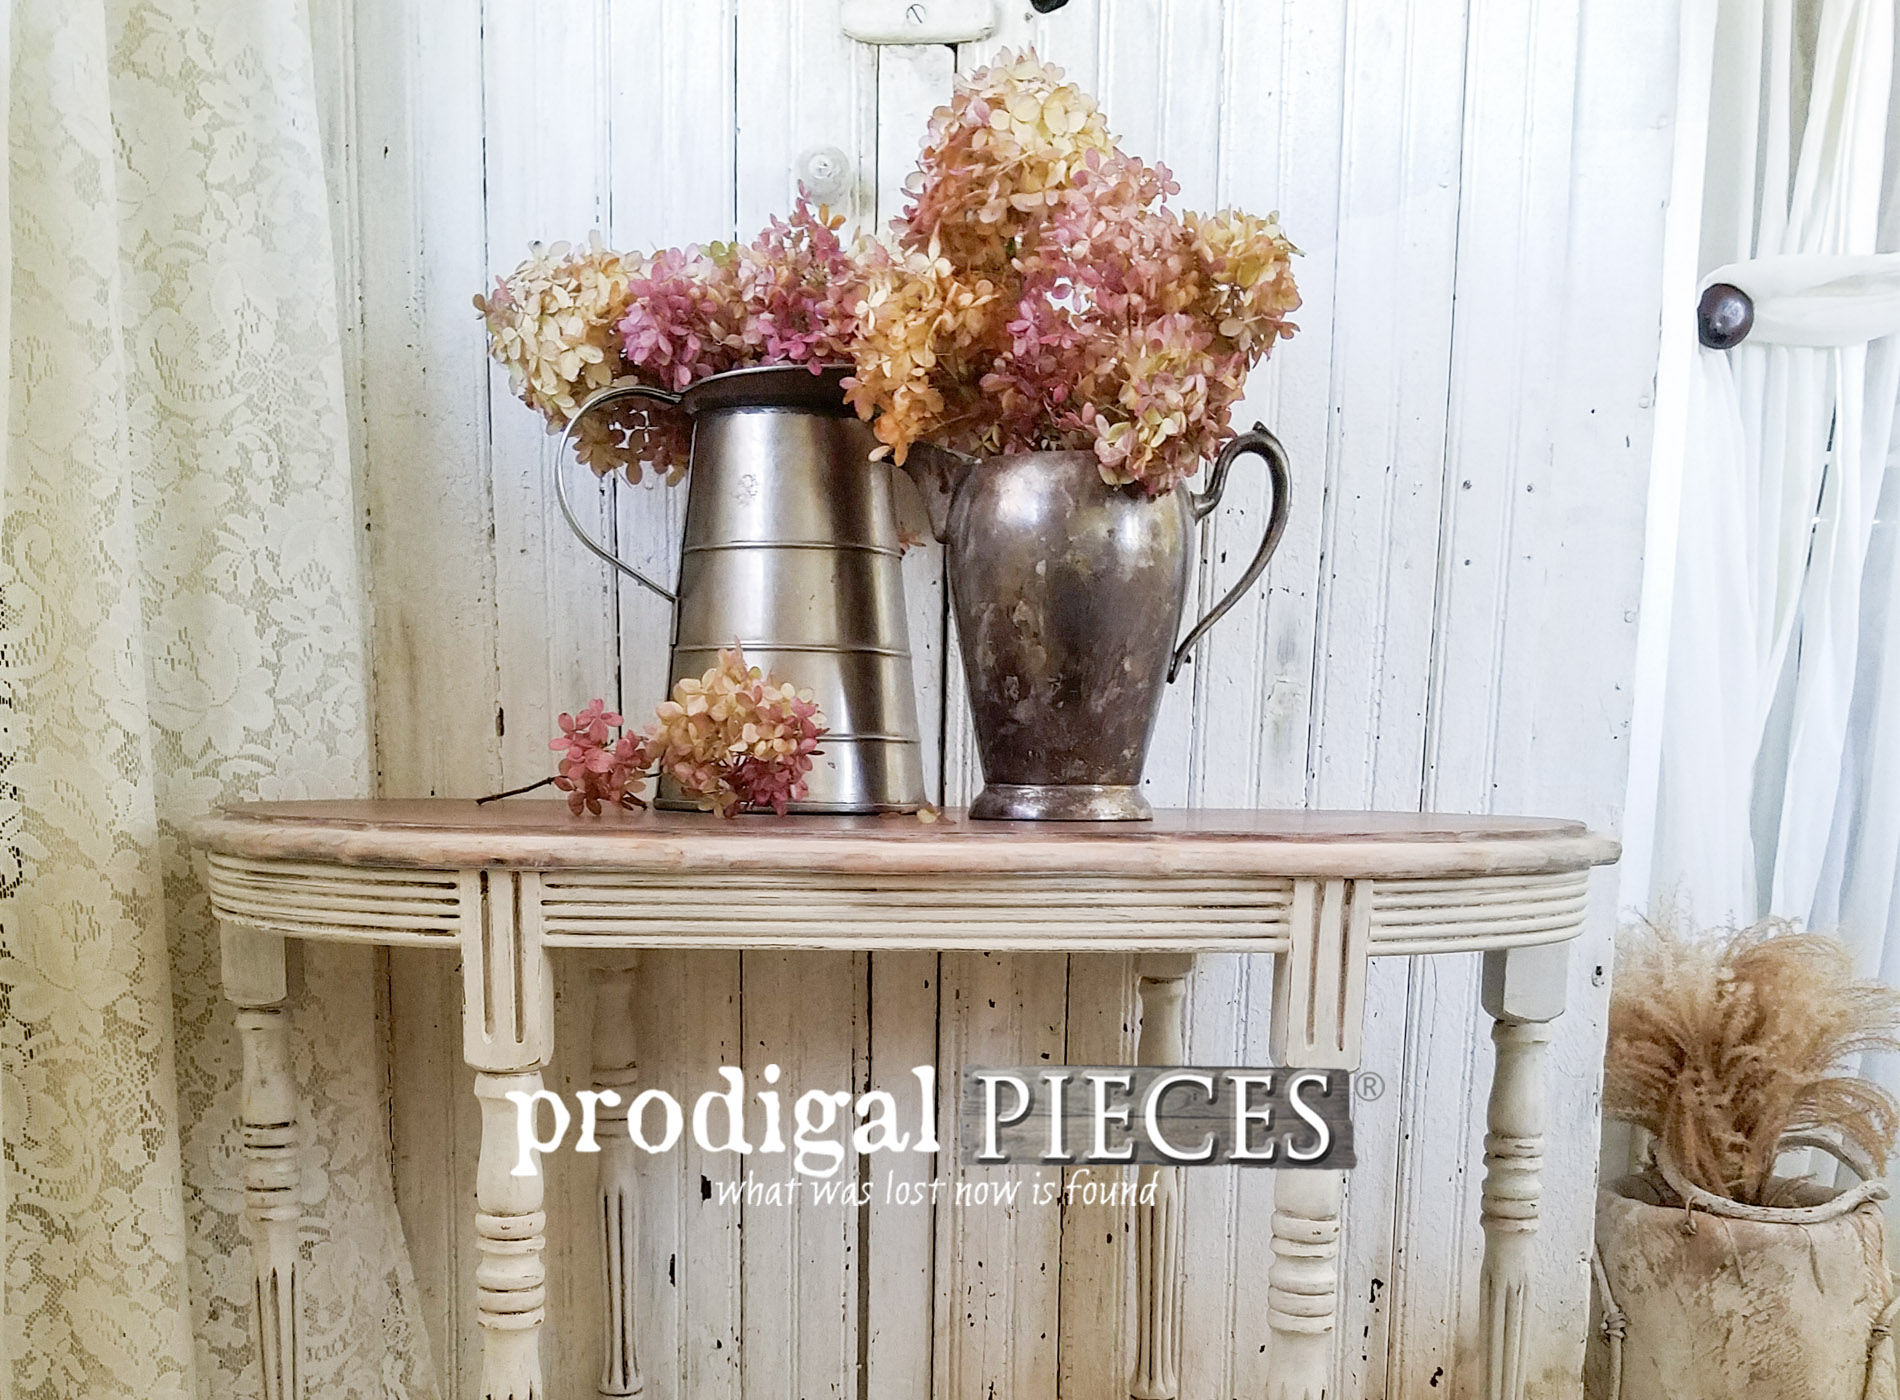
Finally, this lovely lady is ready for many more years.

Likewise, I must say that I am smitten with it for all the lovely features it has...especially that inlay on top.


My dried hydrangeas are still my favorite thing as they continue to give me joy in so many ways throughout our home. Do you have any in your garden? If not, you'll want to add some limelights soon! {{tee hee}} My littlest says they look like tiny butterflies. I agree.


I'm pleased with my latest makeover and hope you are too. Are you inspired to give your dated pieces some lovin'? This antique side table is now available in
my online store and would make a great addition to most any decor.


Additionally, pin and share to inspire others to get creative on their antique side table or furniture. It's fun!

Likewise, to get these DIY tips & tricks in your inbox, be sure to
sign up for my newsletter. Until next time!
 Also, more furniture like my antique side table makeover:


 You may not remember, but a couple of years ago I found an almost identical table and gave it a new look too. It has been one of my popular posts you can see HERE where I showcased one of my favorite furniture colors. As you can imagine, it was tempting to use that same color again, but this time around I thought I'd change it up.
This antique side table was in great shape with a few cosmetic flaws. It had some decent gouges to the top, water rings, and nicks to the legs and skirt. All minor and certainly worth repairing. Isn't that inlay fabulous?
You may not remember, but a couple of years ago I found an almost identical table and gave it a new look too. It has been one of my popular posts you can see HERE where I showcased one of my favorite furniture colors. As you can imagine, it was tempting to use that same color again, but this time around I thought I'd change it up.
This antique side table was in great shape with a few cosmetic flaws. It had some decent gouges to the top, water rings, and nicks to the legs and skirt. All minor and certainly worth repairing. Isn't that inlay fabulous?

 aaahhh...now that's better. I have a serious affinity for wood. Most of the pieces in my home are in their original state in dark finishes with damage and all, but seeing pieces refreshed makes my heart happy too.

 I used one of my favorite soft white paints, called Antique White. While the first coat of paint was curing, I went back to the top to add a coating of wax. The white wax is a soothing way to finish. It allows the grain to pick up the white and make the wood oh so soft to see and touch.


