Do you ever wonder what you should have your eye out for while garage sailing or in thrift stores? In my typical jaunts a must for me is to spy anything wooden. When it's made from wood, it can be altered to your heart's content and can be transformed with some DIY fun. Check out this wooden doll cradle I found on one of my latest adventures.

It's handmade from pine and looks sturdy enough from the pictures, but I had to tell my kids to leave it be until I worked on it. It was wobbly and not very safe for a small child. But...if you look at it, you'll see it's in the the raw. Perfect for a little mama & daughter project, wouldn't you say?
Working with my kids is what keeps my mama heart happy. So you can bet I invited my littlest to join me in this wooden doll cradle makeover. To say she eagerly jumped at the opportunity is an understatement. tee hee!
DIY TIME
The very first thing we did was take it all part. It was held together with nails on the ends, while the dowel floated in the rails. Simple enough.

In order to make this more kid-friendly and sturdy, I decided to use my drill to counter-sink some screws into those nail holes instead. You can use a counter-sink bit, or just use the size bit the same size as the screw head. Just make sure you either tape your bit to mark for depth or be very careful not to go too deep.

This is where little girl comes in to help. She was eagerly waiting! Once I had the screws started, she helped me finish them into each hole.

NEXT STEPS
After the screws were in, she hammered in flat head plugs to fill the holes and make a nice, clean surface. She's a pro, I tell ya!

My turn was to add some wood filler to make everything gel together. Just wipe on with a putty knife, let cure, and sand.

Key is to fill the holes slightly higher than the surface because the filler will shrink a bit when curing. This Corner Cat sander makes my job way too fun.

Last, but not least is the decorative part. Since little girl and I decided to give the wooden doll cradle our favorite farmhouse style, we picked a stain as our finish. One of my favorites is Provincial as you can see it used in my home
in these posts.

THE REVEAL
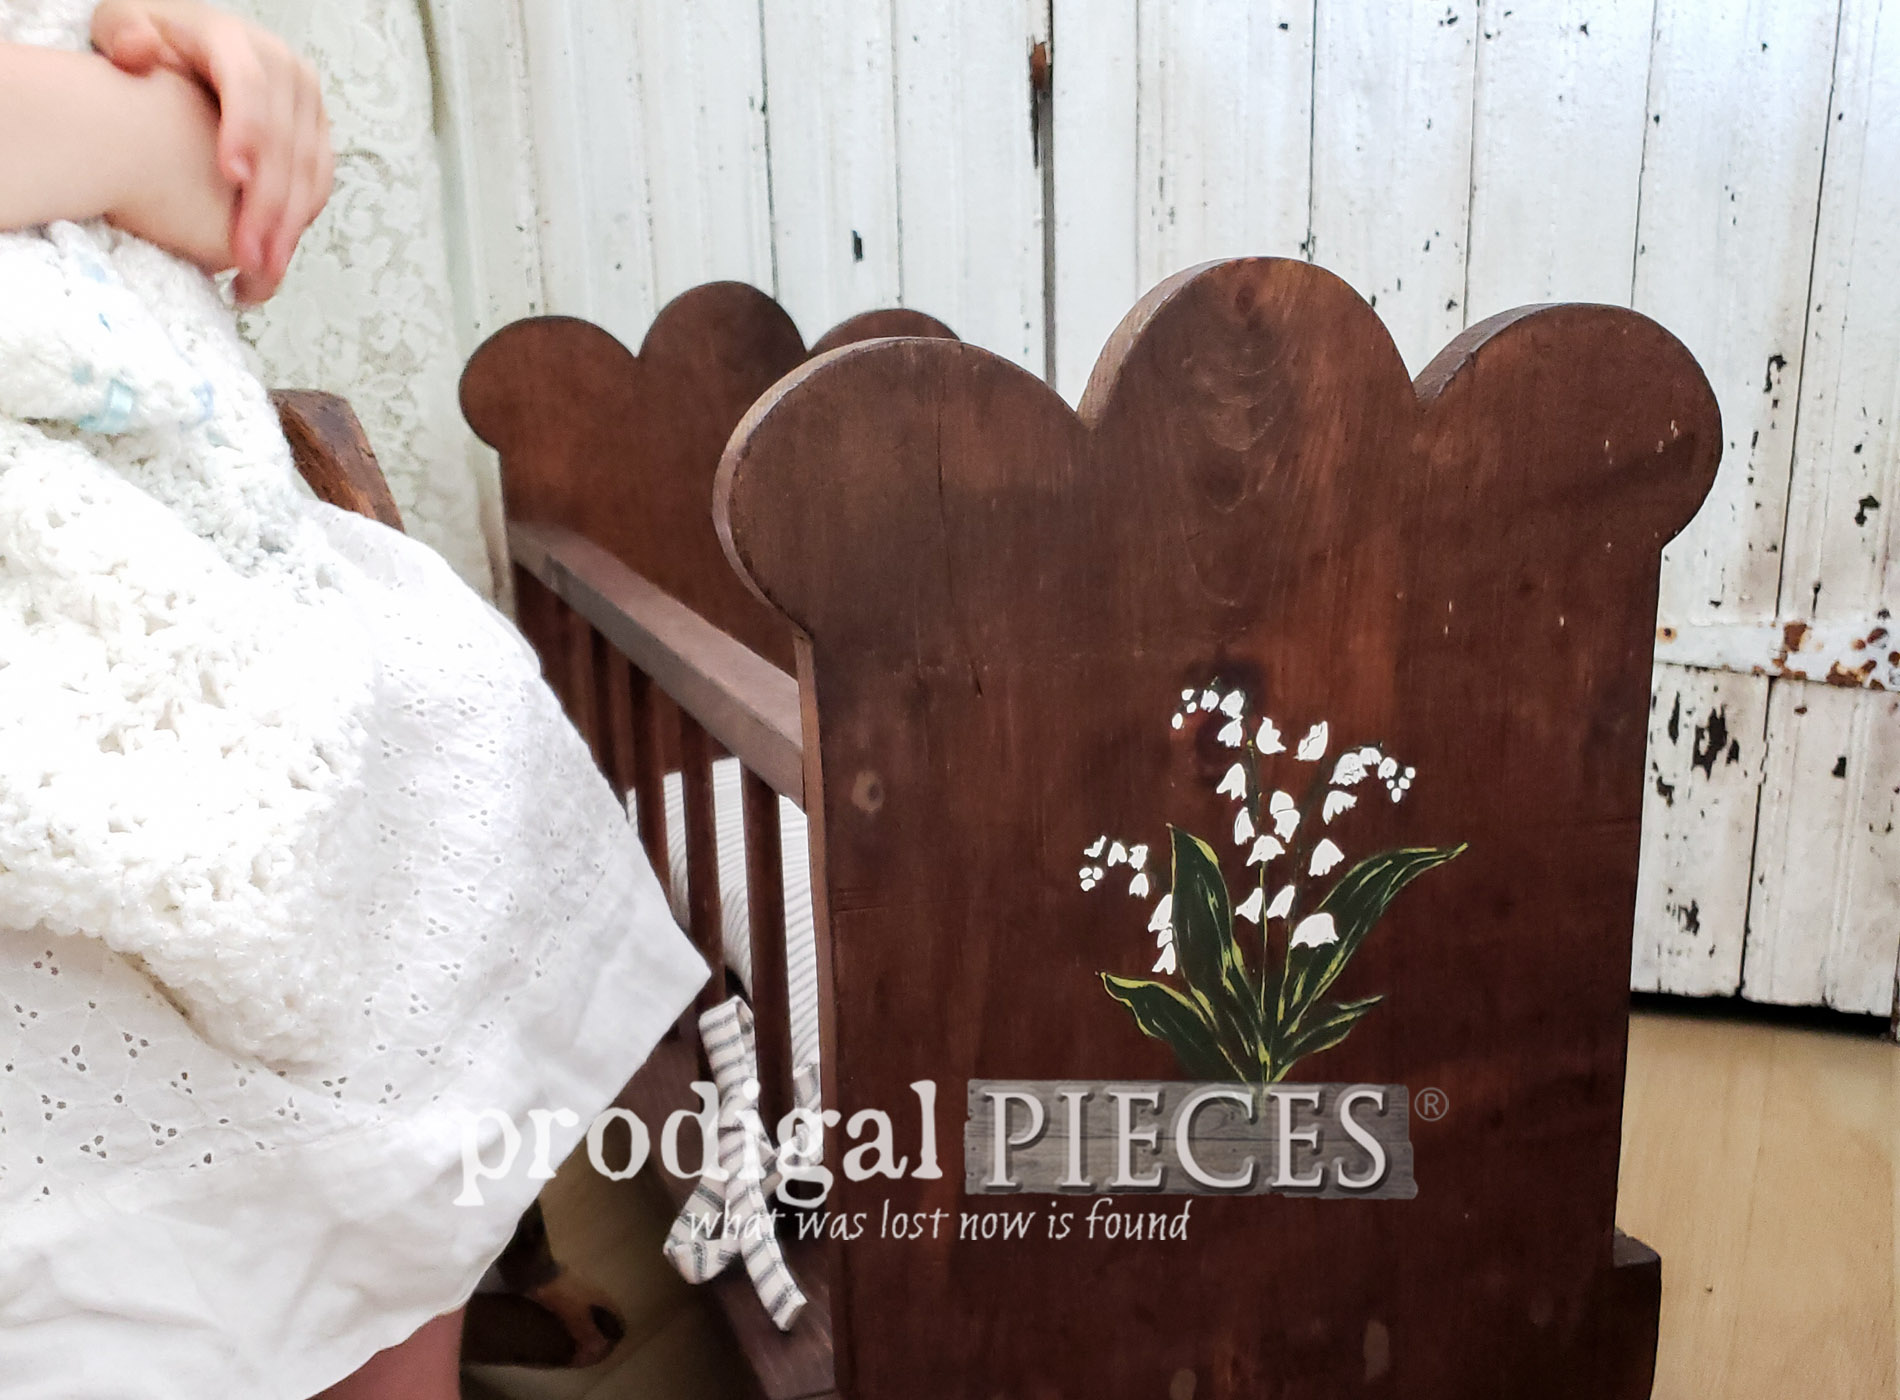
Nice dark color to make it look old and full of character. Once the stain cured, I added a bit of hand-painting to the ends. Once it was all done, my helper knew it was time to stage. Do you think she is up for the task? You bet! Before I could even whip out my camera she was already sitting and ready to go.

We had such fun working on this together. She even helped me sew a cute ticking mattress so that the baby would be comfy (in her words).

I wholeheartedly agreed with her and we had fun creating our accessory. Ticking is easily one of my favorite textiles.


TOO CUTE
For me, the icing on the cake was being able to add my own touch of a few Lily of the Valley flowers. You know I love to add my own personal touch to my pieces and these innocence of these flowers always tug at my heart.

So what you do you think...would you have grabbed it up if you spied it for sale? Either way, little girl sure is enjoying not only working with her mama, but is hoping to bring a smile to your face.

You can find this cute cradle available in
my online shop (
SOLD)along with many other of our creations and finds. Sign up for my newsletter below to get an instant discount on your first purchase.

I invite you to pin and share to encourage others to get their kids involved in some DIY fun. You just never know who needs inspired.

Up next, another wooden related makeover using everyone's favorite cutting boards. What to do with them when they're worn out...hmmm... See what they became
OVER HERE.

To get these DIY tips & tricks in your inbox, be sure to
sign up for my newsletter. PLUS, you will get your FREE Furniture Buying Checklist and special discount to
my shop. Until next time!

 MEWE | PINTEREST | GAB
More DIY projects like my wooden doll cradle: