 At first glance, it's worn, wiggly, and definitely needing some love. Good thing is, that it's made of cherry and made by a reputable company, Broyhill. Plus, Miss S is not new to this makeover game. You can see her past projects HERE.

DIY TIME
First, let me just say that I have all the confidence that Miss S can tackle this with all by herself. She's familiar with tools, and all the things needed to have some DIY fun. Plus, she is one of the most hard-working gals I know. To get going, she uses my orbital sander to take the finish off and see what's below. I spy gorgeous cherry! She is excited to see this revival come to life. It's hard to not let your heart start beating faster when you see something coming to life. Then, per my instruction, I suggest she stain the top and put a topcoat on before addressing the bottom. That way her finish is protected before working on the bottom. In the past, I've had oopsies and could scream. ouch.
 Miss S chooses to use a favorite Java Gel stain that I've used in these past posts. It's rich in color, easy to use, and so perfect for this style of furniture. After the stain cures, she applies 3 coats of a satin poly to finish it off.
NEXT STEPS
Next, it was time to tackle the bottom. Miss S is after a classic look since the style lends itself to that easily. Because the original stain is a cherry/mahogany color, there is a significant chance that there will be bleed-through (where the stain comes thru the paint). So, in order to remedy that, she uses a stain-blocking primer to seal it all in. Then, after the primer, she uses two coats of a soft antique white to finish it off. I'm loving the contrast between the top and bottom. Isn't it so pretty?
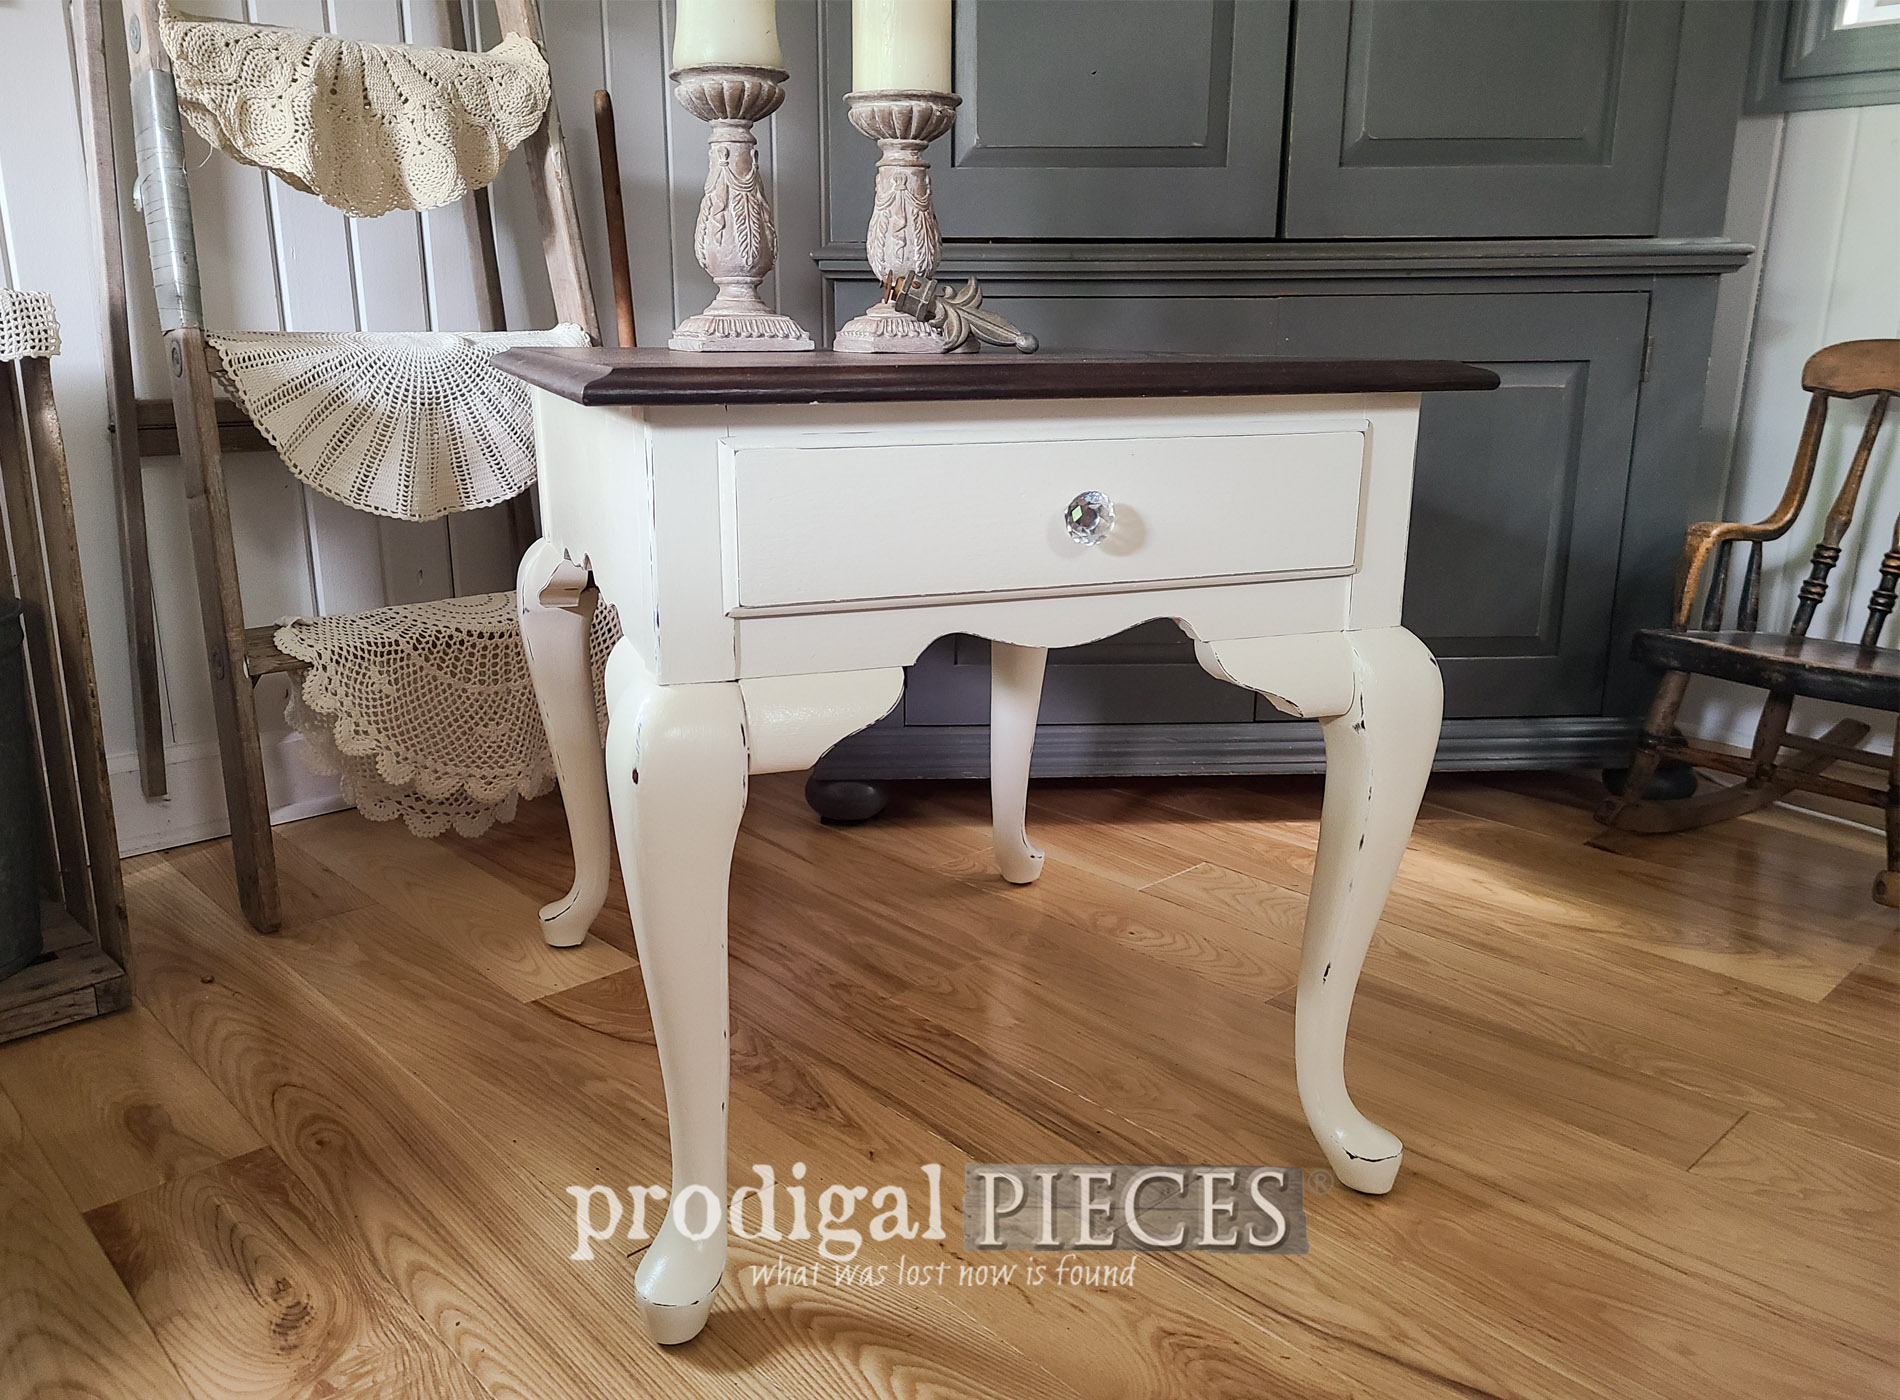
THE REVEAL
It's time to see this ol' gal come to life again in a new way. Here's this vintage Queen Anne table in a refreshing style.
 As a proud mama, I think Miss S did a phenomenal job reviving and adding style to this classic piece. Obviously, my favorite is the top. That dark wood is gorgeous!

 Not only do the legs get me every time, but I'm a sucker for a wood/paint combo. Keeping the wood top really makes you appreciate the craftsmanship. Meanwhile, the paint livens it up to give it a fresh new feel.

 Finally, because Miss S is after her own set of wheels like her older brother and sister, she's offering this table up in my online shop. (SOLD)
[metaslider id=30251]
 In addition, do pin and share this vintage Queen Anne table makeover. Likewise, there are many ways to inspire others, and this makes it fun.
 Up next, I'm so excited to share with you something I've been waiting for since F.O.R.E.V.E.R. for my garden. See the end result HERE.
 To get these DIY tips & tricks in your inbox, be sure to sign up for my newsletter. PLUS, you will get your FREE Furniture Buying Checklist and special discount to my shop. Until next time!

Also, more furniture makeovers like this vintage Queen Anne table makeover:

