 They were buried under other items for sale in the thrift store and I almost missed them since, as I mentioned in my other post, my kids were doing a thrift store scavenger hunt. I had no intention of coming home with more furniture. But...as you can see that quickly fell to the wayside.
This set was sturdy for the most part, but did have ample wear to the top surfaces. The part that got my heart palpitating were the beautiful turned legs, and the gorgeous heirloom maple tops. I spy potential!
They were buried under other items for sale in the thrift store and I almost missed them since, as I mentioned in my other post, my kids were doing a thrift store scavenger hunt. I had no intention of coming home with more furniture. But...as you can see that quickly fell to the wayside.
This set was sturdy for the most part, but did have ample wear to the top surfaces. The part that got my heart palpitating were the beautiful turned legs, and the gorgeous heirloom maple tops. I spy potential!

DIY TIME
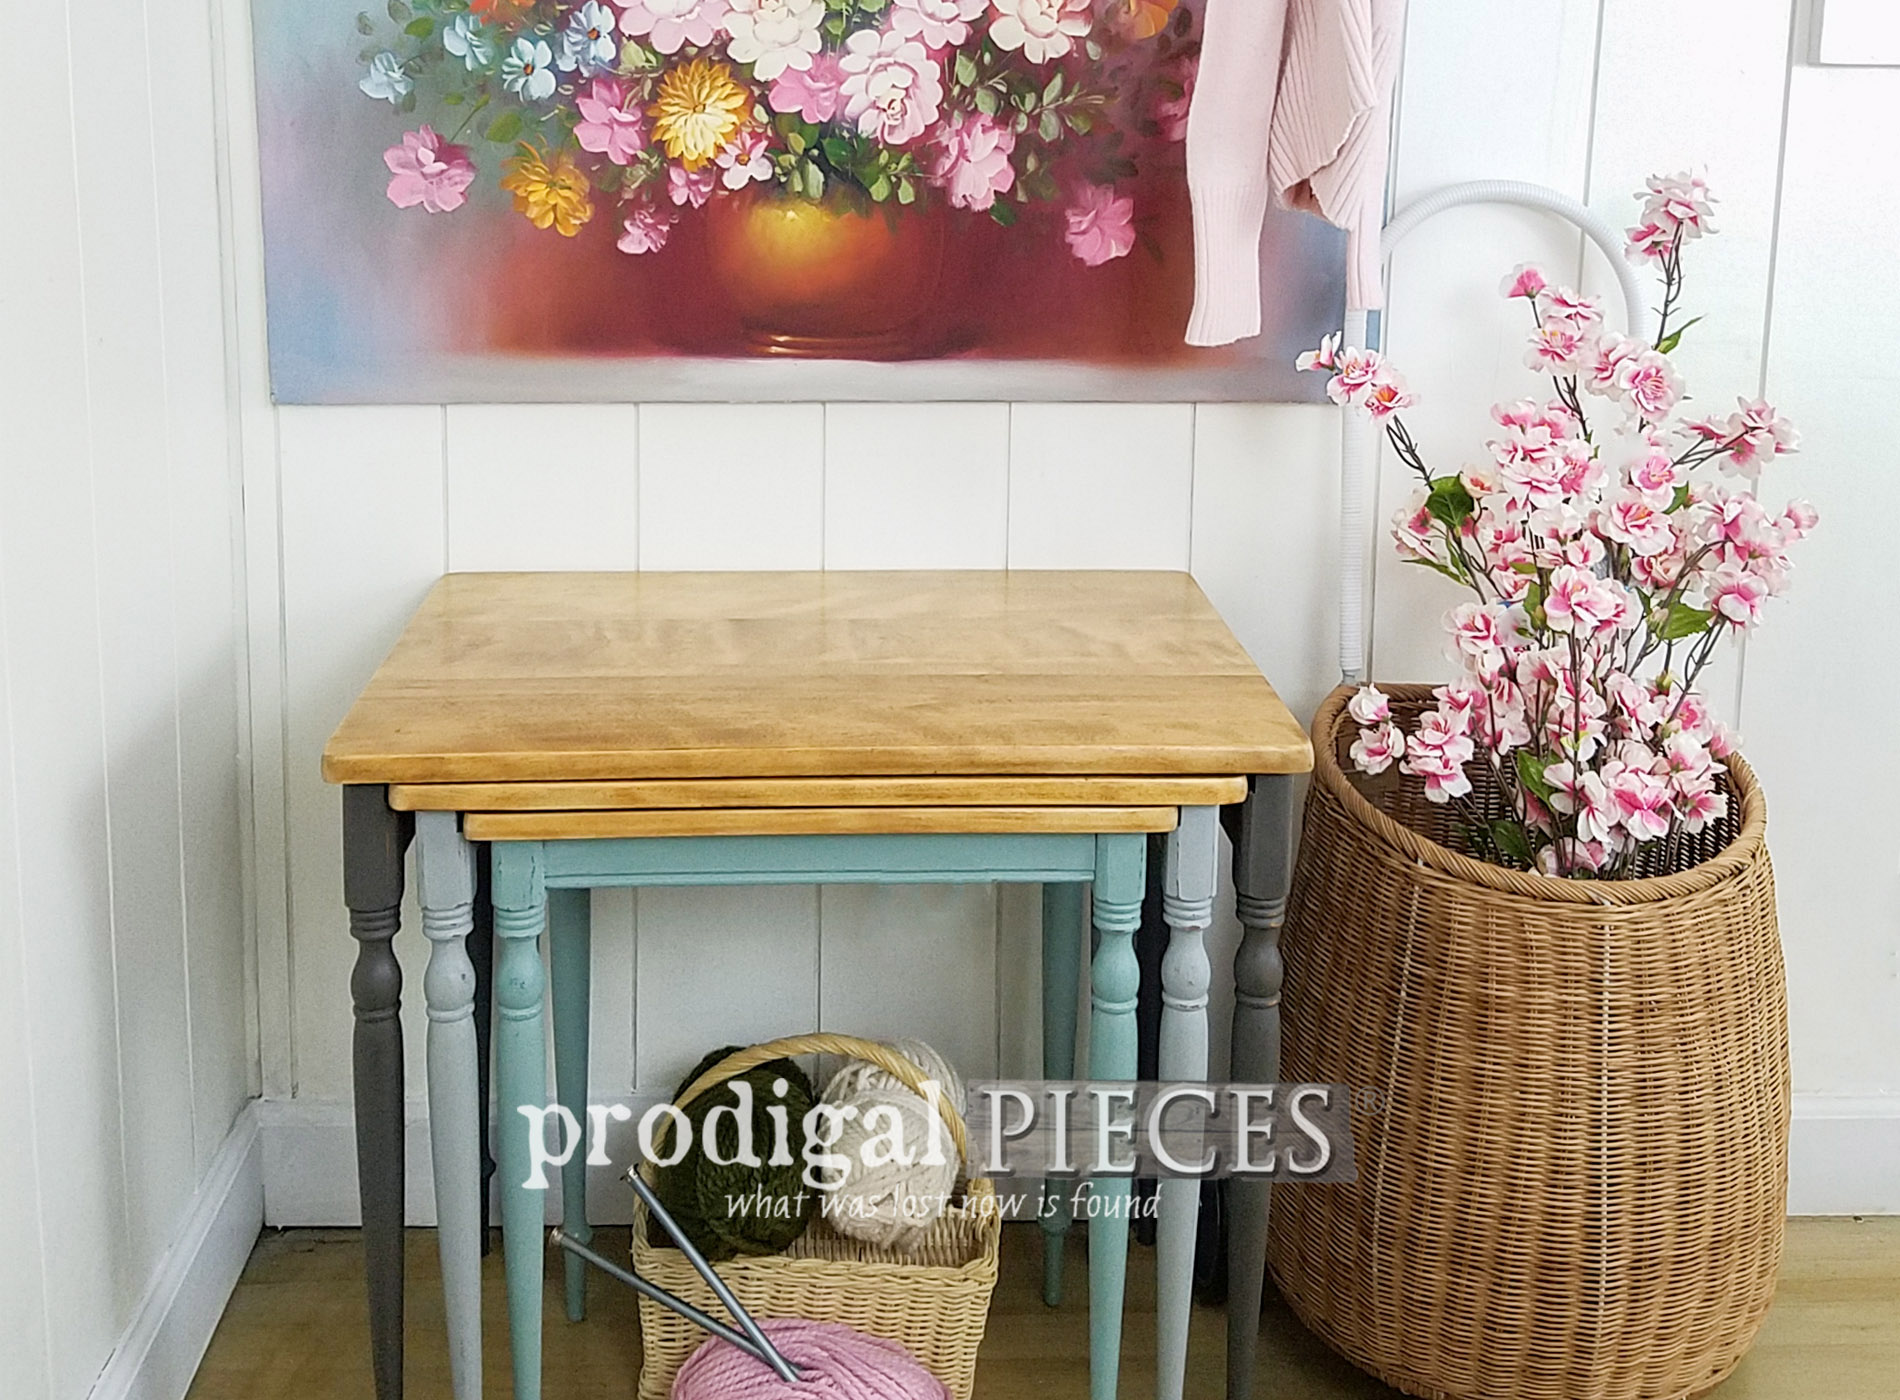
Although there are not obvious manufacturer markings, I am 99% sure these are Ethan Allen tables as I've seen these exact tables in other places. First, I wanted to uncover that delicious wood grain in that heirloom maple. Funny (not so funny) thing is during the restoration of the antique library table I just refinished, I killed my favorite sander, a DeWalt random orbit. It is a beast of a workhorse that lasted me for ages, so of course I bought another. Apparently my old sander was in rougher shape than I thought because when I started this new one up I was like...ooooohhhhh... I couldn't believe how smooth it operated and took the finish off lickety-split. When I saw that wood coming to life, I couldn't help but touch it. This maple was so fun to work with. I had no intention of covering the tops of these vintage nesting tables, rather wanted to showcase them. For the color selections I choose 3 different colors: a dark gray, a light gray, and a soft blue green.
BRUSH FUN
I begin with working on the skirts and legs. While letting the paint on the first table cure, I turned my attention to the largest of the set. It had some wobbly action going on, so I just removed the skirt and legs and reset them with wood glue. Easy enough to do, and now stable and ready to go.

NEXT STEPS
While the larger table was drying, I painted the second table. Then it was the larger table's turn. All of the bottoms of the tables were done in short order, and then it was time for the table tops to get some lovin'. I've said it before, but I like a low-sheen, durable finish on most of my pieces, so I again turned to a poly as my topcoat. I apply two coats of the topcoat,then let it cure. Done!
 Oh what fun the kids and I had seeing these vintage nesting tables come to life. We were telling each other which table was our favorite. I must say that we were all pretty smitten with each color as they individually make us smile. Which one is your favorite?
 I went with the subtle tone contrast to make it more fun than just painting them all the same color. As a mama to 6 kiddos I know how fun it is to, "get the green table, or the light gray table". We've all been there, right?

ALL DONE
The vintage nesting tables came out as I had hoped - showcasing the grain in their natural state and solid as a rock. I wish I could show you how they shimmer. mmm... It was super fun to style all this with pastels and all sorts of fun colors. However, these tables have the neutral tones and would look good in almost any setting. How cool is that I even got to use my new Luggy Basket? I'm so lovin' that thing!

 I really debated on keeping these until our family room is done, but since I have no idea how we will be able to finish it out, I am listing these in my shop. I guess I'll have to find another set to redo when we're done, won't I? That won't be any fun...hahaha...not.
[metaslider id=30251]
 Do pin and share this vintage nesting tables makeover to inspire others to make their house their home. DIY is affordable, fun, and keeps your brain happy.
 To get these DIY tips & tricks in your inbox, be sure to sign up for my newsletter. PLUS, you will get your FREE Furniture Buying Checklist and special discount to my shop. Until next time!
 Also, more fun projects like my vintage nesting tables:


