It's more than once a week I receive the question as to how I find all the stuff I decorate with. Well, to be honest, it usually finds me. For real! Take this set of crocks, for instance.

Not only is this a sweet set of Roseville crocks, but also they are useful for so many things. For instance, these are food-grade safe so I can use them for
my fermenting recipes. However, the painted-on apples weren't doing it for me. Oh, and she also gave me another Roseville crock with a santa painted on it. Not my thing either.
So, the point of today's post is to show you what you can do with what you either:
- have on hand
- given as a hand-me-down
- or find at the thrift store or garage sale.
TIME TO GET GOING
Remember I mentioned that the apples aren't to my liking? I was more referring to the color fitting in with the rest of my decor. I have more muted tones and wanted something simple for an area I was looking to dress up in my kitchen. Also, the apples are flaking off by the minute. Notice the topcoat looked like this...

It had become discolored and a little tacky to the touch. Kinda blucky. The interiors had vintage newspaper stuffed in them since they came stacked together. There are scuffs and such from use, but nothing my old Bar Keepers Friend can't remedy. Do you love that stuff too? It works wonders on my cast iron sink, tub, and stainless-steel cooktop.

CLEAN-UP TIME
First, I begin by using plain rubbing alcohol to remove the painted-on pictures. This is usually pretty messy but isn't as hard as you may think.


The santa crock, however, is a bit more boogery, but it's done. woot!

Last, after paint and poly is gone, I scrub with the Bar Keepers Friend we're good to go.
ALL DONE
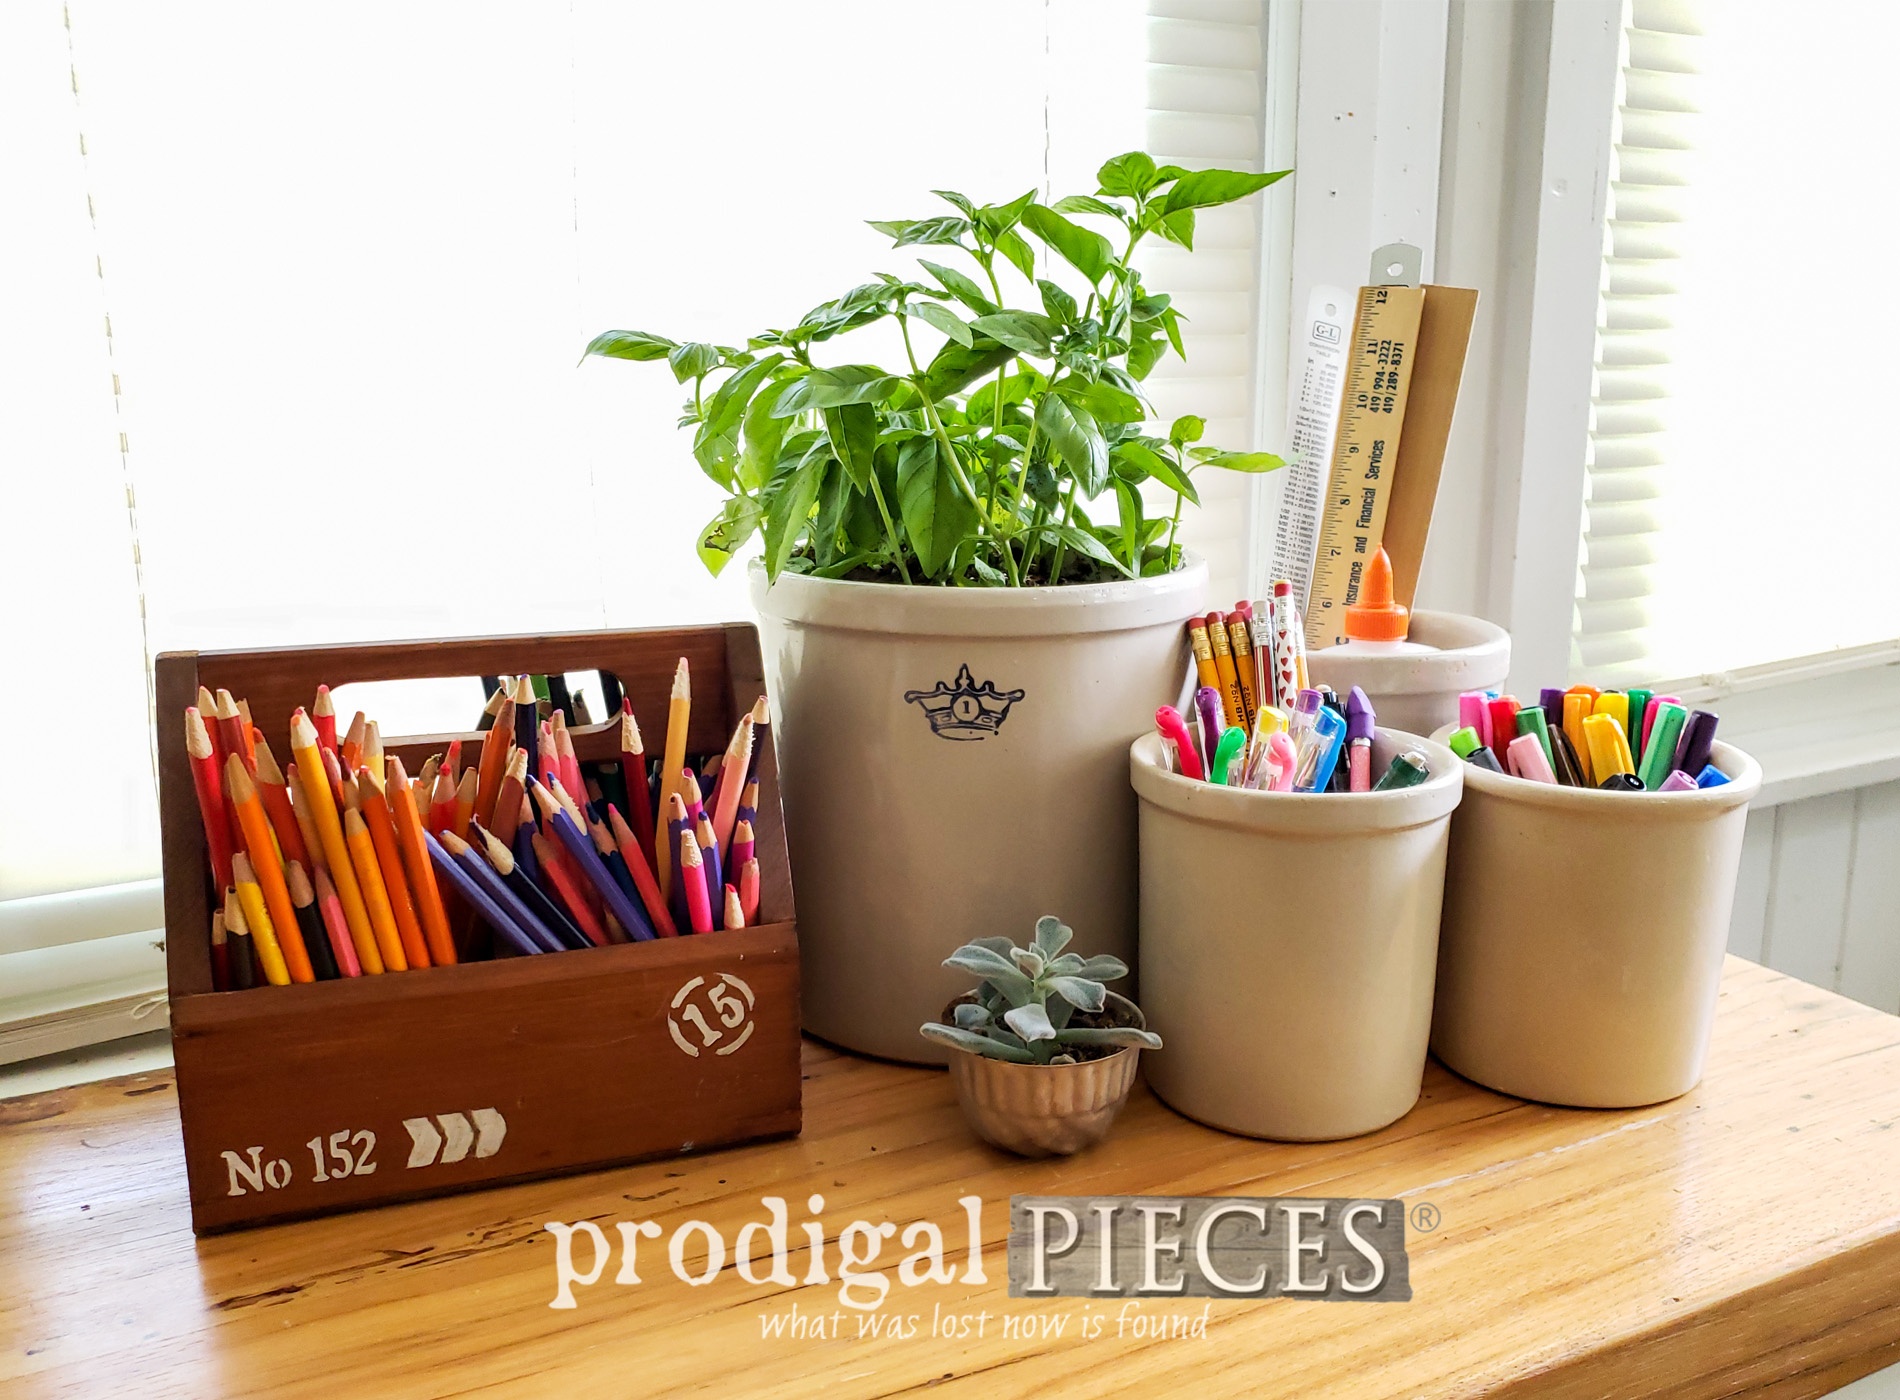
As many of you know I homeschool my 6 kids and we have been remodeling all of our home slowly, but surely. I needed a spot for them to have an organized place to get their supplies for daily-grind stuff. Here is my crock assortment all ready to go for the year.


You may remember that
pencil caddy I gave an industrial vibe to a while back. We are still using it daily!
Notice I transplanted basil from
our garden in the larger one-gallon crock. Winter is on its way and my kids and I worked hard to see the fruits of our labor. We wanted to save some basil for all year long. And if I like, I can remove the basil for a time and get my ferment on. tee hee.


Here is the area we custom built in our kitchen remodel. It sits just behind our dining table. We made a bench out of the reclaimed 1800's hickory that we also used for our counters. You can see the
full kitchen tour HERE.


This is the chalkboard I made a few years ago from one of my favorite curbside finds - an arched door with glass and screen inserts. See their stories
in these posts. This is our verse to get our year off to a great start.


THE WRAP-UP
My hope is that you've enjoy how I updated these vintage crocks and made them my own. Don't pass up those crocks you see painted up at the thrift store. You can create your own too!

Additionally, pin and share my DIY fun. You will never know who needs inspiration too.

Up next, it's
Trash to Treasure Tuesday and I'll be giving this long-time-coming project its due revival. See its new look and purpose
HERE.

Before you go, be sure to get these DIY tips & tricks in your inbox, be sure to
sign up for my newsletter. Until next time!

 PINTEREST | EMAIL
In addition, more storage projects like this use of vintage crocks: