Are you ready for some furniture fun?! I am!! There's nothing better than sharing your passion with like-minded folk. That's why
Furniture Fixer Uppers Day is one of my favorite times of the month. You'll see my gal friends' projects in a bit, but first I want to introduce you to my vintage blanket chest (aka. dog chew toy).
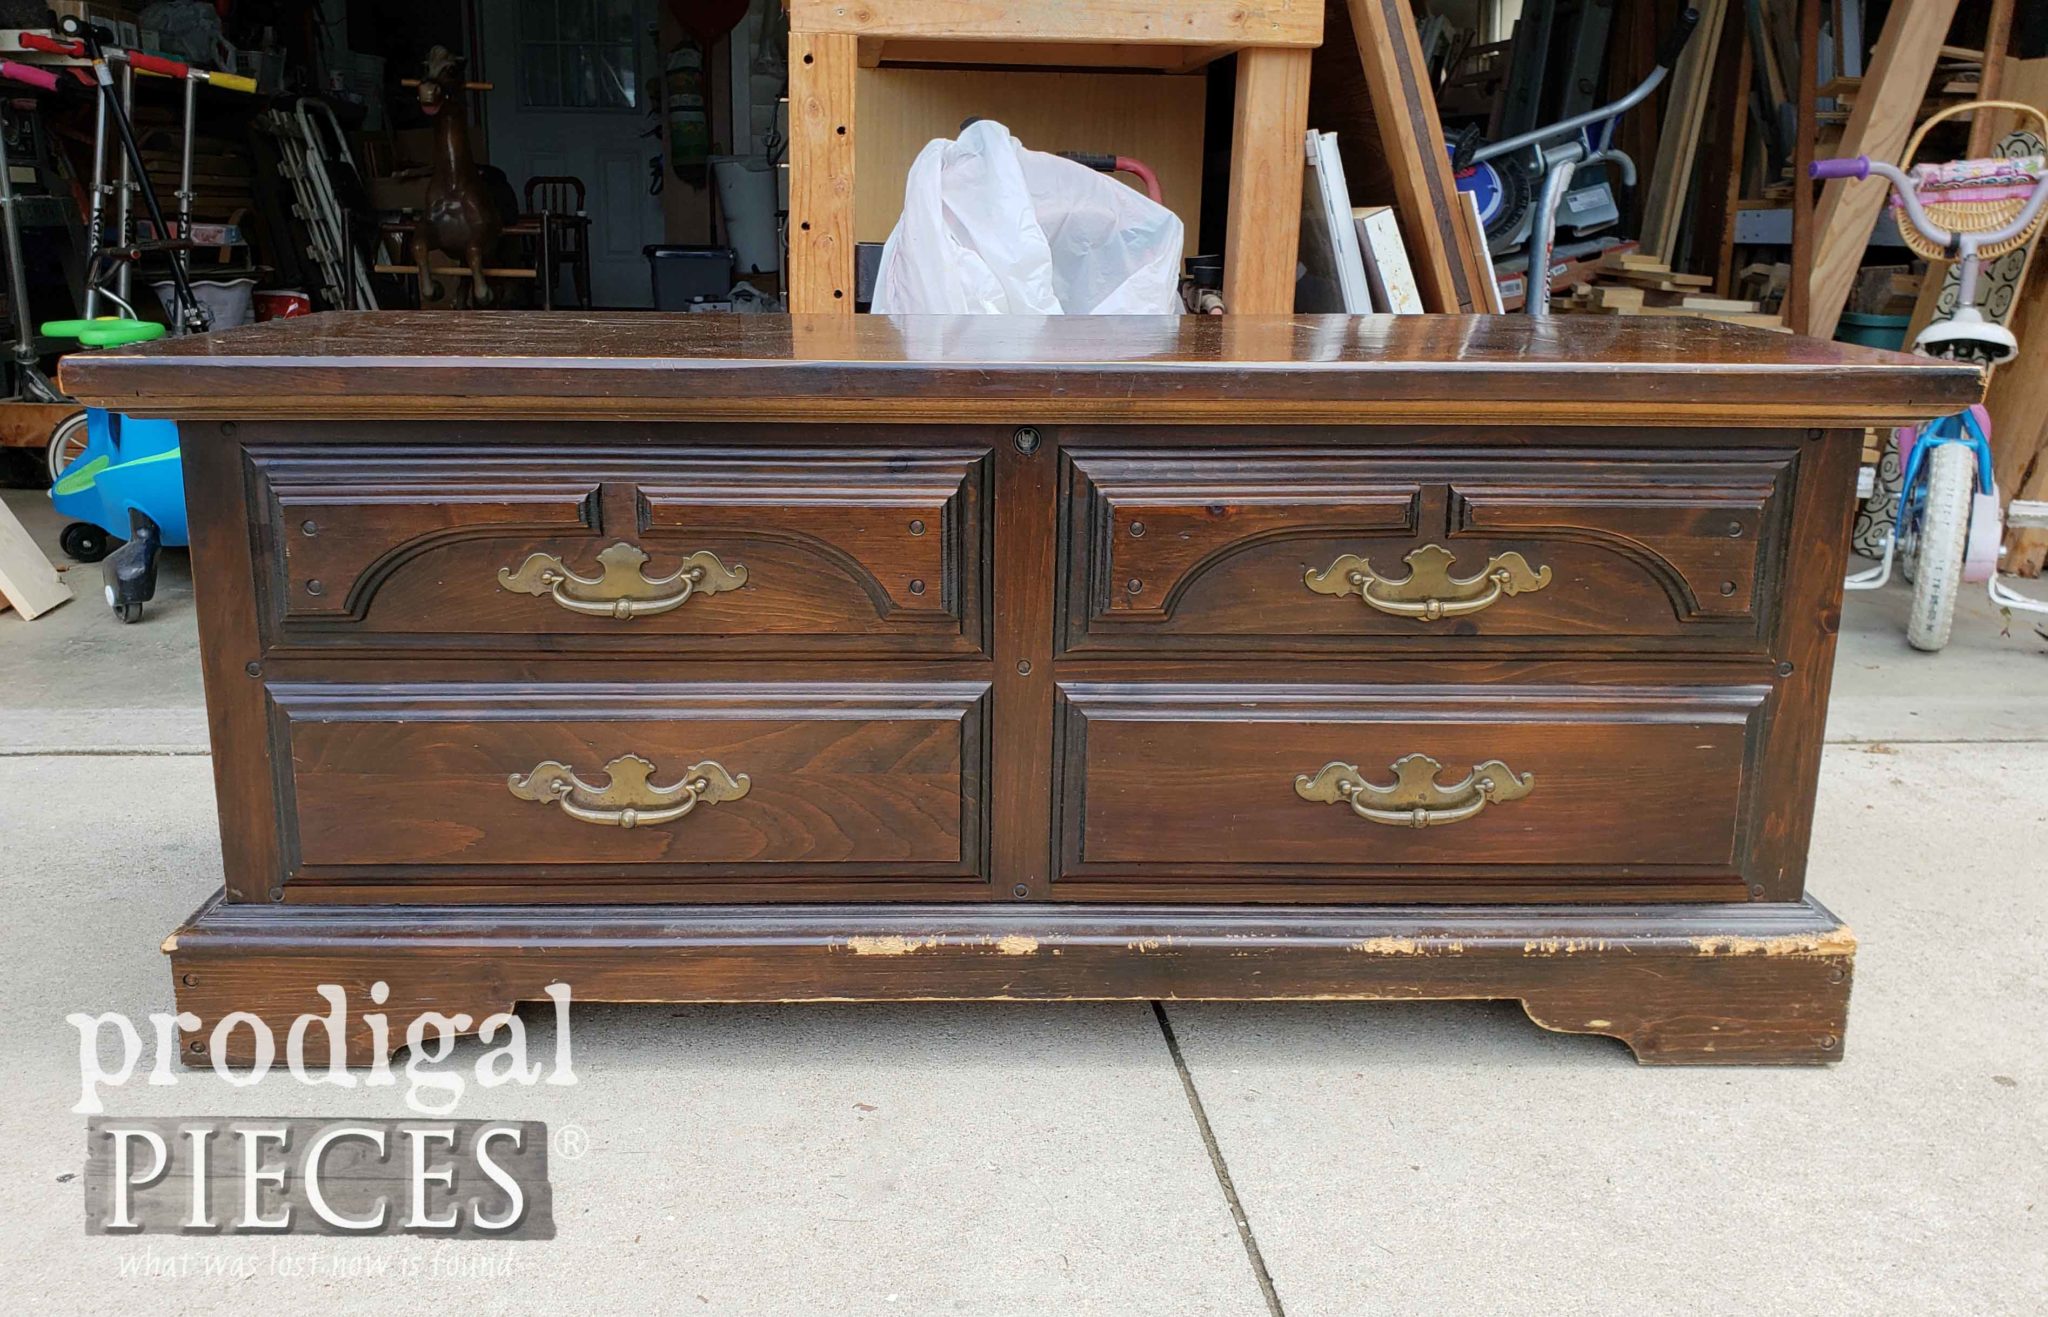
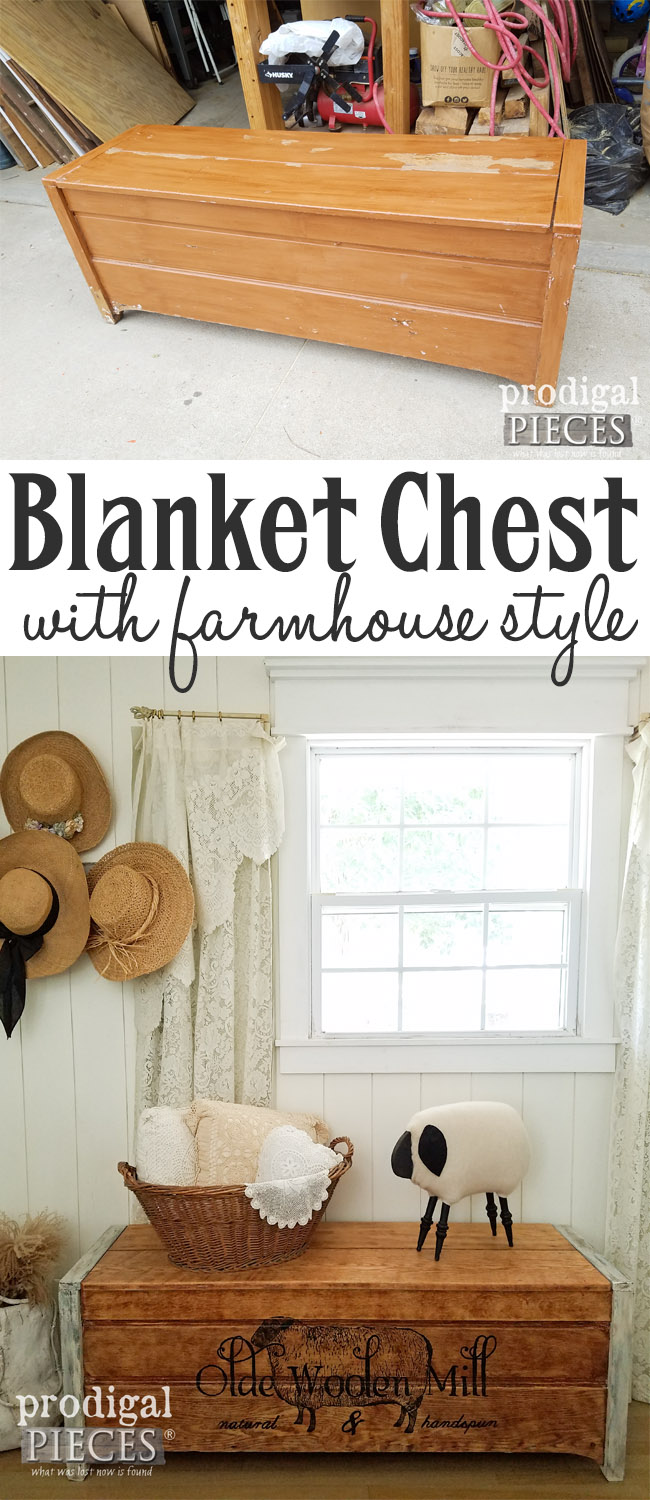
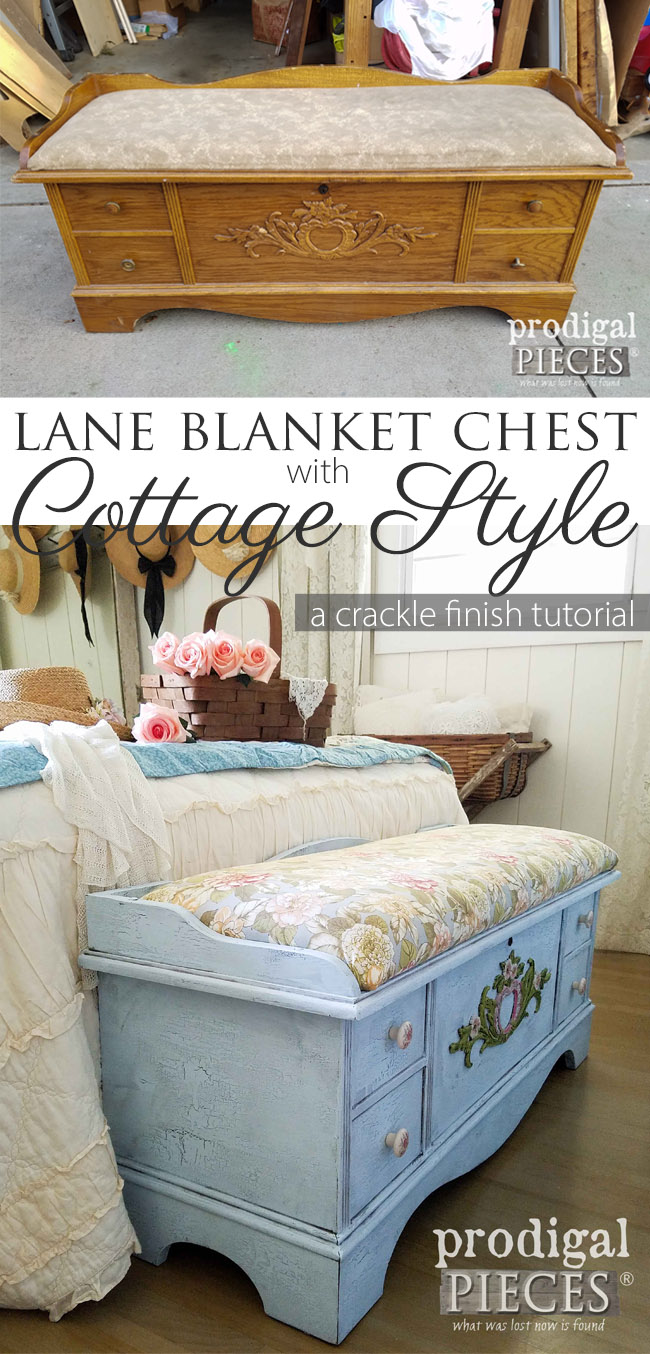
I'm going to be perfectly honest with you...I was mad I bought this. First, to defend myself, I did look at all the possible problems it may have: stink, damage (I was more concerned about the lid), functionality, etc. However, I somehow missed the one side and how badly chewed up it was. Eventually, the sting was softened by the fact I got to use my 35% off coupon at the thrift store. But...free and/or cheap almost always means WORK.
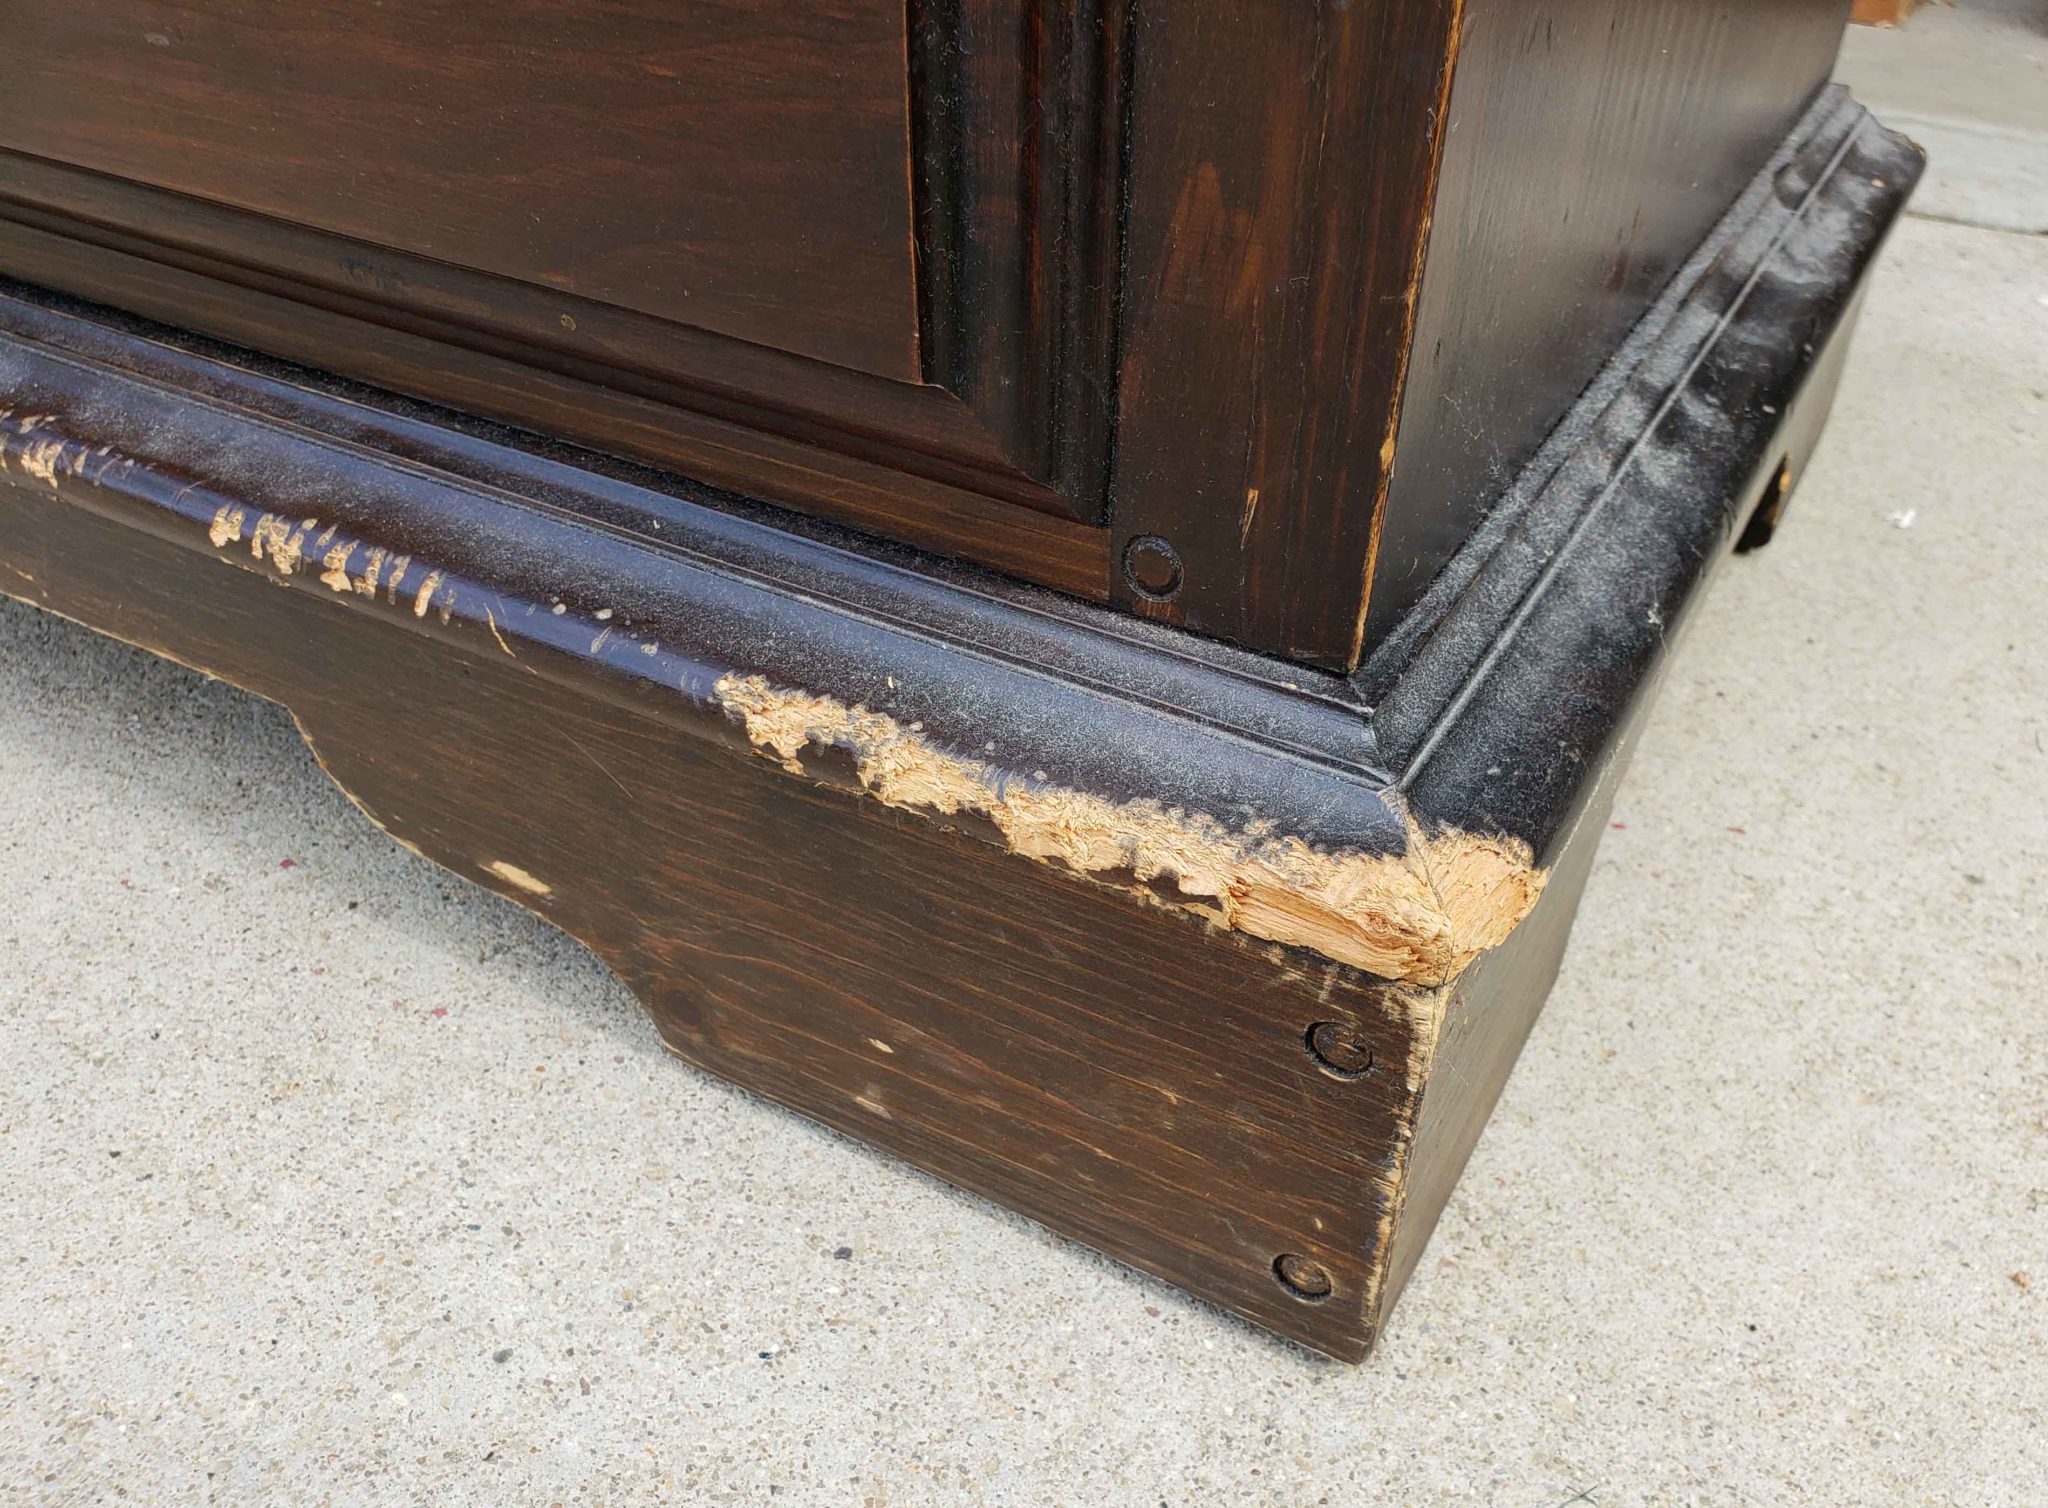
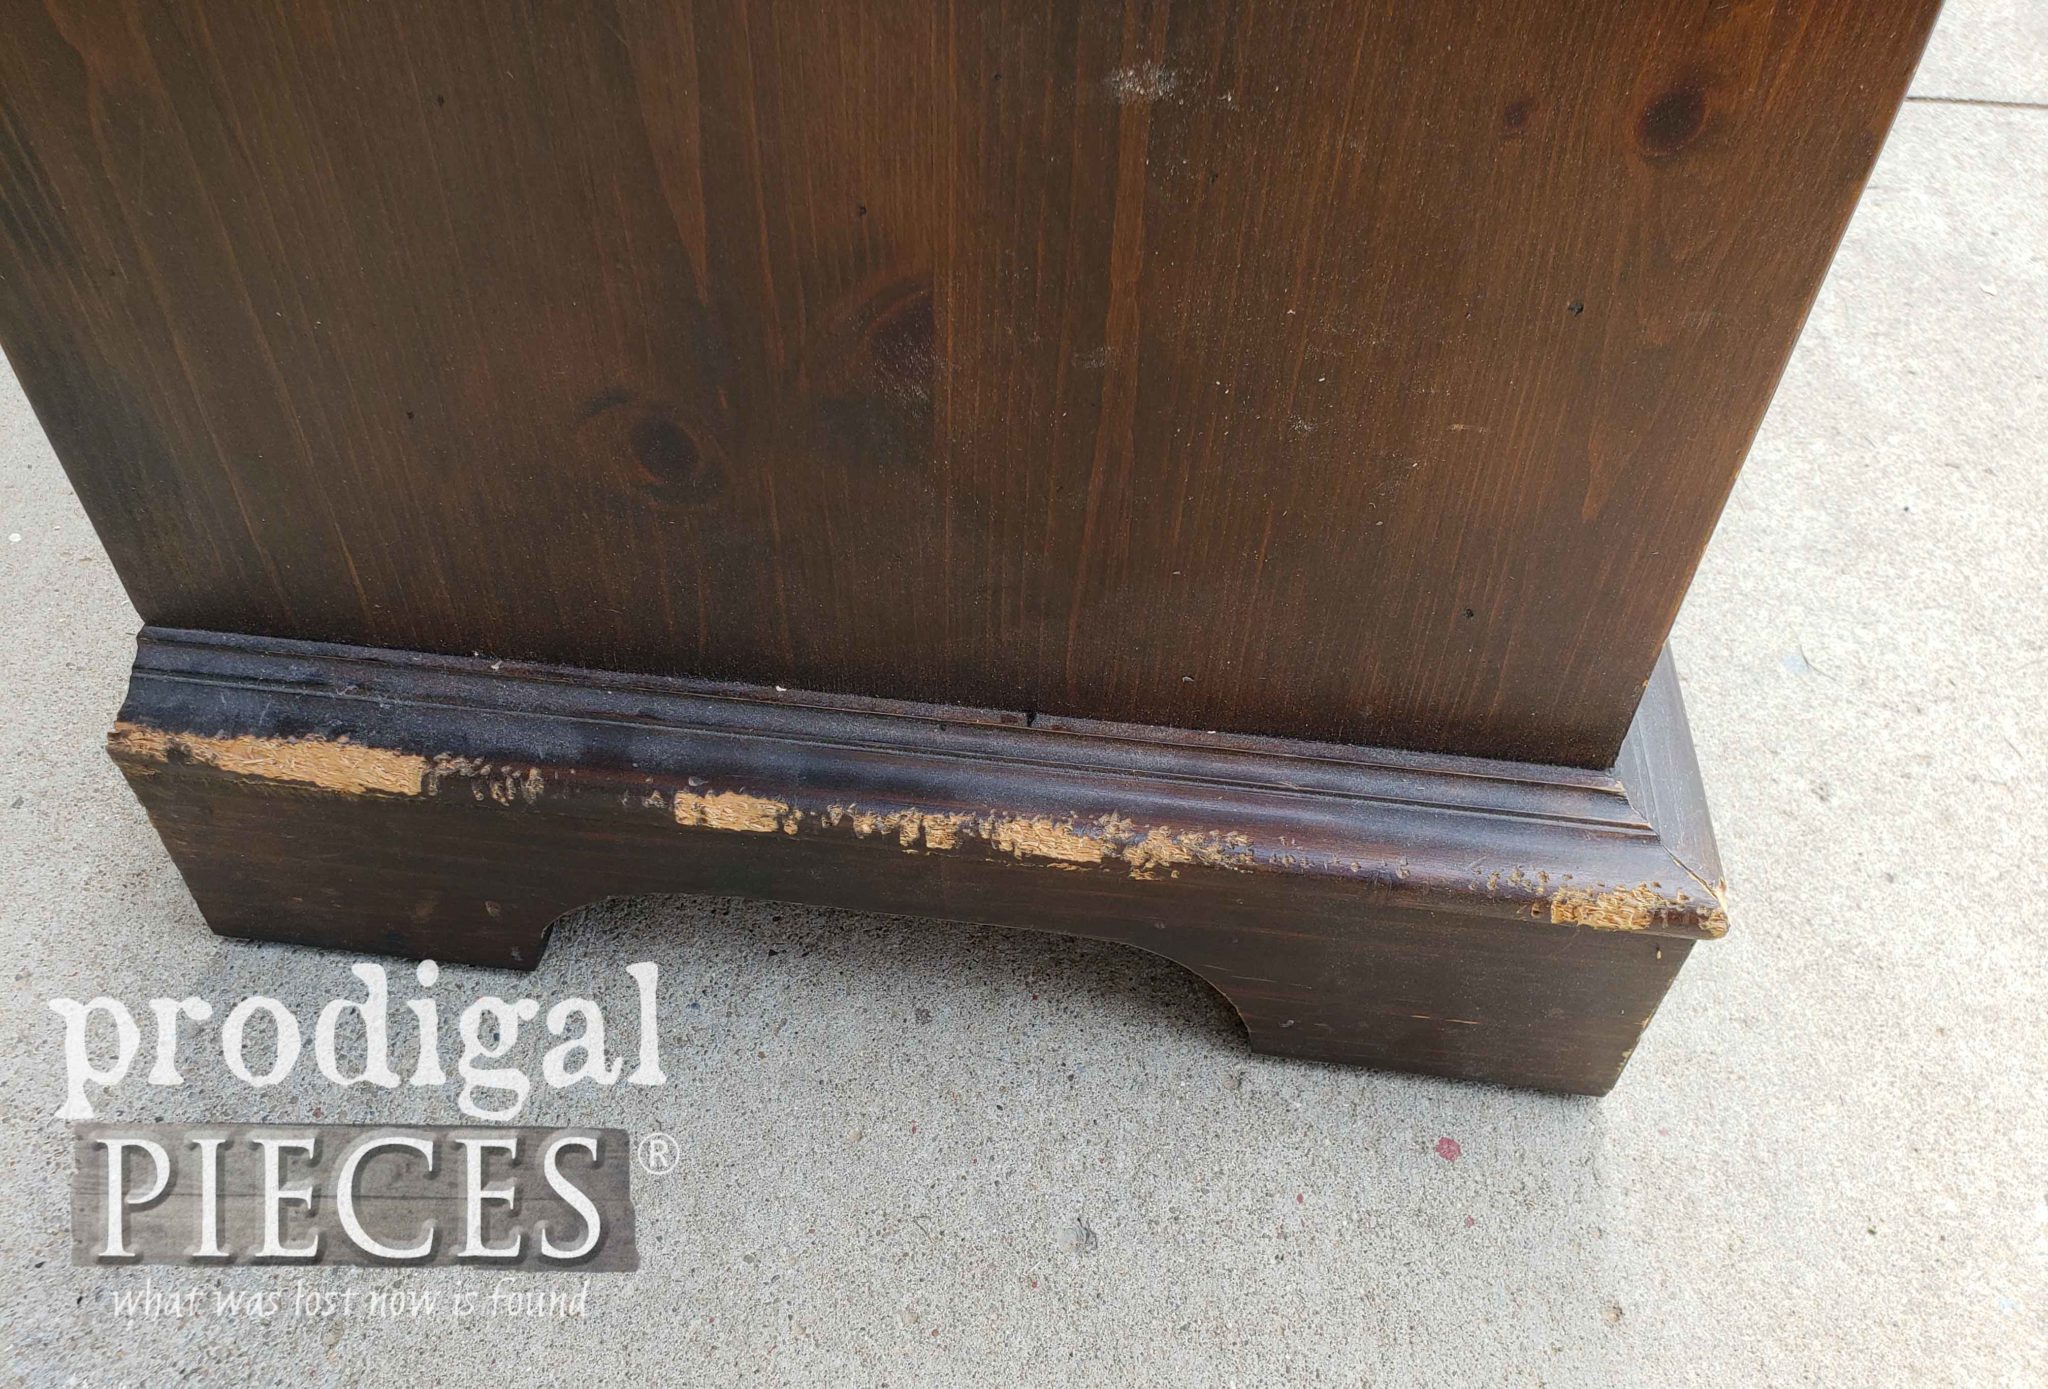
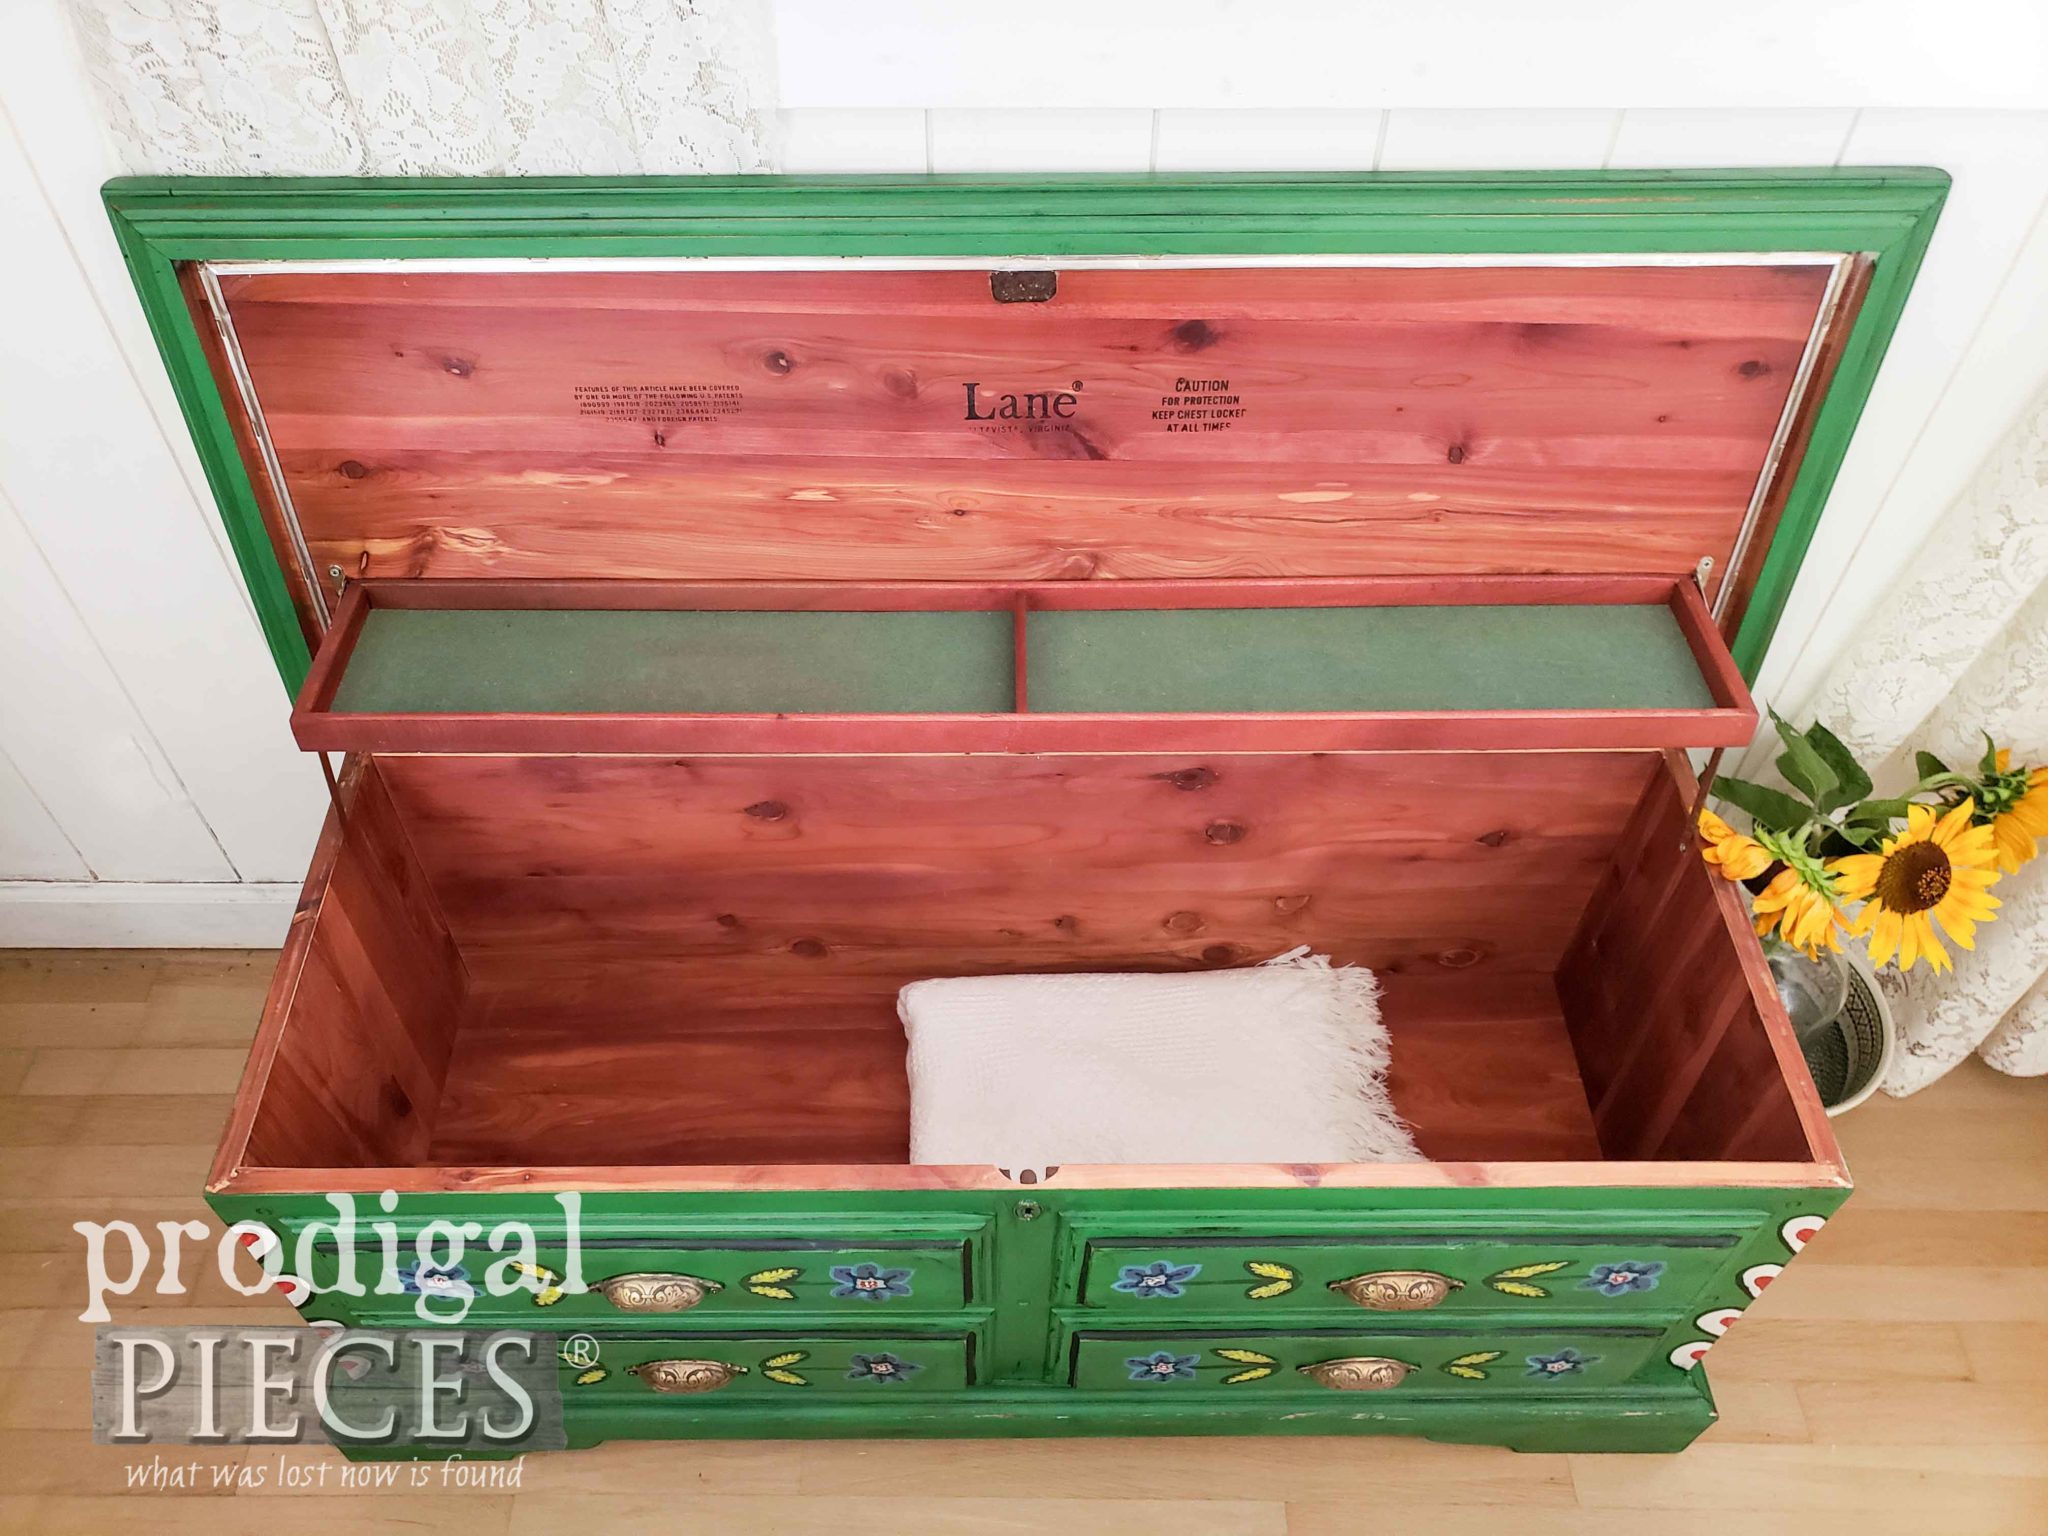
Another bonus is that it was a nice Lane cedar chest. The top is damaged, but nothing I can't handle.
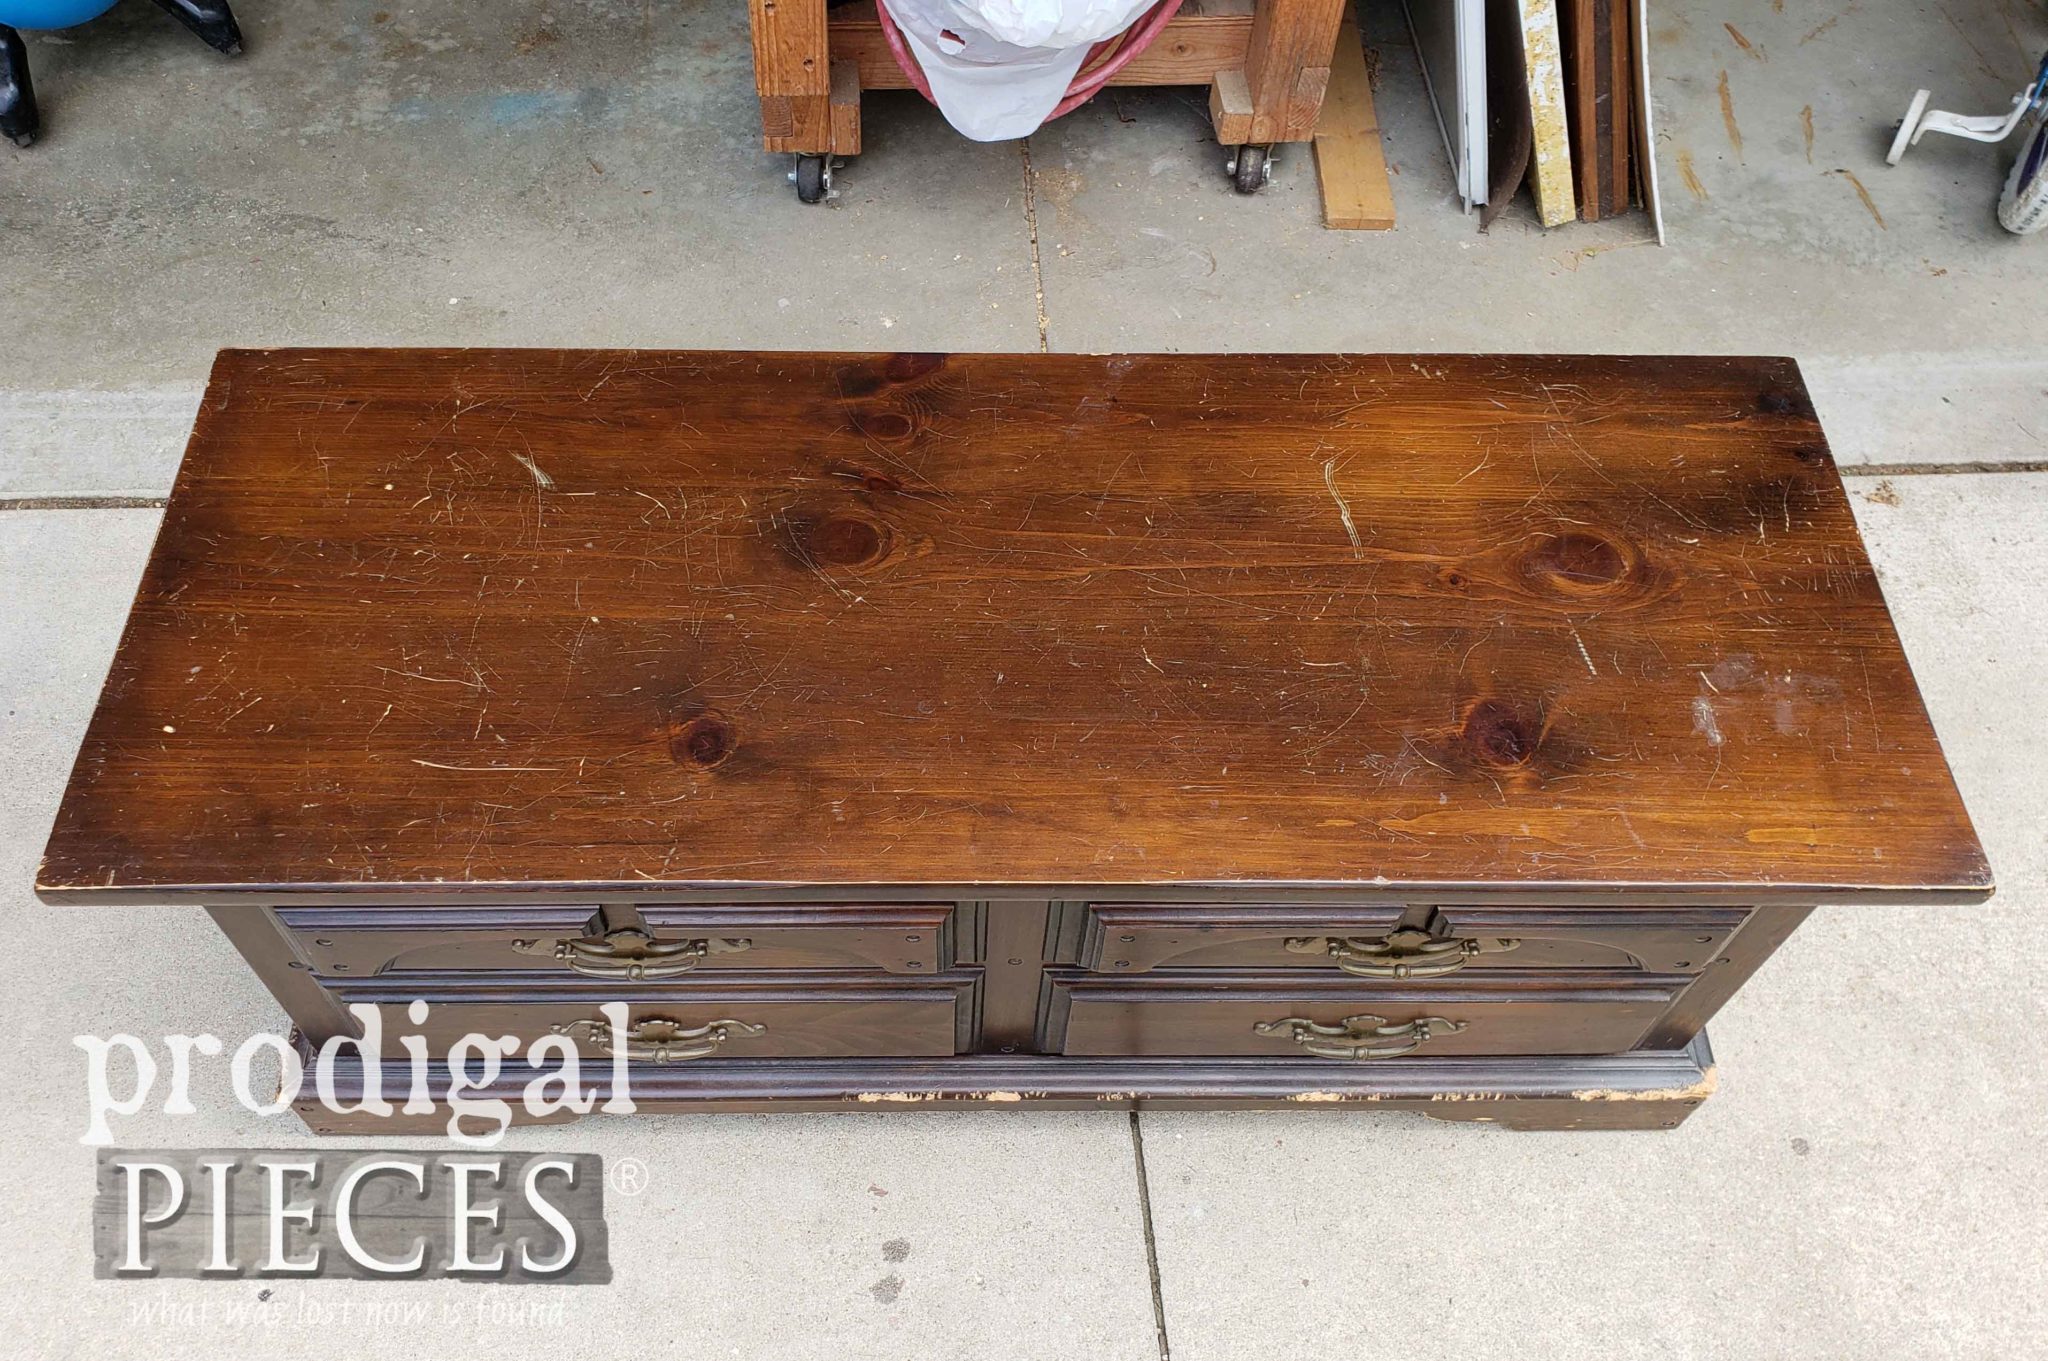
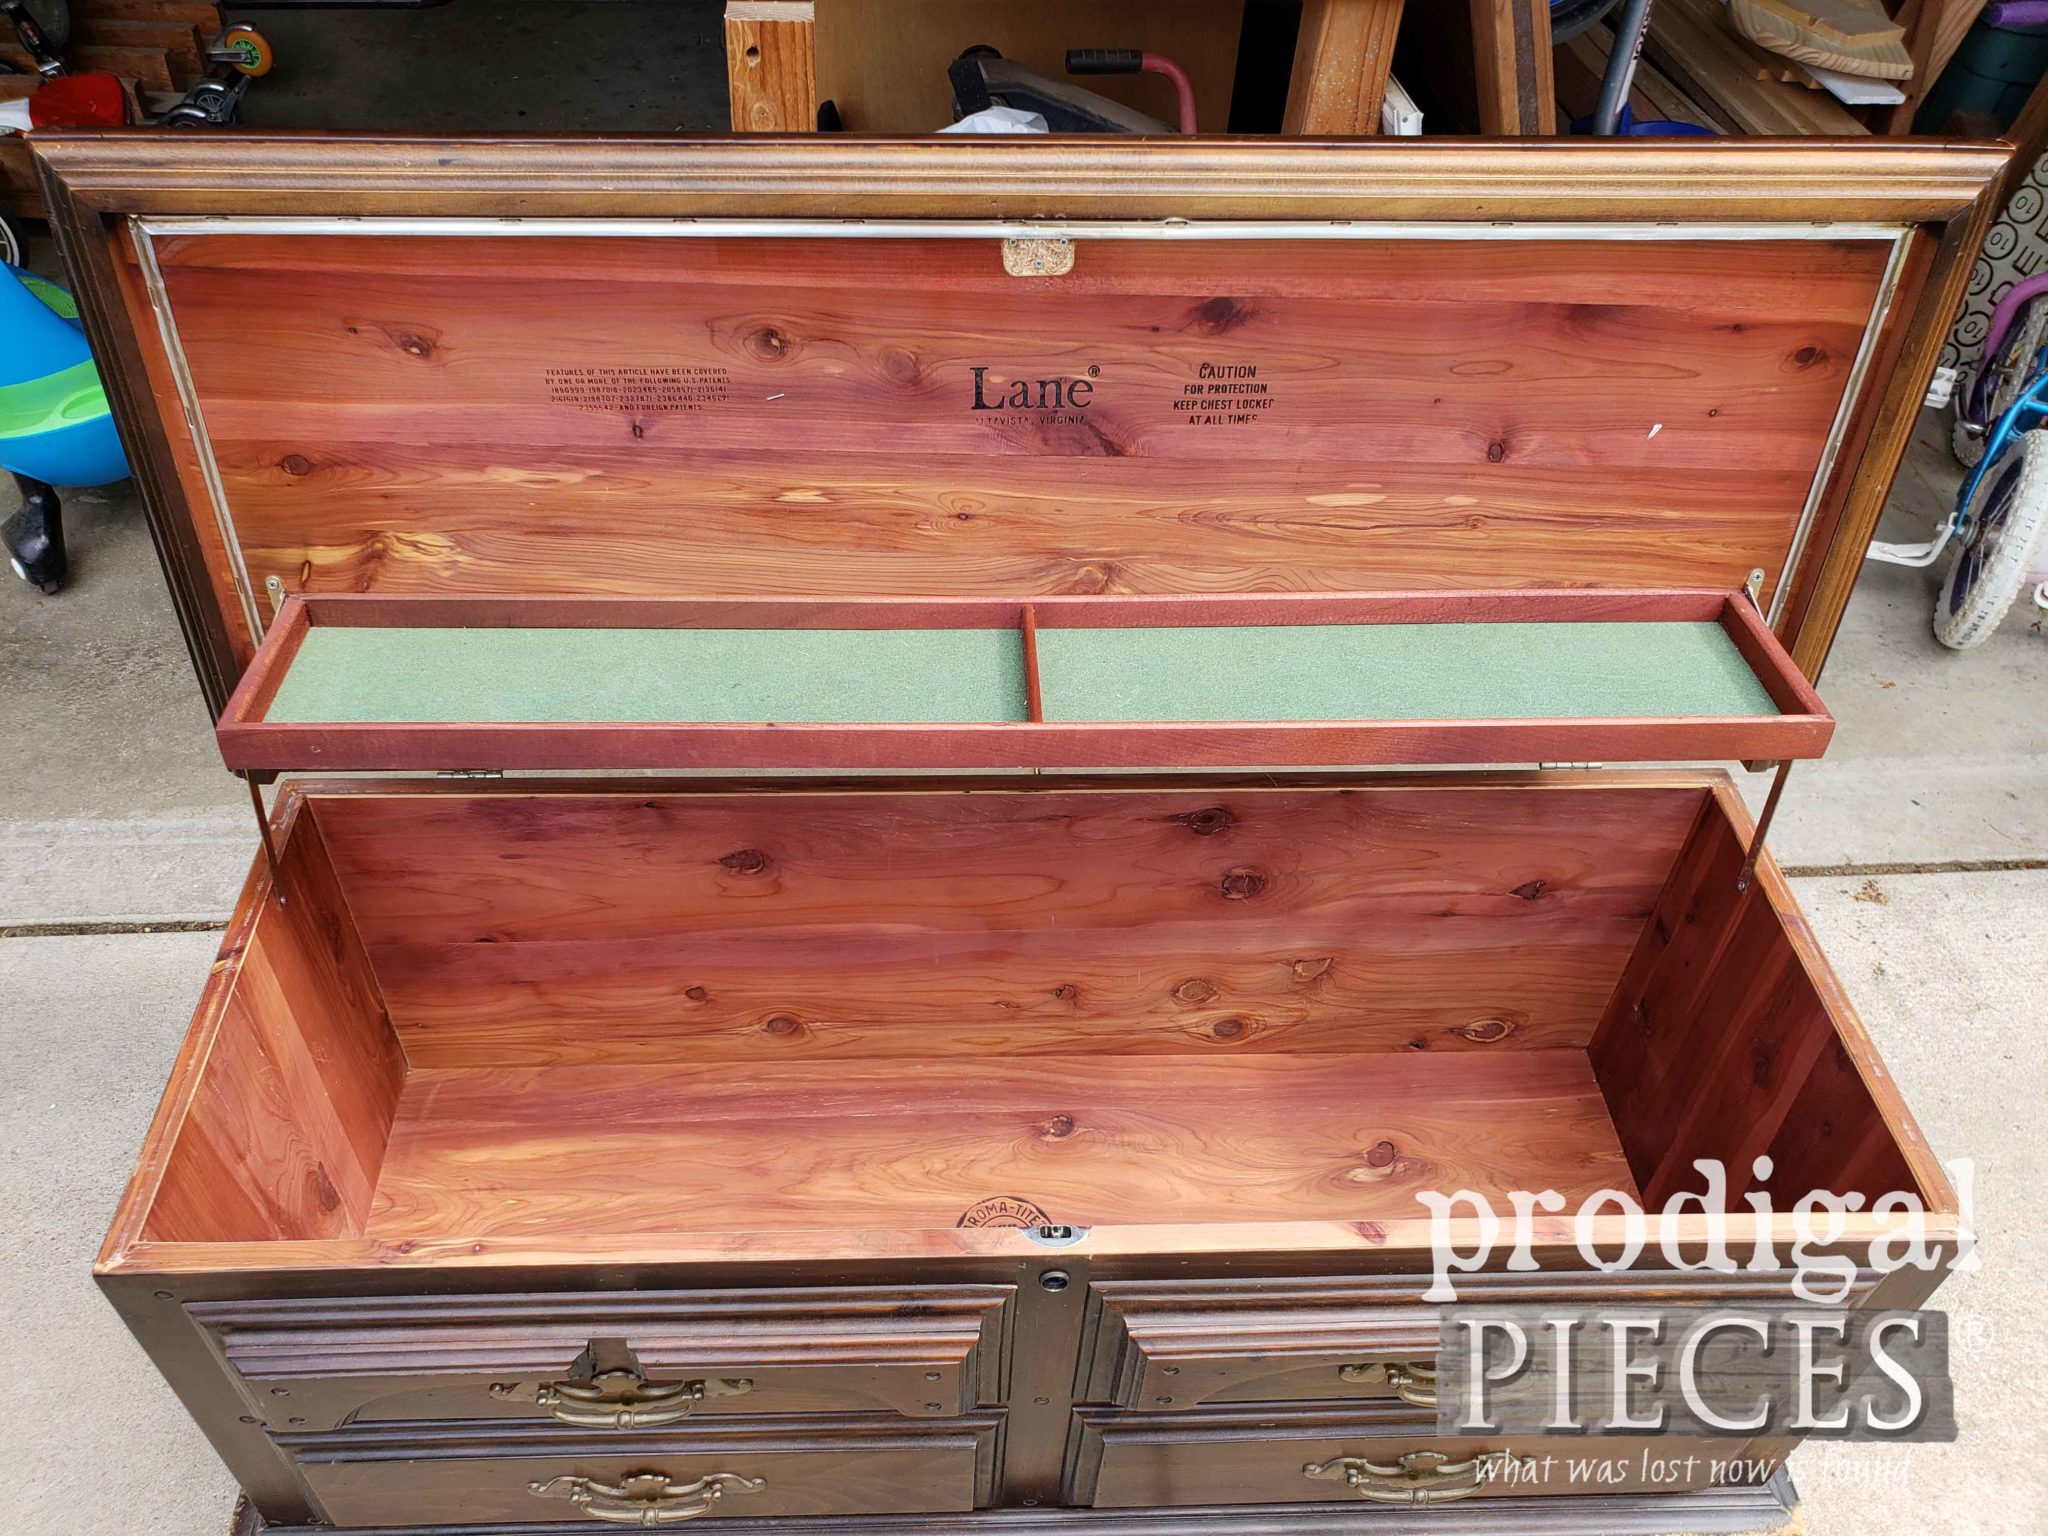
However, the positives quickly fell to the wayside once I got started. Even my kids knew I was in for it after I showed them the damage report. My initial make-myself-feel-better thought was..."just pop the trim off and put new on". Yeah, whatever. meh.
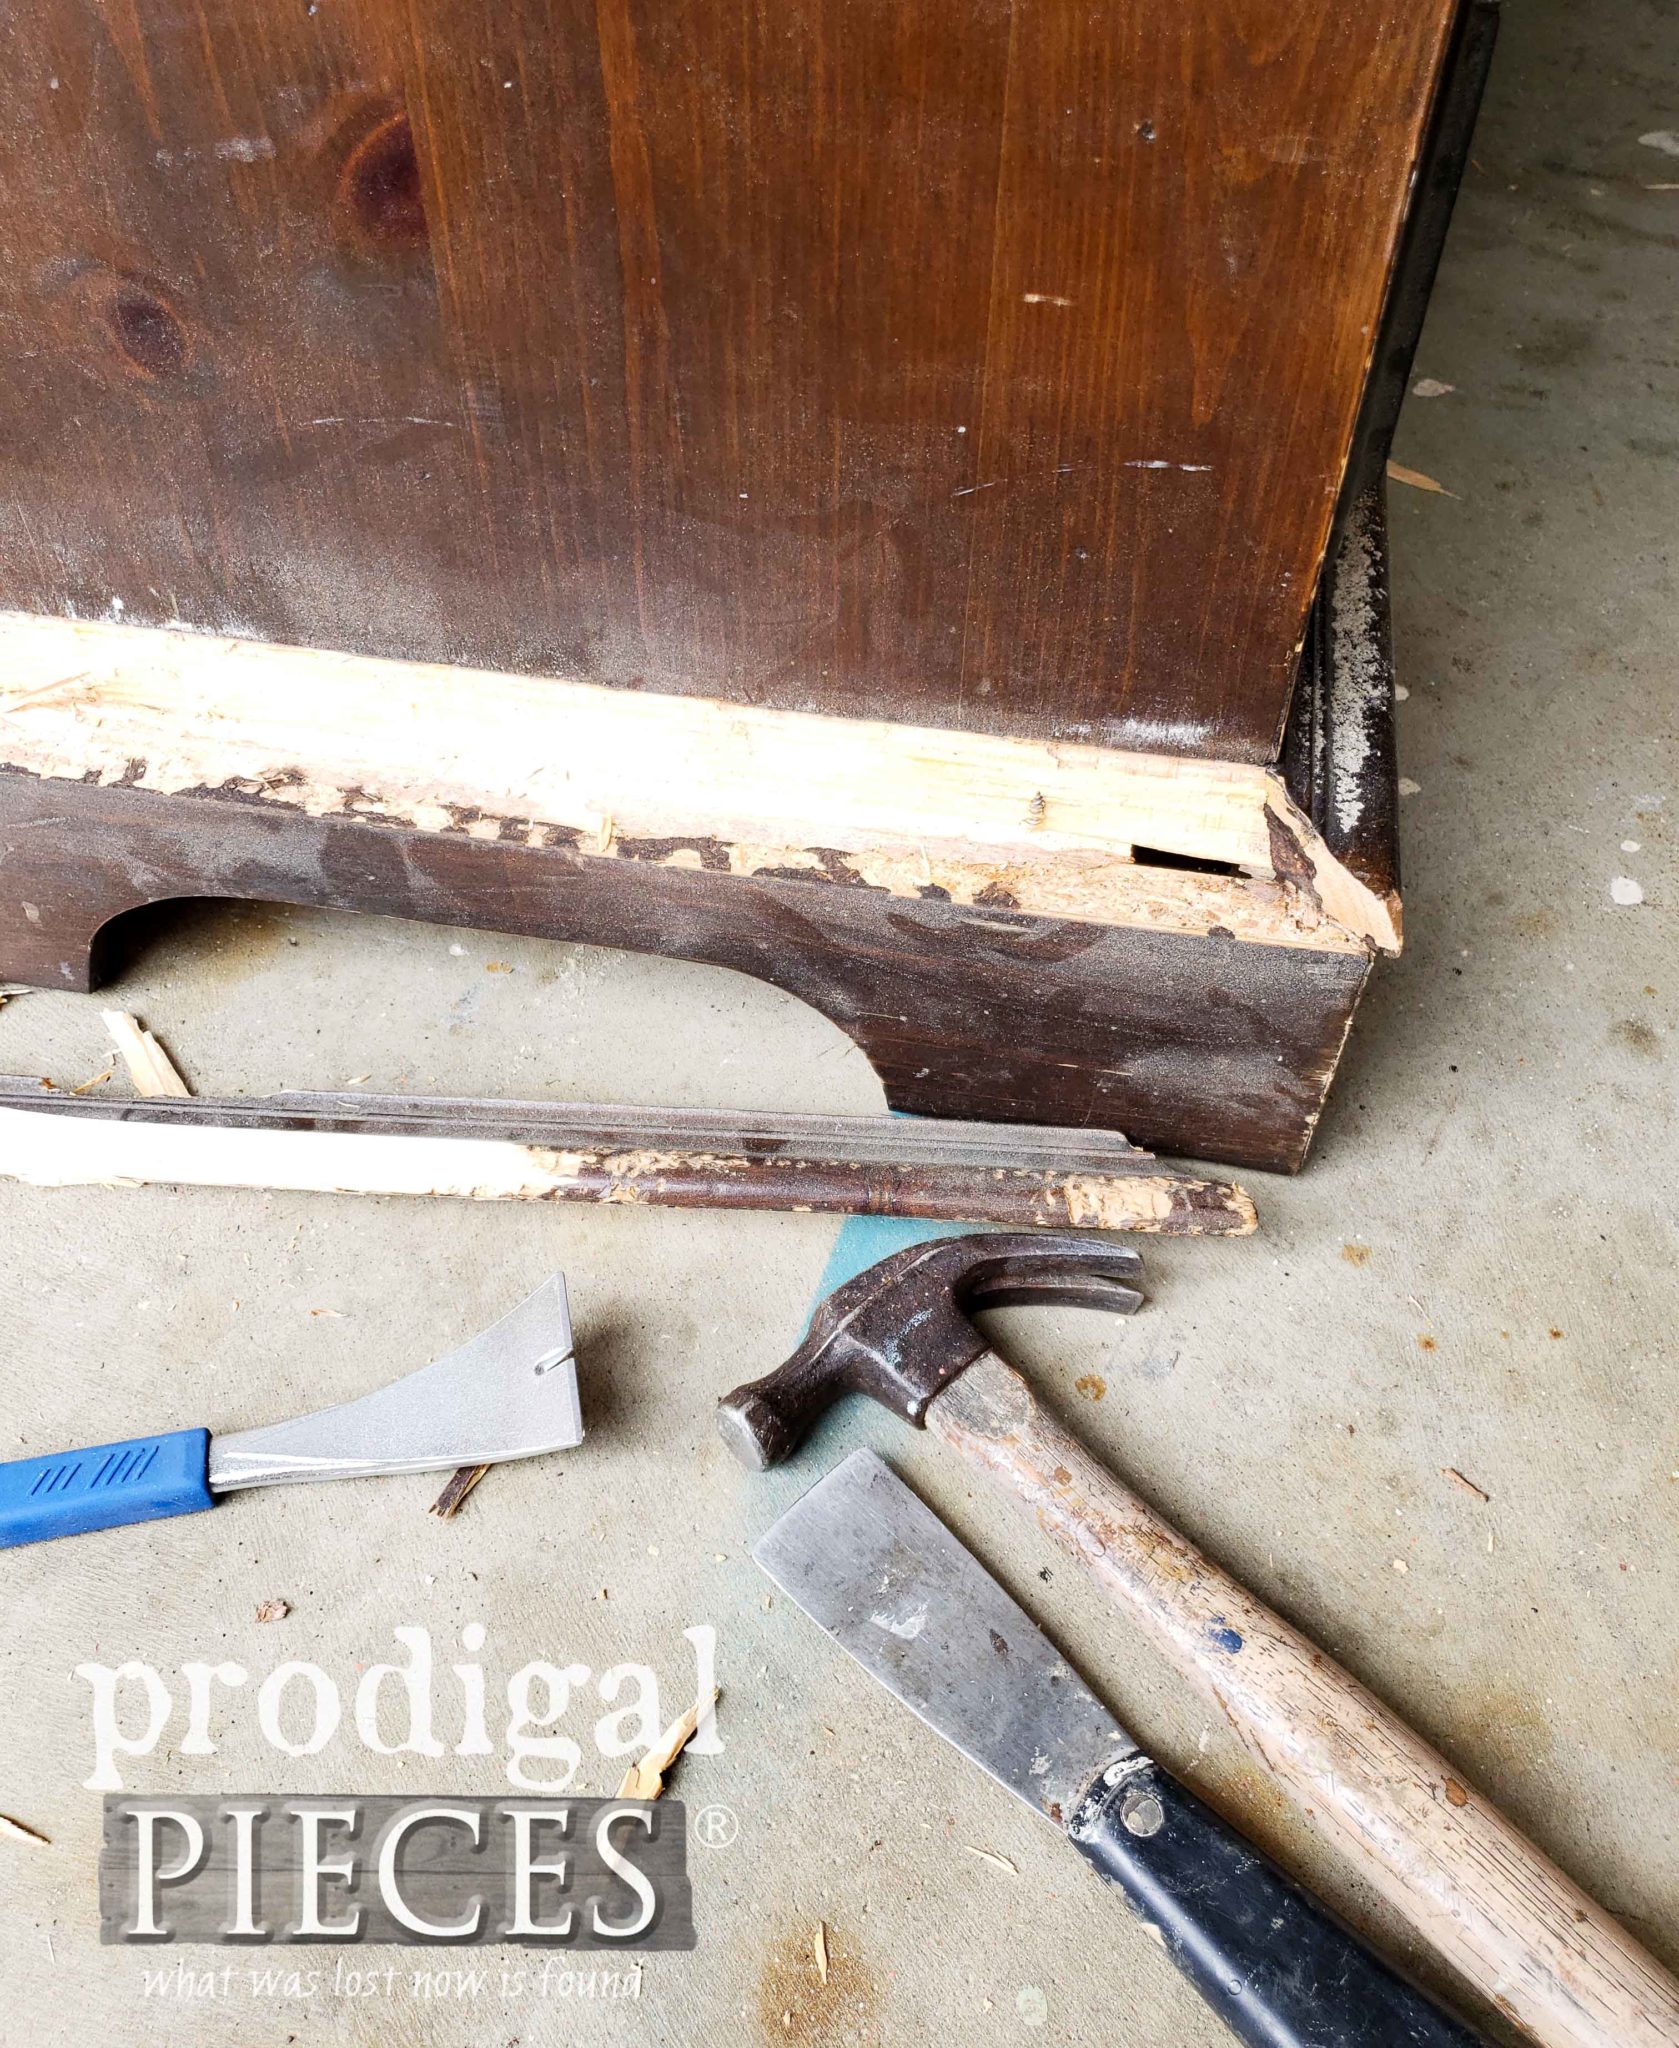
HOT MESS
Pop, nothing! First, this beast was not solid wood, but rather veneer over particle board in most places, so that wasn't happening. Best answer to that problem? Bust the whole thing off. aaaahhh...that felt SO good.
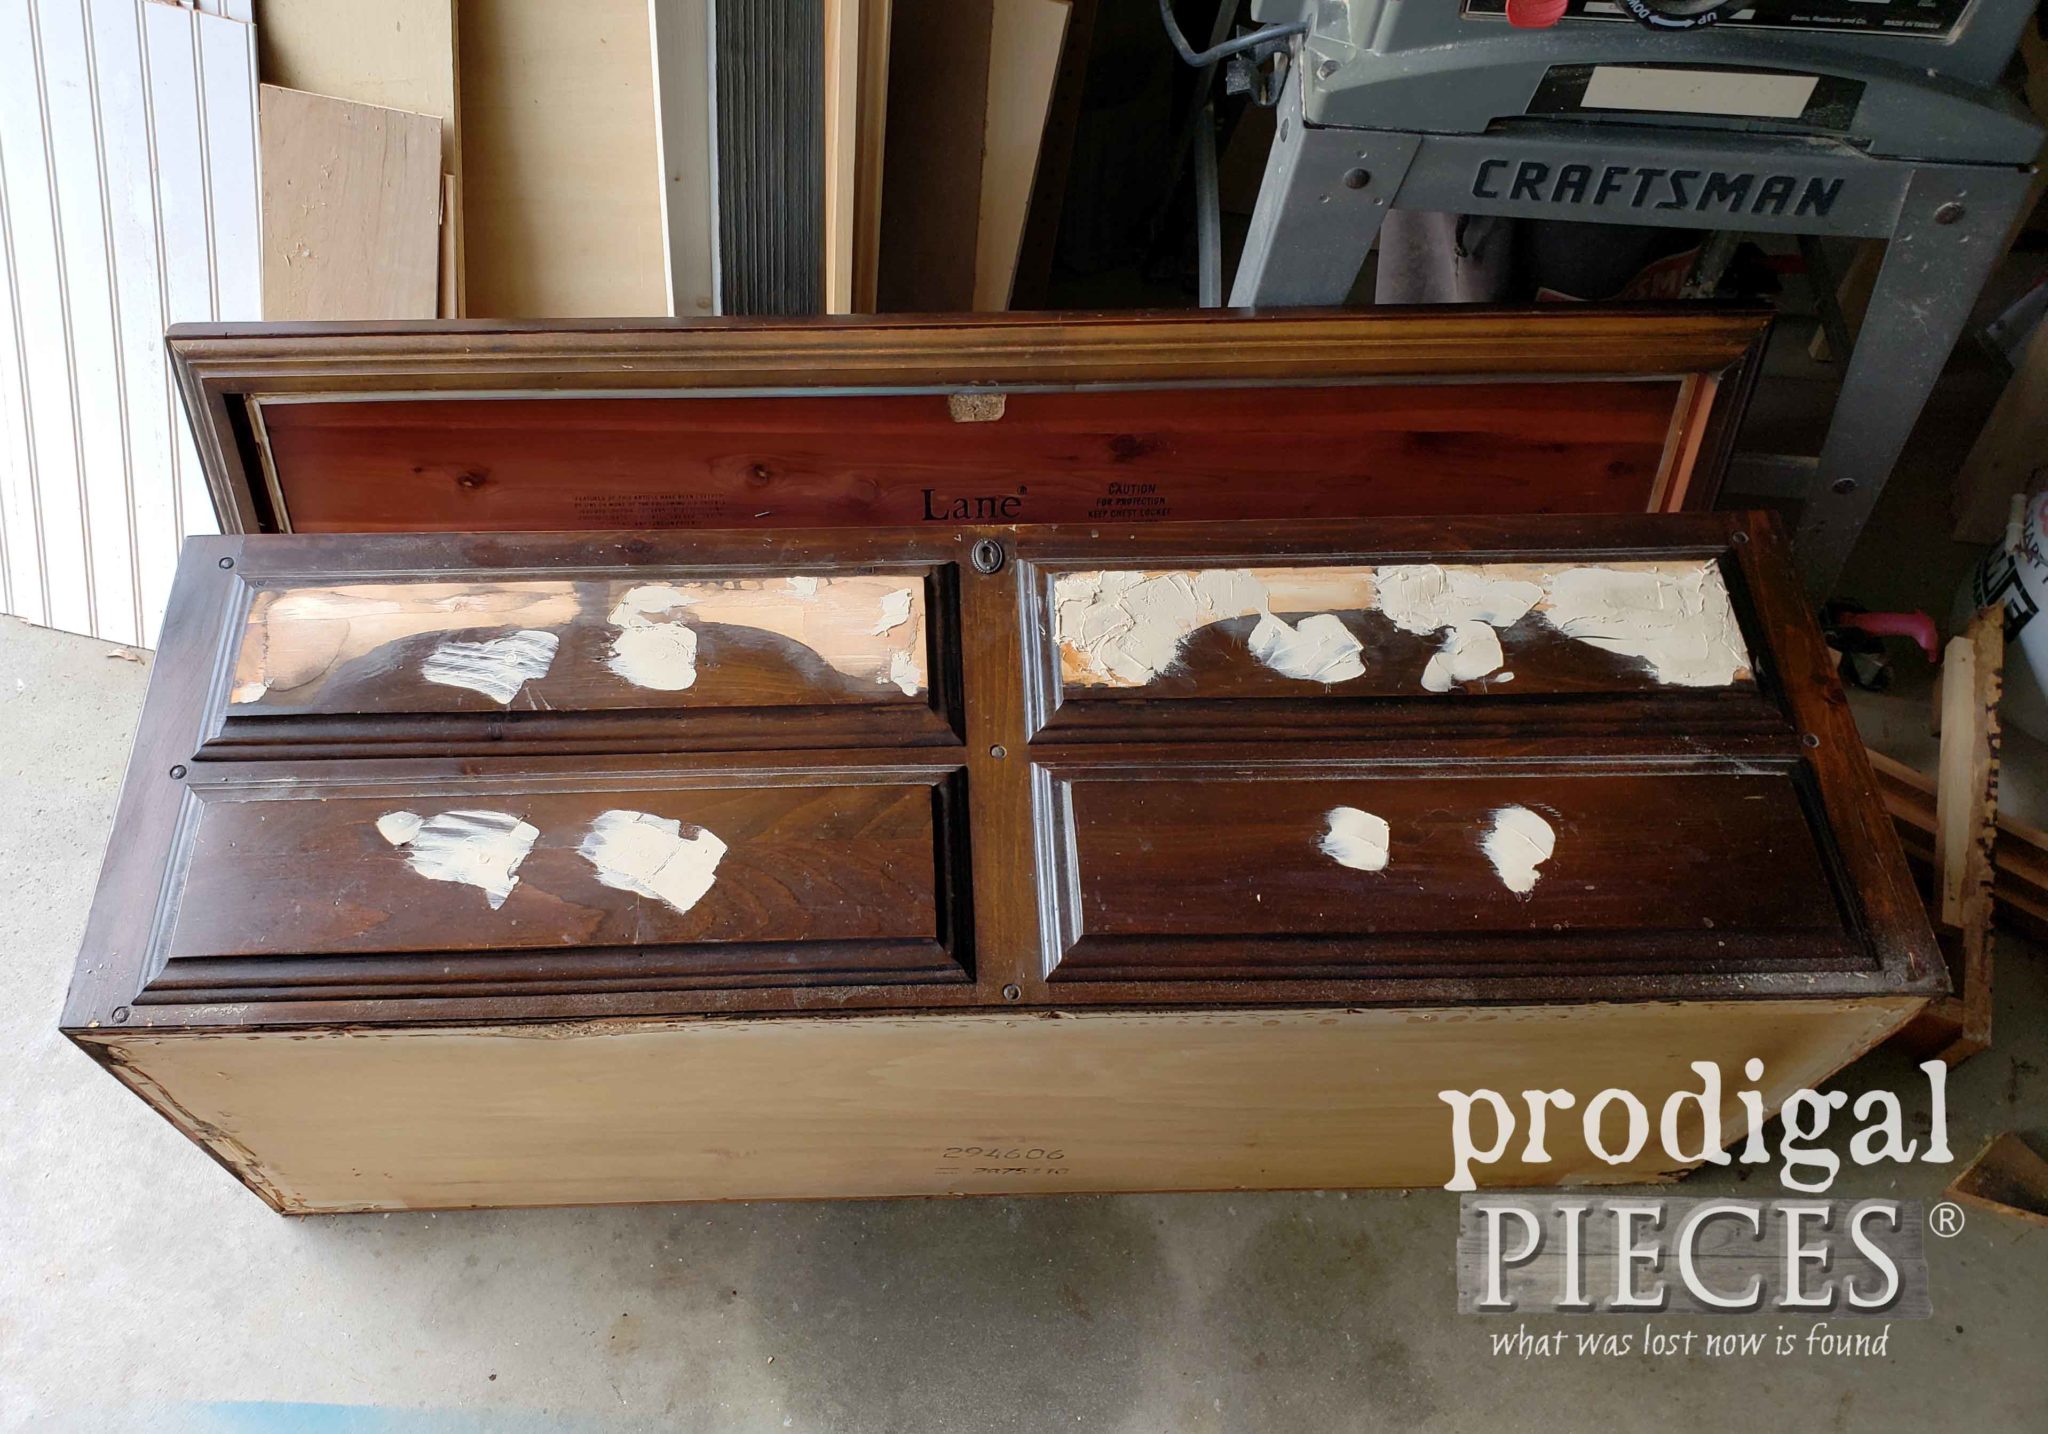
Then, as you may notice, I also removed the pulls and filled the holes for new, plus took of those eyebrow looking pieces from the top two faux drawers. Looking better already!
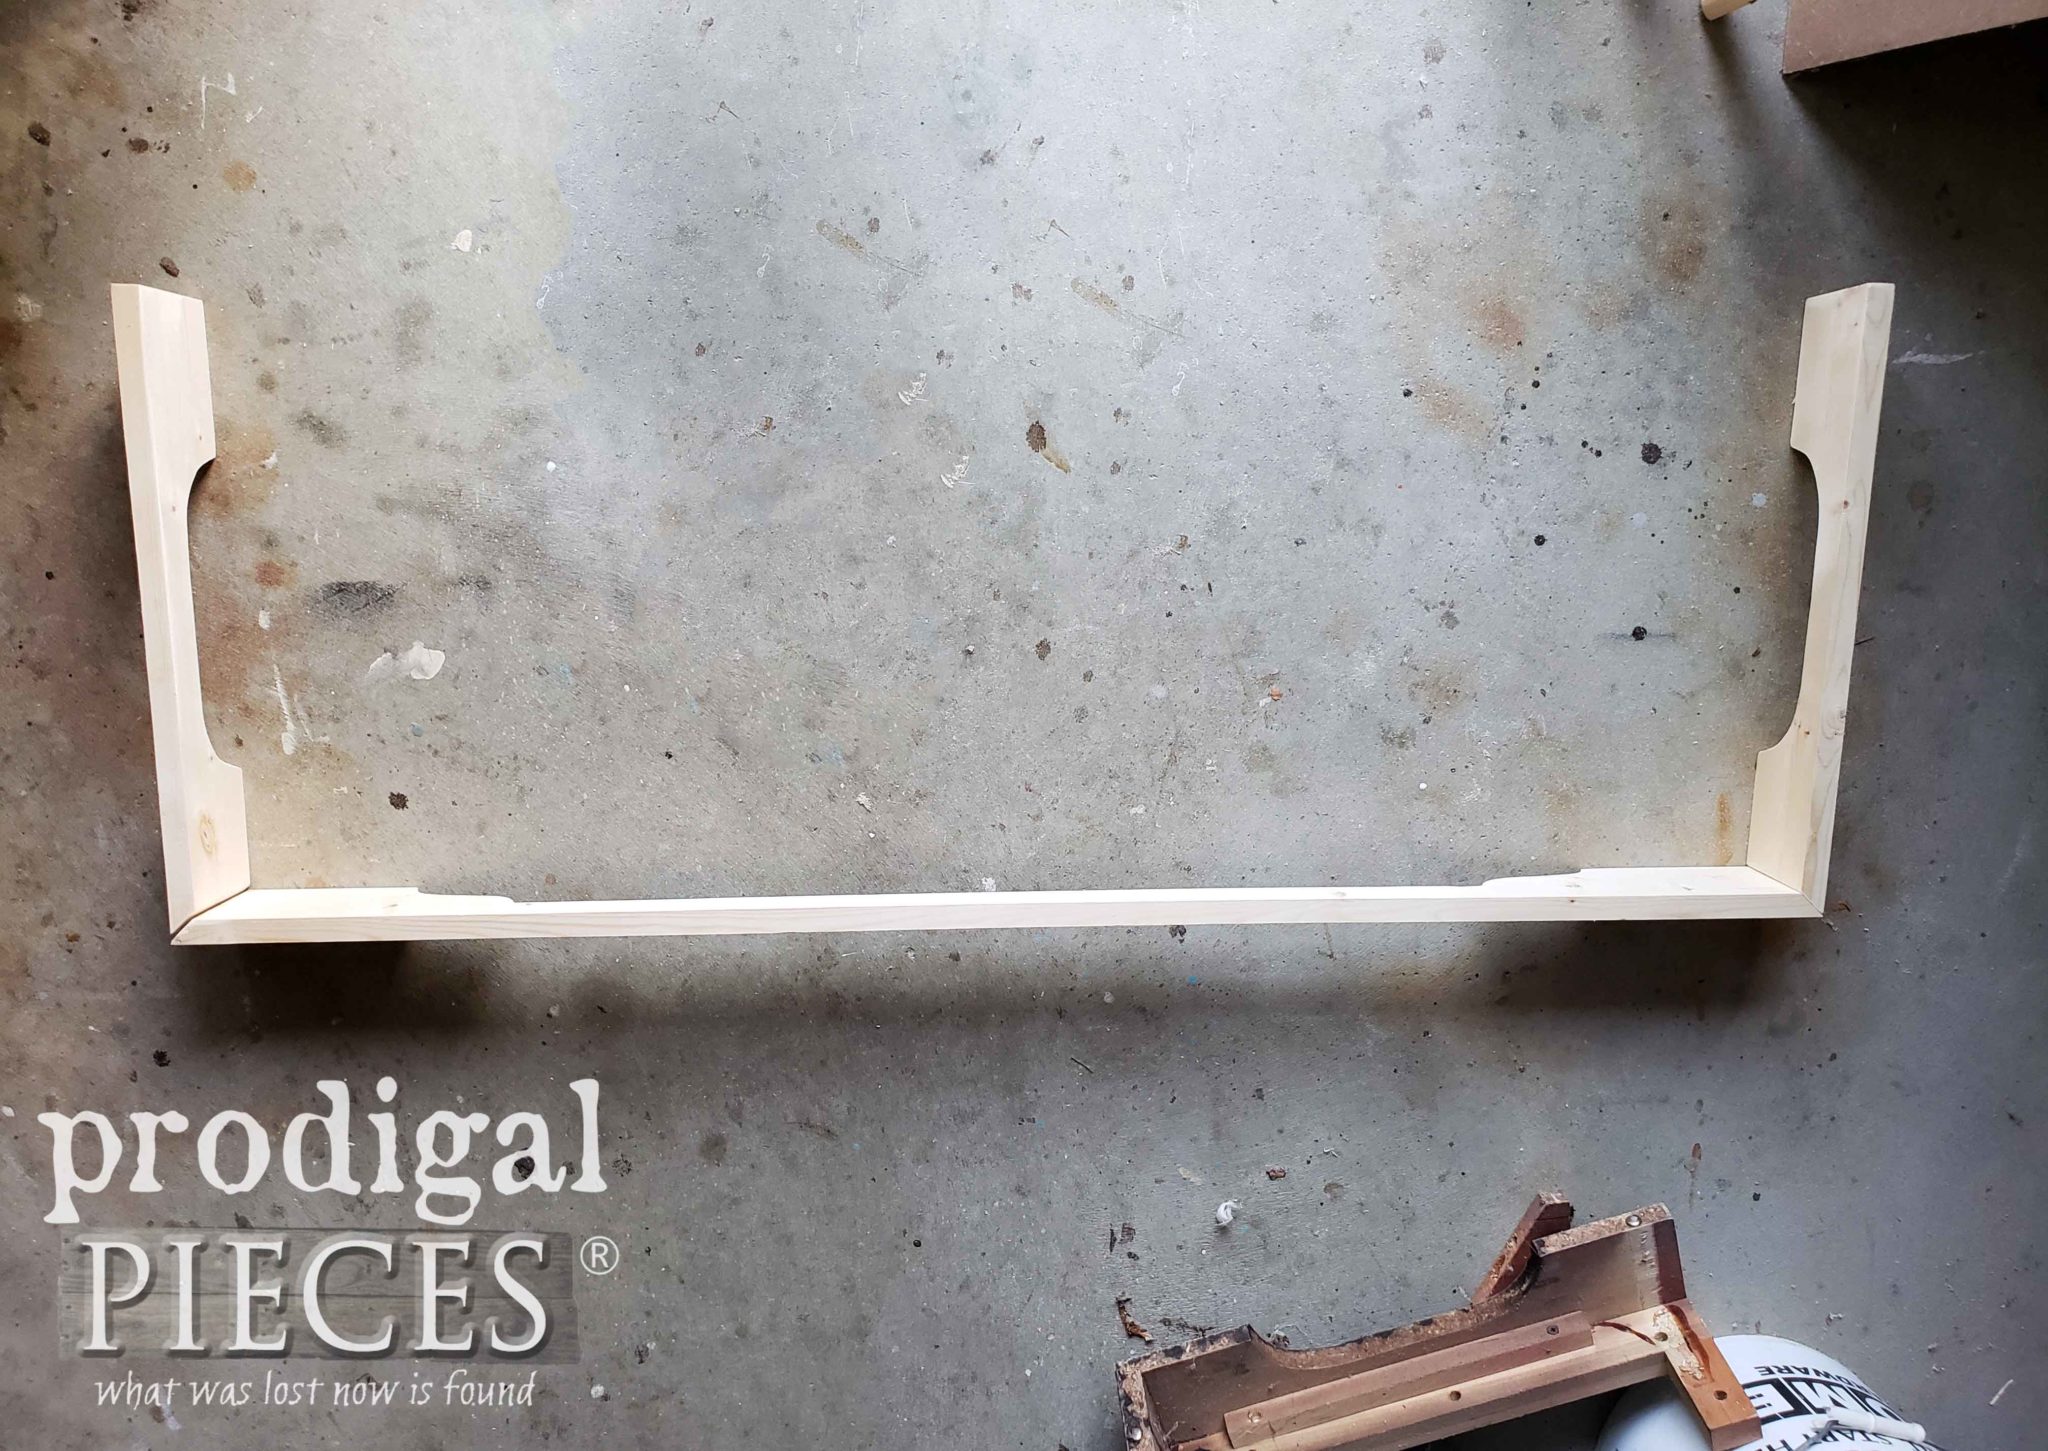
Next, comes the head-smacking part. I now had to rebuild the entire base from scratch. Here is my work after getting it cut with my jigsaw and miter saw.
MORE WORK
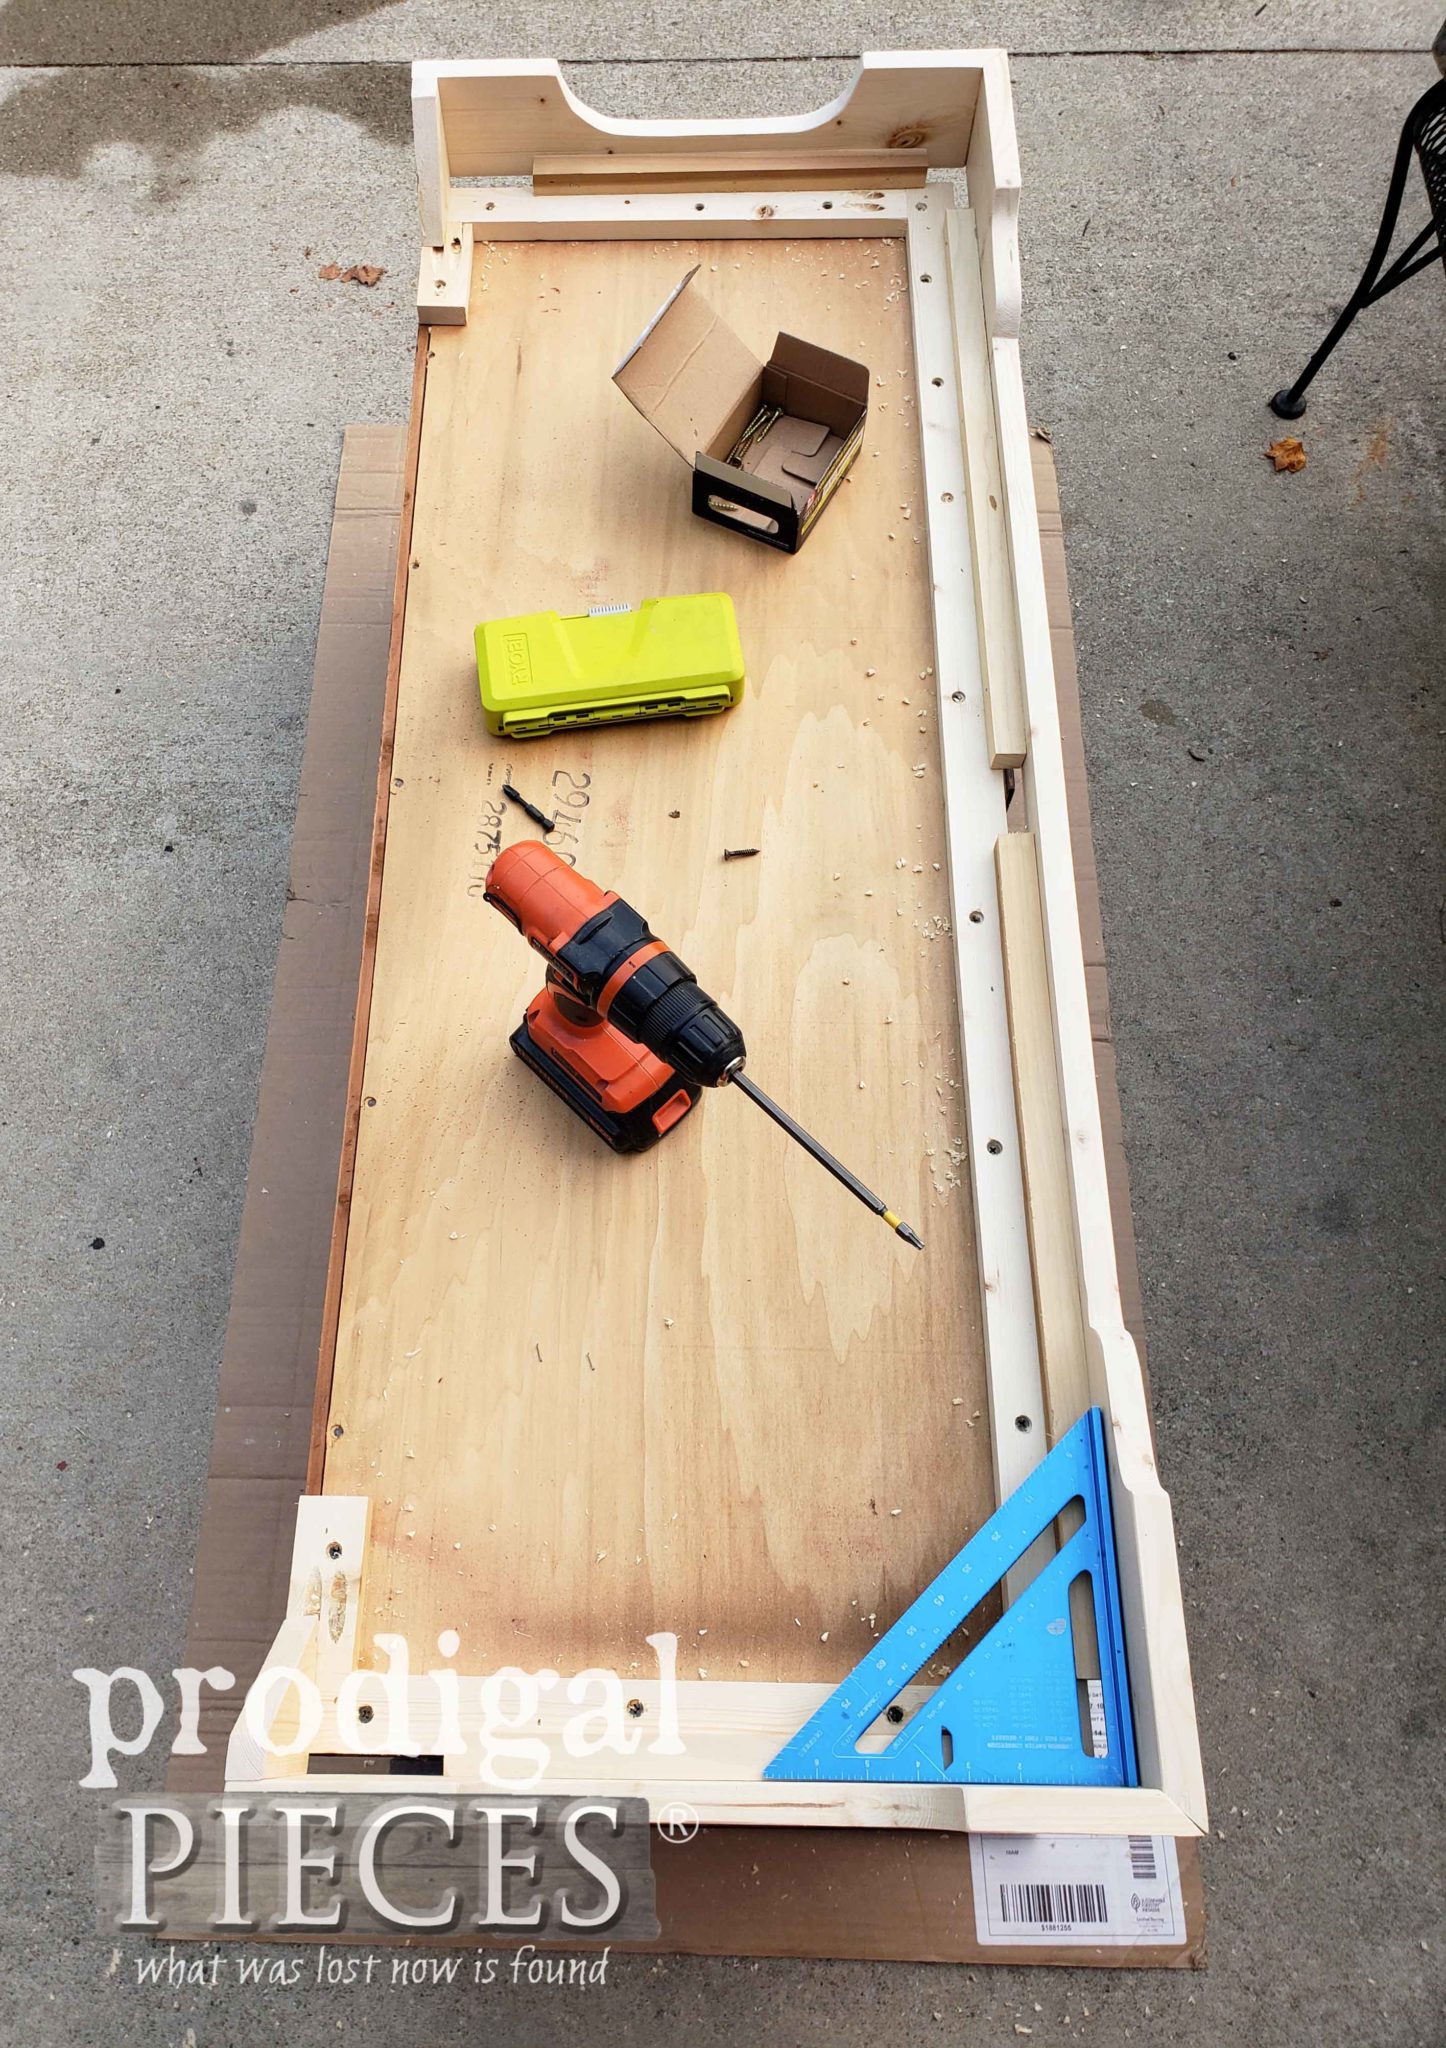
So...here lies said victim with new appendages and is belly up for the process. Super thankful for my Kreg Jig and drill to speed the job along.
Our end result is a like-new vintage blanket chest with cedar lining ready to get a whole new lease on life.
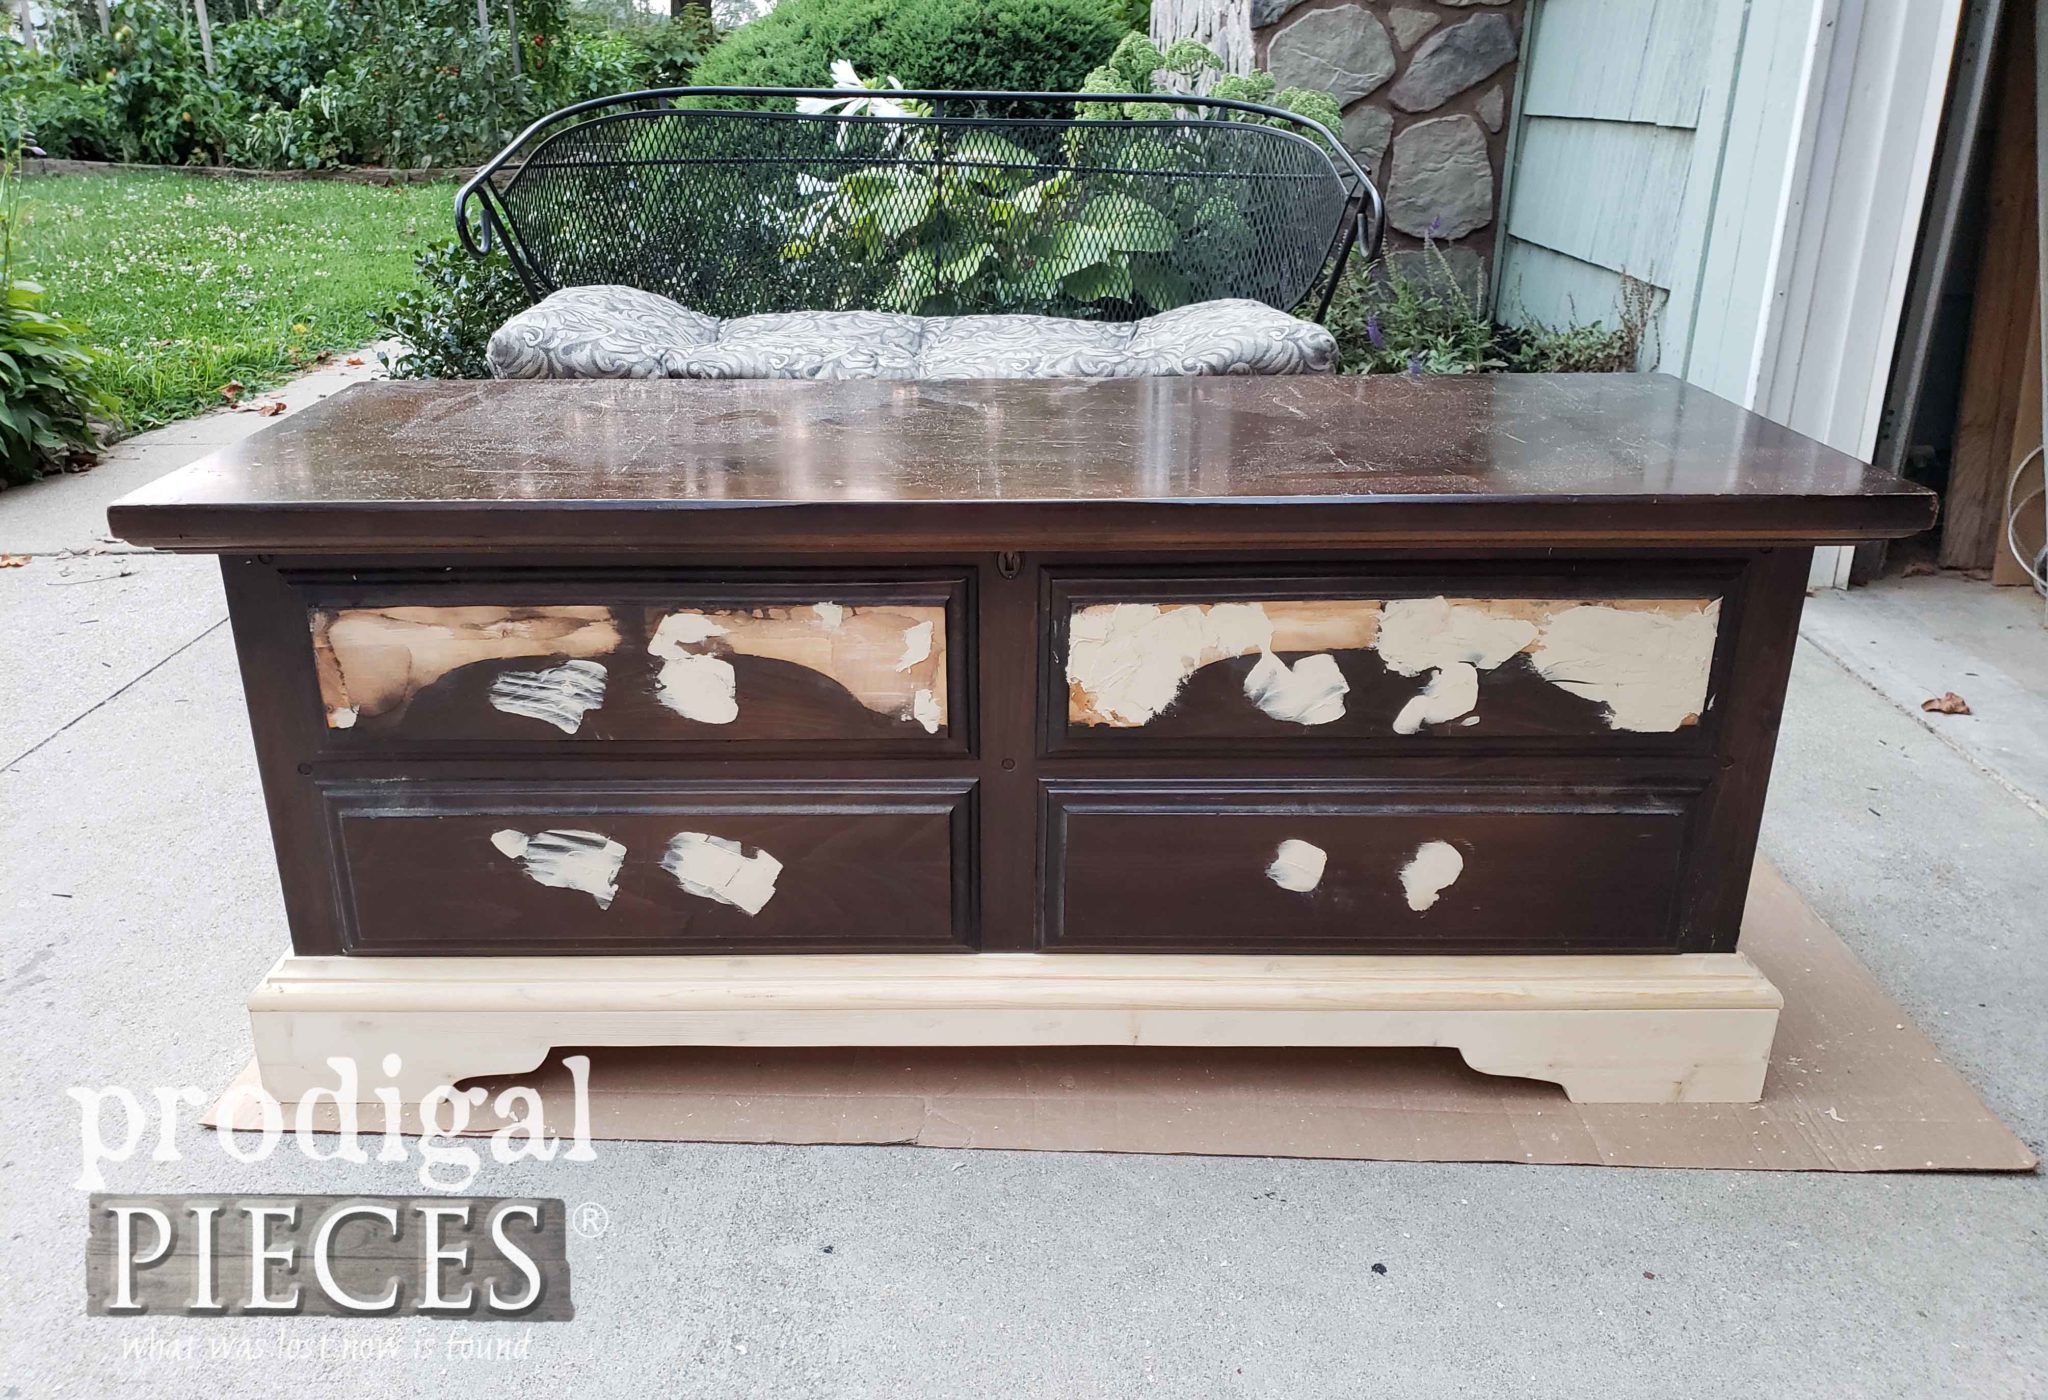
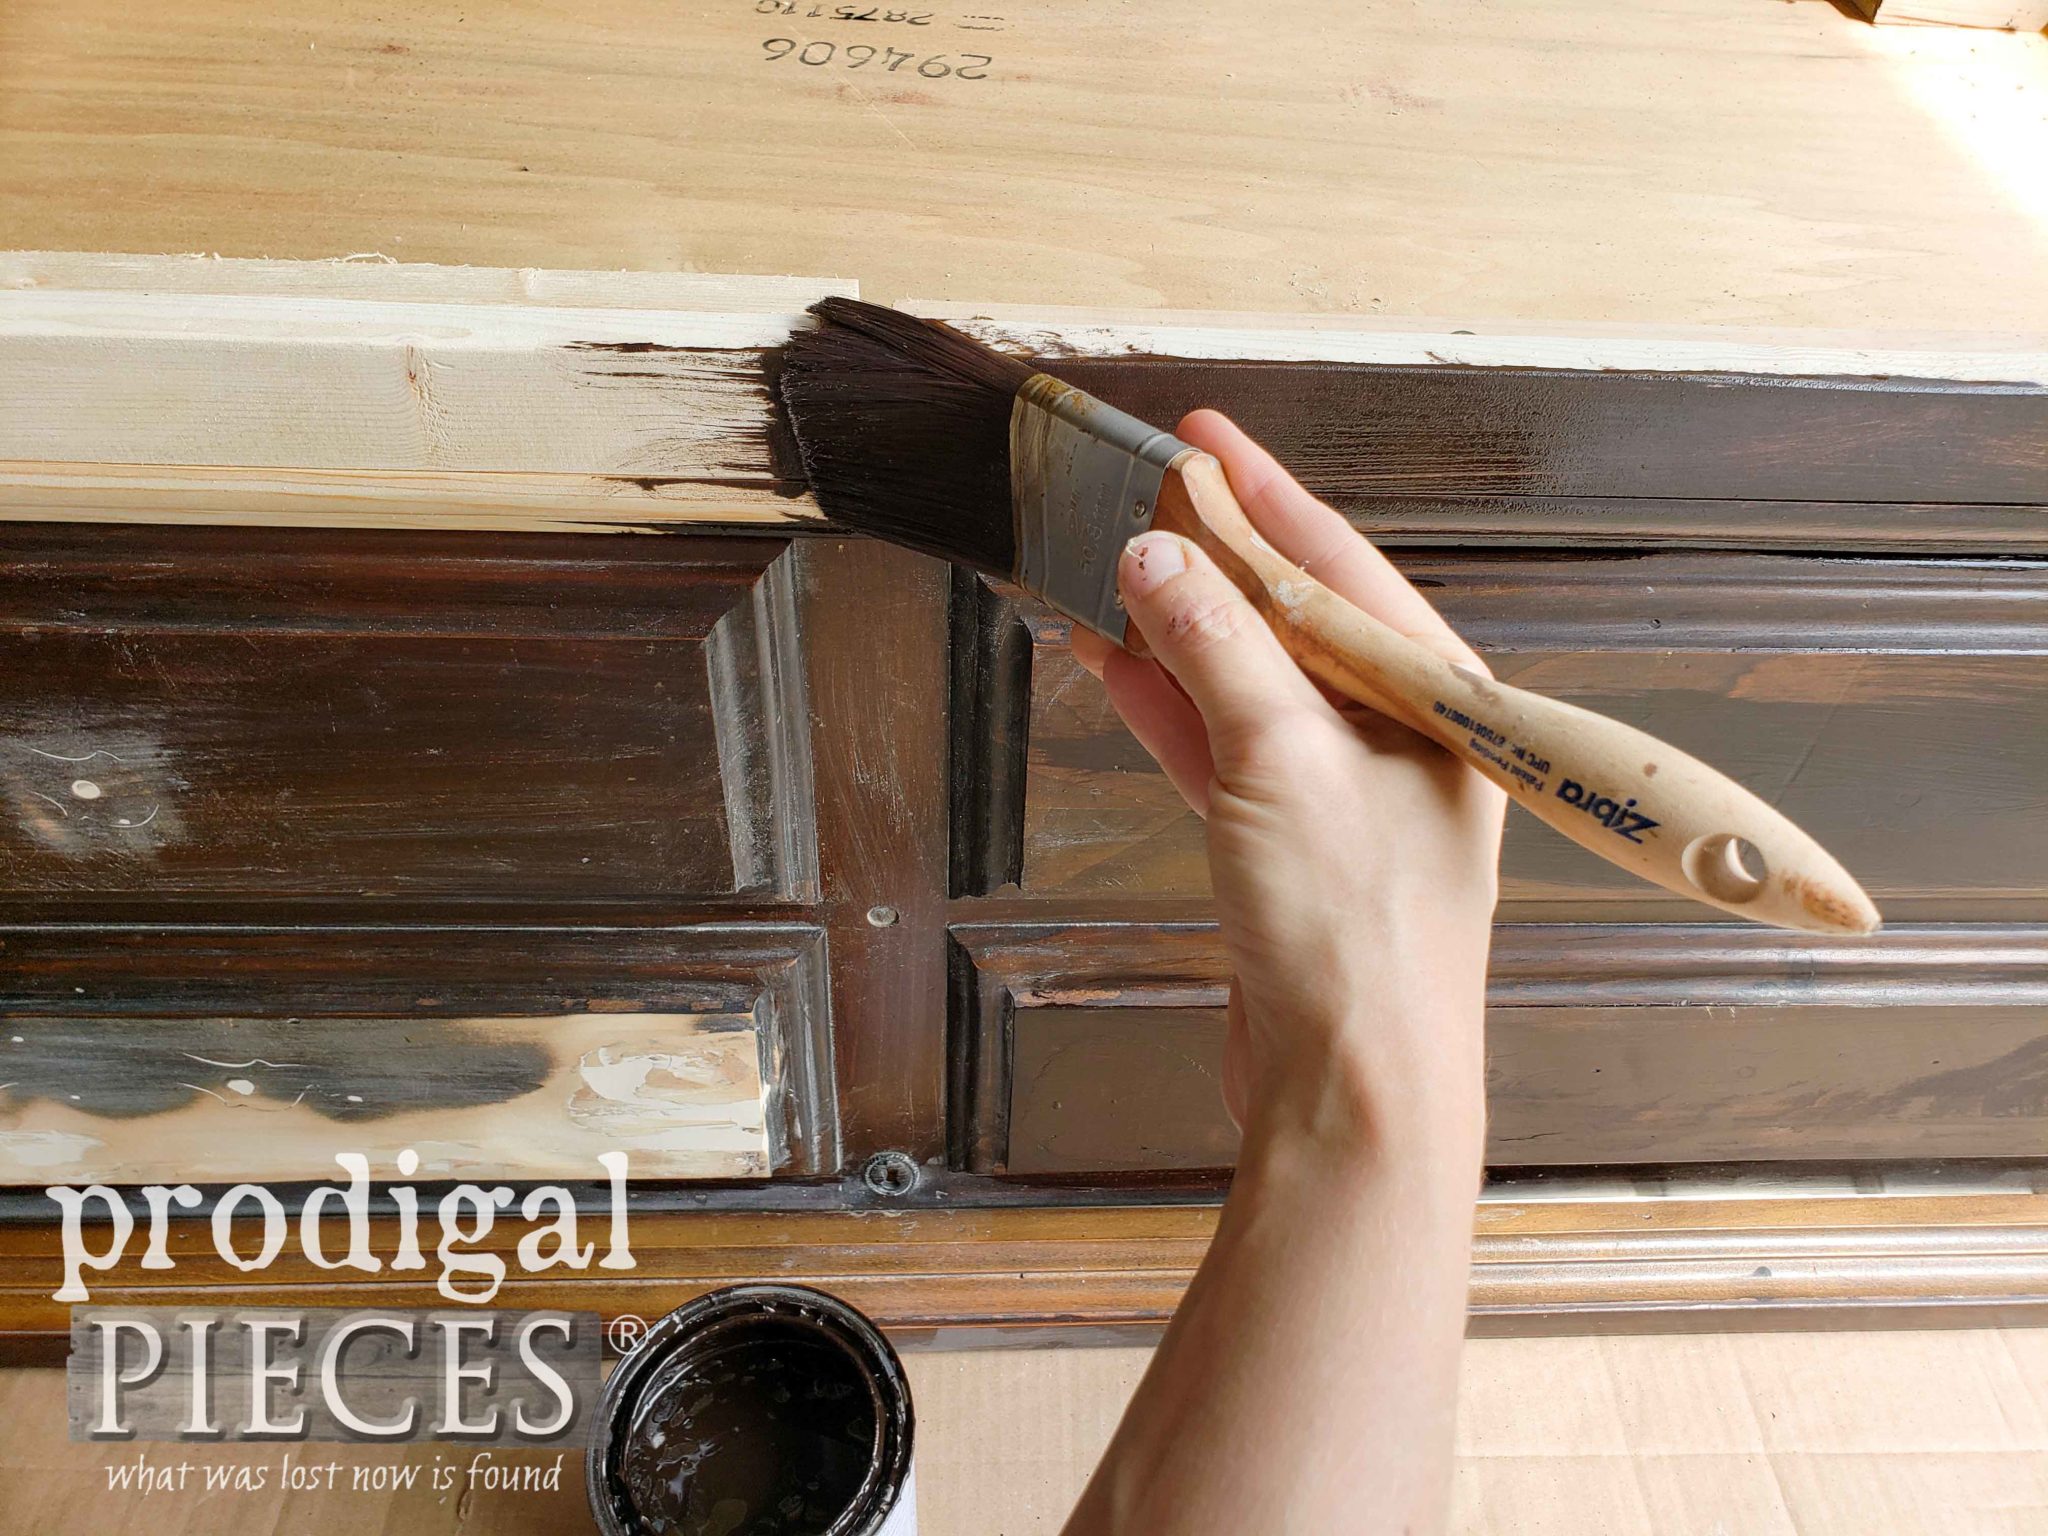
After that, I sand all the wood filler and damage with my sander and then prepped it for stain. Additionally, my pick for stain was Java Gel, the same stain I used on my dining set
in this post.
TIME FOR PAINT
That dark, rich color was perfect to give me the base color I was after. For the next step, it's all about color. Its name is Emerald Forest in an eggshell finish.
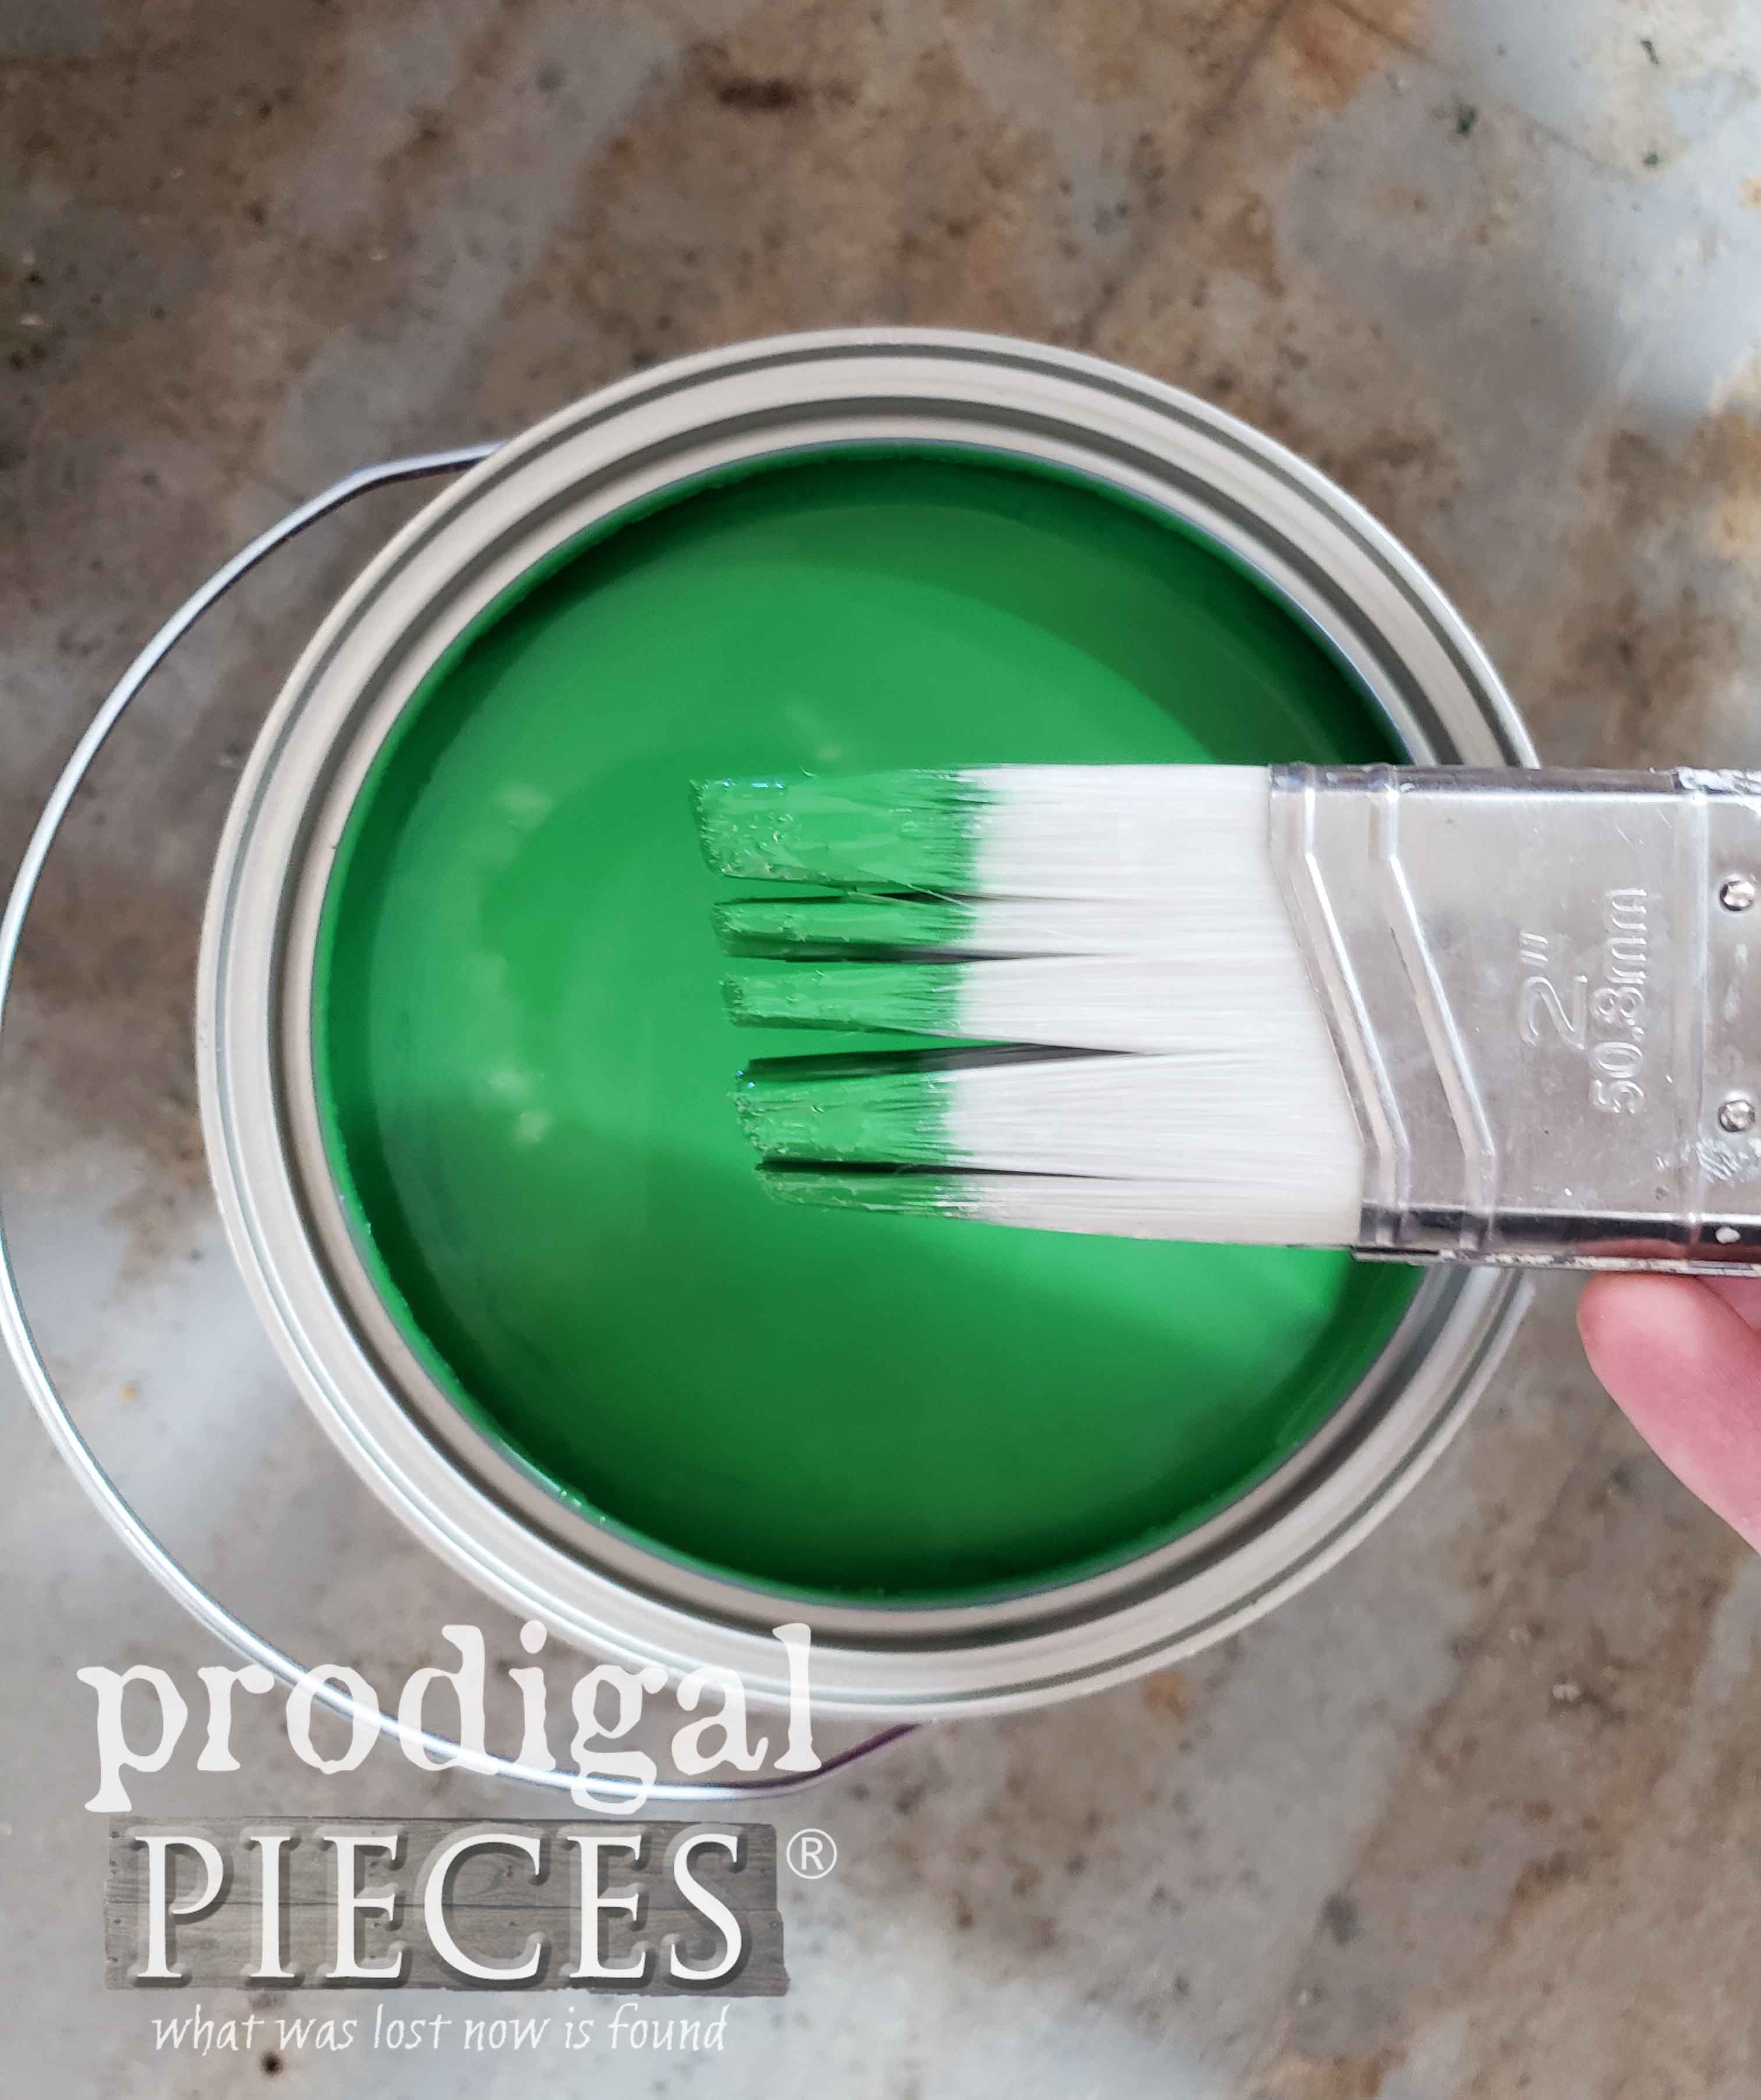
Isn't that a happy color? When I get a broken-down piece that pretty much says to me, "Time to have some fun!" You can see what I mean with my
Dumpster Diva or my
BEEP.
Thankfully, the paint goes on beautifully. Last, I let the first coat cure for 2 hours.
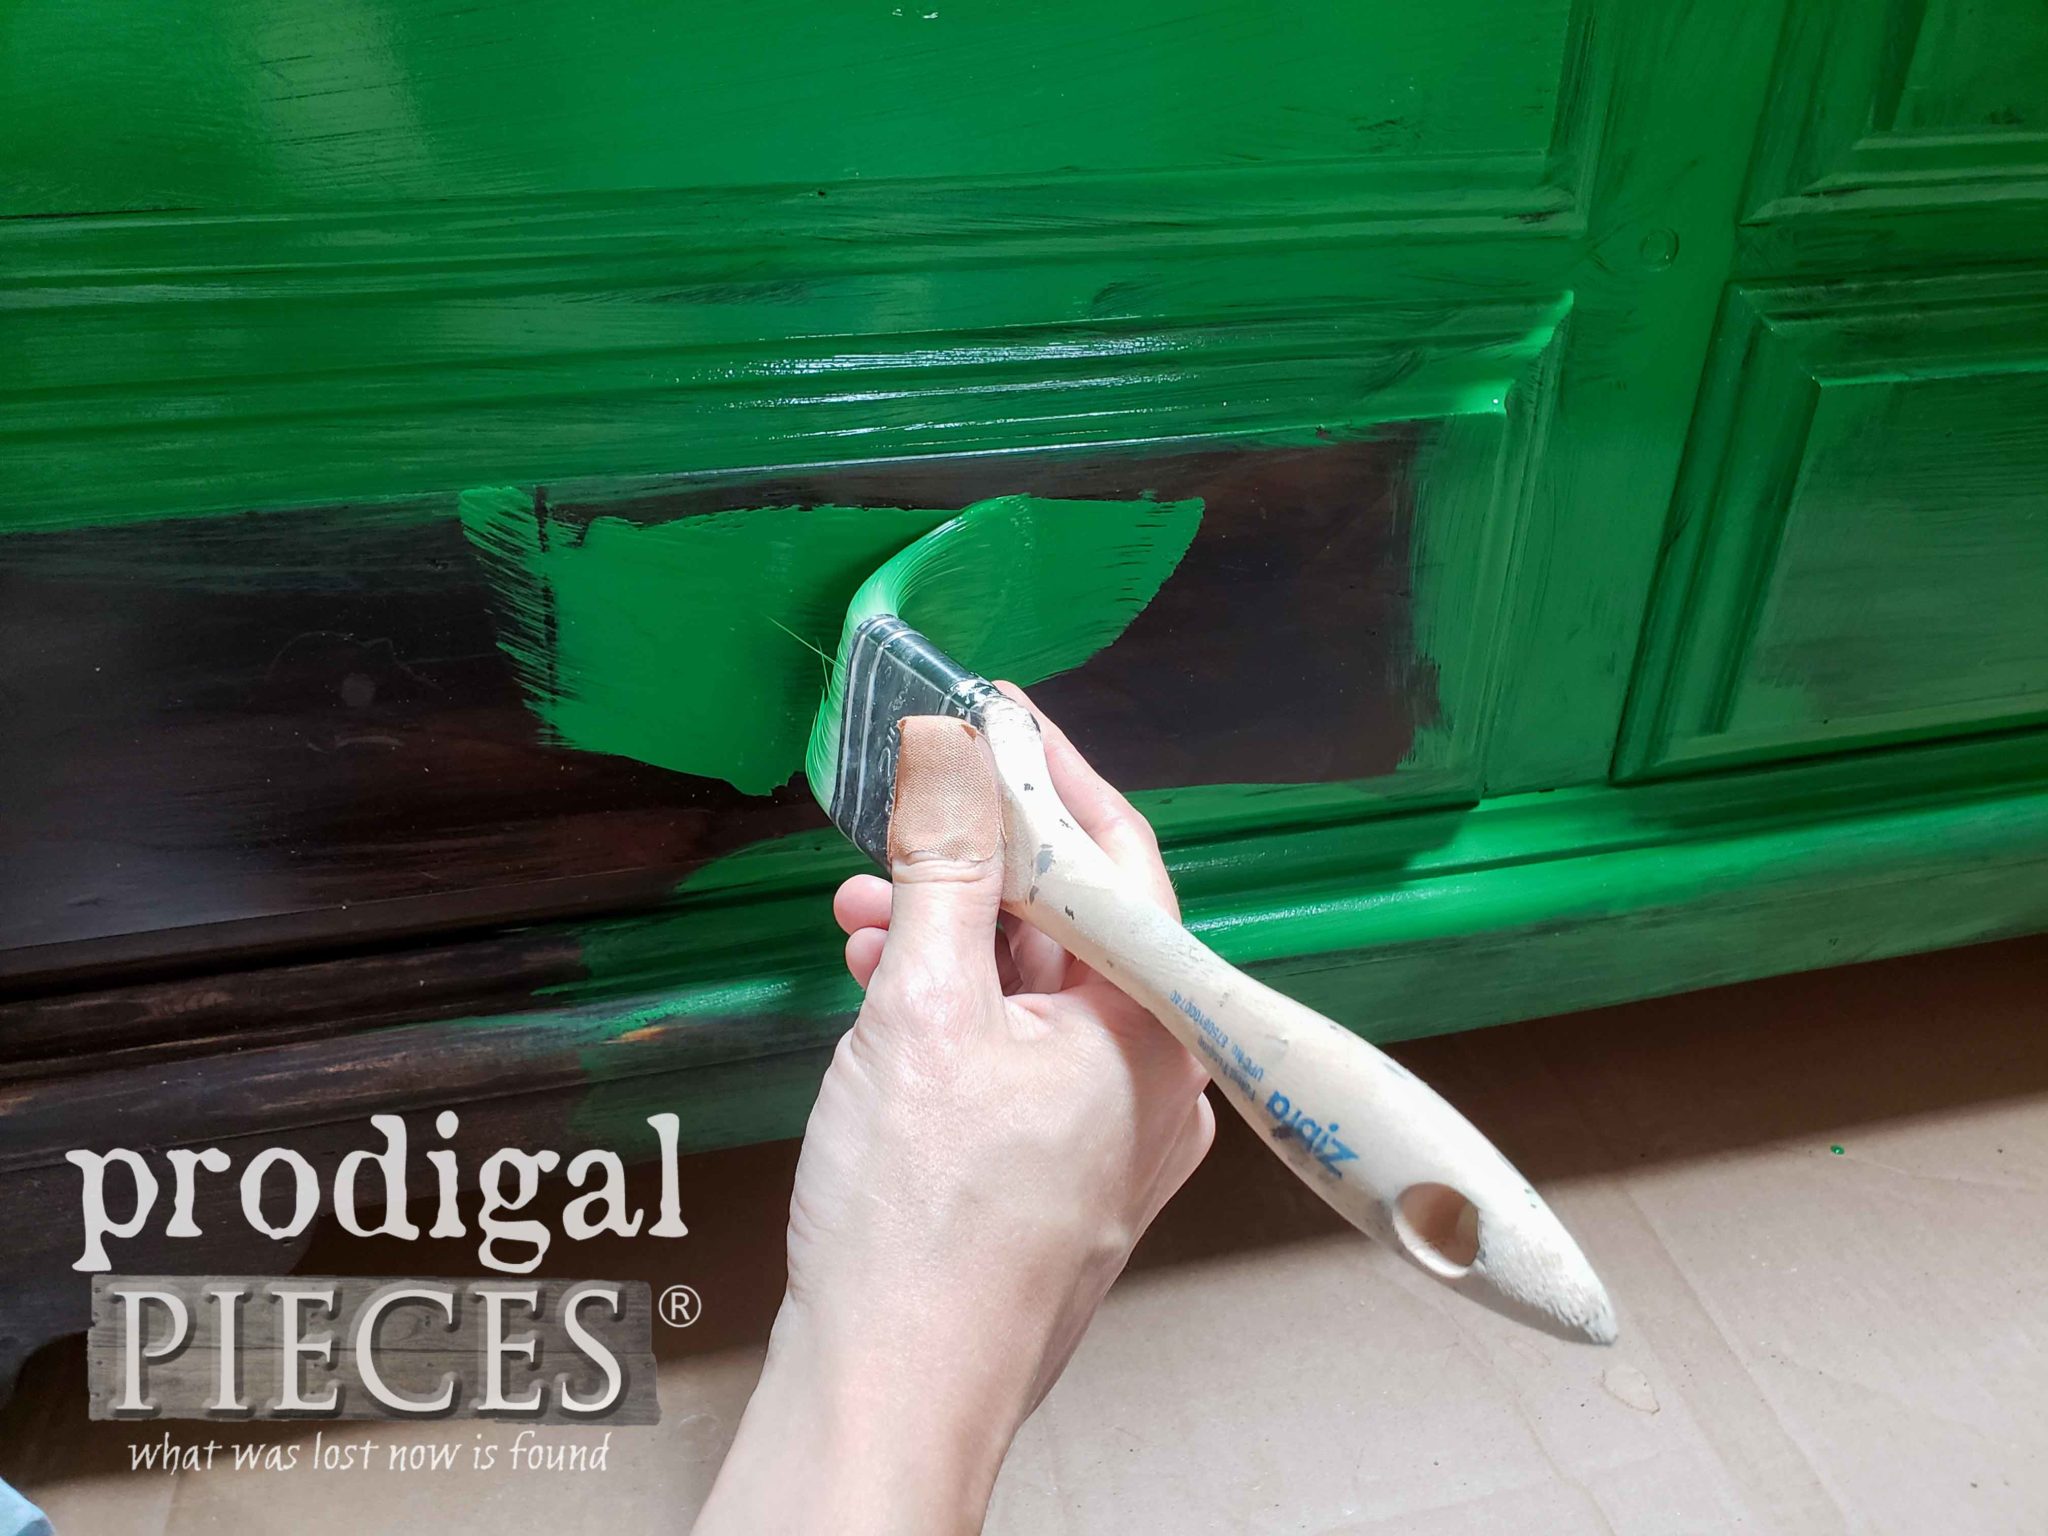
In all my years of doing furniture, I've always wanted to try to create a folk-art piece that gave props to my Polish heritage. My goal was to try to create a piece that tells a story with my inspiration coming from the village of Zalipie.
[caption id="attachment_22149" align="aligncenter" width="752"]
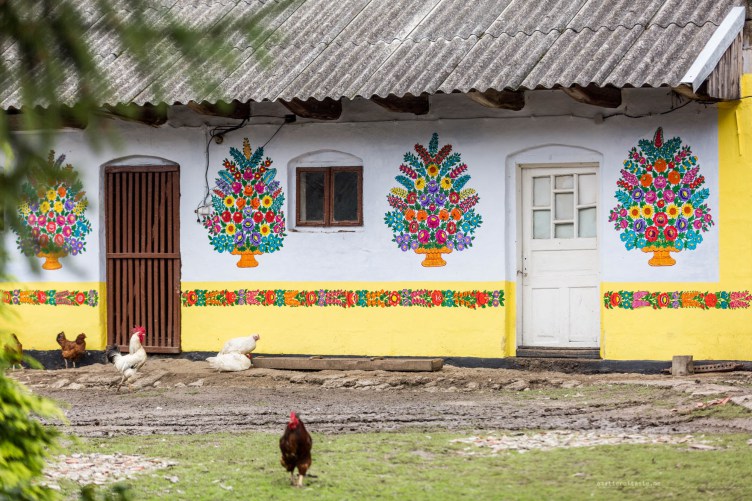
photo courtesy of A Matter of Taste[/caption]
[caption id="attachment_22151" align="aligncenter" width="550"]
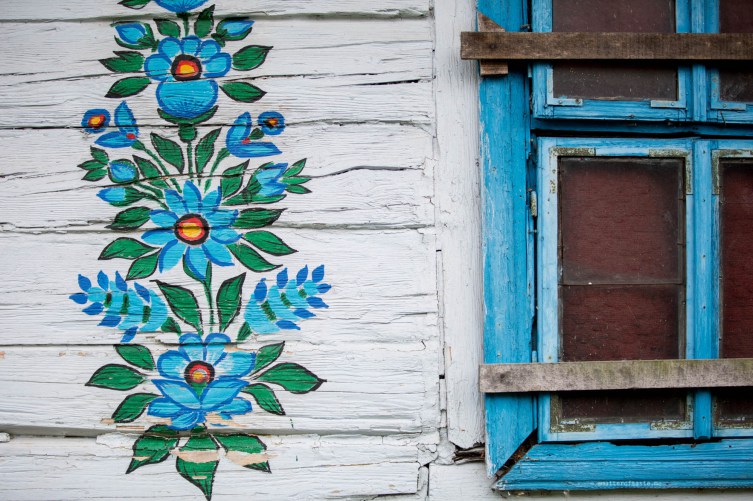
photo courtesy of A Matter of Taste[/caption]
Then, once the second coat cured, I started my hand-painted design.
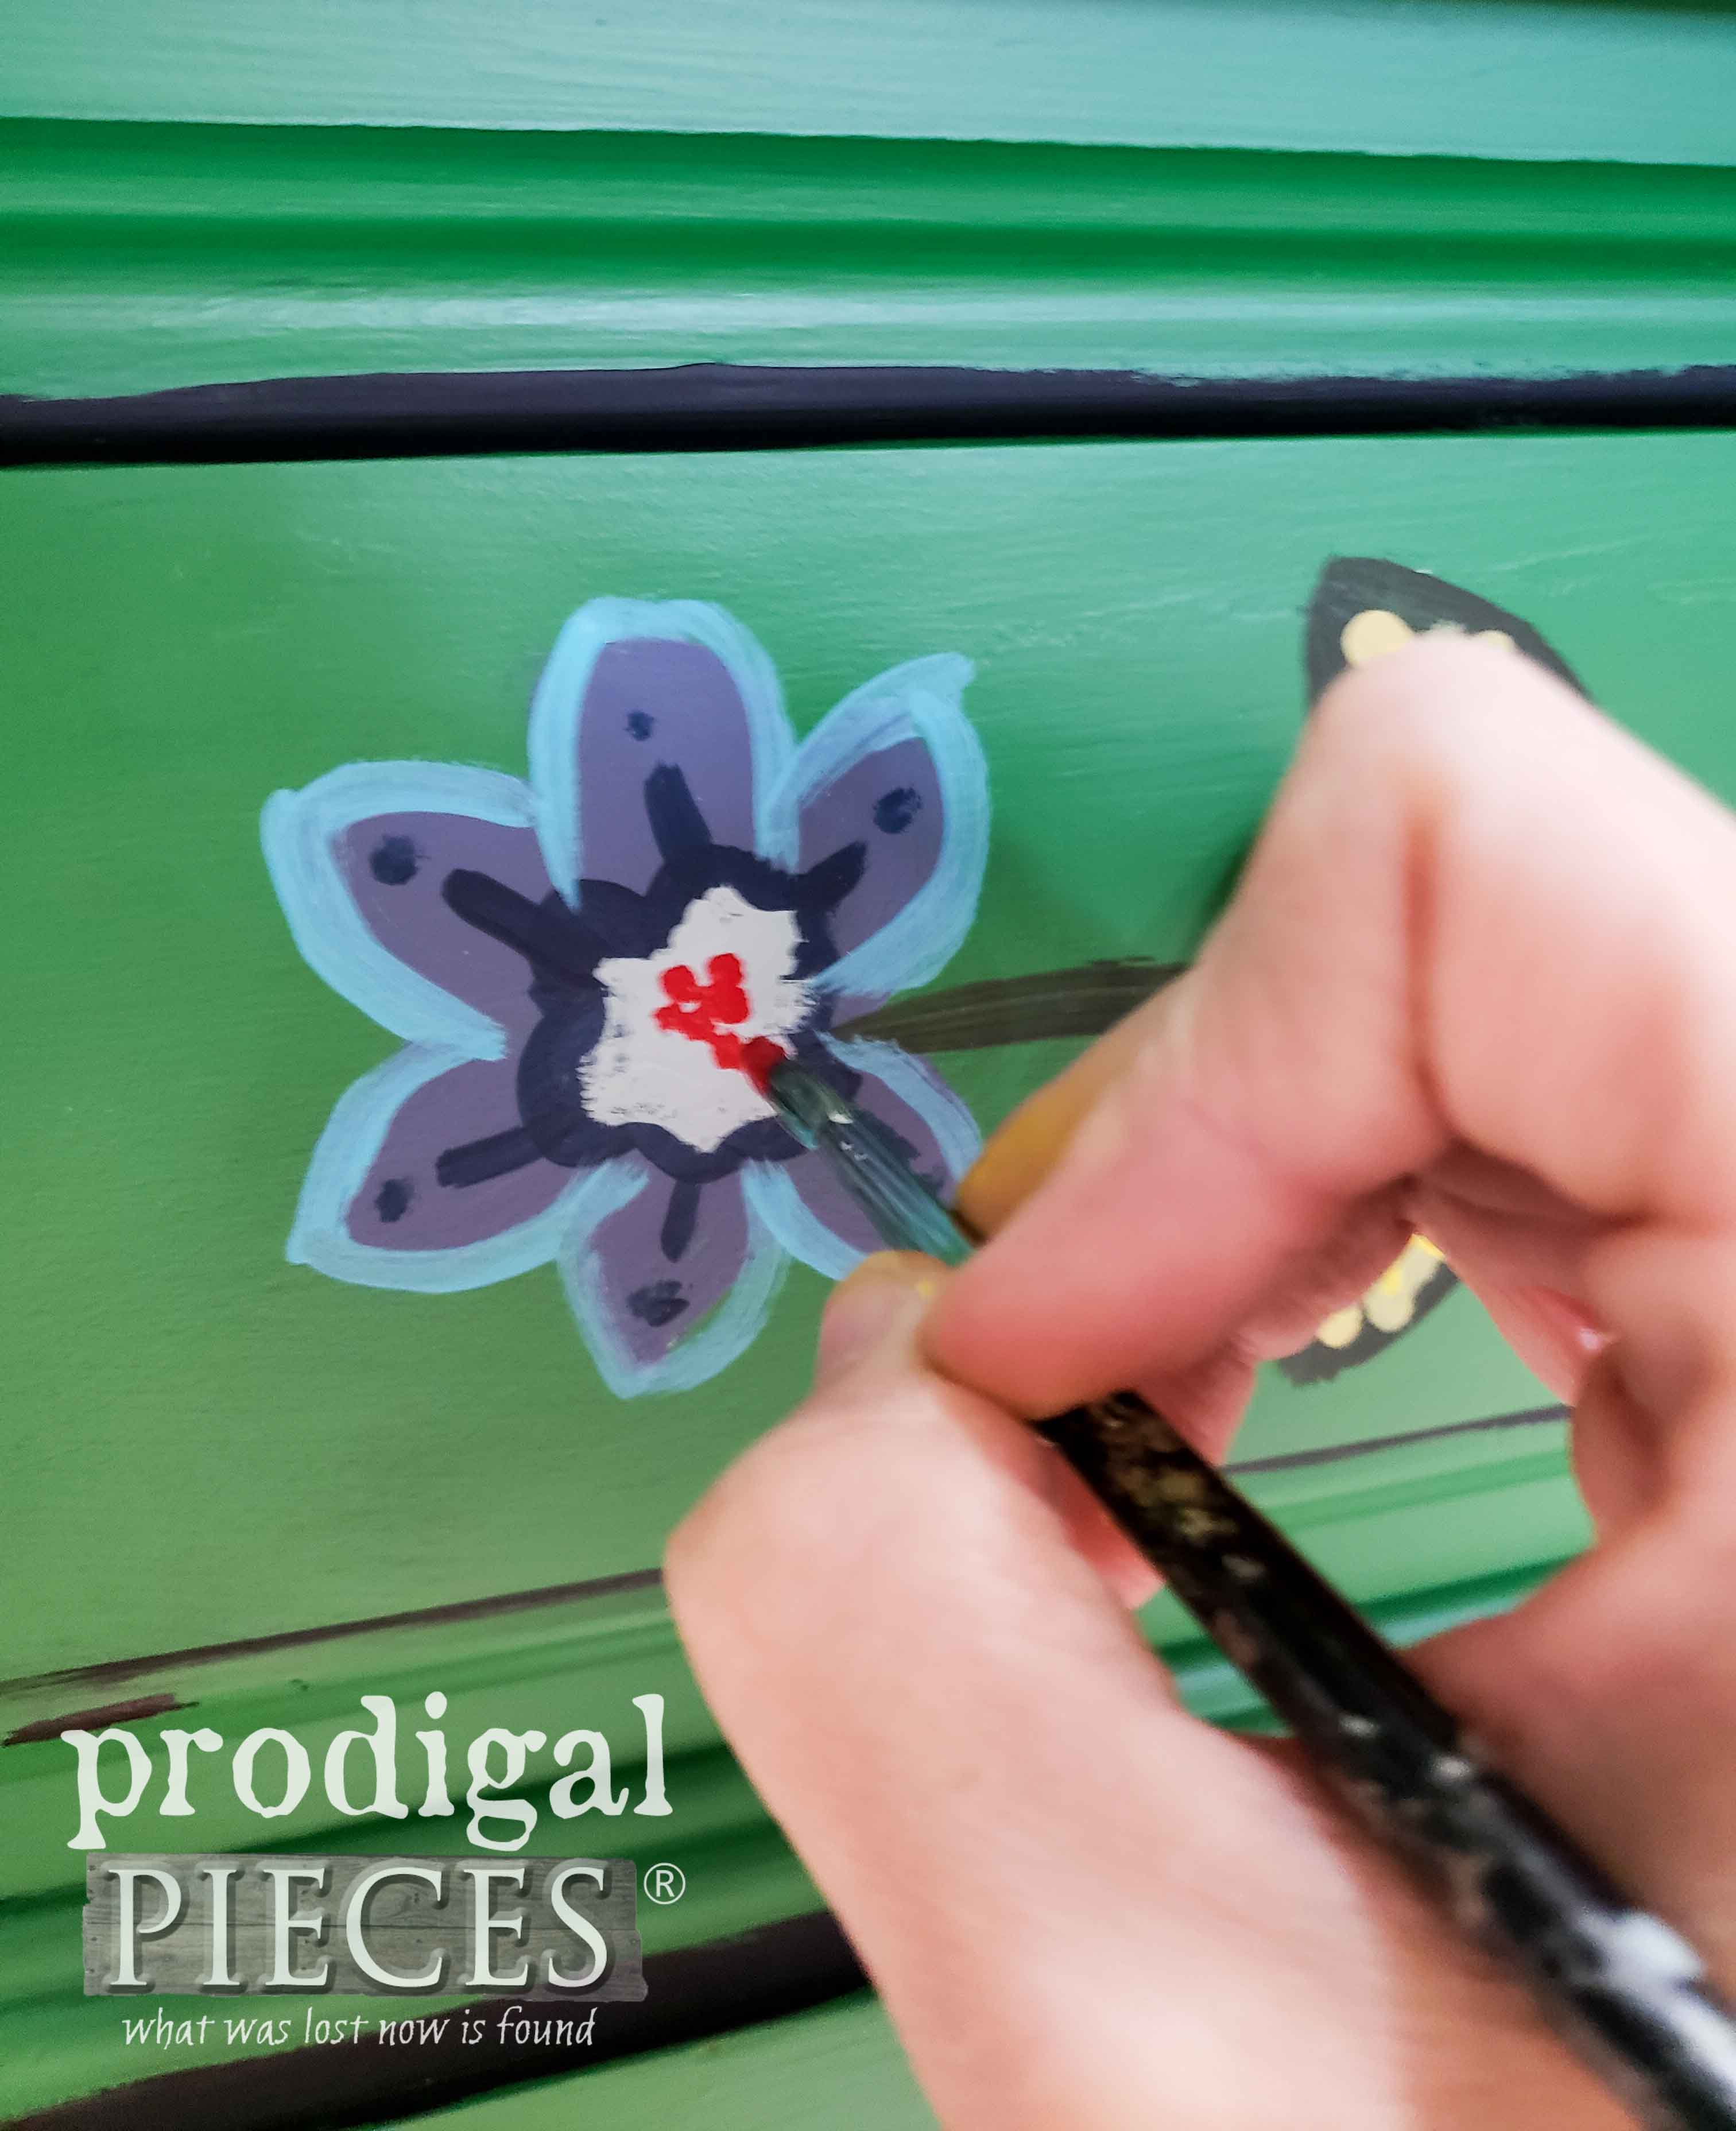
That green base color was just the beginning of my color fun. Even though it took me many hours to paint each layer, it was such fun I didn't even notice. Last, I lightly distressed once the paint cured. Likewise, after that I added a coat of black wax.

THE REVEAL
Finally, are you ready to see how my crazy adventure came together with this vintage blanket chest? You bet I am!
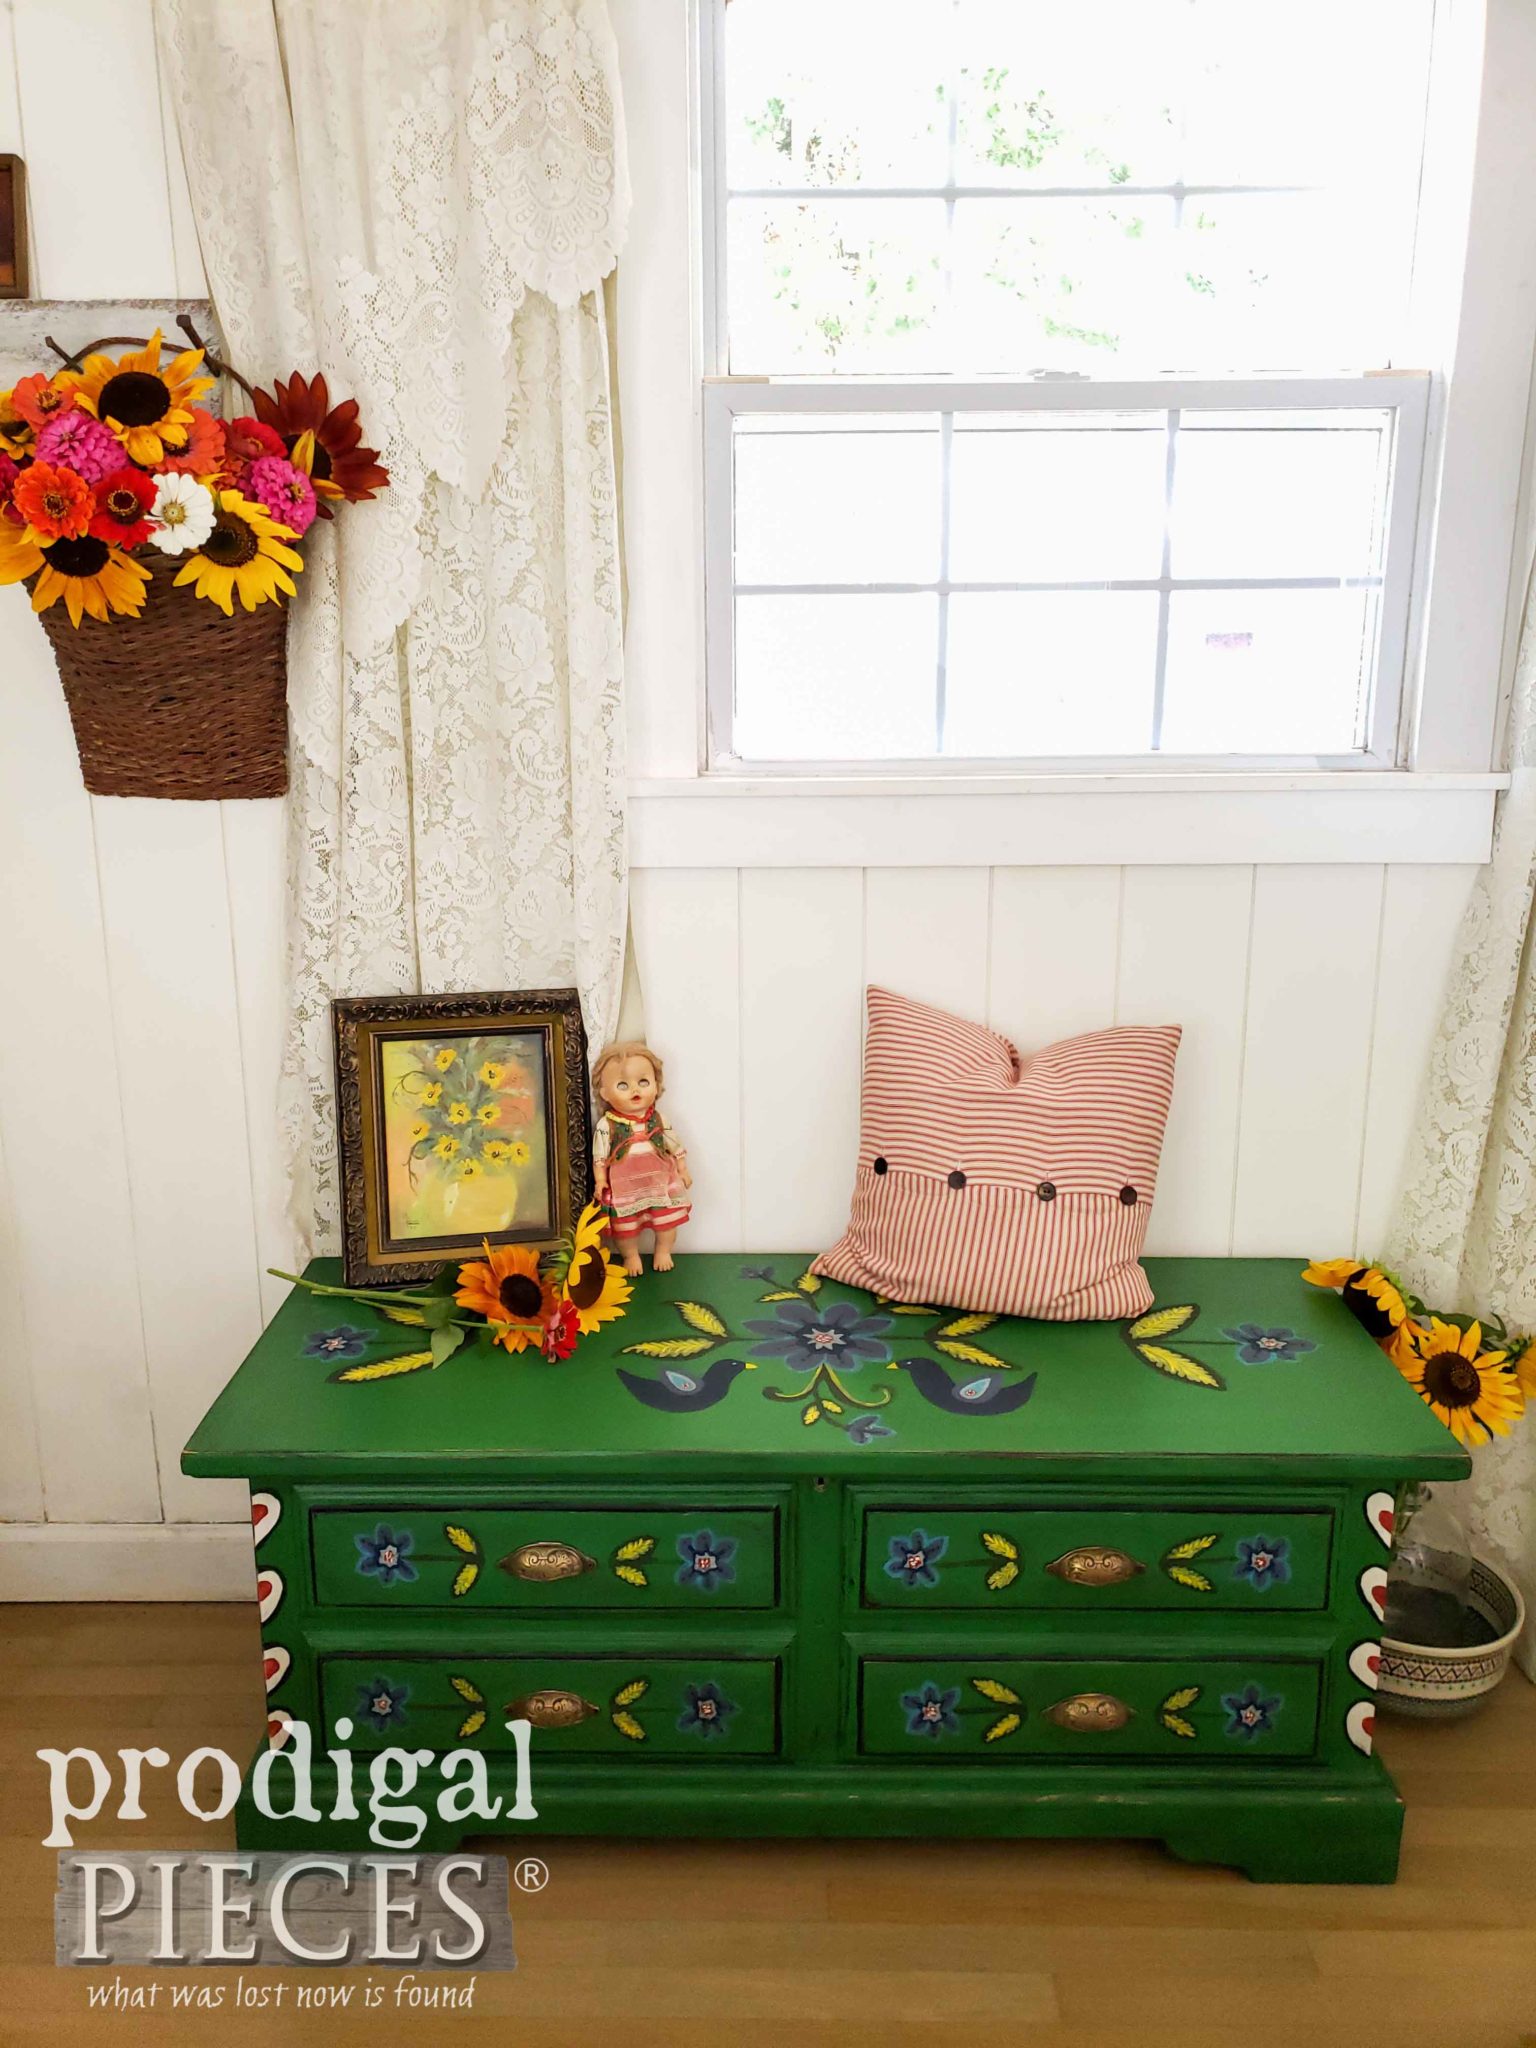
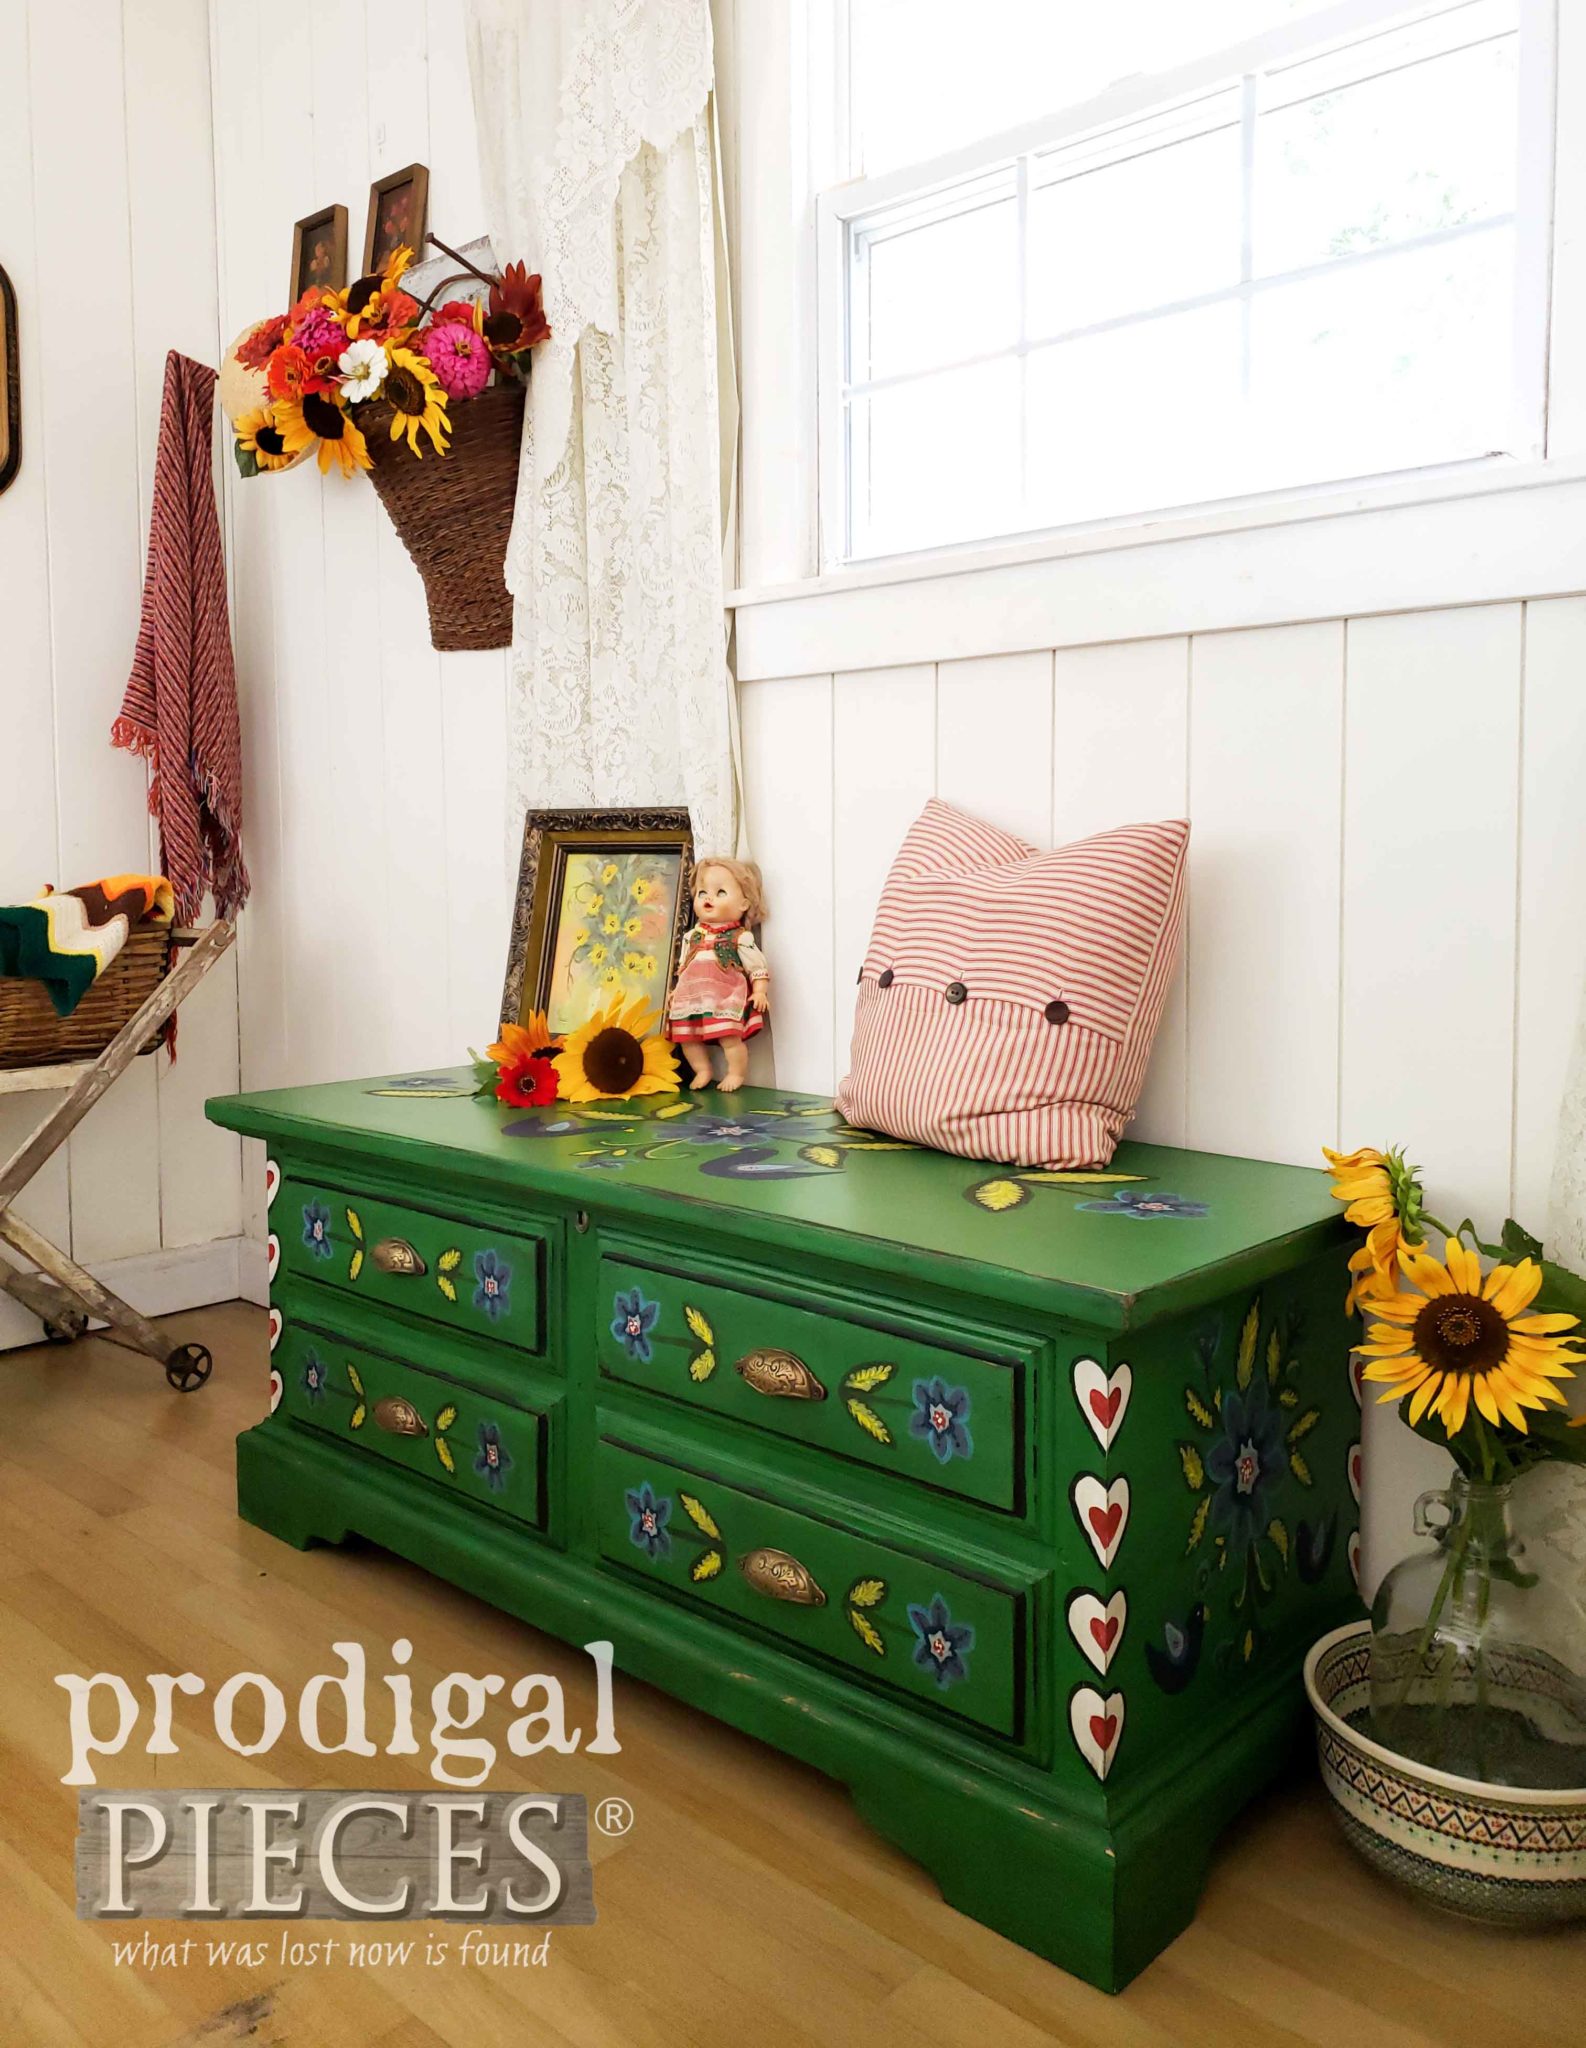
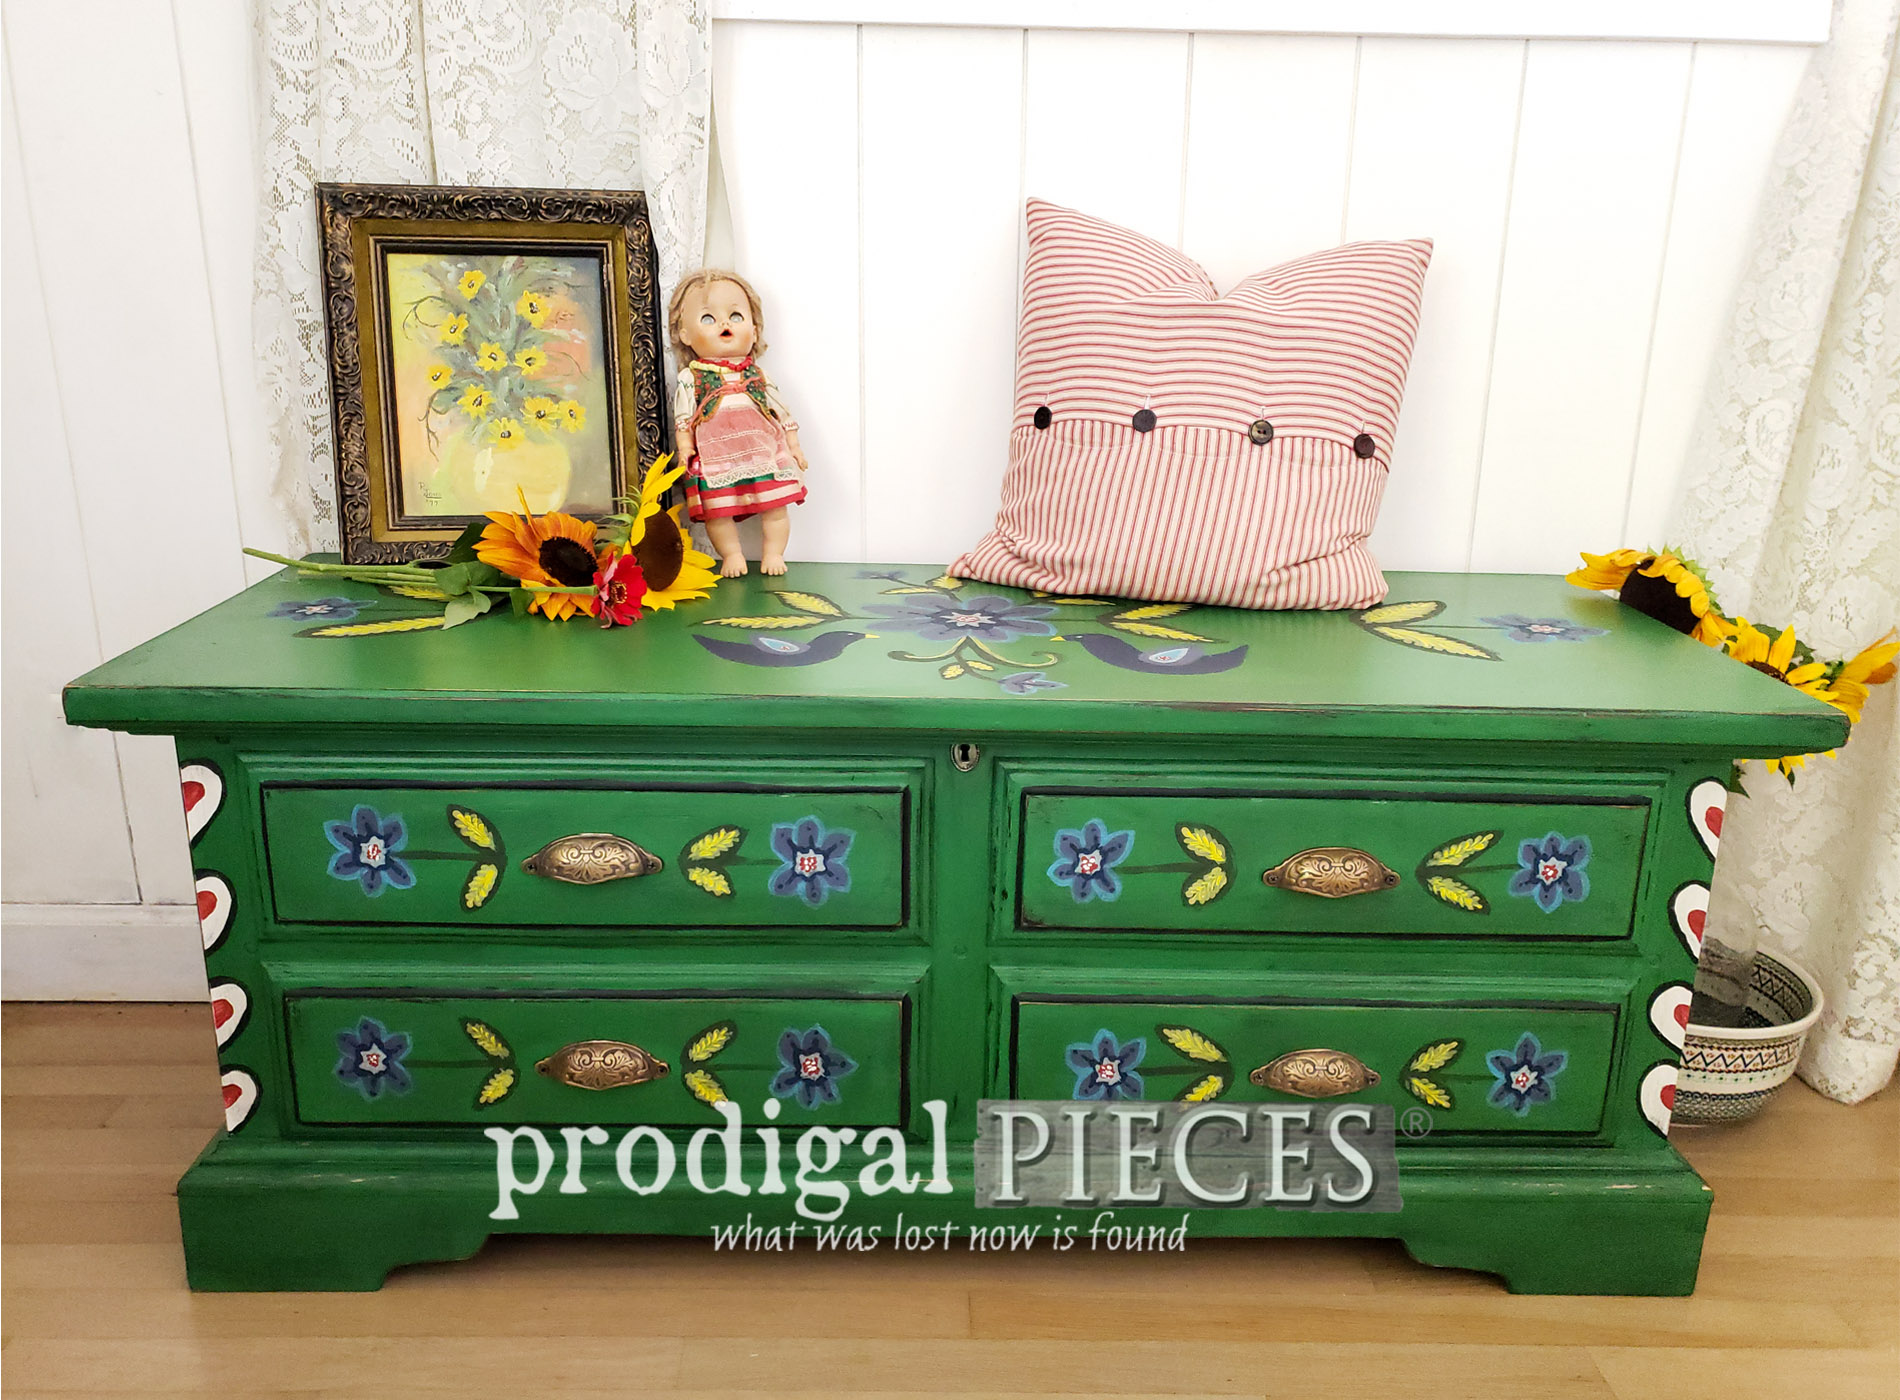
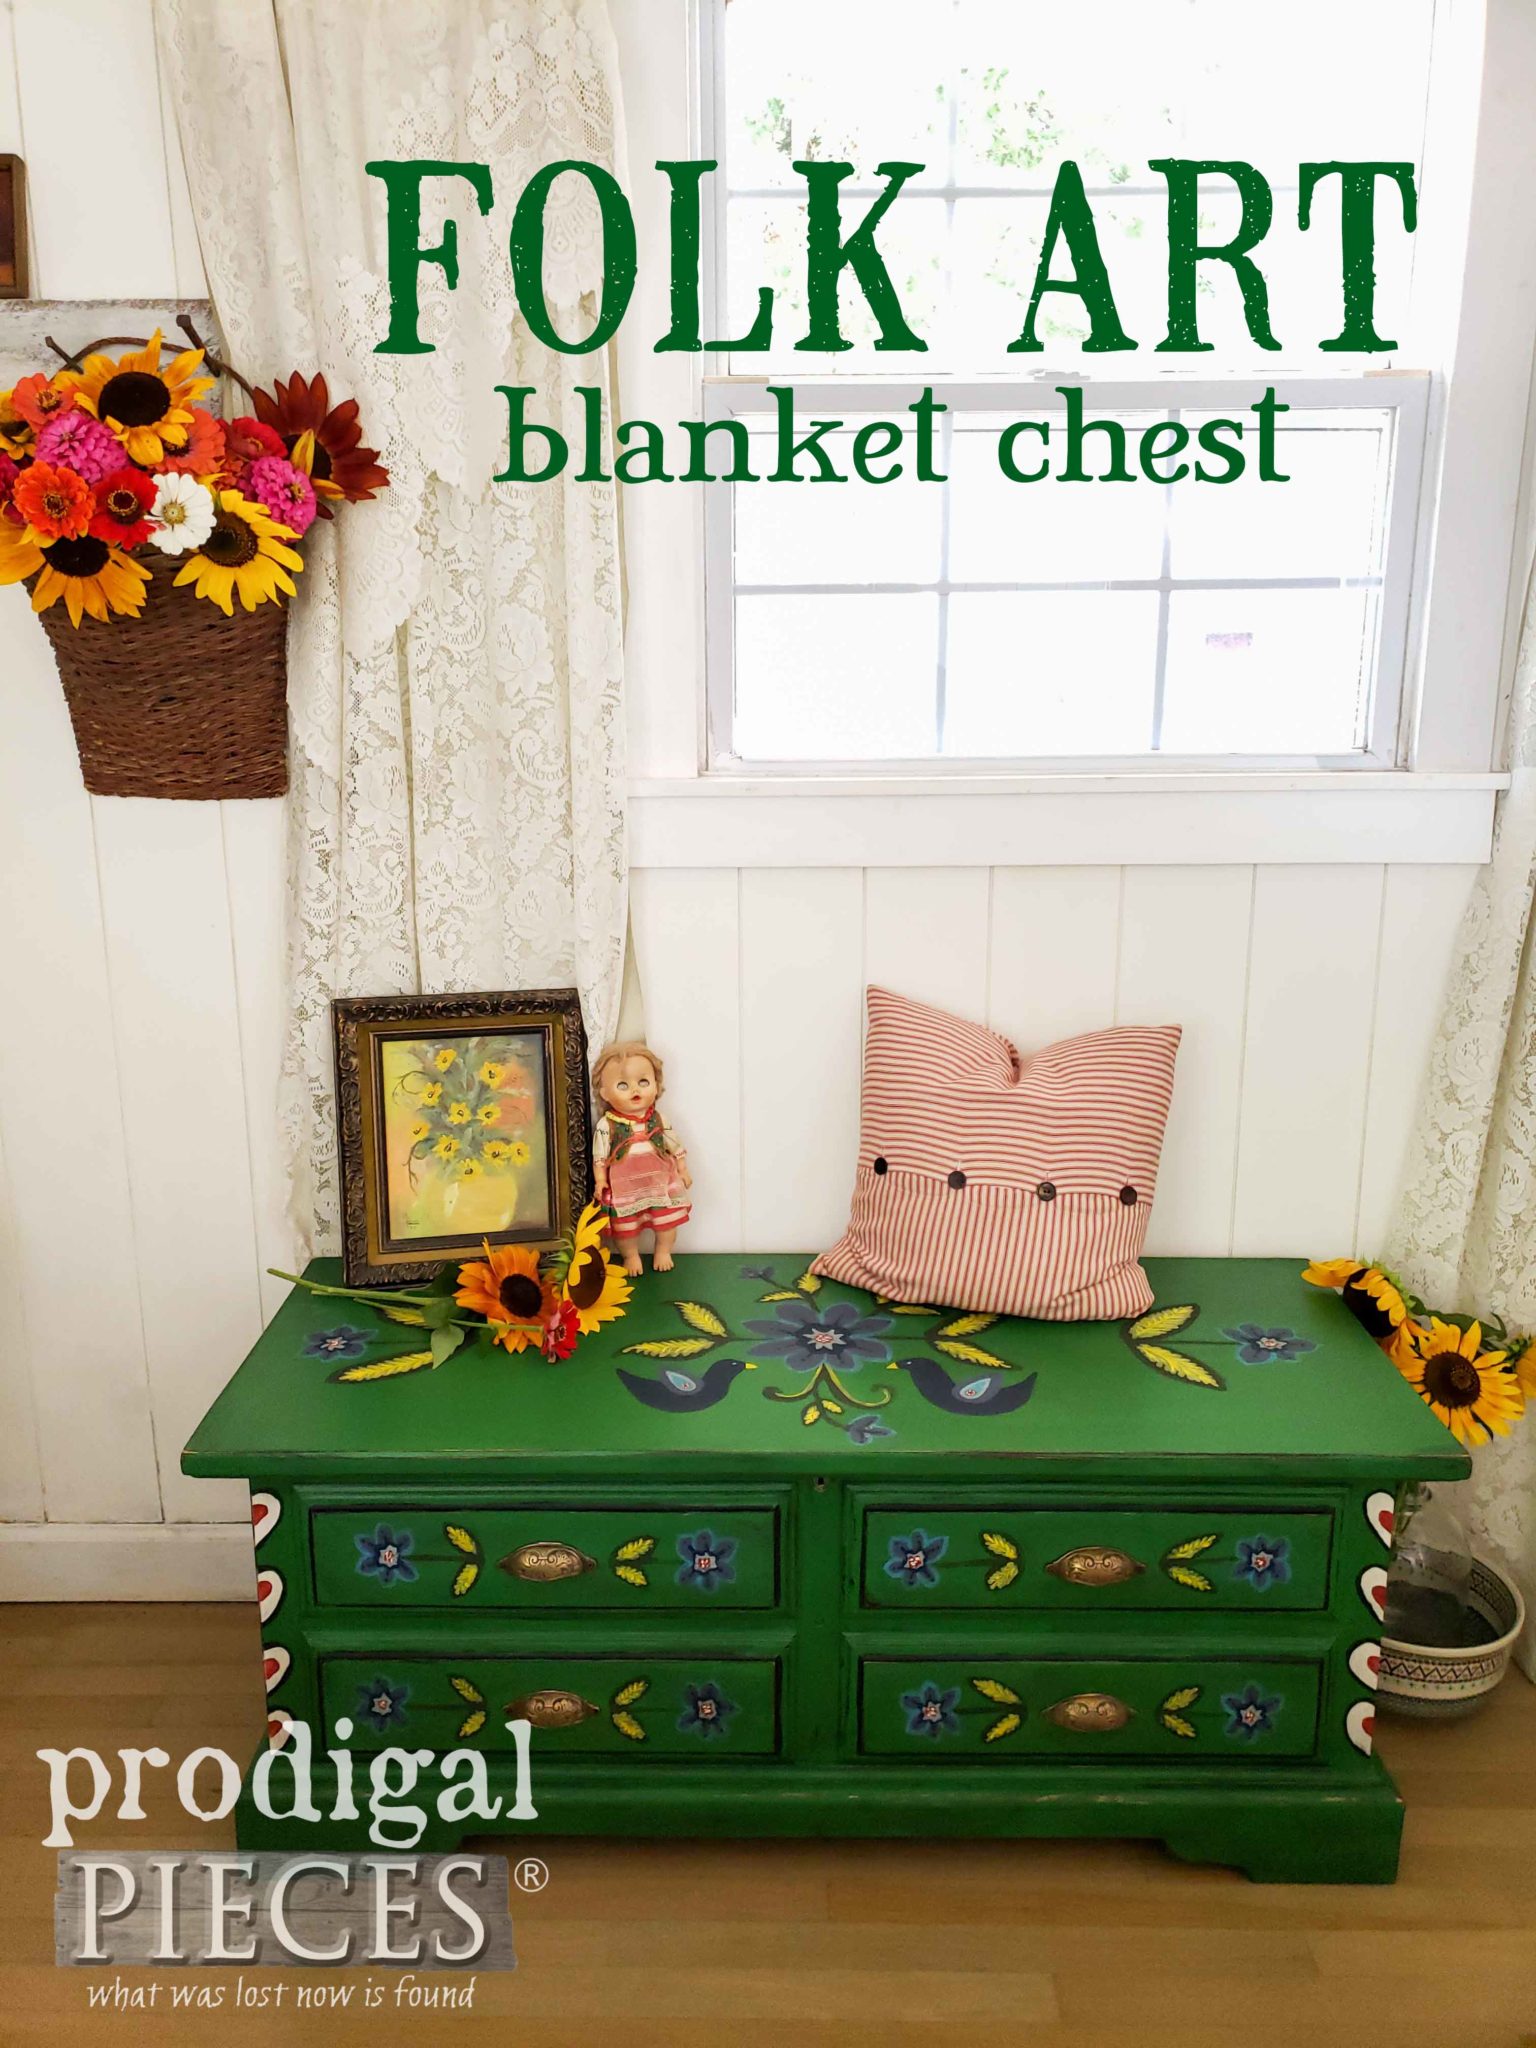
Is it bold? Yes. Is it fun? Yes. It totally turned out how I envisioned. The vibrant colors are what reminded me of the little Polish doll my grandfather gave me. Sadly, he passed when I was a year old, and I didn't get to know him. My grandmother (my babcia) also joined him in the heavenly realms not long ago.
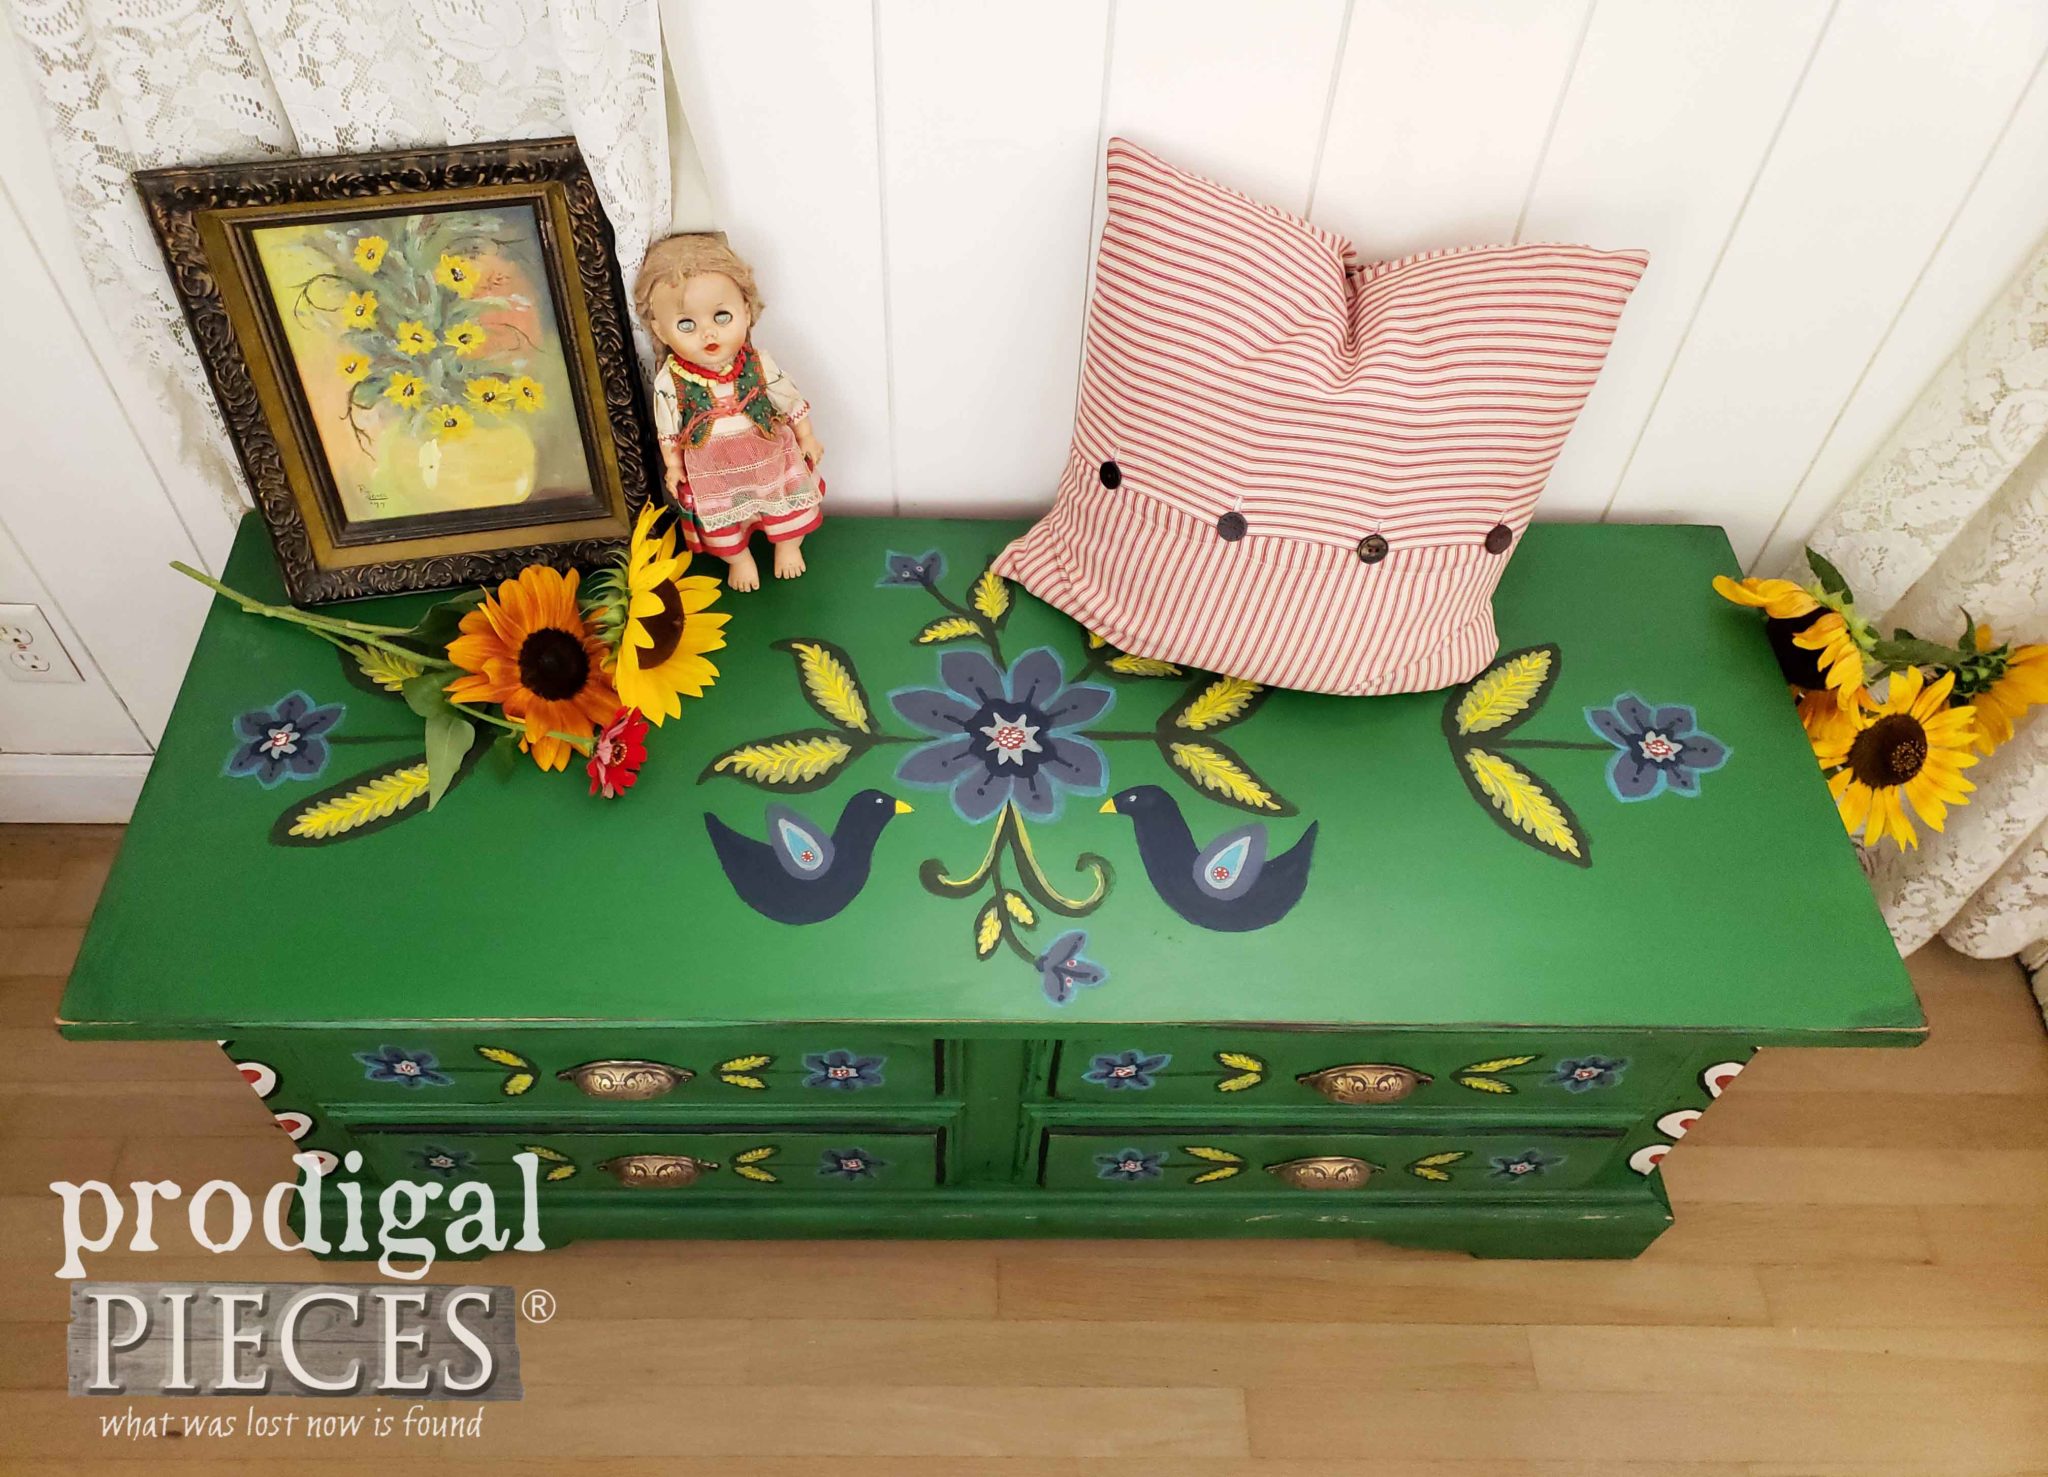
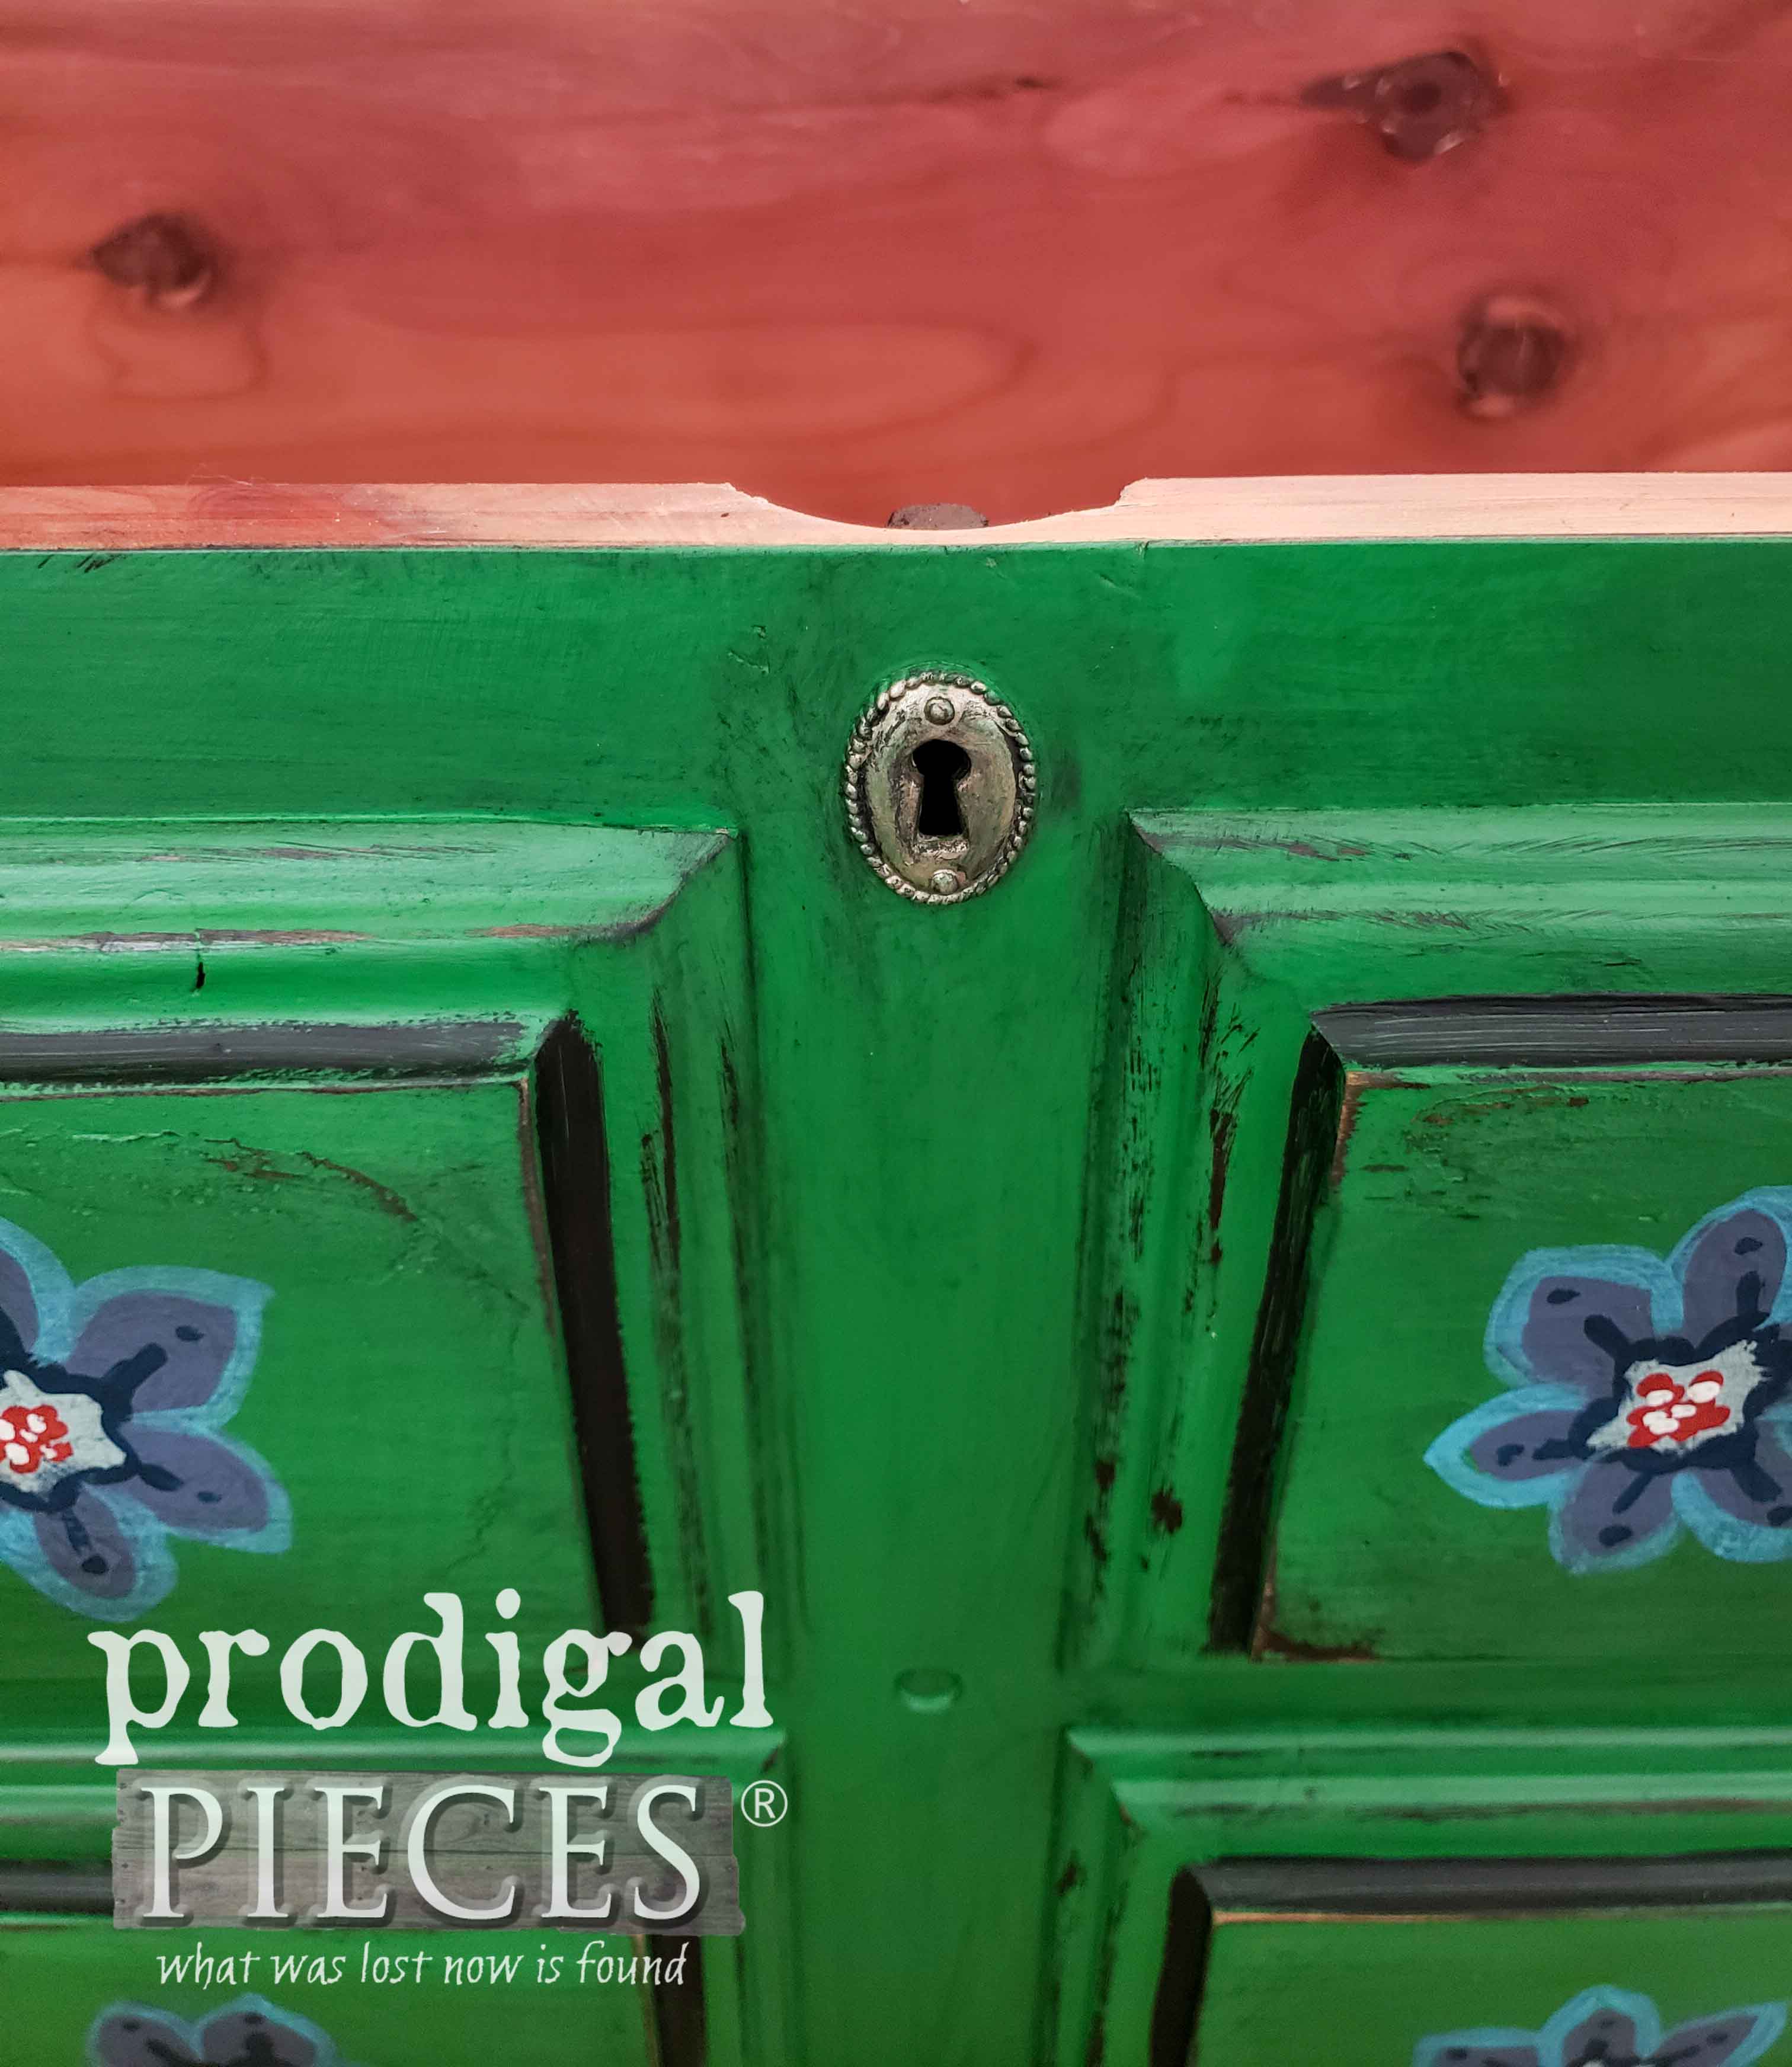
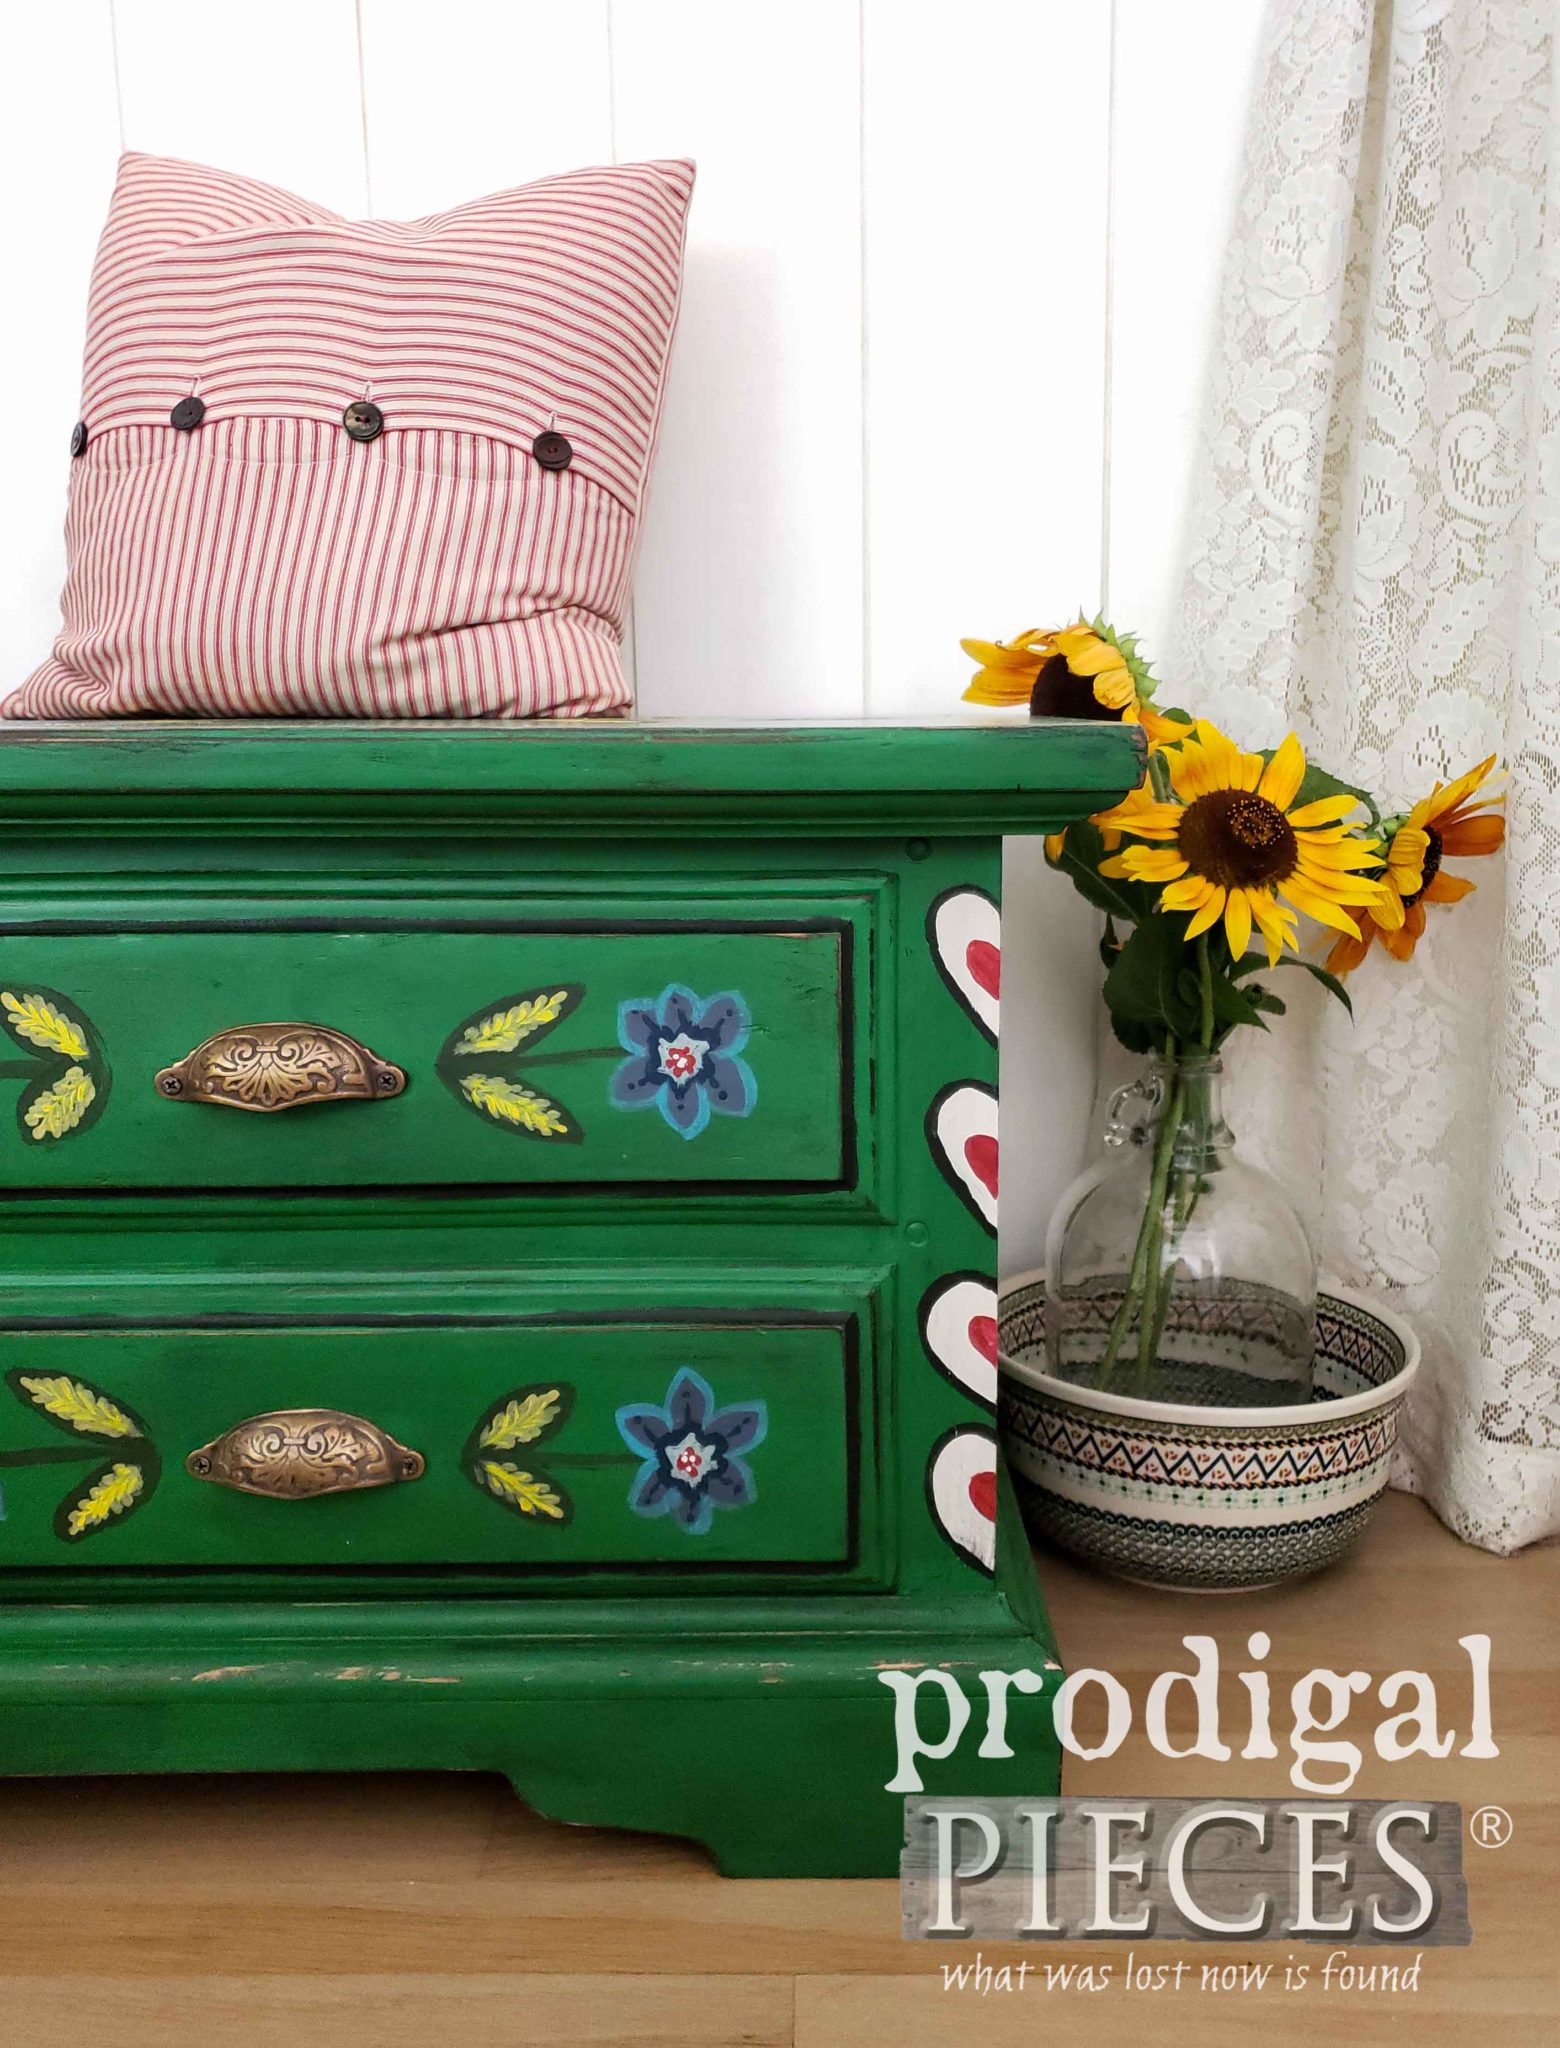
Additionally, they traveled to the U.S.A. when my mother was twelve and I can't thank them enough for making that journey. Imagine if her and my dad never met?
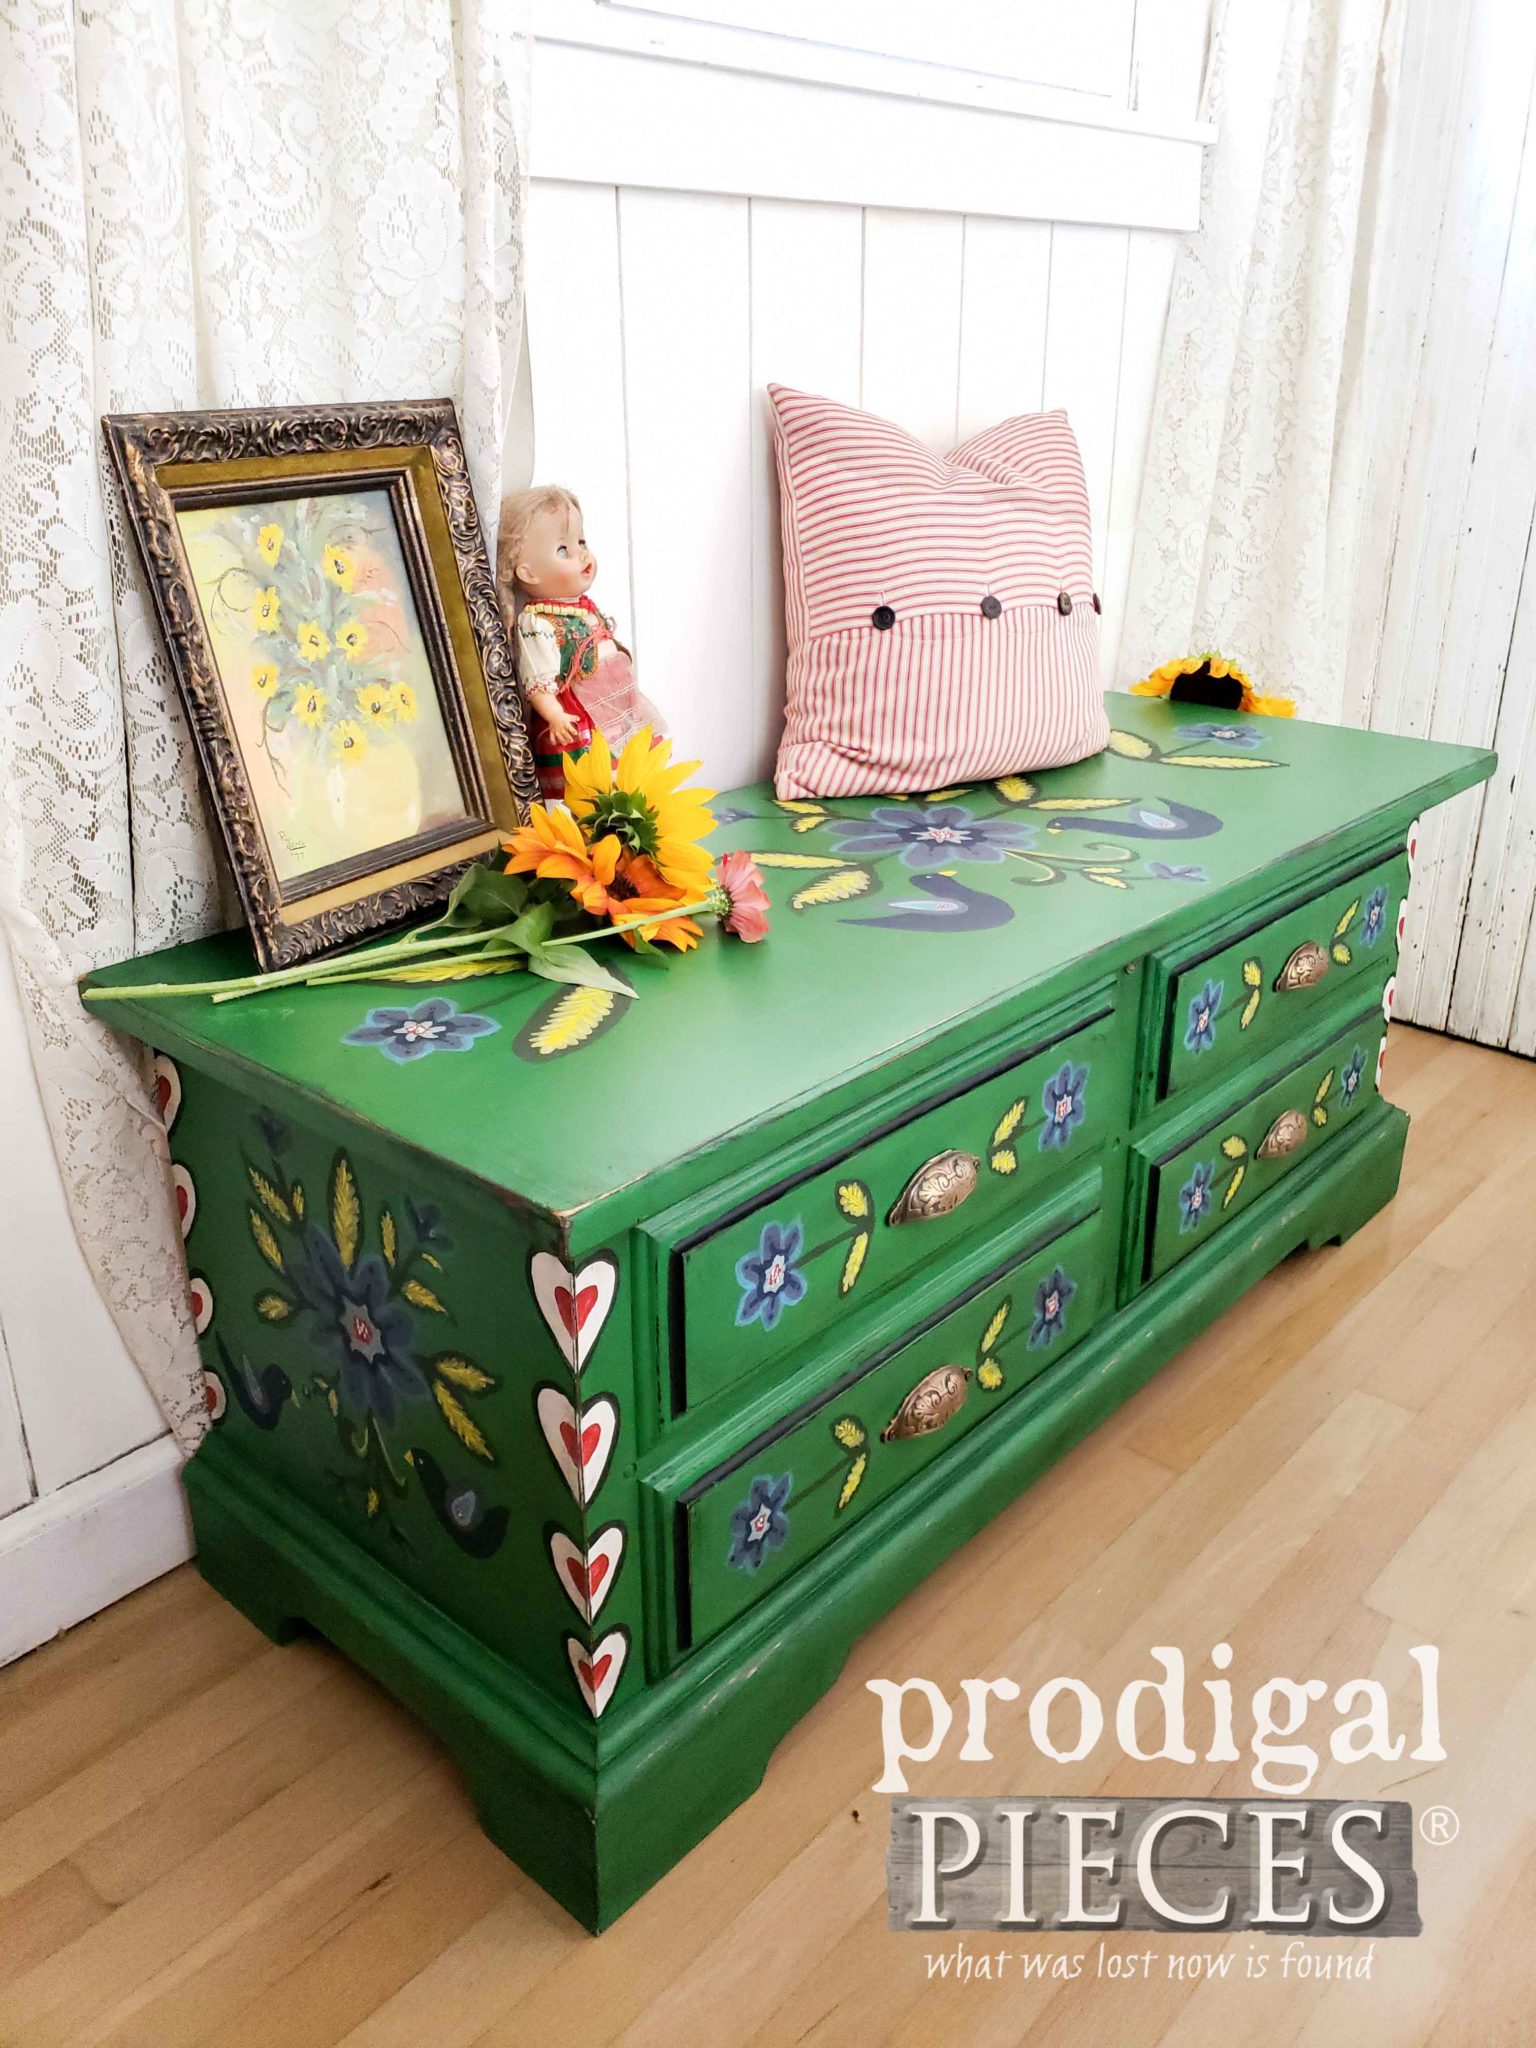
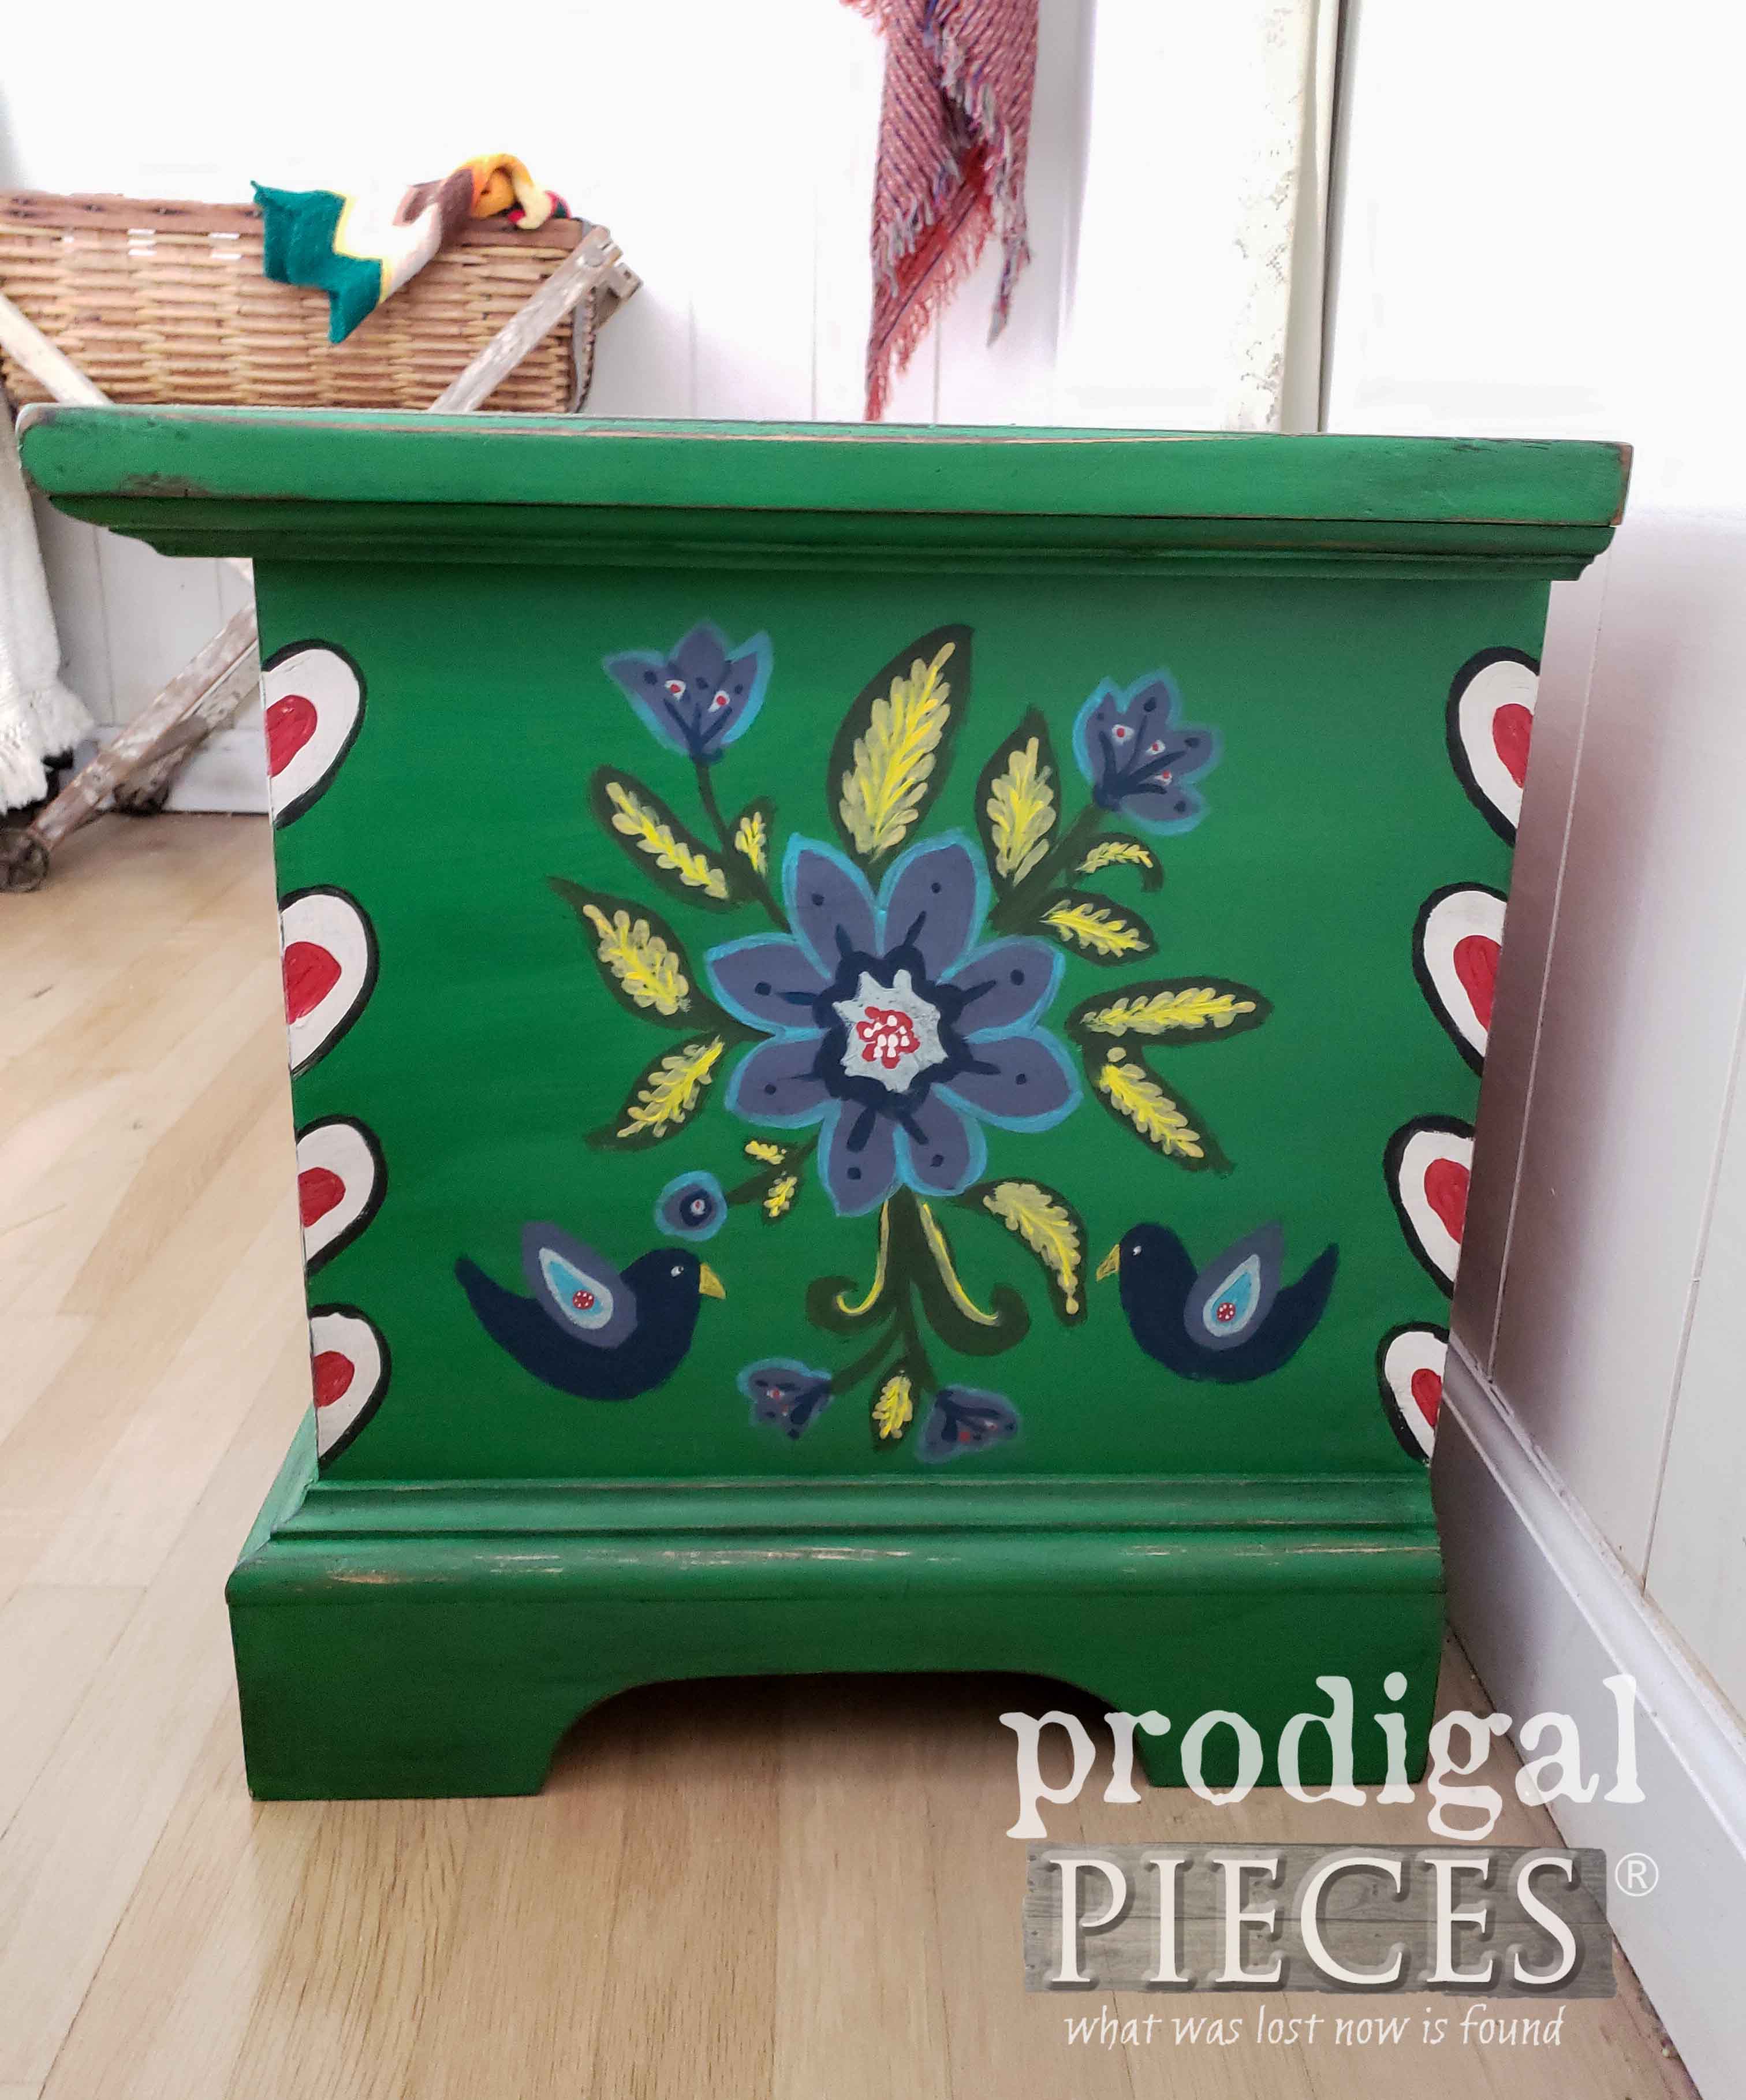
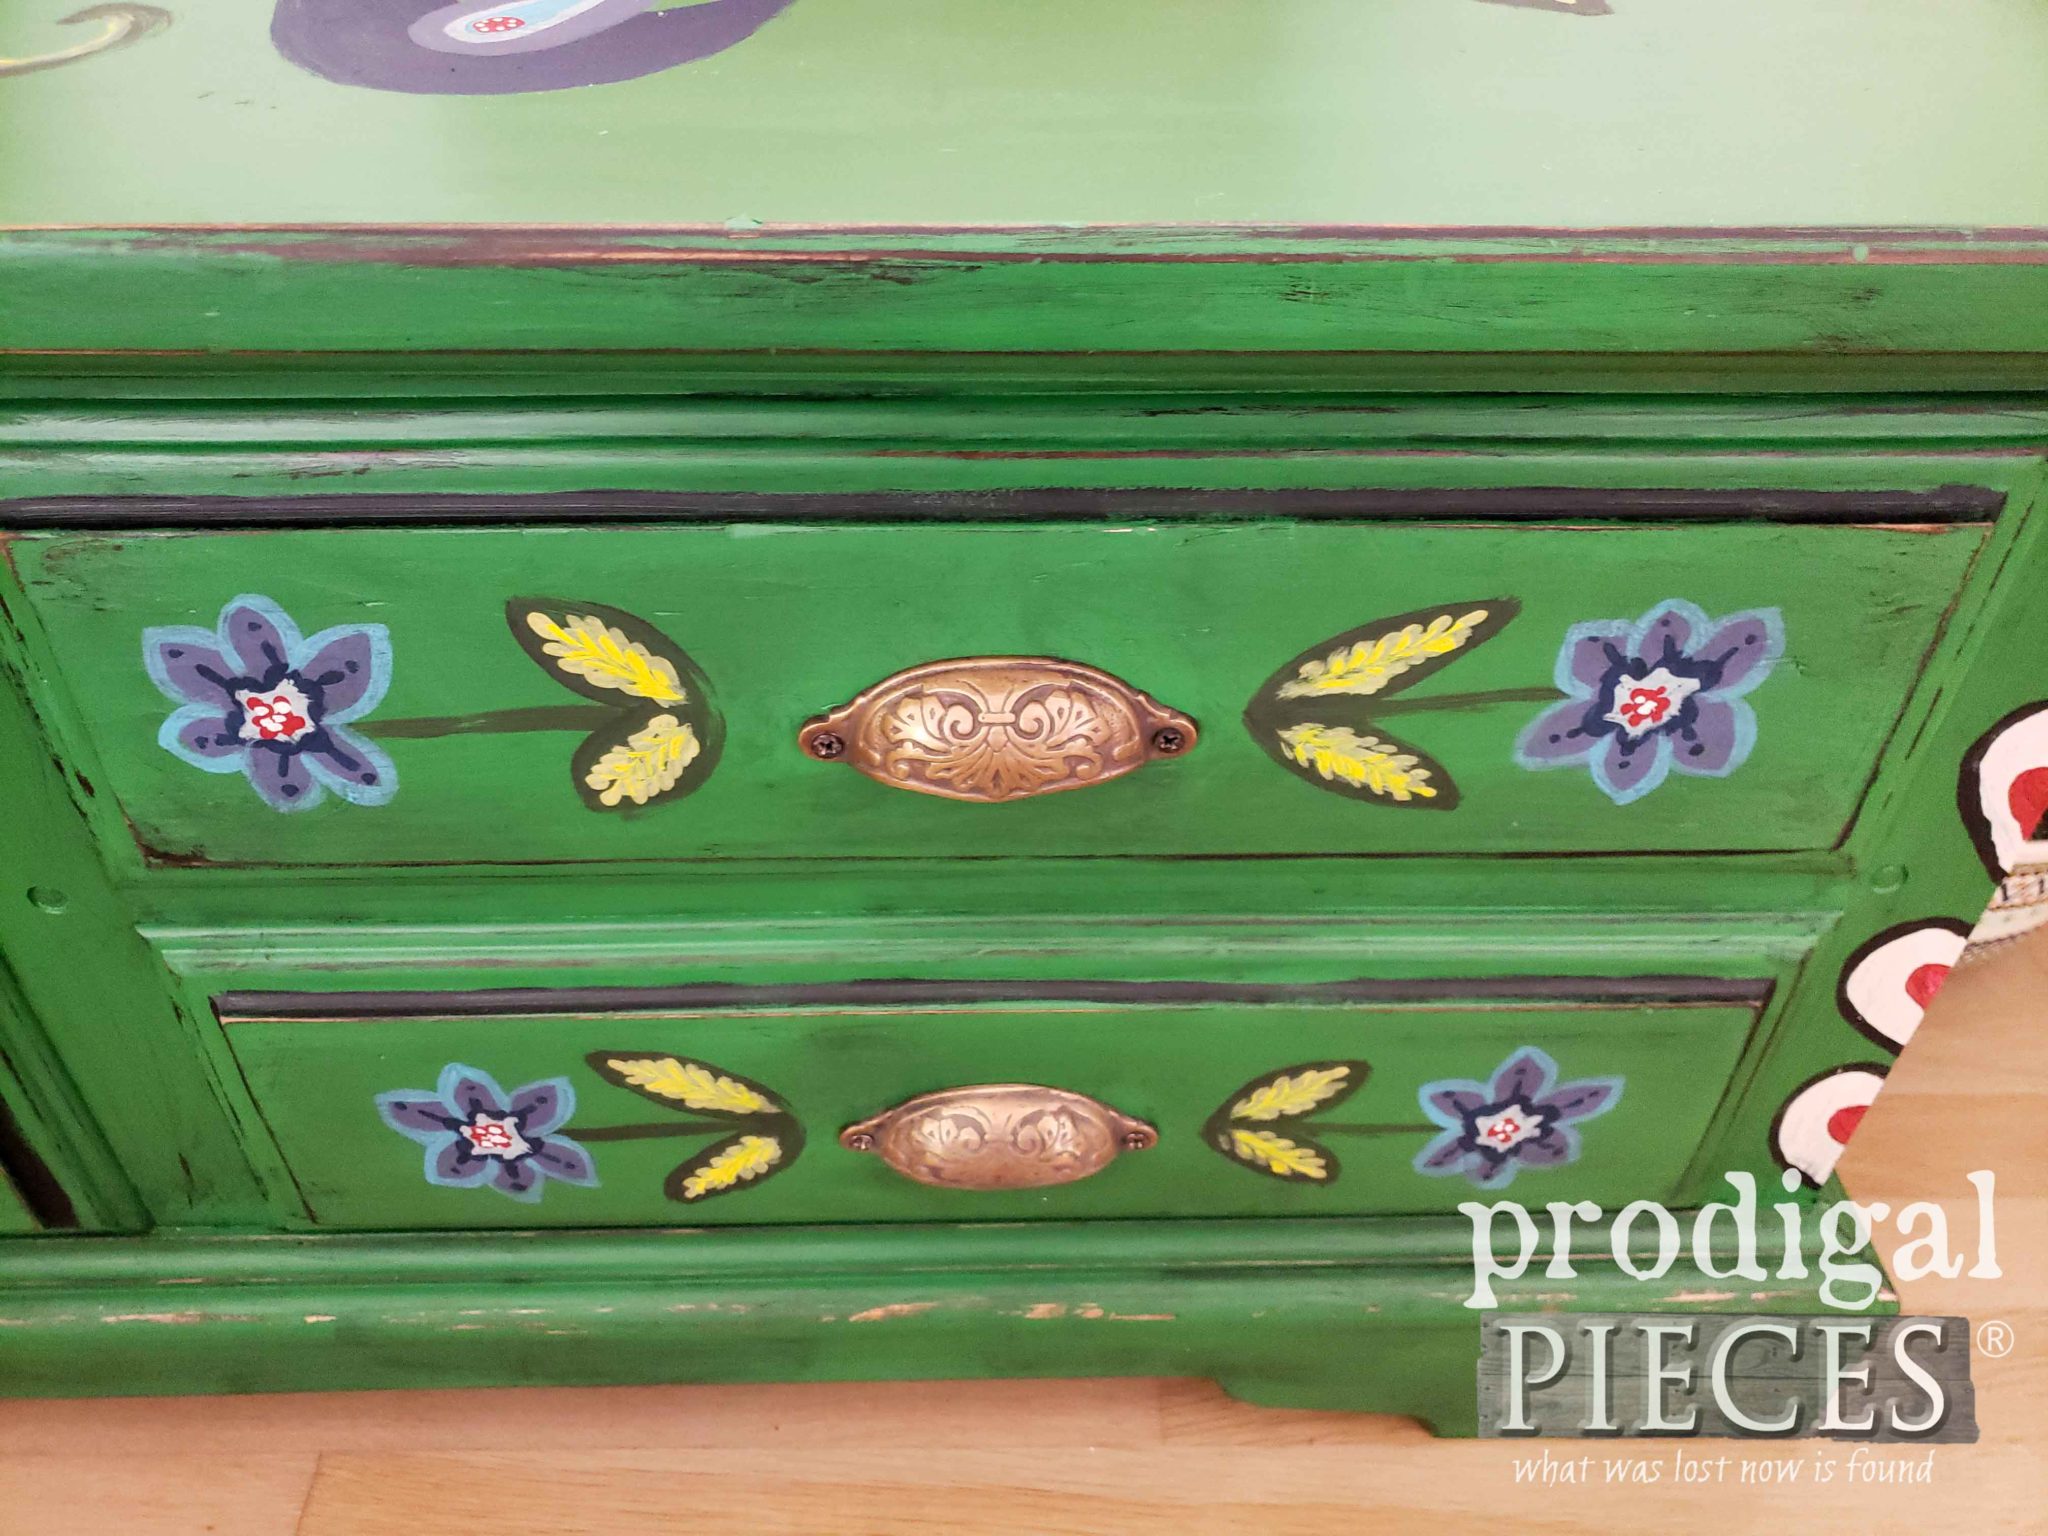
Last, I hope I captured a bit of the feel of the culture and created a piece that will be cherished for years to come.
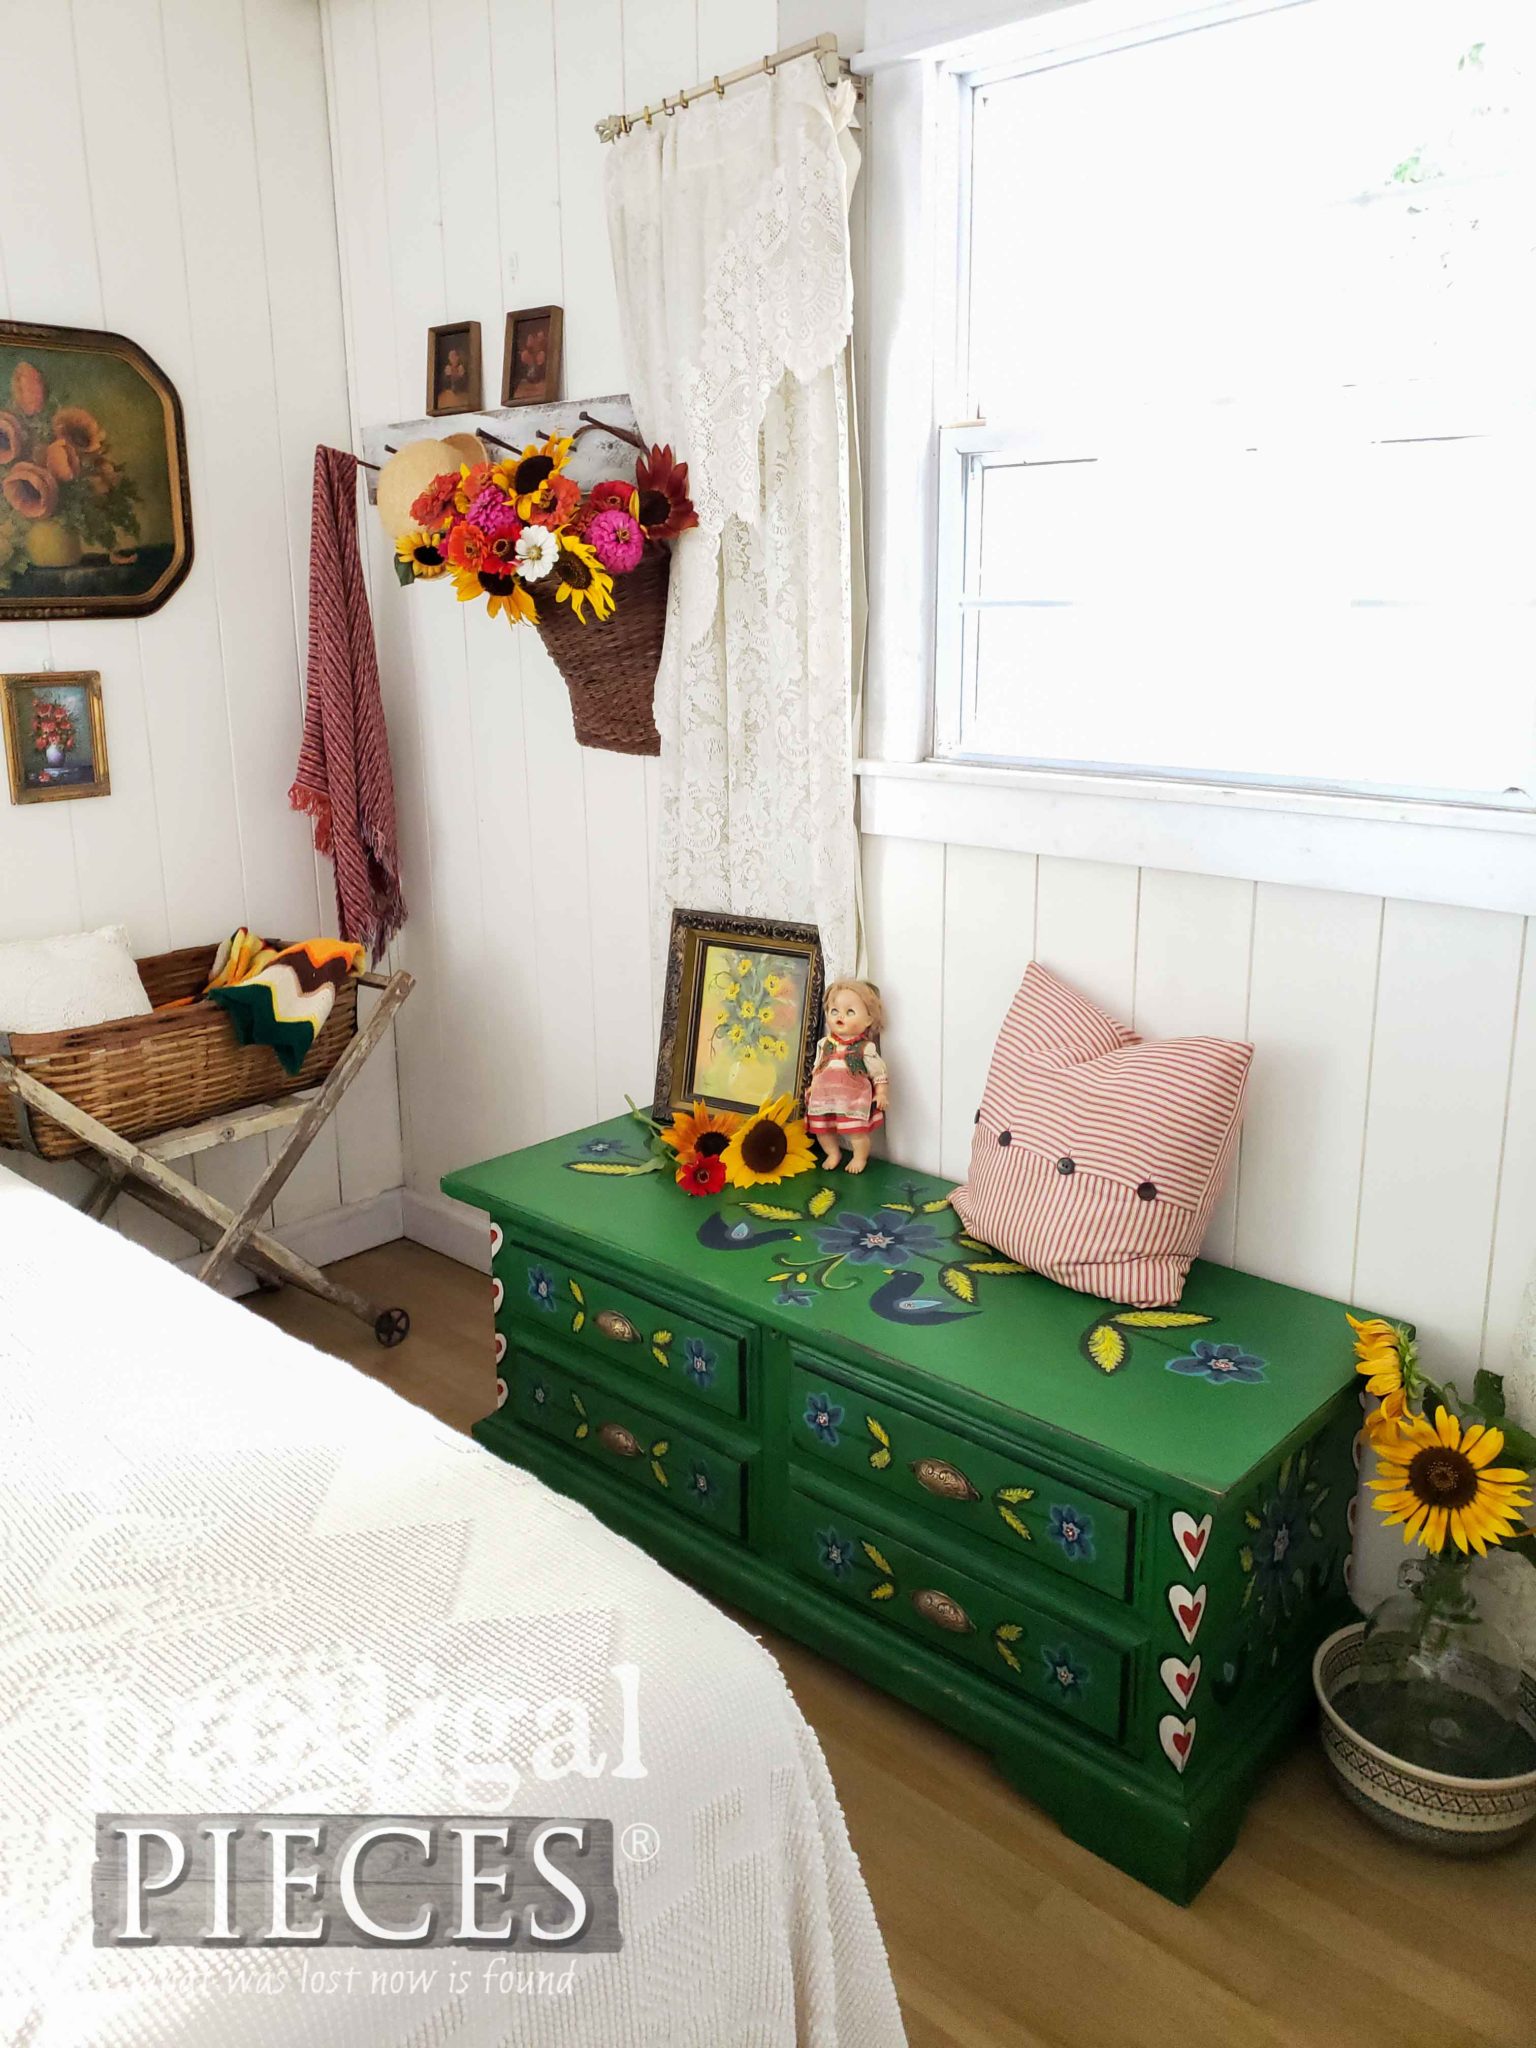
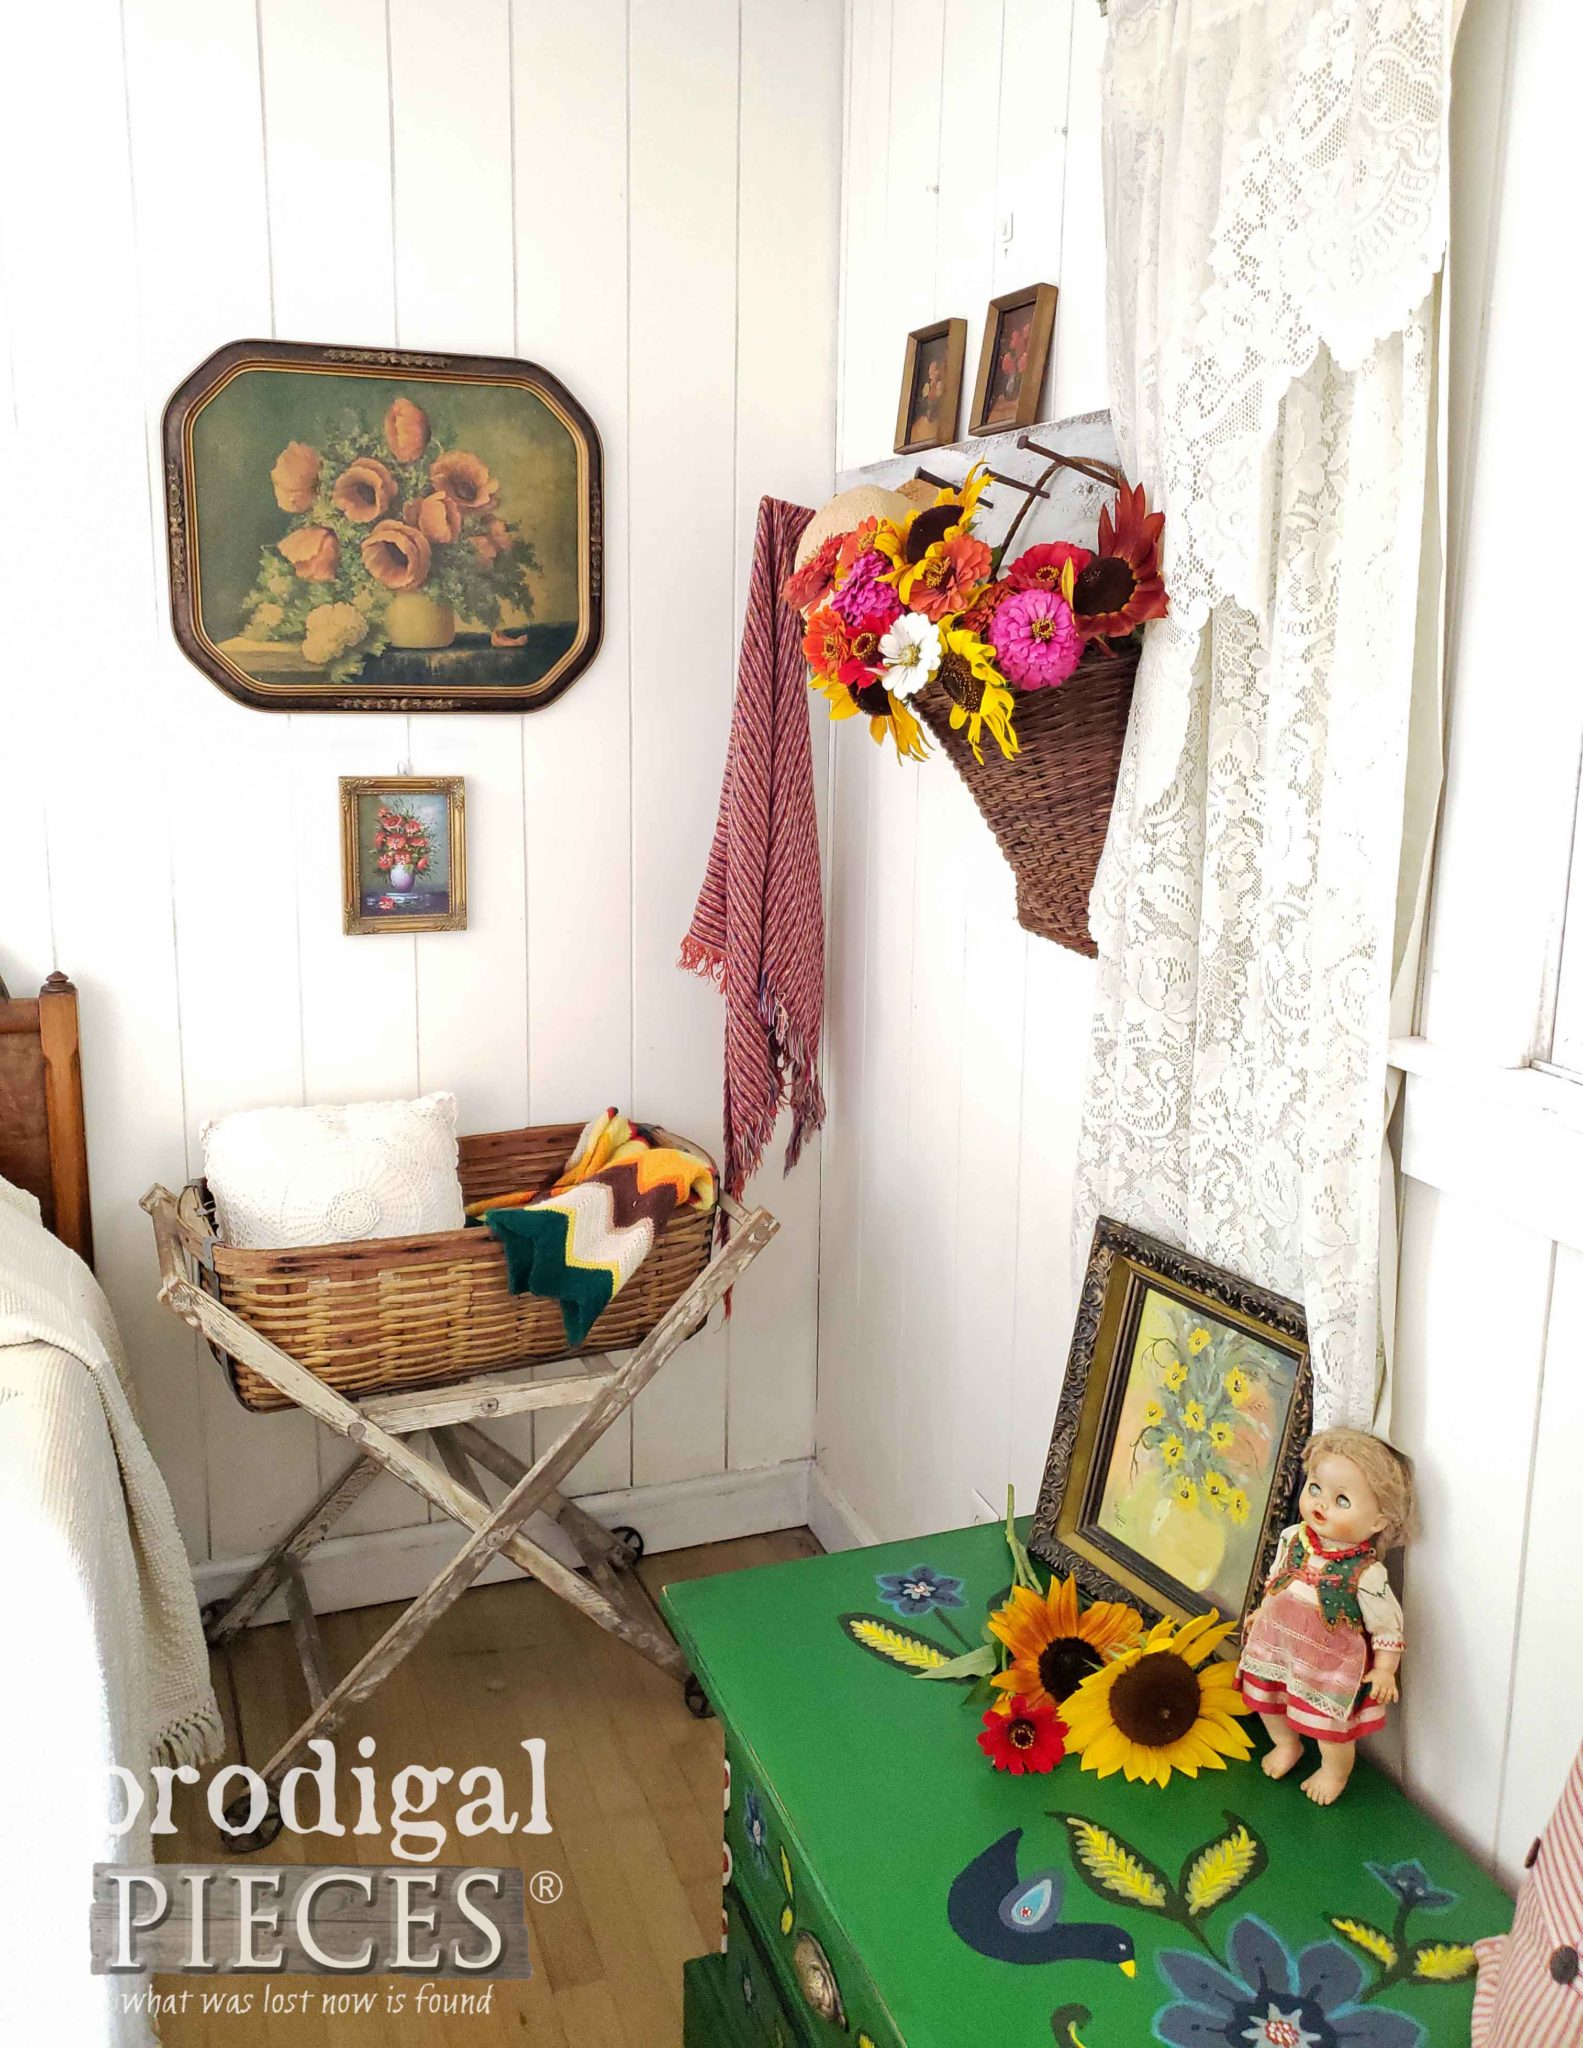
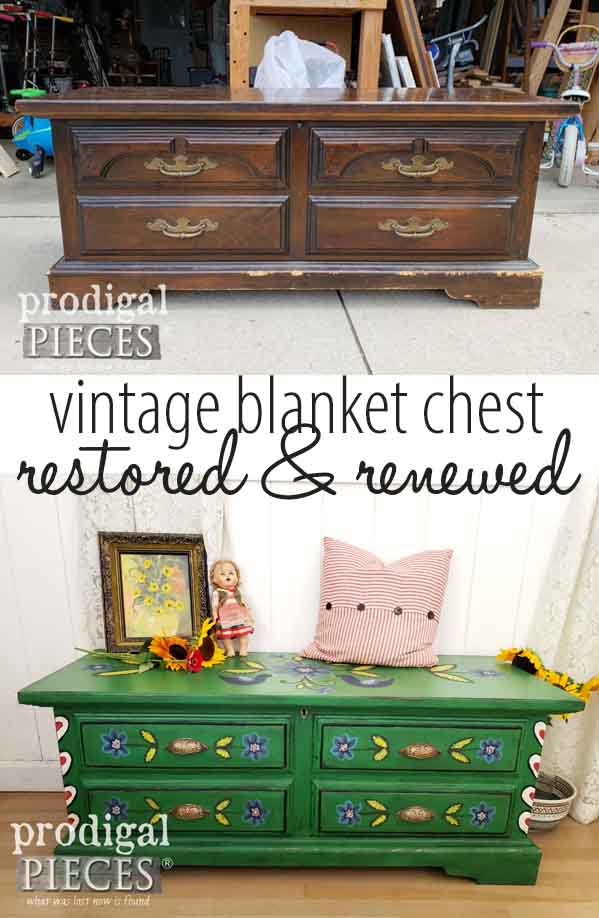
Likewise, pin and share my vintage blanket chest makeover to inspire others to see past the dog chewed mess and see the potential that lies instead.
MORE FUN
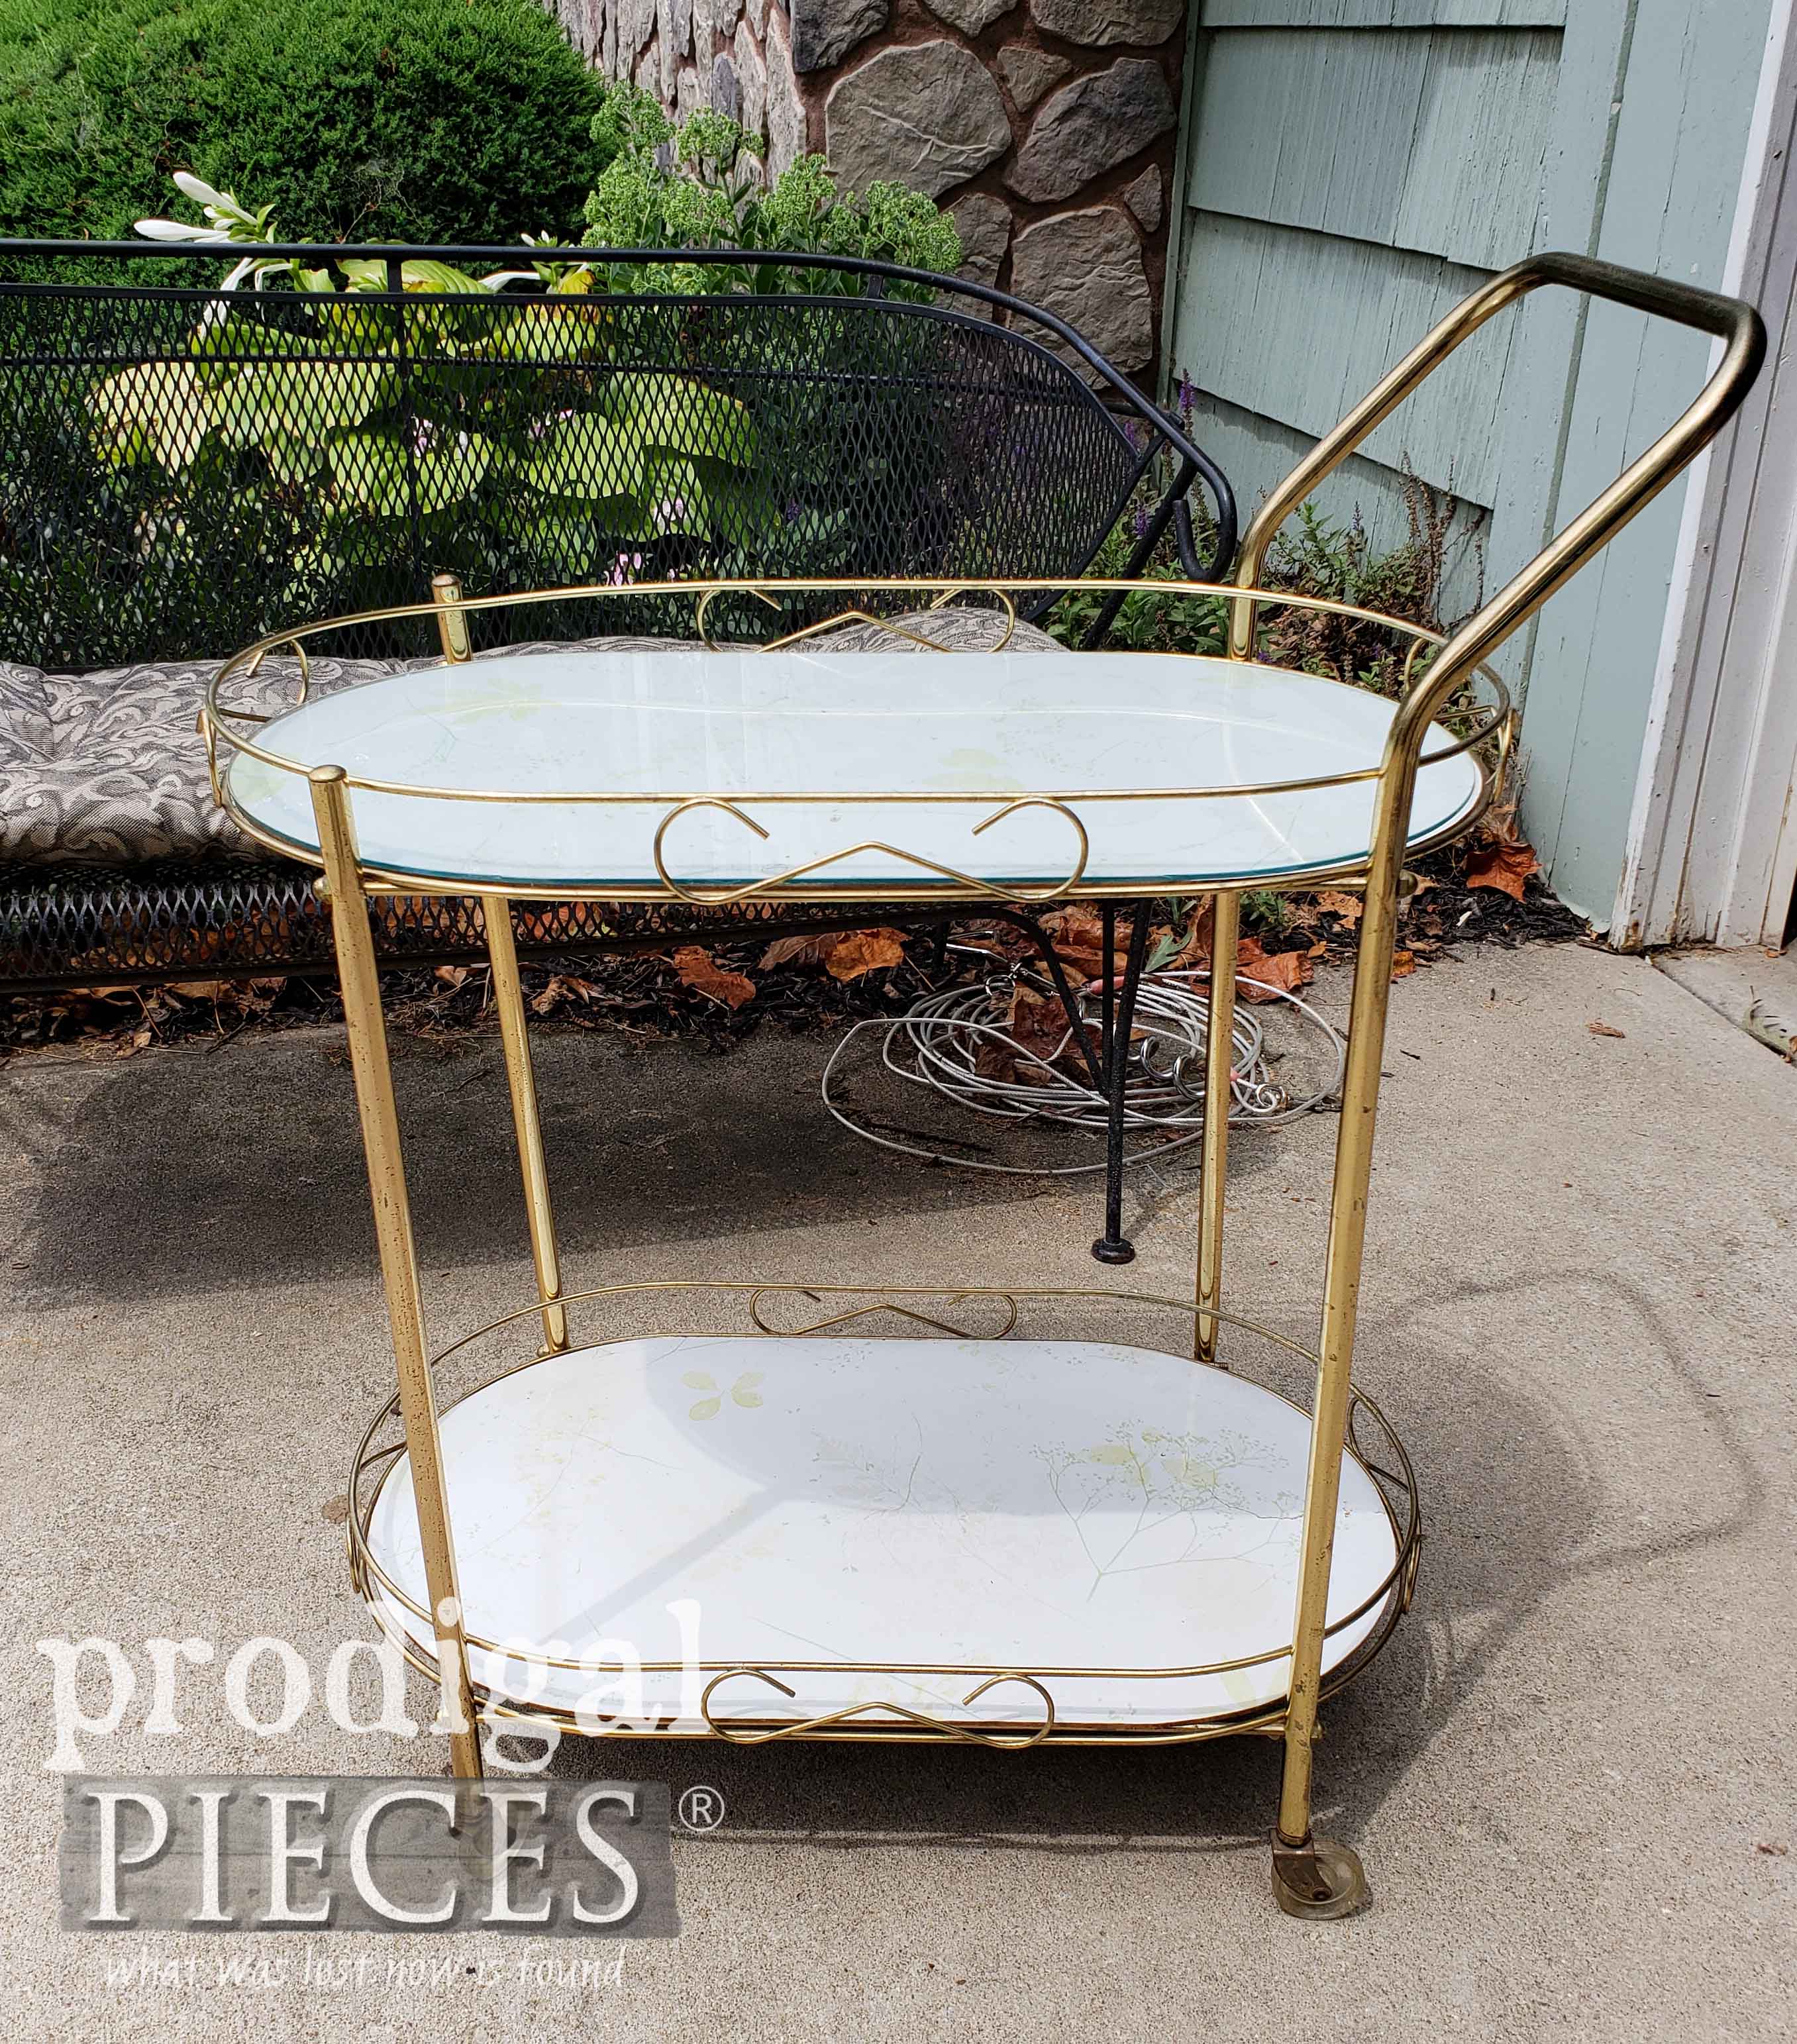
Up next, this thrifted cart is about to get a modern update
HERE.
Before you go, be sure to
sign up for my newsletter. Now, it's time to see what my gal friends have for you.

 PINTEREST | EMAIL
-
- Just the Woods
- The Interior Frugalista
- Confessions of a Serial DIYer
- Petticoat Junktion
- Girl in the Garage
In addition, more projects like my vintage blanket chest makeover:
 I'm going to be perfectly honest with you...I was mad I bought this. First, to defend myself, I did look at all the possible problems it may have: stink, damage (I was more concerned about the lid), functionality, etc. However, I somehow missed the one side and how badly chewed up it was. Eventually, the sting was softened by the fact I got to use my 35% off coupon at the thrift store. But...free and/or cheap almost always means WORK.

 Another bonus is that it was a nice Lane cedar chest. The top is damaged, but nothing I can't handle.

 However, the positives quickly fell to the wayside once I got started. Even my kids knew I was in for it after I showed them the damage report. My initial make-myself-feel-better thought was..."just pop the trim off and put new on". Yeah, whatever. meh.

 Then, as you may notice, I also removed the pulls and filled the holes for new, plus took of those eyebrow looking pieces from the top two faux drawers. Looking better already!
Next, comes the head-smacking part. I now had to rebuild the entire base from scratch. Here is my work after getting it cut with my jigsaw and miter saw.

 Our end result is a like-new vintage blanket chest with cedar lining ready to get a whole new lease on life.
 After that, I sand all the wood filler and damage with my sander and then prepped it for stain. Additionally, my pick for stain was Java Gel, the same stain I used on my dining set in this post.

 Isn't that a happy color? When I get a broken-down piece that pretty much says to me, "Time to have some fun!" You can see what I mean with my Dumpster Diva or my BEEP.
Thankfully, the paint goes on beautifully. Last, I let the first coat cure for 2 hours.
 In all my years of doing furniture, I've always wanted to try to create a folk-art piece that gave props to my Polish heritage. My goal was to try to create a piece that tells a story with my inspiration coming from the village of Zalipie.
[caption id="attachment_22149" align="aligncenter" width="752"]
 photo courtesy of A Matter of Taste[/caption]
[caption id="attachment_22151" align="aligncenter" width="550"]
 photo courtesy of A Matter of Taste[/caption]
Then, once the second coat cured, I started my hand-painted design.
 That green base color was just the beginning of my color fun. Even though it took me many hours to paint each layer, it was such fun I didn't even notice. Last, I lightly distressed once the paint cured. Likewise, after that I added a coat of black wax.

 Is it bold? Yes. Is it fun? Yes. It totally turned out how I envisioned. The vibrant colors are what reminded me of the little Polish doll my grandfather gave me. Sadly, he passed when I was a year old, and I didn't get to know him. My grandmother (my babcia) also joined him in the heavenly realms not long ago.


 Additionally, they traveled to the U.S.A. when my mother was twelve and I can't thank them enough for making that journey. Imagine if her and my dad never met?


 Last, I hope I captured a bit of the feel of the culture and created a piece that will be cherished for years to come.


 Before you go, be sure to sign up for my newsletter. Now, it's time to see what my gal friends have for you.


