THE BACKSTORY
The story of our journey really began in 2003 when we bought this house and began the first remodel. Here is peek at the family room we saw when we moved in.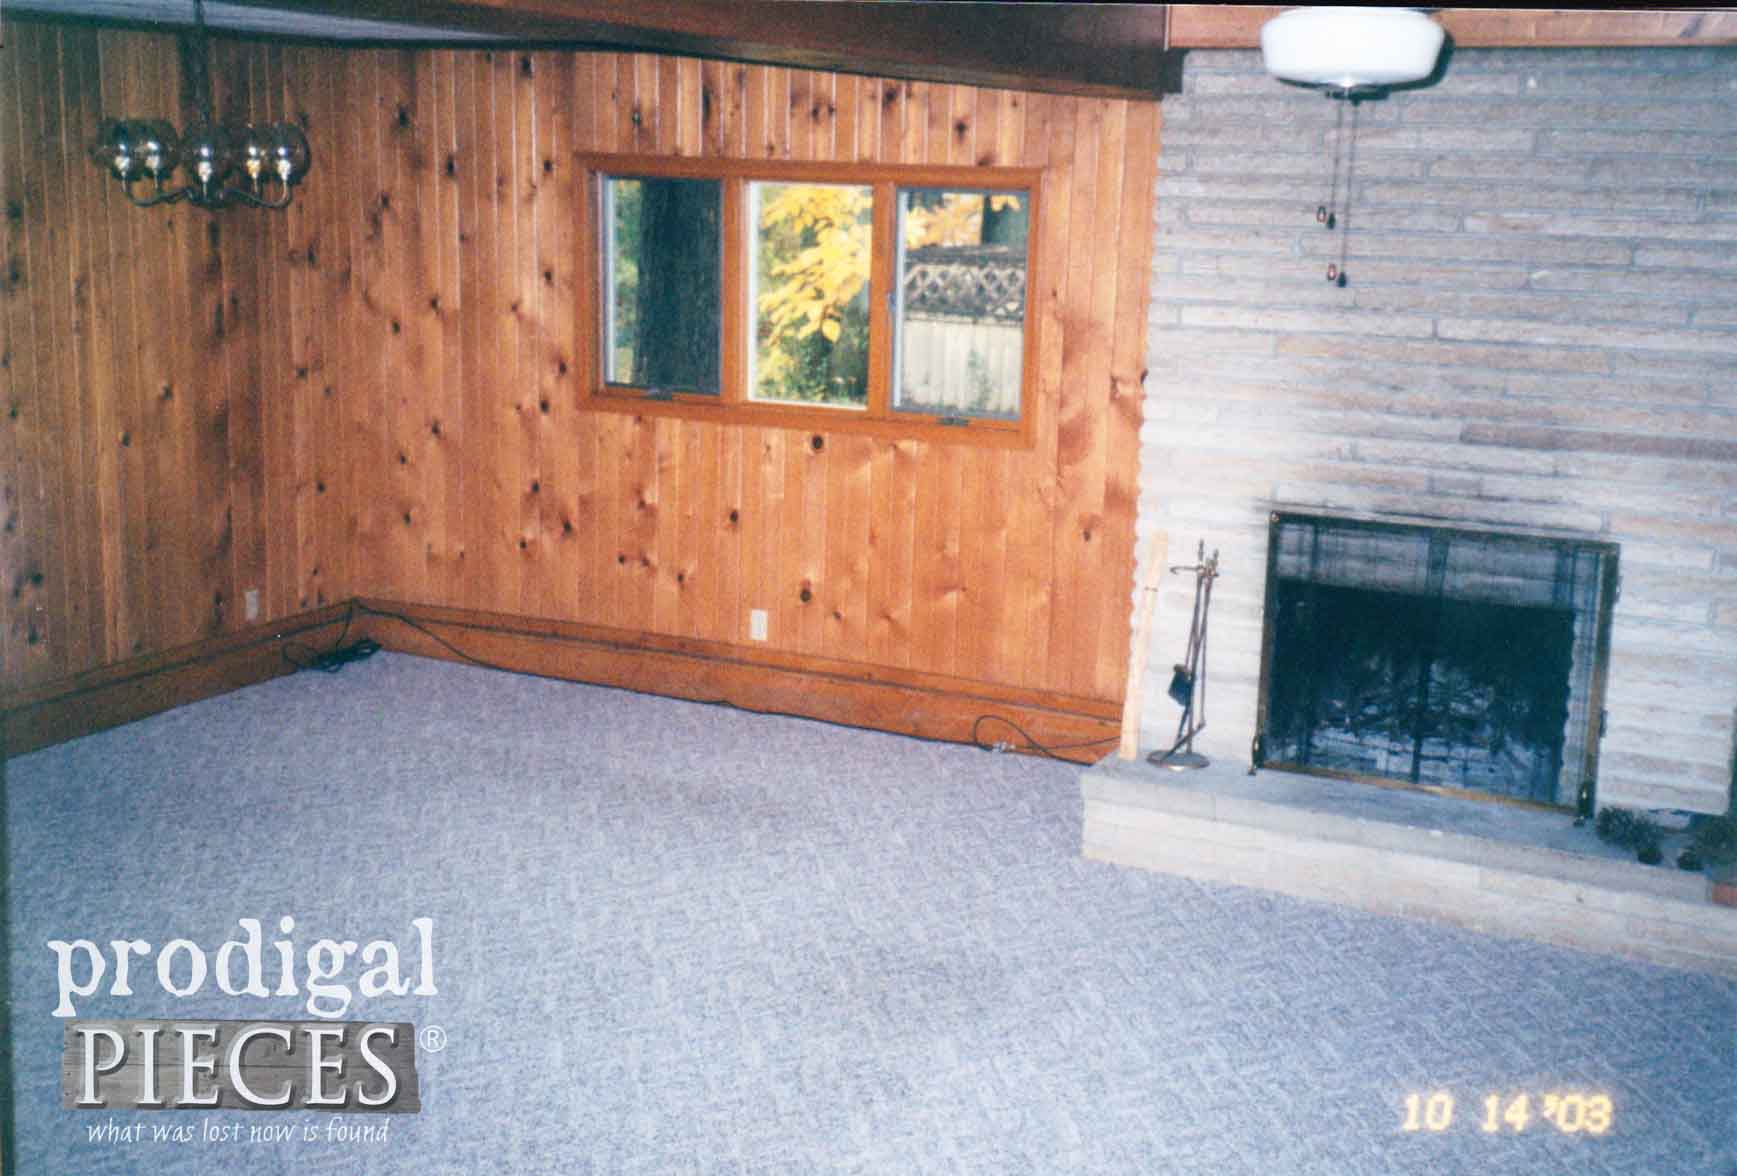 Pine paneling, old Berber carpet, and open fireplace with built-in bookshelves unseen. You can even still see the drop ceiling just above us. Boy, hard to believe my oldest was a toddler and I was expecting our second baby.
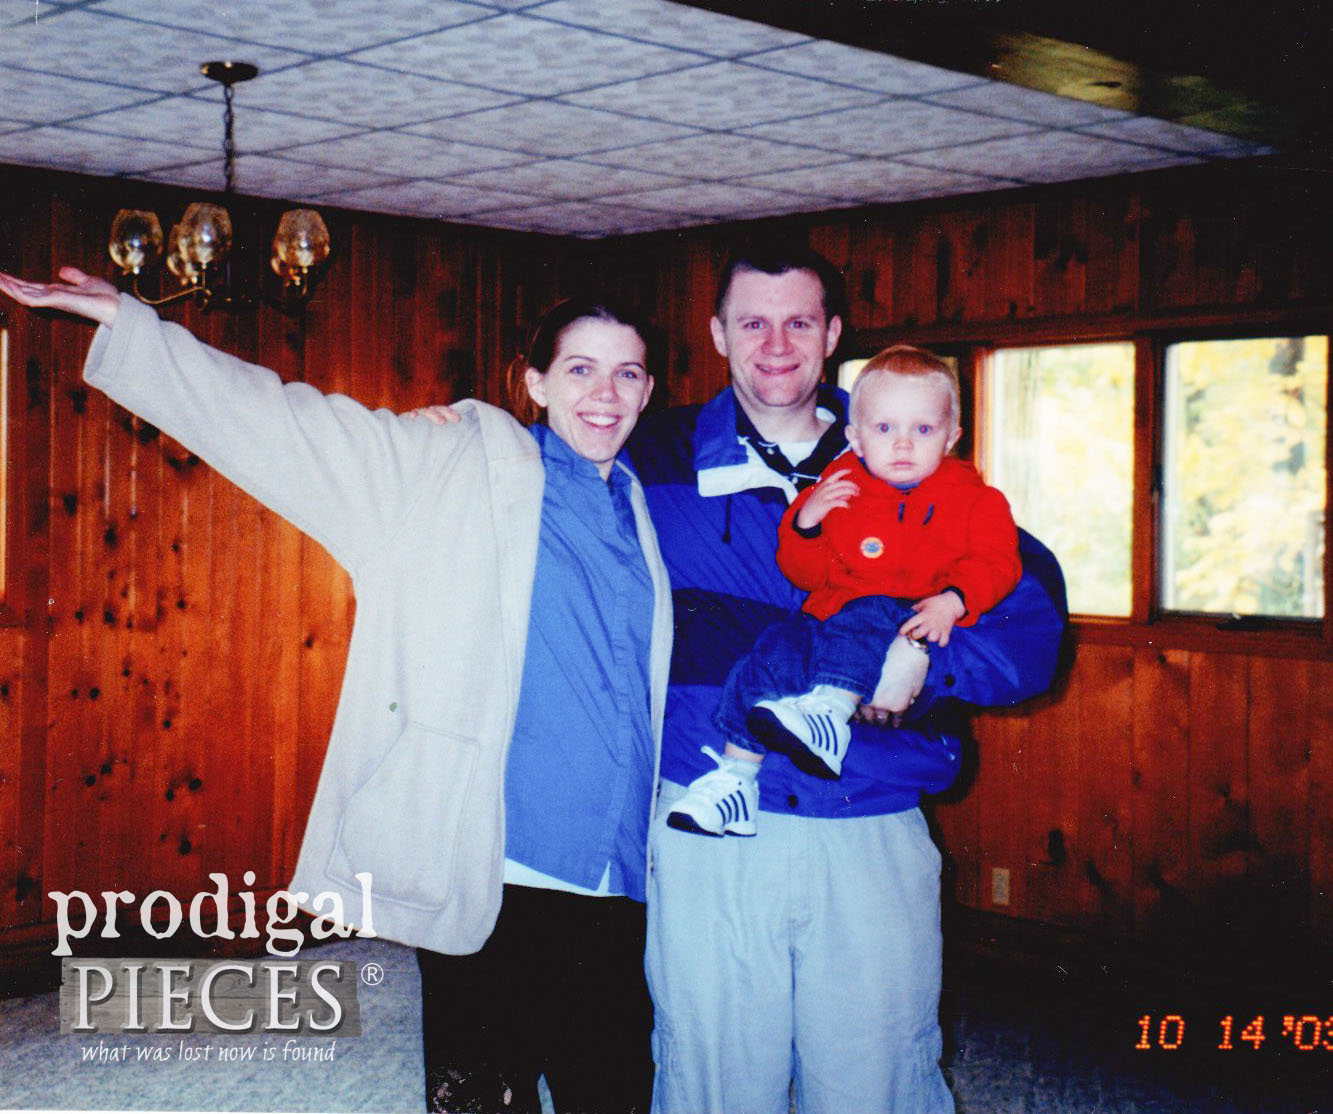 God moved mountains for us to be able to purchase this much of a home in the first place. Never in my wildest dreams would I think we could own a home in the wonderful neighborhood we live in. In the end, the mountain moved to the tune of a price reduction of 25K by the generous owner. Talk about knocking our socks off!
FIRST HOME
Within the first few months of ownership, I got horribly sick while pregnant with our second and was in ICU for a couple of weeks. I nearly didn't make it. The bills that accrued threw a wrench in our plans and budget for sure. But that didn't stop us and I was so thankful to even be alive. With a newborn and toddler in tow, we began by updating windows, doors, and roof. Then we began the interior. We did what we could, and began to try to sell our home while pregnant with our third. I had no idea the selling roller coaster ride we were in for.NEXT STEPS
Let me tell you that when you are seeking God's leading, there is no point in banging on the closed door in front of you, but rather waiting for His lead. We had over 75 showings with several near misses all in one summer. We were EXHAUSTED and couldn't figure out why it wasn't selling. It was then we chose to pull the house off the market and try again next spring. That ended in more stress and chaos too. We finally agreed we are done trying until God opens the door. Well...here we are 15 years later and redoing our home a second time. I have learned in all this time to cherish what I have, make it my own, and make the best lemonade ever of my lemons. Is city living for me? NO. But God obviously has me here for a reason and I'm daily trying to stay in His will. After the passing of our two children, I needed a sort of reset and to make my house my home. No more fixing it up to sell for others to like. It was then I decided it was time to paint all the wood paneling in our dining room and family room, as well as update our kitchen for the third time.NEVER DONE
What a chore it was to remove the drop-ceiling and put up paintable pressed tin wallpaper over the existing tile. It felt good to see it the old ceiling come down and helped me work through my grief. All was good until 2 weeks later we had a heavy snow, it melted and refroze which caused an ice dam to back up under our roof and cause the nemesis gape. See it sagging here along the back window?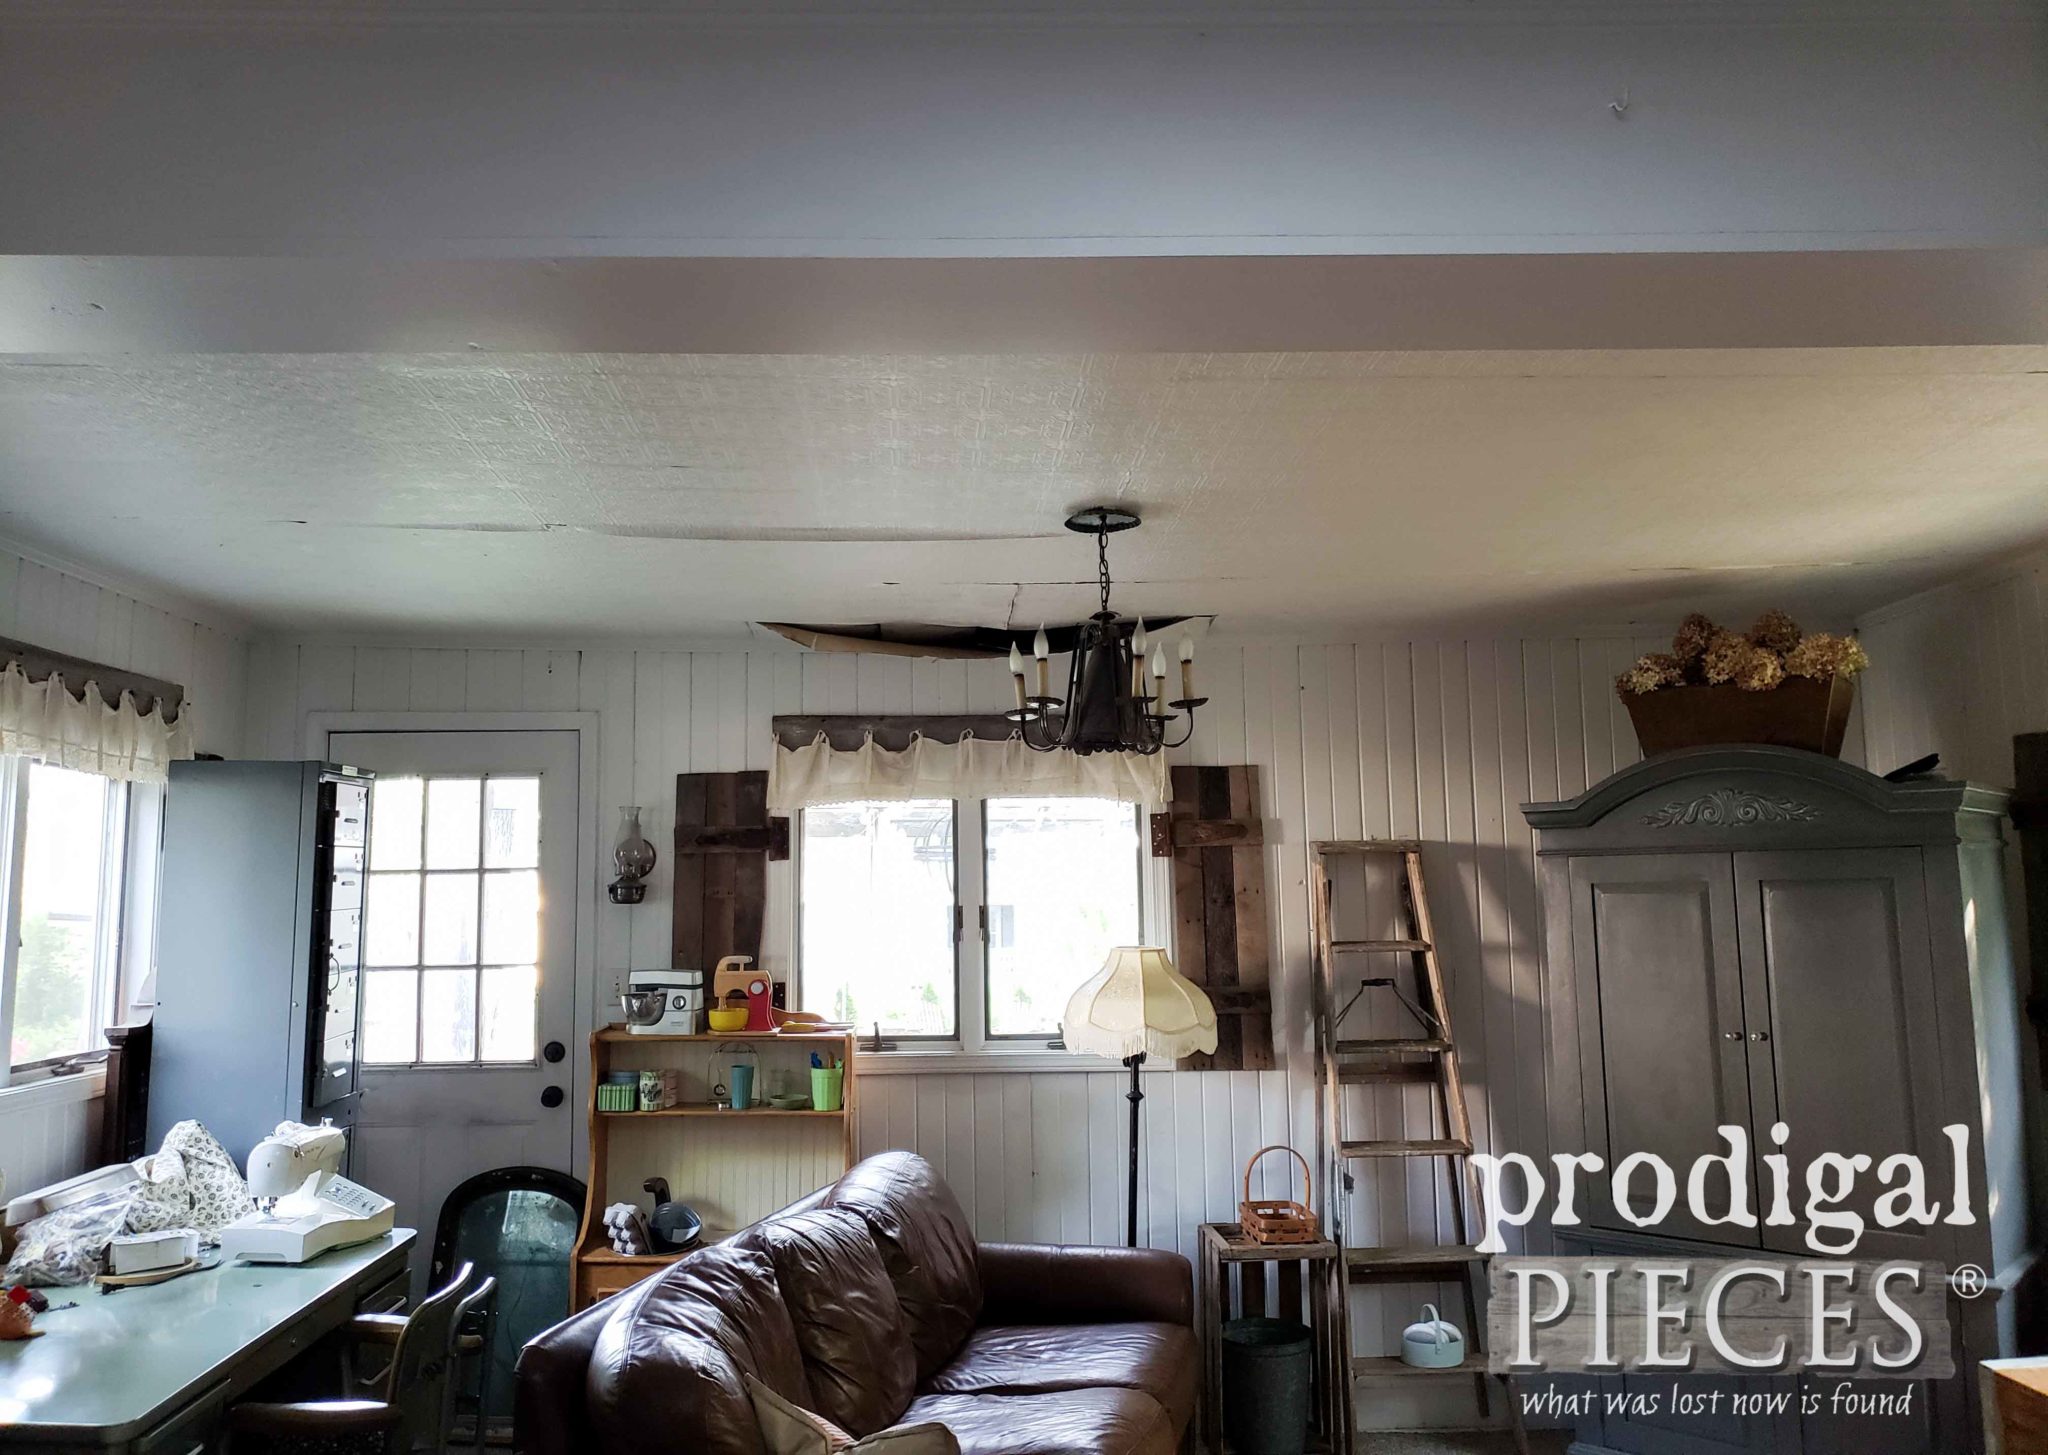 Mind your our roof doesn't do that every time it snows, this was a freak incident. It actually never had leaks. So with my hard work thrown out the window, we had to wait over 5 years to say goodbye to that eyesore. Last fall we were finally able to put a new metal roof on hoping to prevent the ice damming. The roofer had been let go of his job that day, was in a bad mood, and accidentally broke our window in the process as well. All I am thinking is "just get the roof done".
WHAT NEXT?
That next winter, last winter, we had leaks. A perfectly good roof that never had leaks, now leaked. To top it off, the roofer wouldn't do anything about it. I was sitting Christmas Eve by our tree all lit up and happy and I felt a drip on my shoulder. No way... Turns out he didn't even flash the skylight. His lack of roofing 101 skills led to us having buckets placed in our room for the entire winter. We couldn't fix anything until spring and I was a fired up angry mama. Mind you, we were still working so hard on our kitchen during this time as well. All the time, I'm praising God we have a house to work on that is warm and full of those I love.PRESENT DAY
Fast forward to present day...JC is finishing up the kitchen and there's little I can do to help it get done faster. He gets one day a week to put into it and sometimes that one day is needed to repair vehicles or do other "normal people" work. In Ohio, you begin preparing for winter the moment summer starts, so I knew we have little time to get our family room done before the cold hits. Why before the cold? Well, our room used to be a garage that was turned into a living space. It has a poured concrete floor that had one MASSIVE oak tree on the one side and a twin trunk MASSIVE oak tree on the other. We had the trees removed years ago, but their damage had already been done. The floor had cracks when we moved in and we knew it. Our furniture never sits level and the immensity of our problem was not affordable until now. So, with JC's approval, I told him I would start the family room while he finished the kitchen. And our fun begins...THE BEGINNING
Here's a quick tour of what it looked like prior to my current start of my DIY coffered ceiling. (never mind the mess - I'm being real with y'all) You've seen the view of the ceiling in the one area, here's what it looks like from the steps.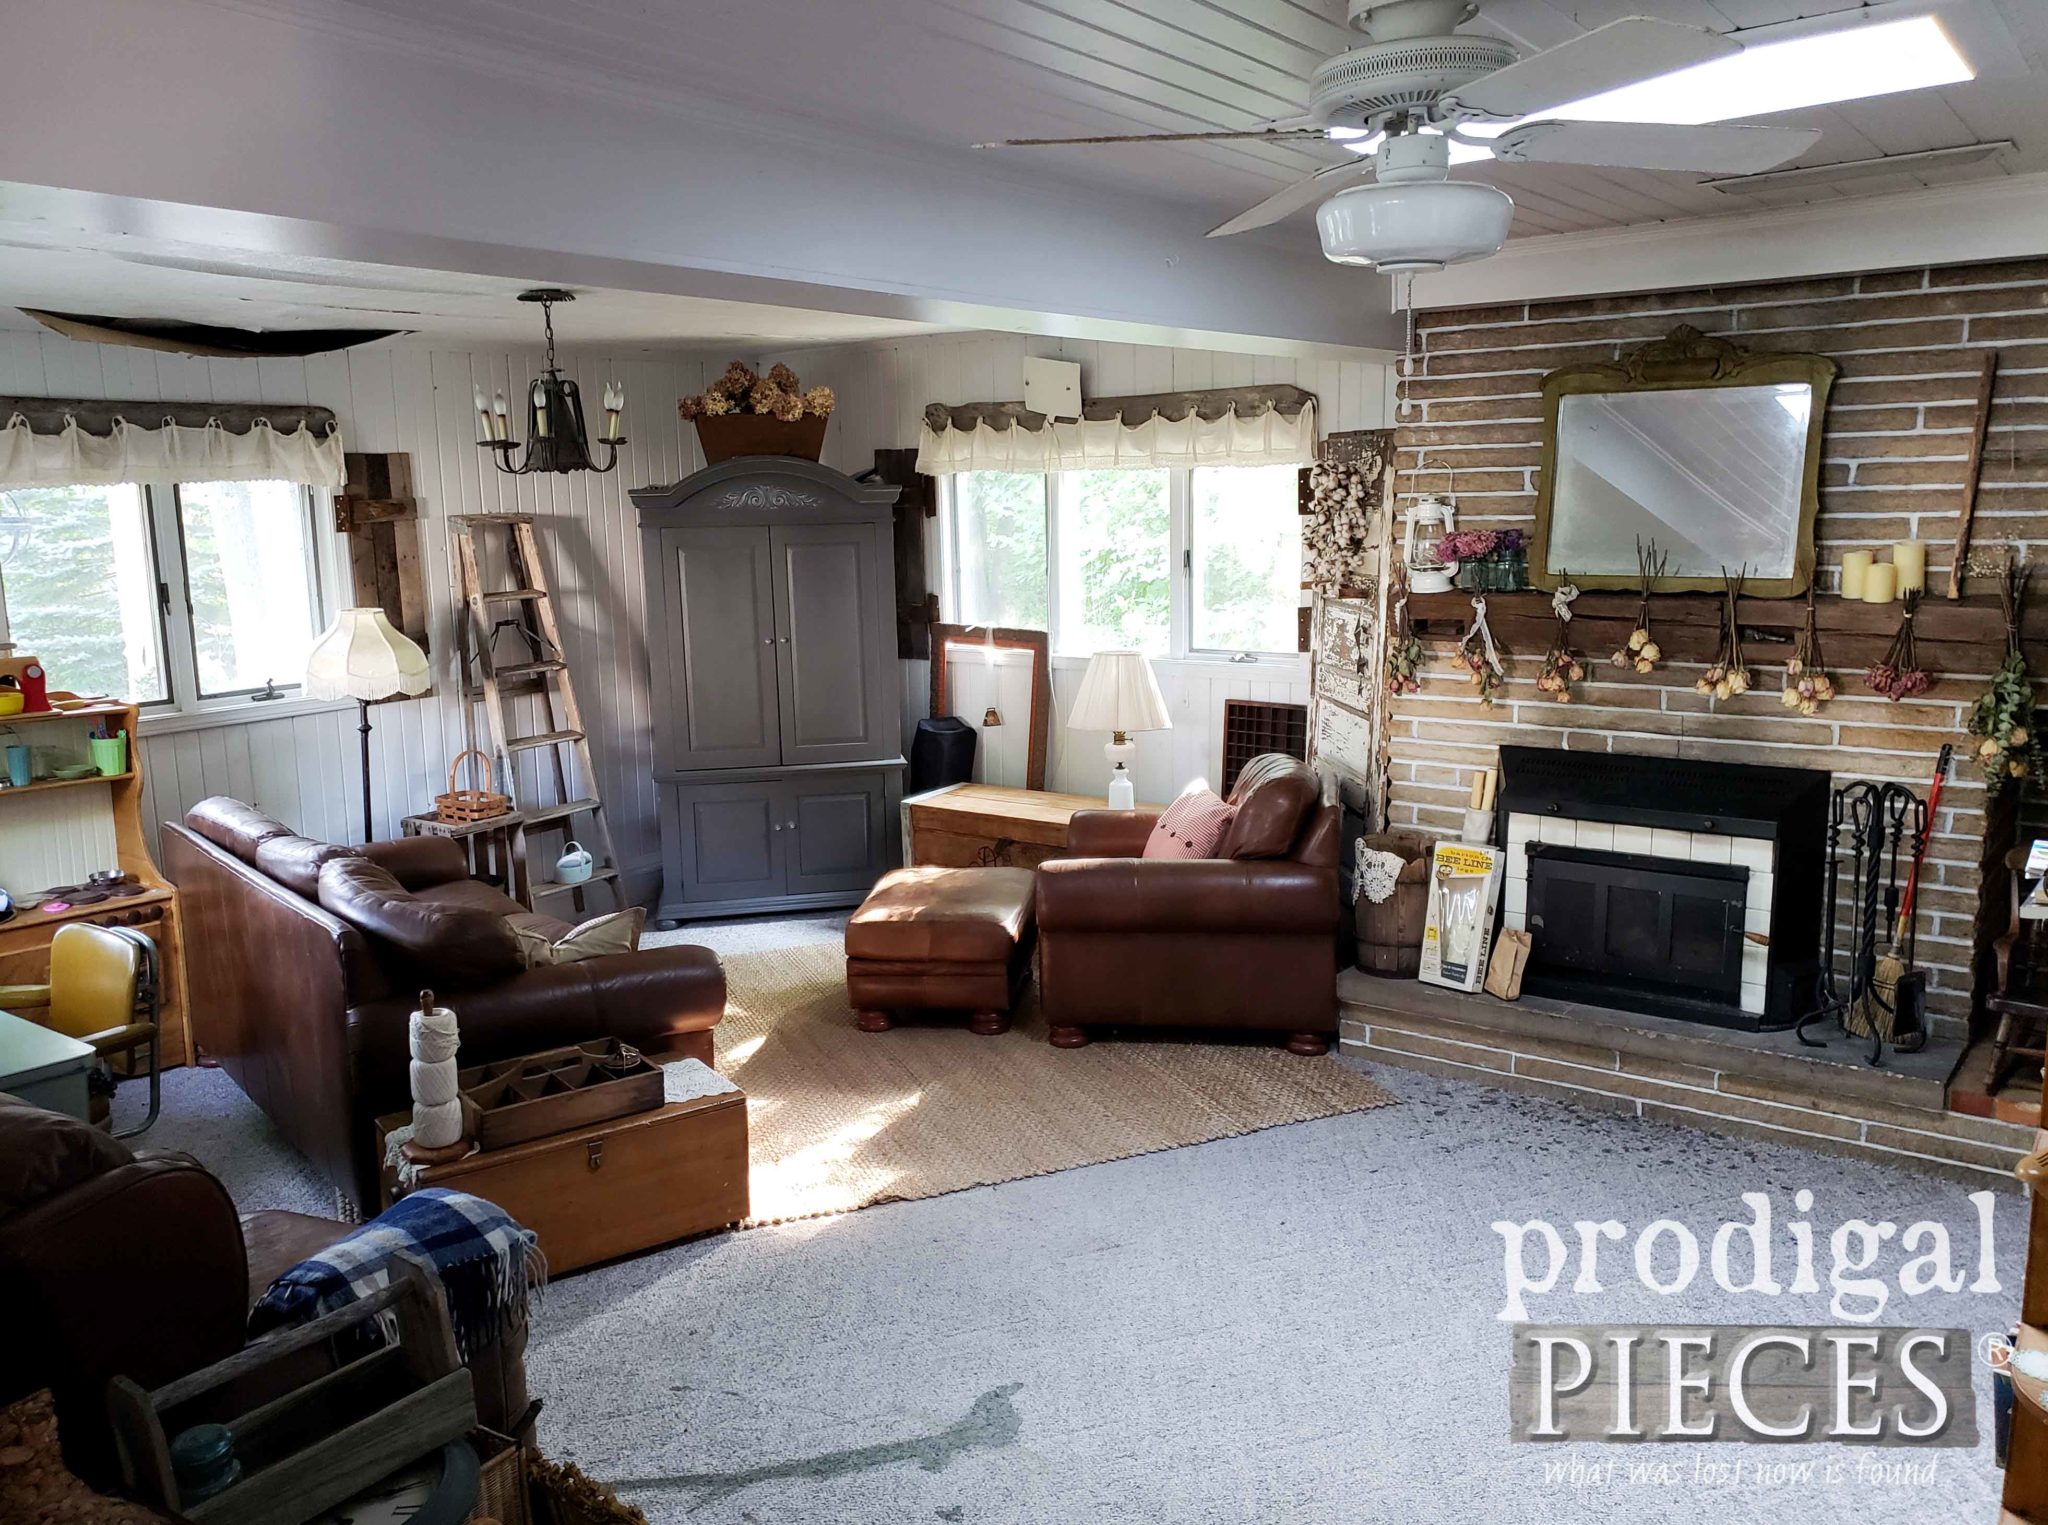 It certainly an improvement from where it started, but still a long way to go. One of my very first few blog posts were my pallet shutters and the barn wood & bedskirt valance. Then, we added a floating barn beam mantel with tutorial here, and then not long ago I stained the mantel and painted our fireplace grout to pop a bit.
UGH...CARPET
The disgusting Berber carpet has had a death sentence since we moved in, but we never knew what to do with the floor, so it stayed. ugh. I mean, who puts carpet up to a fireplace?! It wasn't until the other day I dropped a quart of paint on it and that sealed the deal for me to get this demo started.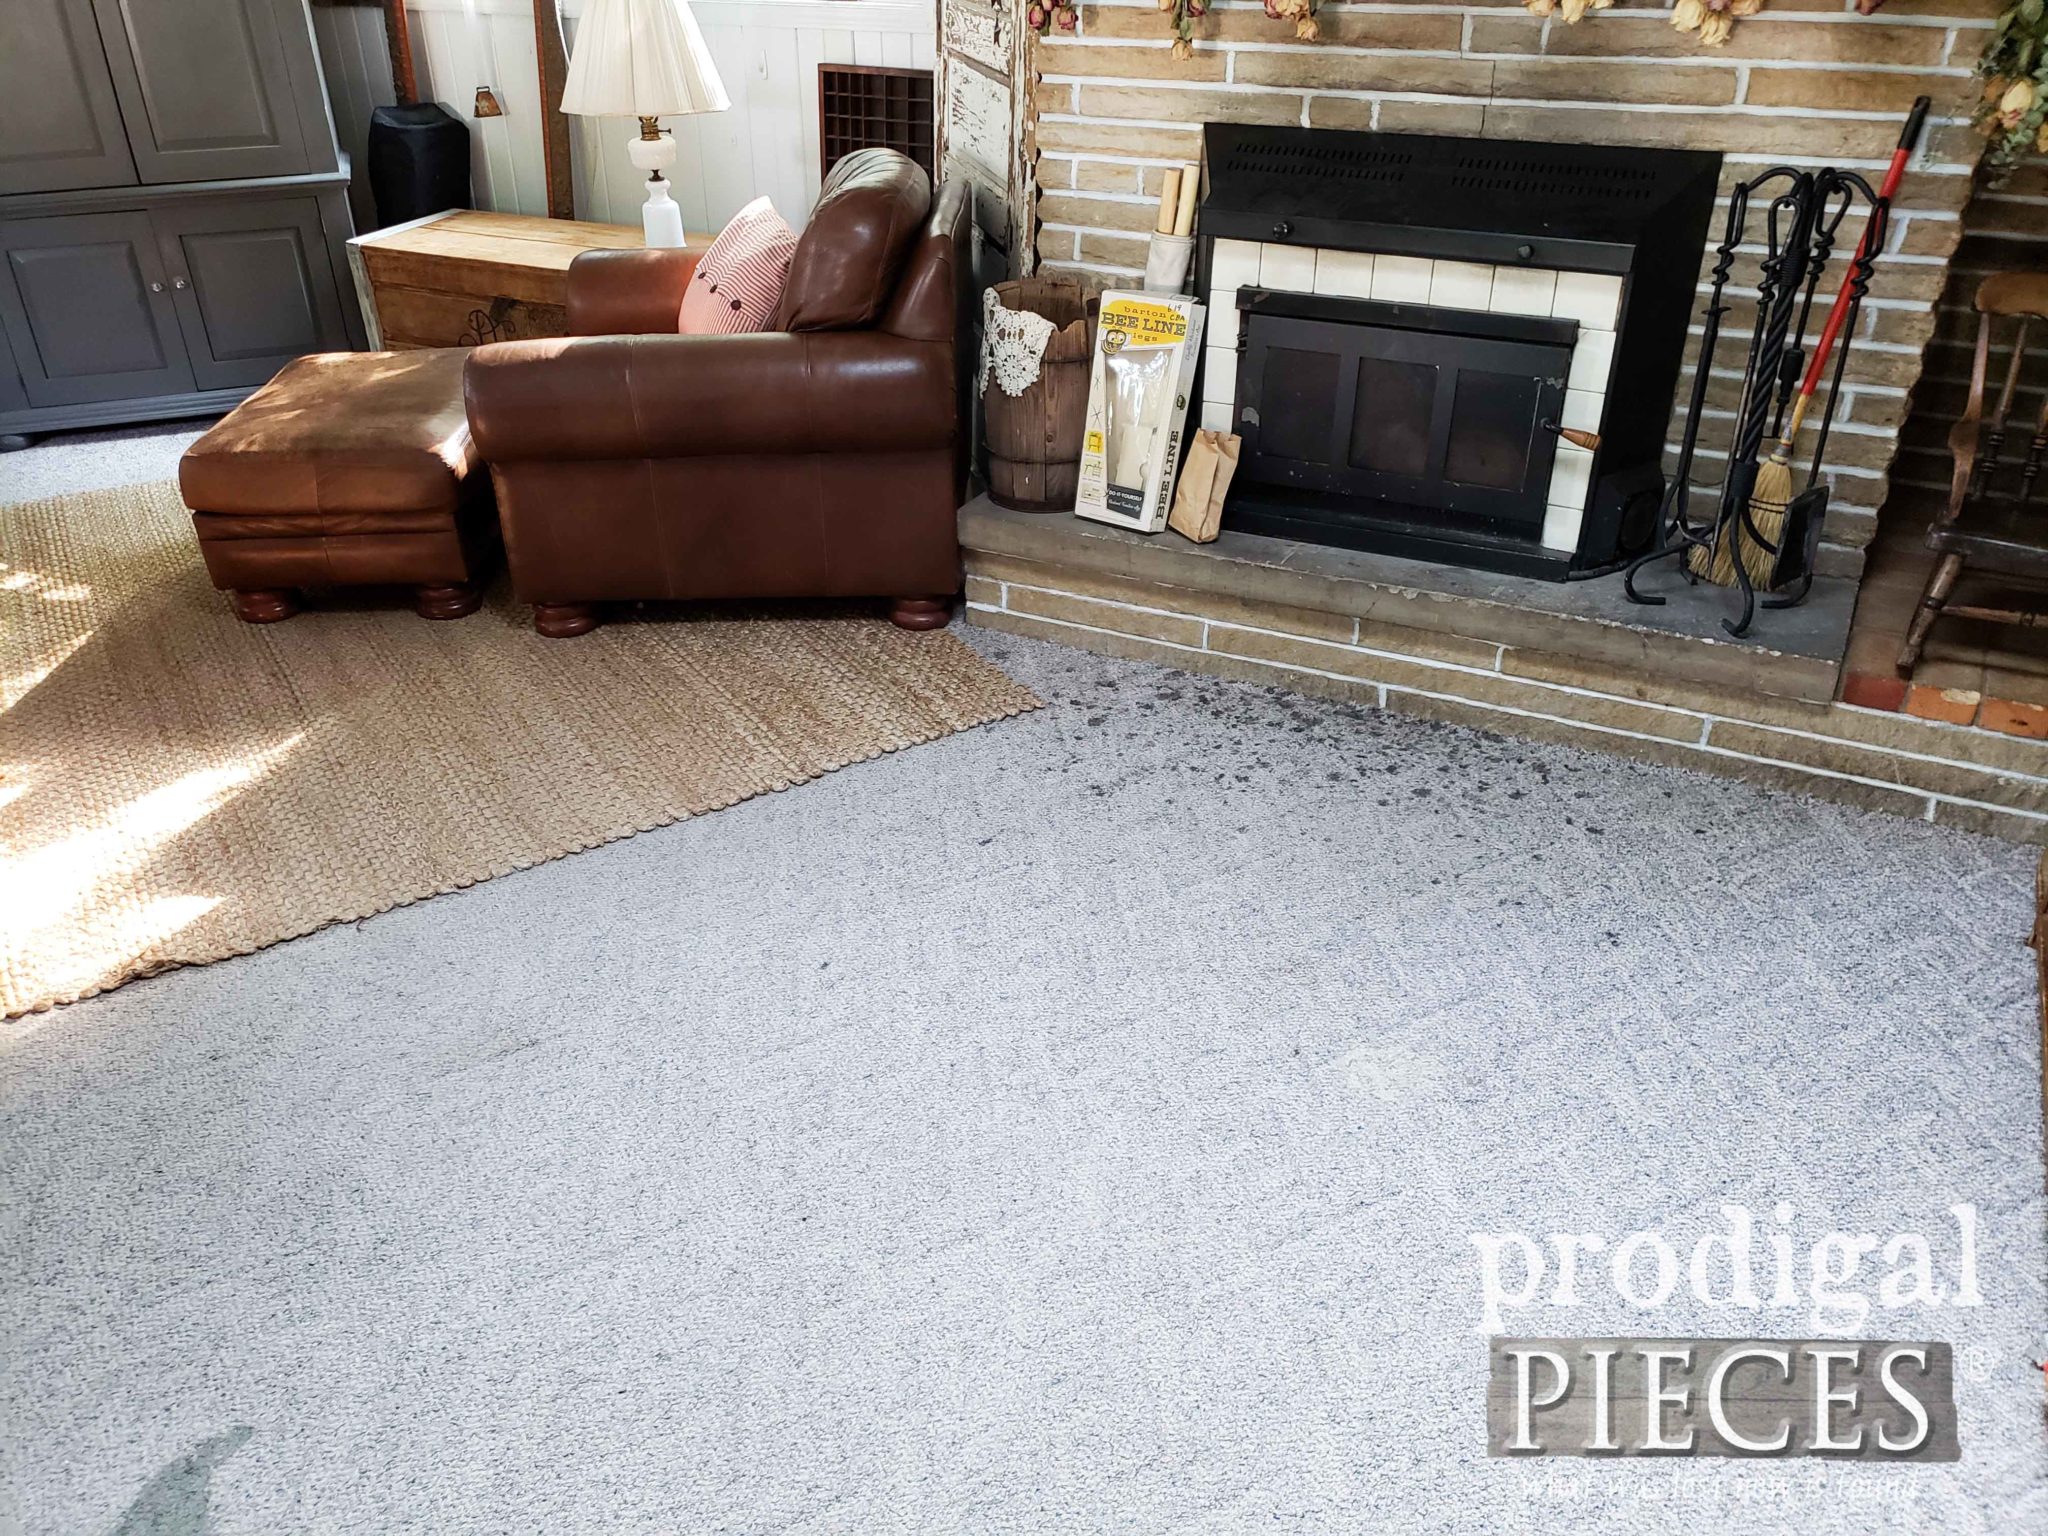 The other end of the room is where I sew and do my work in the early hours. The door back there is never worked as it should. Sadly, the tree lifted the foundation and made it slightly askew. We will be putting a new one in and remedying that soon so we can access our patio.
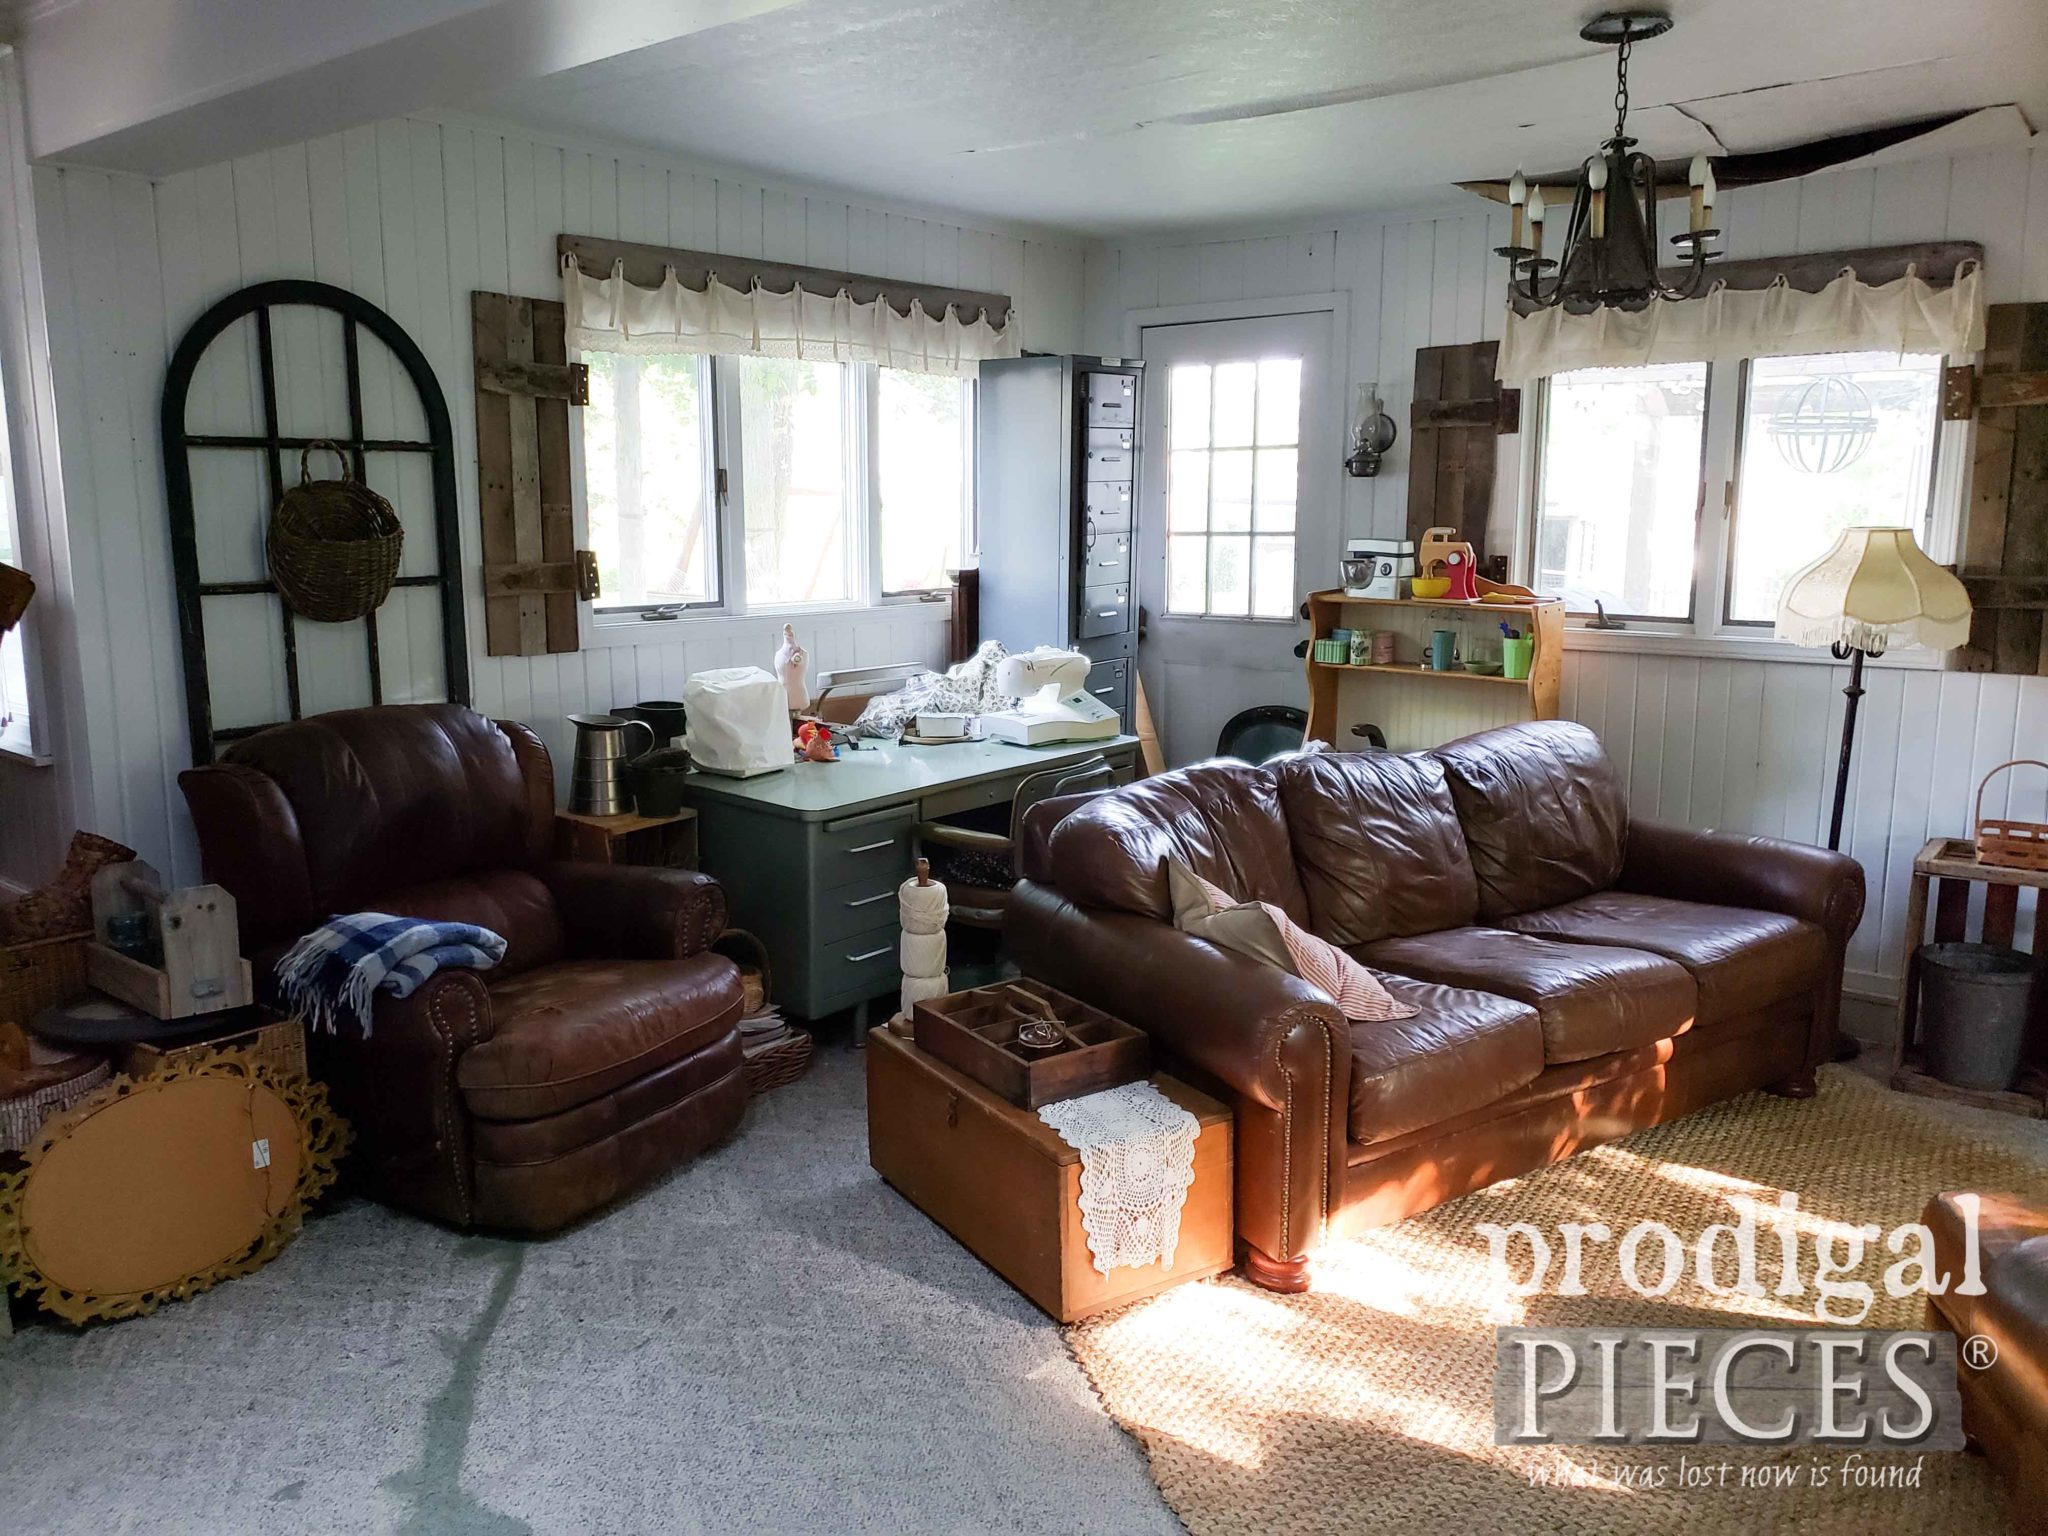 If I turn around you see our dated built-in bookcase. We are confessed bibliophiles, so that is a must. Plus we homeschool, so ya gotta have books. However, it doesn't work right for the space because of our wood box and I don't like dusting knick-knack shelves. We will be removing those and putting in a custom bench and shelves to the DIY coffered ceiling with added lighting.
MORE DETAILS
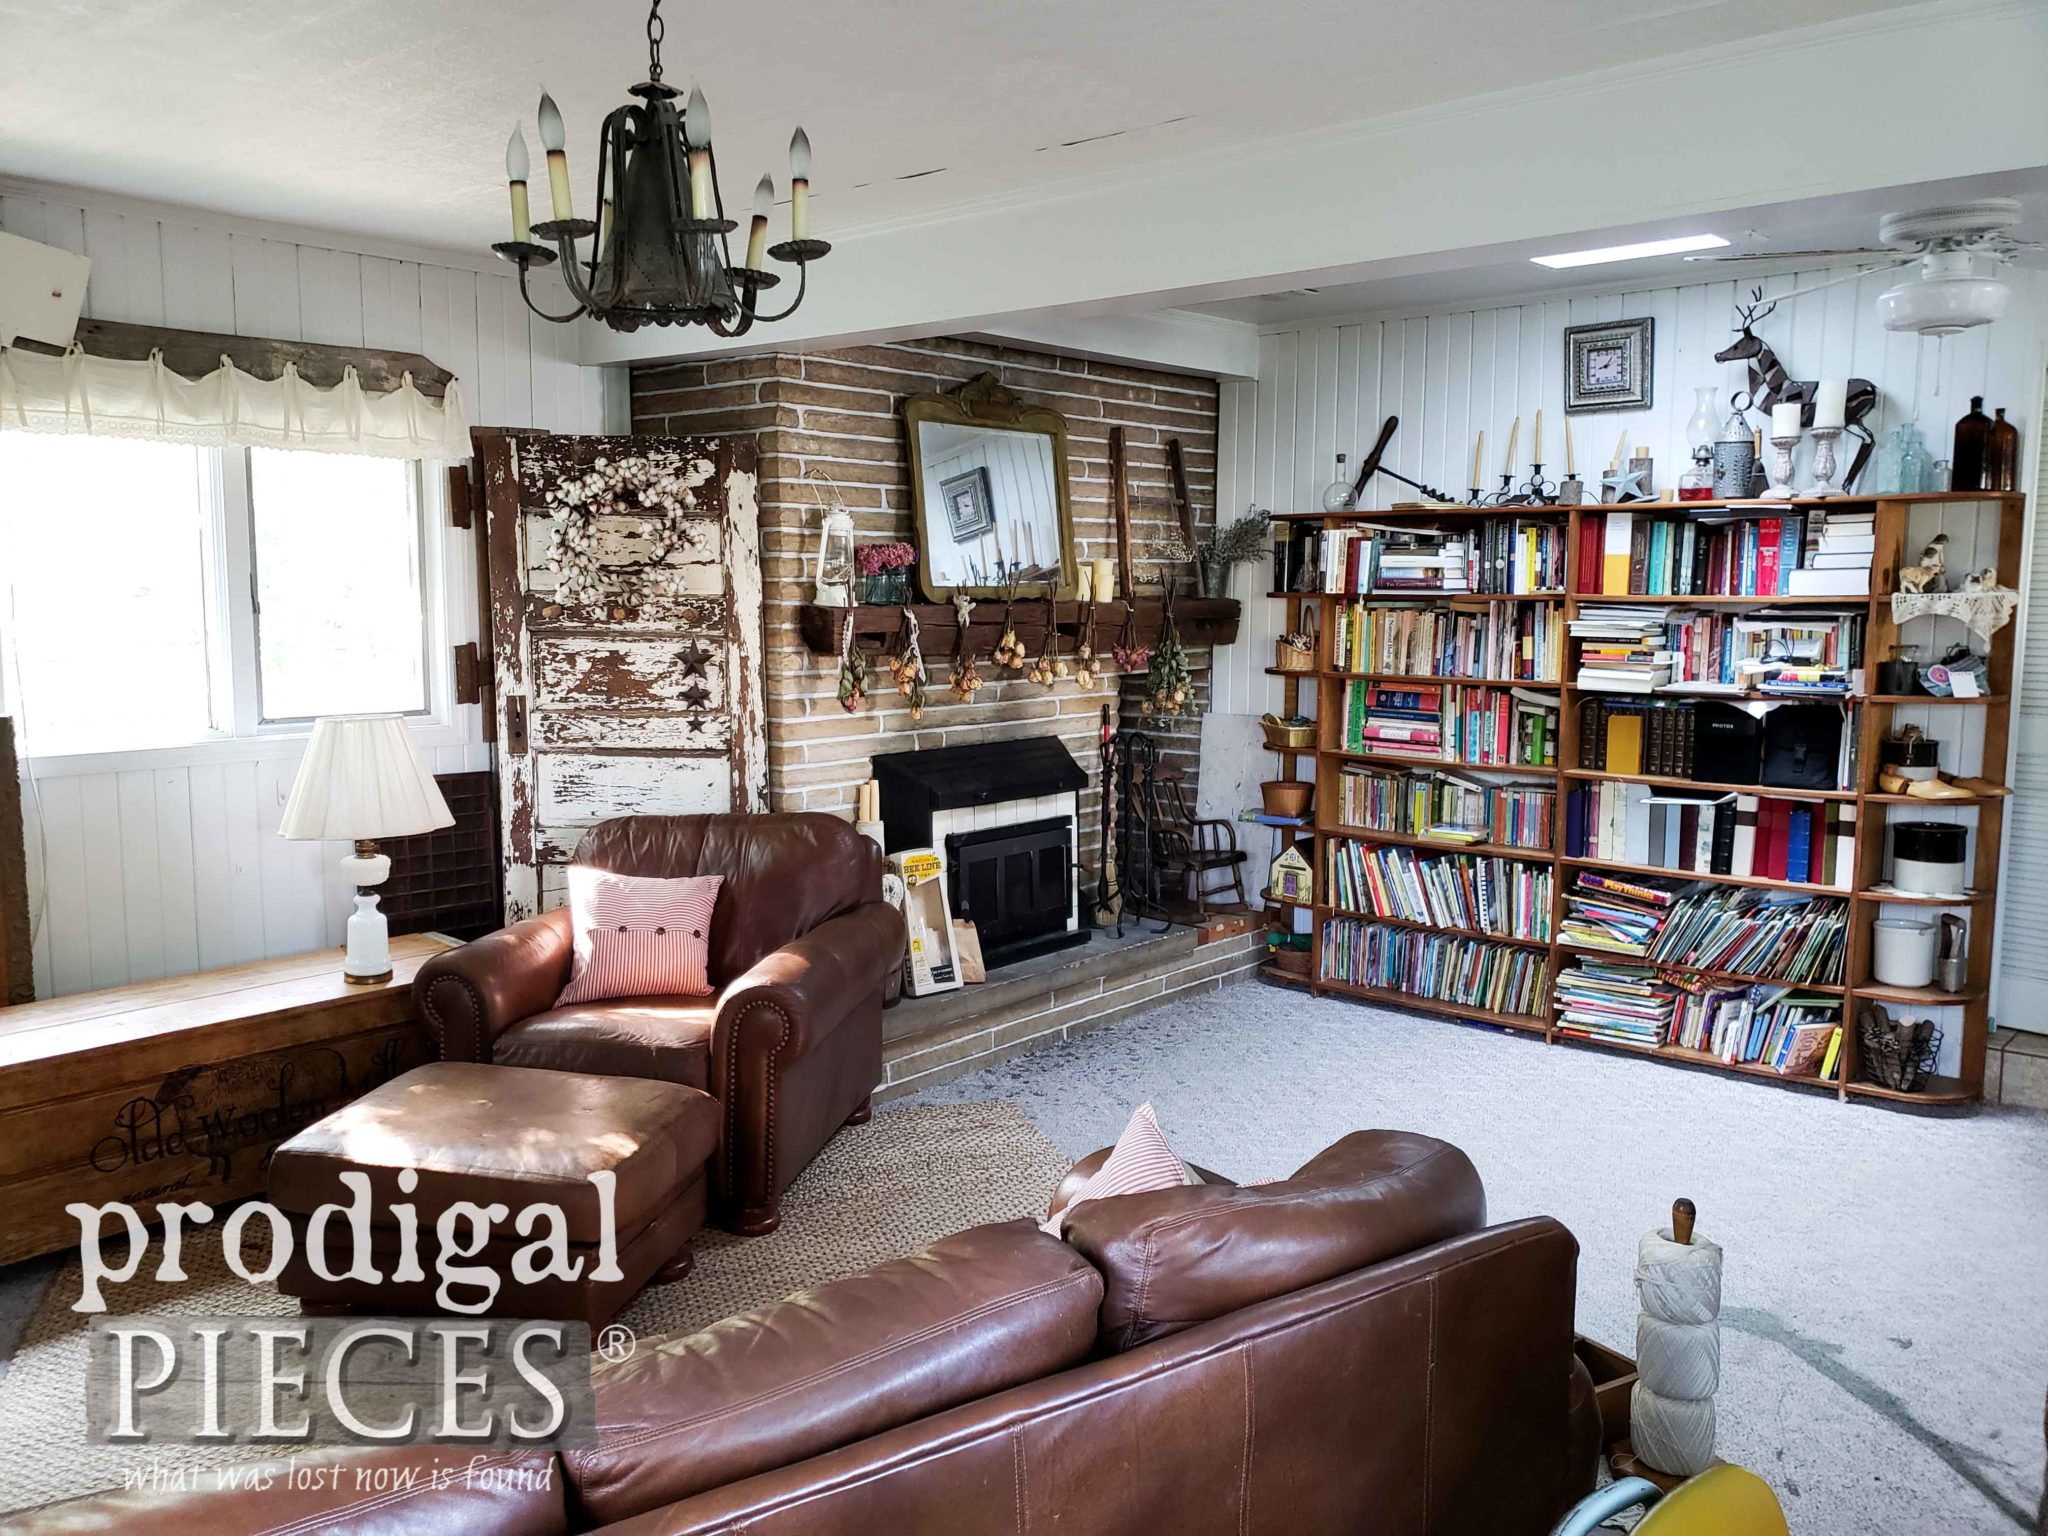
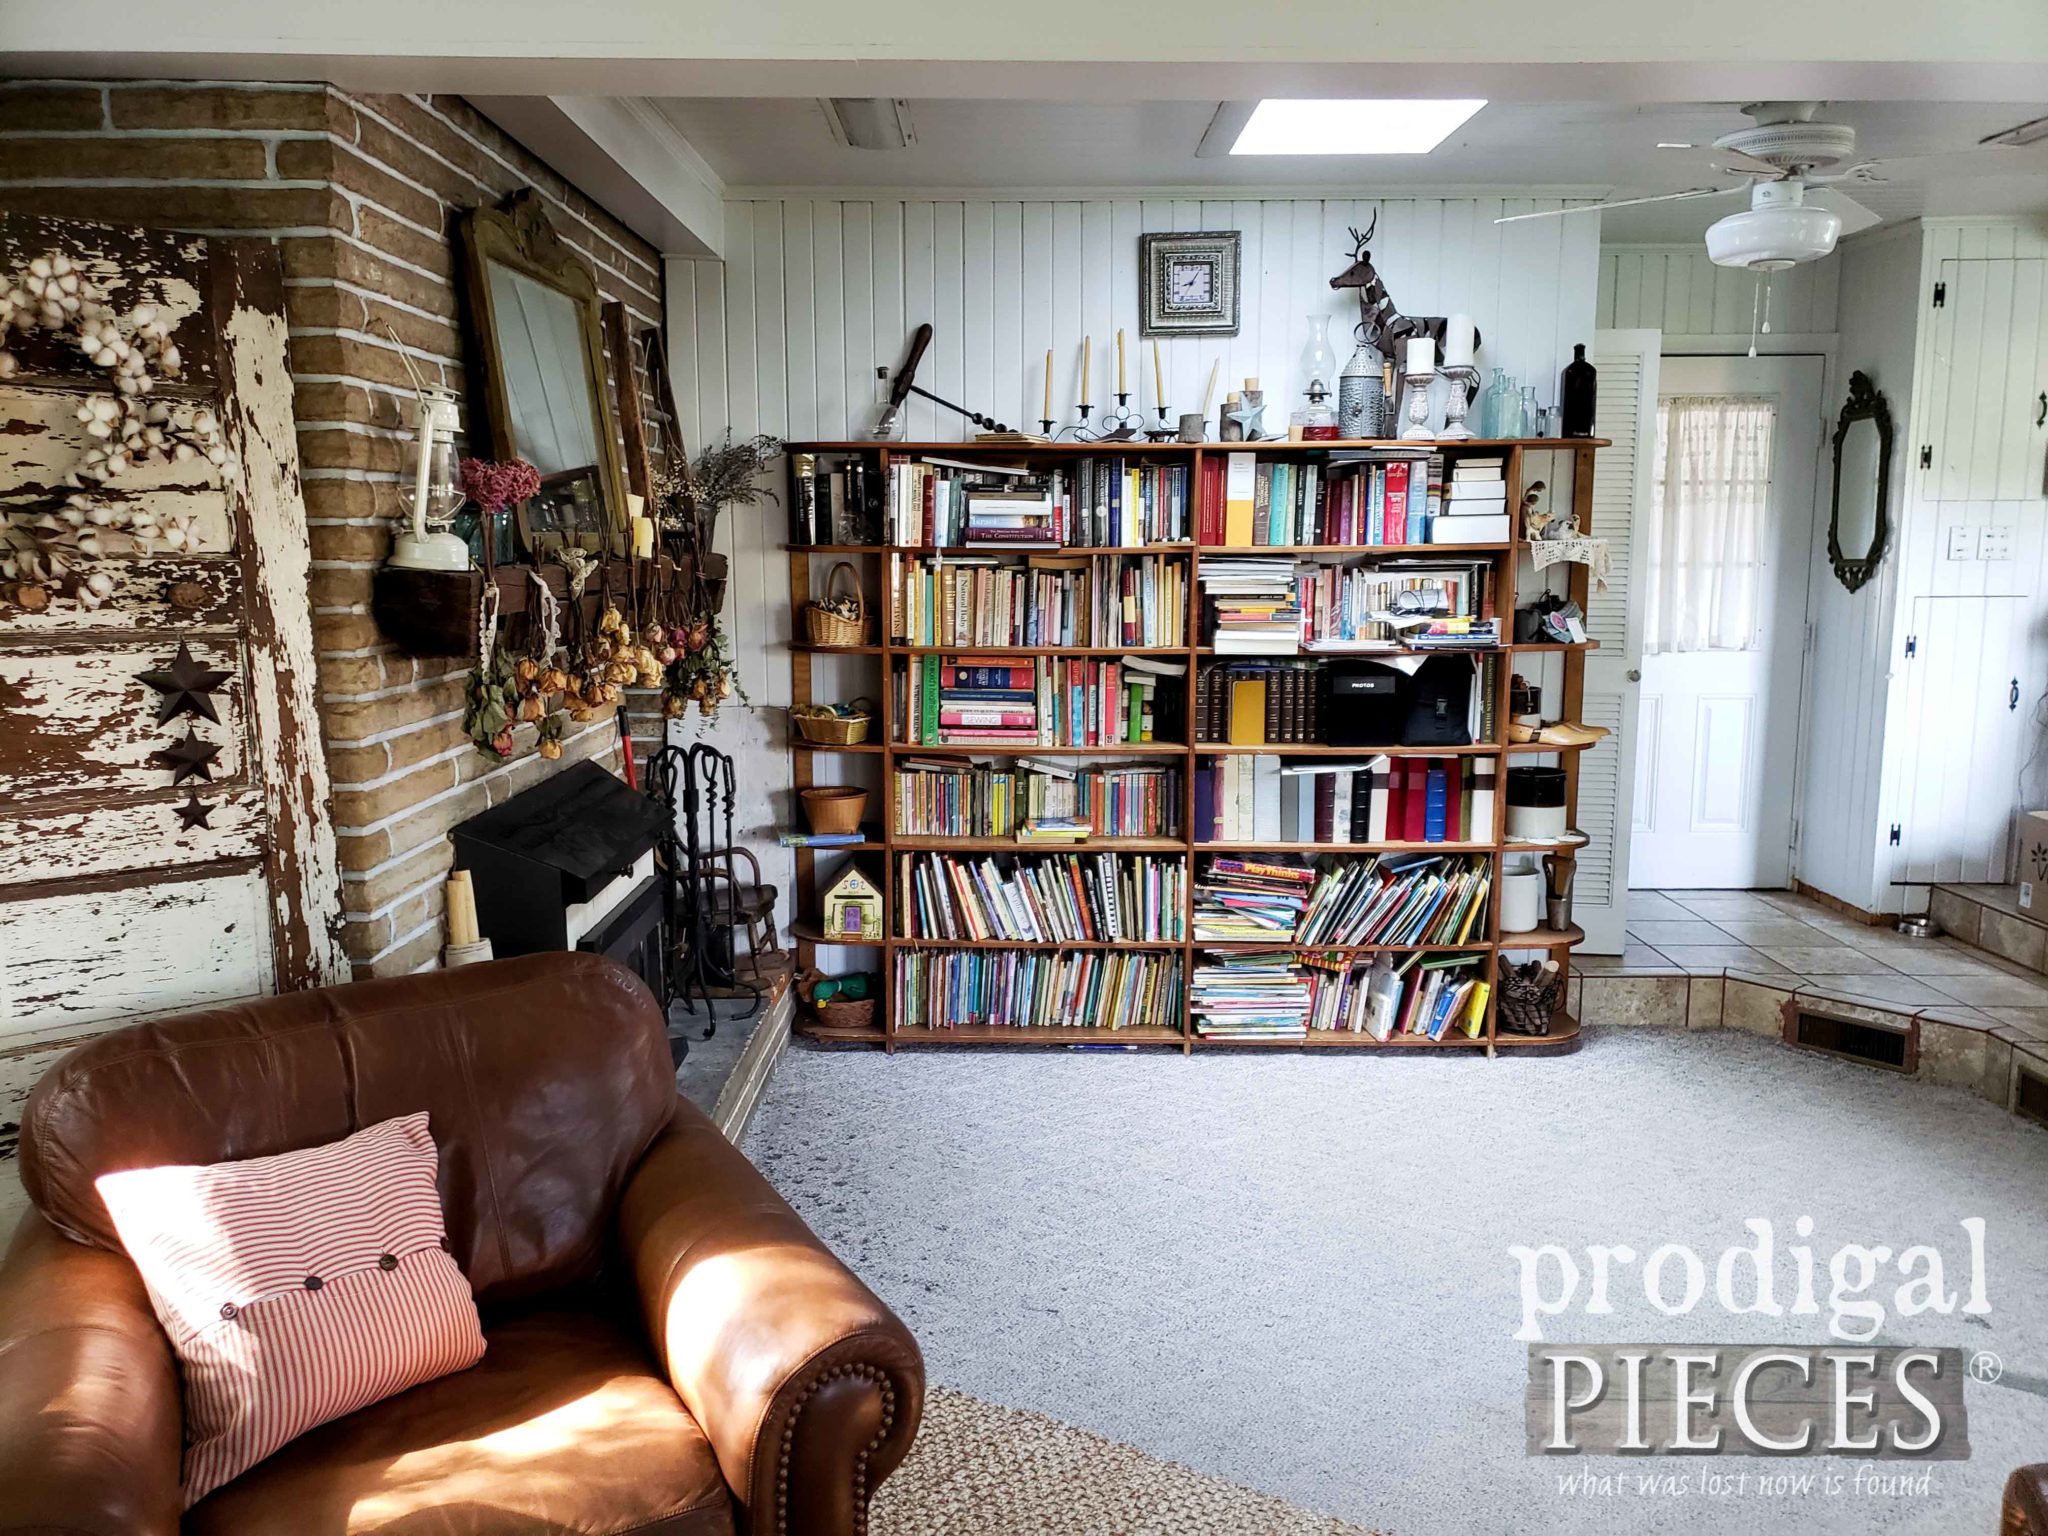 Speaking of lighting...my kids broke my punched tin chandelier over six months ago, so that is coming down. And if you take a peek over the bookshelves, you'll see the very odd placement of fixtures.
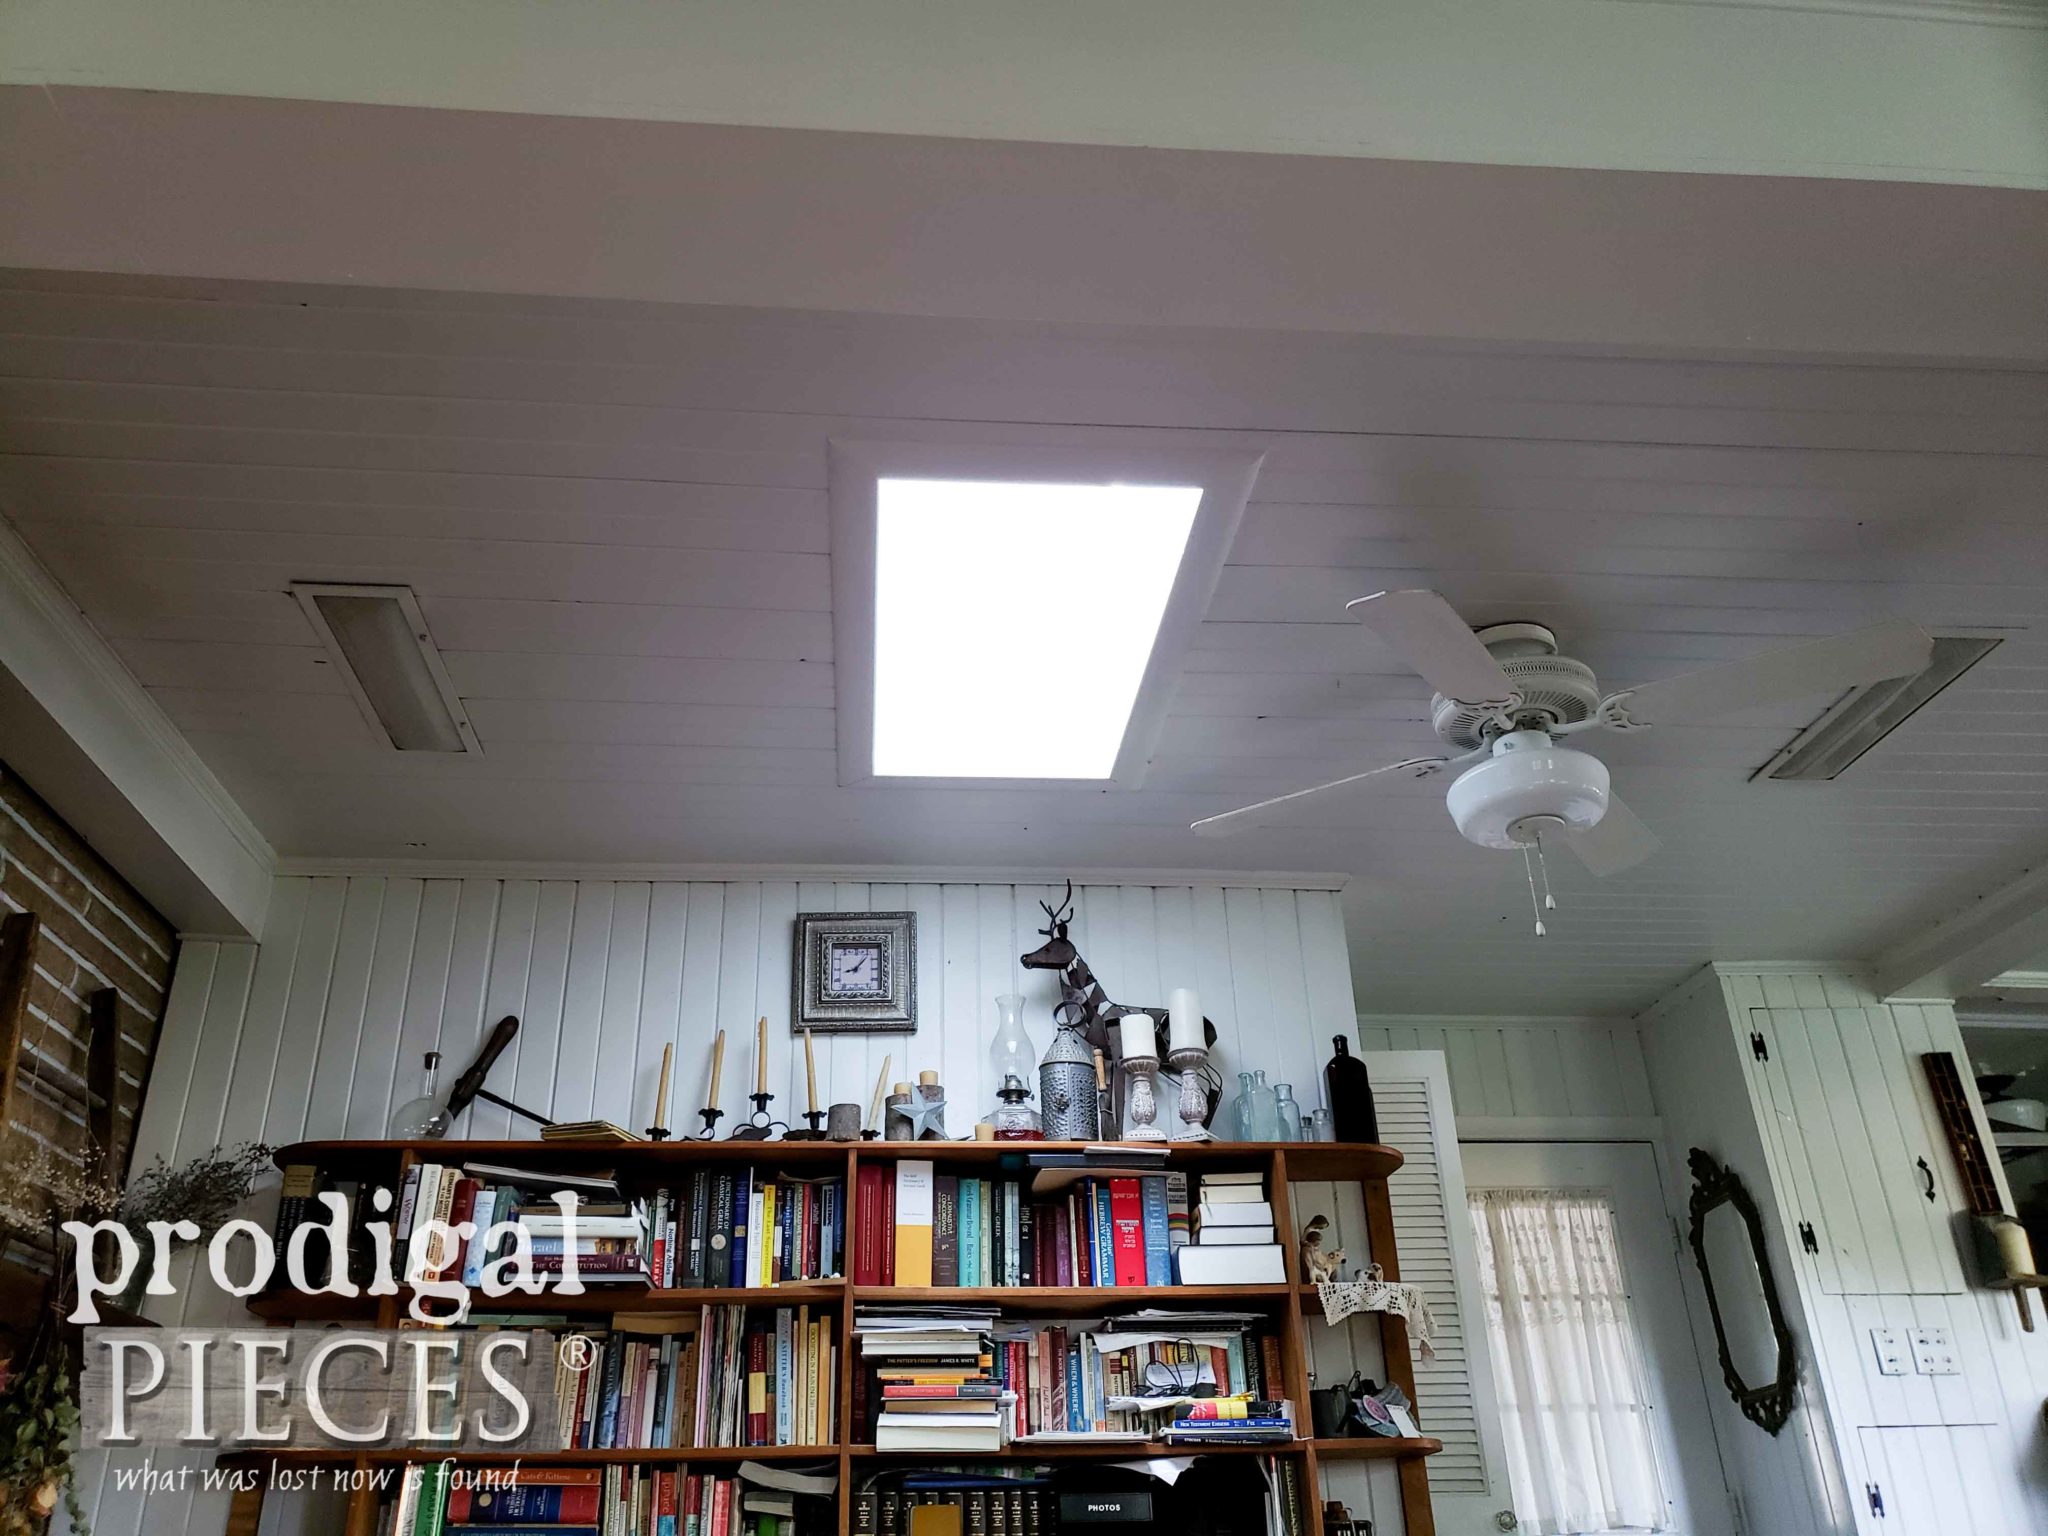 There are those two totally retro rectangular lights that are not equally spaced. Then this bulky fan just stuck in between them and the skylight. I have no idea what someone was thinking. We've never turned on the recessed lights because the wiring is messed up. We are replacing those, and the fan will be gone forever.
Now the fun begins...mwahahaha...
DEMO
The day I was able to finally yank down, not only the wall paper, but the tile underneath I was screaming my excitement! (yes, my neighbors love me) No need to pay for therapy, just demo your home! yeah baby!!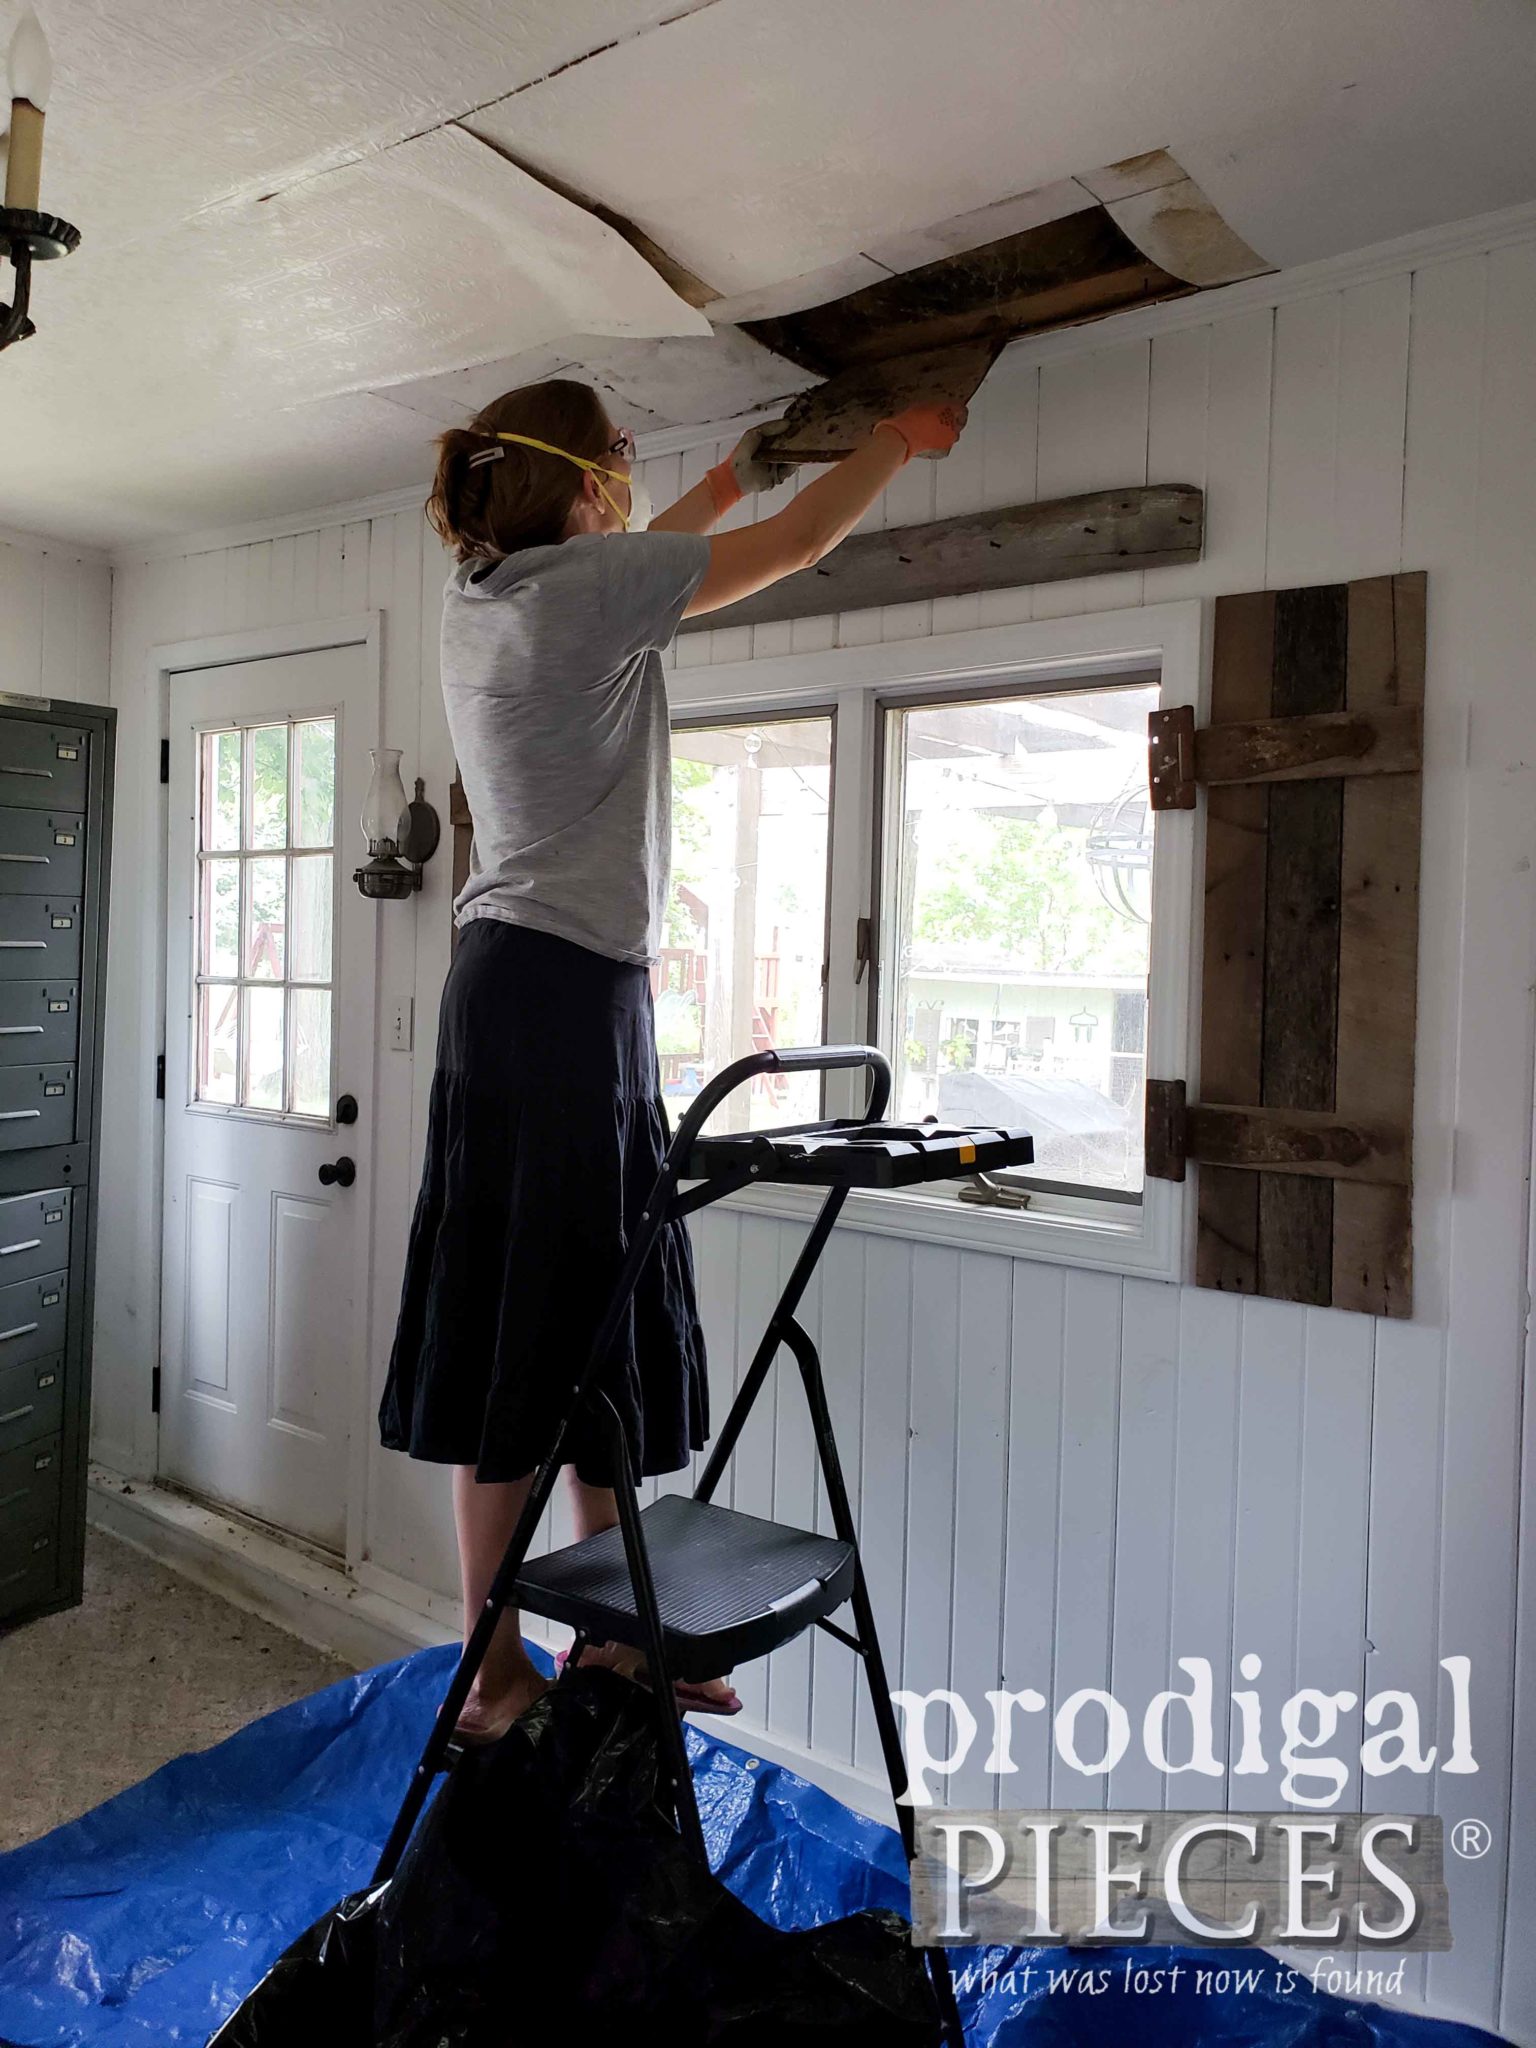 I'm not the only one who was excited. My kids couldn't wait to join me in the fun. Let me tell ya, I have THE BEST crew in the whole world. I love it! While I tore down the mess with my oldest daughter helping me pull staples, the rest of my 6 kids helped pick up and bag it all.
Scary part is I have no idea what we will find under the tile. I knew we have had critters living up in there in the past, so we definitely found nuts, leaves, and much yuck. But...did I have a surface I could work with or would I have to replace it all? I was holding my breath for more reasons than one.
WHEW!
Thankfully, I found a perfect grid in great shape and ready to go for my new DIY coffered ceiling. For those of you that have been asking for the details...here ya go.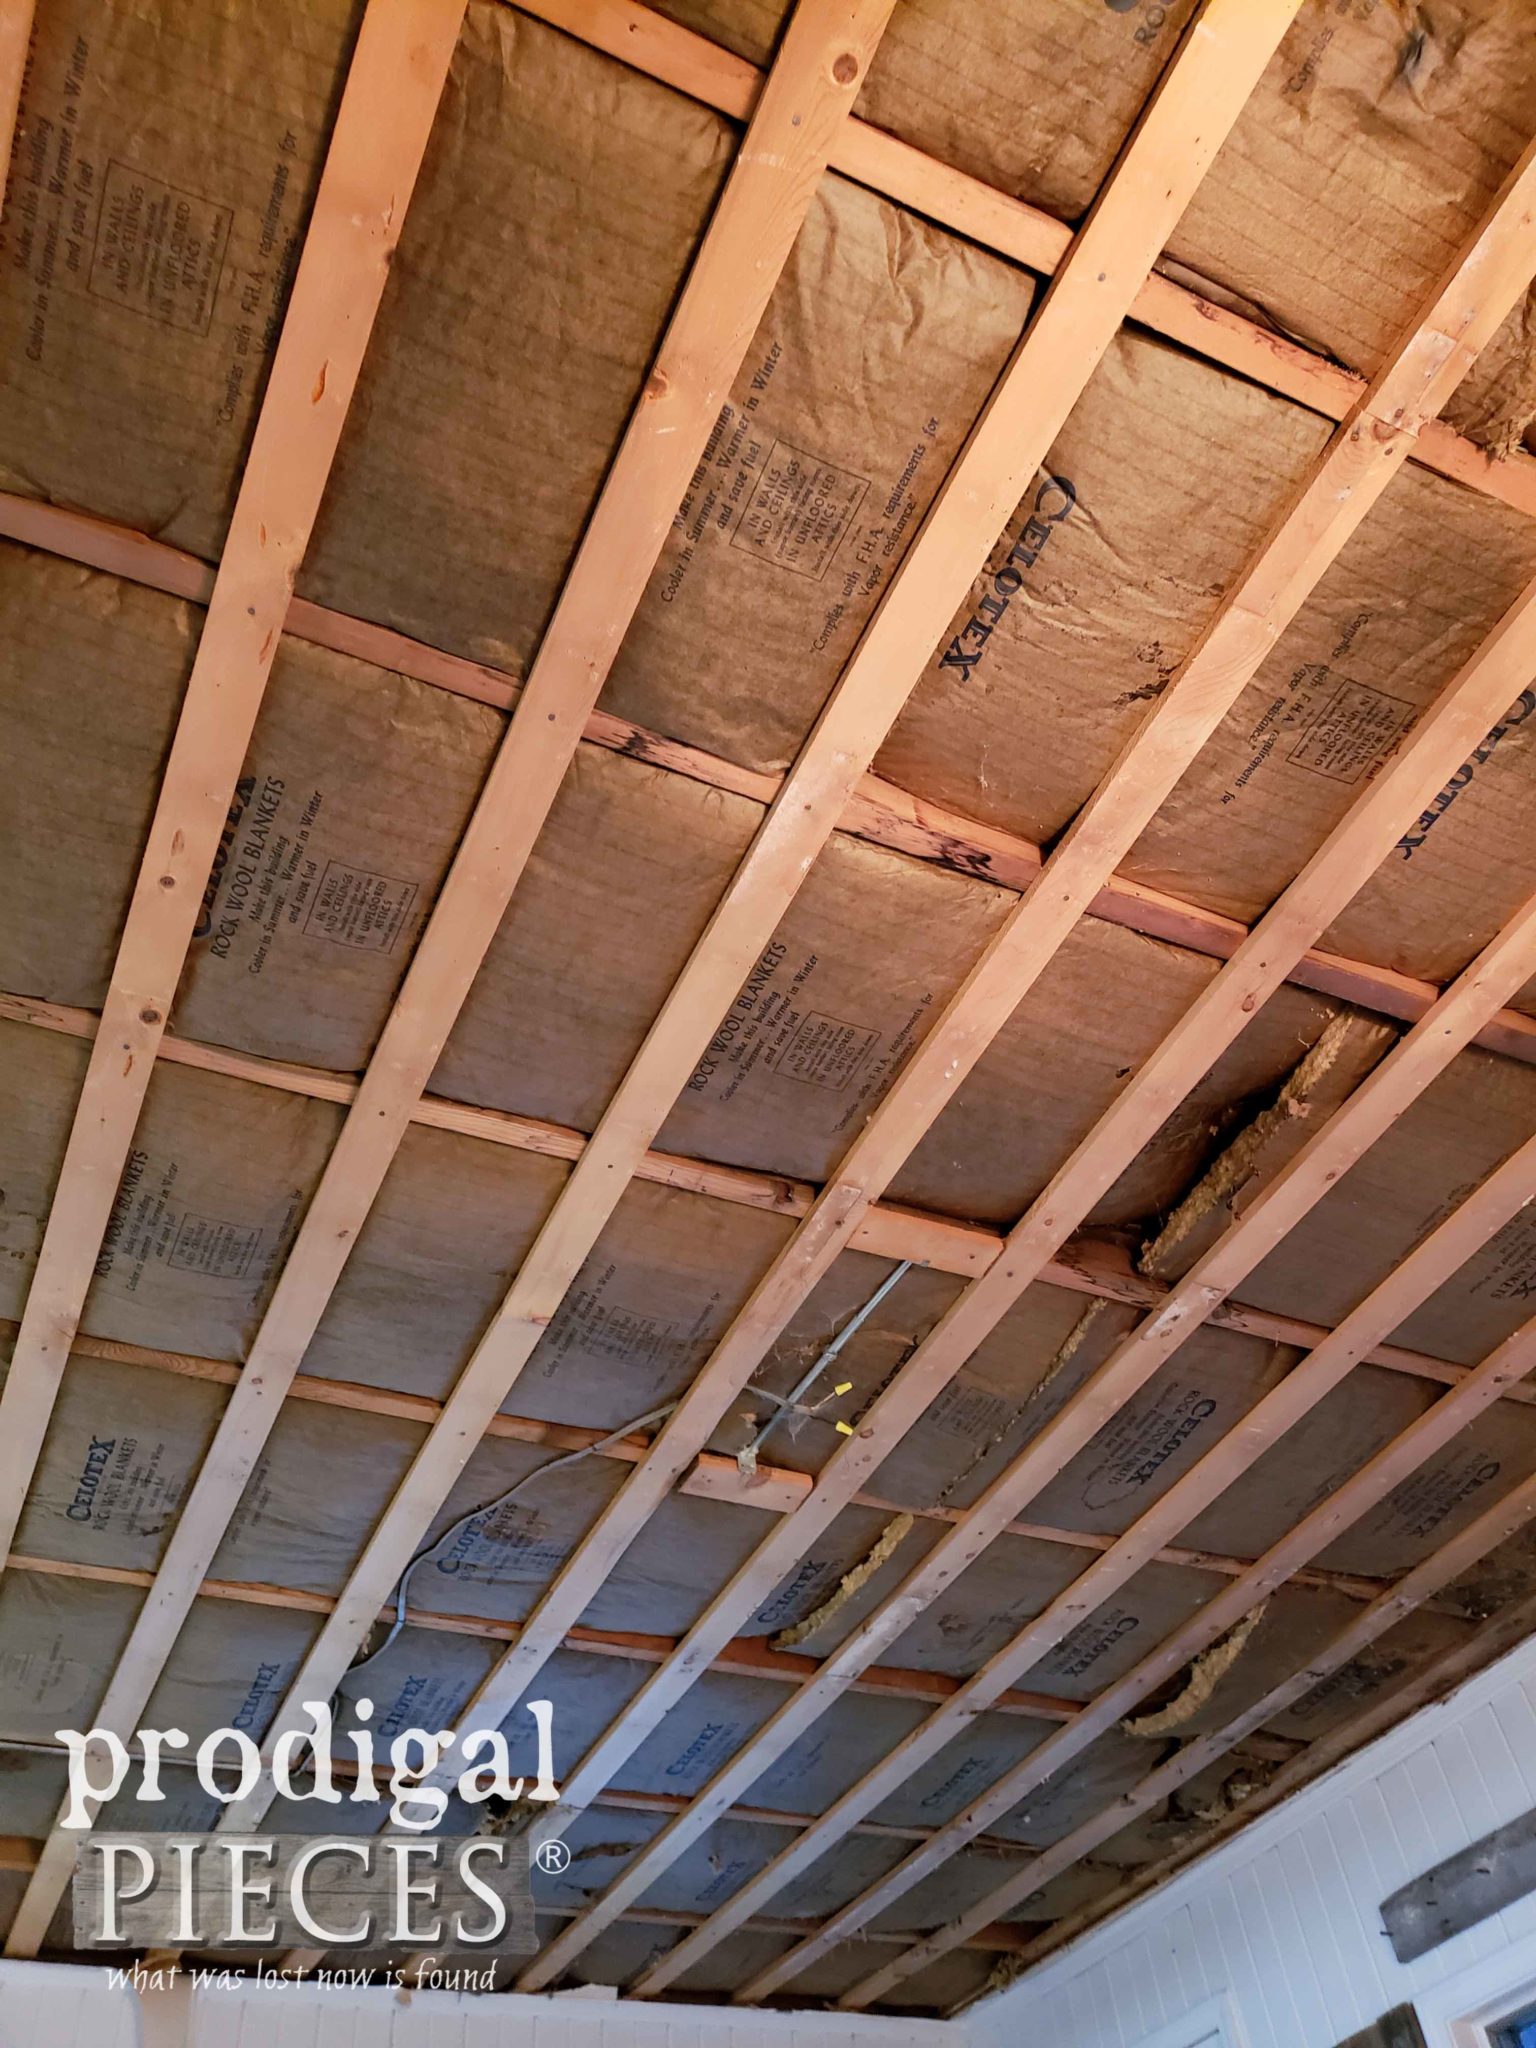 I had been saving this pile of antique barn roof shingles for about 5 years now, aching to have them out of my workshop and up on my ceiling. Can you imagine what my face looked like when I scored 52 of these for $50?! Talk about a SCORE! Hardest part was waiting to put them to use.
MY LOOT
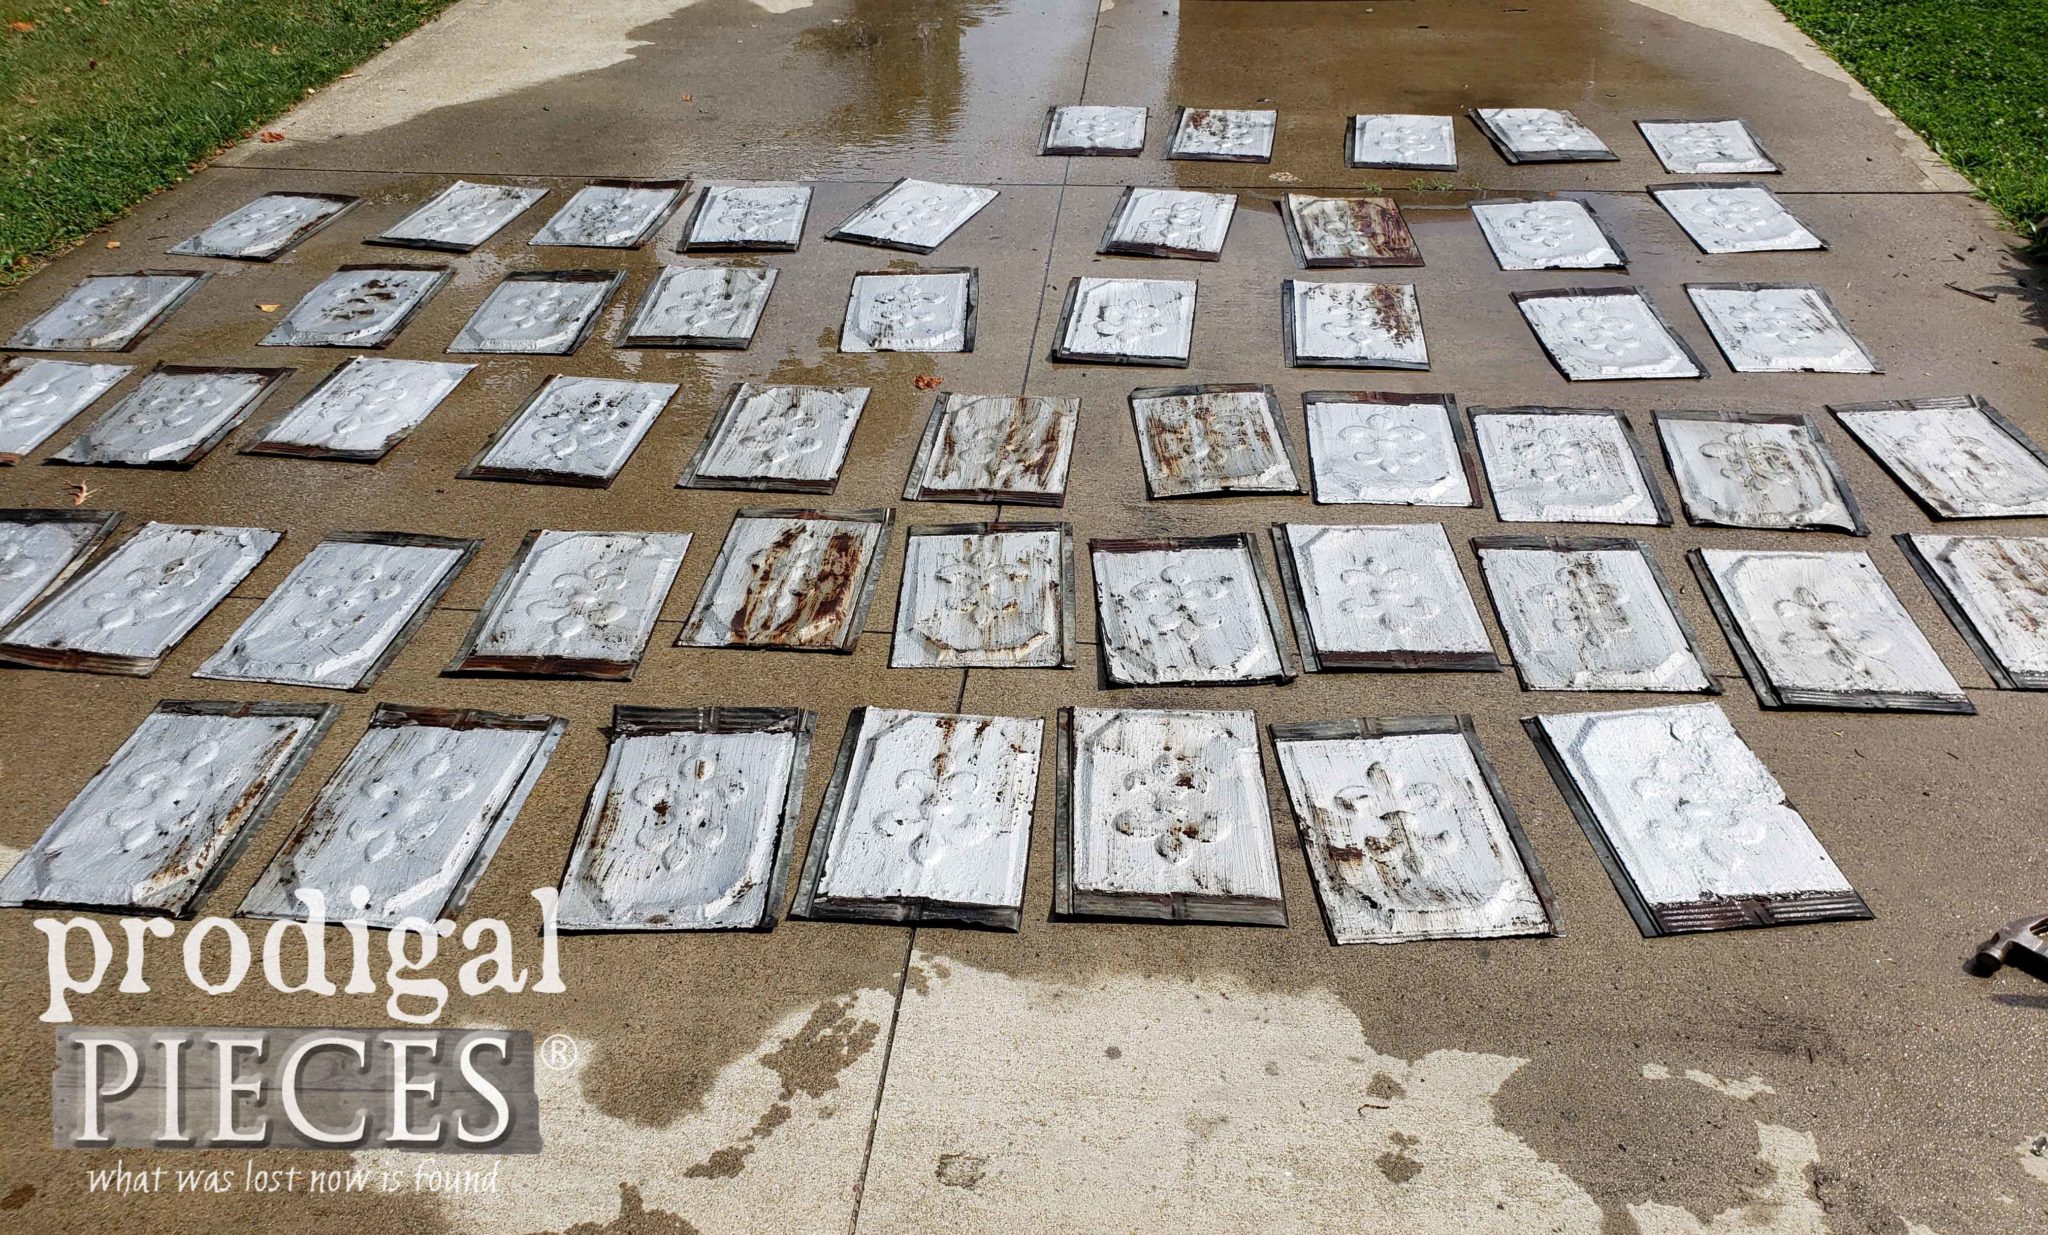
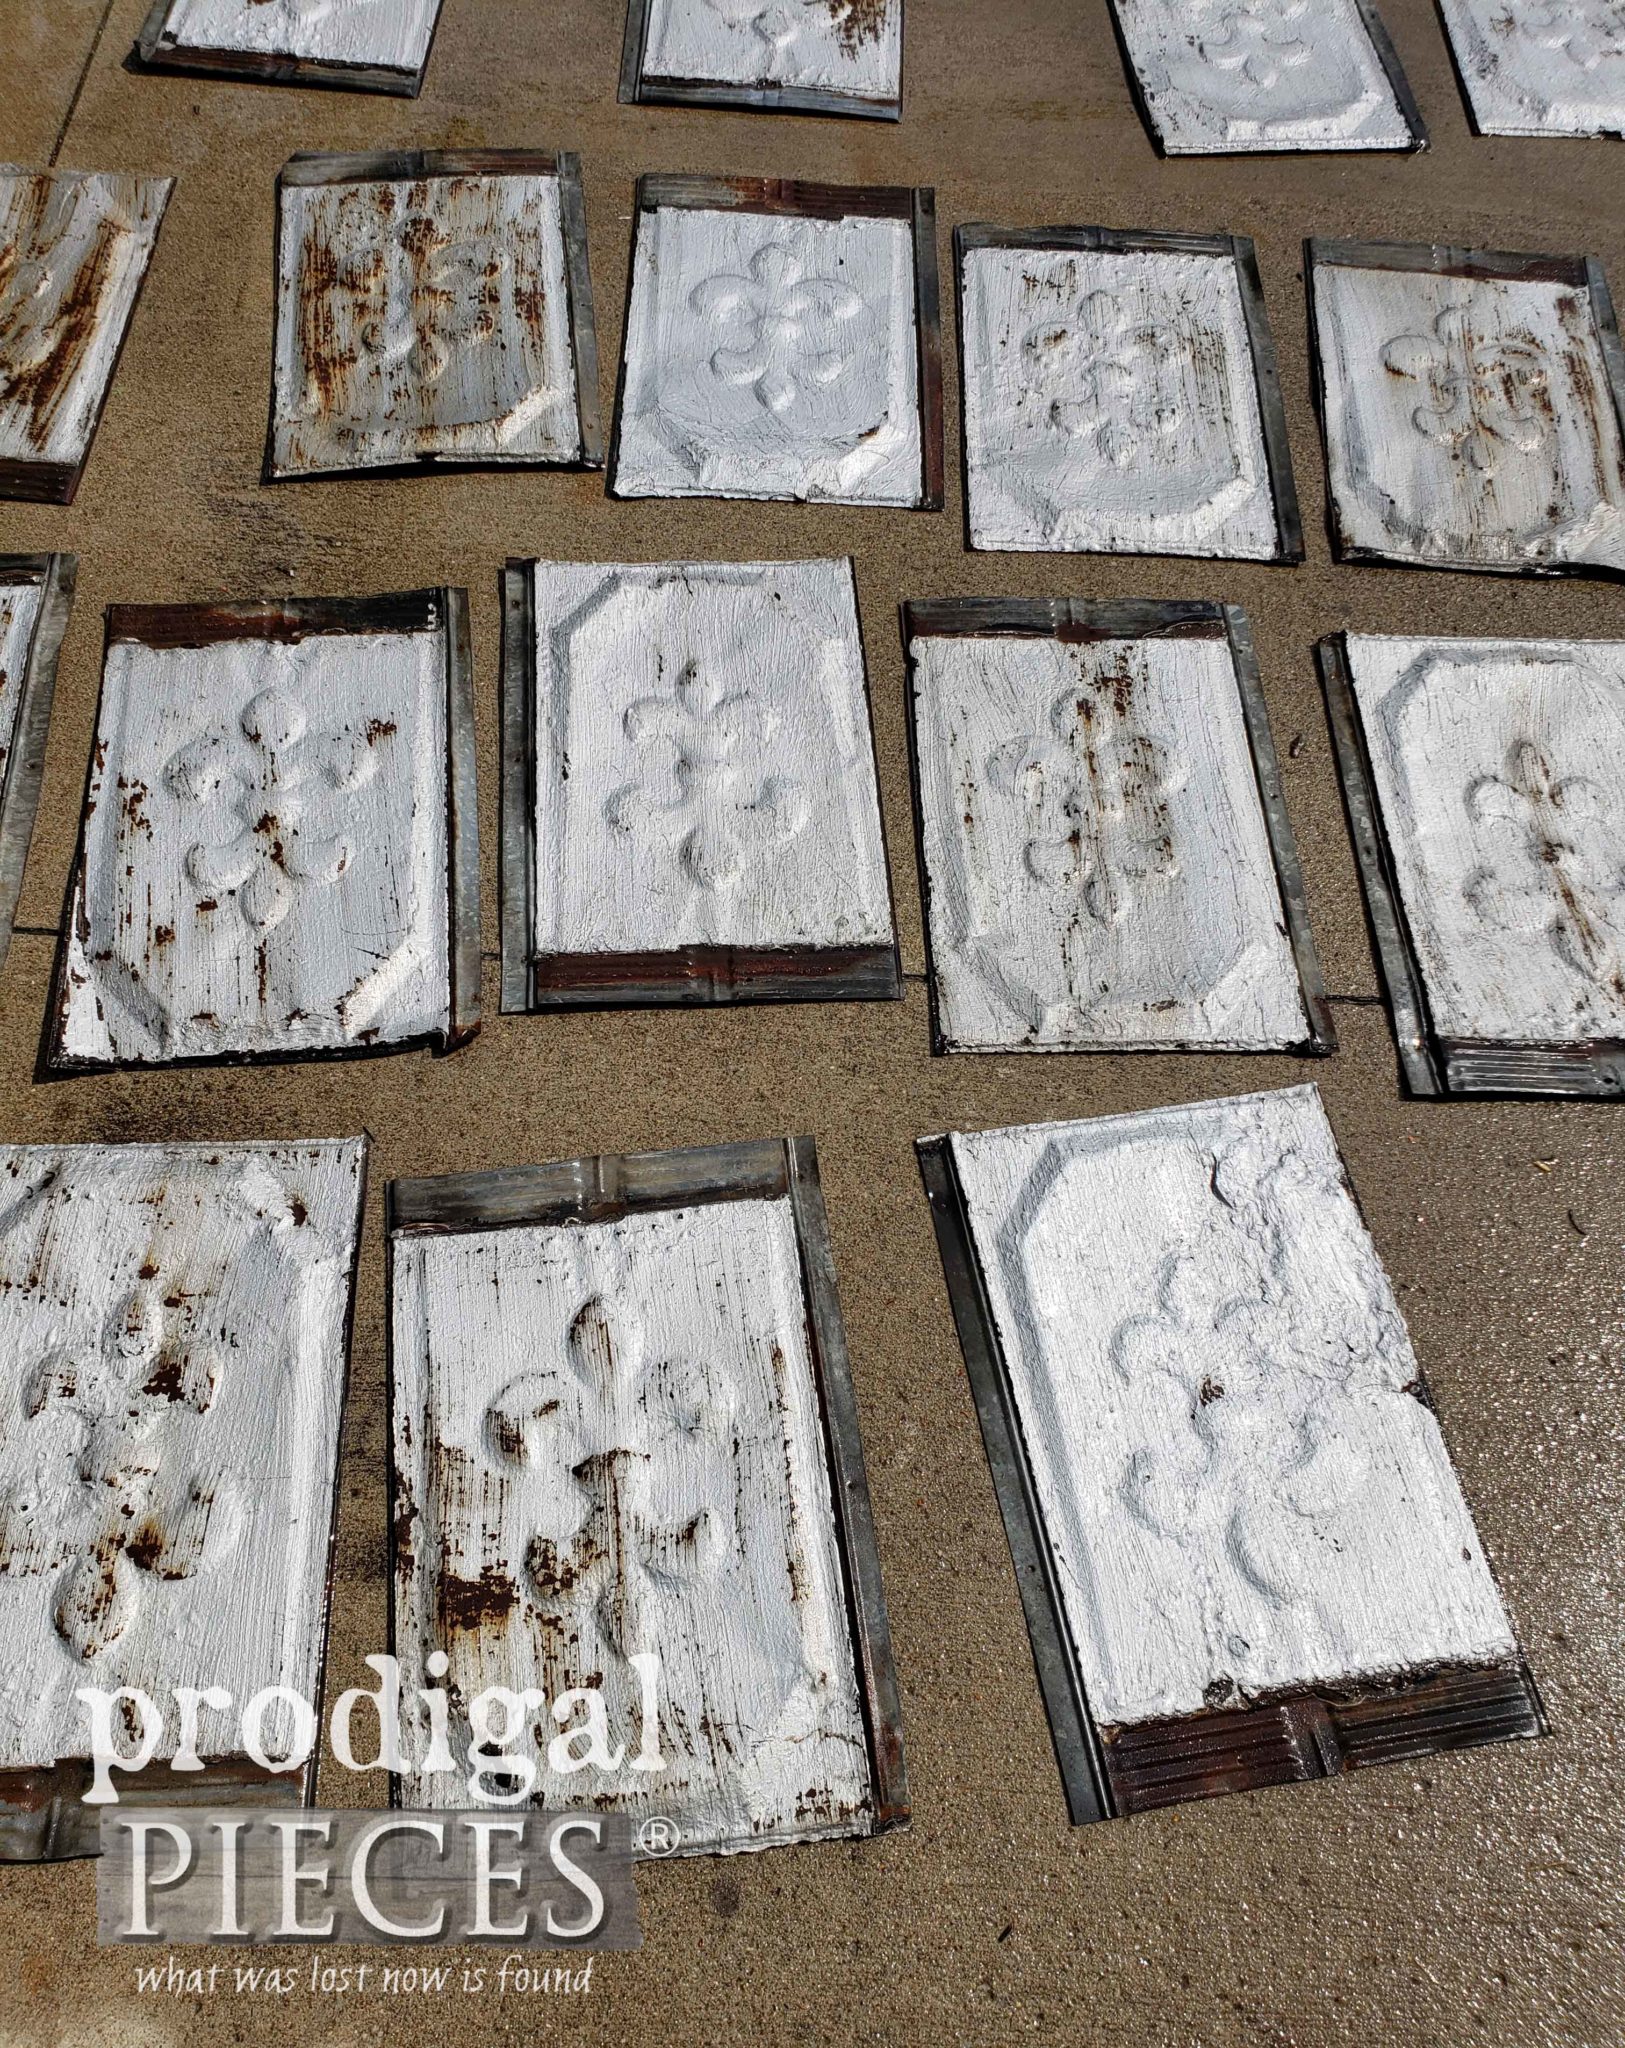
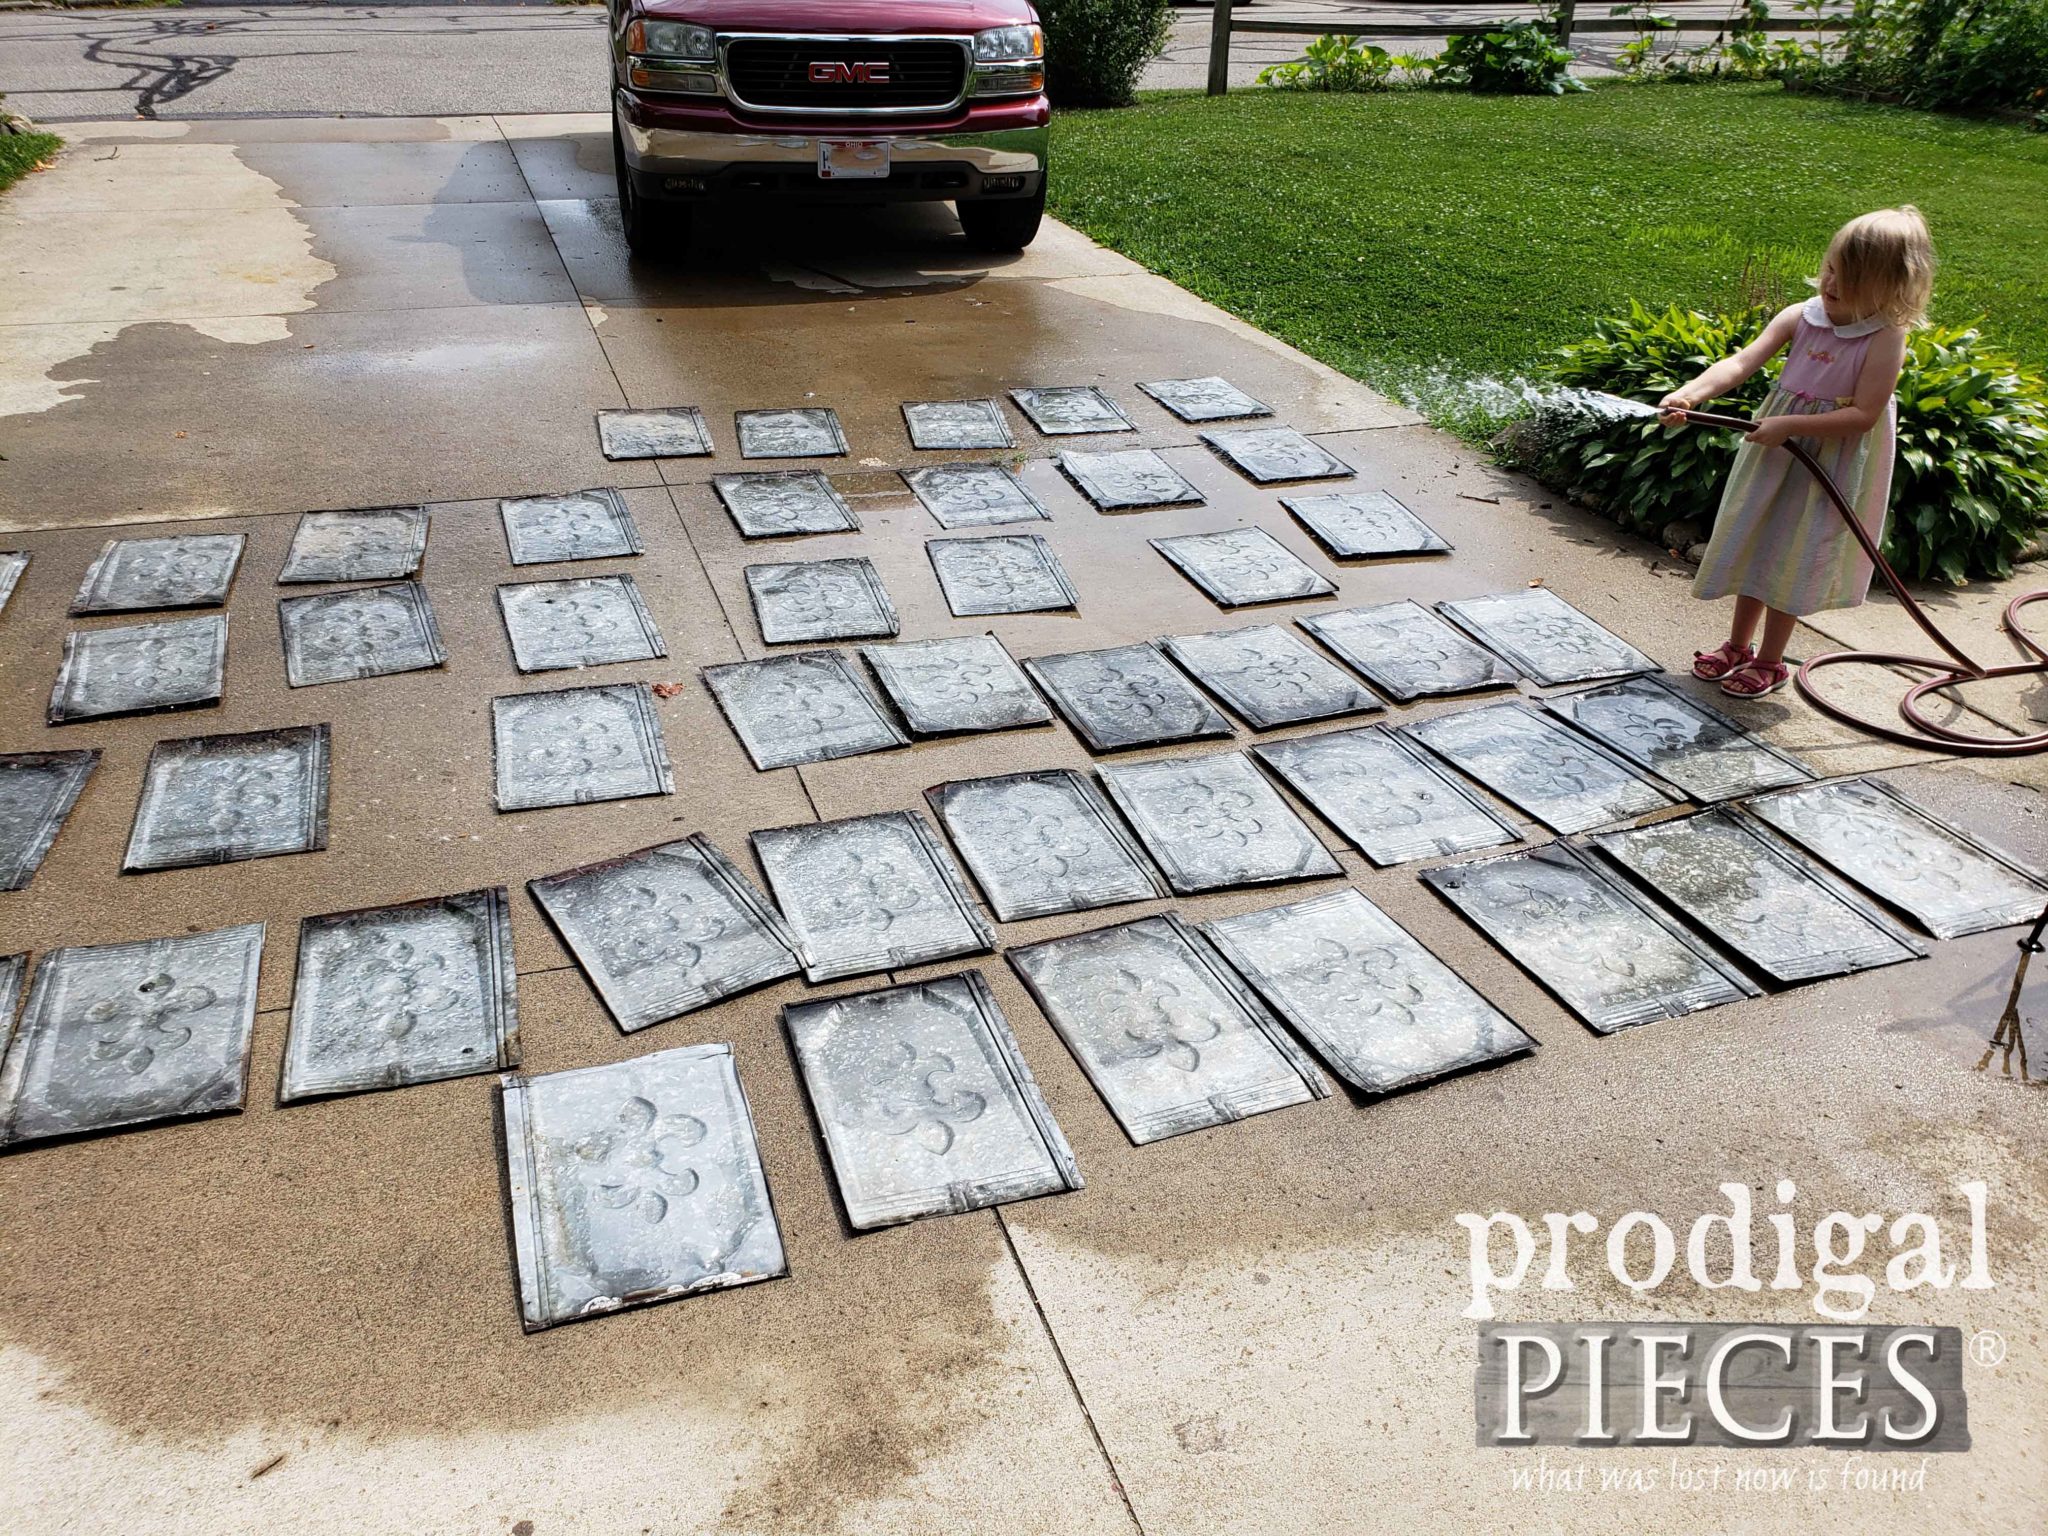 My oldest and youngest girls both helped me clean them up, then I hammered the bent edges and scrubbed them. The Fleur de Lis and the gorgeous patina are easily my favorite features. Funny thing is that JC can't handle the patina, but bless his heart he lets me have my way. The fact they are from an early 1800's barn right here in Ohio makes the story even sweeter. I wish I had a picture of the barn they came off of. How fun that would be!
*post lighting provided by eFaucets (see full disclosure)
Installing them wasn't an easy task by far and it was all me. I started by finding center and measuring out from there to find where my first course would start. I had to layer the shingles and interlock them as I went. That meant bending and prying and hammering them to fit as they originally did. All this work with my injured rotator cuff. However, I was on fire to see my DIY coffered ceiling done. My jigsaw came in handy to cut the hole out of the center shingle for my light fixture.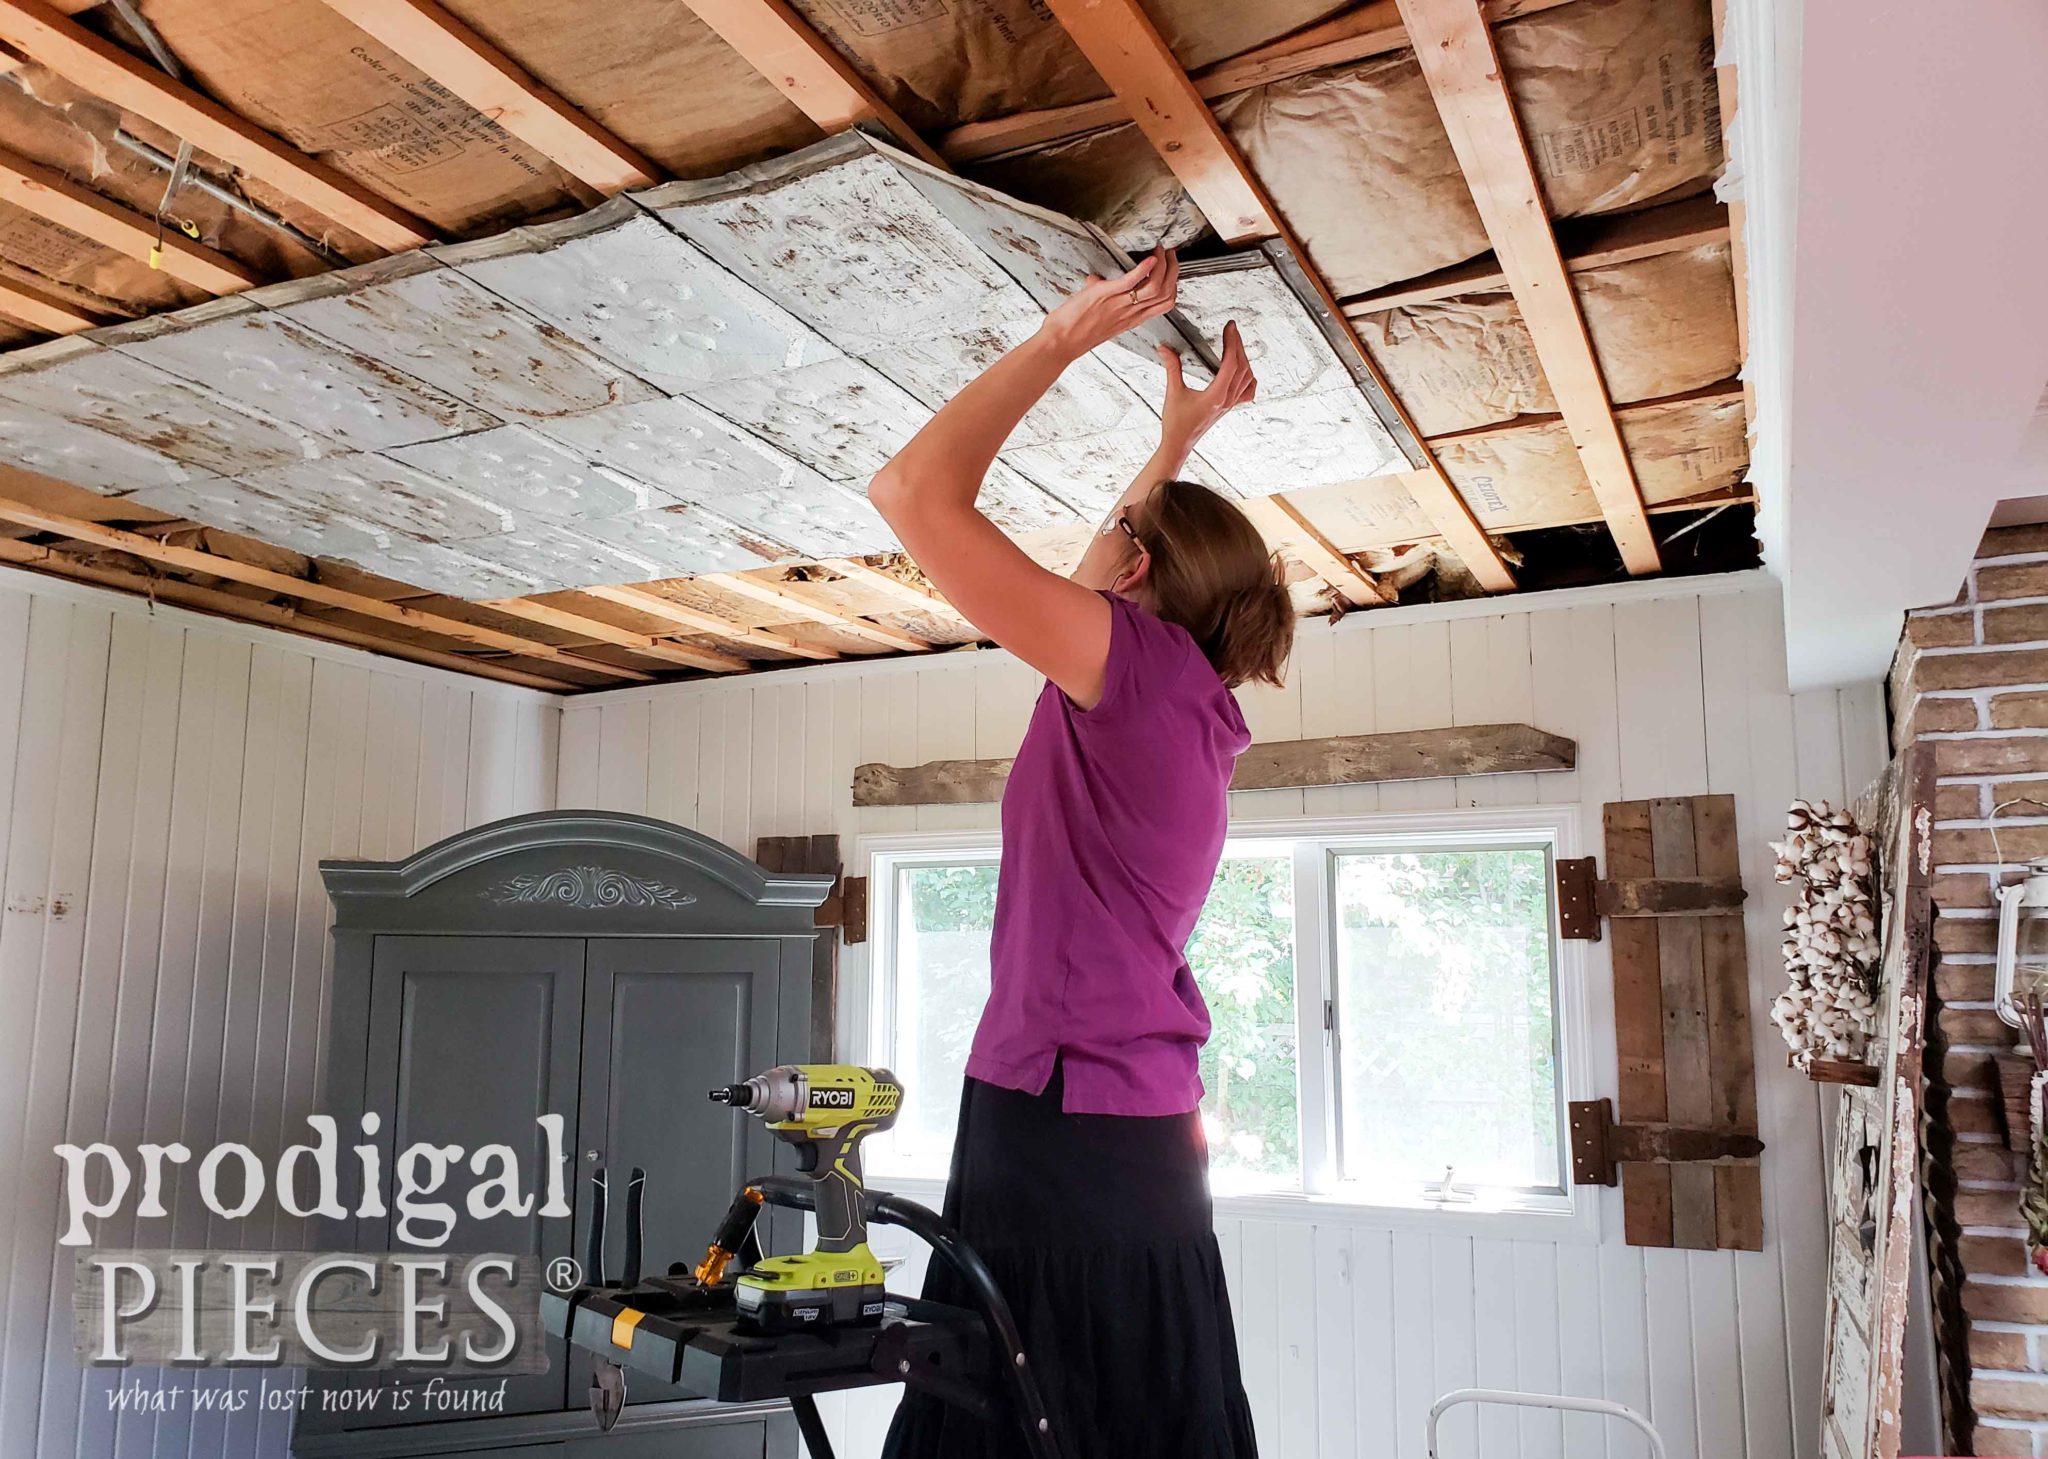
BUILDING
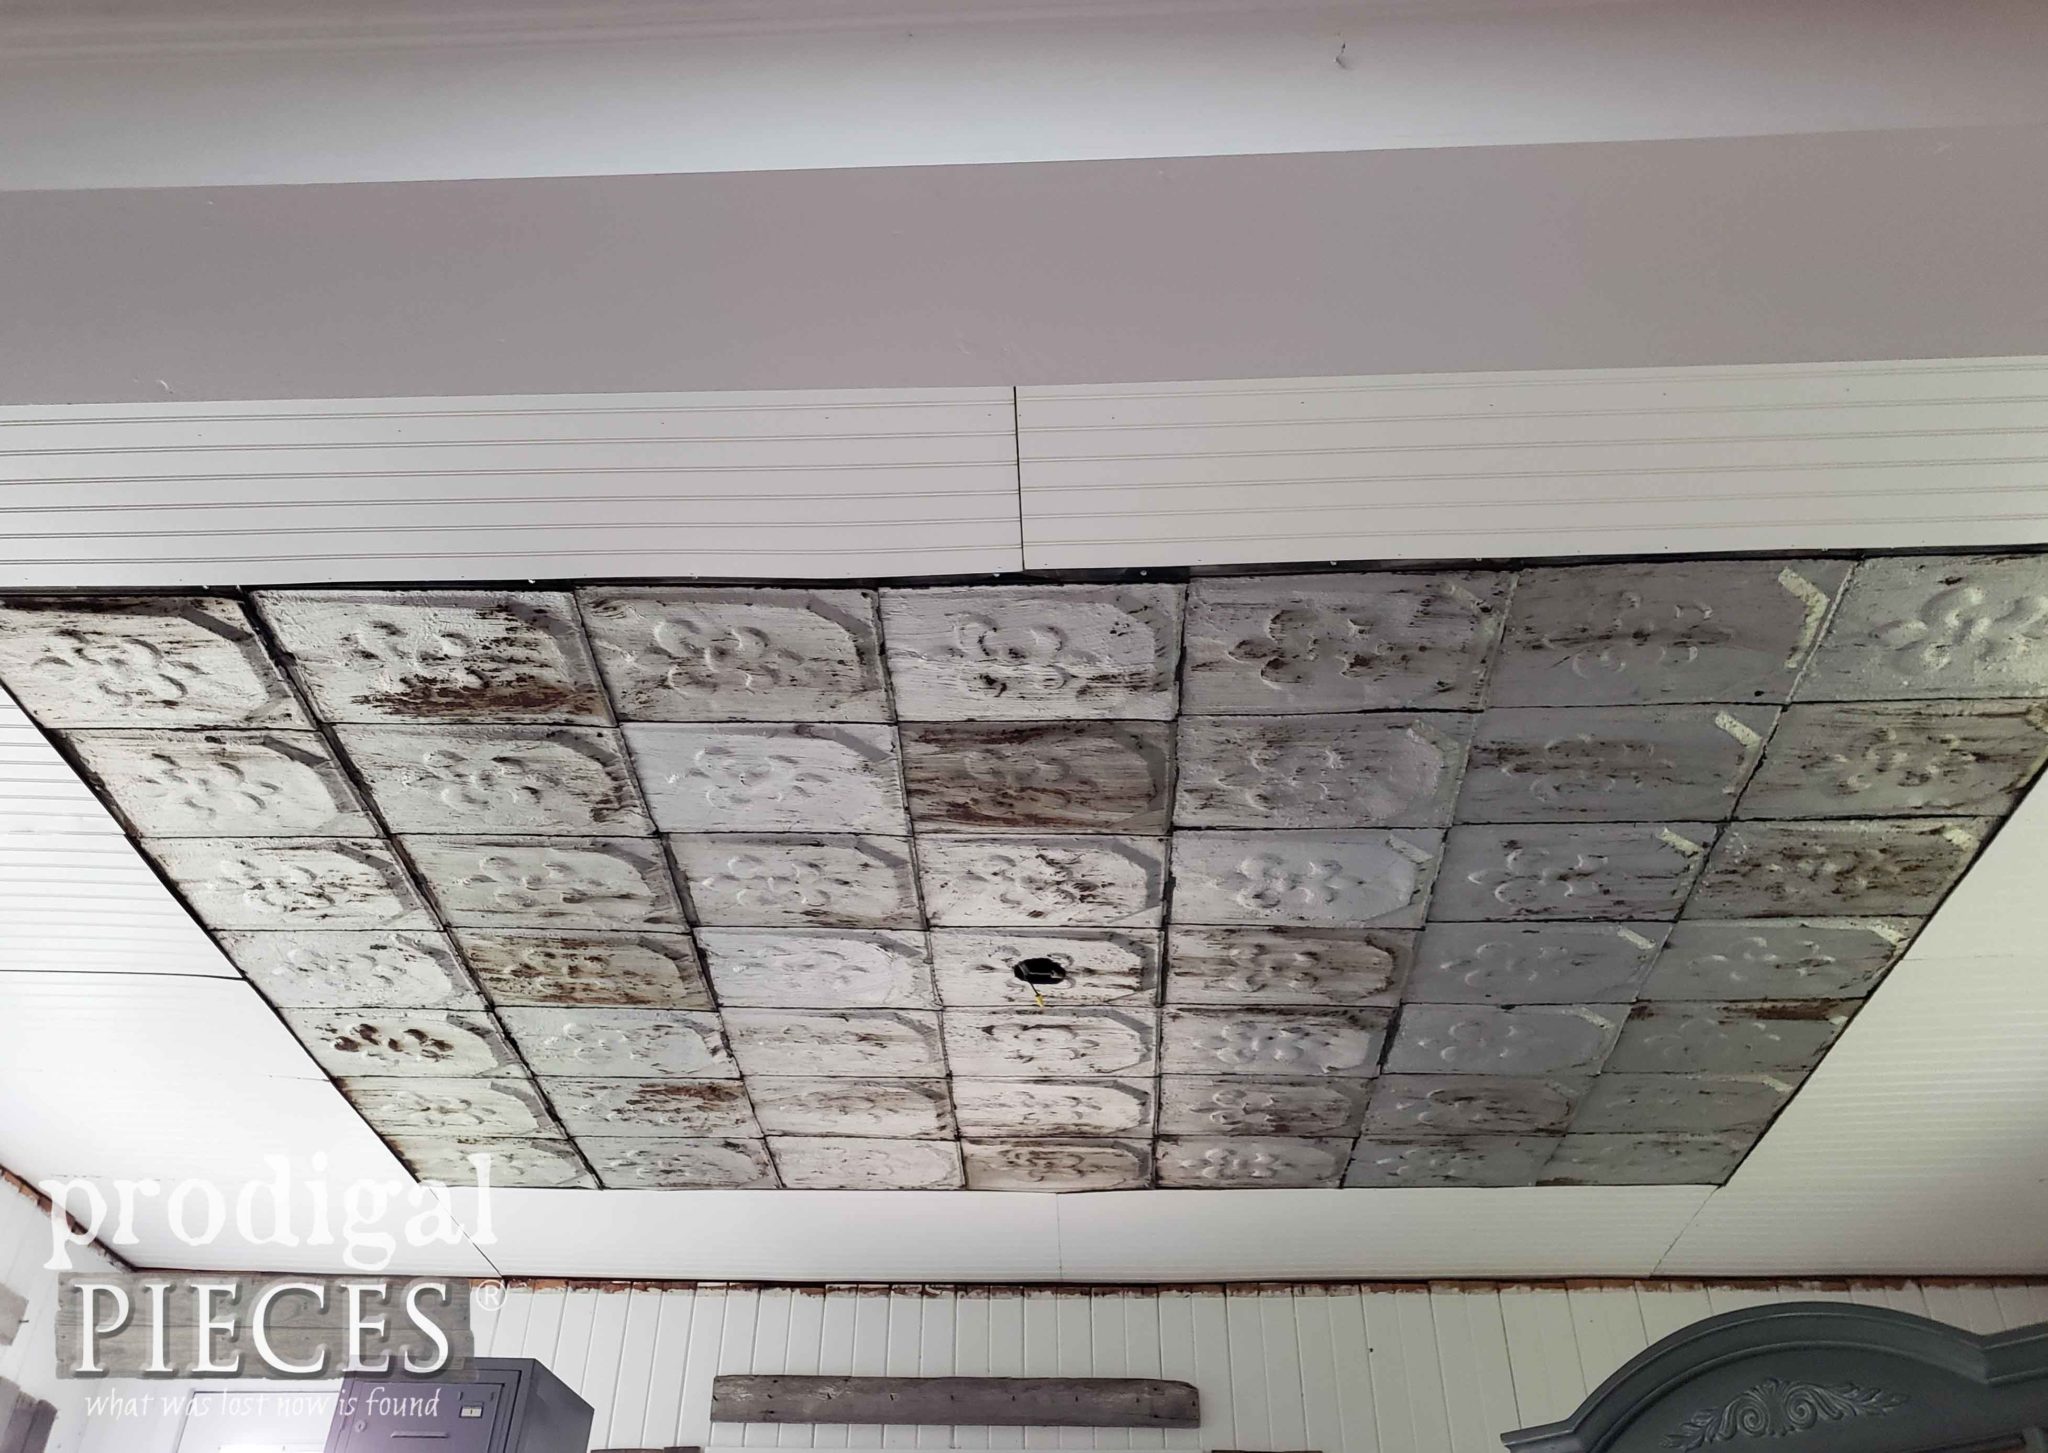
Once the center panel of shingles was up, I then began cutting beadboard panels to go around. Me and my little circular saw had oodles of fun.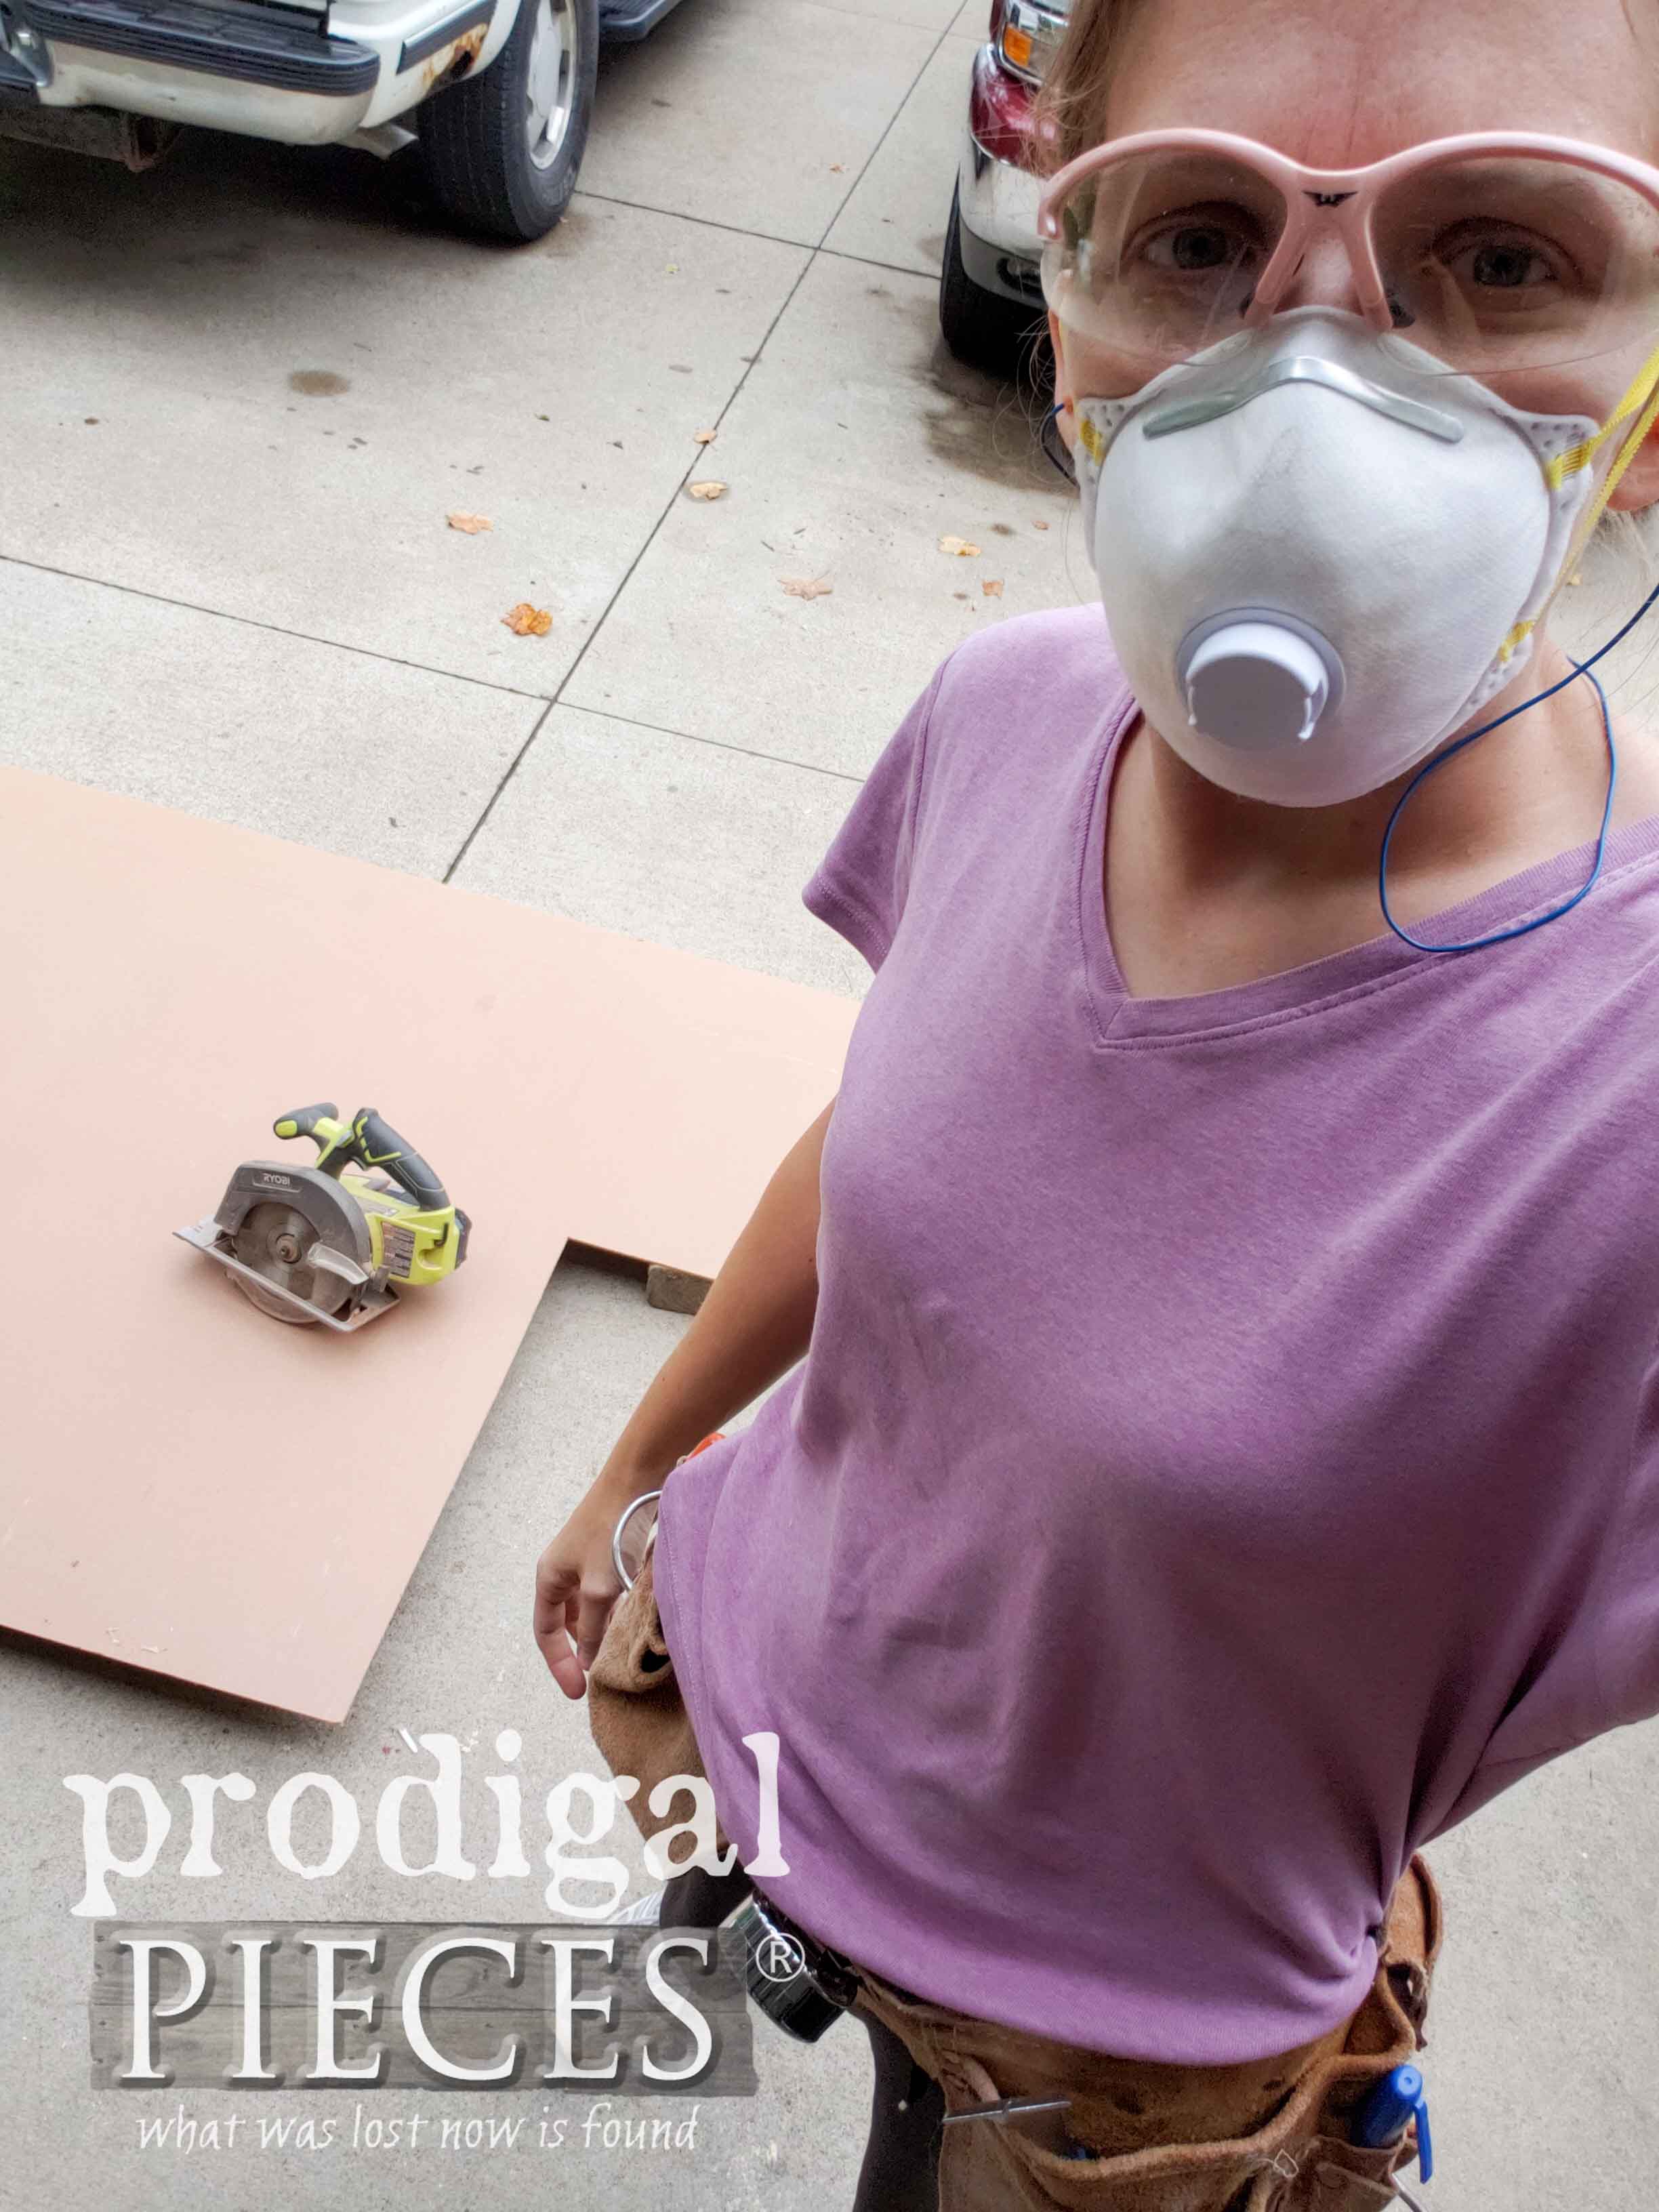 Here they after installing using my nailer. You can see how I planned for the seams to fall in the center of the shingles and at the corners. Since the beadboard comes in 4' x 8" panels I had to work with those dimensions to know where my boards would be placed. In addition, you have to factor in lining up the beads.
FIRST COURSE
For my first course of wood, I began with my squares cut from 1" x 8" boards. They are set at each corner and in the middle of each section for a total of 8 squares. I attached them to my underlying grid with screws and my drill. Then, for each section between the squares, I measured and cut 1" x 6" lengths on my miter saw and attached them with screws. Just had to maker sure to land on my underlying grid.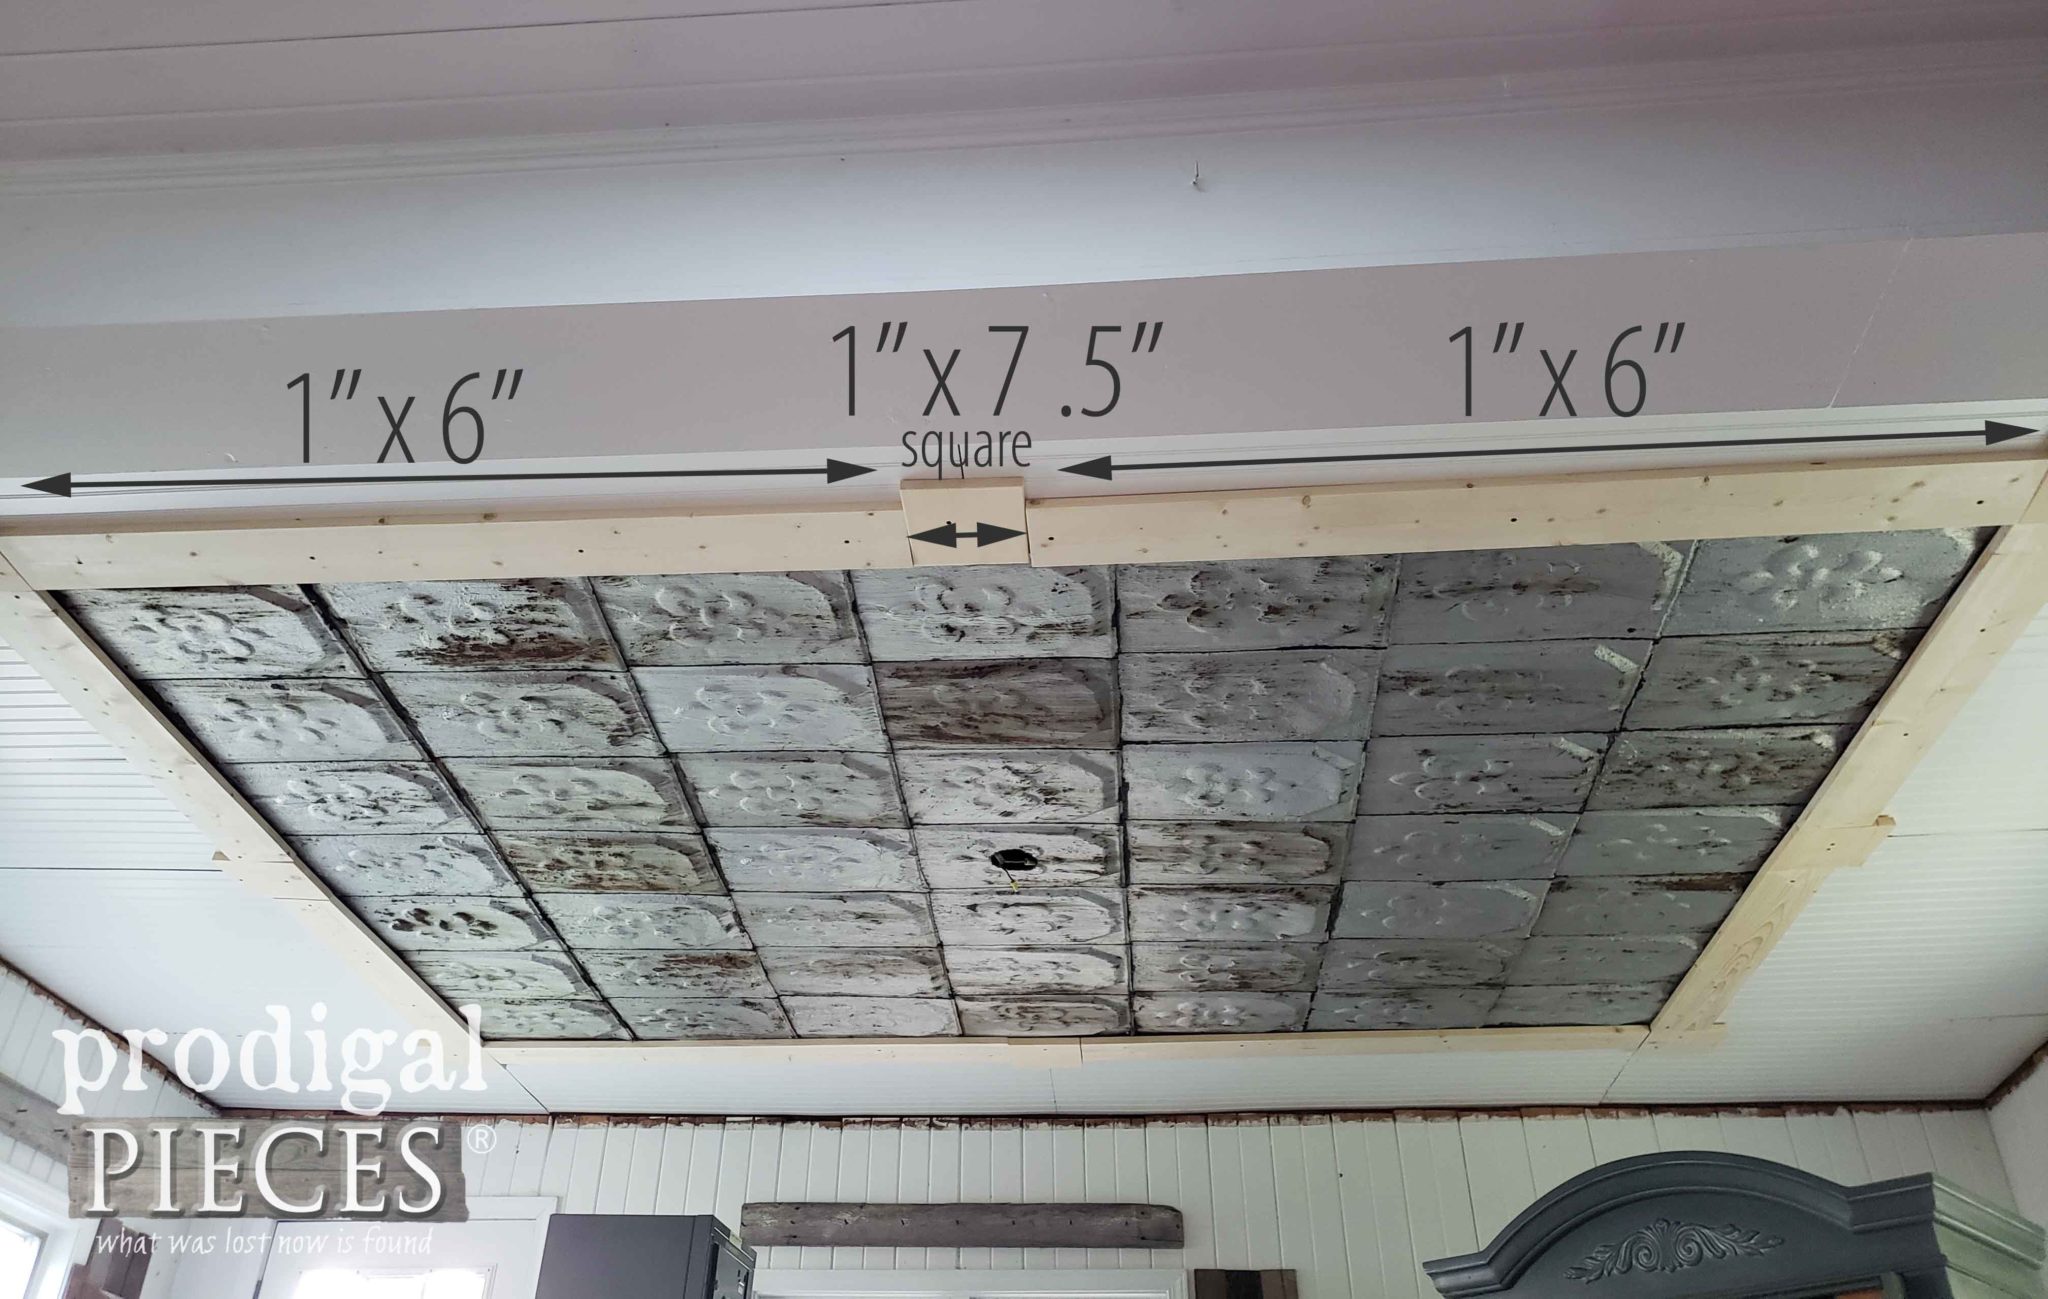
SECOND COURSE
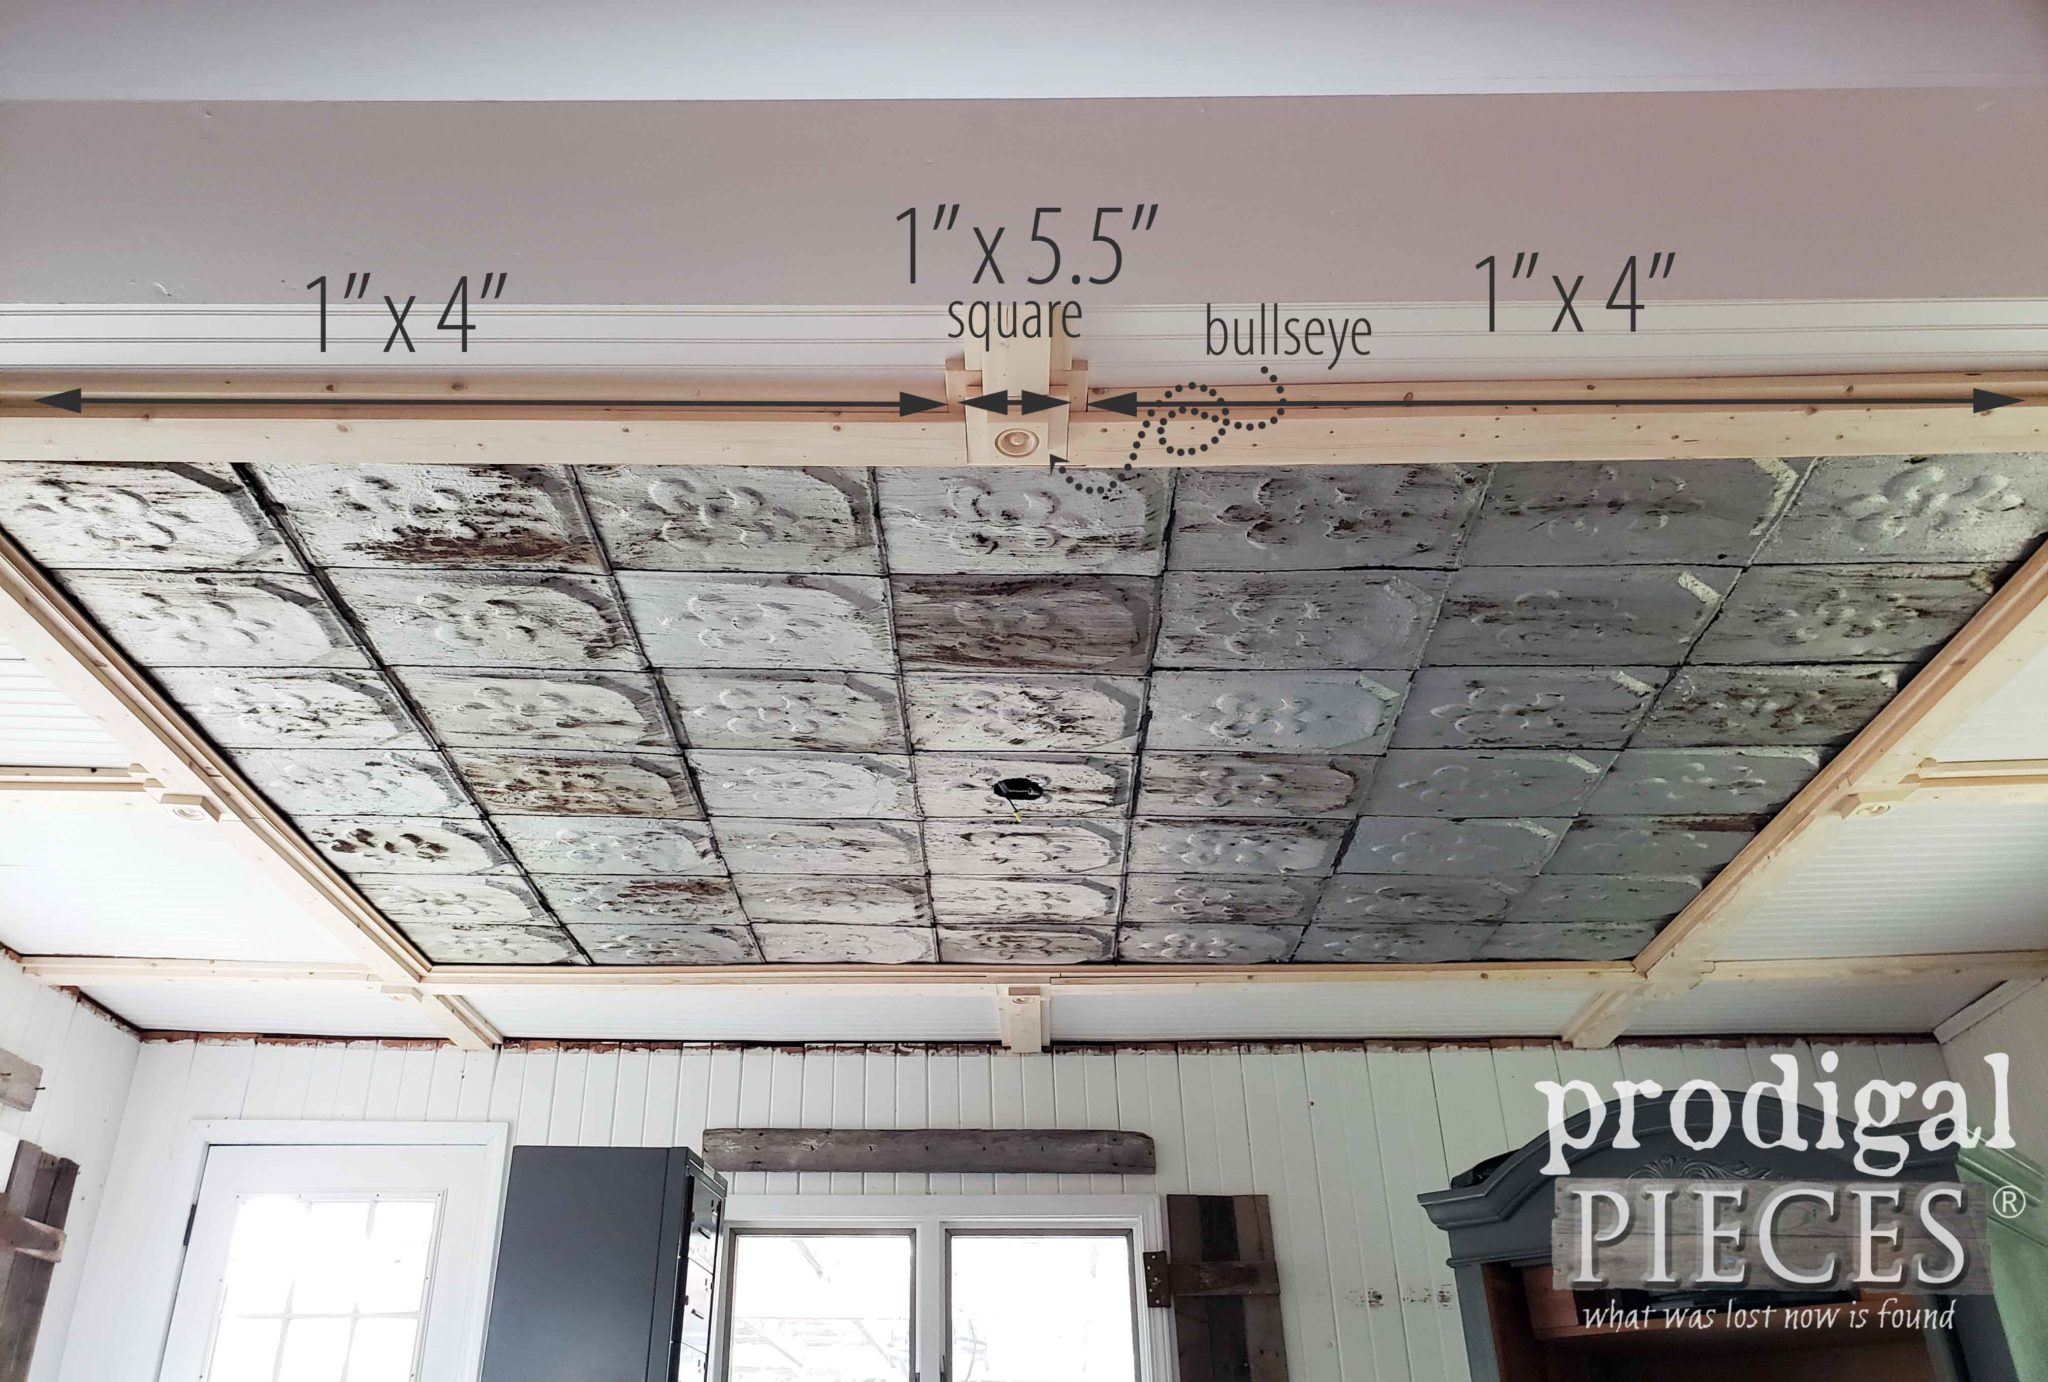
For the second course, I stared in the same manner with my 1" x 6" squares layered on top of the larger squares using my nailer. On top of the square stack I added a rosette (or bullseye) for interest. Once the stack of squares were in place, I measure the length from 1" x 6" square to the other 1" x 6" square. Then, I cut my 1" x 4" boards.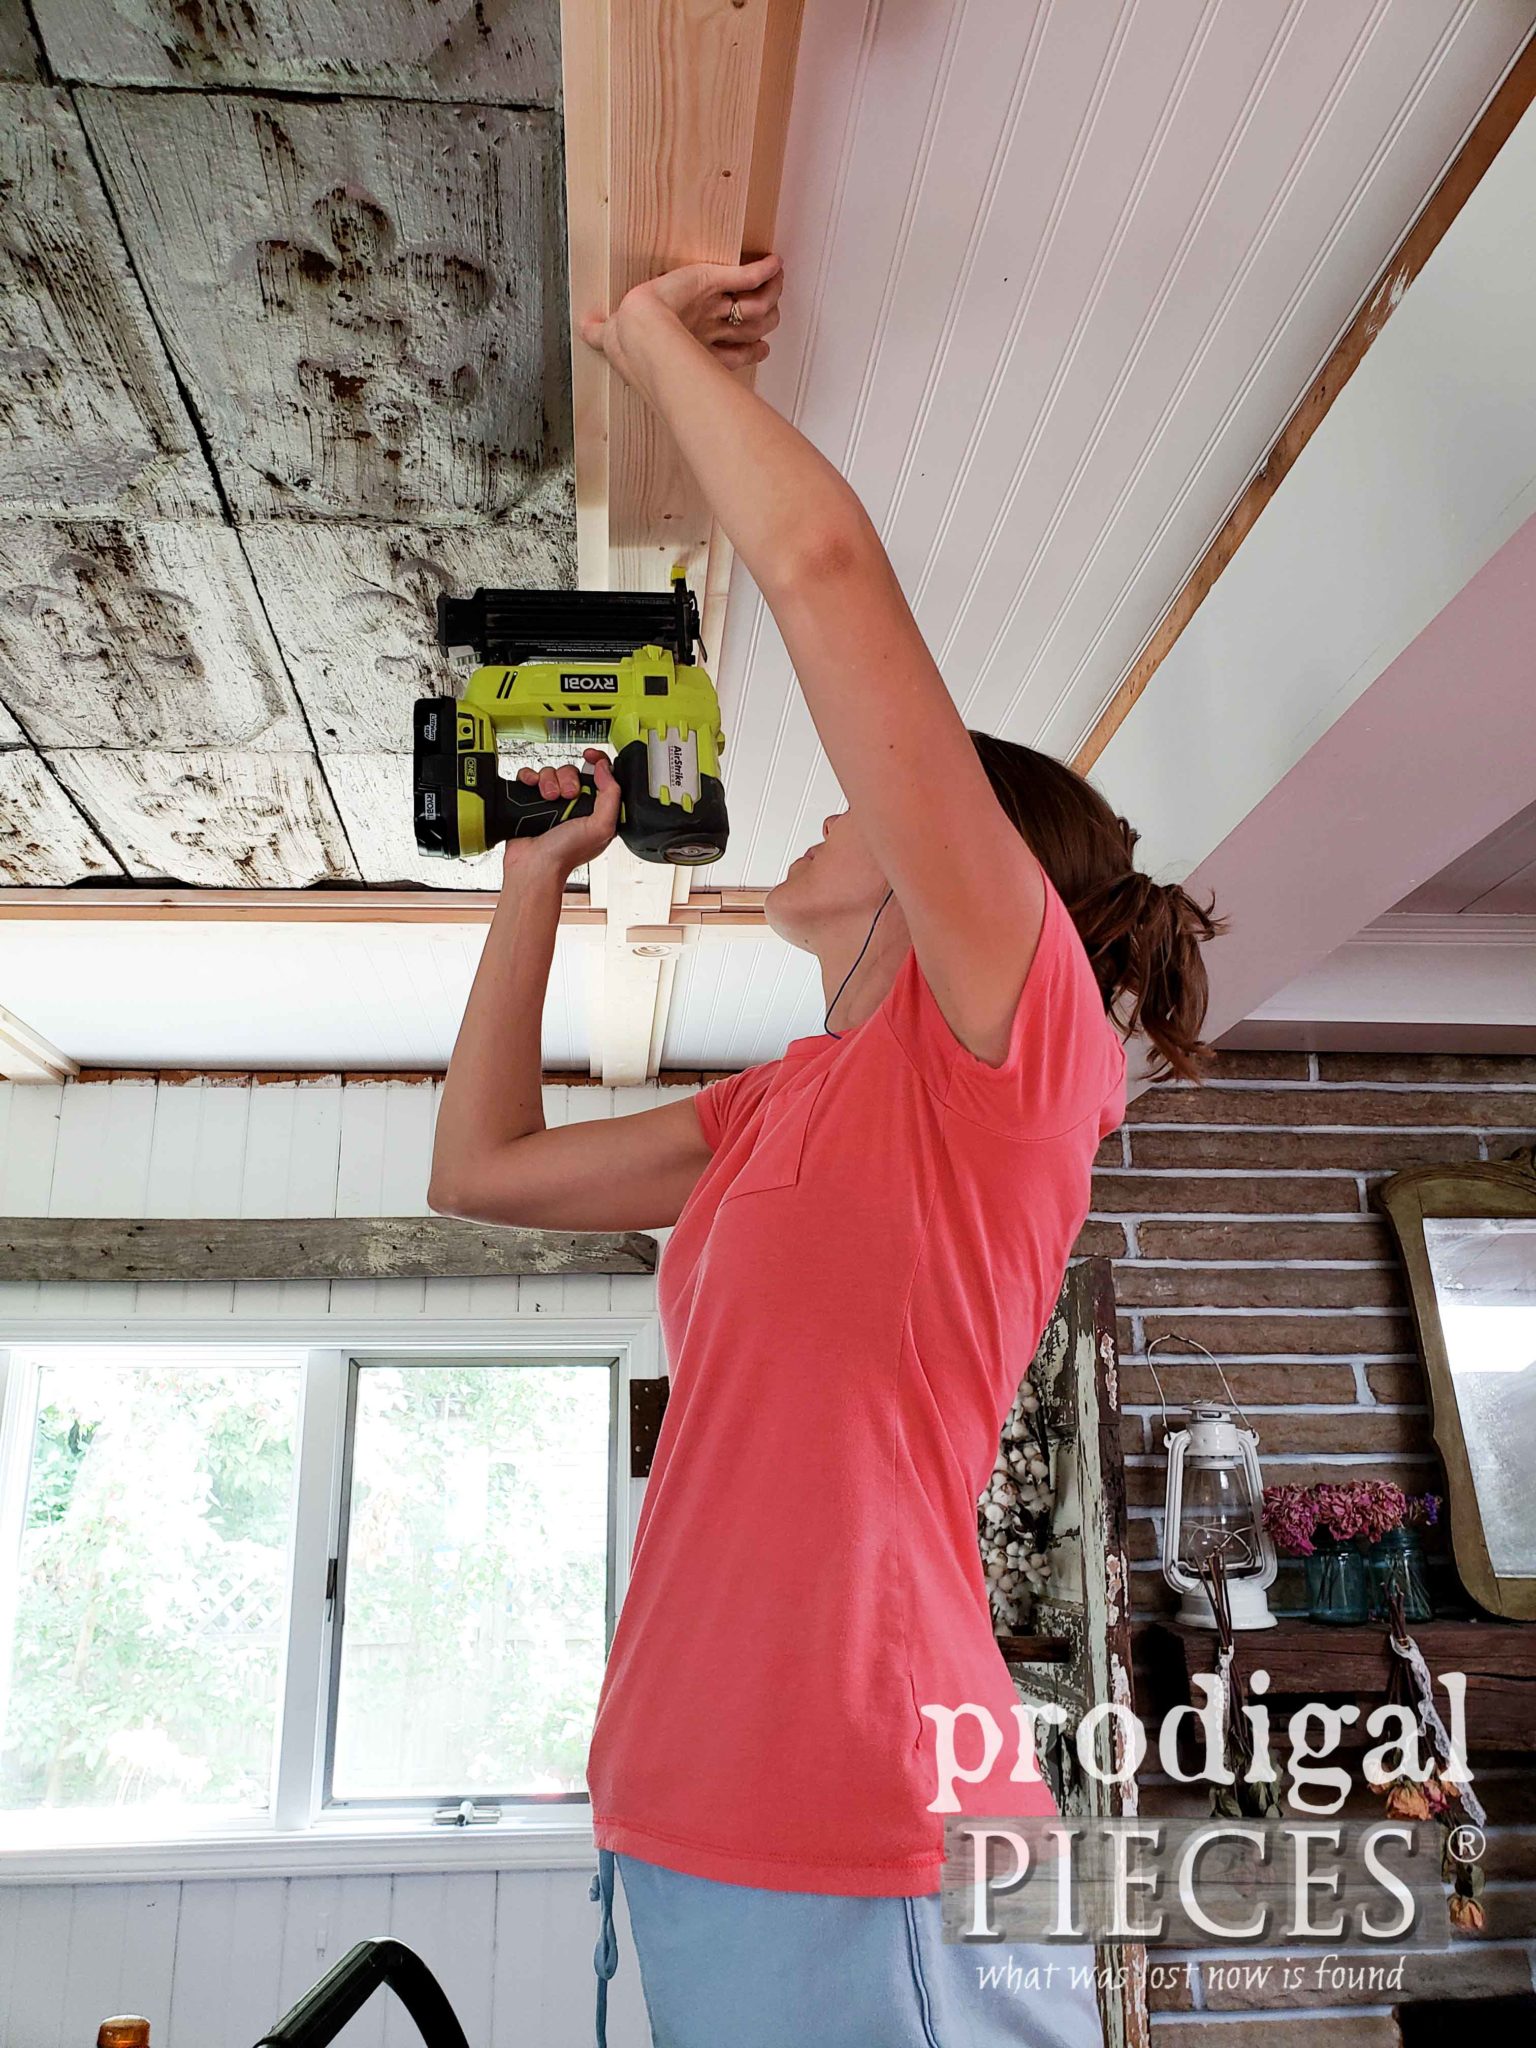
 After the wood was installed, I add cove molding to the interior panel around the shingles to create a finished look. I also cut and replaced the ceiling trim around the perimeter using the trim I had taken down. All the nail holes were filled with wood filler and then sanded down with my sander. Plus, I caulked all the seams so we're ready for the next step.
TIME FOR PAINT
Time for paint! To ensure no knot holes would bleed through, I first primed the boards with Kilz stain-blocking primer, and then topped off the entire ceiling with two coats of an eggshell paint in Dove White. Also, huge thanks to my oldest daughter who jumped in to help this mama with a stiff neck.[metaslider id=30251]
Here is my DIY coffered ceiling ready for my new light fixture. I'm so excited!!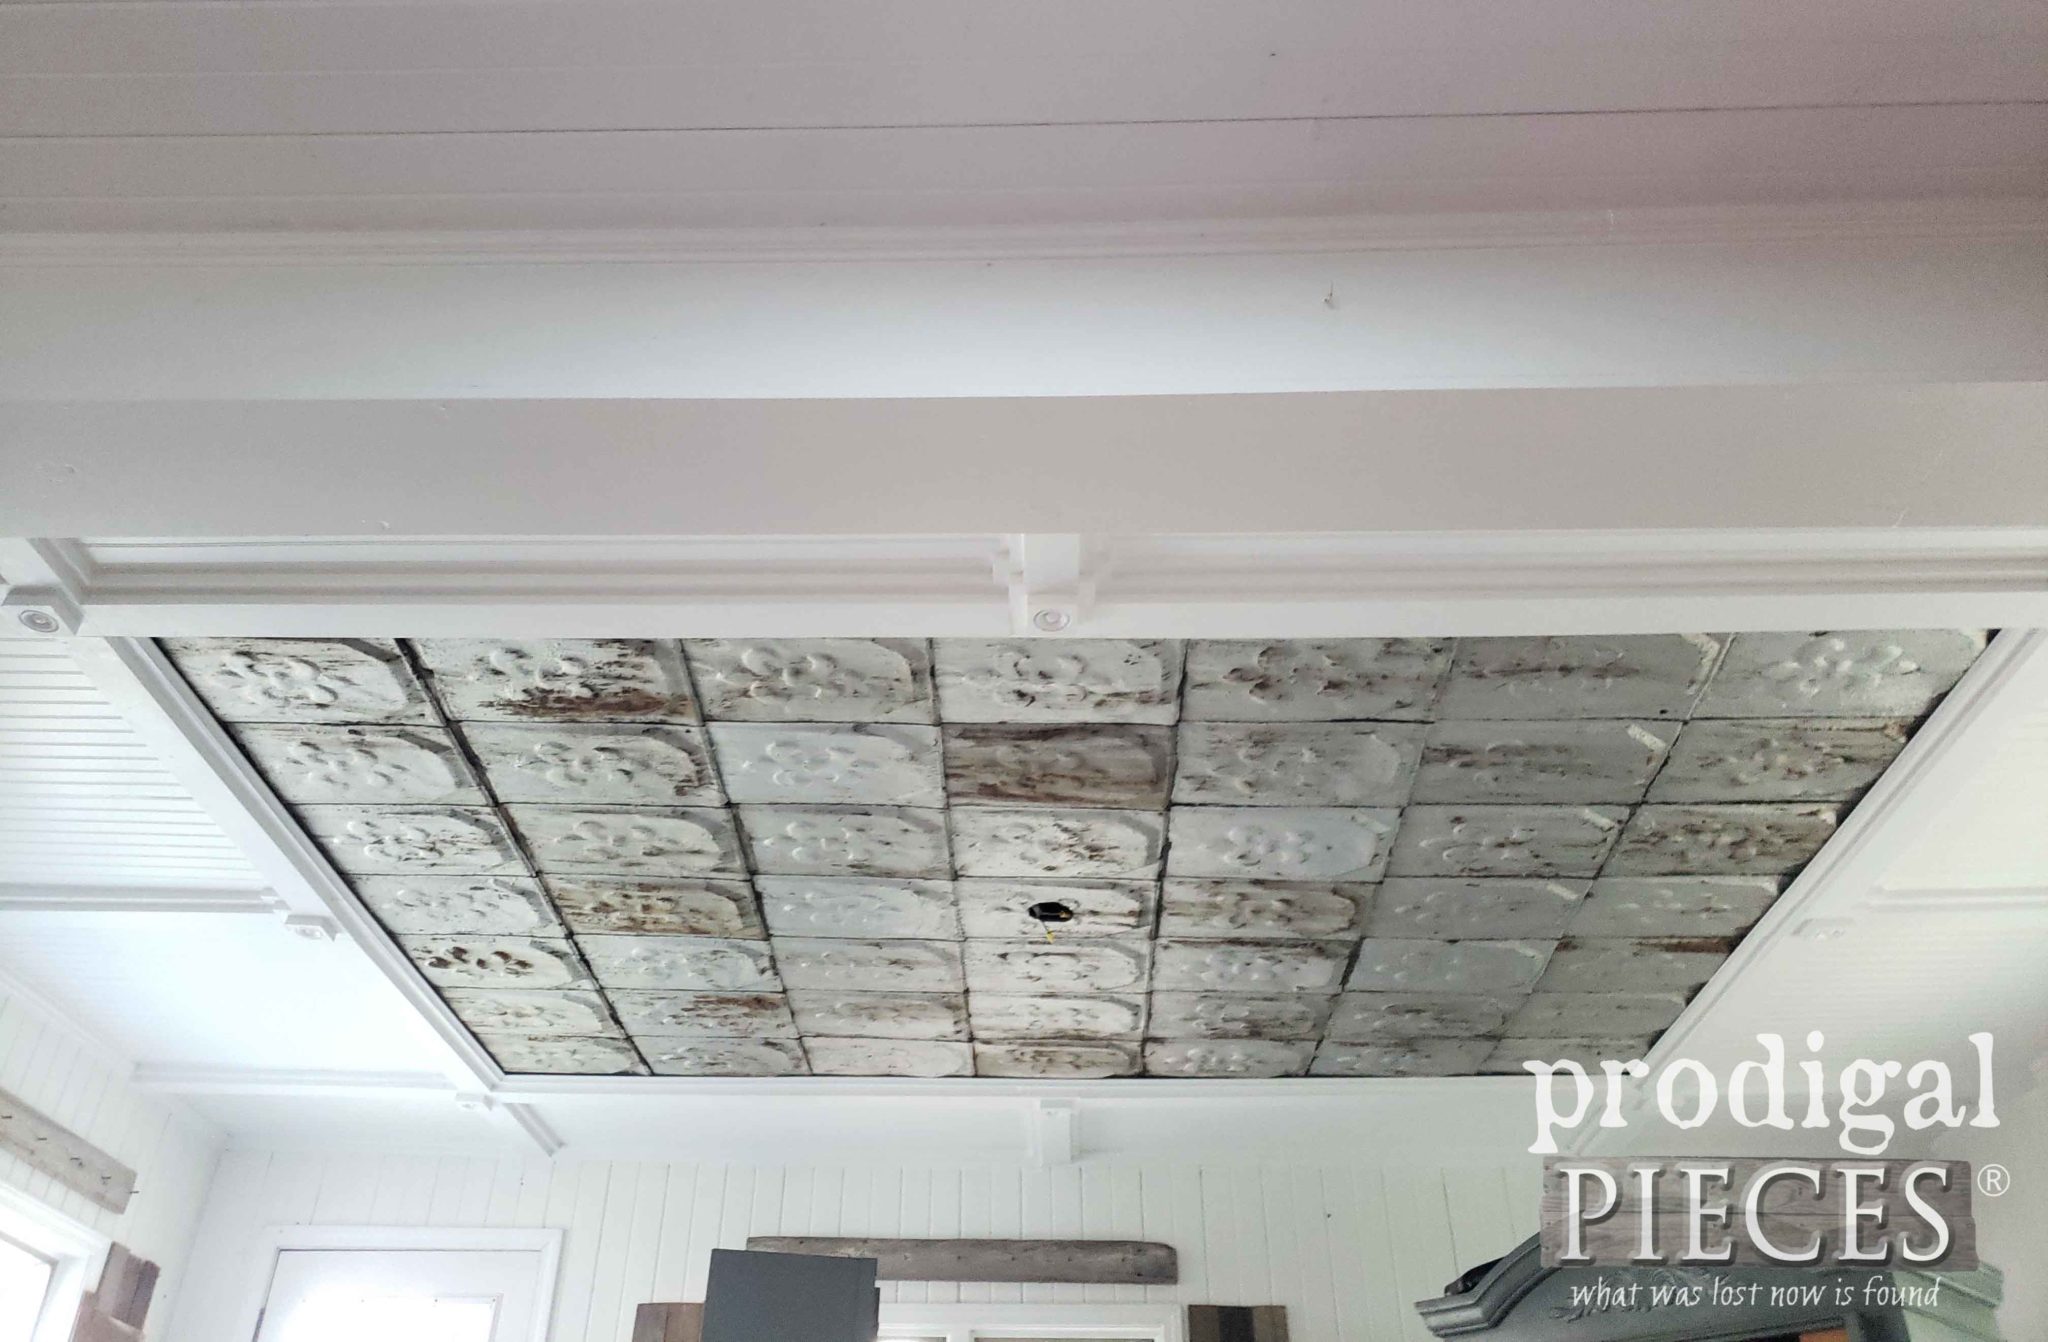 We've happily worked with eFaucets in the past for our lighting, our bathroom fixtures, and our new kitchen sink faucet. I had no doubt they would have exactly what I was looking for because their selection is endless! I'm serious. Not just faucets, but oodles of lighting in thousands of choices in all sorts of styles.
LIGHTING
When I found the light that would match my rusty patina, I was like a kid in a candy store. Just look at the ceiling medallion! You can read the details on the fixture HERE.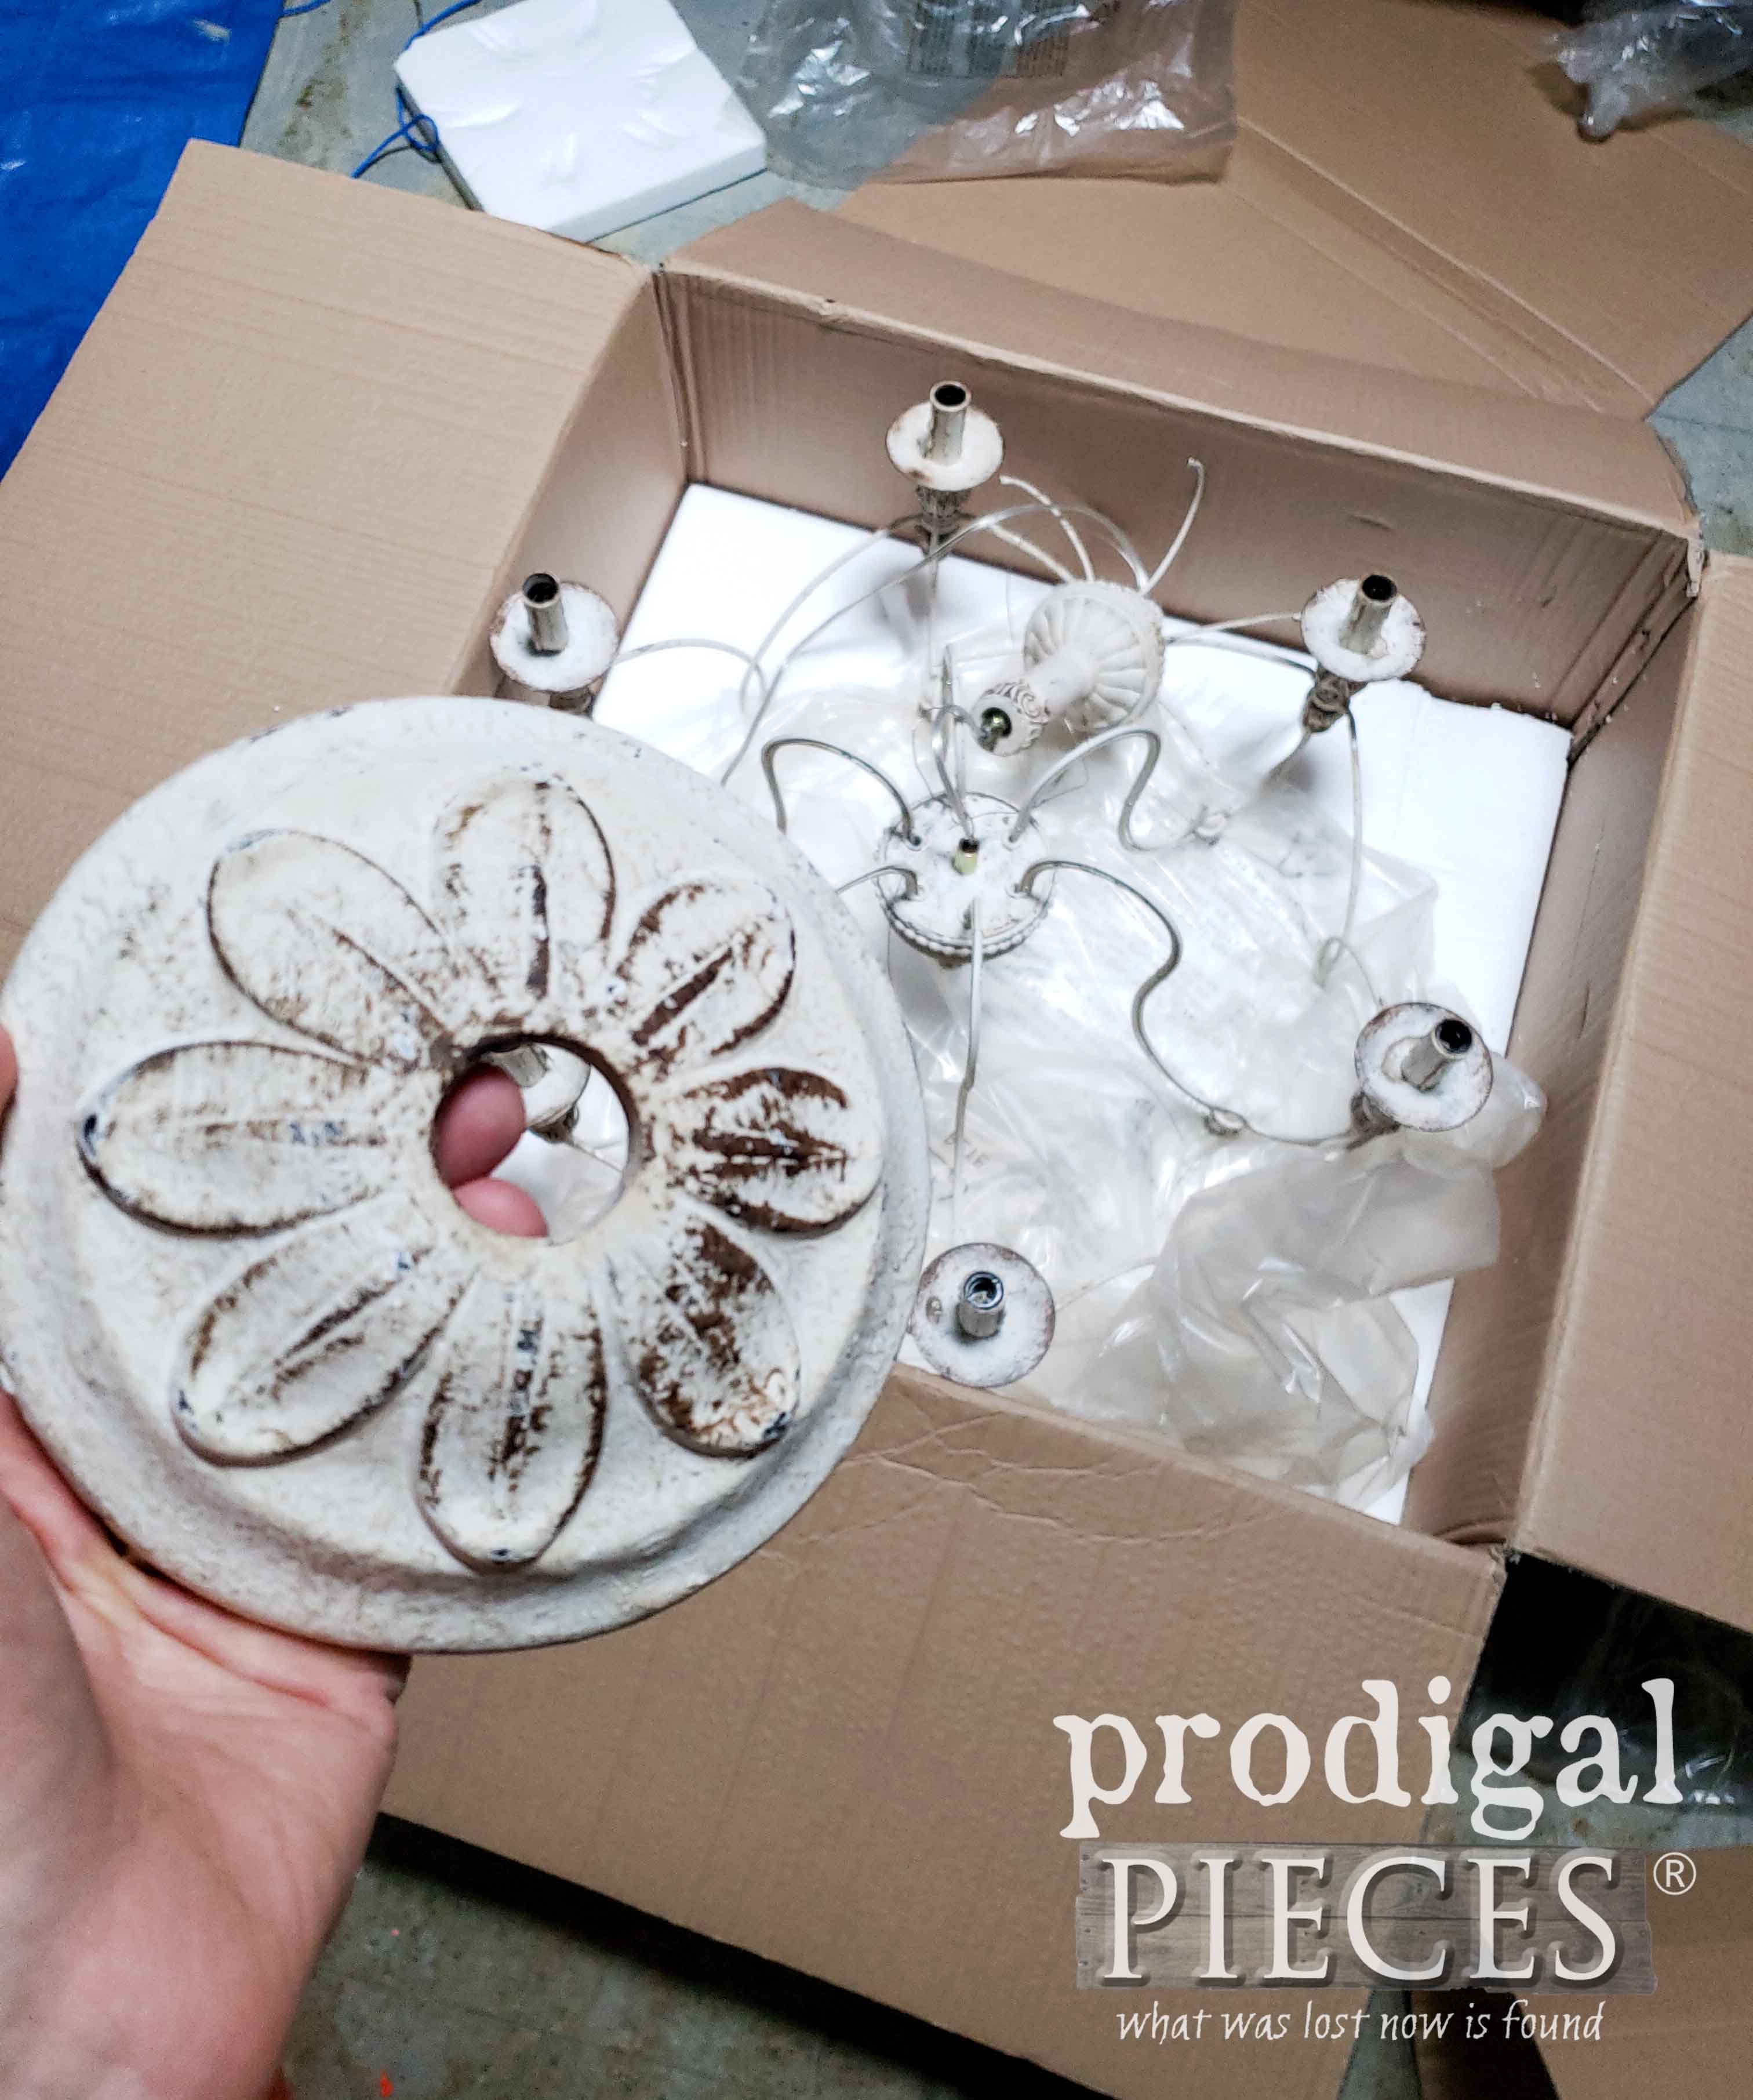 I pulled JC away from the kitchen remodel to help me install it this past weekend. What a delight! It has dimmable function and we used soft white LED bulbs for longevity. Here it is up and ready to go in my DIY coffered ceiling. I love it!
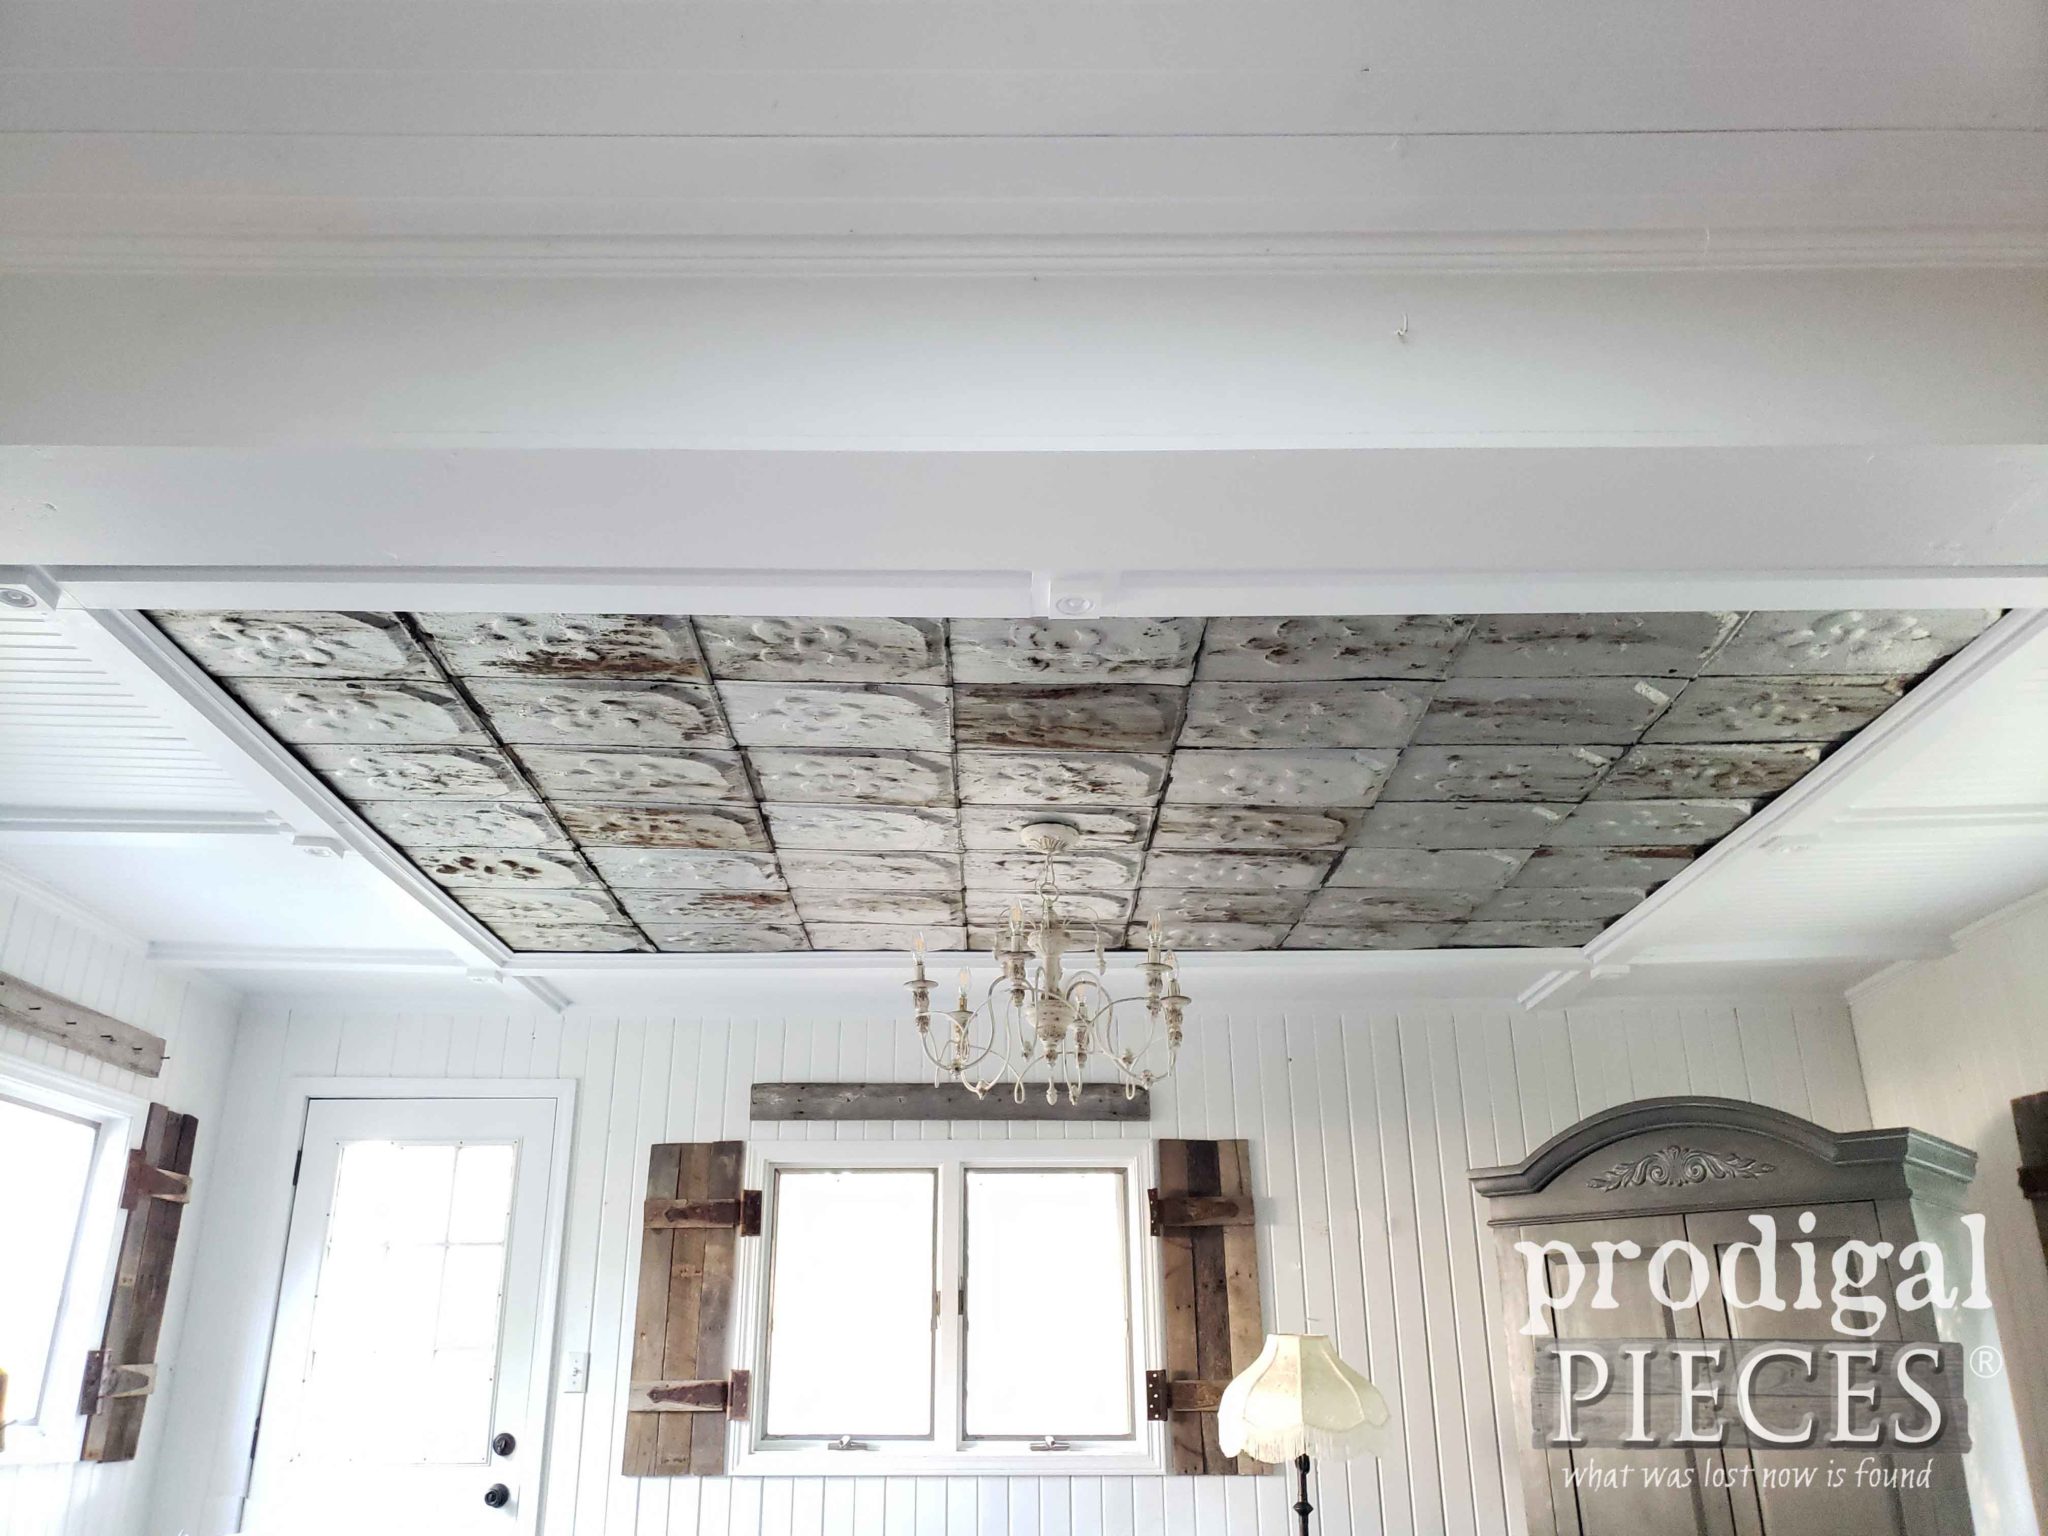
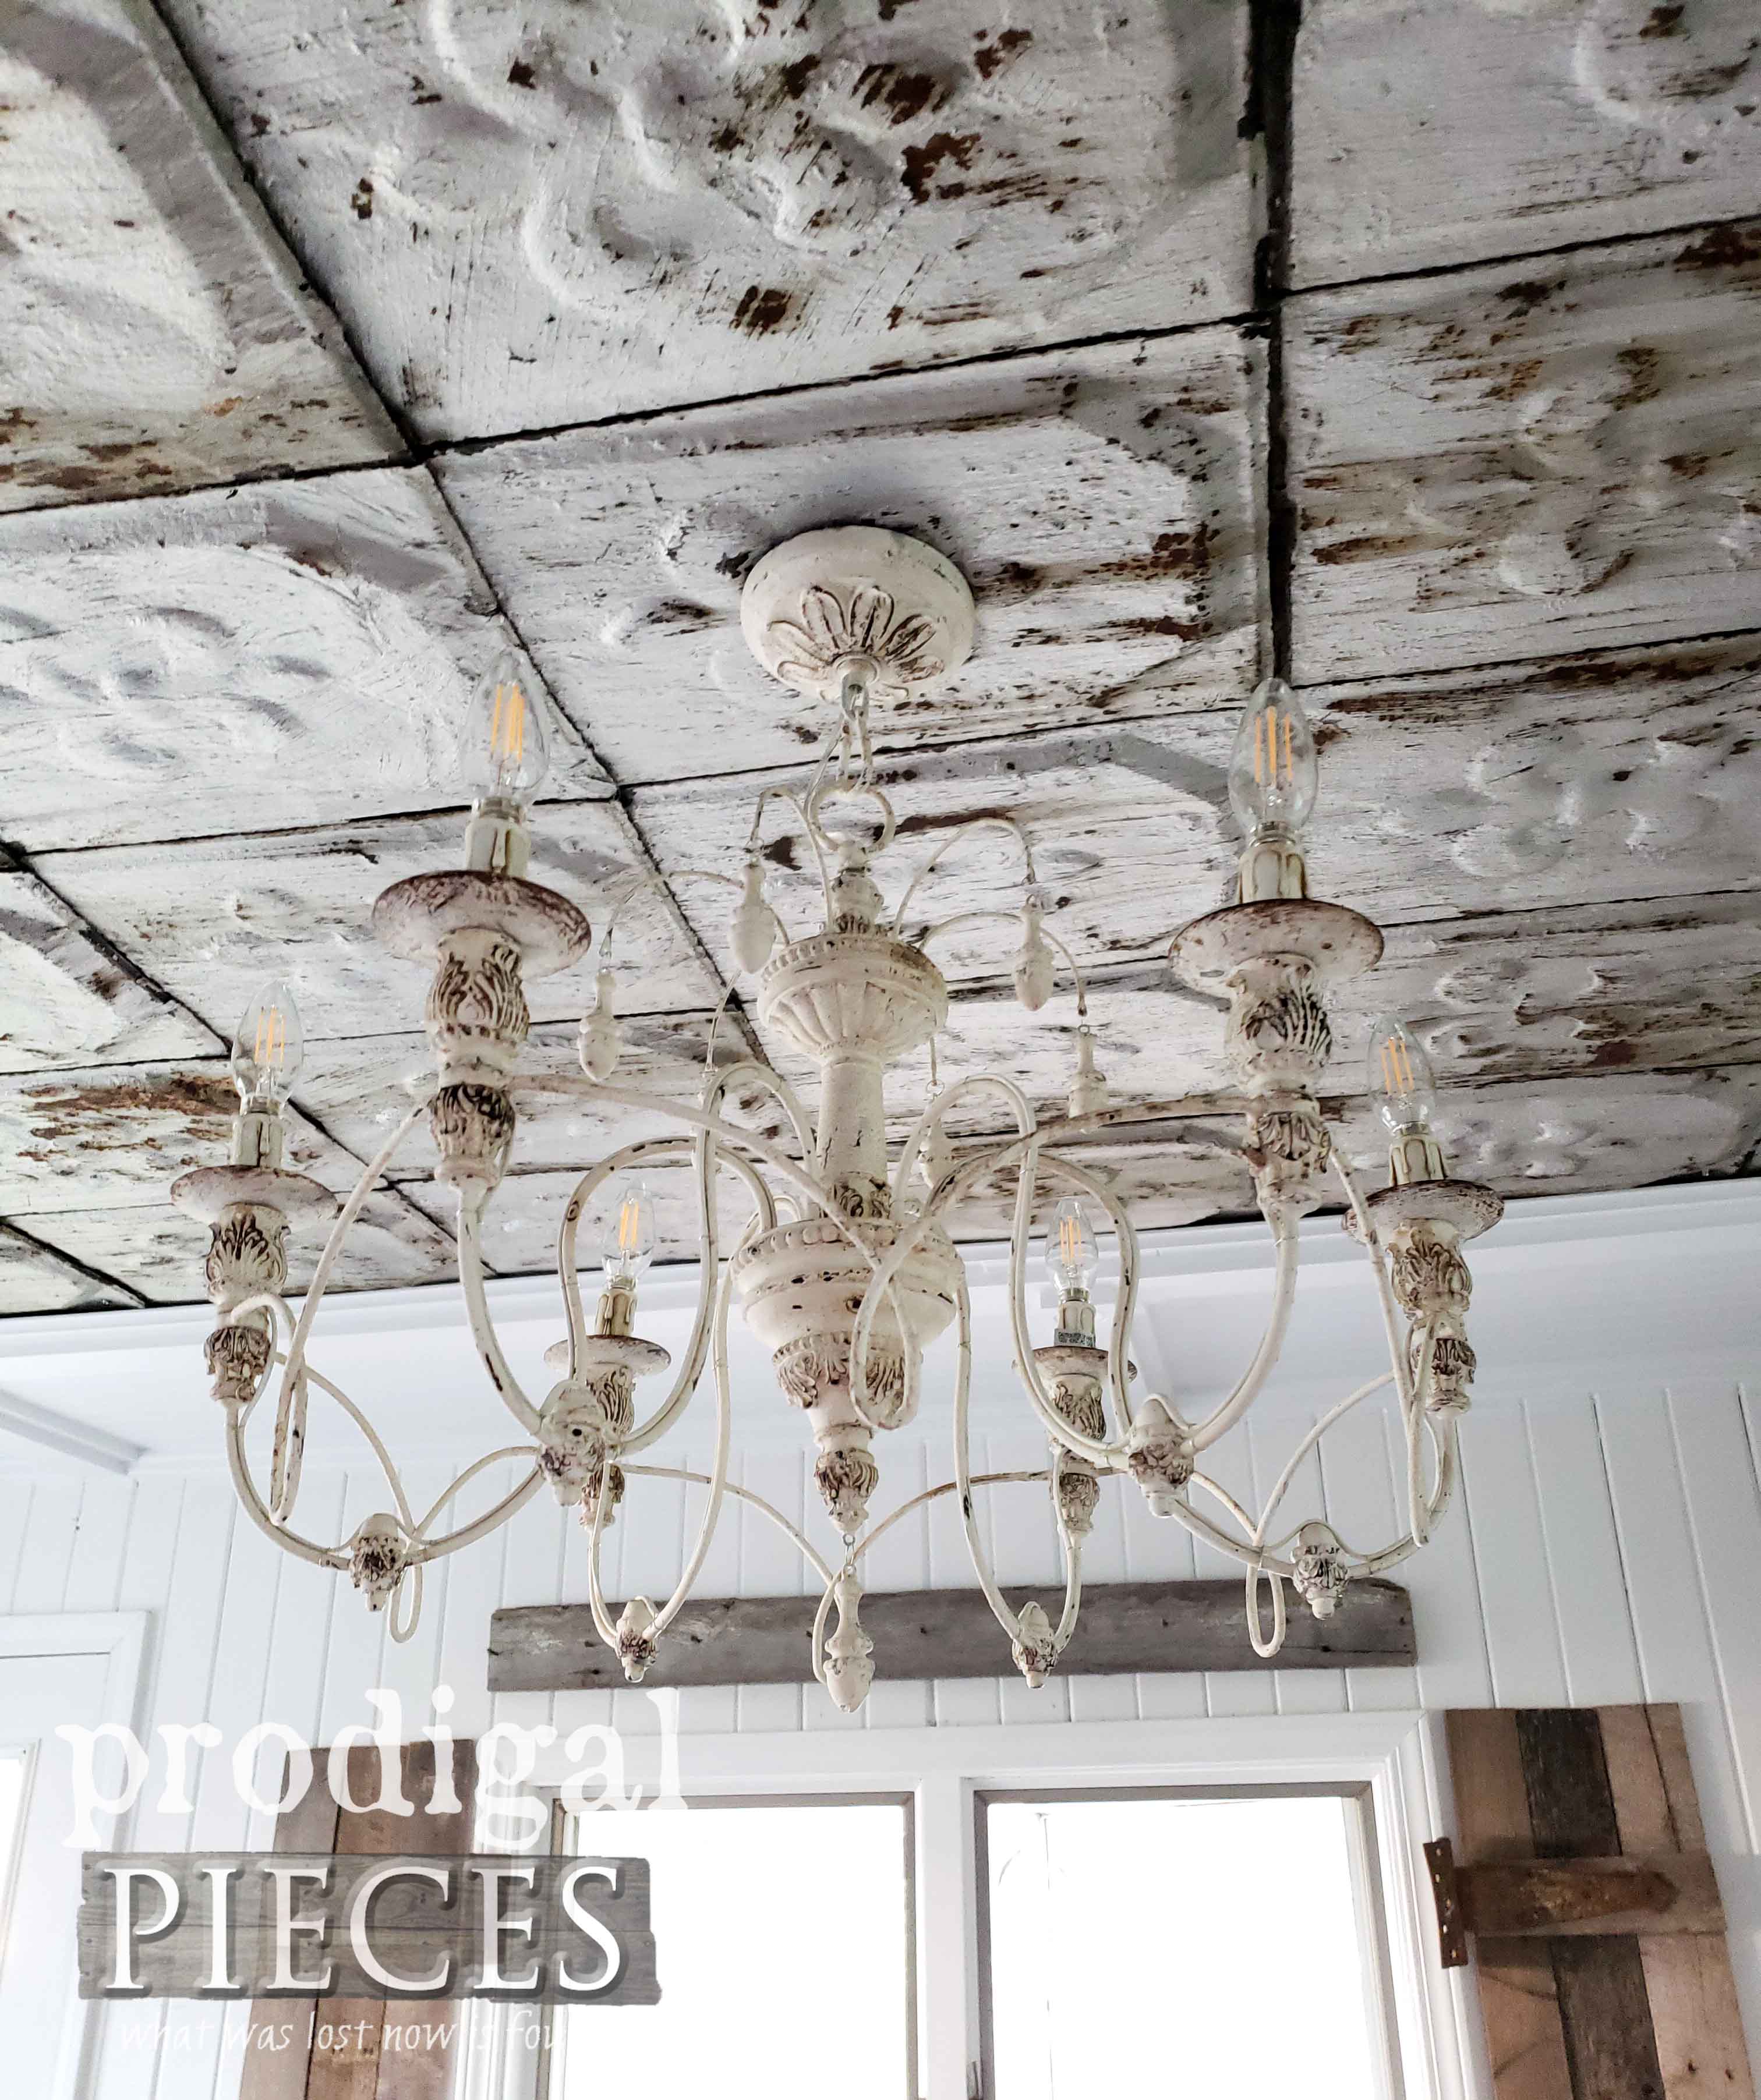
 Having been without a chandelier for months was not the most fun, but now we can take a deep breath that our roof, our ceiling, and now our lighting is complete.
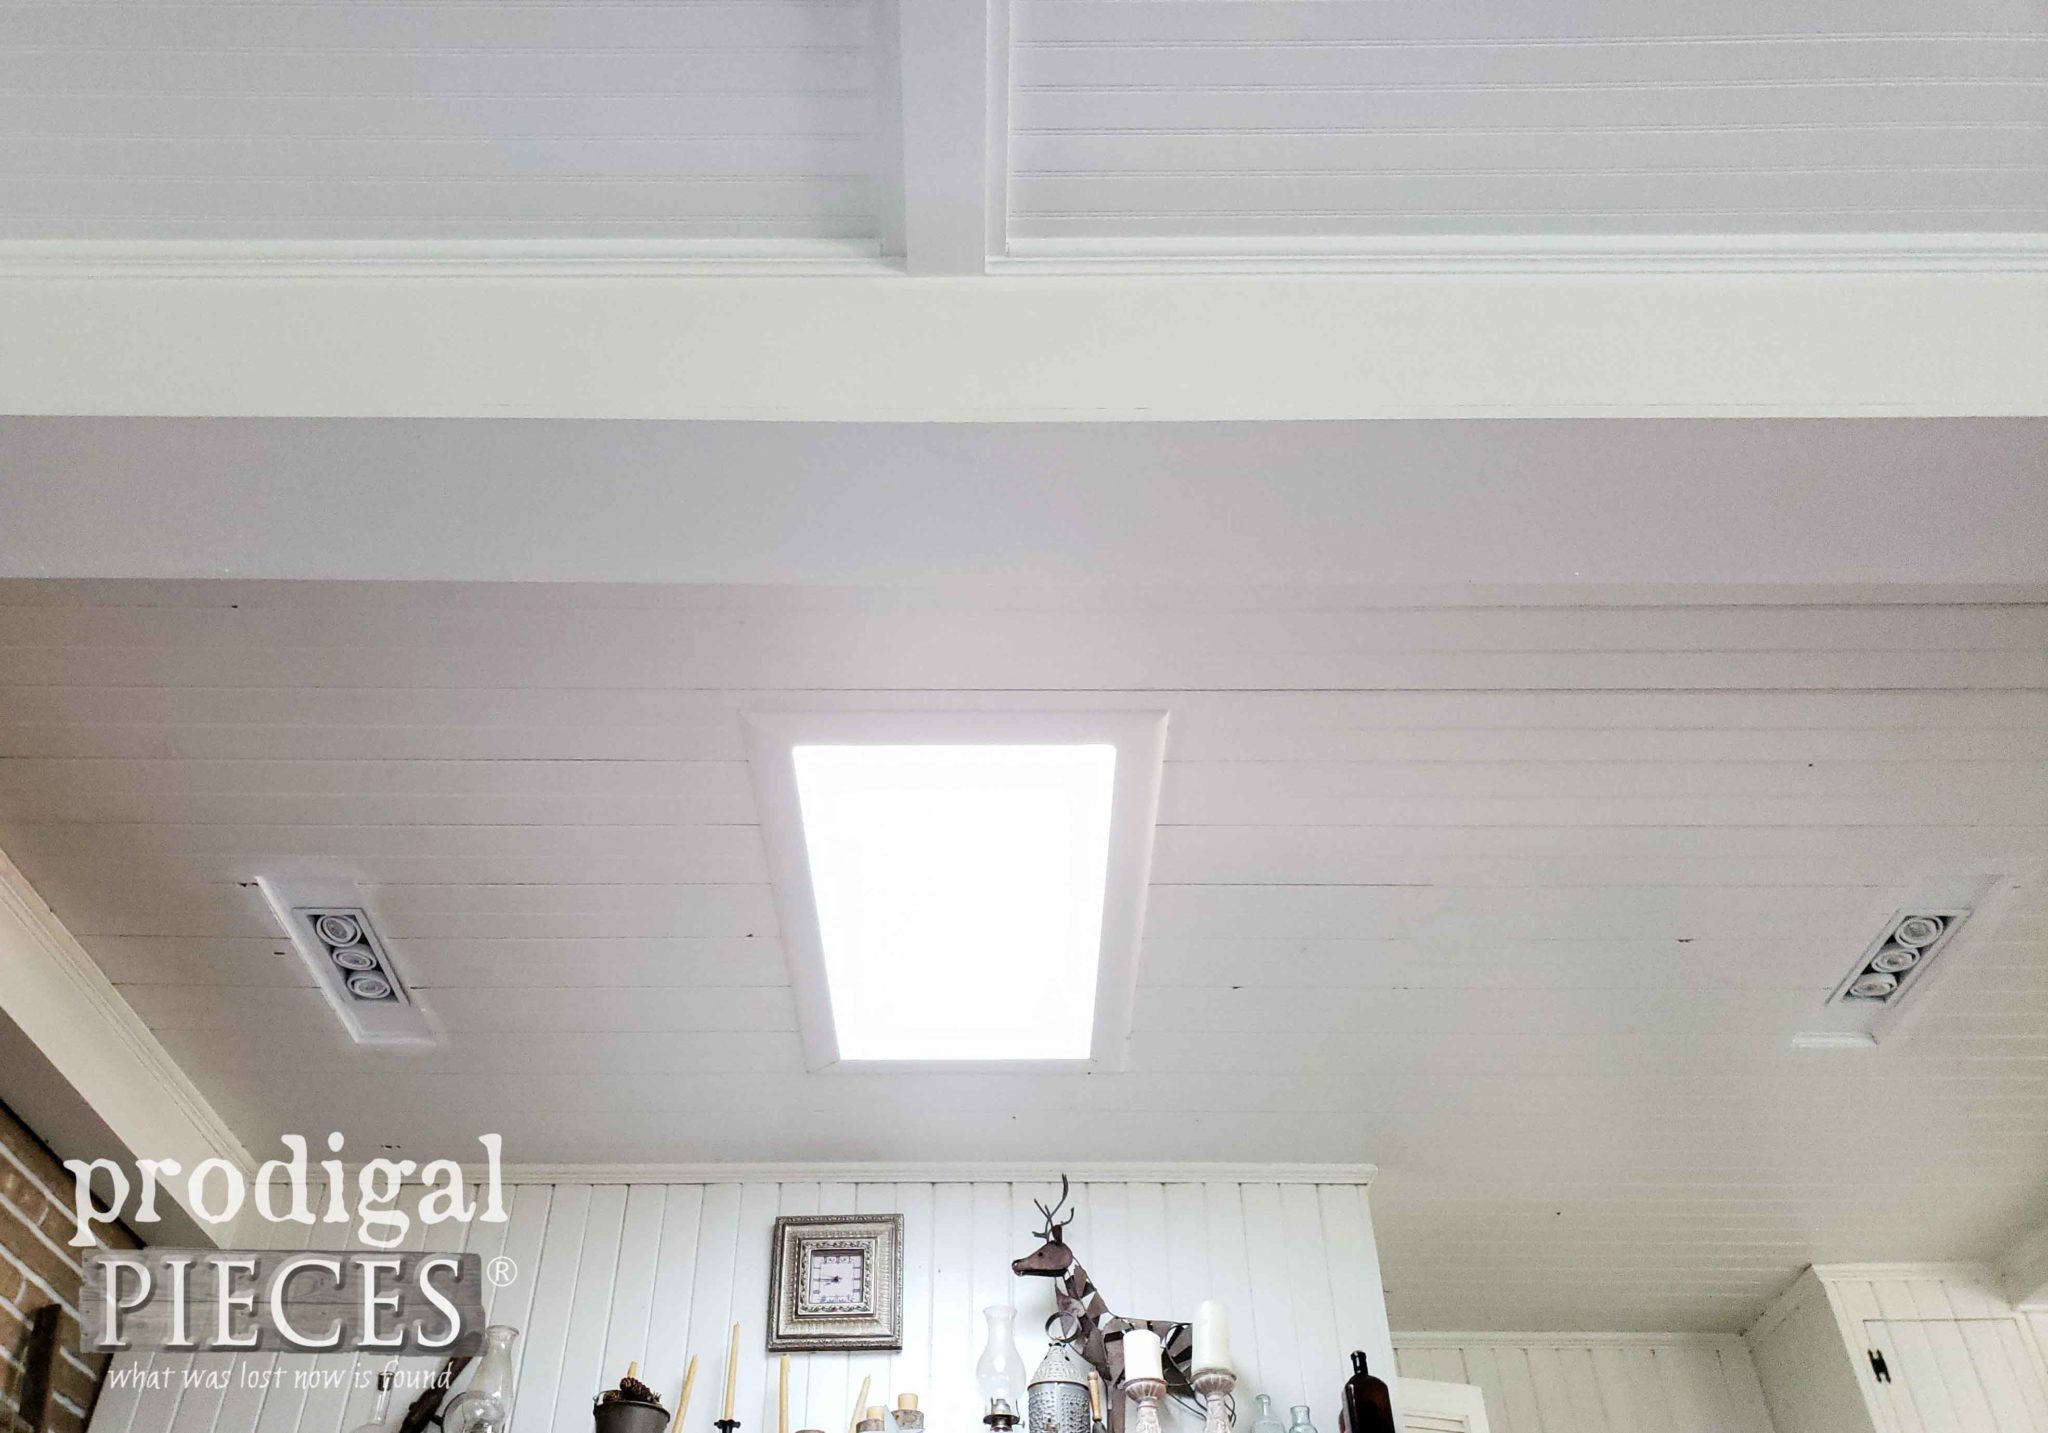
 We have finished the other section of DIY coffered ceiling. First, we replace the lights with positionable LED recessed lights. Then the awful fan is vamoose. I have yet to paint the entire surface over there, but am doing that when our bookshelves are done.
ALMOST DONE
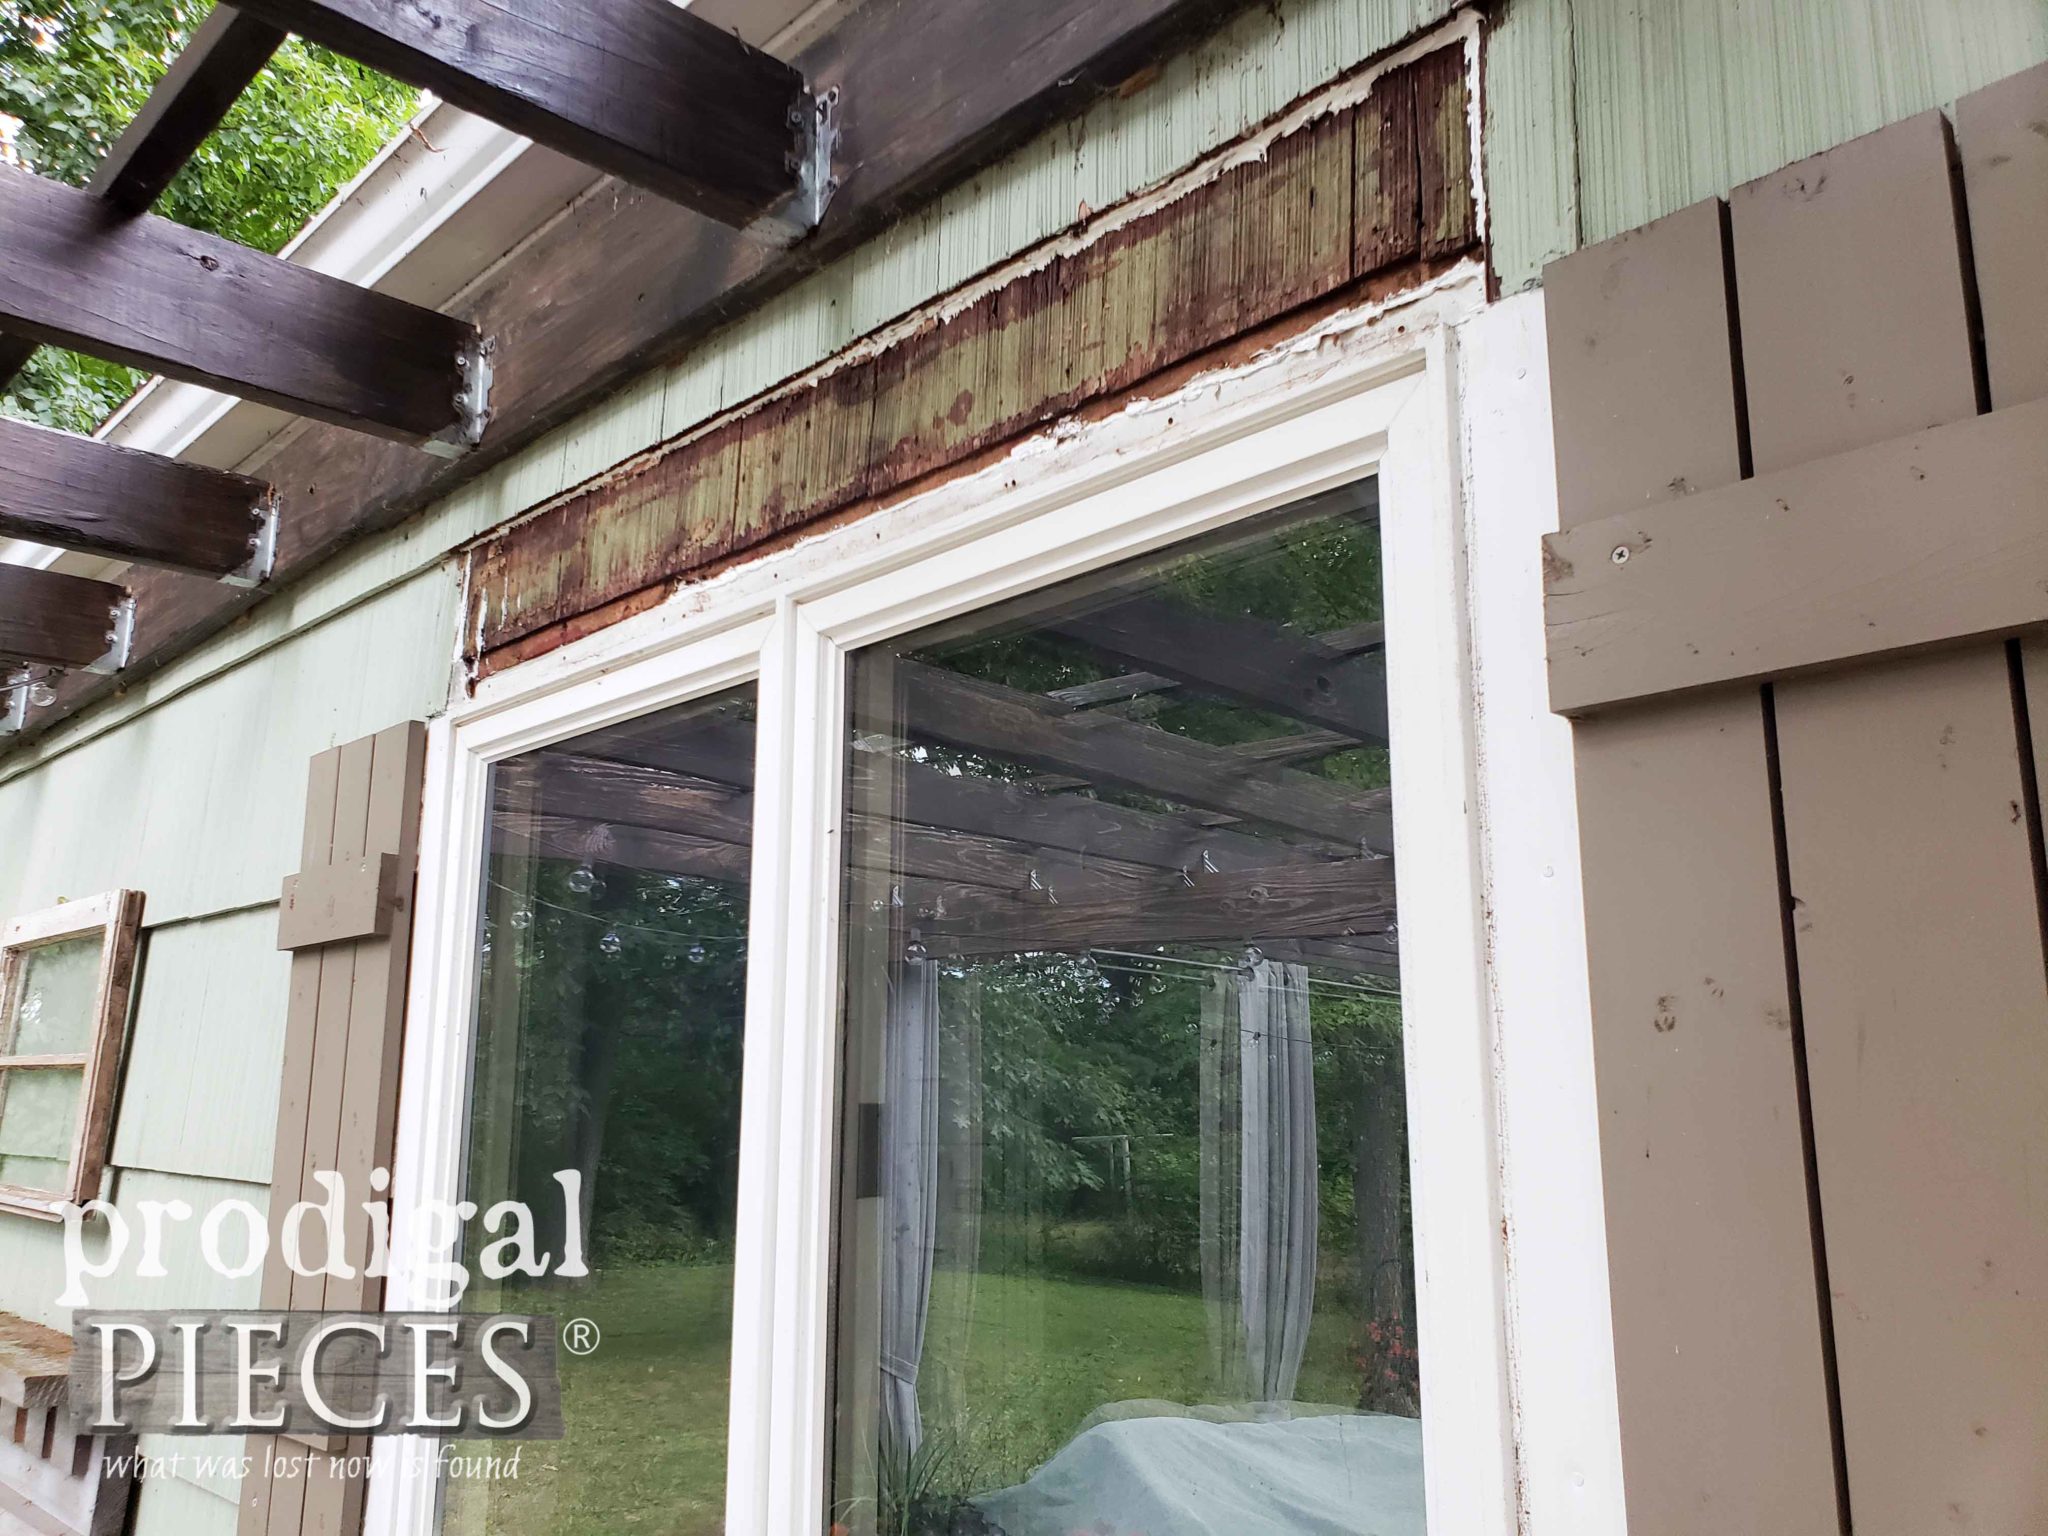
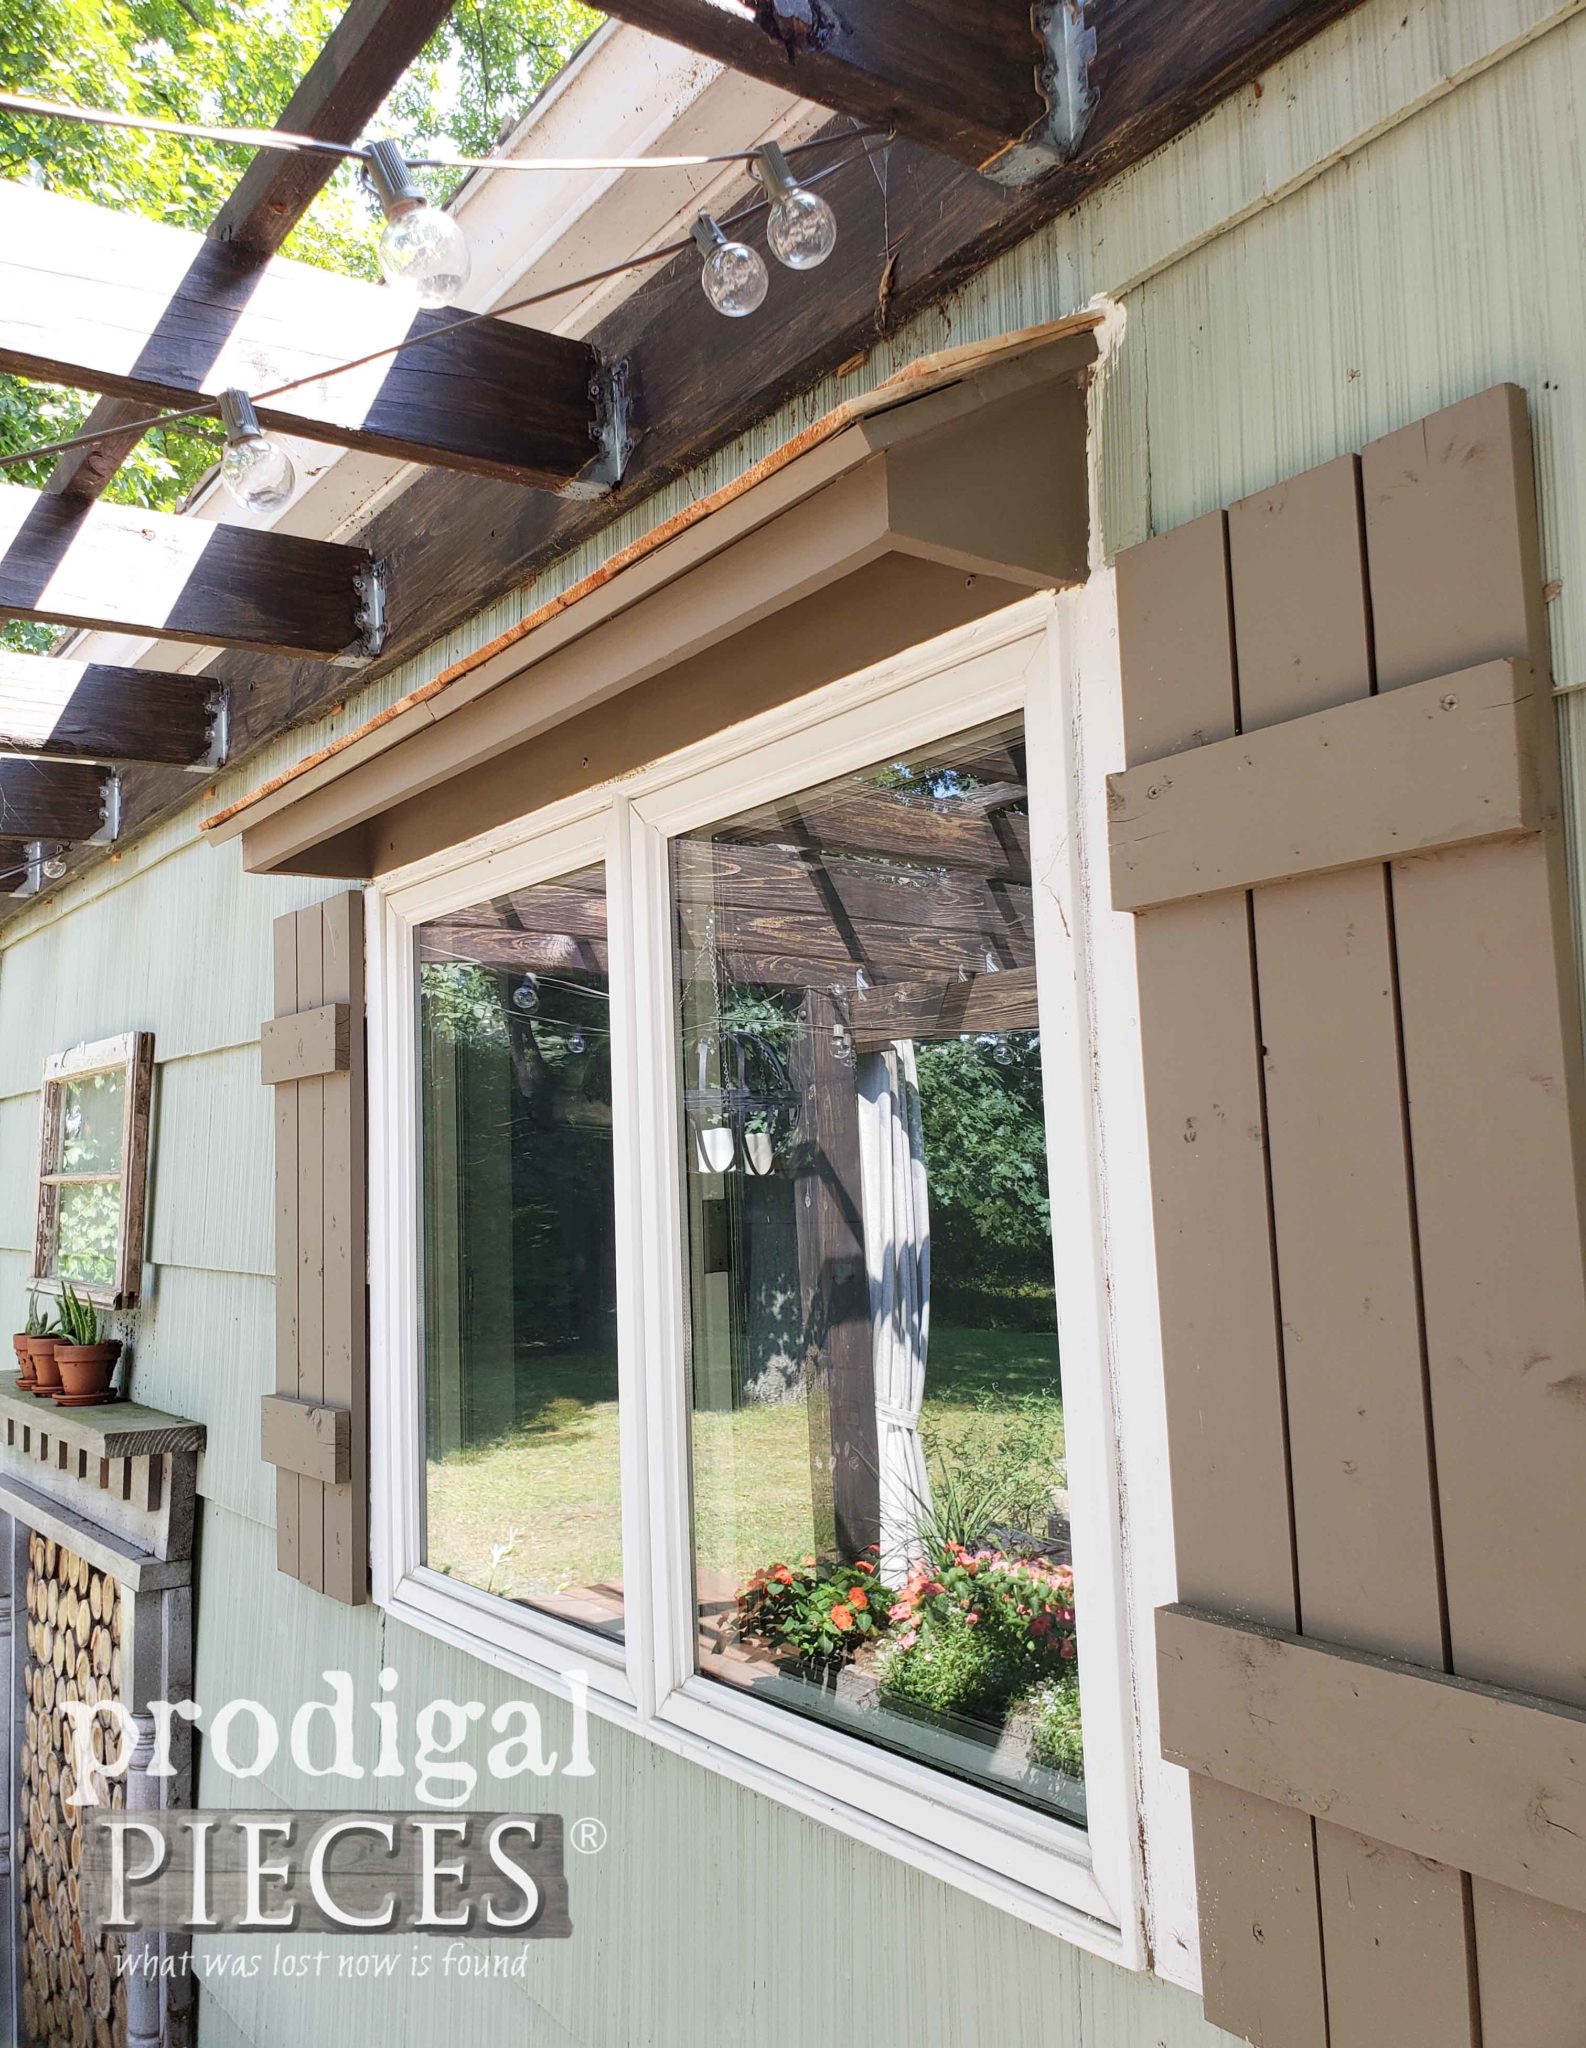
There's still much to do before the temps drop. We've been waiting for over 4 weeks for a concrete company to feel like telling us if our floor is salvageable or if we need to build a floating floor. (I'm not happy in the least about that and have called everyone in the area...grrr). So in the meantime we're working on what we can. Our back window awning had a leak, so we built a new one for that last week. See how badly it is rotten? It is an adventure to repair because of rain, but...we got it done and now have a cute cedar shake roof. yay!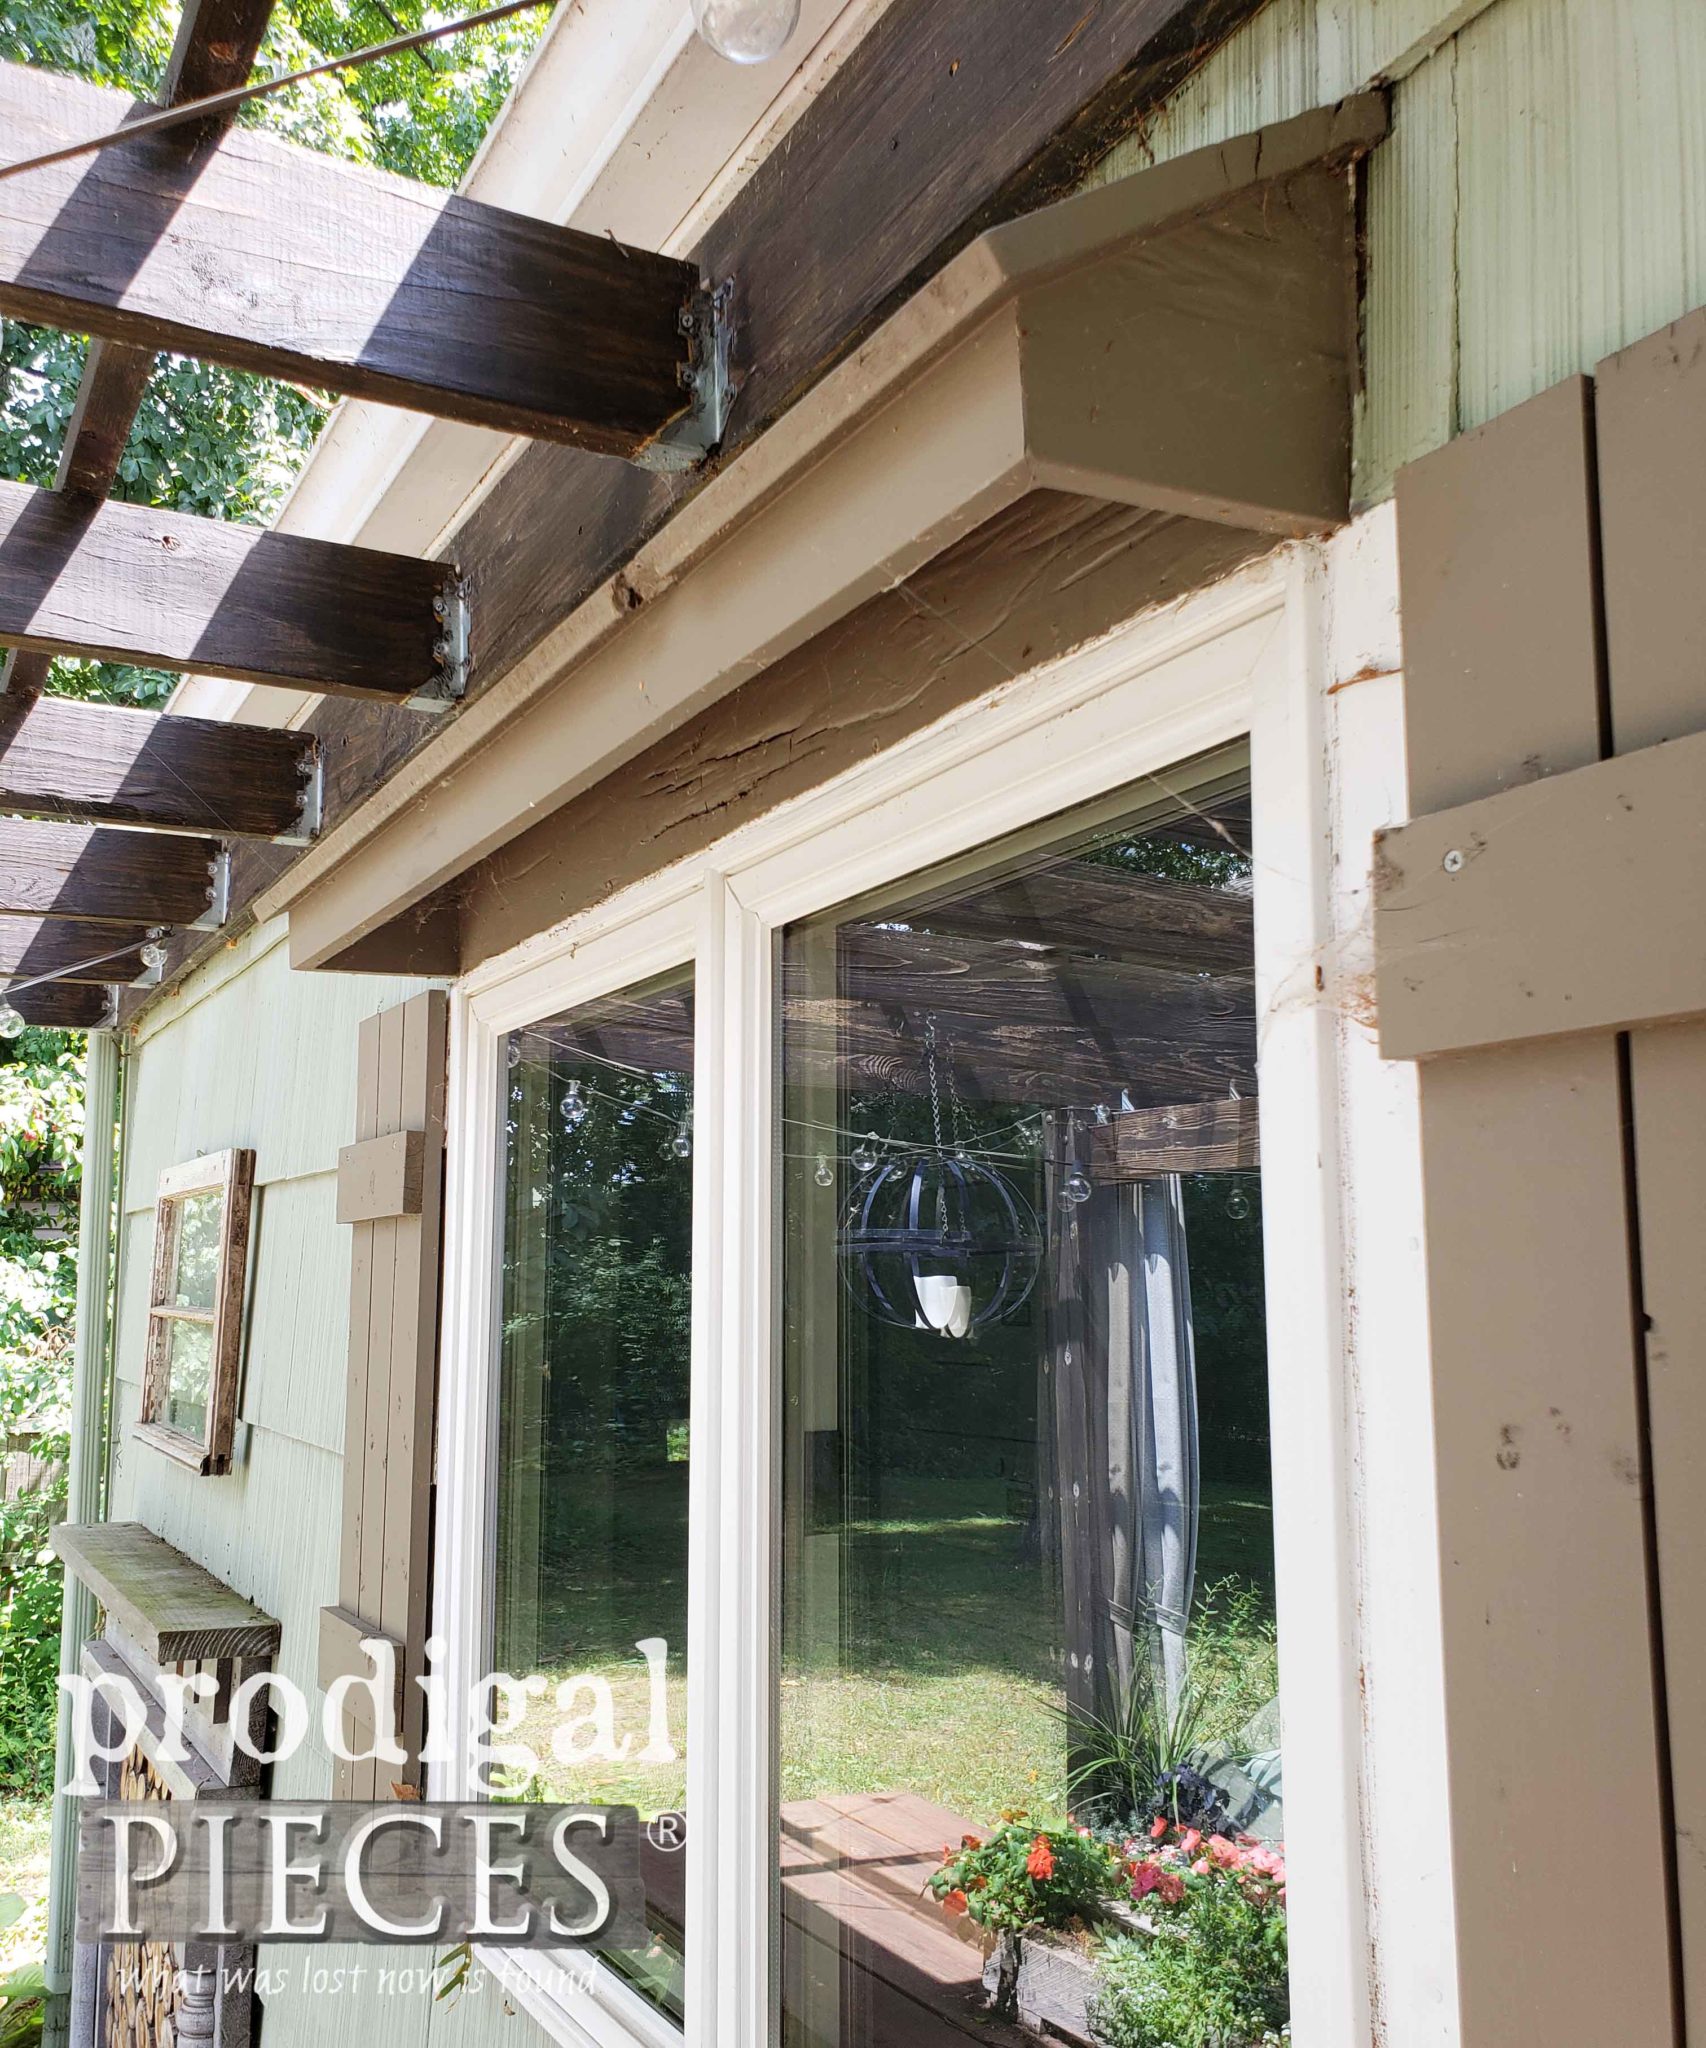
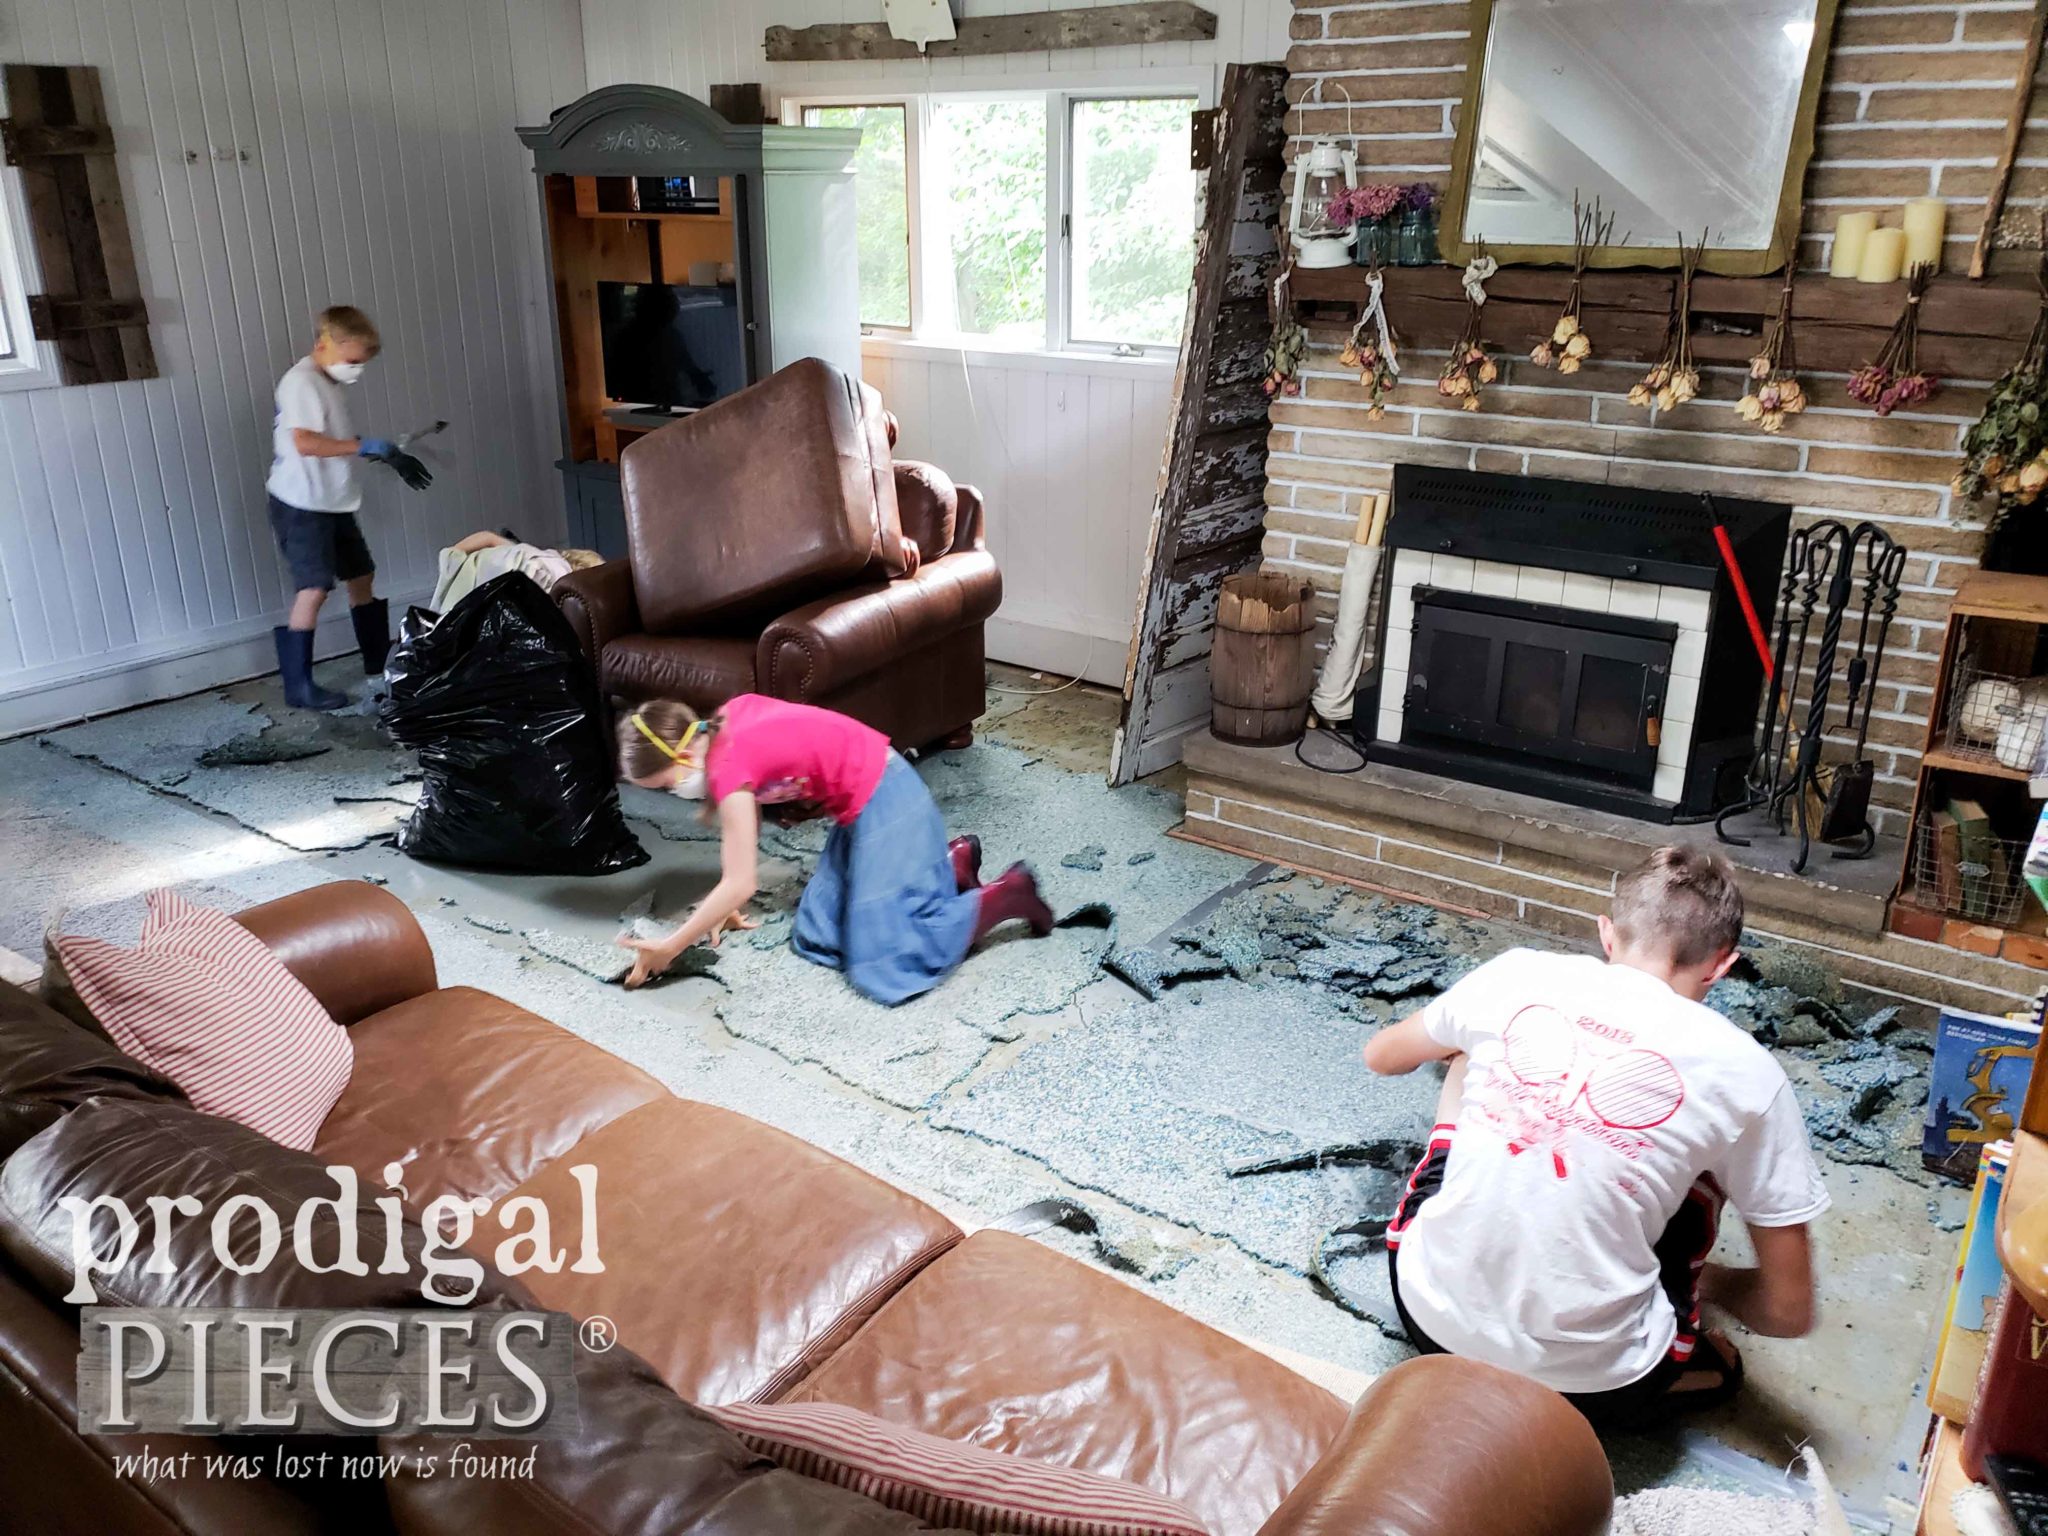
 And for the more of the best therapy ever, I got to yank out that awful, disgusting, nasty carpet!! WAHOO!!
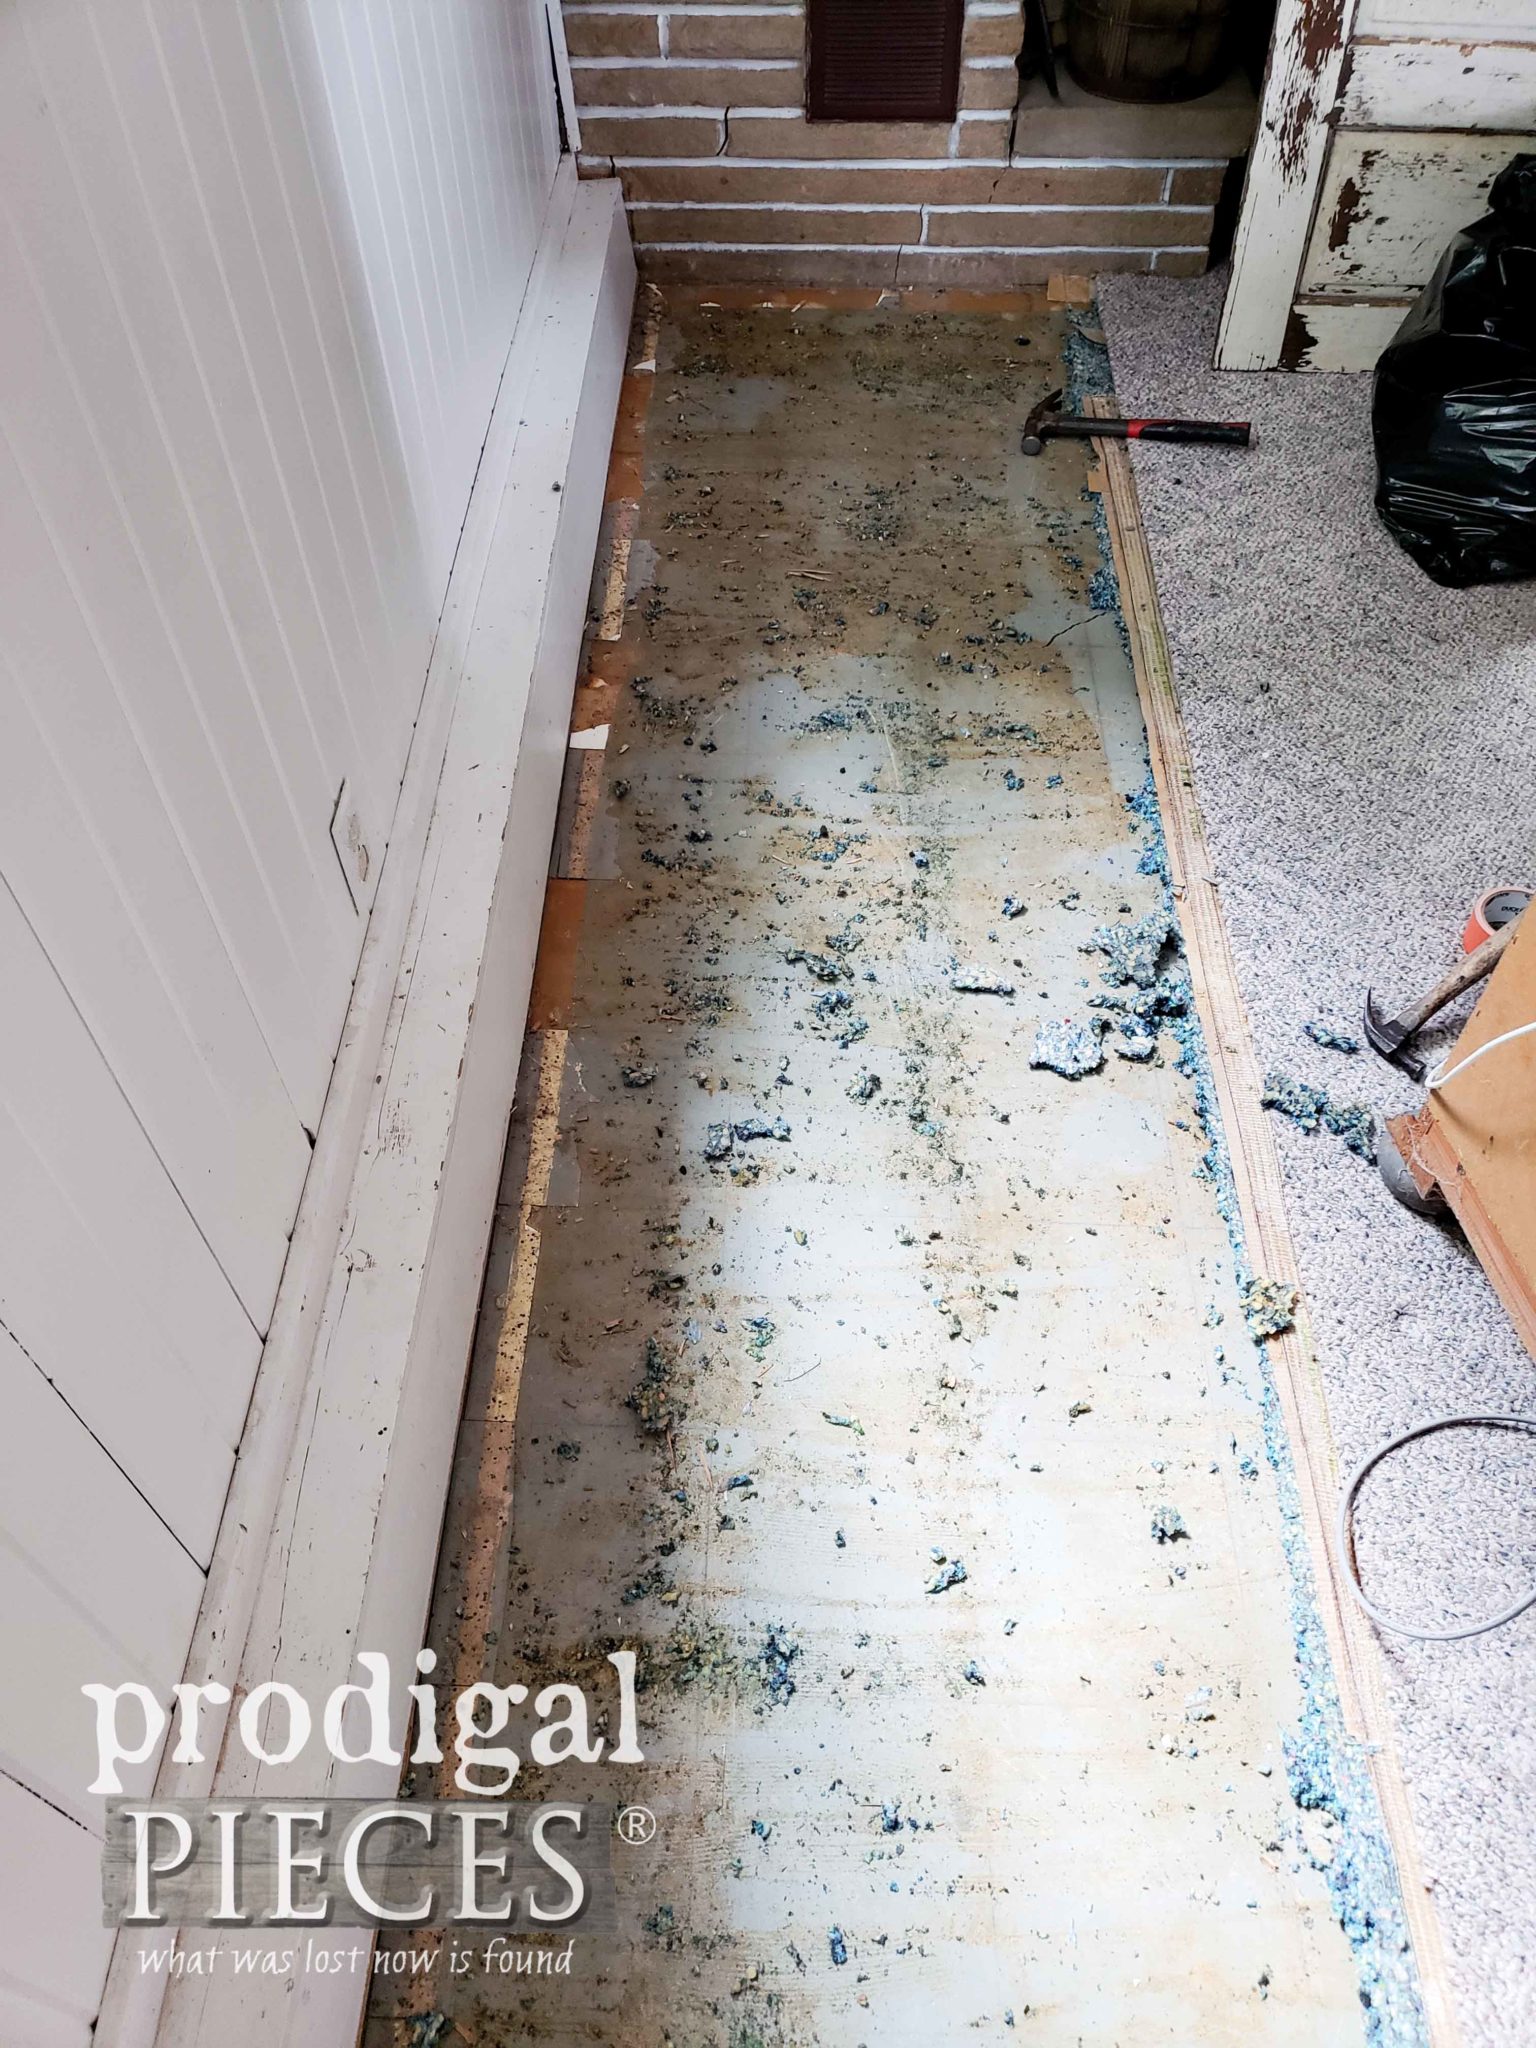
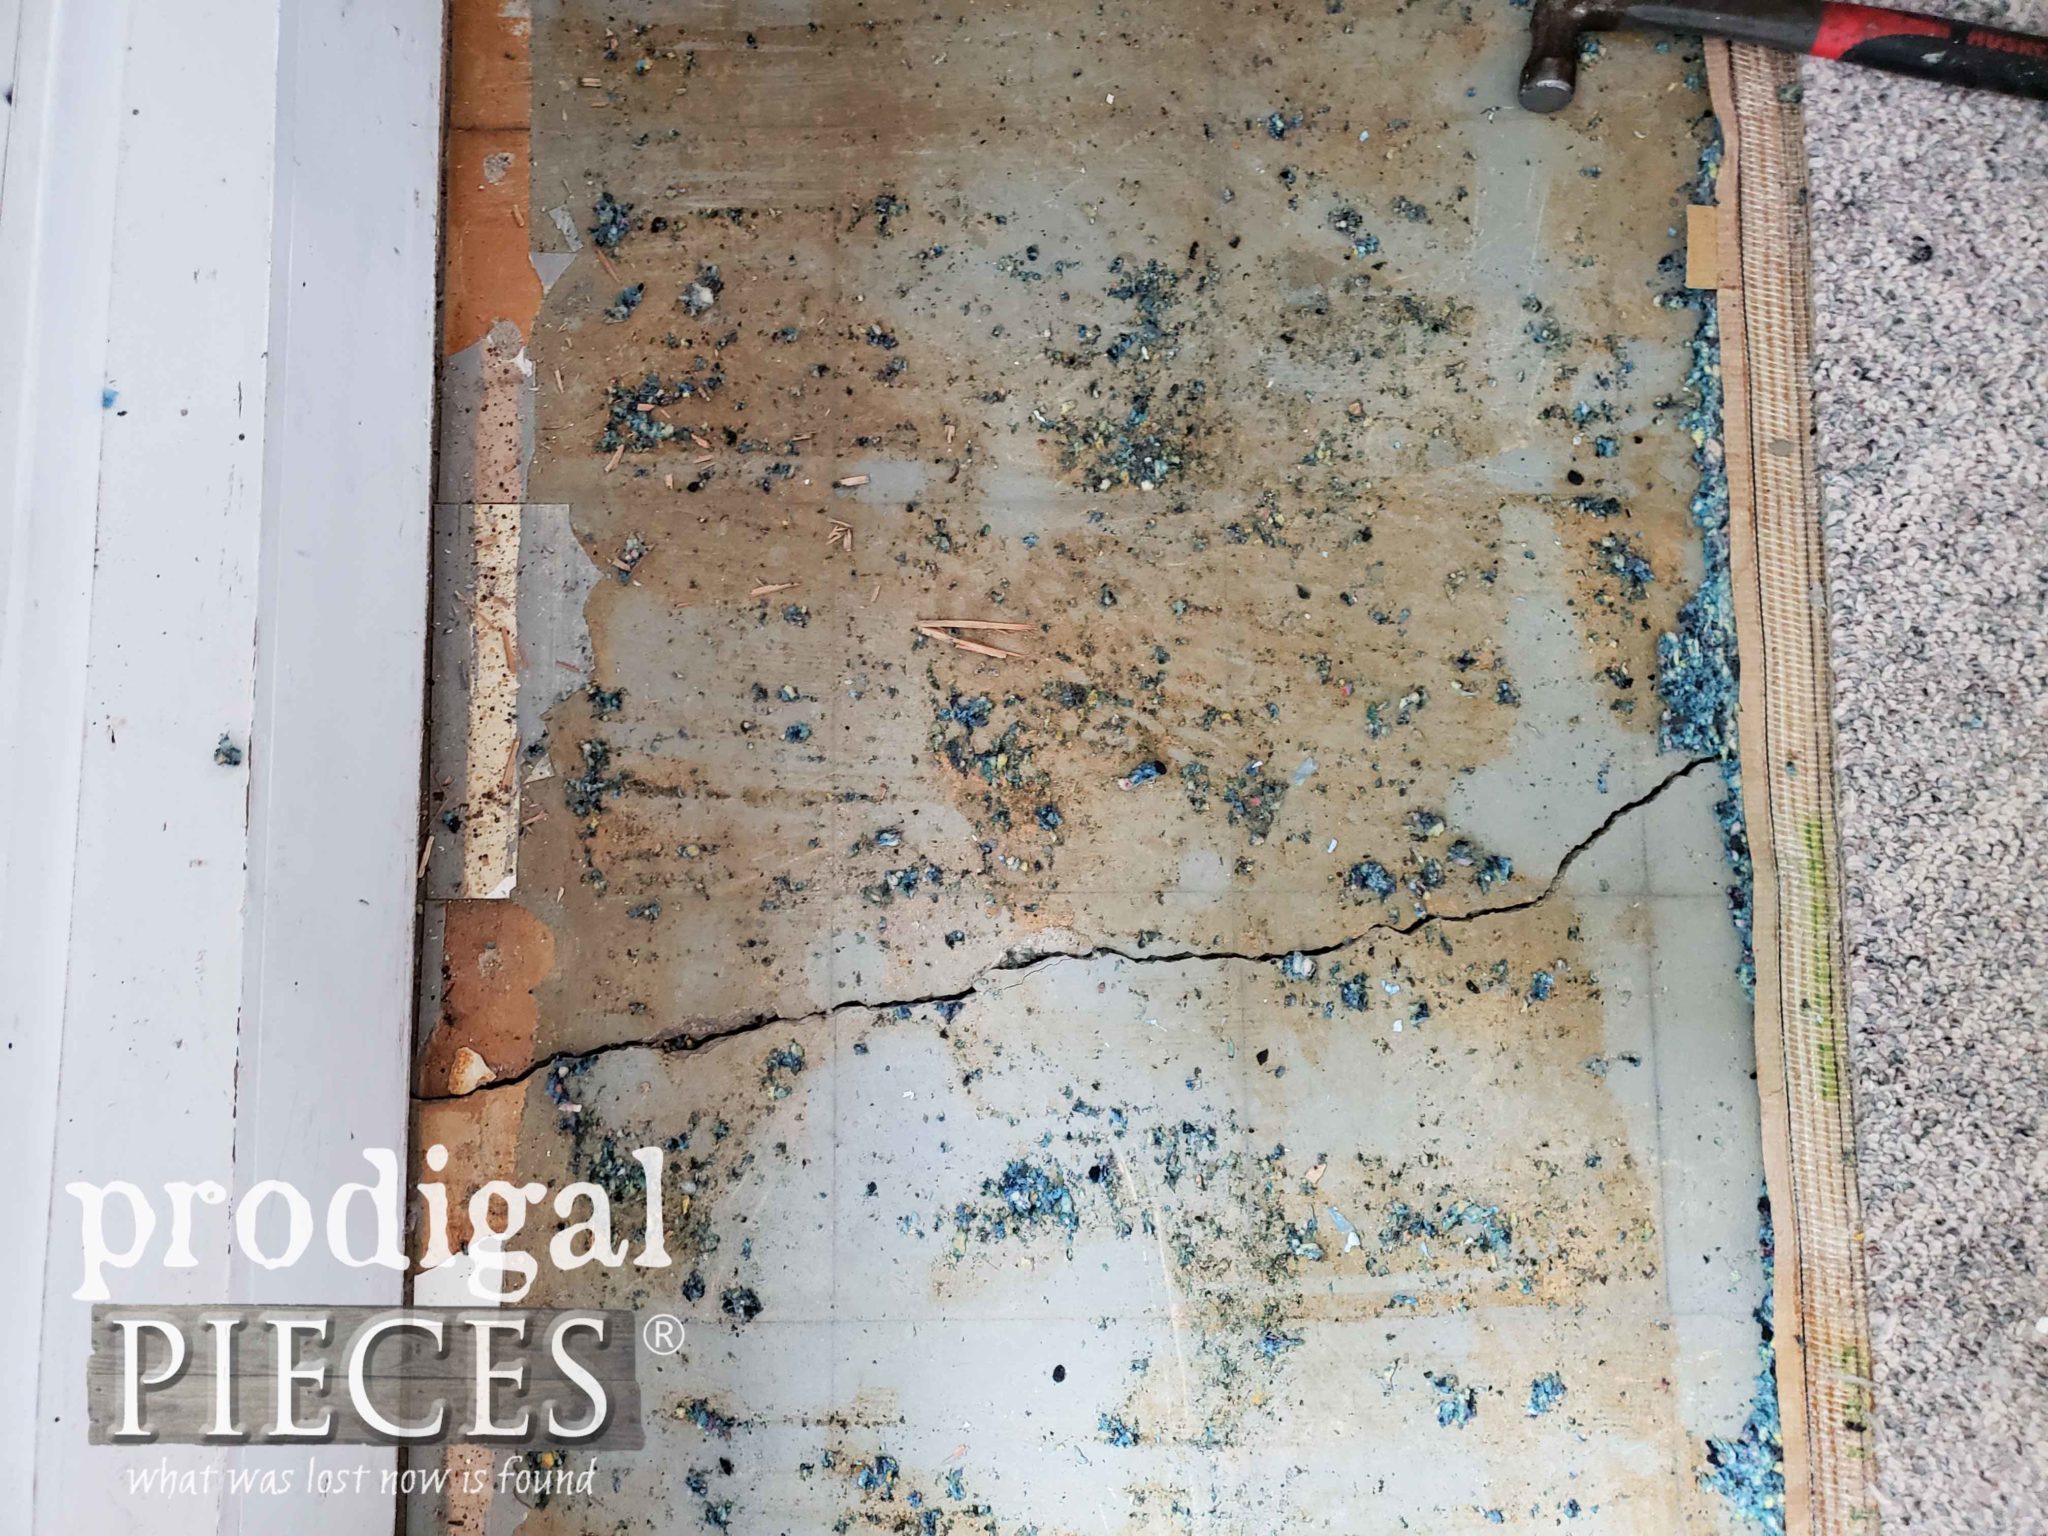 My kids were on it like bees to honey. They too couldn't wait to rid the room of the stuff even it if means we're living on the nasty floor for awhile.
DOG DAYS
Teddy isn't too happy though. He refuses to move as we took up the last bit of padding. No worries though...he has several beds throughout our home to keep cozy.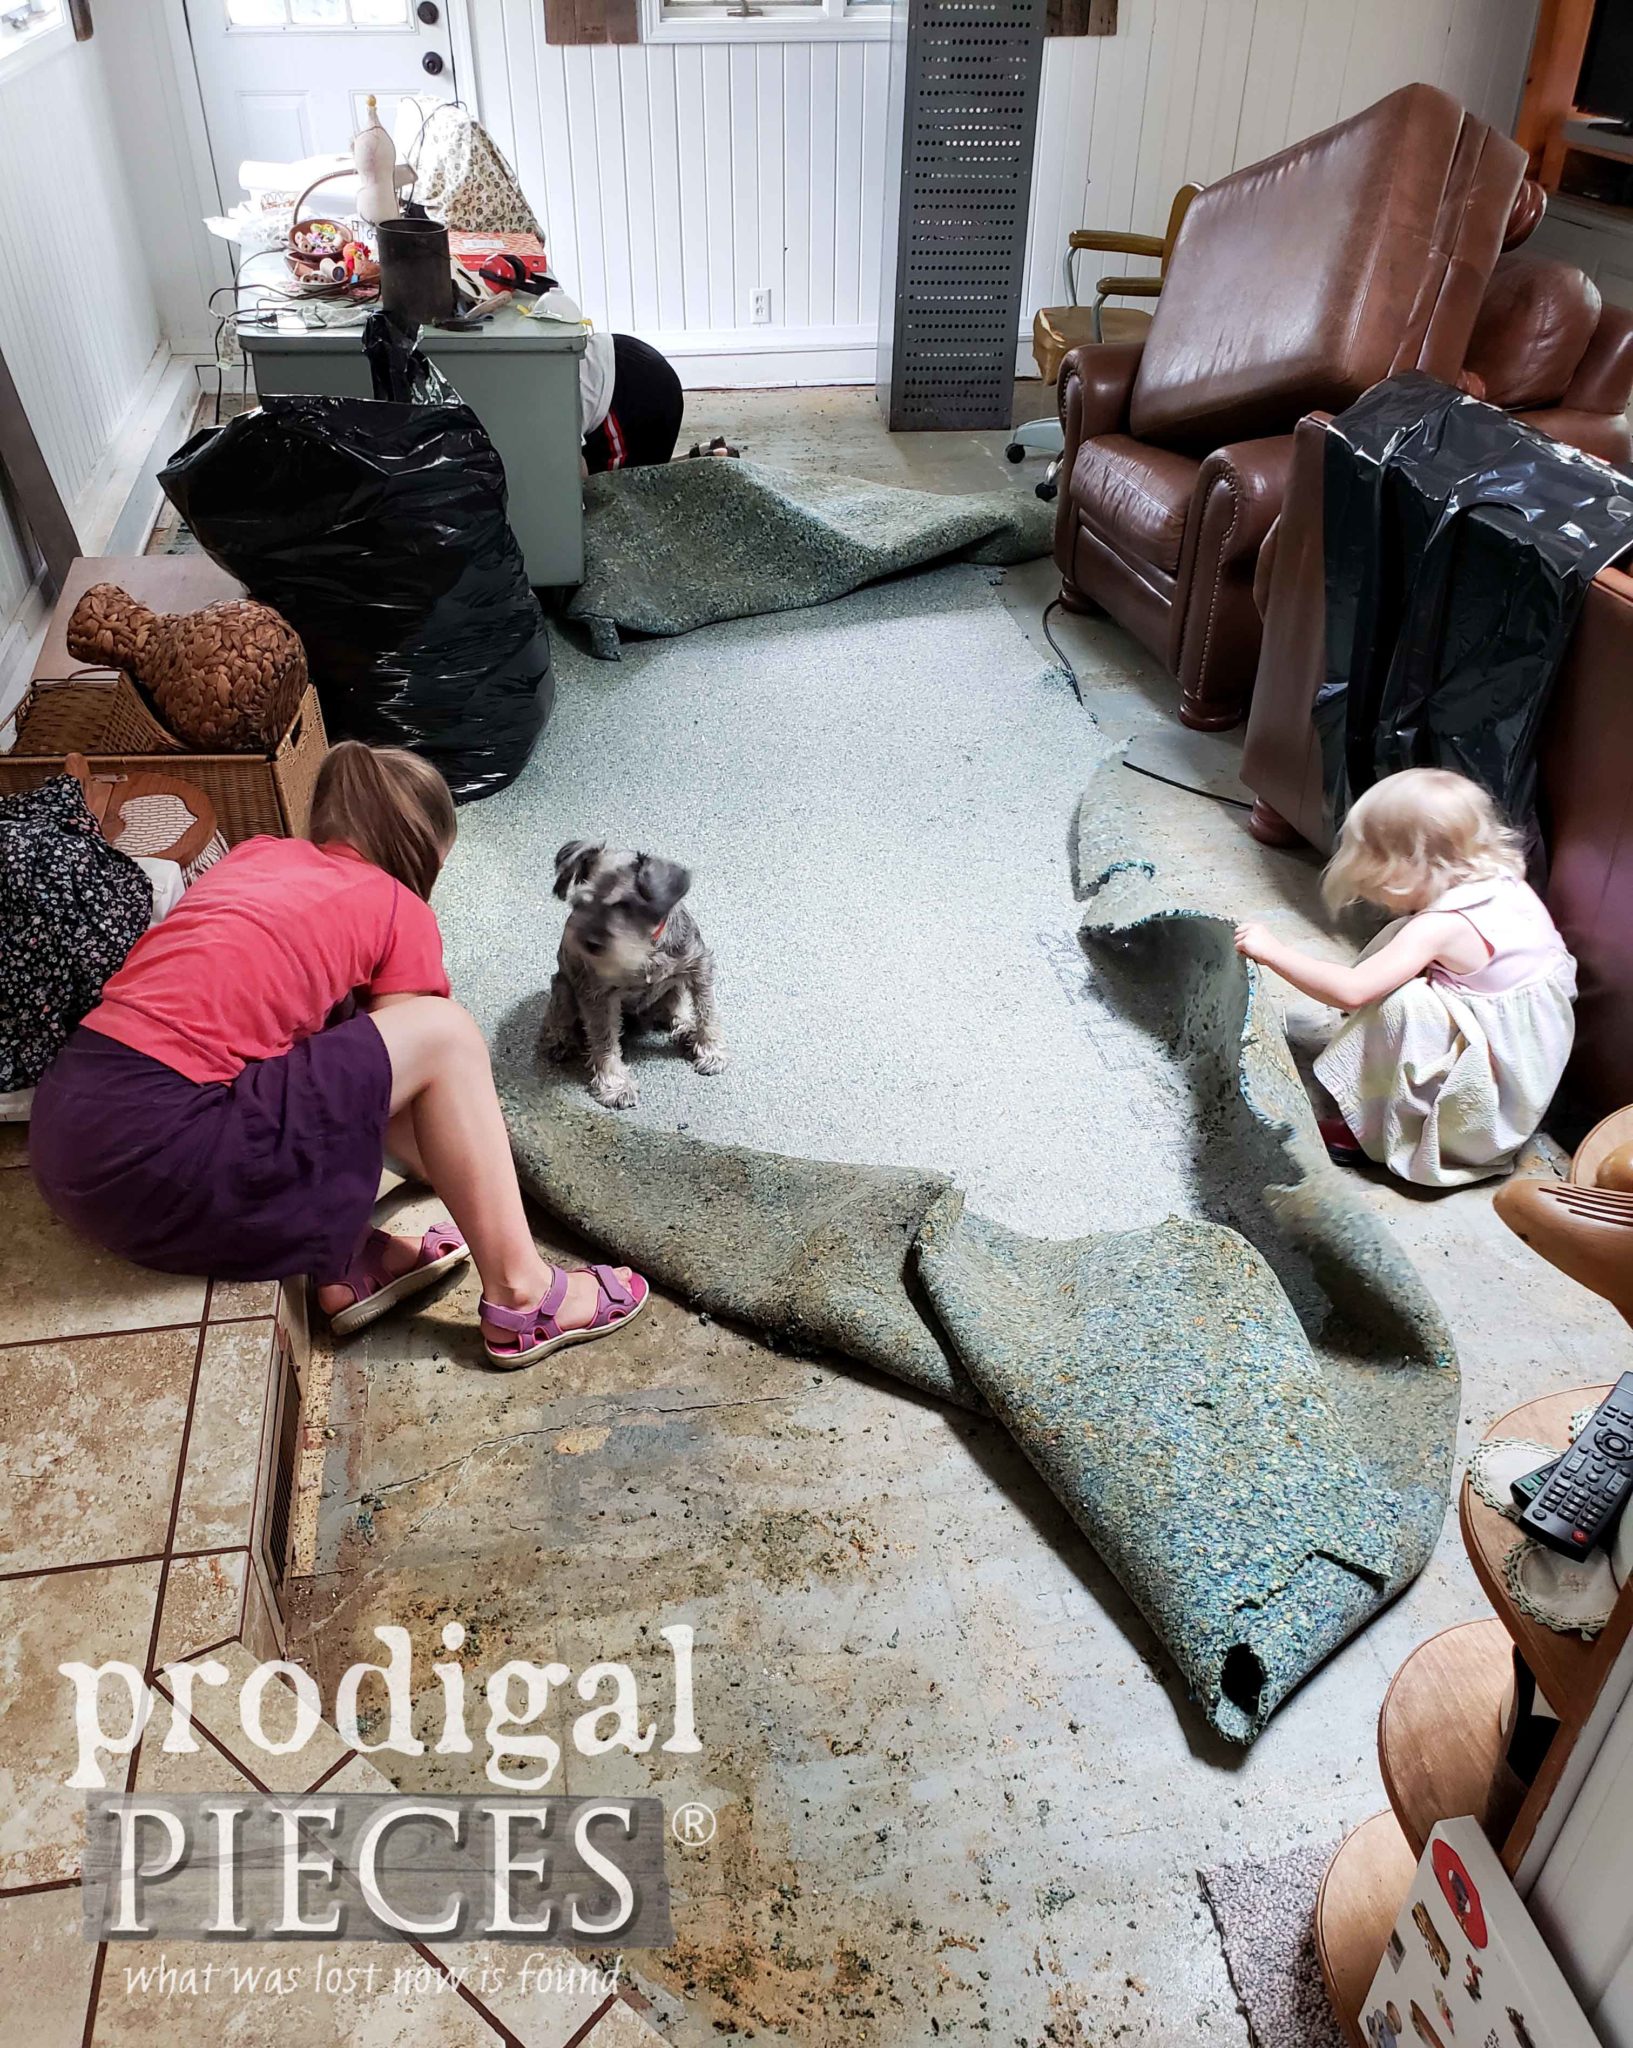 See...the angels sang again as they came to haul it away. I remember vacuuming before we yanked it up. Then, it hit me this is the LAST TIME EVER I would have to do that. No more carpet in my house. WAHOO!! You can see my other carpet adventures in this post. Yes, I even watermarked it claiming it as my own trash. {{fist pump}}
 Prayers we get answers to our floor dilemma soon so we can put this behind us. We are also so thankful we have physical, financial, and emotional strength to be able to do this ourselves. What a blessing! UPDATE: You can see our family room remodel HERE.
ONWARD
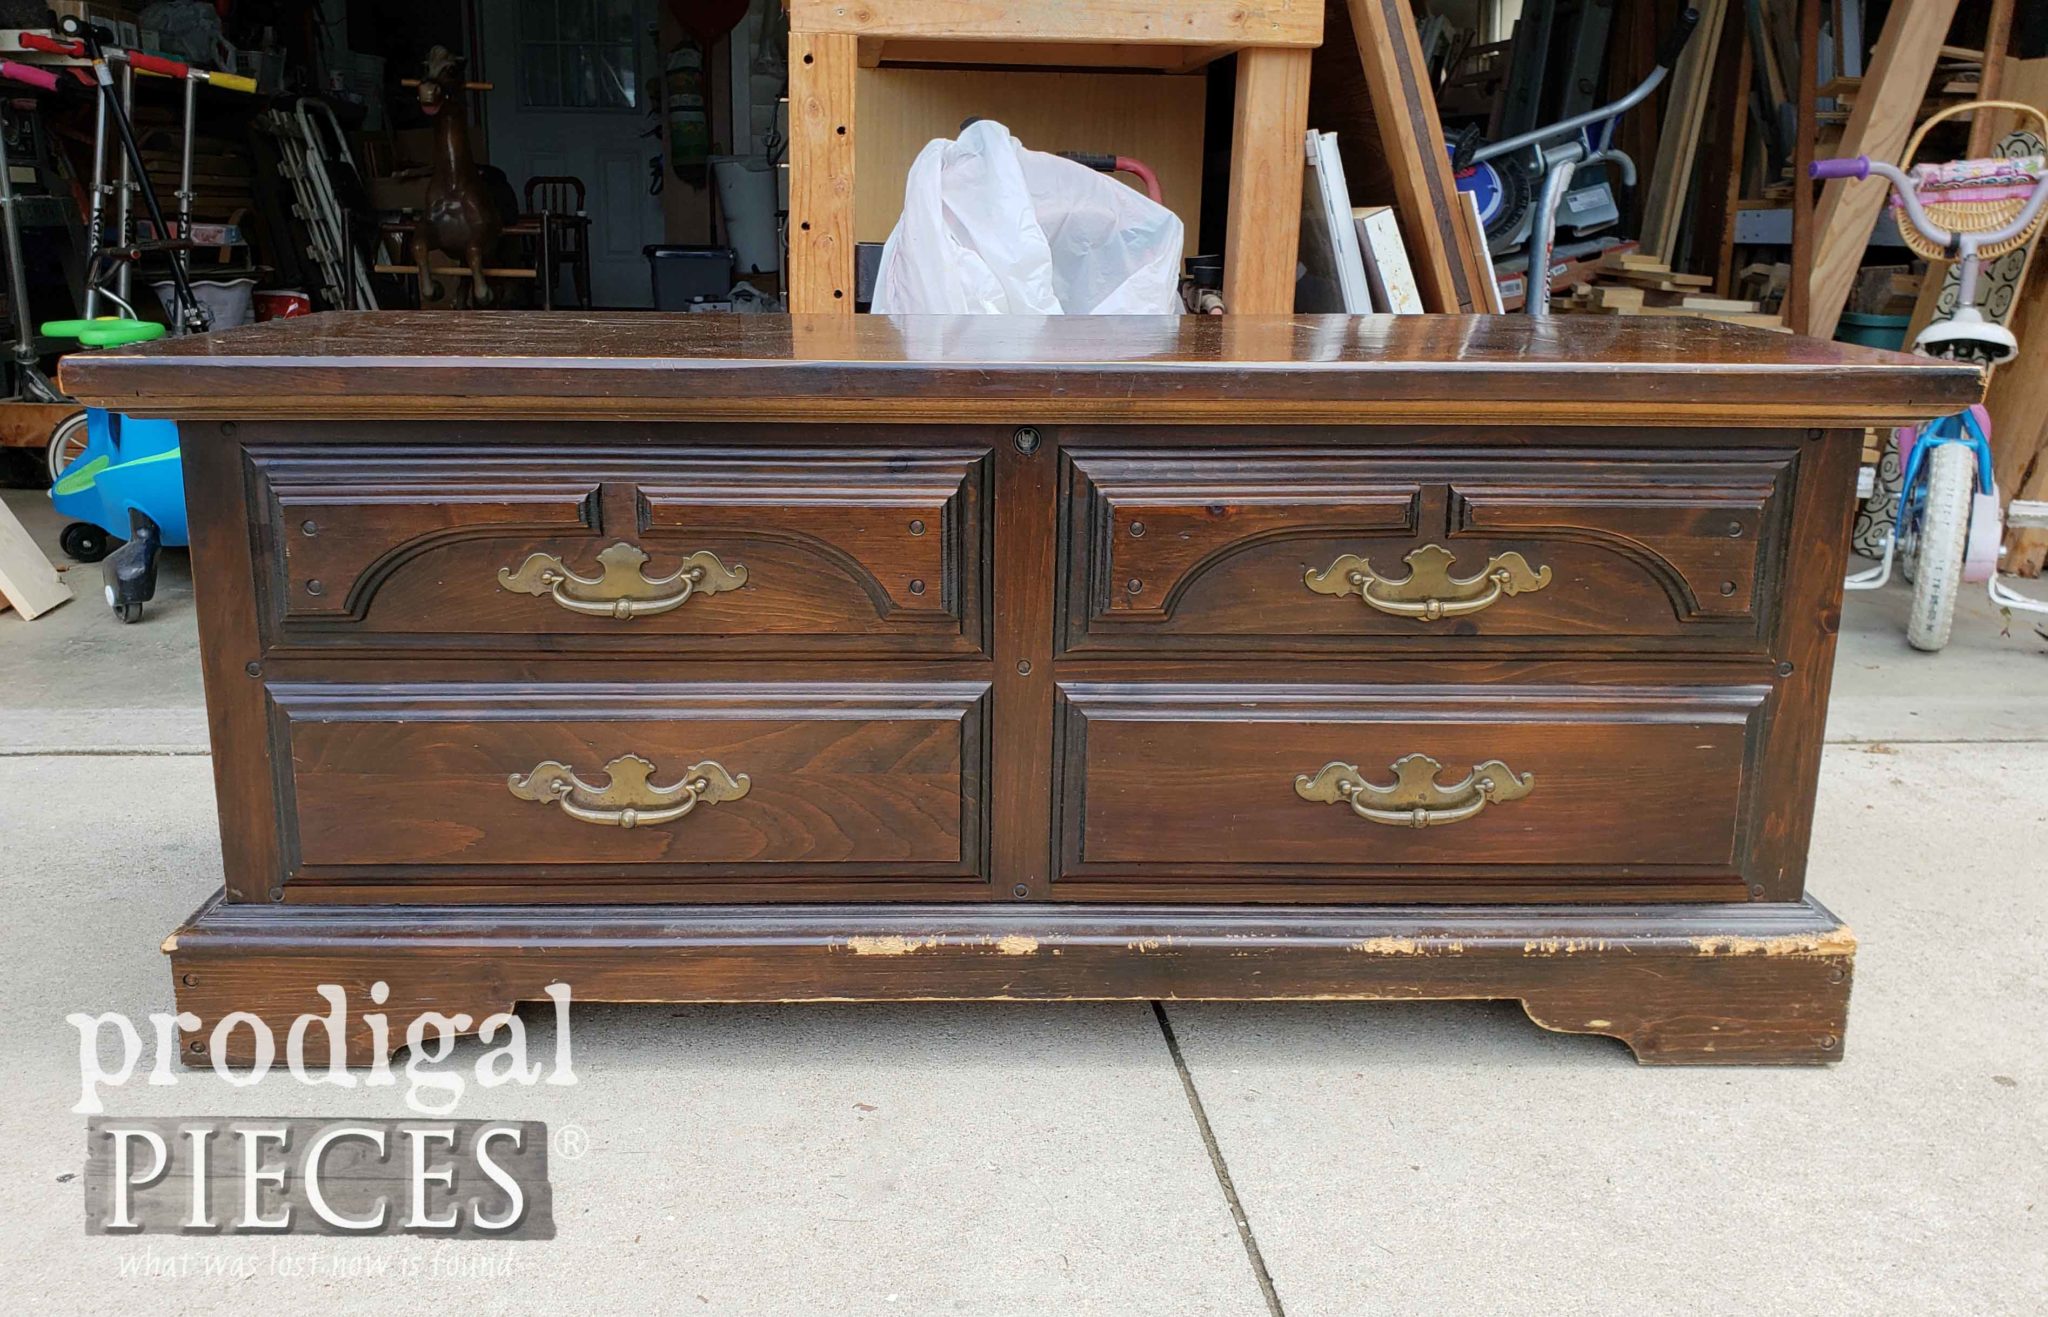
So, for those of you who would love to have the look you want, it's doable in most instances. Patience and hard work is key. There are so many ways to improvise and make do because there are so many fantastic DIY bloggers who give you free advice. If you have ANY questions about what I've shared, please send me an email. I'm happy to help! In the meantime, do pin and share my DIY coffered ceiling to inspire. You just know there are others who would love to learn how. (or even follow our crazy adventure) It's never dull here! Up next it's Furniture Fixer Uppers day and this dog chewed up beauty is begging for a new life. See the after HERE.
 To get these DIY tips & tricks in your inbox, be sure to sign up for my newsletter. PLUS, you will get your FREE Furniture Buying Checklist and special discount to my shop. Until next time!
 Also, more projects like my DIY coffered ceiling tutorial:
