There are times in life you make a no-brainer decision. Today is one of them for me. If you were offered this vintage Bassett buffet, would you turn it down? If you did, I'd happily jump in and take it off your hands! haha!

Thankfully, my friend knows me well and knows I adore pieces like this. They are primarily designed to be buffets (or sideboards). However, they also serve well as entertainment centers, dressers, and even a changing station for baby. Take a peek at all the past buffets that have been redone
HERE.

At first glance, it seems to be in great shape, and it is. All original pulls, no broken doors or drawers, and it sits square. However, there is surface wear that is pretty heavy . For instance, it's like someone either put duct tape across the top and left it for ages, or left fabric soaking with a chemical. Plus, it also has missing veneer and gouges, which is certainly normal for a piece like this.

While all that is definitely repairable, the worst part about it is the scent it emits. I'm happy to say it doesn't reek of cigarettes or moth balls, but whew! Someone definitely dumped some sort of potpourri oil or something because cinnamon is the name of the game.

DIY TIME
First, I wanted to see how the top would fair with a good sanding. I used my orbital sander to take of the finish and stain. Unfortunately, the veneer on top was so thin in spots due to that damage that it was wearing through. That meant no staining for the top.

It's just as well so I could seal up the scent with a Zinsser B-I-N Primer, the same one I used to seal in cigarette smoke in this
entertainment center I upcycled. Just FYI...normally baking pieces in the sun will remove most odors, and I tried that with this one. It relieved some of it, but not all.
PAINTING
So, after I repair damage and prime it's time to get some paint on this vintage Bassett buffet. First, I begin with the interior of the cabinets.
I wanted the interior to have a contrast to the exterior color I am using. This will lighten and brighten the interior as well. Meanwhile, the outside will be getting my favorite color, Slate Green using my Angled Brush.

In the past, I've used this color on
my kitchen cabinets, my interior trim, and even
this secretary and
upcycled gun cabinet.

Next, I wanted to add dimension. While adding the second coat of paint, I used the layering technique to blend in a darker gray to the outer edges.

You can see how I've used this technique before on
this antique dresser.

Last, but not least, I wanted to take the two silverware drawers and remove the felt lining. It is in good shape but holds an odor as well.

I had to remove the staples that held the sections in at the back, then pop them out. That allowed me to add a liner to update it and refresh it.
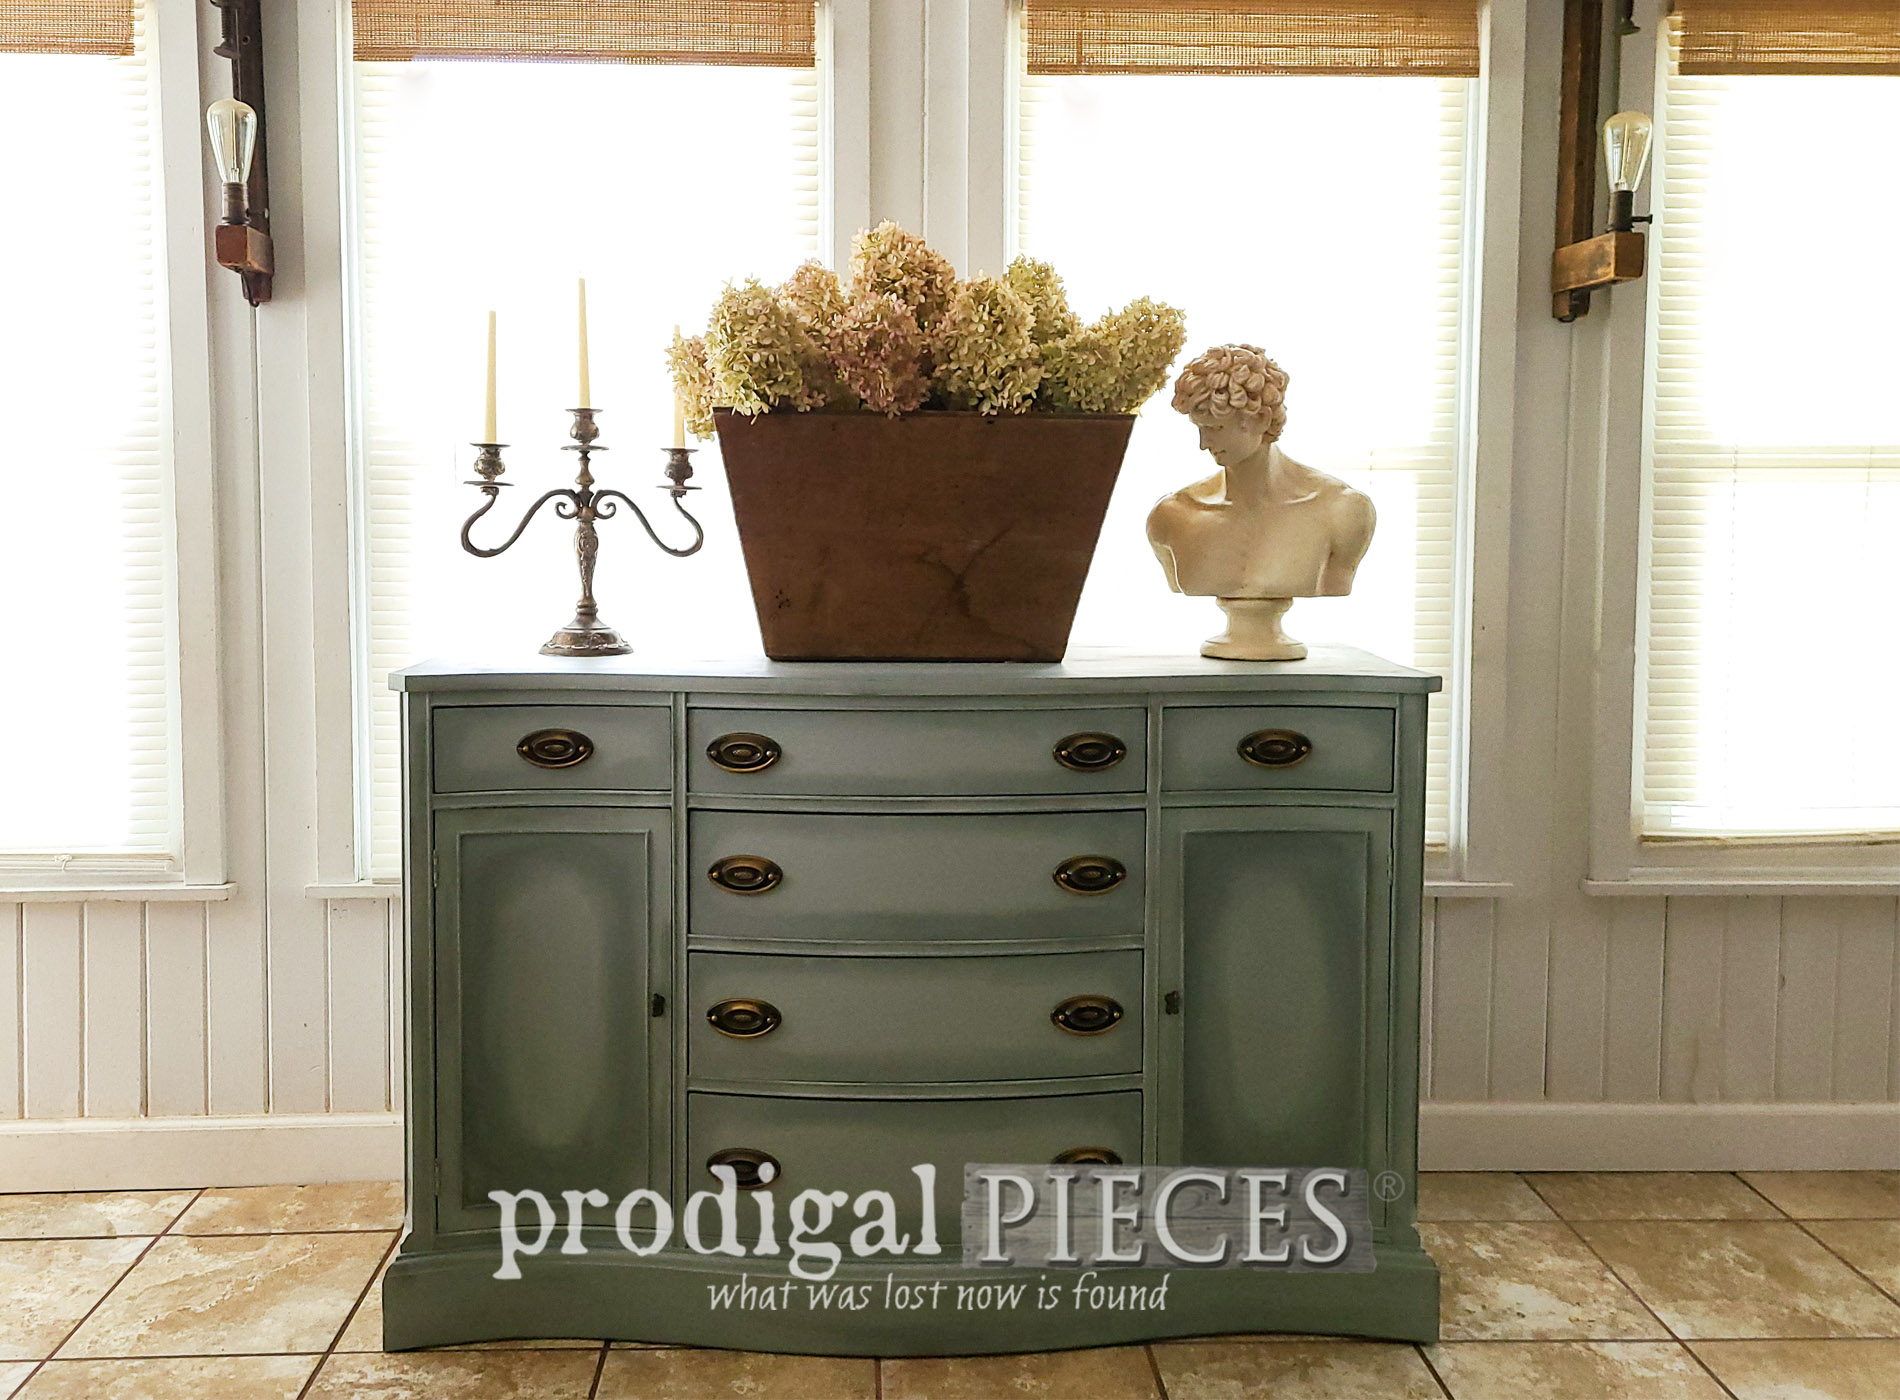
THE REVEAL
Here is this vintage Bassett buffet in its new form. Whew!


I'm smitten! The color is, as I mentioned, one of my favorites. Its soft and the accents add depth to the design, don't you think?


In addition to the exterior color, I adore the sort of gentle peek inside the two side cabinets.


And true to his doting nature, my old buddy, Teddy, is here to give his two paws up for my work. Also, notice his ears...he knows he's not supposed to be there. hahaha.


If you'd like to add this vintage Bassett buffet to your home decor, you can find it available in
my online shop.


SHARE
Additionally, do pin and share this makeover to inspire others. Furniture is a great asset to the home and can bring such joy when made your own.

Up next, this little gem will be receiving some TLC too.
Head here to see!

To get these DIY tips & tricks in your inbox, be sure to
sign up for my newsletter. Until next time!

 PINTEREST | EMAIL
Also, more furniture makeovers like this vintage Bassett buffet: