 When I spied this bookcase at the thrift store, I took note of how cute the lines were and knew that it had potential. It's made of inexpensive pine and not an antique, so this bookcase is fair game for a makeover in my book. Sounds like fun!
READY, SET, GO
To get started, I pop off the back plywood panel and give it a good sanding. Since I had planned to put the panel back on, I needed a flat surface to work with. So, I flipped it over and gave it a good sanding with my sander. Then, I also sand the top of the bookcase down to get rid of all the wear, and lightly sand the rest to give it tooth (something for the paint to stick to).
*post sponsored by HomeRight (see full disclosure)
Once everything is sanded, I wipe everything down to remove any dirt and debris. Next, I set up my spray shelter and propped up my bookcase on some scrap wood.
PAINT TIME
Since I was after a totally fun aged look with a Boho vibe for my updated bookcase, I chose to use two colors for my finish. One was a soft aqua, and the other a coral color. I've used the seconds color aqua before on this dresser, and the Aloe Blossom on these projects. It seems I'm in the mood for these colors as I now have many clothes with this scheme and even crocheted my daughter's afghan in the same colors. hahaha...Fun! Not only do I break out my large spray shelter, but my paint sprayer.
To give you a visual of how cool it really is, check out one of my videos demonstrating how I used it for stain.
Not only do I break out my large spray shelter, but my paint sprayer.
To give you a visual of how cool it really is, check out one of my videos demonstrating how I used it for stain.

DIY TIME
First, I begin by attaching the blue tip and black cap to my paint sprayer and filling the reservoir with the aqua paint for my undercoat. However, I did need to thin the latex paint I was using per manufacturer instructions. Just be sure to read your labels before filling up. Only one coat is needed - let cure for about 2 hours. As soon as I am done spraying, I clean the sprayer to get it ready for the next coat of the coral color. So super simple and easy to do as my first coat was done in minutes. The blue is looking good, isn't it?
 Before I began to apply my second color of paint, I wanted to take a step to make some aging happen. One of my favorite methods to do that is using petroleum jelly.
 I wouldn't put this stuff on my body, but I have a container of it for creating an aged effect. Simply get a tiny amount on a rag and wipe it on corners, edges, and any place that would normally receive time-worn wear. This will cause my second coat of paint to resist adhesion anywhere I apply the jelly and make it have a fun chippy effect when done. You can see other projects I've done with it on my blog HERE.
BRING ON THE PAINT
Time for the second coat! Yay! I load up with my coral color to add a fun contrast to the blue. Stay with me here, I have a purpose! tee hee. Once the second coat cured, I used a 120-grit sandpaper to softly remove the paint where I had applied the petroleum jelly. This gives it the aged appeal I was after. However, the fun doesn't stop there. For added depth, I also did a brushed wash of the coral paint that I lightened up with a bit of white. I applied it using my paint brush by brushing on and then wiping off leaving a bit behind.
 After that, I also added a dark wax as a topcoat to seal the paint and create even more dimension. My toddler even commented, "It looks old." I responded, "Thank you!" haha.

FINAL TOUCHES
For the finishing touch, before the backing was replaced I wanted to apply a sheet of this peel-n-stick repositionable wallpaper. Isn't this a pretty paper? I've used wallpaper in so many fashions over the years, including on walls, and I still love the versatility this stuff offers. It just happened to be the backing of my bookcase was the exact width of the wallpaper. How cool is that? I love it when projects are made easy. So, I simply laid the backing on the wallpaper to mark and cut. Then, I make sure my surface was clean and dry, and peeled back the top edge to line up the paper. The key is to only pull back the wallpaper backing in small increments as you go smoothing out bubbles and working your way down.
 Instant success. And if you happen to get off center, just peel it off and try again. So for all of you looking down on wallpaper for the frustration of hanging and removing. No more worries!
FUN TOOLS
To attach the backing back on to the bookcase, I whip out my stapler and tack it on. I love my tools. toolsoverjewels, baby!
REVEAL TIME
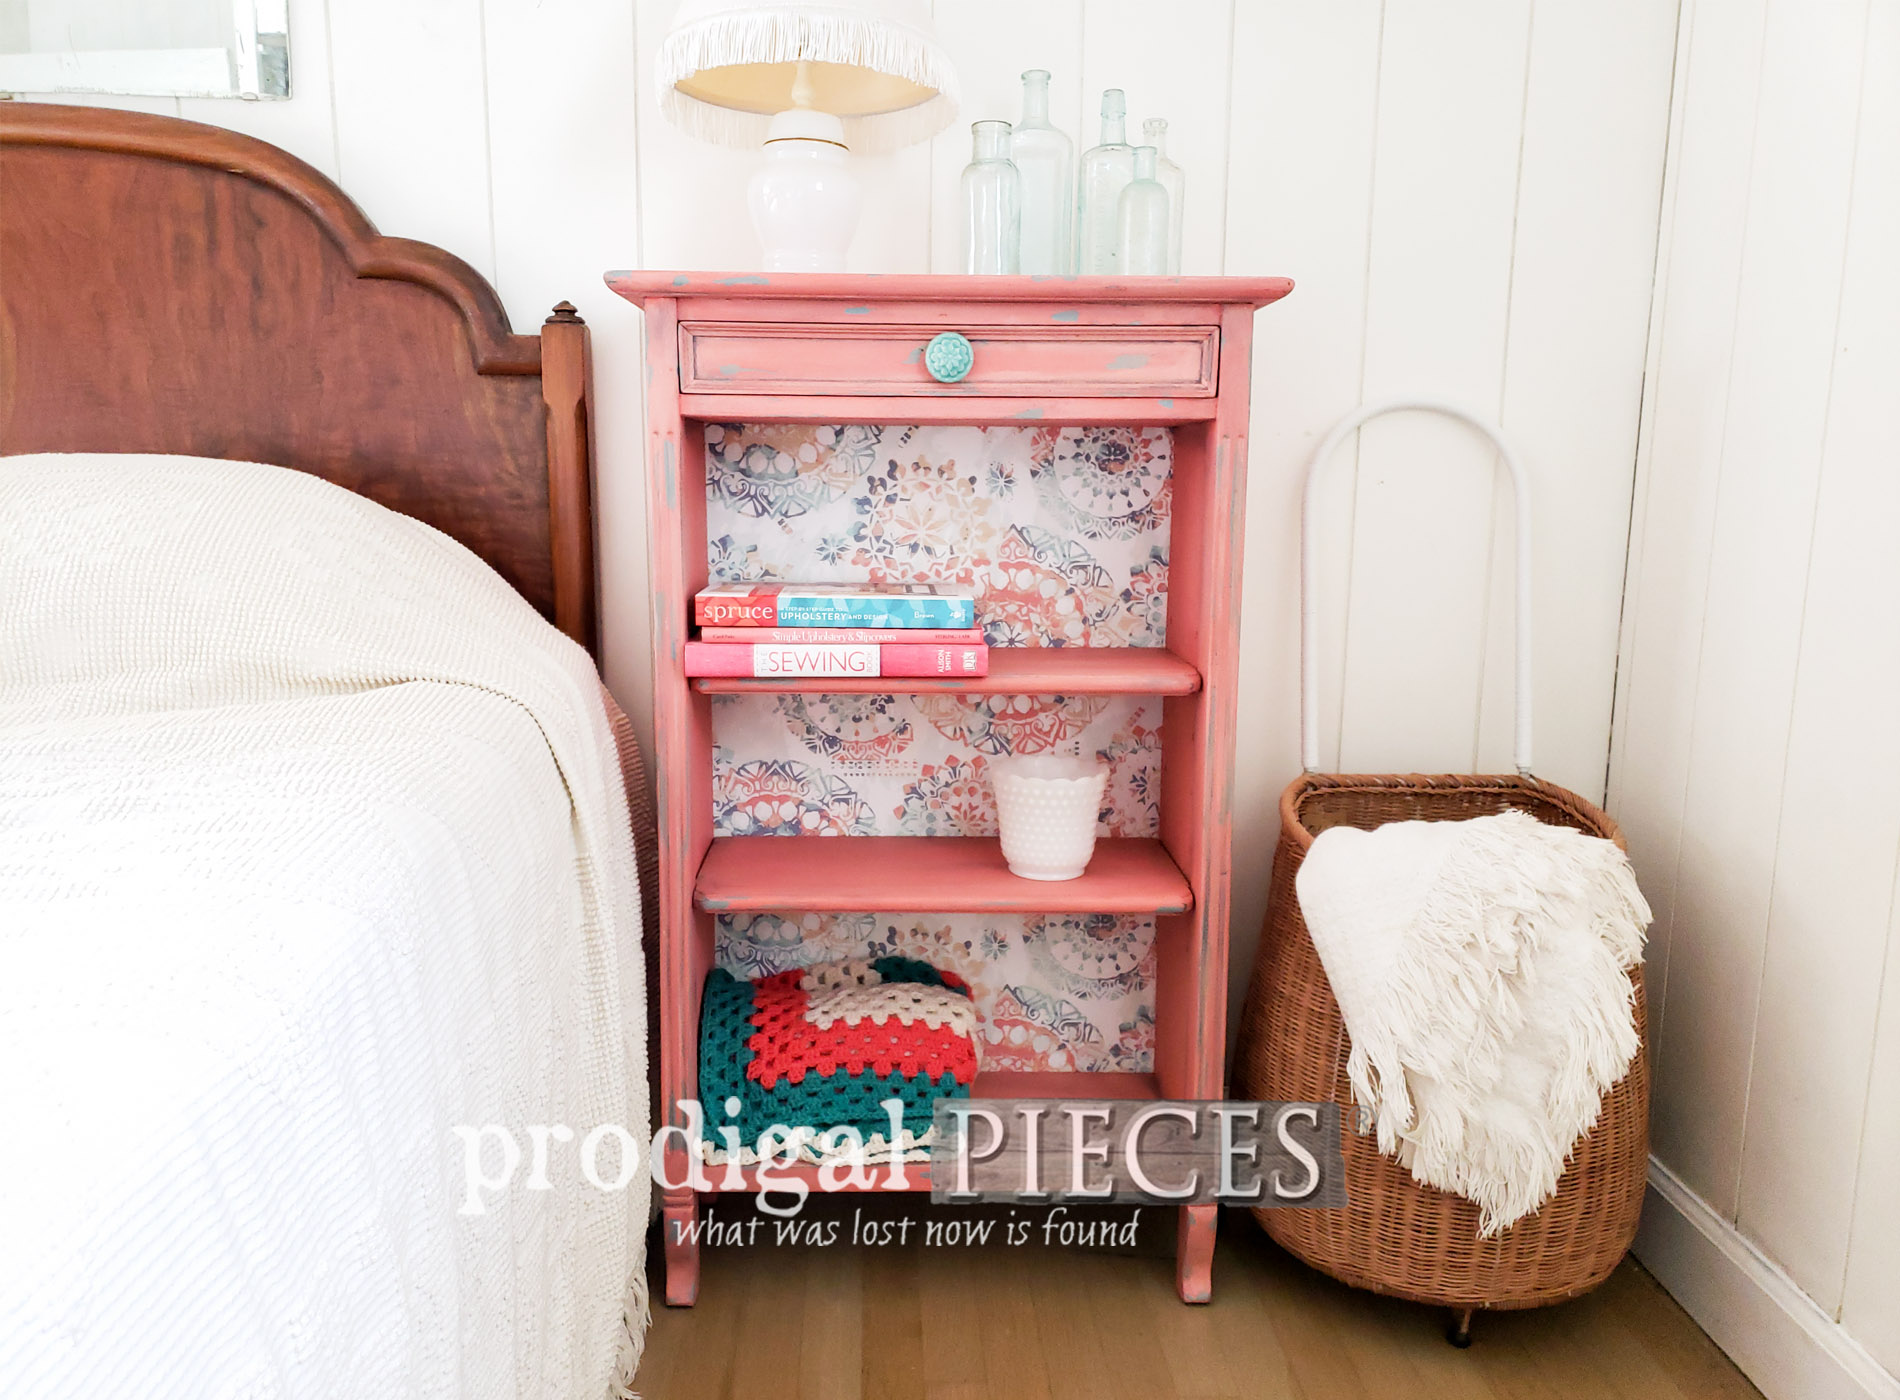
So, are you ready to see this updated bookcase all together? I am. {{happy dance}}
 I love how the color is soft, yet fun, and how the wallpaper adds a bit of drama. Also, there's even a party on this inside.

 So there you have it...an updated bookcase with paint and paper. Likewise, it's fun to recreate these pieces that needed a little umpf and pizzazz. If you're loving this piece, you can find it in my online store along with all my other creations. Sign up for my newsletter below for an instant discount.


 In addition, pin and share this updated bookcase makeover to inspire others to get out there and get their DIY game on. Woot!
 Up next, these cast-offs will get a new life and purpose. Any guesses what they were? Come on over to see! (<-- CLICK)
 To get these DIY tips & tricks in your inbox, be sure to sign up for my newsletter. Until next time!

Also, more projects like my updated bookcase:

