Hey, hey, hey! It's
Trash to Treasure Tuesday! It's the second Tuesday of the month where my blogger friends and I share our latest DIY inspiration for you. I found this super cute kids' desk that used to have a hutch (and drawers) set out for trash. However, it's going to get a new life as an upcycled play kitchen. woot!

Yes, this little desk is mightily worn and ragged, but there is still life there. You know I'm a sucker for the unloved in furniture, especially when it's made of wood. Funny thing is my teen daughter was driving to earn driving hours, and I had my older son hop out and grab it. Good kids. haha.
KID FUN
You see, I'm a sucker for making awesome things for kids. I tend to live vicariously through them. You can see my
upcycled bread box grill HERE, or my
upcycled bookcase farmers market HERE. Even more kid fun projects
in these posts too.
Likewise, if you look close at the top, you will see nails poking out that once held a hutch of some sort. It really looks like this was handmade special for someone who very loved.

DIY TIME
To show you exactly how I made this upcycled play kitchen, I've created a video below. However, I will briefly outline the steps I took as well. First, I removed the top and all the scary nails. Plus, I also removed the drawer runners on the right side.

My goal is to create shelves that can be used in those spaces instead. Afterward, I use my circular saw to cut a few pieces of cabinet-grade plywood. Then, I shortened it with my miter saw. Then, I notched out the pieces with my jigsaw to make them fit. Once cut, I used my Kreg Jig to make pocket holes that I can use to attach the shelves.

MORE SHELVES
Next, to add more storage and stability, I added a larger shelf to the open side using the same methods outlines for the drawers. In addition, I added beadboard to the back with my stapler.

Now for the top. First, I used the play sink to make a tracing. Then, I used my drill to create pilot holes so I could cut an opening with my jigsaw.

As you can see, I have also used a ton of wood filler to take care of holes and blemishes all over. To finish it off, I used my sander to knock that down and give a fresh surface.
PAINT TIME
Finally, once I felt all was in place to begin finish work, I used my paint brush to add a fun color pop to the interior.

And then also a fun yellow I've used before
HERE to the outside and top of the cabinet.

REVEAL TIME
Finally, after a bit of whimsy added, here is my upcycled play kitchen with working play sin and all. woot!

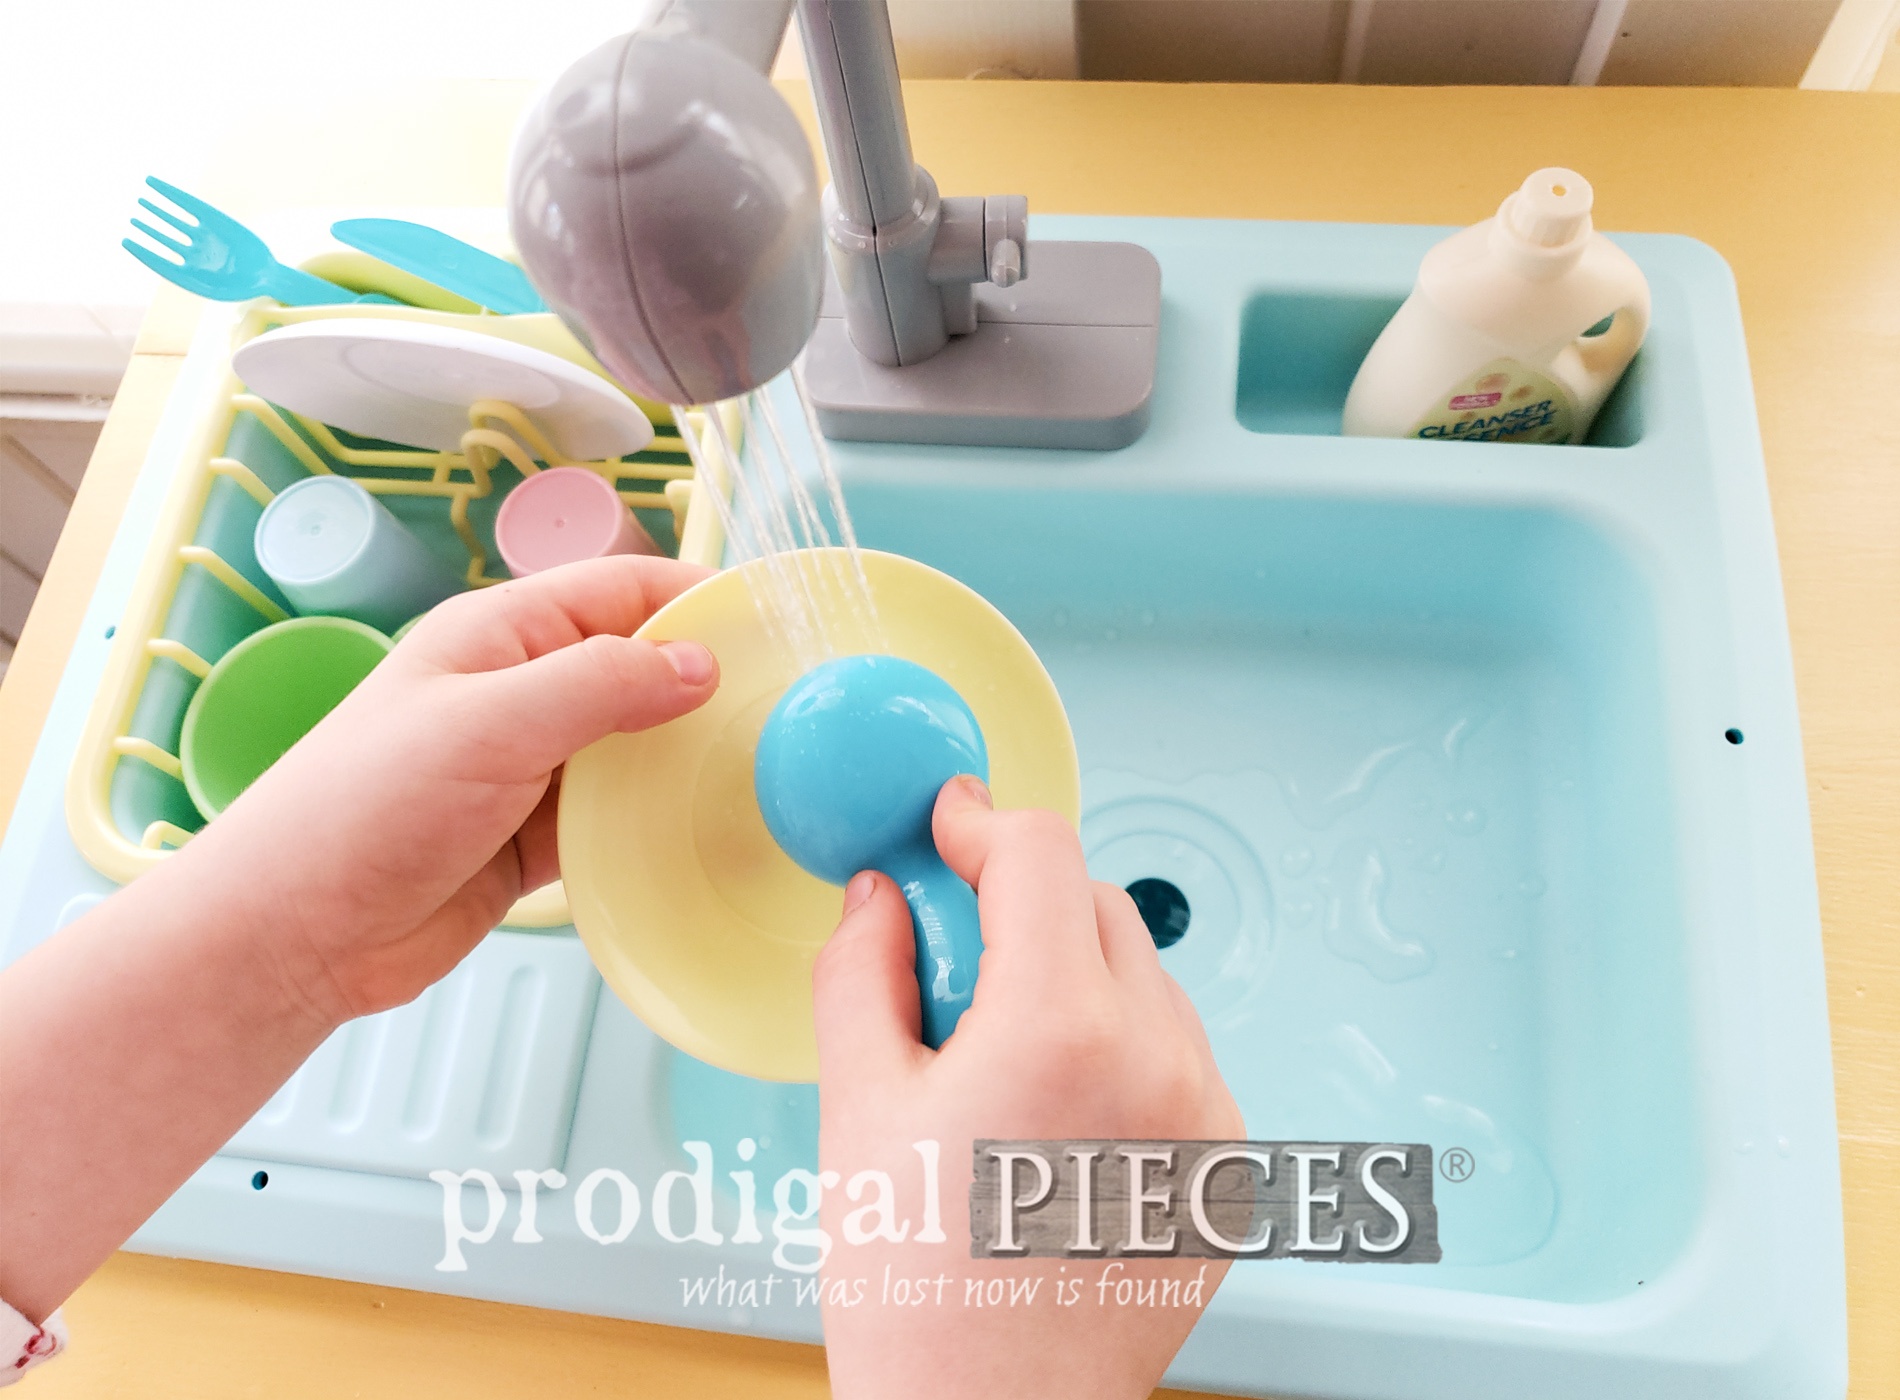
WATER

So, so fun for me to get this DIY job done. Aren't you glad I made my kids grab it for me? And of course, I still have a little, little enough to help me make sure this all works properly.


This desk originally had a pull-out board, I believe. So I added one back in, but made it a cutting board for more fun.


Now, I'm curious...would you have turned it into something else? Noneheless, it sure is fun to mix it up with these finds.


Can you tell how much fun it was for me to stage this, and my little having a blast playing too?

Likewise, if you'd like to make this play kitchen your own for your kids, grandkids, or...even yourself, you can find it in
my online shop.


Additionally, pin and share my upcycled play kitchen to inspire others to create their own fun in their home and for others.

SIGN UP
Before you go, be sure to
sign up for my newsletter, then take a peek at these awesome DIY projects for our Trash to Treasure Tuesday.

 PINTEREST


- Salvaged Inspirations
- Artsy Chicks Rule
- Confessions of a Serial DIYer
- Girl in the Garage
While you're at it, here are more fun projects like this upcycled play kitchen: