What kinda fun makes your pulse quicken? I could list many things, but one of the most exciting times is when I get a minute to dig into my stash of
trashure and create. Can you blame me? Seeing someone's trash or cast-off junk become something new is exhilarating! I know I'm not alone. What you see below are my own kitchen drawer fronts that are about to become an upcycled plant stand. Oh yeah!!

I'm sure many of you know I'm STILL in the finishing stages of our kitchen remodel. However, I did share a while back how I rebuilt a few of my drawers to look like antique crates in my kitchen cupboards. You can see the DIY fun
HERE.

RUSTIC CHARM
Since I took apart my kitchen drawers, I just couldn't bear to toss the drawer fronts. They're wood and certainly have much life left. All they needed was a new purpose, and that's where I come in.
First order of business was to assemble them. I used my clamps and my nailer to tack it all together.

Since my goal was to create a plant stand, I needed to add legs. My handy-dandy stash came to the rescue as I picked out this set of antique table legs. They have the most gorgeous patina on them. You can read how I scored them at the garage sale to end all garage sales
from this post. They just need a good cleaning.

DIY TIME
Now, you may be wondering how you would attach the legs to the box. If you saw
my headboard bench I recently built, then you would see how it works. I simply made mitered boxes on my miter saw for each corner. Then, I attached the boxes using my Kreg Jig to make pocket holes.

NEXT STEPS
First, to keep the miters tight, however, I assembled with wood glue and my nailer mentioned above. Before I could assemble the legs, I had to take the tops off with my miter saw. Then, I level the legs, pre-drilled holes with my drill, and attached with two screws on two sides. Now my assembly is nice and tight and ready to go.
Once the legs were attached, I added a board that would become the inside bottom of my upcycled plant stand. I plugged all the old knob holes with wood filler, and then sanded with my sander. I removed some of the topcoat of paint to let the white my cabinets used to be peek out. This sander is perfect for the tightest spots.

Also, I want a somewhat cohesive feel, so I add a few coats of Antique White to the inside and on the bottom shelf I also added to my design.

THE REVEAL
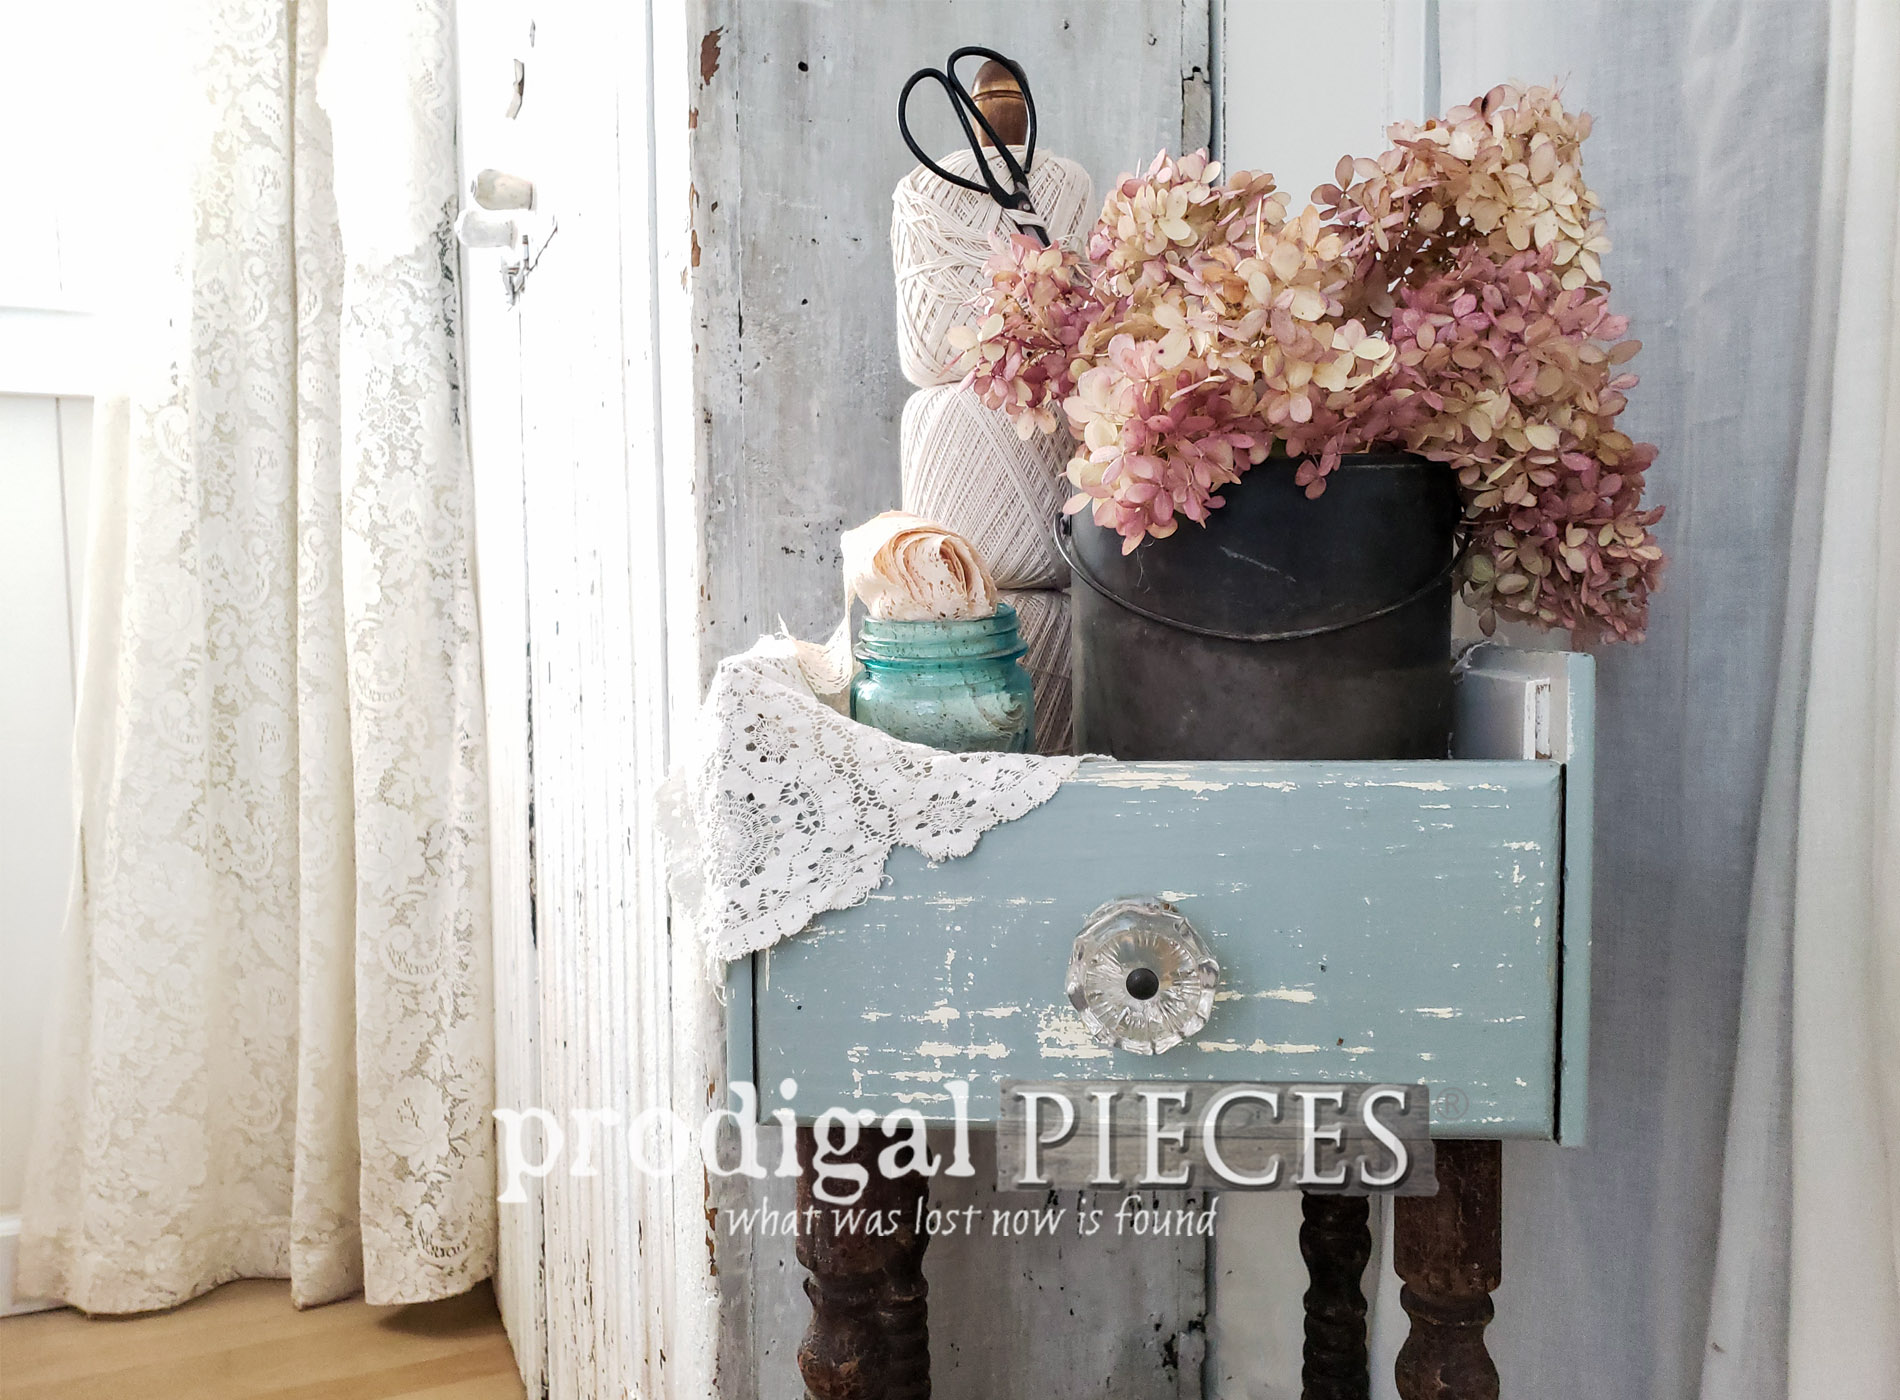
Finally, here's my leggy upcycled plant stand ready to go and looking mighty cute, if I do say so myself.


That ginormous glass knob was one of the last bits I saved from my BEEP. To know what I'm talking about, you'll have to head
HERE, and see their application
in this post. The knob is broken in one part, but nothing sharp and totally adds the time-worn effect I'm after.

While I'm calling this an upcycled plant stand, it can be used for whatever is your heart's desire. This size piece of furniture is fun because it can be tucked in most anywhere. I've styled it with a few of my baubles and had fun staging it in my bedroom.


While I just may keep this lil' cutie, for now I'm offering it in
my online store to you along with much more home decor. It's fun to create your home story and think outside the box store.


In addition, consider yourself invited to pin and share my latest build to inspire others to give DIY a try, plus not be so quick to toss the obvious. Making your home story is what it's all about.

UP NEXT
Up next is
Furniture Fixer Uppers time and this vintage chest nightstand is getting a face-lift.
See the after HERE.

Before you go, be sure to
sign up for my newsletter. Until next time!

 PINTEREST | EMAIL
Also, more projects like my upcycled plant stand: