When you're out garage sailing, perusing the thrift store, or even shopping Curb le Chic for
trashure, one thing is for sure: if it's wooden, it has potential to be something more. Take a peek at this vintage goodies below. This dear oldie, but goodies is up for an upcycled frame makeover, don't you think?

I'm not sure what was originally in this frame, but I'm assuming it was a bit of country art or maybe embroidery. However, this time around, I'm giving it a new look and feel. These types of upcycles are what are own homes unique and tell its own story. So, find your own frame to recreate and make with your own vibe as we go along. Feel free to send me your upcycled frame projects too!
DIY TIME
First, I get into my scrap pile and pull out a sheet of luan. Luan is one of those things I keep on hand regularly - that and hardboard. Both are perfect for filling in frames and creating art. I measure and cut with my jigsaw.

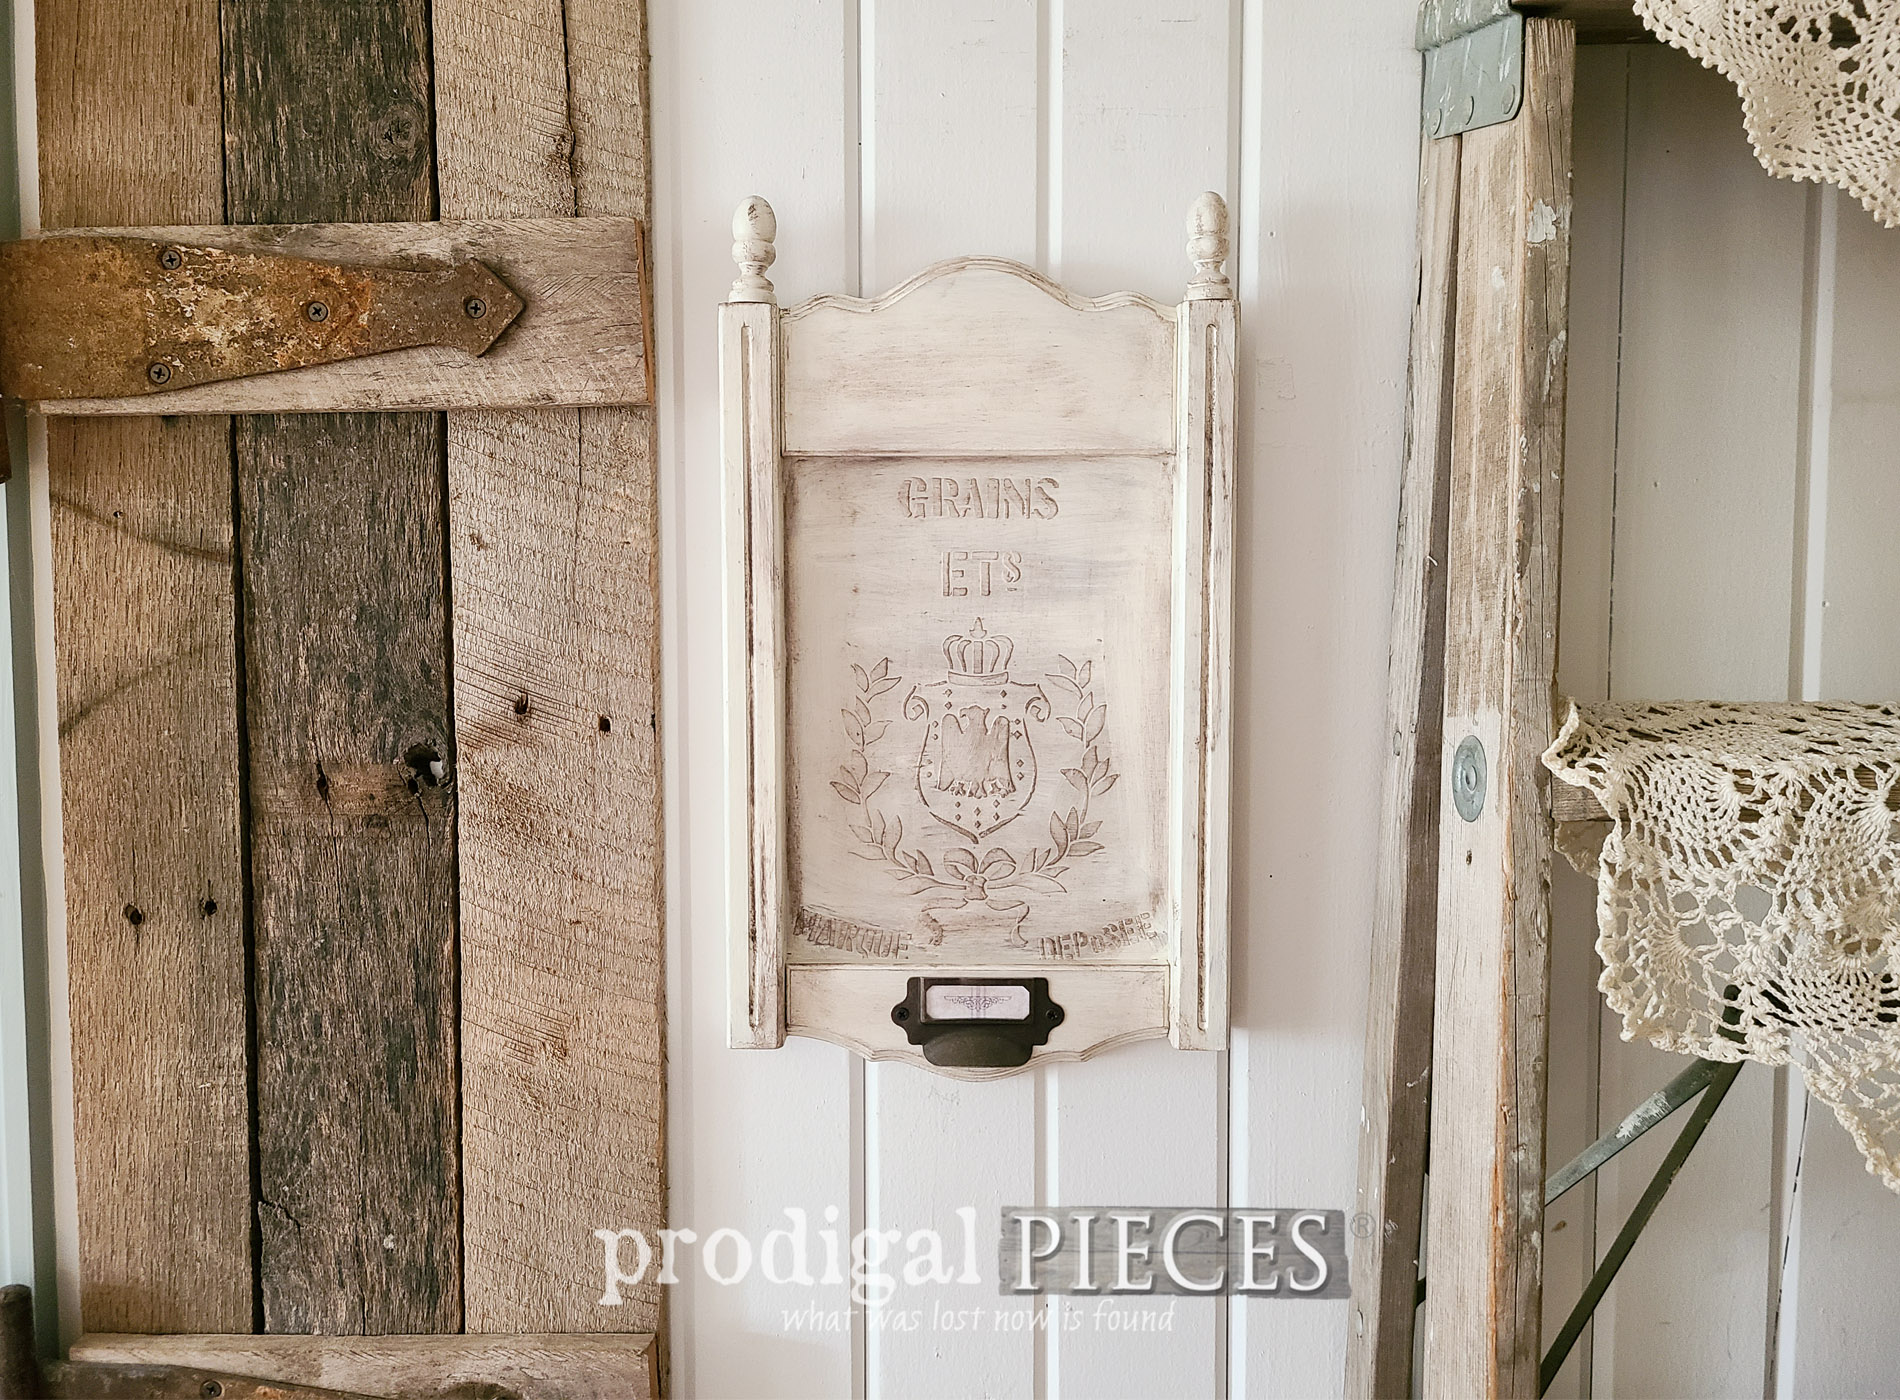
Then, using this
grain sack stencil and spackling, I create an embossed effect. I first used it a few years ago on
this furniture makeover of a jewelry armoire, and have been hooked ever since. You can see the technique in my DIY video tutorial below.

In addition, you can use a glue gun to do a different style of embossing as well. You can see what
I am talking about HERE. Using any stencil you want, just tape it down, and use a putty knife to fill the stencil gently with spackling.

Next, carefully lift the stencil and take a look at the fun you created. Isn't it so neat?!

NEXT STEPS
While my spackling cures, I paint the frame with a soft antique white and let it cure as well.

However, before I assemble the pieces, I want to make the embossing art match the frame. Using a reactive stain, I apply and let cure. Note, when applying a stain or paint to the embossing, make sure you work very quickly so that you don't let the spackling get too moist. You risk the chance of smearing it, and we don't want to ruin your fun.

Last, it's time to assemble. My favorite tool for this is my Logan Point Driver. It's much like a stapler and does the trick beautifully. Just pop them in and you're done.

Before I call it quits, I apply one more coat of paint the frame and one coat to the embossing art. Then, I use a dark wax to highlight it all.
THE REVEAL
Here's my little upcycled frame all dressed up and ready to go for many more years. Whatcha think?


A little bit of rustic paired with a little bit of chic - right up my alley, I'd say. tee hee! Can you see the raised texture effect?


If you'd like to make this part of your own home story, you can find this and more available in
my online store.


Oh, in addition, do pin and share so others can have fun with this too. Yahoo!

Up next, it's
Reduce, Reuse, REFASHION time! I'm eager to share with you my latest inspiration refashioning a tank top.
Come see HERE!

Likewise, to get these DIY tips & tricks in your inbox, be sure to
sign up for my newsletter. Until next time!

 PINTEREST | EMAIL
Also, more fun makeovers like this upcycled frame: