Every once in a while, my dad comes by after he's done a cleaning out of a property and will be bearing
trashure for me. This time around, I'm offered this... It's made of solid brass with a gorgeous patina that I want to keep intact. What to do? Make an upcycled door handle towel holder, of course. Thanks, Dad!

To be honest, when he gave it to me, I literally had no idea what I what I'm going to do with it. What would you create?
After a bit of deliberation, I decided to make it functional for a bathroom or kitchen. If you know me, I love a story-telling home. That means I love decor that does NOT come from the box store but really means something to me. You can see
my remodels HERE.
CREATING TIME
First, I head to my wood stash to pull out a board that has oodles of rustic features and is also the right width. Then, that board heads to my chomping block (aka. miter saw with
my DIY dust collector from a baby tent)

After that, I need to address the handle. It has a hole at the bottom, but the top would have been held on by the deadbolt lock. That means I need to drill a new hole at the top so I can attach it. Enter in my kinda diamonds...a diamond drill bit.

With relative ease, I make a new hole in the brass for a screw. I always have these on hand because I can drill metal, stone, and oh so many things. These diamonds are a DIY girl's best friend!
LAYERS
As soon as the board is cut, I'm ready to add layers of paint to create a story.

For the first layer, I use a milk paint in Highland Blue. Notice I'm not coating the entire board because I want some of that wood to peek through for the end result.

Next, after the paint dries, I add more texture by using basic school glue to make the next coat crackle and peel. I told you I was fun. {{wink, wink}}. I apply beads of glue that I smear with my finger in random spots where normal where would be.

Before the glue fully cures, I use a brush and wipe another paint the length of the board.

Finally, to hasten to process, you can use a hairdryer or heat gun to make the glue crackle and bubble more. What is more, you can see my
other crackle finishes HERE. For a time-worn finish, I use my paint scraper to remove some paint, sand it a bit, and add a bit of dark wax.

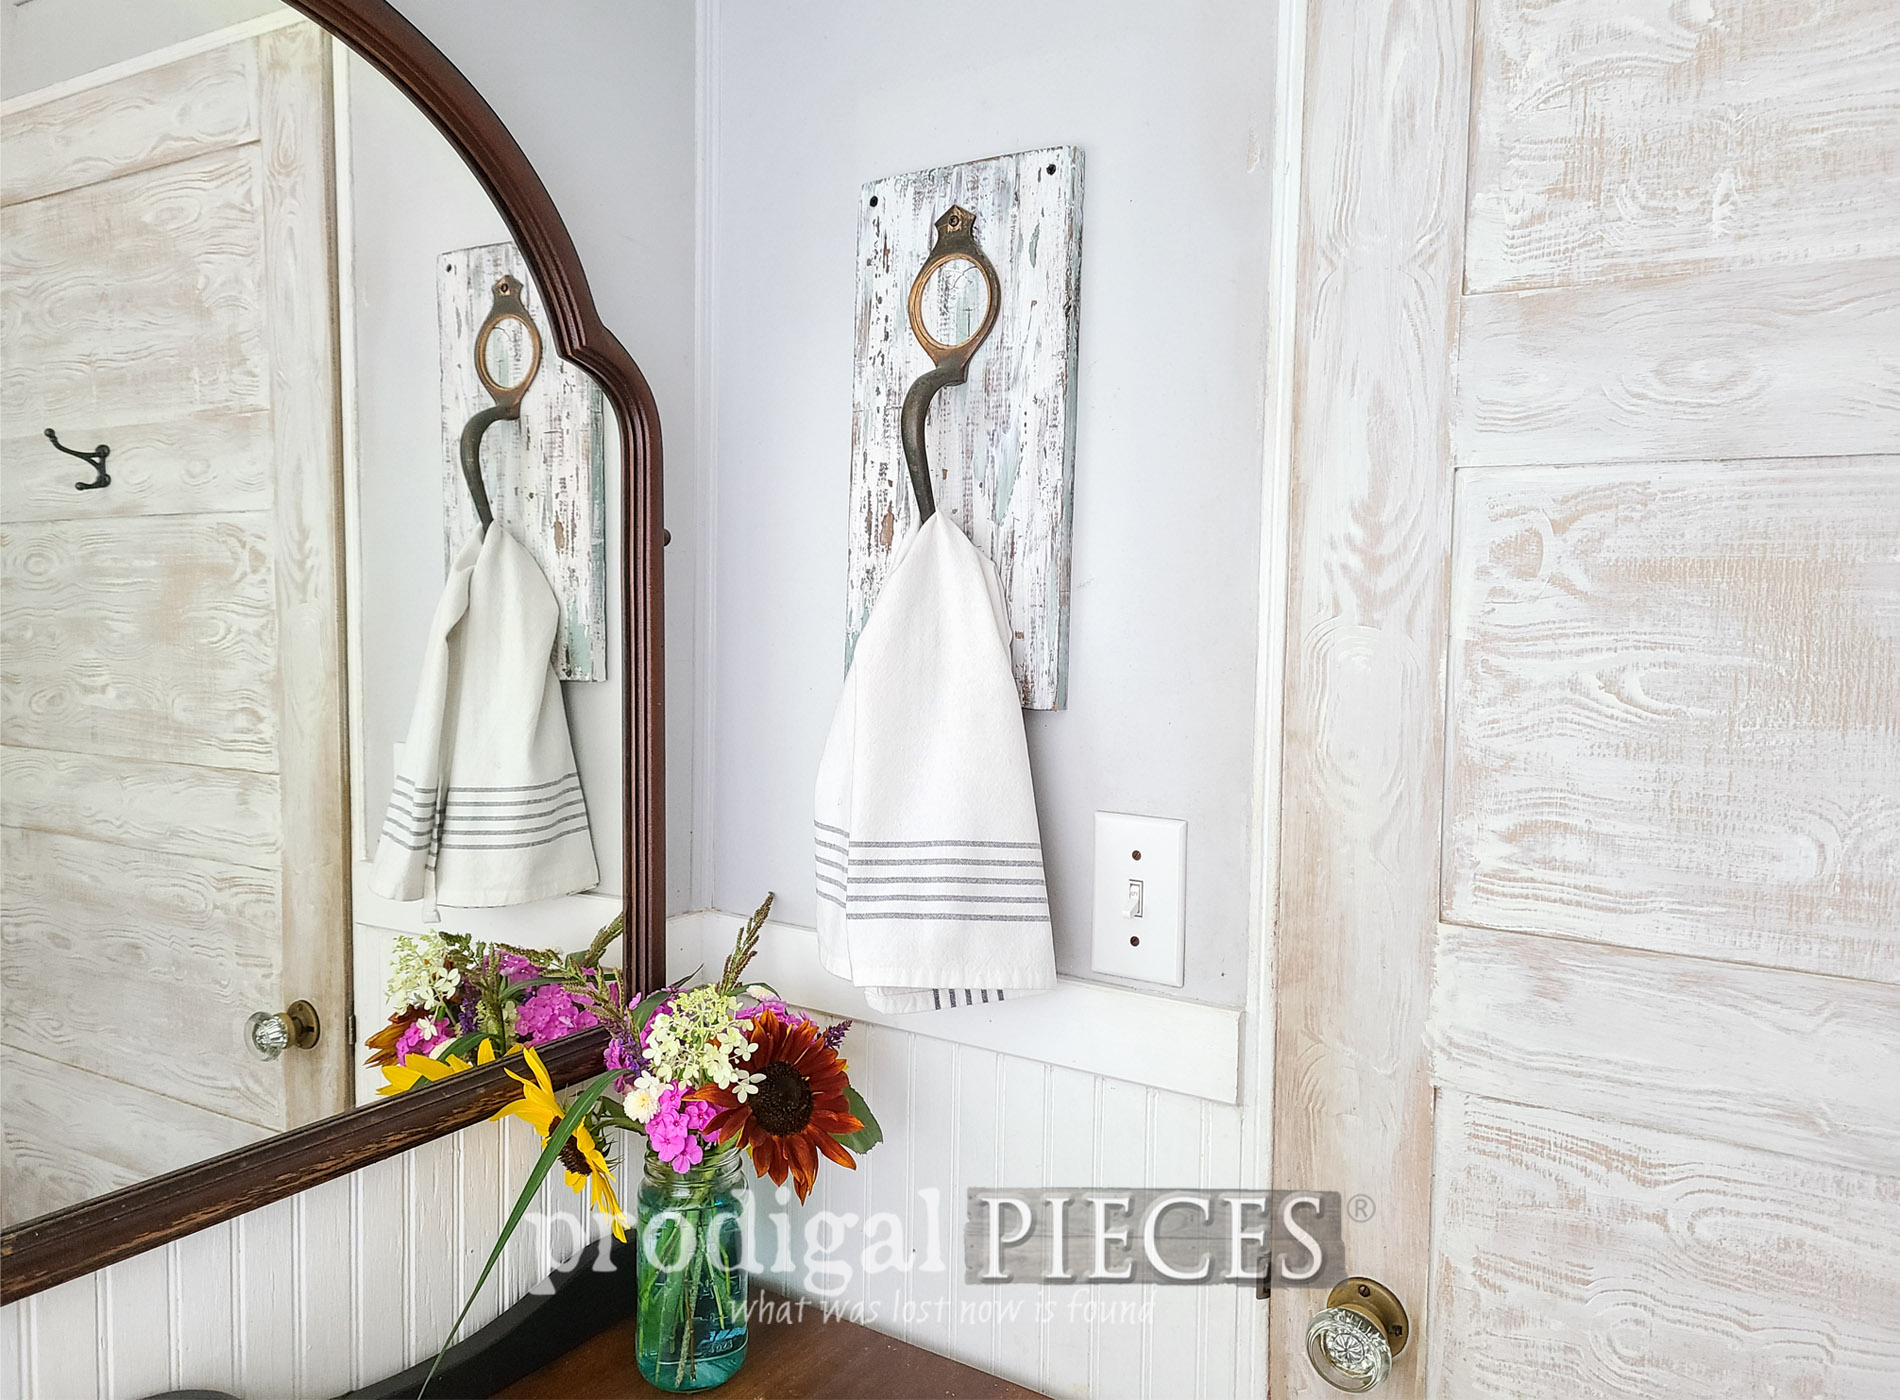
FINAL RESULT
After my quick DIY stent, here is my upcycled door handle towel holder. It's now ready for oodles of clean hands (hopefully, at least, in your house). You moms know what I mean, right?


Not bad for "junk", me thinks. Not only does it serve a purpose, but also makes for a fun story to share with family and guests.

Now that was a crazy simple upcycle that I totally spent too much time initially overthinking. Please say I'm not alone, K?
If you'd like to make this a part of your home story, you can find it and more in
my online store.

SHARE
In addition to leaving me some comment love below, we can inspire others to make their own home story too. Pin and share!

Before you go, make sure to
sign up for my FREE newsletter to see what becomes of this
heart cutout shelf HERE.

Until next time!

 PINTEREST | EMAIL
While you're at it, here are more DIY projects like my upcycled door handle: